When you click on links to various merchants on this site and make a purchase, this can result in this site earning a commission. Affiliate programs and affiliations include, but are not limited to, the eBay Partner Network.
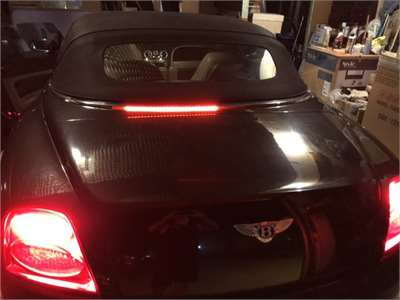
Hello Team, I have a 2008 Bentley Continental GTC. One side of the led on the 3rd brake light is not working. How do I remove this light and replace? Can I do this by going through the trunk?
There's a whole thread on here about how to replace the light, unfortunately, it's for the non-convertible, but it might be useful to you. Do a search.
It's generally water infiltration, but I've never heard of half working/half not working.
The same thing happened on my last '08 convertible. Luckily it was still under the dealer warranty and they replaced the whole strip, along with lots of seals and gasket kits. Not an easy diy job for most.
Currently I still have not found any diy solution for this. I have a trusted mechanic who has advised this is not an easy job on a convertible as it involves going through the convertible top to remove. Then there a a few gaskets and what not to be replaced.
This is probably why there is nothing online in regards to this. At least not what I have been able to find. I may just bite the bullet and have it replaced.
I will I�ll keep digging for now and post if I come across.
The changing of the 3rd brake light is not difficult. It is caused by moisture that comes in from a bad seal...
Use the roof up button....and stop the apron when it is standing up
Under the apron there is a felt skirt that needs to come off. Gently remove the snap buttons and don't break them, you will need to reuse them. Once you take off the skirt you will than be able to remove the 3rd brake light. It has hex screws and nuts that need to loosen and remove.
Note: you will notice that the felt skirt will feel moist, which is an indication that water is getting in and the culprit behind the light not working.
Once all of the screws and nuts are out you can gentle remove the light. There is also sealent tape that might be needed to be replaced.
Last edited by fjbarbella; Jul 8, 2021 at 11:16 PM.