
moisture inside headlights

Thread Starter
|
Registered User
Joined: Sep 2009
Posts: 569
From: Tamuning, Guam
Rep Power: 43

moisture inside headlights
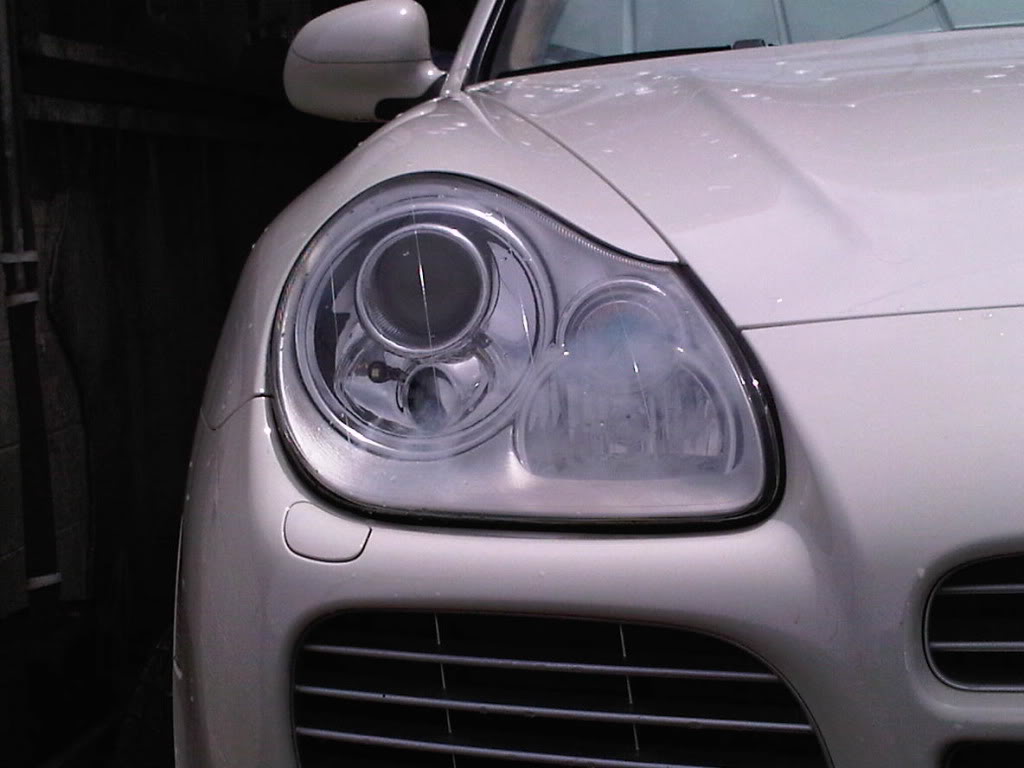
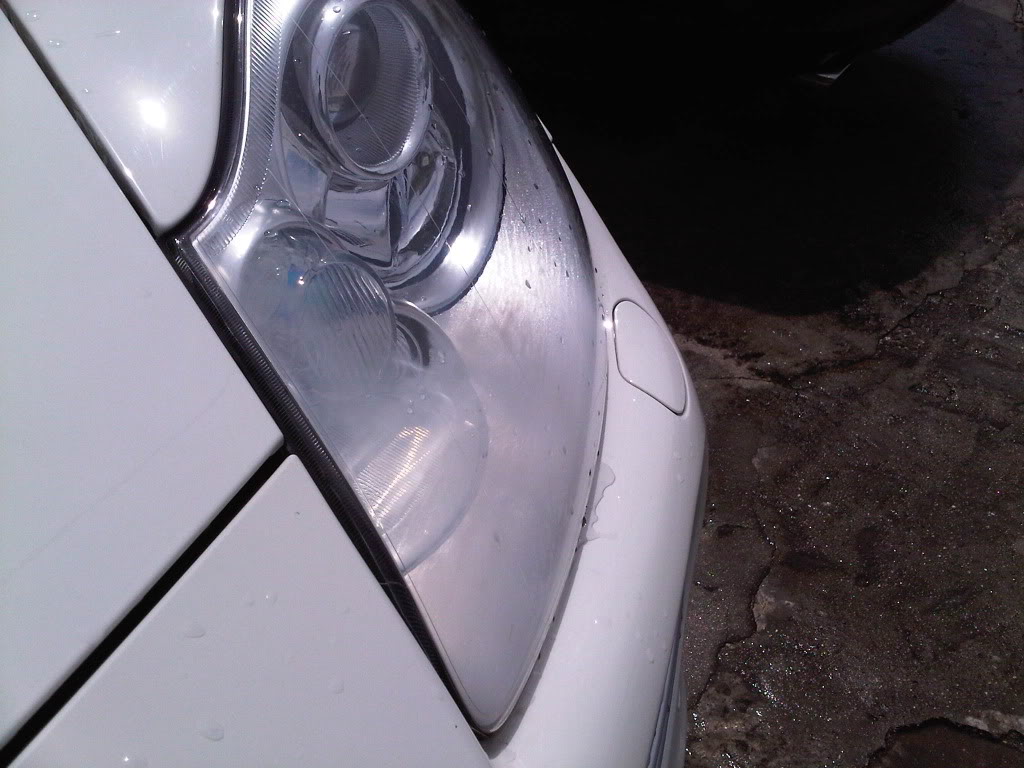
After having lamin-x installed by my friend's shop, internal moisture appeared. Usually, internal moisture appears/disappears depending on atmospheric conditions, as I've seen in the headlights of my other cars. But the internal moisture found in my Cayenne definitely stayed no matter what the weather conditions are. They are very fine and concentrated on the high beam area on both headlights.
I originally thought that the lamin-x may be defective as the cloudiness are on the same area for both left and right, but when I peeled it off, I confirmed the cloudiness is caused my moisture inside the headlights.
What are the solutions any of you had done in any of your cars when it comes to internal moisture in headlights that won't go away by itself? Would blowing air into the headlights help?
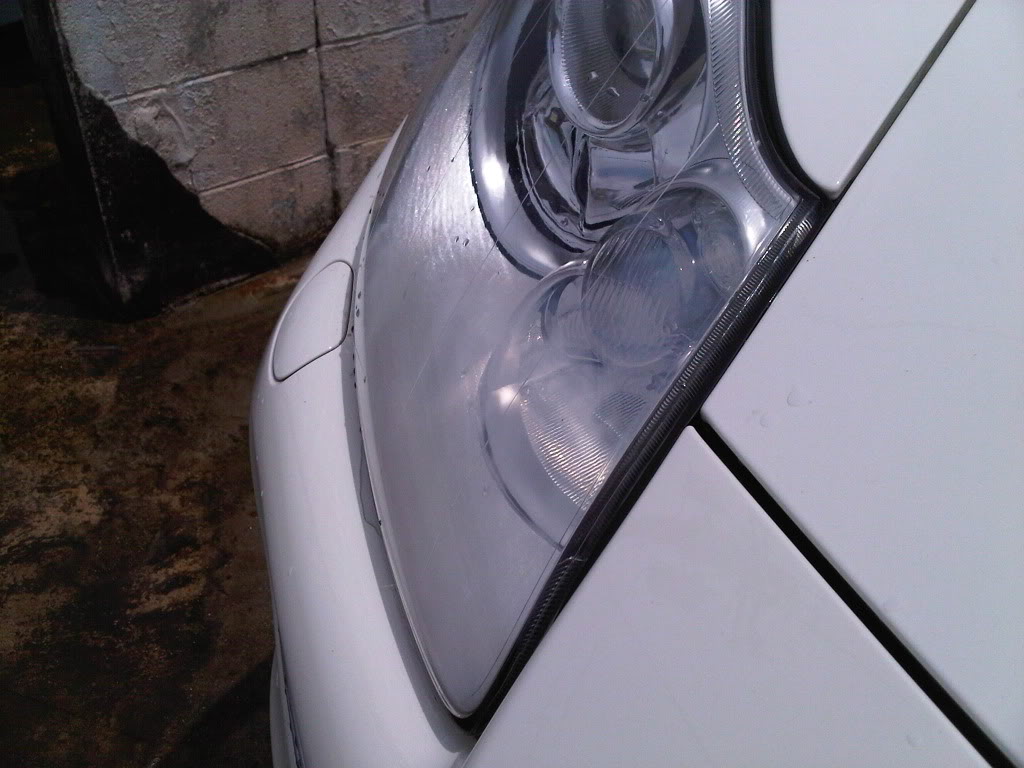


Registered User
Joined: Dec 2010
Posts: 5
From: USA
Rep Power: 0
One tail light assembly on my TT got moisture inside when I hand washed it. I used UV6800 to reseal the seam between the lens and the light assembly.
UV6800 works well for a LONG time. It is an marine industry silicone adhesive (clear) with a UV component in it so exposure to UV doesn't allow it to dry out, shrink or yellow over time. Don't get the E6000. It doesn't have the UV protection.
It is intended for use on ocean going boats so the overkill factor is about right for a 1 time fix. Be sure to carefully clean the surface and seam to be sealed. Wipe the area with isopropyl alcohol prior to applying to eliminate anything that could compromise the seal.
Tip: Apply it with your finger working it into the seam area. After it is in place wet your finger and smooth, with a very light rubbing motion, the adhesive to a glassy finish. Let dry for at least 4 hours before reinstalling the assembly. Worked well for me a year ago. l Perhaps it will solve your problem.

Registered User
Joined: Dec 2010
Posts: 5
From: USA
Rep Power: 0
Resolving moisture in headlight assembly
Yes, make sure interior of assembly is completely dry before proceeding with sealing.
A medium stream of dry, oil free, compressed air (my compressor has an air dryer on it and is oil-less) works well. If you don't have dry compressed air take the assembly inside where it is warm and dry and remove the back cover and let it dry out completely.
Now for the UV6800. When you finish smoothing it with your wet finder after application let it air dry on its own. It will skin over in less than an hour and be completely dry in 24 hours. It is unnecessary to apply a thick layer because you only need to seal the seam. It is elastic so it will expand and contract with the temperature changes.
I am sure you already know to make sure the thin plastic guides in the fender part along the bottom are aligned with the assembly when reinstalling. One of them on my headlight asssembly partially broke off and was firmly reattached with UV6800. You will only need the tube put-up of it. It comes in caulking size tubes also.
Moderator

Joined: May 2004
Posts: 4,962
From: South Bend, IN
Rep Power: 241

I save the little silica gel packs from stuff we buy online. I don't know these lights come apart, but I was able to remove all the water from my brother's taillight by talking the bulb out, insert the silica gel packs tied to a string into the housing and put the bulb back in overnight to seal the hole. Water was gone in the morning.
__________________
damon@tirerack.com
877-522-8473 ext. 4643
574-287-2345 ext. 4643
**Don't forget to add my name to online orders!**
Or use this link:
http://www.tirerack.com/a.jsp?a=BH1&url=index.jsp
damon@tirerack.com
877-522-8473 ext. 4643
574-287-2345 ext. 4643
**Don't forget to add my name to online orders!**
Or use this link:
http://www.tirerack.com/a.jsp?a=BH1&url=index.jsp
Registered User
Joined: Mar 2010
Posts: 505
From: SoCo.....in austin texas
Rep Power: 38
I save the little silica gel packs from stuff we buy online. I don't know these lights come apart, but I was able to remove all the water from my brother's taillight by talking the bulb out, insert the silica gel packs tied to a string into the housing and put the bulb back in overnight to seal the hole. Water was gone in the morning.
Trending Topics
I save the little silica gel packs from stuff we buy online. I don't know these lights come apart, but I was able to remove all the water from my brother's taillight by talking the bulb out, insert the silica gel packs tied to a string into the housing and put the bulb back in overnight to seal the hole. Water was gone in the morning.


Thread
Thread Starter
Forum
Replies
Last Post
ModBargains
Lotus Vendor Classifieds
1
Oct 13, 2015 03:42 PM
ModBargains
McLaren Vendor Classifieds
1
Oct 13, 2015 03:41 PM
ModBargains
Other British Vendor Classifieds
1
Oct 13, 2015 03:40 PM