
RUF RS's 991.2 Miami Blu GT3 - Paint correction/clear bra/nano


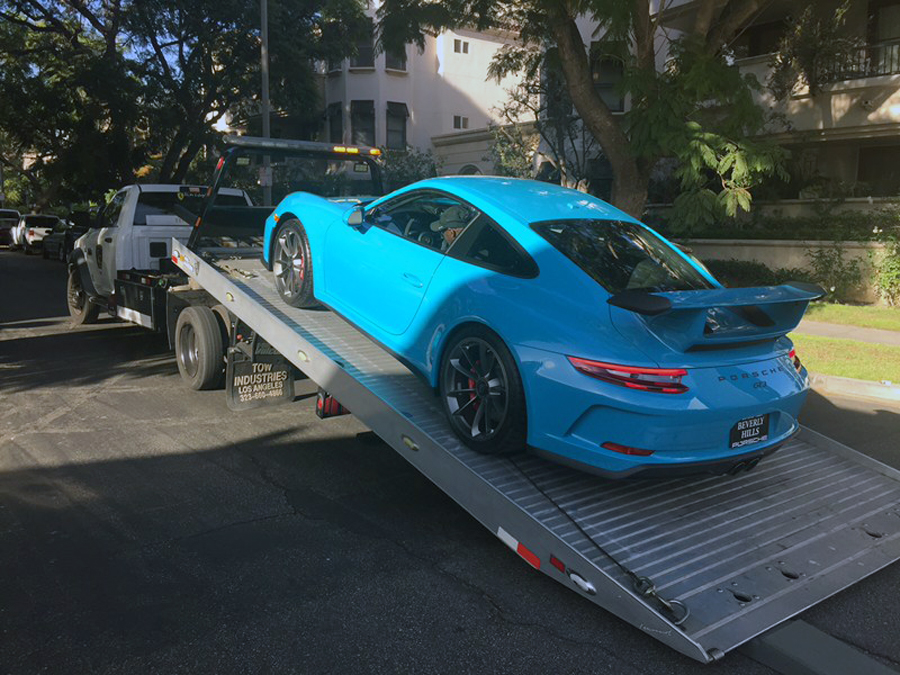
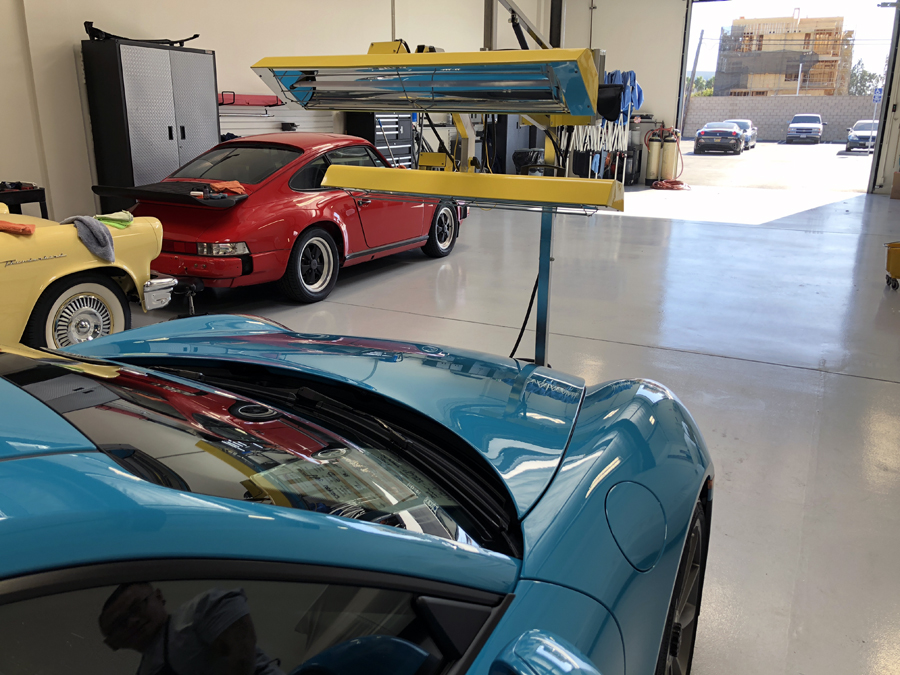
Late last year we had the pleasure of a repeat GT3 owner reach out to us for a new GT3 project. We were given the specifics and what stood out the most....Miami Blue was the PTS color.
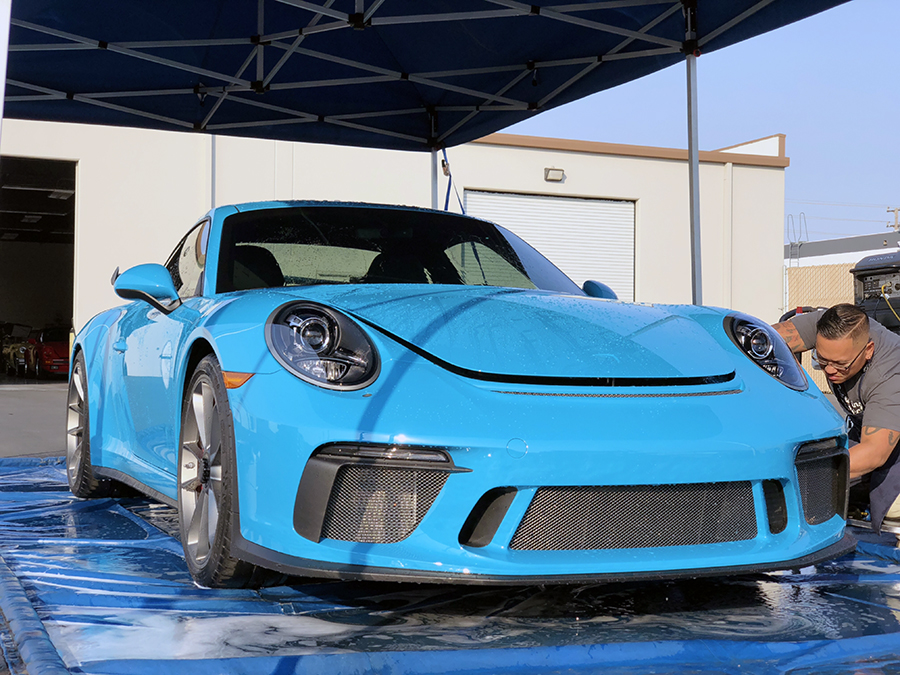
Here's her journey at the asylum.
Paint Correction Process
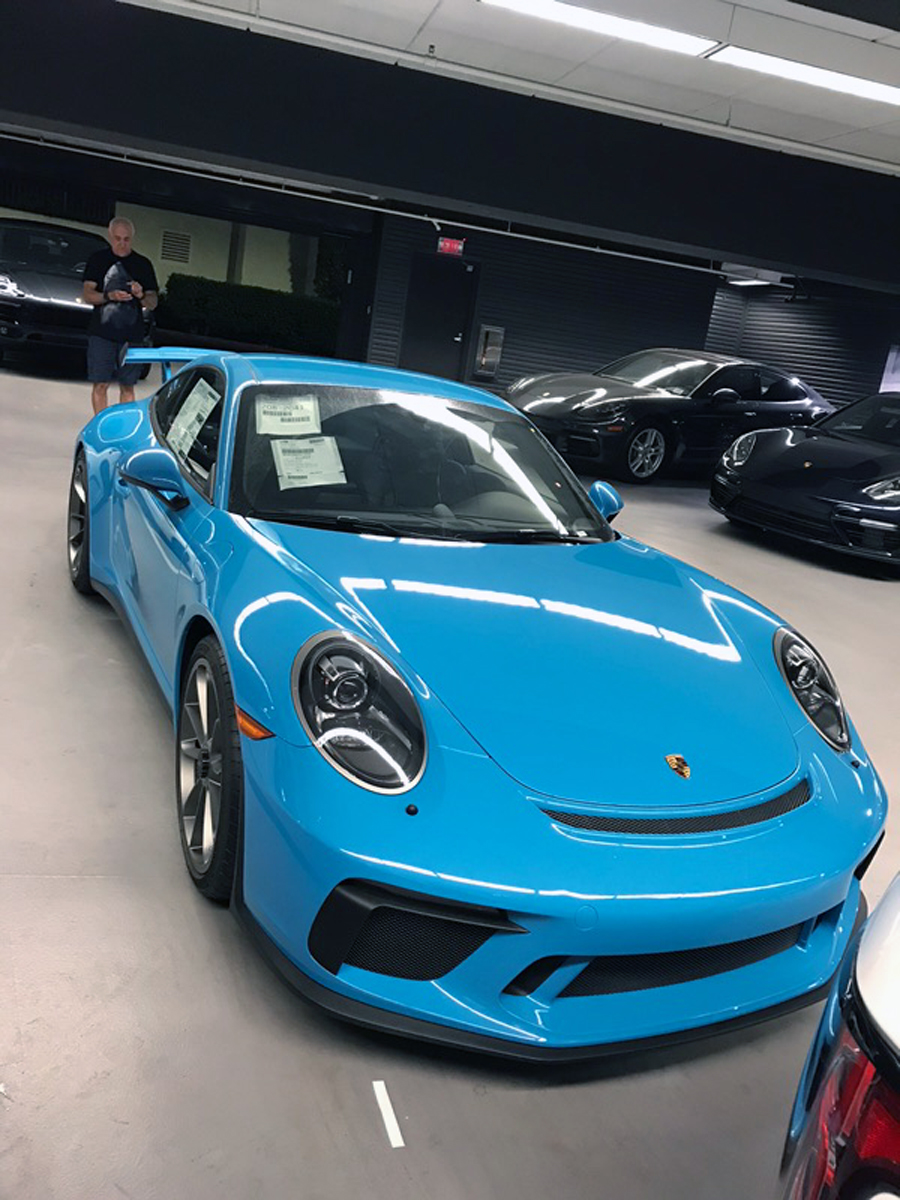
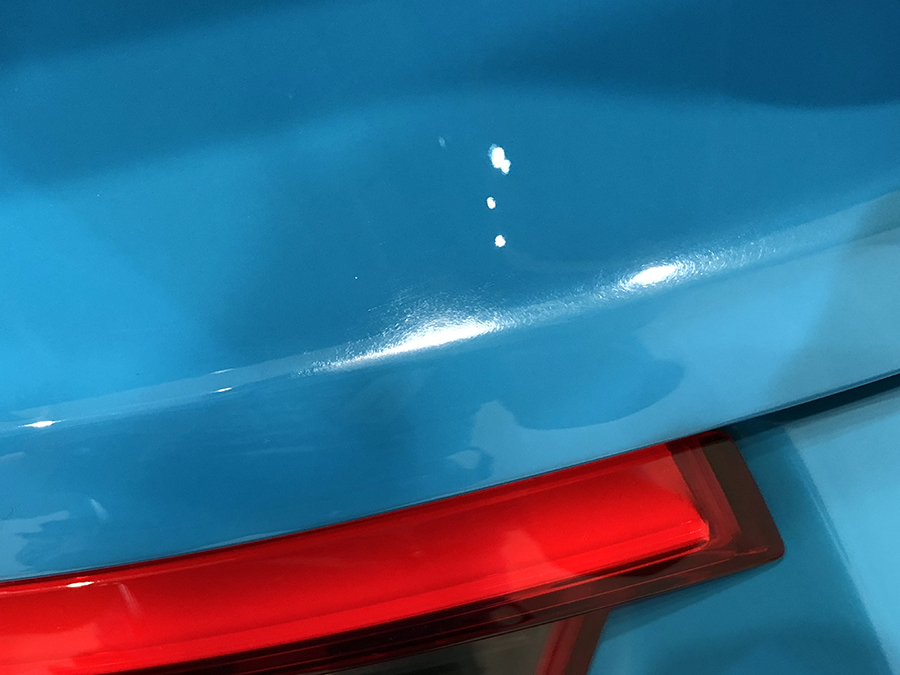
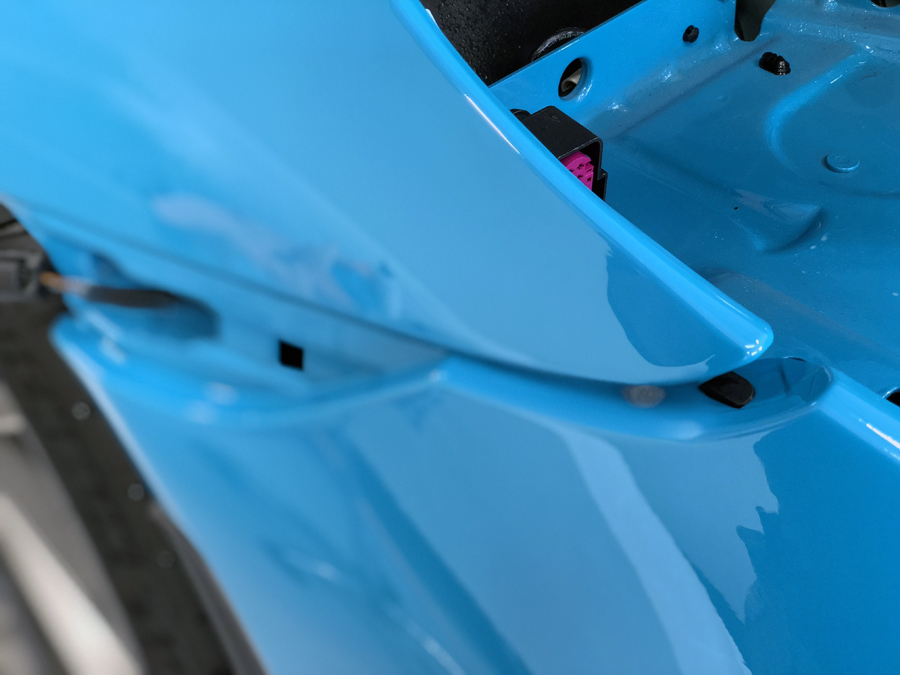
She arrived safe and sound and after a proper wash and decontamination, she was in our polishing room where the usual factory imperfections were revealed
Factory sand marks removal process
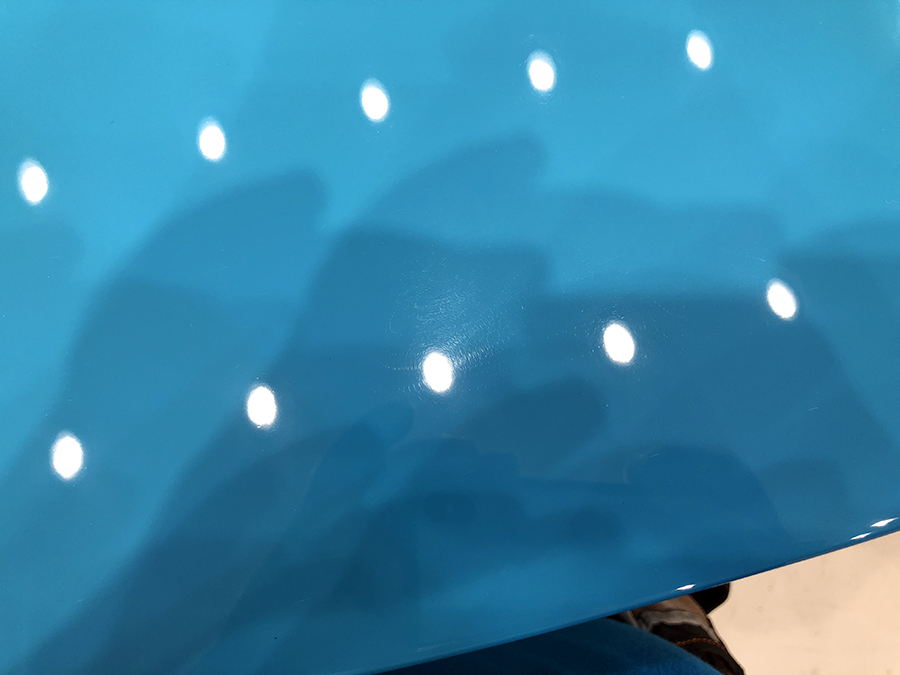
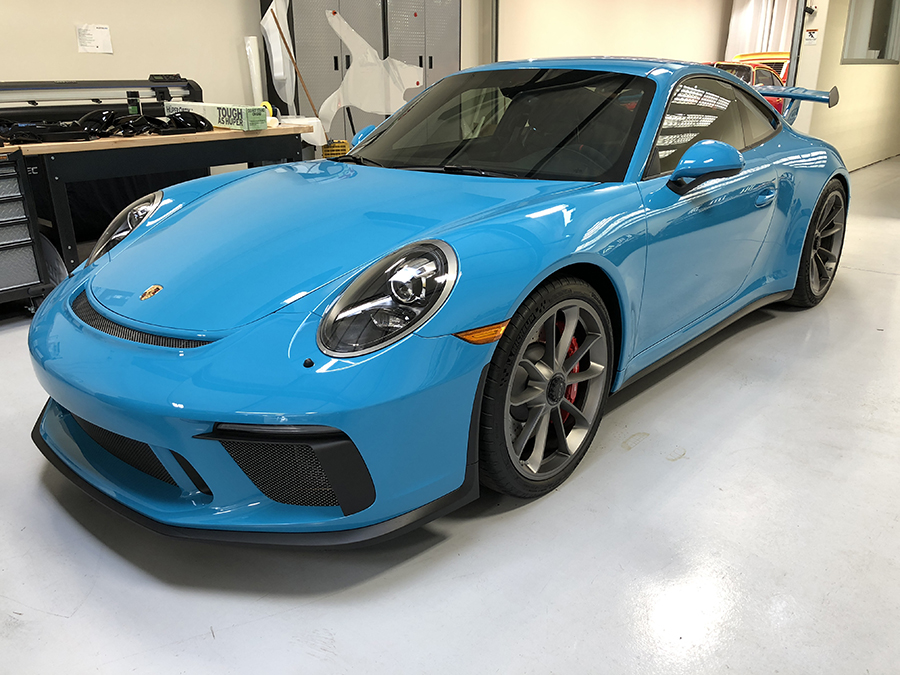
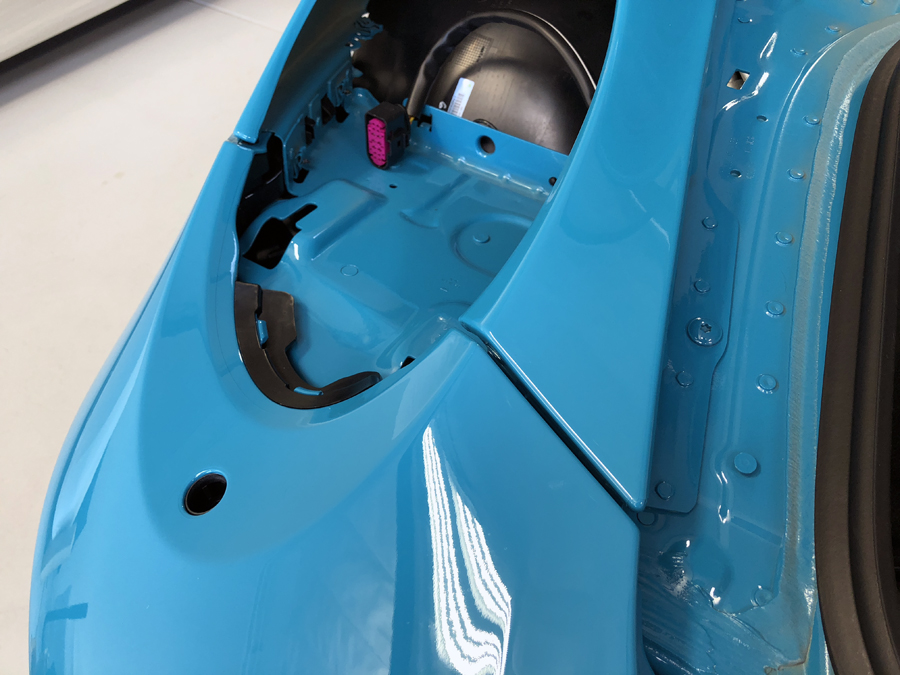
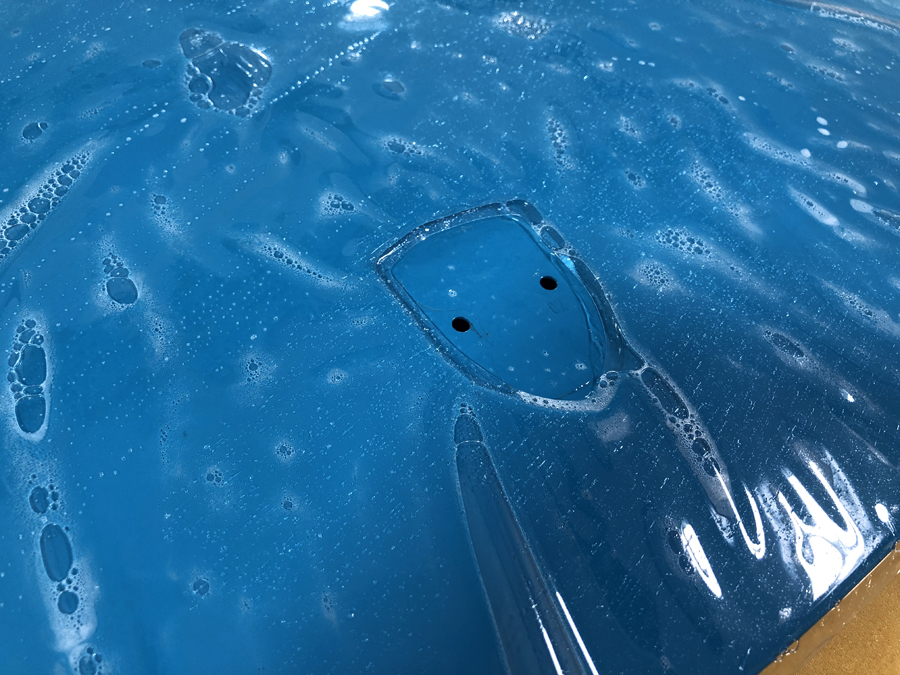
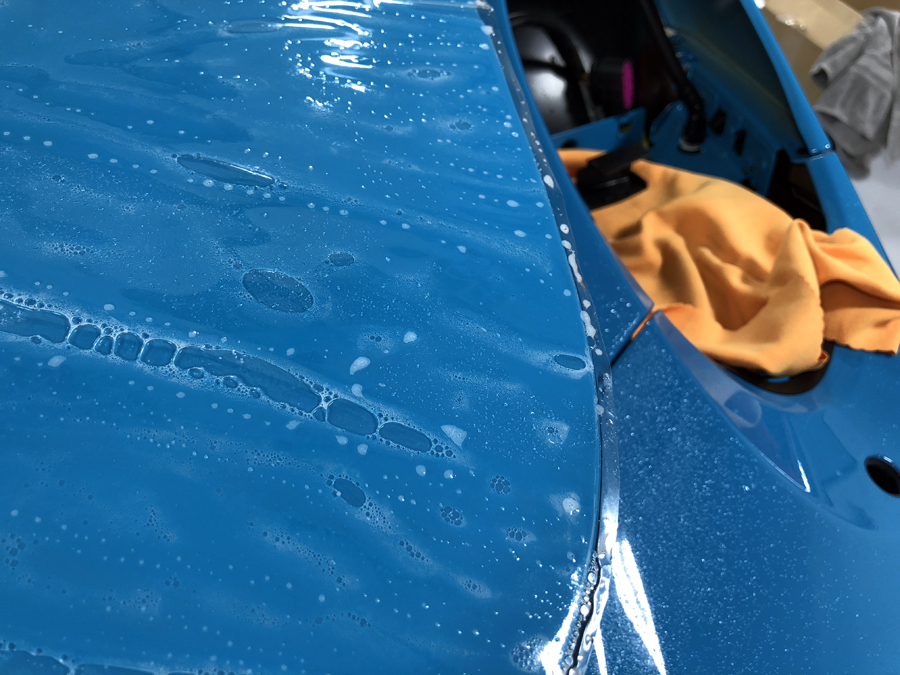
Once paint correction is complete, vehicle gets a VERY thorough wash to remove all polishing dust in preparation for clear bra installation
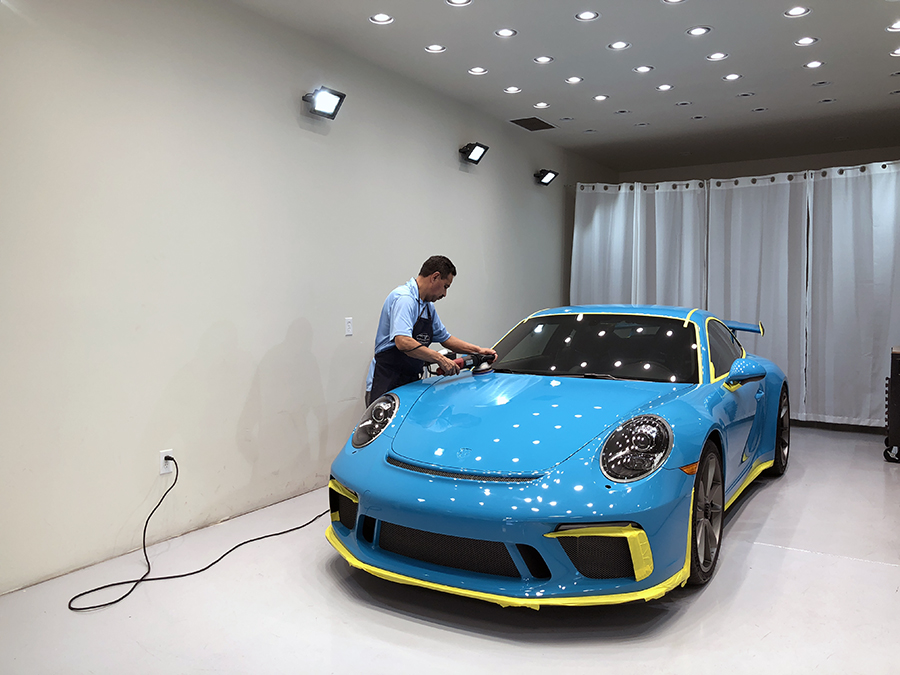
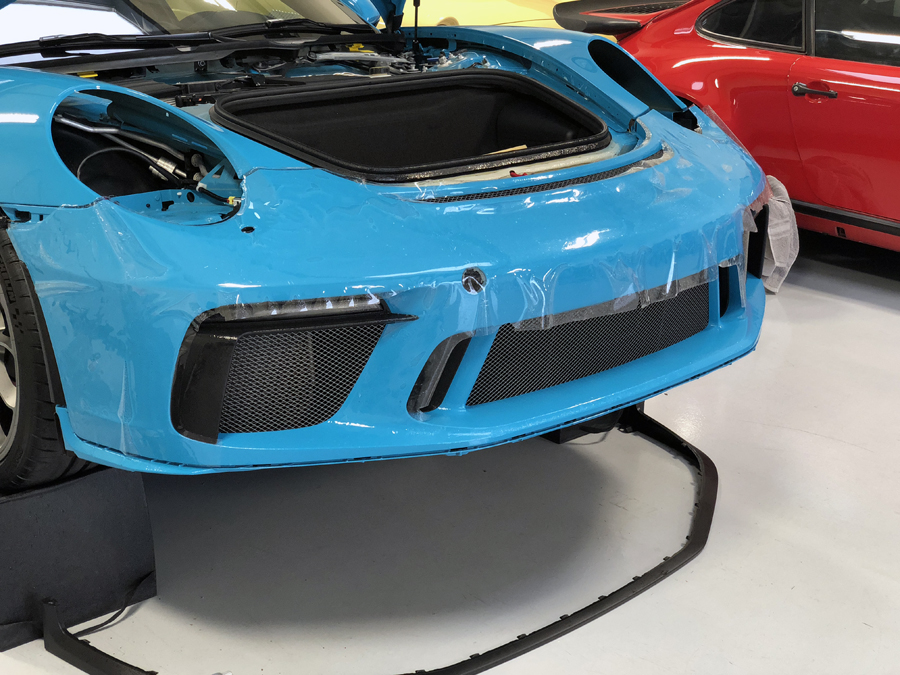
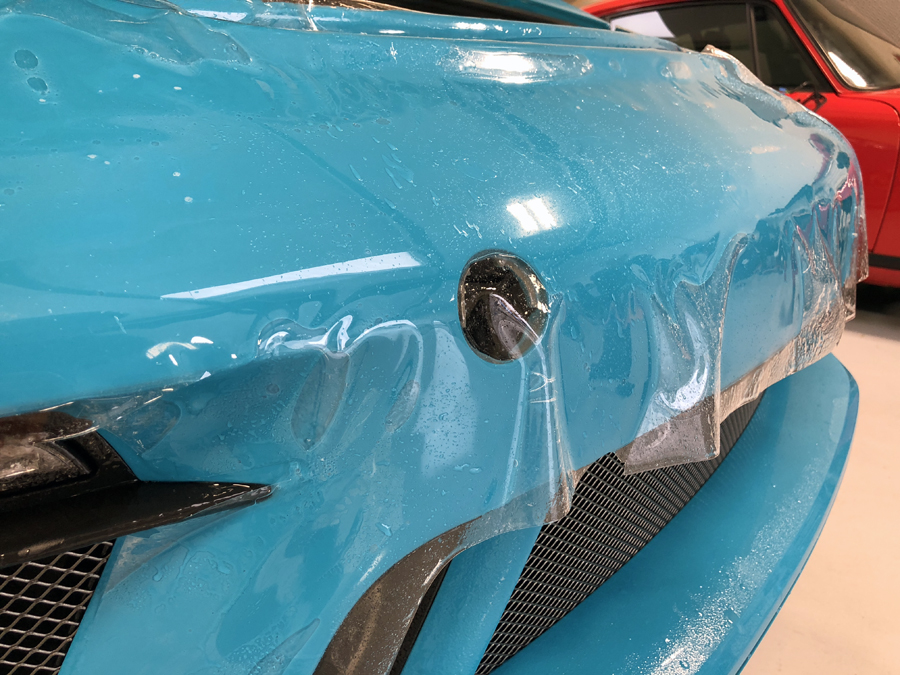
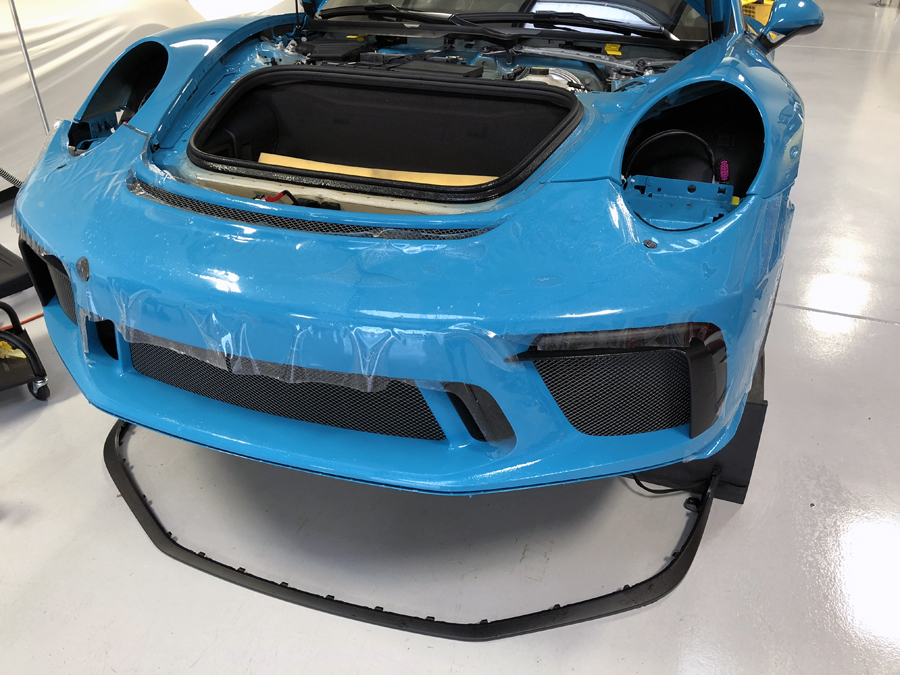
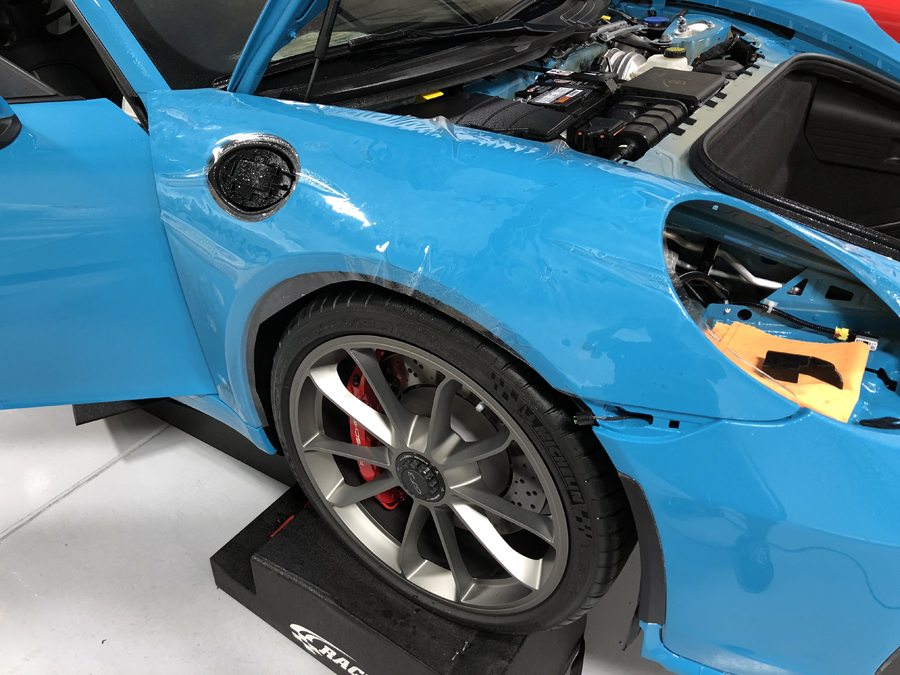
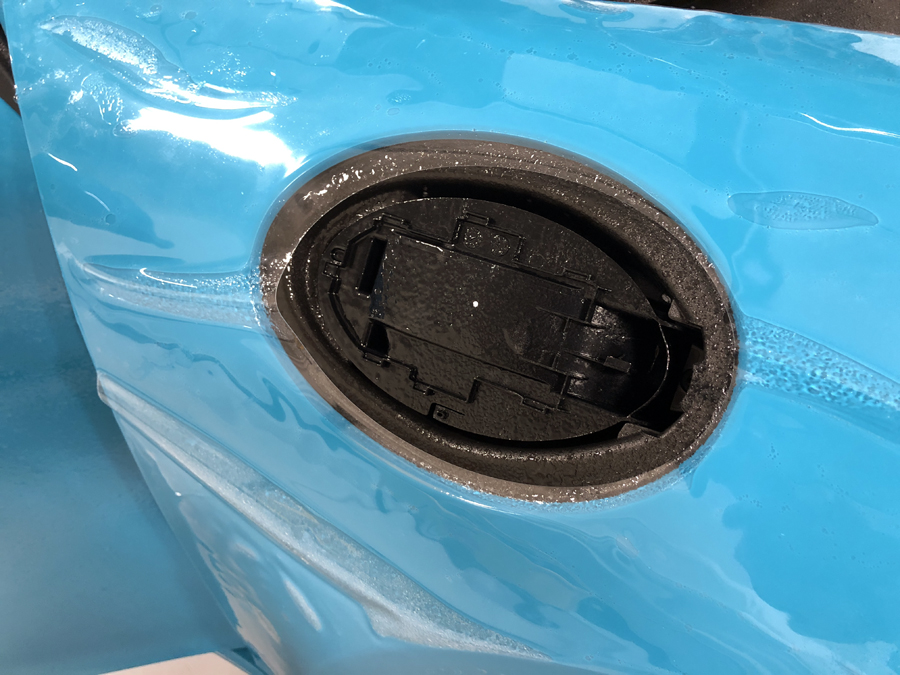
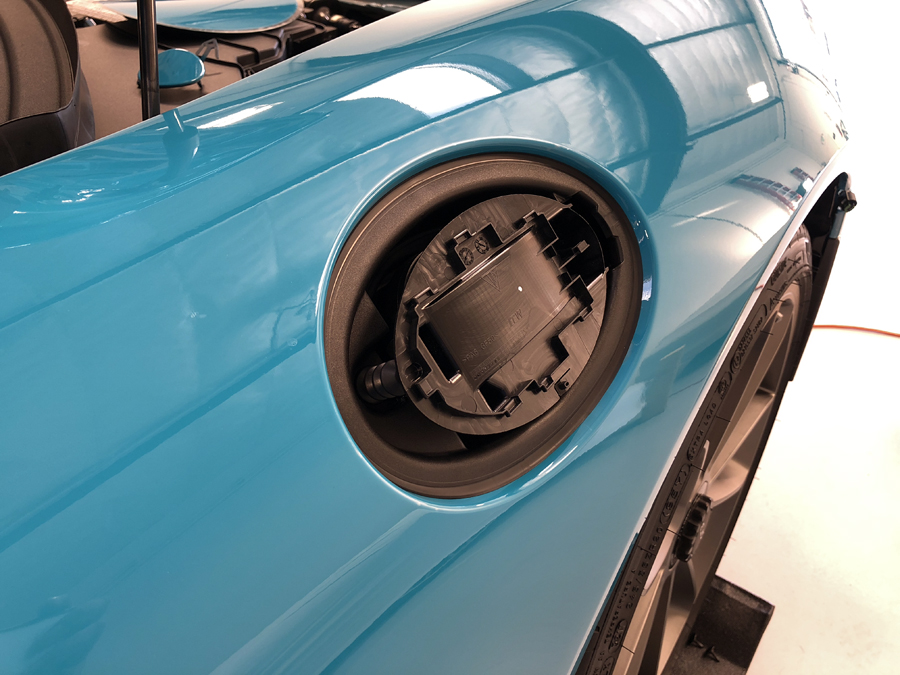
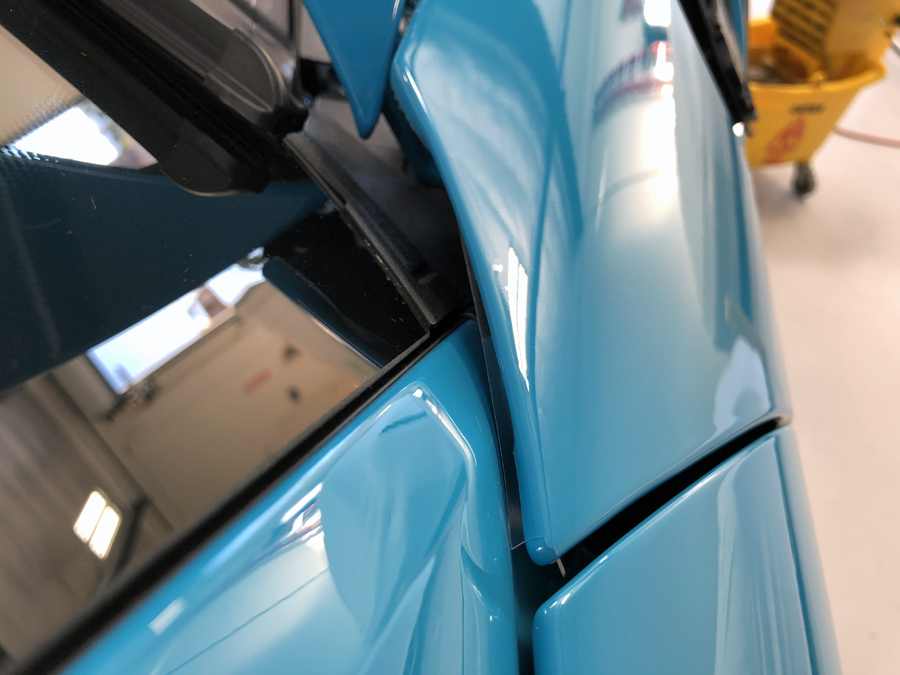
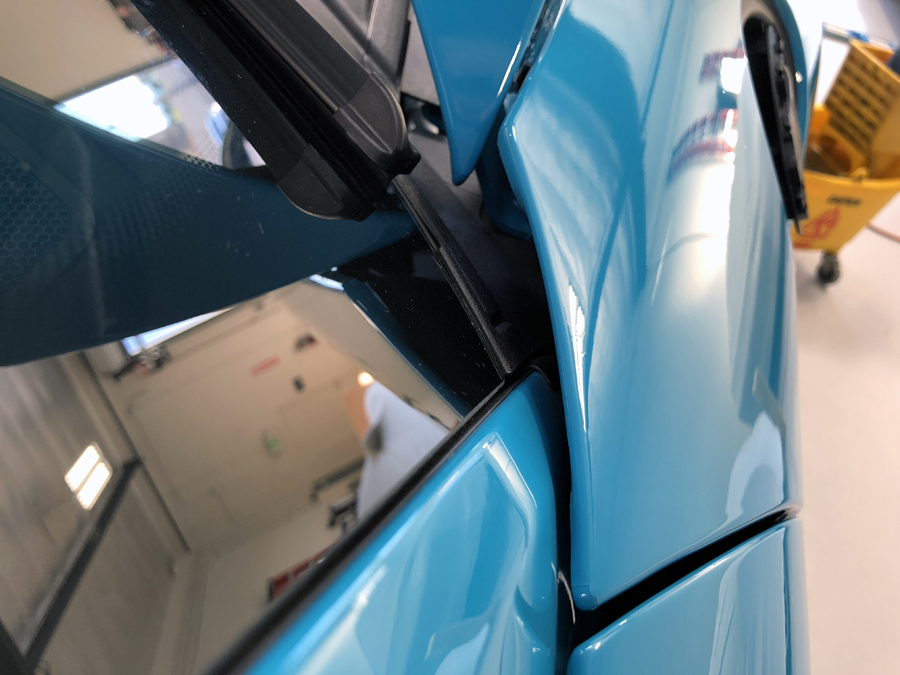
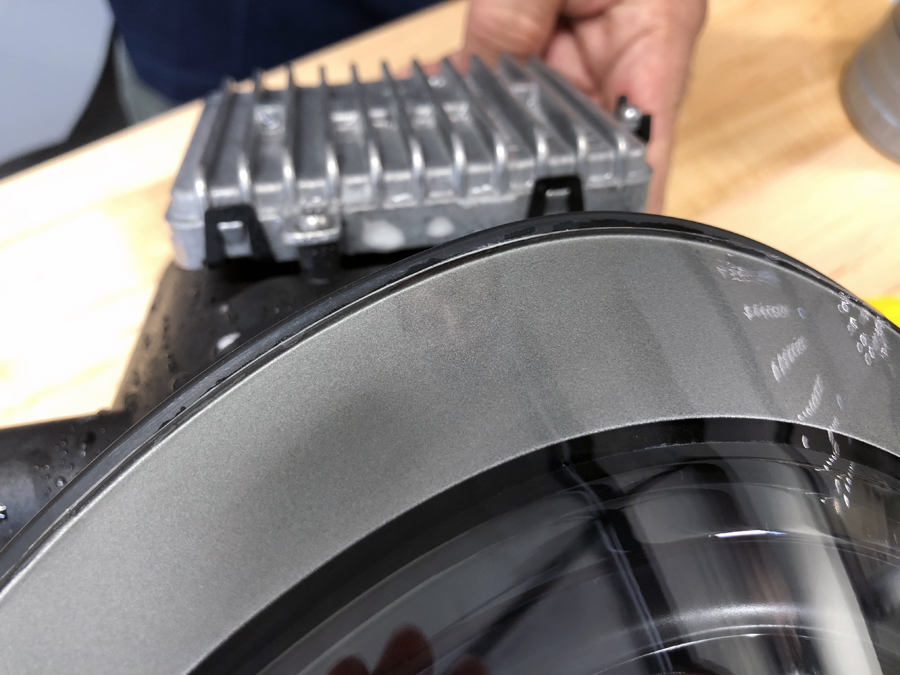
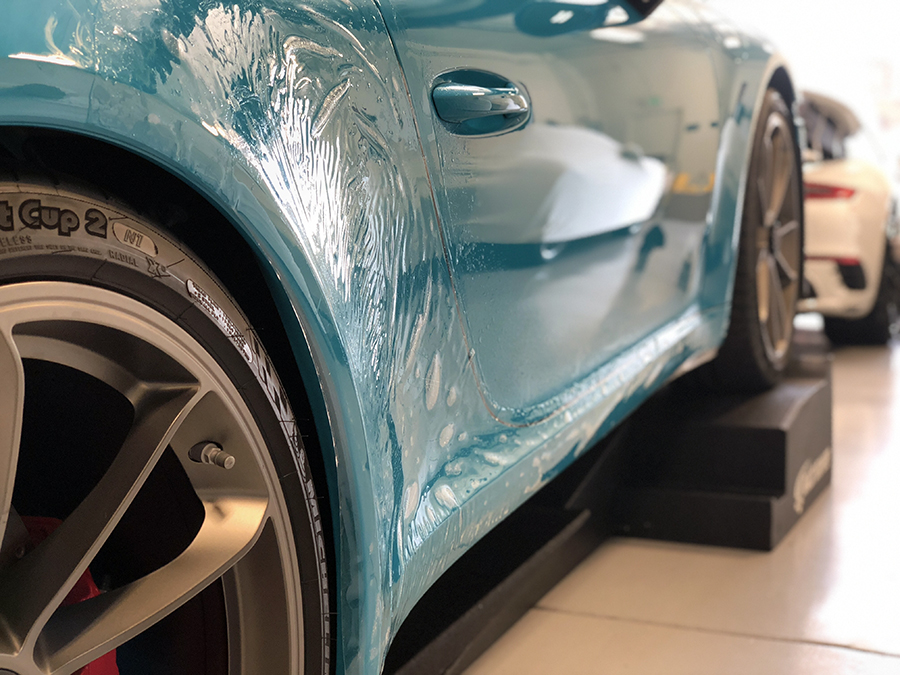
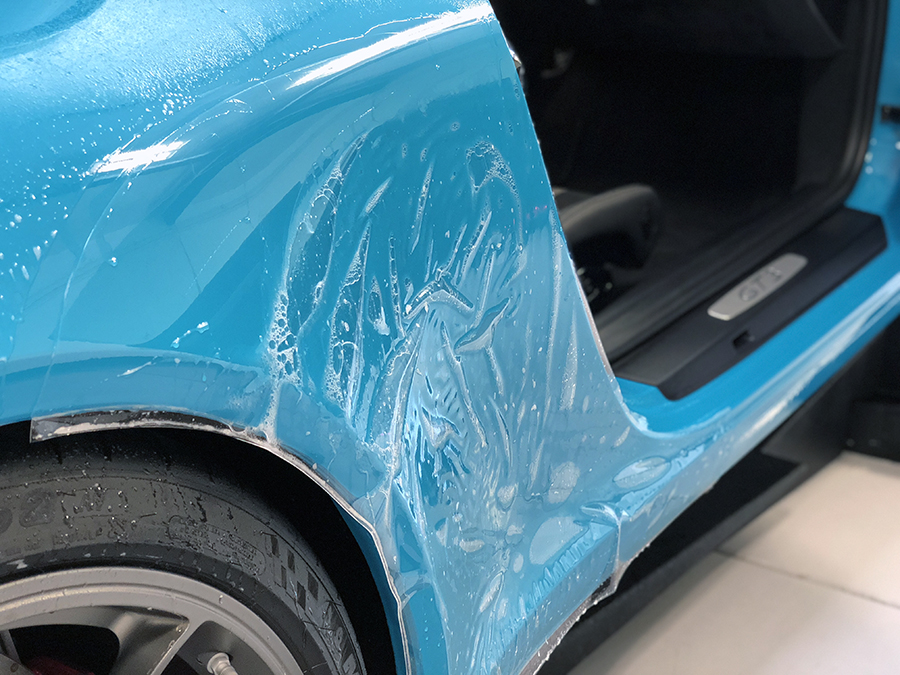
Clear bra installation Process
Tow hook cut-out is NOT pre-cut. We want to hand-trim this area for a precise fit and finish
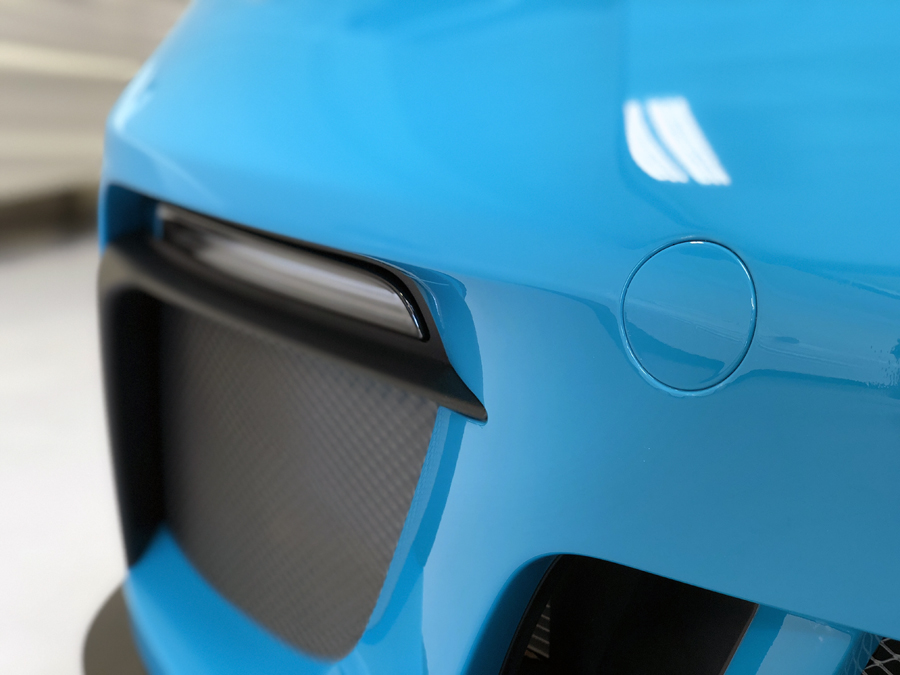
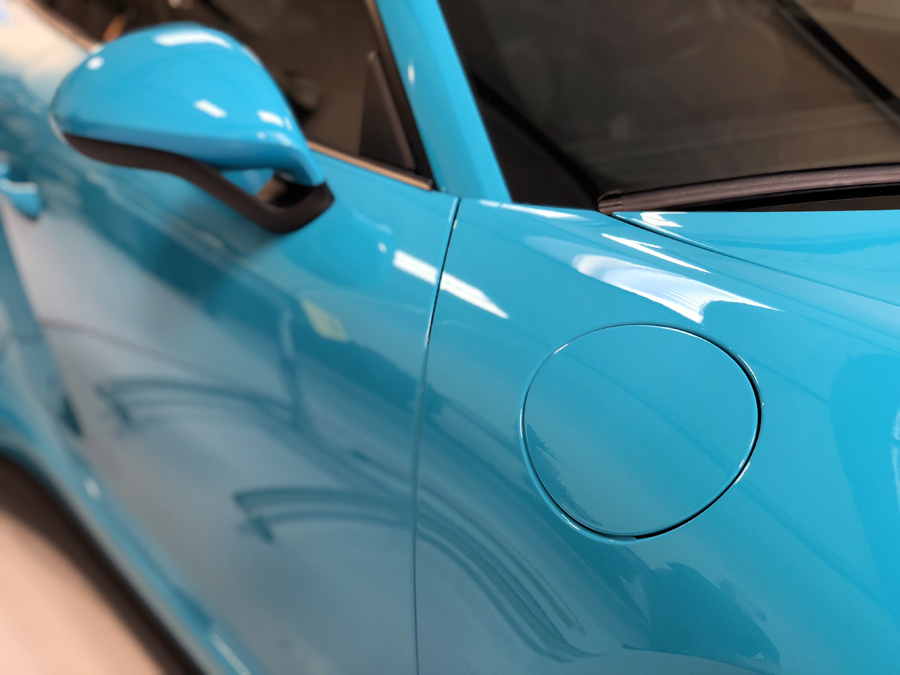
Bottom spoiler lip removed for seamless edge wrap. The more edges that are wrapped inside seams, the more coverage and it also protects for more time since no exposed edges get dirt in them
Bumper near completion. Edges wrapped, ready to be hand-trimmed for a tailored and finished look
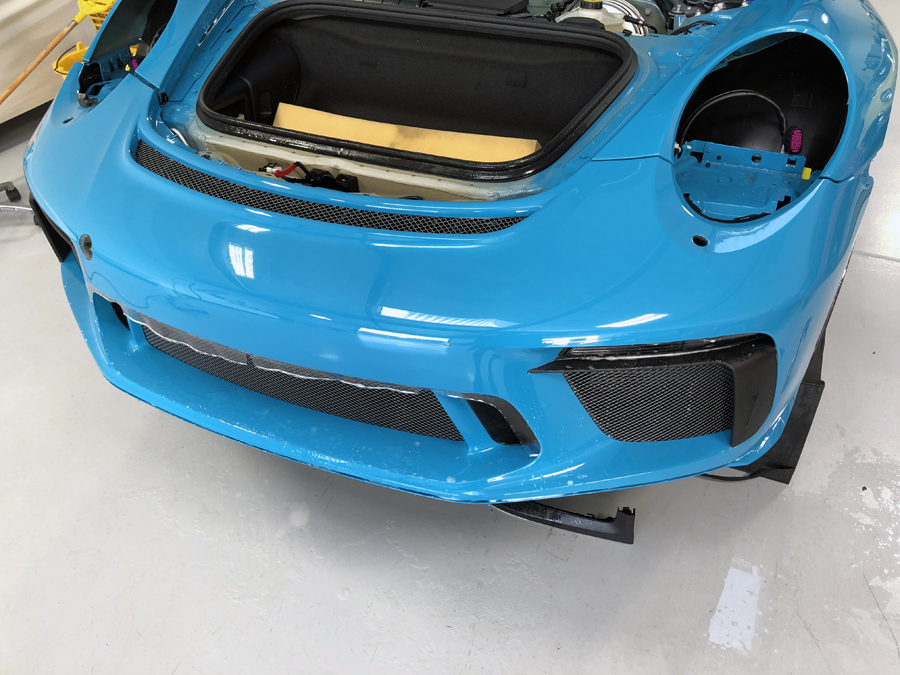
Only pre-cut area of bumper left behind since the software allows for precise round cut-out. It's up to the installer to now install correctly and symmetrically
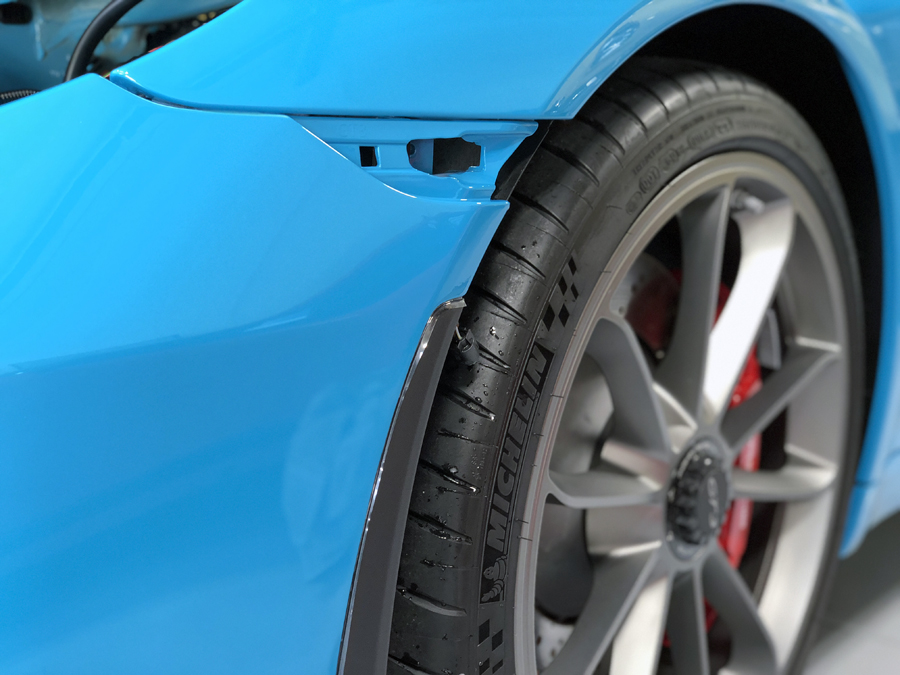
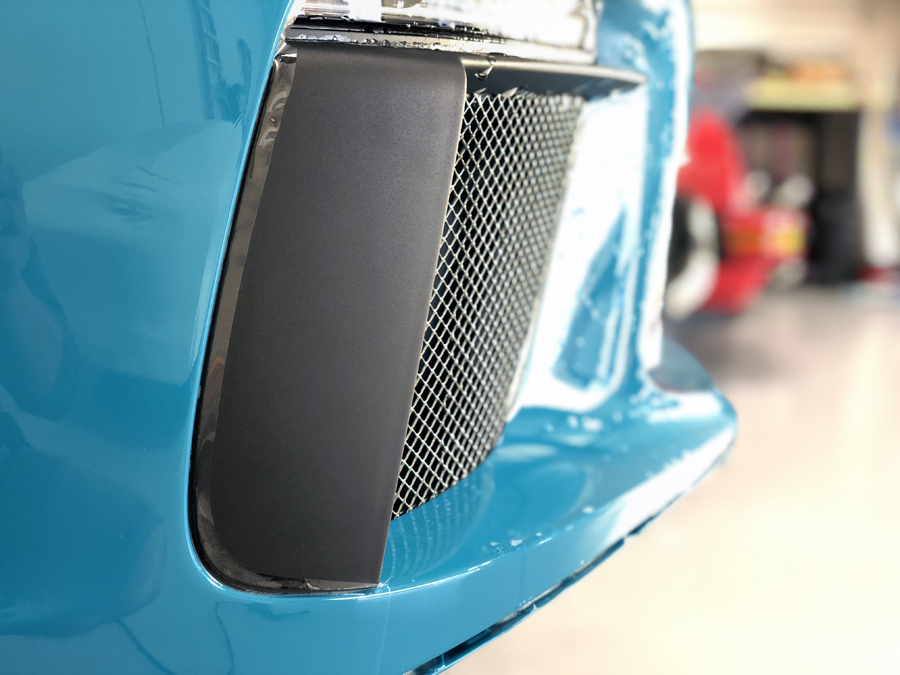
Corners wrapped with no visible edge or seam
Nearly entire pattern is extended for maximum coverage. Almost a near-custom installation. Maximum protection and best overall aesthetics

Pre-trim
Post-trim
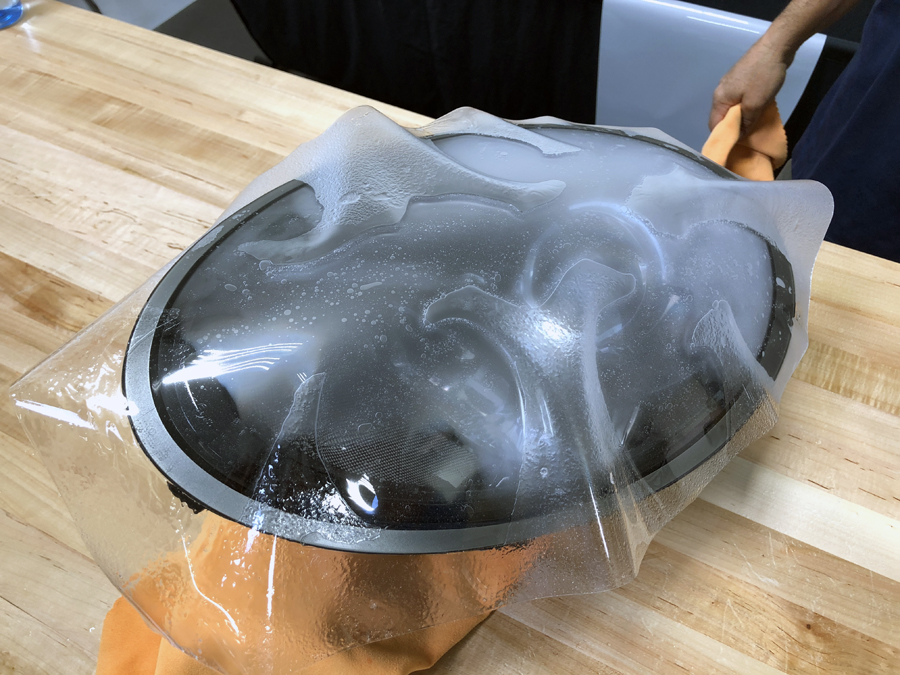
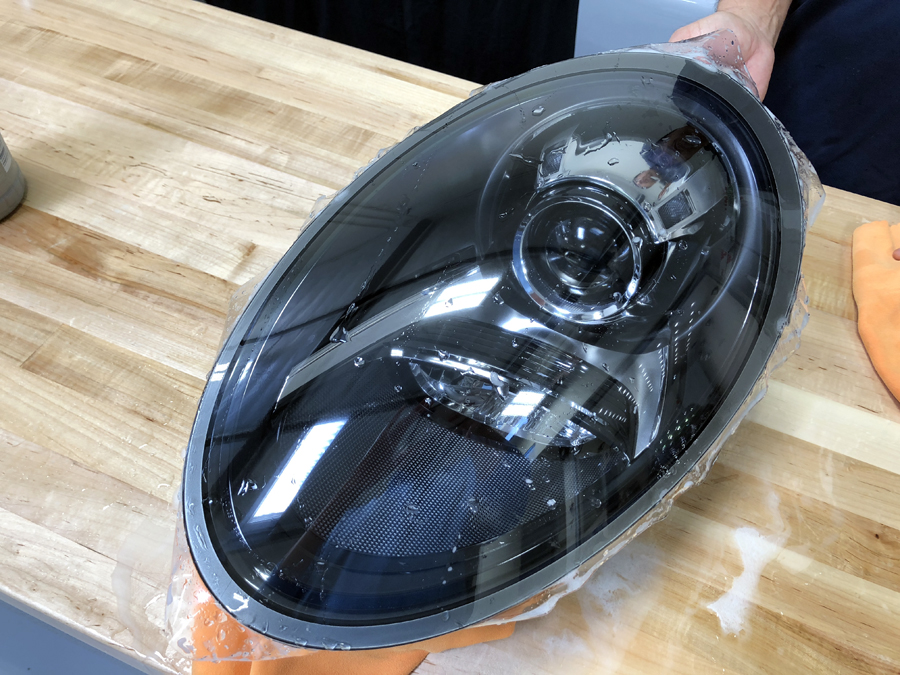
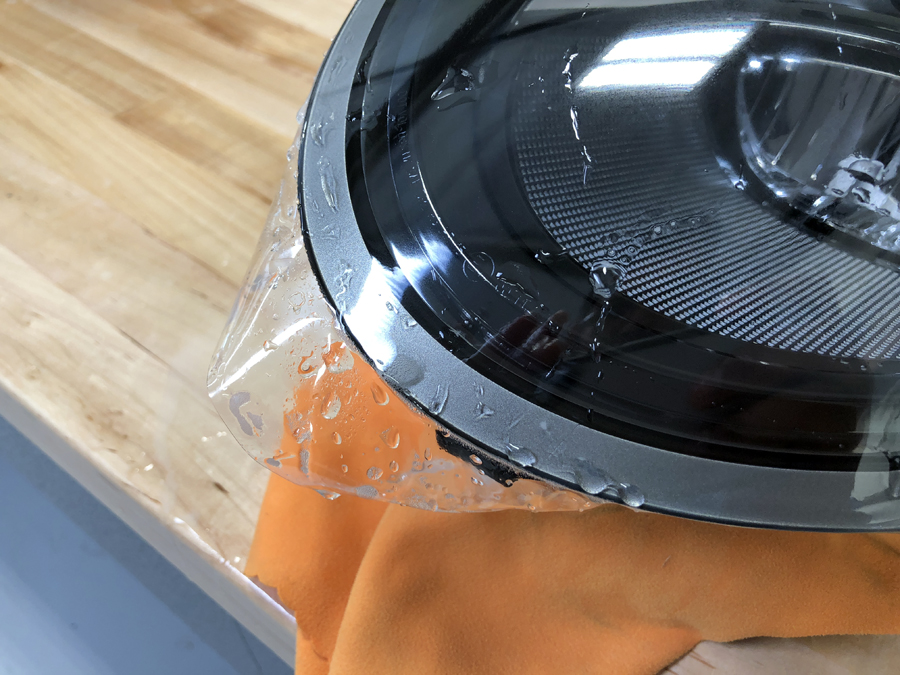
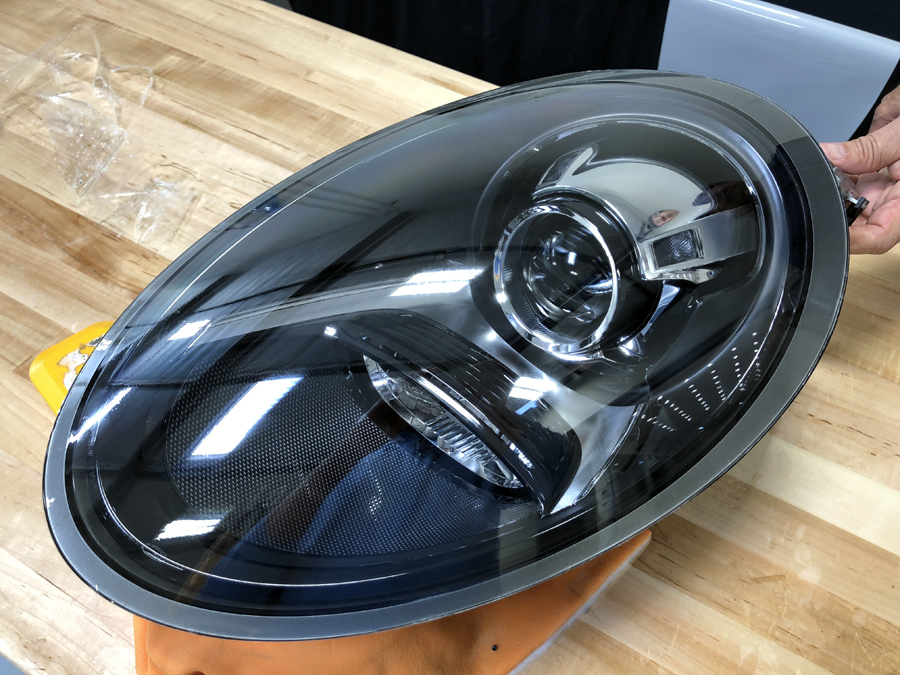
Protecting headlights is a MUST
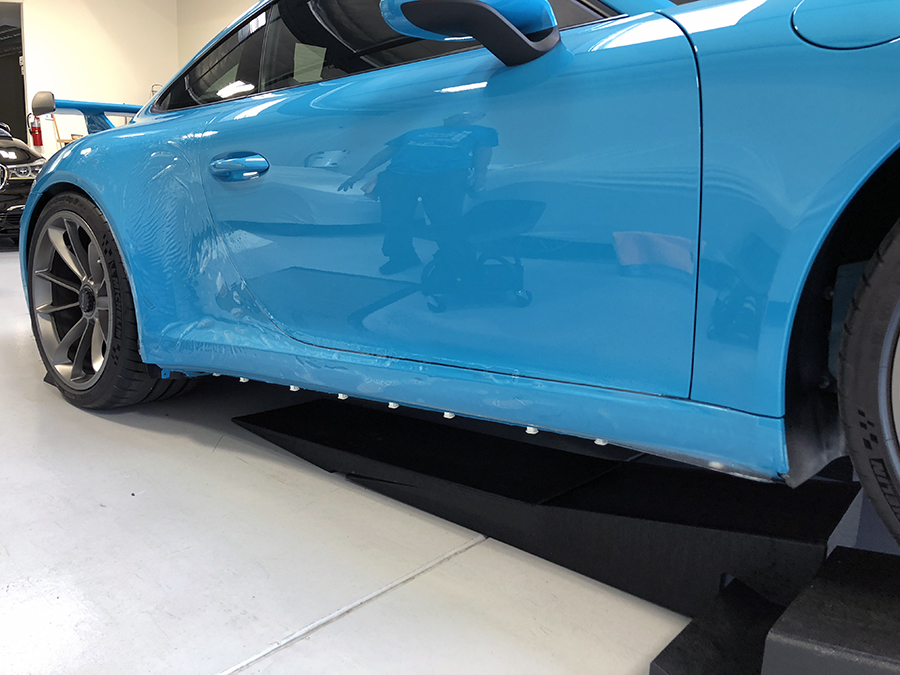
Extended rockers to further protect the rock-chip prone areas. We actually apply two layers of coverage here. Second layer is the disposable one that can be removed down the road while leaving the larger, extended piece in pristine shape
Two layers, one seam
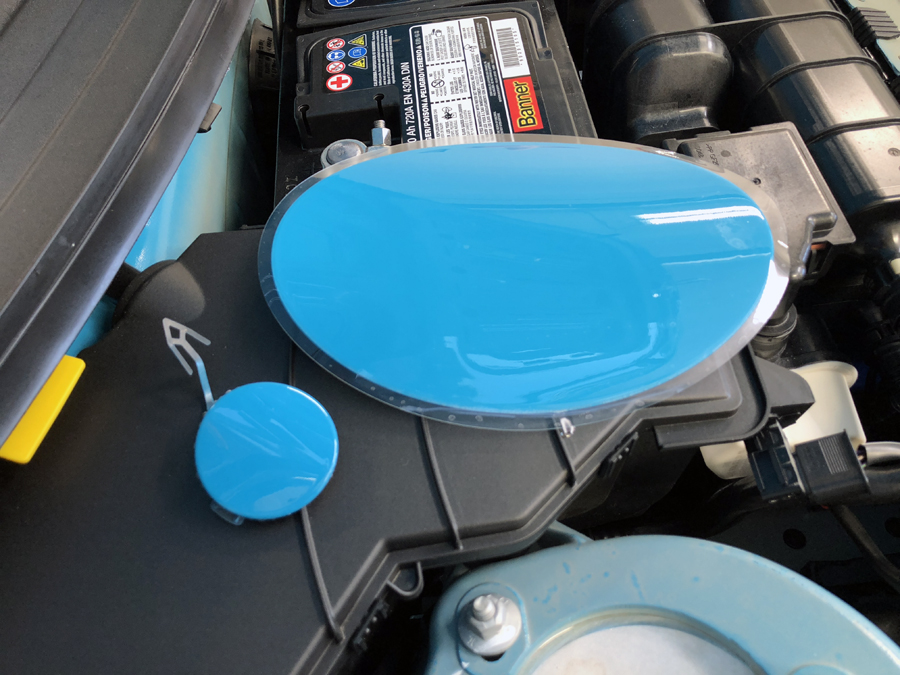
CQuartz Finest Reserve Nano Coating Process


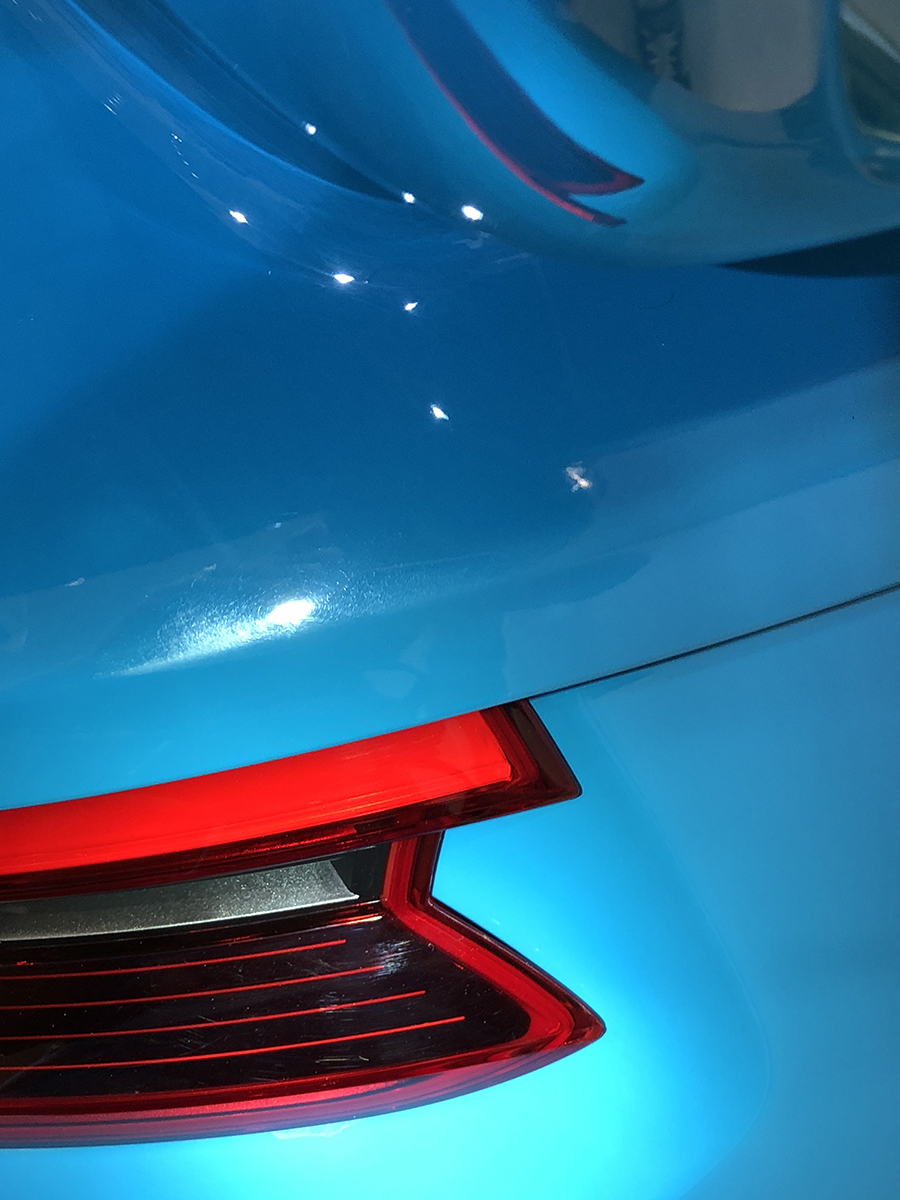
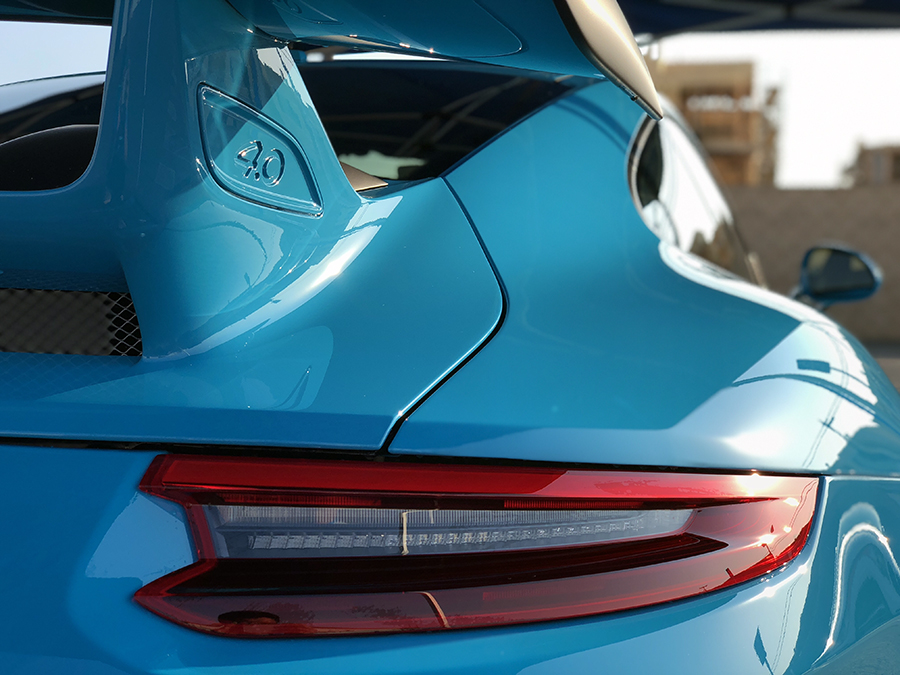
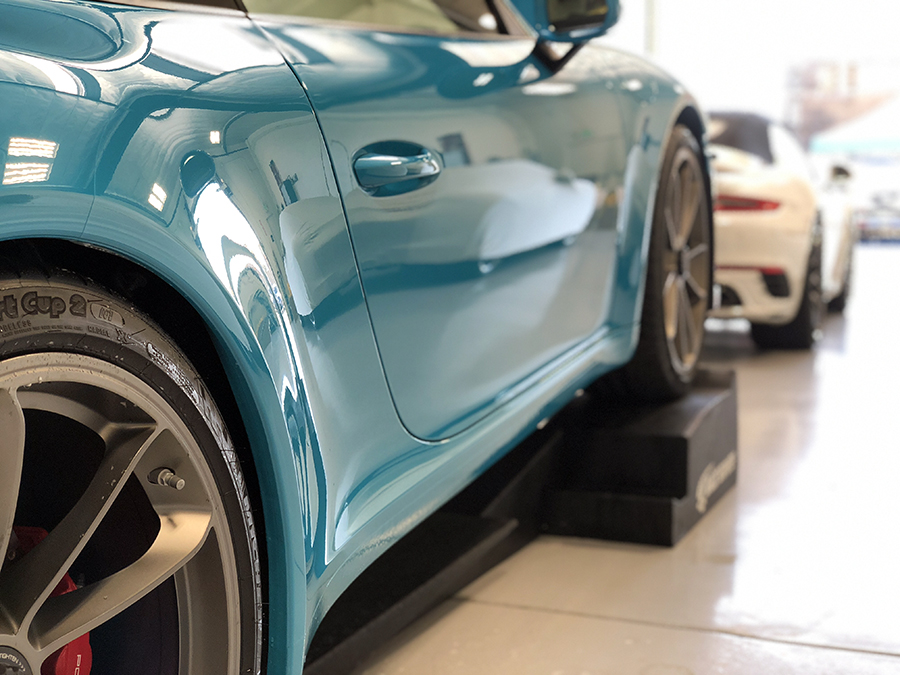
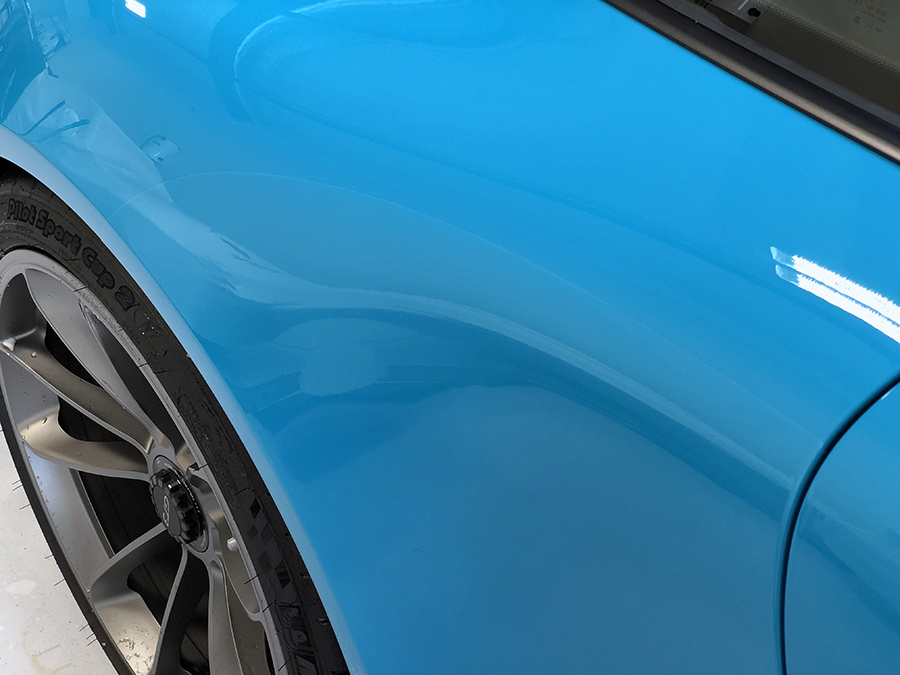
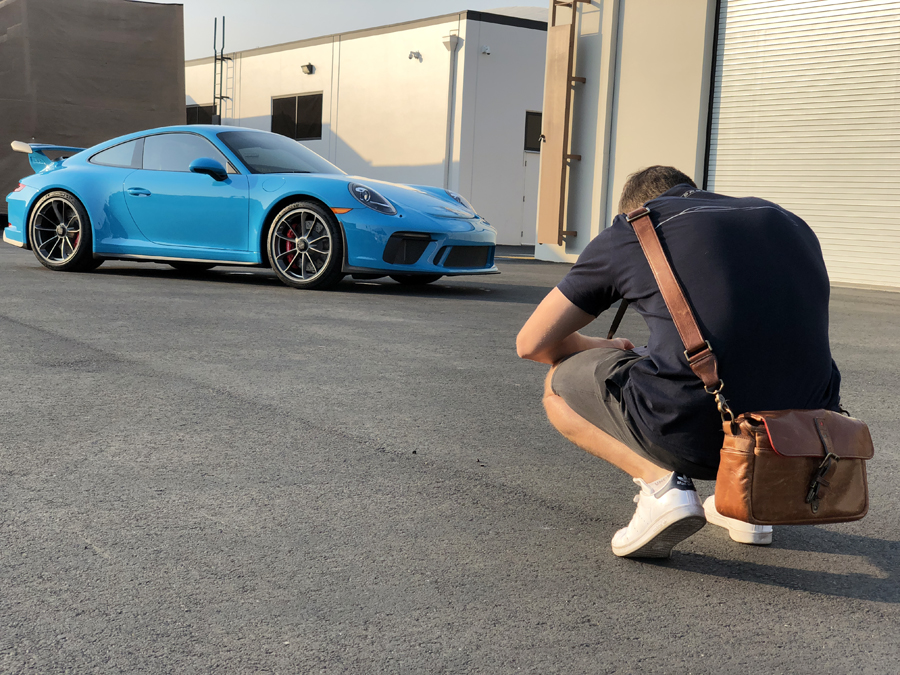
Final Photos
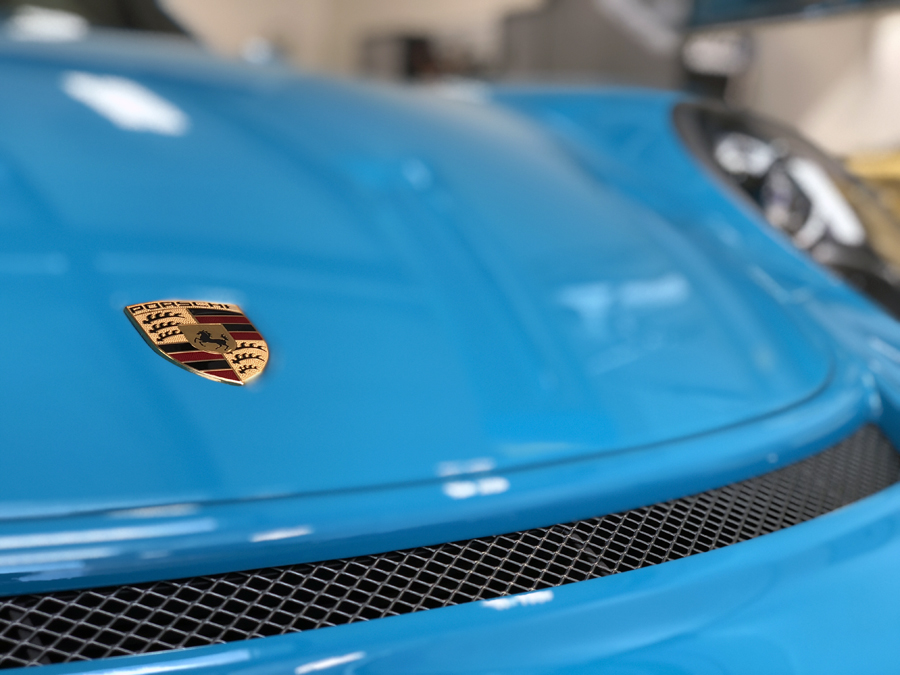
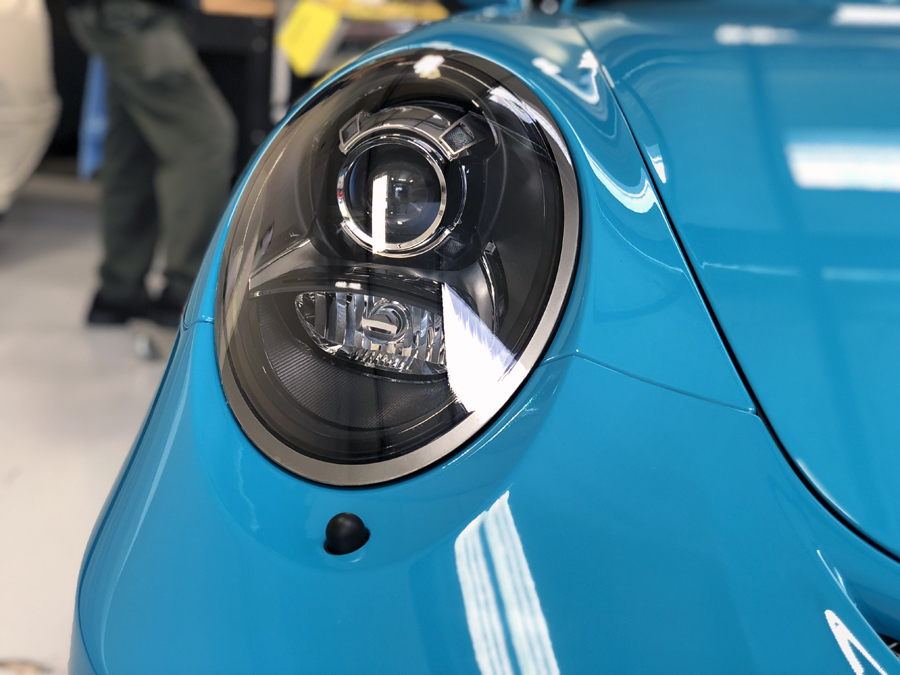
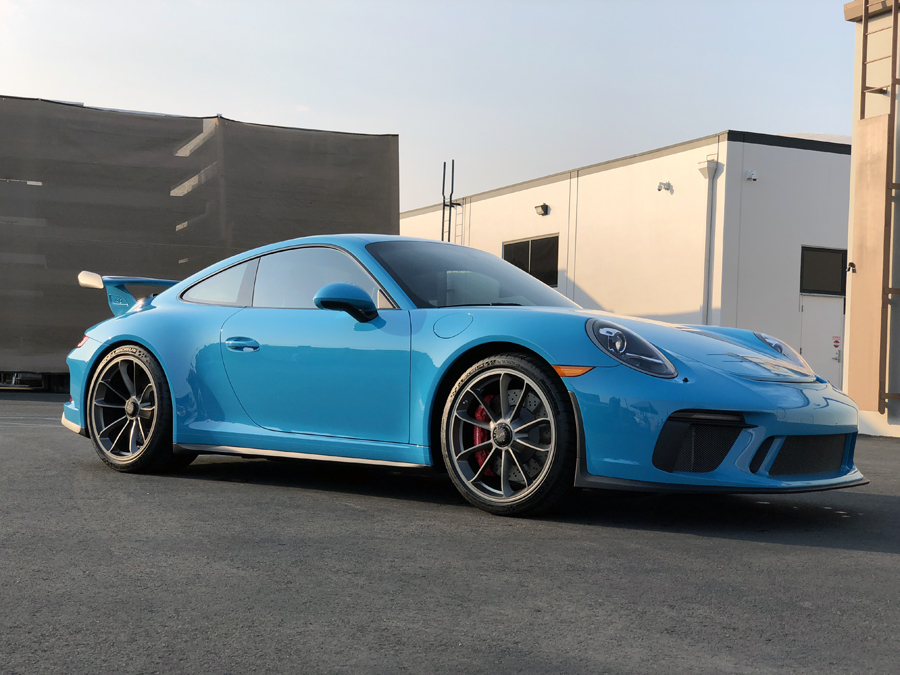
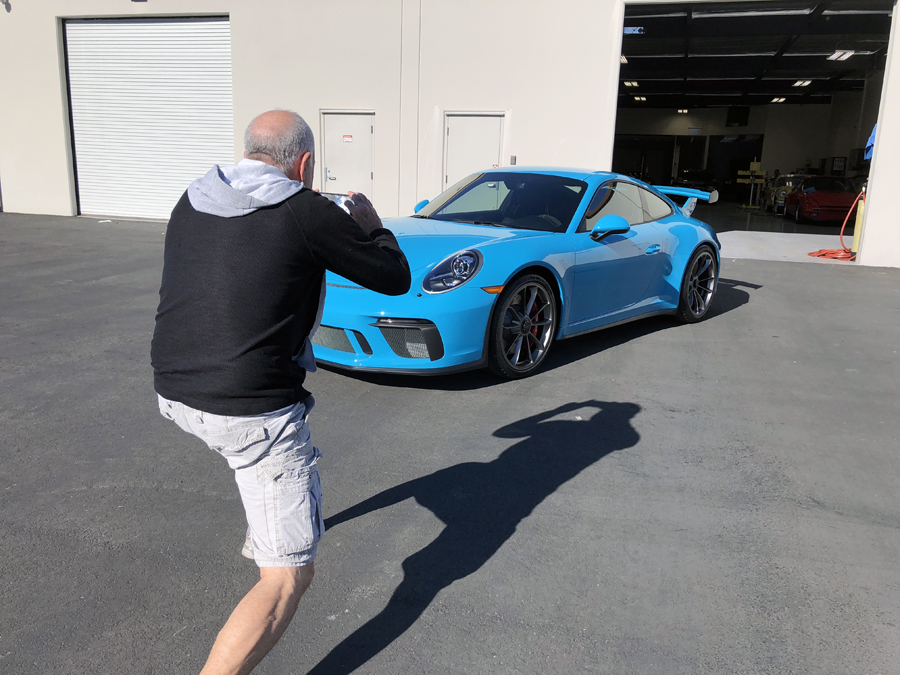
Our amazing professional photographer responsible for these beauty shots below

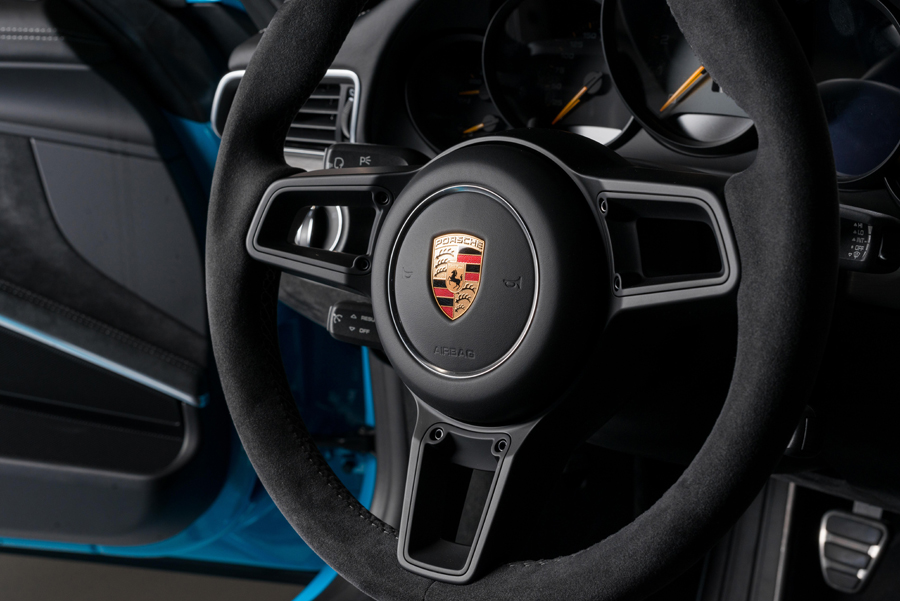

One happy owner
Here's her journey at the asylum.
Paint Correction Process
She arrived safe and sound and after a proper wash and decontamination, she was in our polishing room where the usual factory imperfections were revealed
Factory sand marks removal process
Once paint correction is complete, vehicle gets a VERY thorough wash to remove all polishing dust in preparation for clear bra installation
Clear bra installation Process
Tow hook cut-out is NOT pre-cut. We want to hand-trim this area for a precise fit and finish
Bottom spoiler lip removed for seamless edge wrap. The more edges that are wrapped inside seams, the more coverage and it also protects for more time since no exposed edges get dirt in them
Bumper near completion. Edges wrapped, ready to be hand-trimmed for a tailored and finished look
Only pre-cut area of bumper left behind since the software allows for precise round cut-out. It's up to the installer to now install correctly and symmetrically
Corners wrapped with no visible edge or seam
Nearly entire pattern is extended for maximum coverage. Almost a near-custom installation. Maximum protection and best overall aesthetics
Pre-trim
Post-trim
Protecting headlights is a MUST
Extended rockers to further protect the rock-chip prone areas. We actually apply two layers of coverage here. Second layer is the disposable one that can be removed down the road while leaving the larger, extended piece in pristine shape
Two layers, one seam
CQuartz Finest Reserve Nano Coating Process
Final Photos
Our amazing professional photographer responsible for these beauty shots below
One happy owner

Registered User
Joined: Jan 2004
Posts: 1,901
From: 916
Rep Power: 151


something about looking at these type install pictures never get old. All the time and effort into getting things right makes the world of difference.
Have you giys ever ever had issues with wrapping the headlights? Read several times that some MY have issues with the factory headlight film delaminating with protection film.
Last edited by C4SxM5; Mar 11, 2018 at 12:20 PM.


Appreciate you guys checking it out

Registered User

Joined: Feb 2012
Posts: 330
Rep Power: 39
something about looking at these type install pictures never get old. All the time and effort into getting things right makes the world of difference.
Have you giys ever ever had issues with wrapping the headlights? Read several times that some MY have issues with the factory headlight film delaminating with protection film.

Thread
Thread Starter
Forum
Replies
Last Post
MoeMistry
991
3
Dec 14, 2017 12:38 PM
MoeMistry
SoCal
1
Dec 11, 2017 07:30 AM
MoeMistry
Detailing
2
Mar 22, 2014 01:13 AM
MoeMistry
GT3/GT2
9
Jan 5, 2014 10:48 AM