When you click on links to various merchants on this site and make a purchase, this can result in this site earning a commission. Affiliate programs and affiliations include, but are not limited to, the eBay Partner Network.
Hopefully when it gets replaced they can use a type of glue that holds up better in your high heat/humidity environment than the OEM product. Is your liner material Alcantara (micro suede)?
So I loaded the headliner on my van today and went to the upholstery shop. They said they will replace the disintegrating thin foam in between the fabric and the hard board with a thin rubberlike sheet. In that case, it will last longer, withstand humidity, heat and they can easily glue on the original fabric to it. yes, they will use the original cloth but not before washing it. They said they will finish it in 4 days (May 31). It will cost me US$144.00 Shouldn't that deserve 3 smilies? Will post the pictures once I get it. Will post the step by step I promised as well.
Hopefully when it gets replaced they can use a type of glue that holds up better in your high heat/humidity environment than the OEM product. Is your liner material Alcantara (micro suede)?
Yes, hopefully the upholstery shop will do a better job than OEM. My headliner is not Alcantara, it's just cloth. Shop said they will wash it first before they glue it unto a rubberlike mat then gluing it again to the hard headliner frame. Will post pix once I get the finished product in 3 days time.
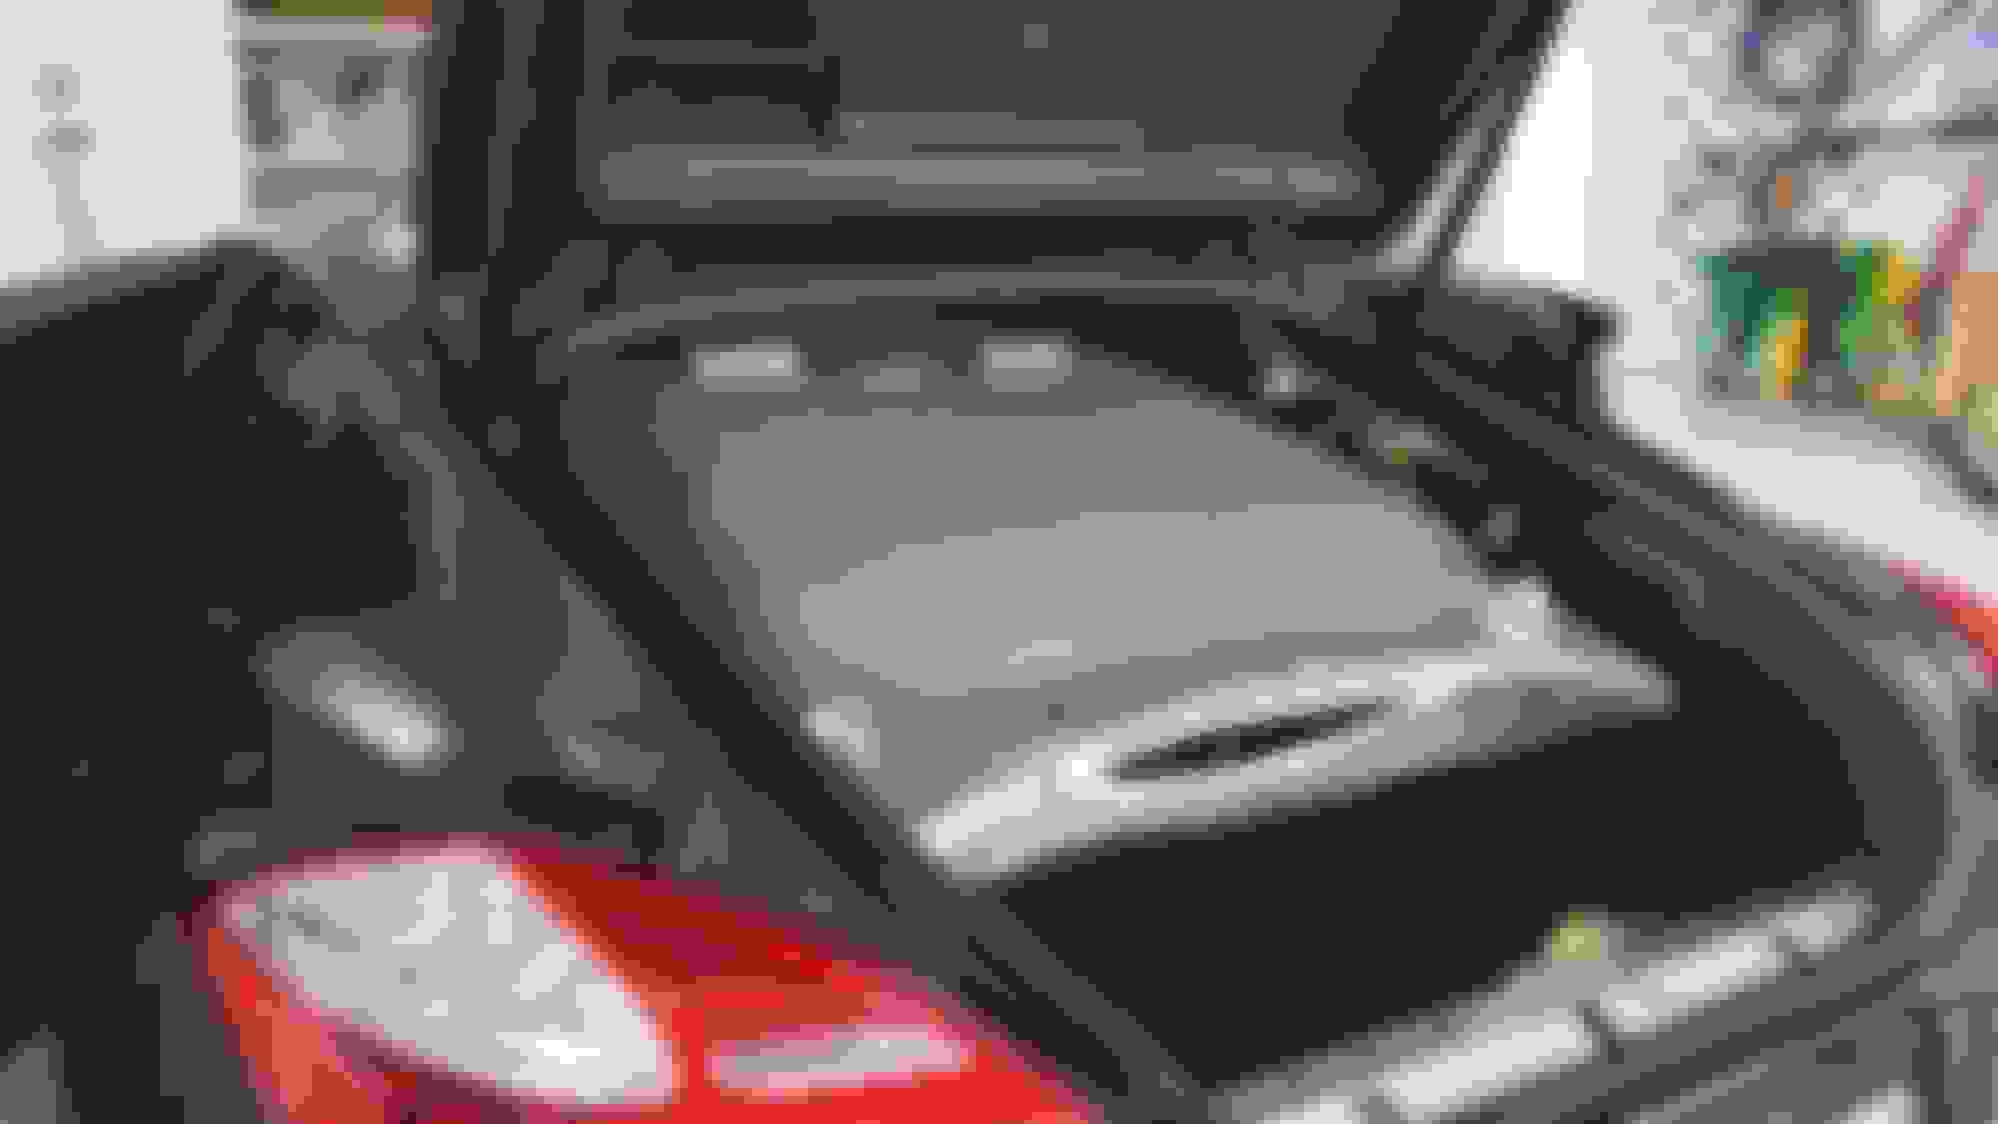
So here's the complete DIY Steps to take out the Panamera Headliner. This is a long process (1 day take down, 5 days for re-upholstering service and 1 day re-installation). So, don't do it if you don't have the patience.
You'll need a Torx bit set (esp 25 and 27) and plastic trim removal tools.
1. Remove center front domelight, sunvisors L&R, center domelight, L&R rear reading dome lights and 4 roof handles. DIY video on how to do this is same as a Cayenne, heres the YT link...
2. Remove all pillar trims: 2 front pillar trims L&R, center pillar trims L&R and rear L&R. Here's a website on how to remove and re-install these trims...
3. Remove the rear electronic sunvisor shade mechanism at the back. There are 2 red buttons one on each side. Push these and pull one side out before the other one. Place this in a secure place. This is the last part you will re-install.
4. There are 2 stubs L&R on the front part of the headliner next to the sunvisors that need to be pulled out carefully. Carefully, pull these out before moving the headliner.
5. There are also similar stubs at the backmost part and 3 velcro fasteners/tapes that need to be removed as well.
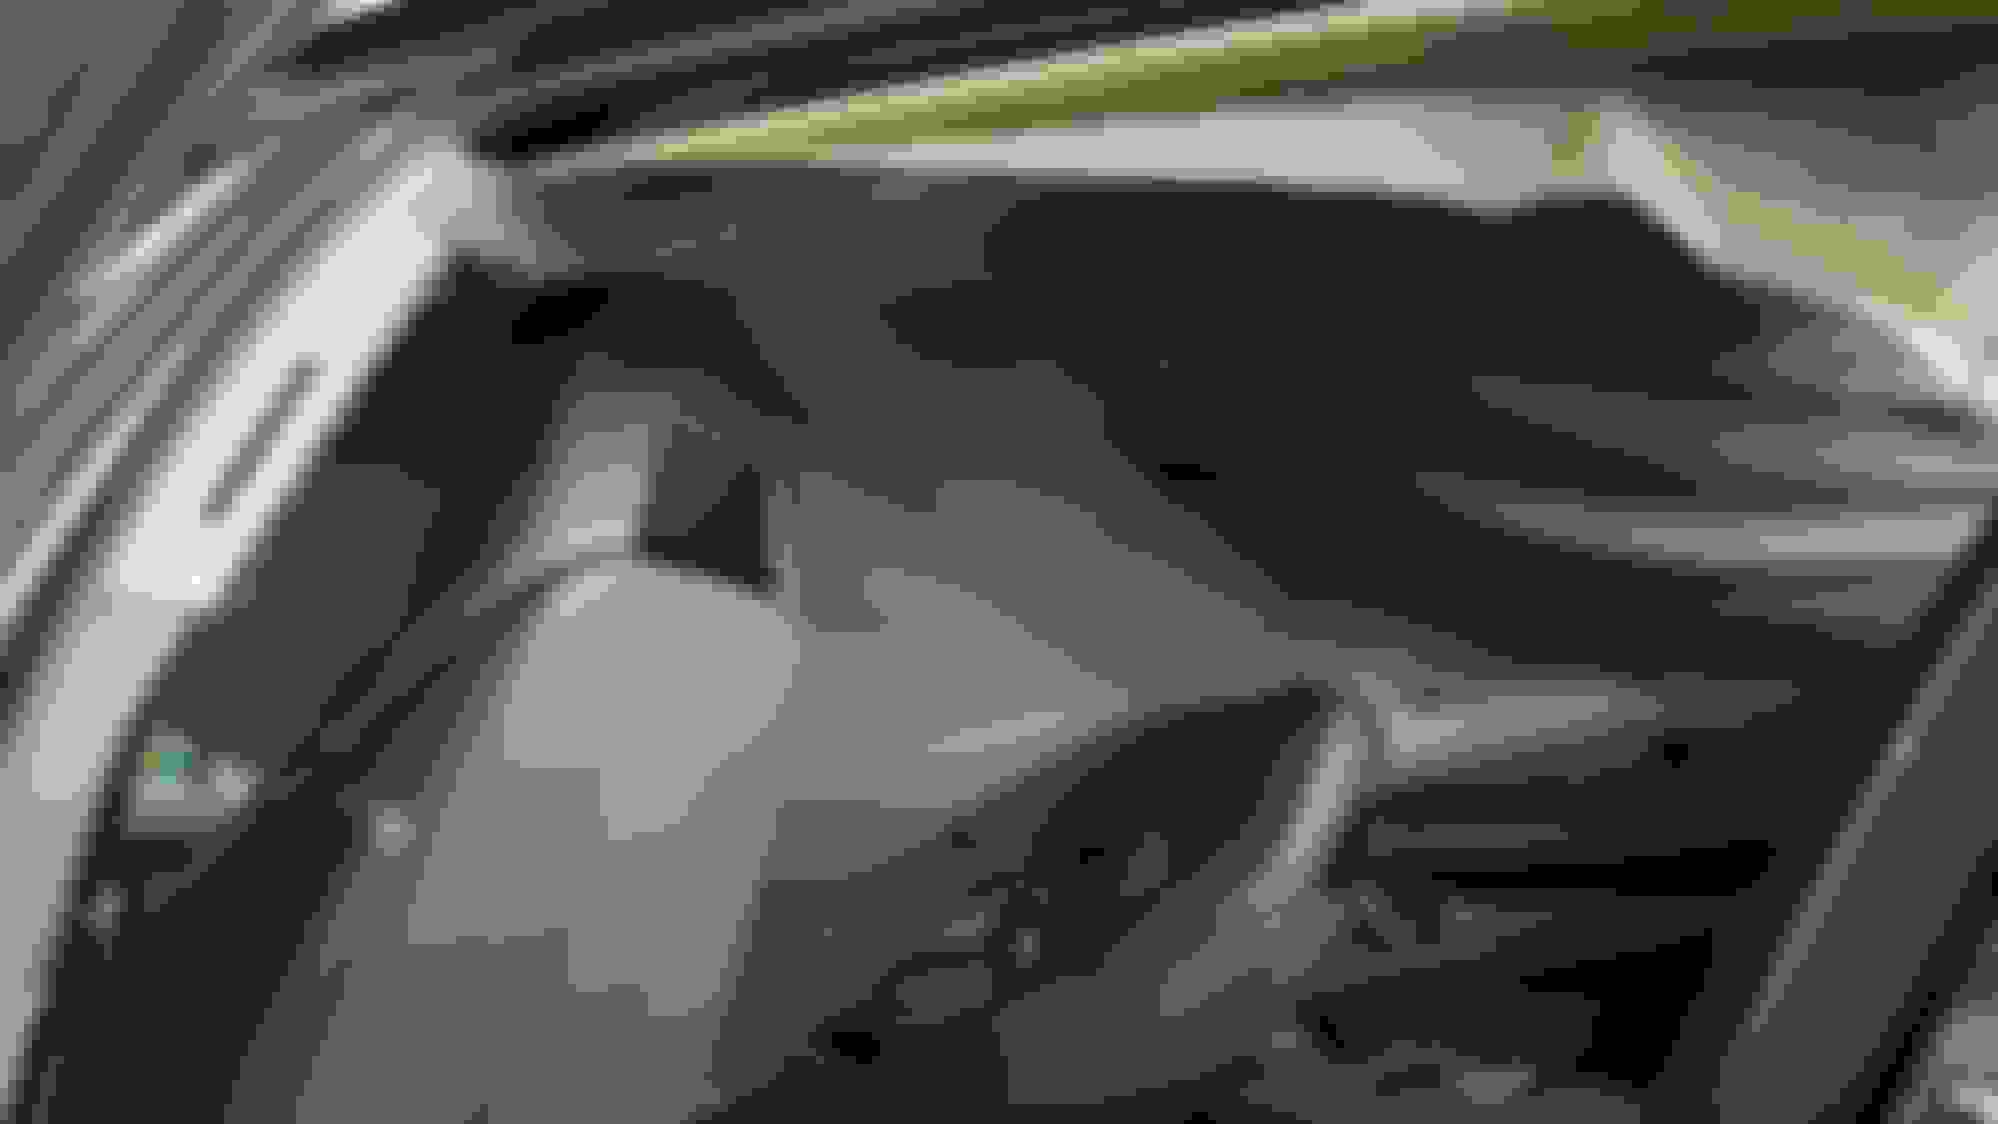
6. You are now ready to pull out the headliner out towards the back. DO THIS VERY SLOWLY. Inch by inch!
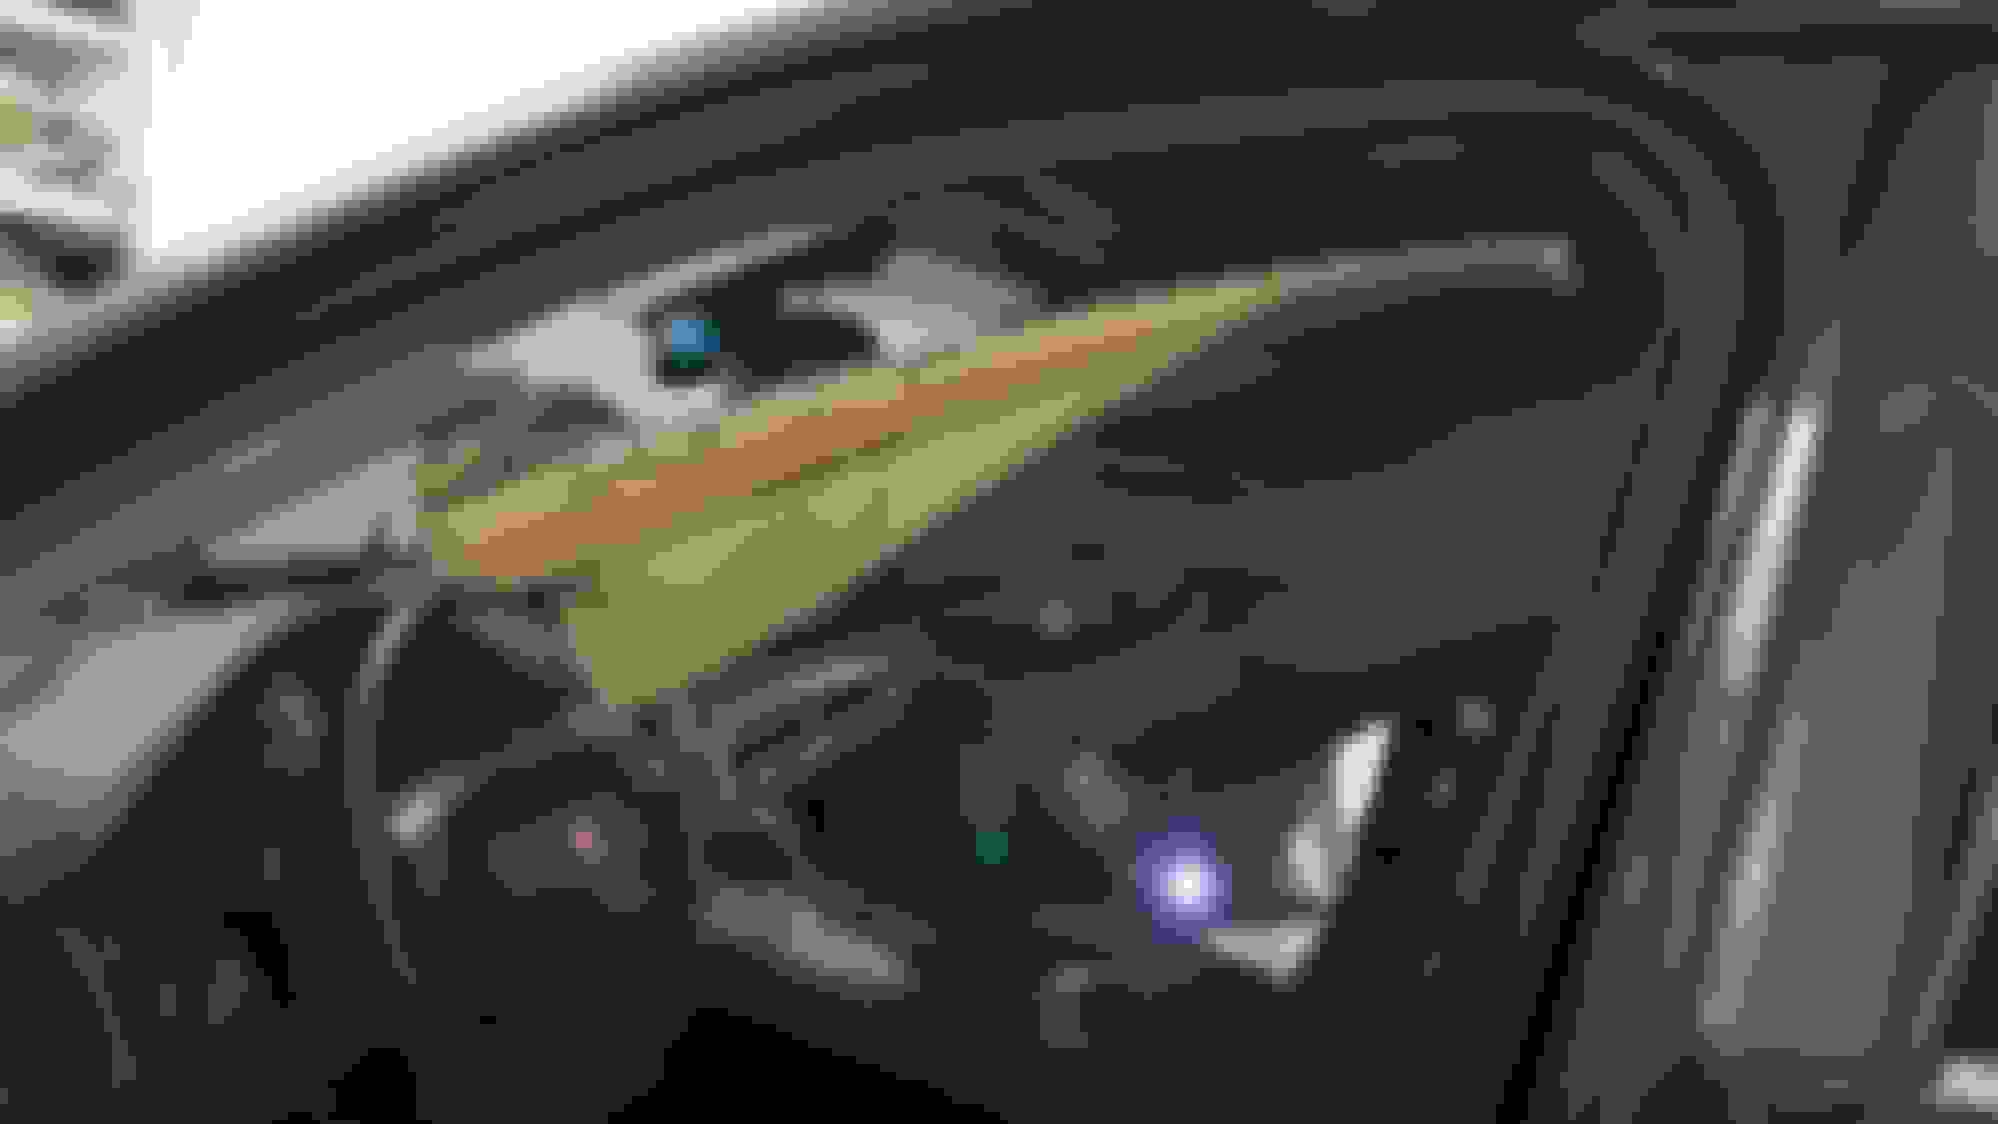
Before you start pulling the headliner out, You need to move the 2 front seats way forward and recline them around 45° angle. You will need to fold the rear seats as well.
You need to bend the headliner from center to front part to make it fit through the narrow rear hatch opening. Note that the headliner is wider in the front vs rear part hence the bending/curling.
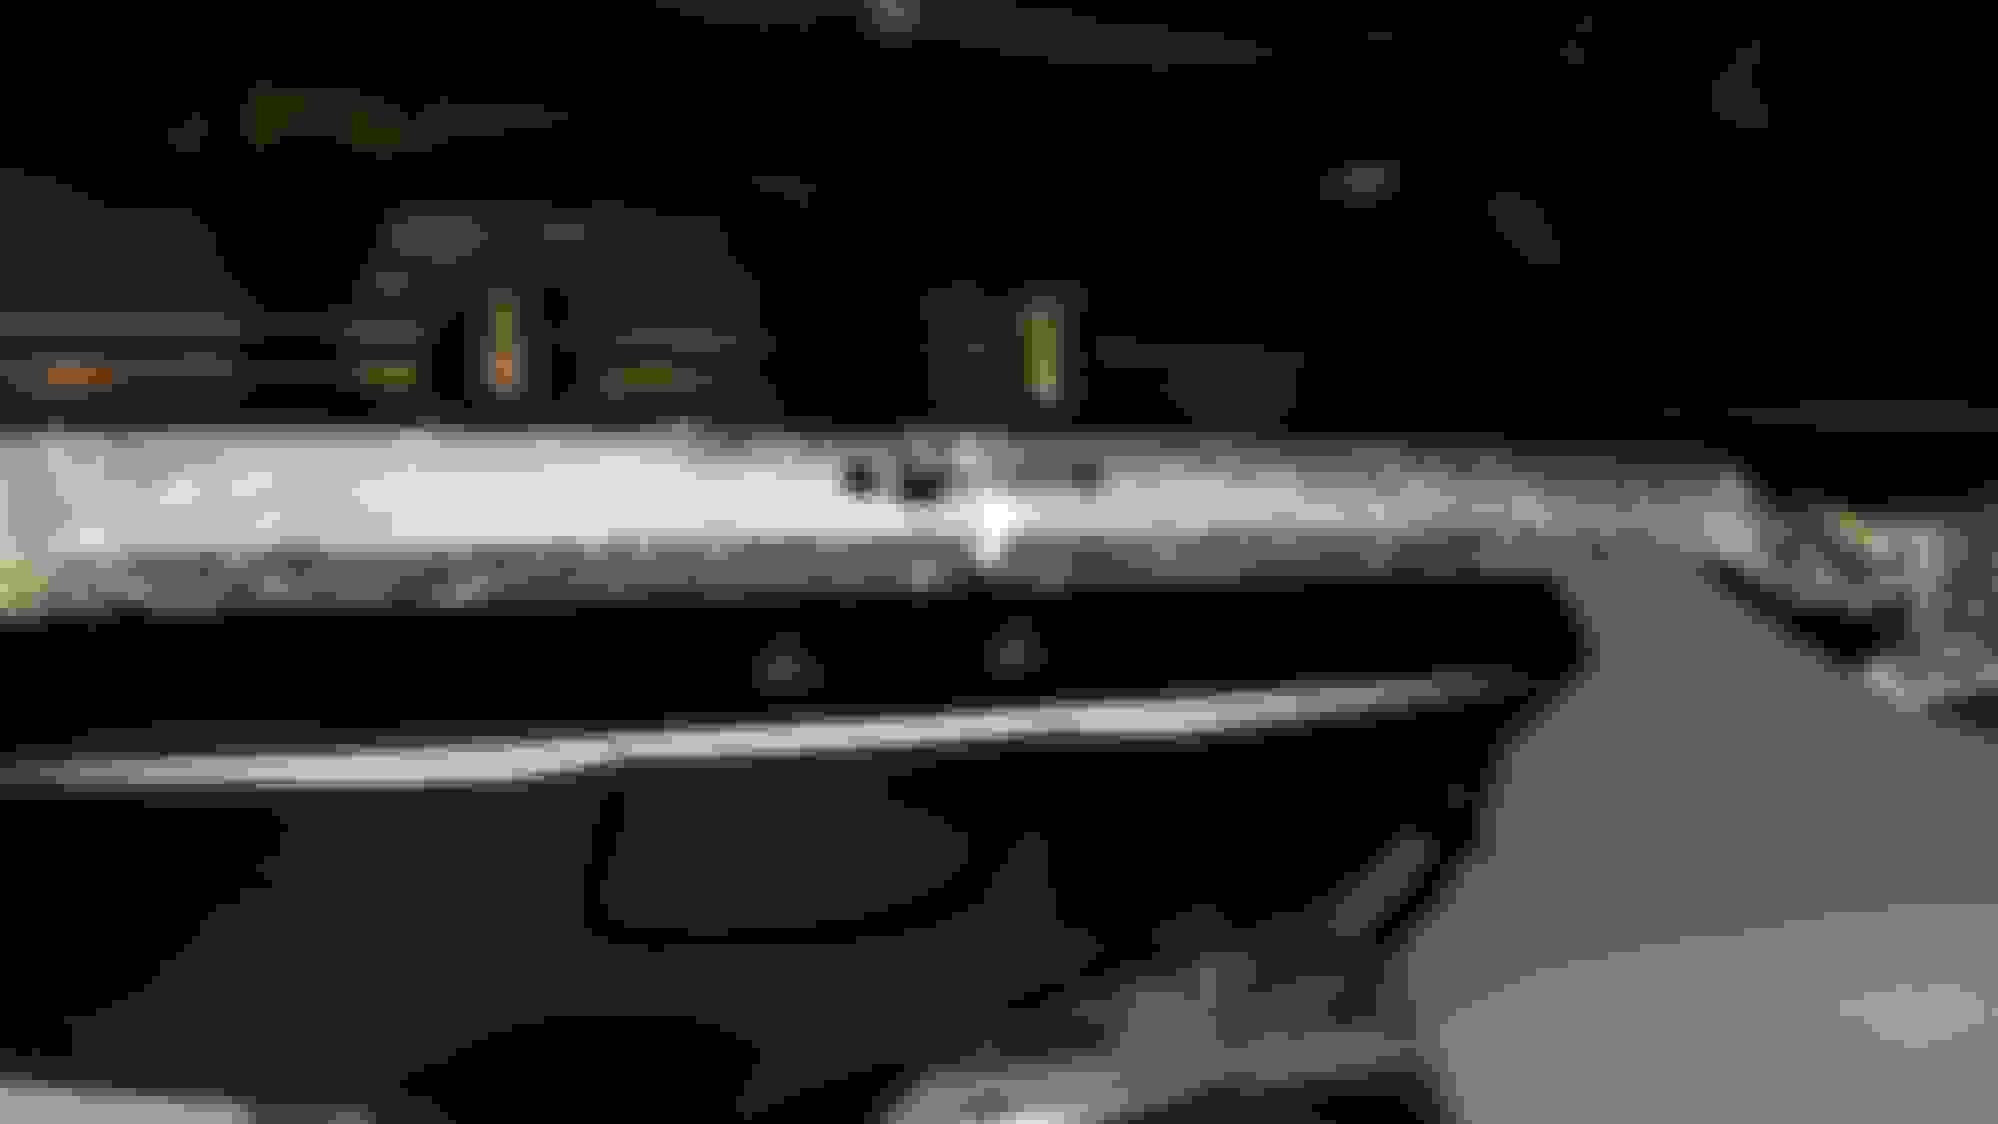
YOU WILL INADVERTENTLY BREAK THE PLASTIC CENTER SUPPORT in the front domelight silo. This is inevitable because you're gonna bend the whole thing while you ease it out through the rear. You can however repair this when you reinstall. This is what I did...
So here goes...
Now secure the wiring harness connectors with tape so that they don't dongle around and risk breaking them while the headliner is being re-upholstered.
There are also pieces of foam blocks glued to the headliner frame. If accidentally some gets unglued, mark them with a sharpee where they are located, remove them completely and re-glue them back when you reinstall. USE A GLUE GUN. Other advesives will melt the foam. You are doing this so that they won't get lost in the upholstery shop.
Take the headliner to your choice of upholstery shop. Make sure they know what they're doing.
TIPS:
1. Tell them to re-use the original fabric (if you want an original look).
2. They need to wash the cloth before they gluenit back on.
3. Ask if they can replace the thin foam in between the fabric and the headliner frame with thin rubber instead of using foam again. Rubber will last longer.
To reinstall the headliner, do everything in reverse order. Please note that this will be easier if there are 3 of you (I was alone and was able to do it in 6 hours): one in the rear pushing the headliner inwards and the 2 other guys positioned on the left and right door making sure the headliner goes in smoothly by gently and carefully bending/curling it.
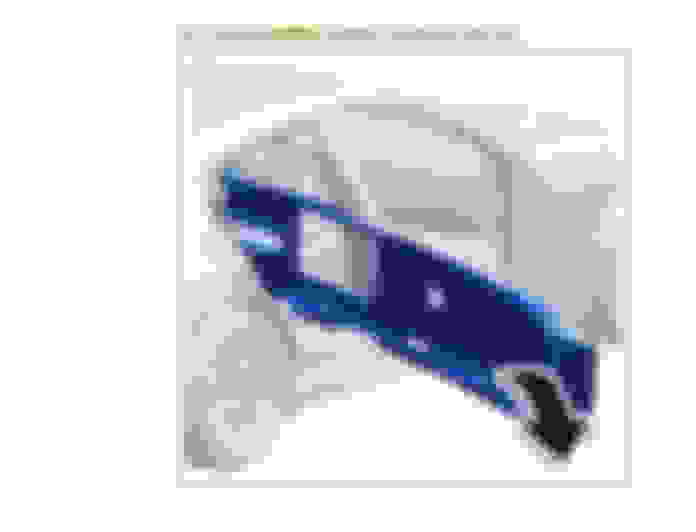
Why not do it the Porsche way? It doesn't look easy but you don't have to fold the headliner to the point of breaking the braces. The biggest PITA would be jacking up the vehicle a foot or so in order to wiggle the headliner out of the door. By the way, this kind of information can save you a lot of heartburn. I bought a CD from Rock Auto for a few bucks.
Thanks for that idea Mozella! Hmmm...not sure if that will work without taking out one of the front seats though. Because if you just recline the right front seat all the way...it will still block the passage way out the right rear door. But it's a good idea of course. Considering it's what Porsche recommends, I'm sure they know best. Whatever works right? Thanks!