When you click on links to various merchants on this site and make a purchase, this can result in this site earning a commission. Affiliate programs and affiliations include, but are not limited to, the eBay Partner Network.
I recently purchased an OEM/factory set of black headlamp assemblies from another member, and below are the steps I followed to install. Some steps of this procedure are super-simple and probably everyone knows how to do.
But for those who find themselves needing to change a light-bulb, or replace a cracked headlamp, the procedures I detail below just might be useful!
Primary goal of this DIY is to replace my factory, OEM 991 headlamp assemblies with the upgrade Black headlamp assemblies. To some, the difference may be subtle, but I was desiring adding some more contrasting black bits to my GT Silver C4S almost from the start. I've modified the mirrors to flat black, wrapped the roof in matte black, 'dipped the rear badging in flat black, and plan on changing the wheels to matte black in the near future.
For the most part this is a plug-and-play type upgrade, and if everything is properly sourced you should be able to complete the change in 25 minutes or maybe even much less. My own experience detailed below is that it took me longer, about 45 minutes, since I had to swap the primary bulb, ballast, etc. before installing the black housings.
Tools Required:
Phillips Screwdriver
T-25 Driver / bit
Headlamp Release Tool from factory toolkit
NOTE: Since you are dealing with some electrical/electronics, please be careful and make sure that you ground yourself properly -- you could easily create a static electric issue if you are not careful, and zap one of the components (not that I believe this would be an issue as long as you don't open the metal boxes, you can never be too confident....).
NOTE: In my case I had to remove the primary bulb from my stock headlamps and move over to the upgrade housings -- you do NOT want to touch the bulb glass in any way, unless you have clean, cotton gloves on - and even then I would recommend you don't touch the glass. There isn't any reason to, but don't be too clumsy!
Let's get started!
First, remove the stock headlamp assembly. Get the tool from the toolbox, insert into the guide hole, turn until you see the headlamp assembly begin to move forward, out of the fender.
Once you have the unit released, be VERY careful how you pull the assembly towards you, as you don't want to scratch the lip in the fender around the hole! To clear the lip you should partially rotate the entire assembly so that the metal boxes mounted to the assembly don't hit anything on the way out.
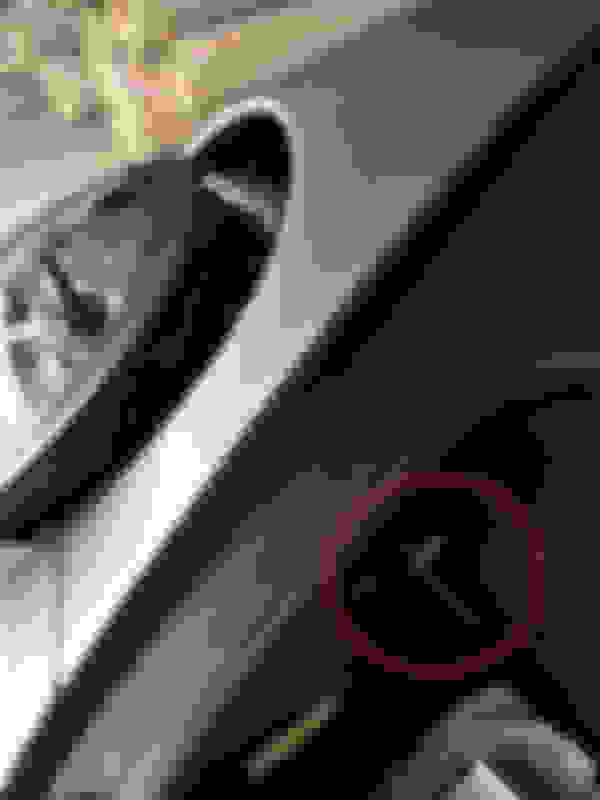
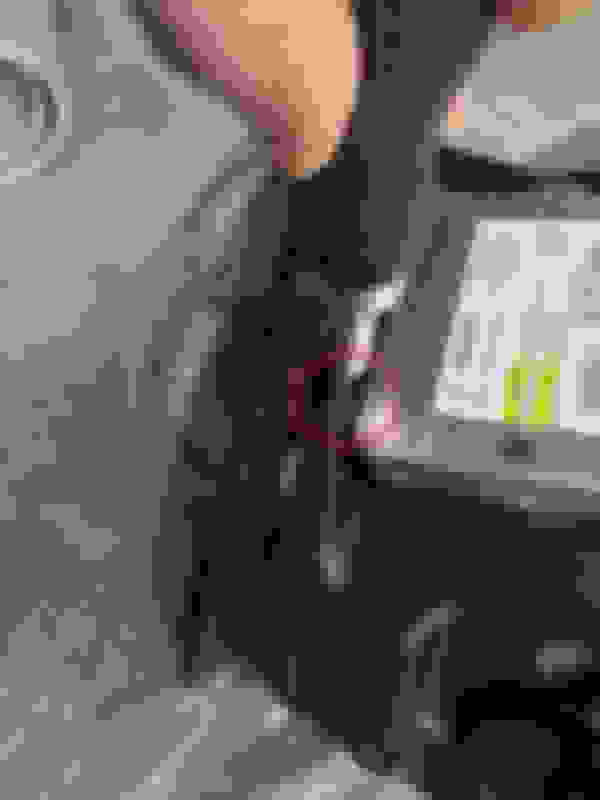
In this pic note the metal box that will hit the bodywork if you are not careful....
Also, if you have never handled one of these big light assemblies, be warned that you need to have a good grip -- they are big, weird-shaped, clunky, not balanced at all, and you can easily mishandle and drop one.... If you do, and crack it -- well, I have an extra one to sell you!!! LOL
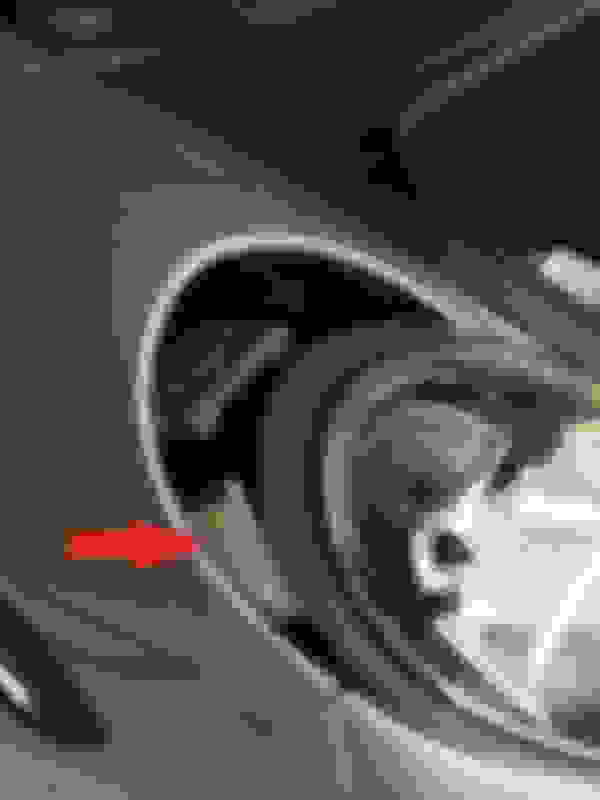
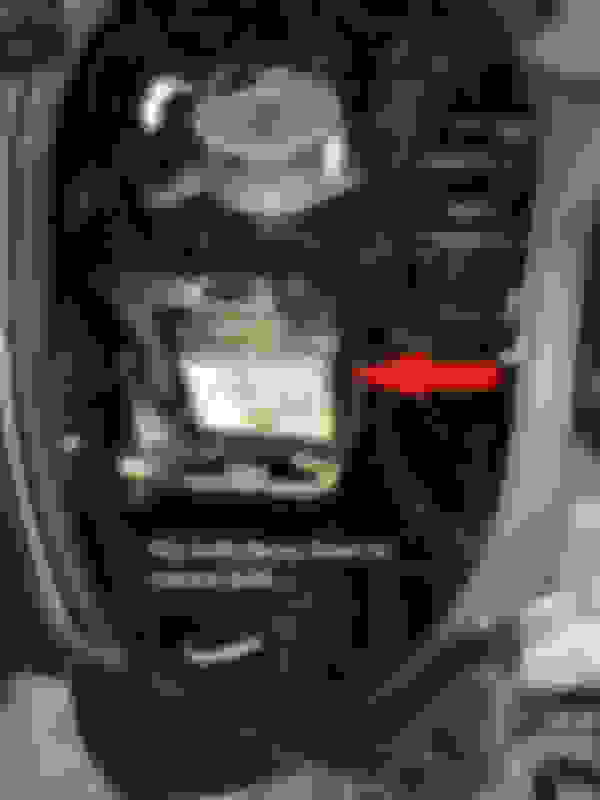
Before you can pull the assembly completely away from opening, you will need to release the wiring harness - just push the connector retention tab (indicated in the following pic) out a bit and the connector should easily come off. Sorry this came out blurry....
Once you have the stock unit free, make sure to put it down on the ground on top of something soft and non-scratching - microfiber, or in my case, a bunch of bubble-wrapping. Now we can take a look at the stock and upgraded black lights side-by-side!
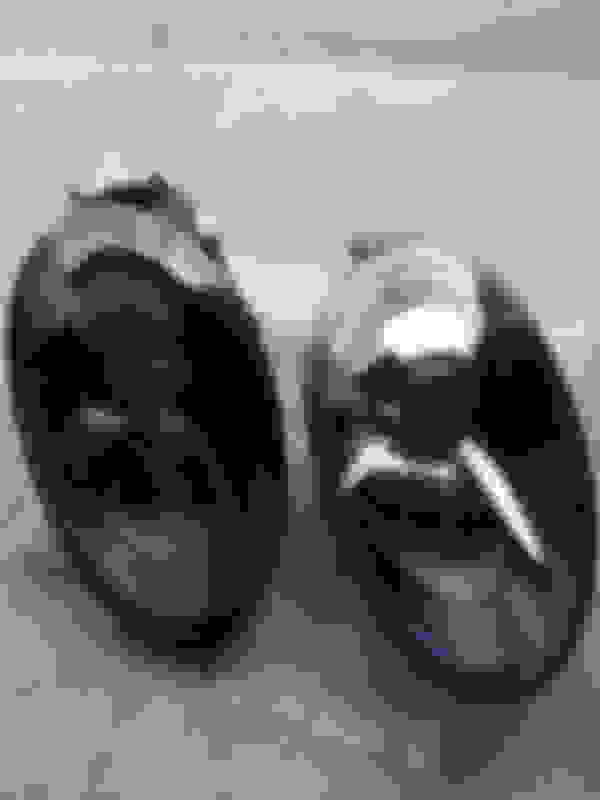
Here is a pic comparing the two housings: Stock PDLS bi-Xenon on the left, upgraded black PDLS bi-Xenon housing on the right. At quick glance, many won't immediately see much difference - just most of the chrome bits inside the glass are black. As I'll point out later, the change is subtle in these pics, but much more noticeable as the lighting conditions change....
In the next pic (Stock on Left, Black upgrade on Right), you can see that the black housings I received do NOT include the controller w/directional beam (part # 99161832117 same for both Right and Left assemblies) or the control module (part # 99161832303 both R/L), or the primary Xenon bulb (part # 99963107090) both R/L I believe). I will have to remove these items from my stock housings and install on the black housings before I can continue.
If you happen to purchase light assemblies that include these items, you can skip to the last few steps.
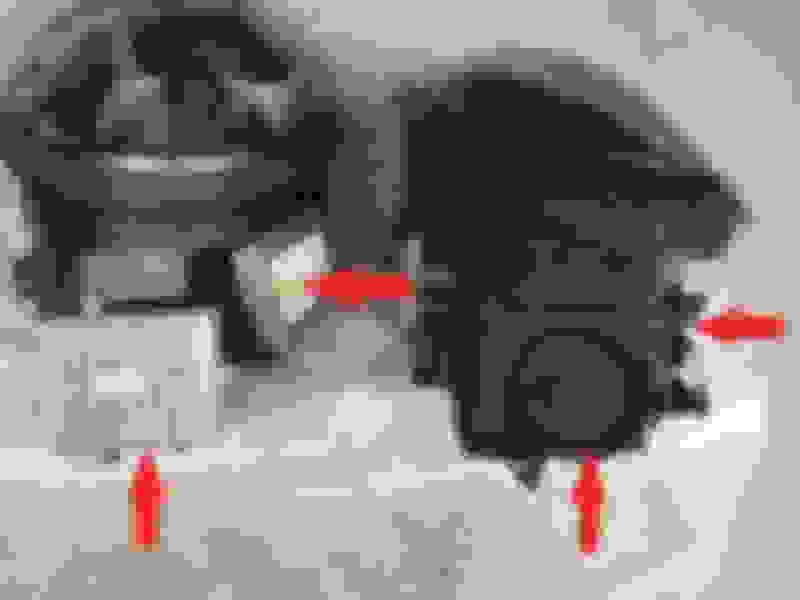
I started with the directional beam controller removal... There are three T-25s that you will need to remove, as shown in pic below.
Again, be CAREFUL how you hold the light assembly, so that the clear lens doesn't get scratched!!!!
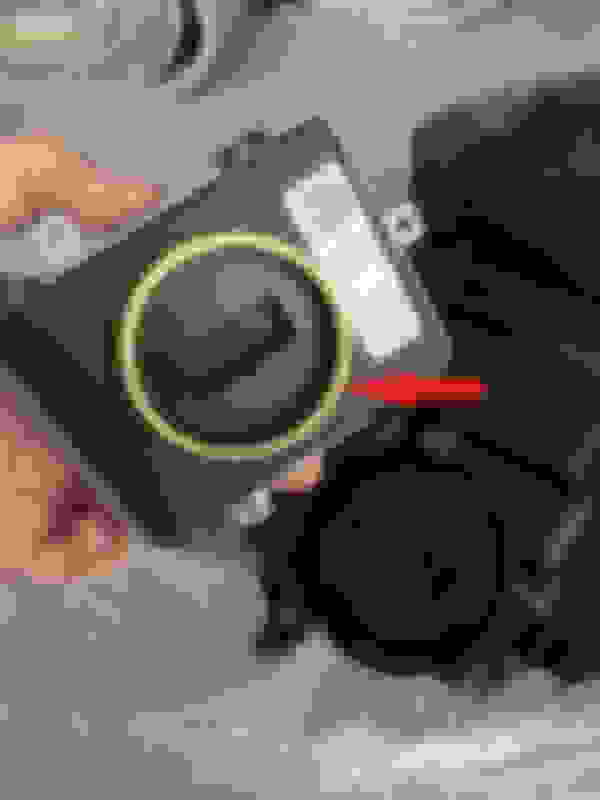
Once you have the 3 screws out, you simply pull the module from the light assembly -- you have to tug a bit, as it is sealed to the black housing with a connector and a rubber gasket (shown below) to make it weather-tight.
Set this aside.
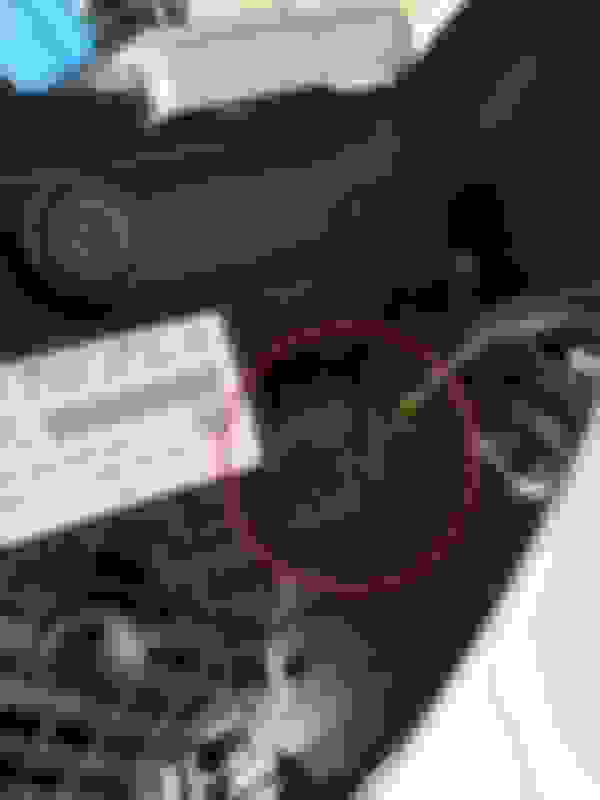
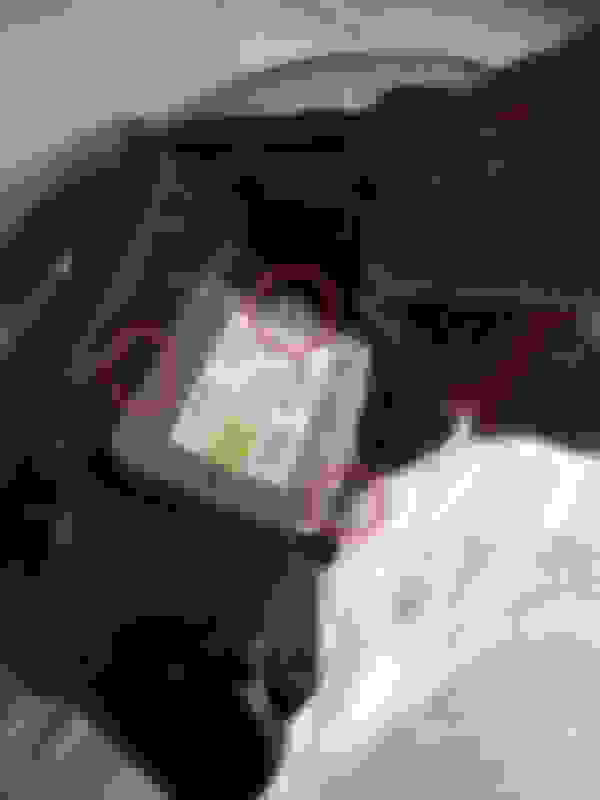
Next, I'll remove the control module. There are three more T-25s to remove. You will see 2 of the screws immediately, but the third is very well hidden from view by the lens sealing gasket rubber... See pic below.
To access the screw you will have to hold the rubber back and get your screwdriver in there and seated. A bit tricky if you are trying to hold the light assembly securely -- so better-off if you have the assembly on a table or something so it won't slip or fall while you get the module screws out!
With the 3 screws removed, you will pull the module away, and immediately should see that there are two wire harnesses connected to the module - a white connector for power and a silver cable connected to the bulb.
The silver cable is to the Xenon bulb. Gently pull that off and then pull the white connector off (there is a small release tab that you need to depress first).
Set the module aside.
Now I need to remove my Xenon bulb and wire from the stock assembly.... Through the opening you just created, you can see where the bulb is located, but you won't be able to remove the bulb from this location.
You have to remove the back of the headlamp assembly to pull the bulb out.
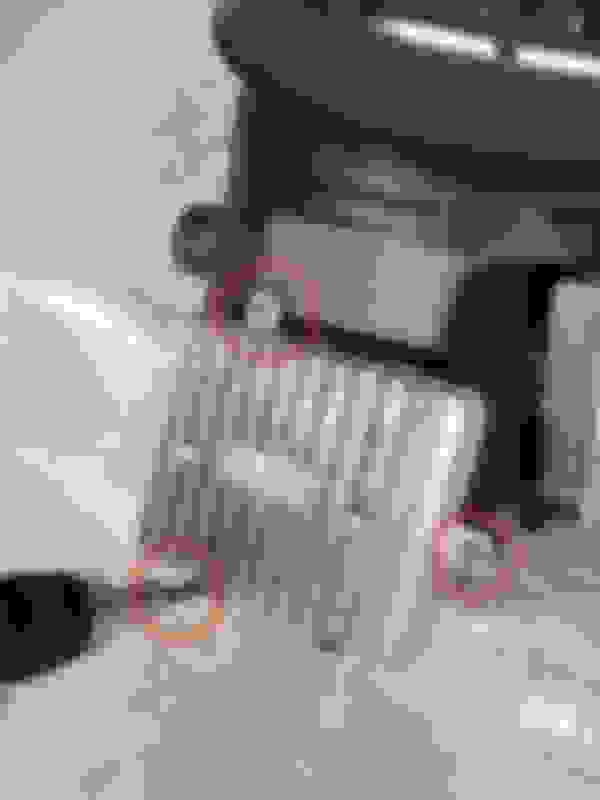
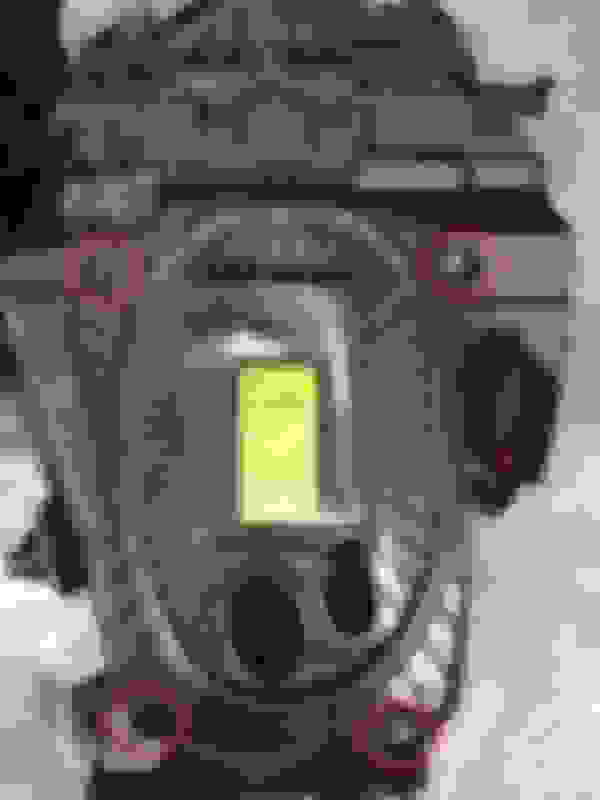
On the back of the stock headlamp assembly, there are 4 phillips screws that you must remove to remove the cover (pic below). You need to remove the black plastic cover so that you can access the bulb housing.
With the cover removed, you will see the bulb housing and clamp that holds it in place as indicated below...
The metal clamp hinges on one edge. To lower the clamp away from the bulb, you must squeeze the two prongs on each side of the bulb, as shown in this pic:
This releases the clamp and you can lower it.
Once this is down, you should very gently pull the bulb out. Don't touch it with your fingers, or at all if you can avoid it....!
Move over to the replacement / upgrade housing, and insert the bulb in the same location. You may need to push firmly on the back of the bulb to seat it in the opening. Then flip the clamp into place. You should here it snap into position...
Install the black cover, making sure all the screws line-up and the alignment pins find their holes. The cover should fit very tight, sealing the area off from the elements.
With the cover back in place, install the two metal boxes on the light assembly that you removed from the standard light unit. Tighten every thing down, and make sure all the gaskets are sealed in place.
You are now done getting the lamp assembly ready for install on the car! Carefully reverse the procedure to place the headlamp assembly back into the fender. Clamp the light assembly down using the tool in the frunk, and you are done!
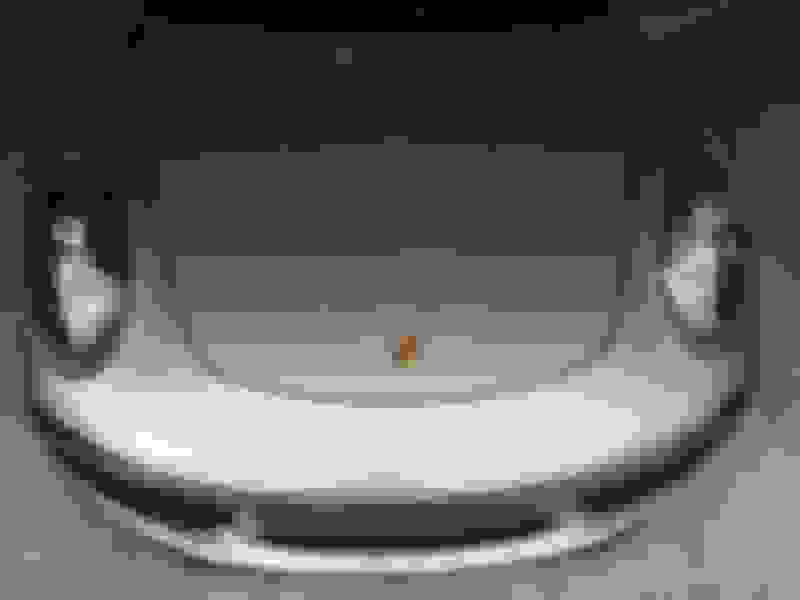
Here are a couple of pics comparing the standard lights to the upgrade black housings....
In these pics, the light on the left is the black upgrade, the right is standard. In my garage, doesn't seem so noticeable, right?
And in the following pics, outside on an overcast day, you can see more of the contrast....
All in all, a very easy upgrade, made longer only by the fact that the lights I purchased didn't include the electronics or bulb. Total install time for all the above steps was ~20 minutes per side, taking my time, taking pictures, etc. Nearly plug-and-play!
Can you change the bumper lights out without having to remove the front bumper? I have been thinking of doing this for a while but don't want to have to deal with removing the whole front bumper. Thanks for this thread.
Can you change the bumper lights out without having to remove the front bumper? I have been thinking of doing this for a while but don't want to have to deal with removing the whole front bumper. Thanks for this thread.
Can you change the bumper lights out without having to remove the front bumper? I have been thinking of doing this for a while but don't want to have to deal with removing the whole front bumper. Thanks for this thread.
Originally Posted by STG991
Bumper definitely has to come off.
Removing the front bumper cover is really very easy and can be done in 20 minutes or so even if you've never done it before. Simple tools, one-man job.
 11-26-2014, 01:02 PM


 replace a cracked headlamp, the procedures I detail below just might be useful!