
SunCoast Porsche - 997 Short Shift Kit Instal on 996TT

SunCoast Porsche - 997 Short Shift Kit Instal on 996TT
Before I get to the meat of this DIY, I want to first publically thank the guys at Suncoast for everything they've done to this point in assisting me when I need parts. I can call them on short notice (and have) and I've always gotten stellar support. When I sent Eric a request for price on this Kit, he inquired about me doing a DIY on this setup, and I was like "SURE THING"!!! These guys have done so much to help me with excellent service, support and general conversation, that I was happy to do this write-up.
If you want OEM FACTORY Parts at a very competitive price, give the guys at Suncoast a call or email... They will not let you down.
Now on to the DIY:
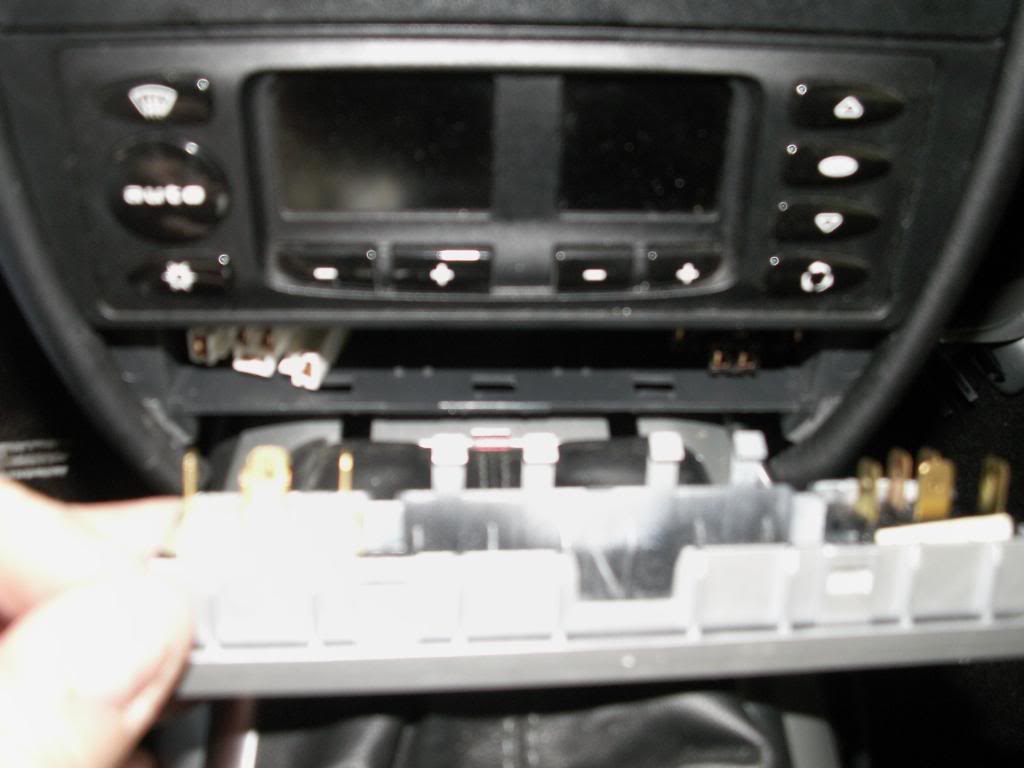
First thing to do is Pull the e-brake lever up and remove all “junk” from the center console compartments. Remove the rubber mats in both the storage areas. See those torx screws in the base of the console storage areas? Remove those first…
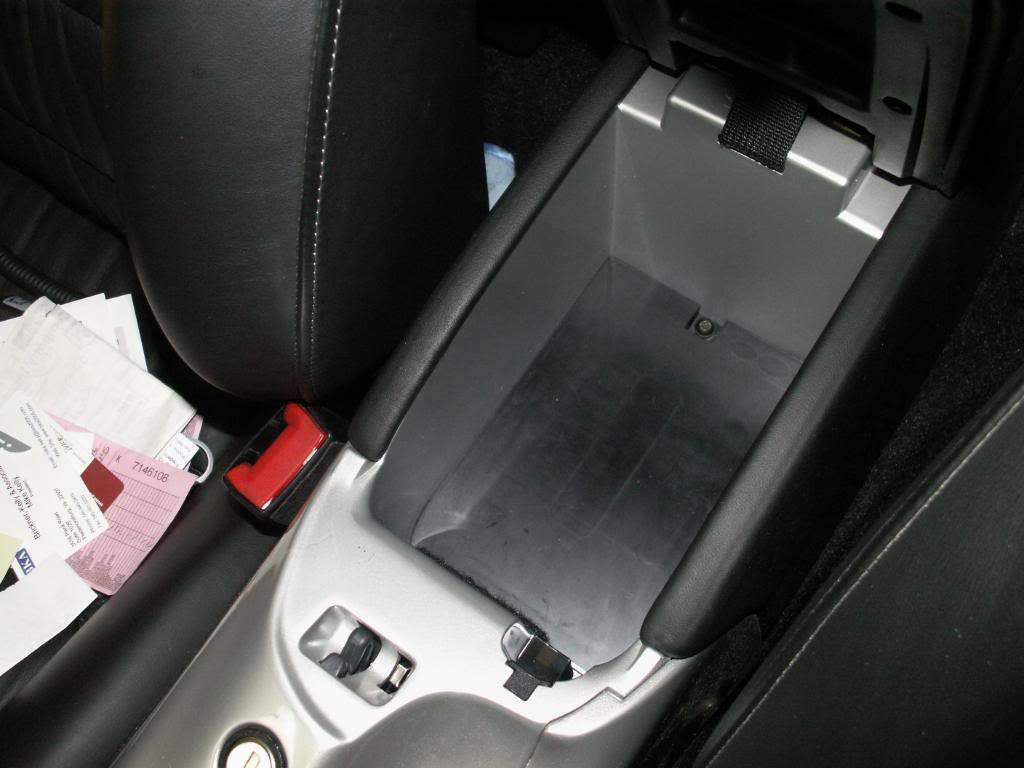
Now remove the coin holder in the console area. There’s another torx screw hiding under it!

Remove the Window switch panel and disconnect the wire connectors… Just pull them off… nothing “special” that I could tell…
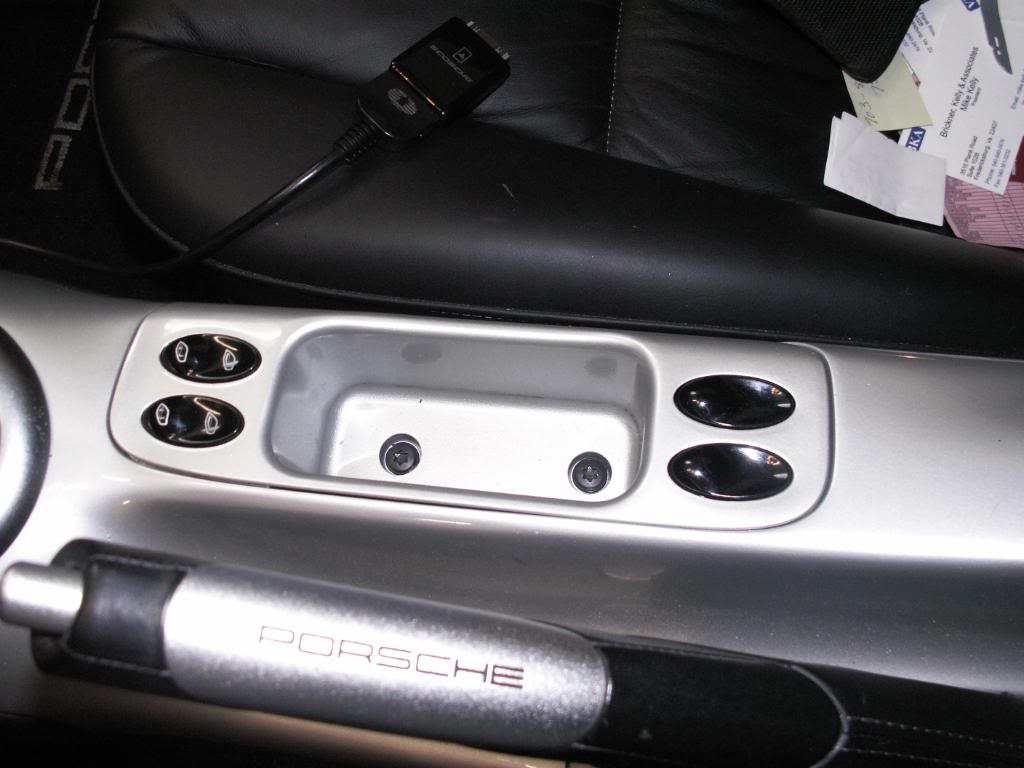
Remove the torx screw below the window switch panel
Remove the “Batwing” Seat heater switch from the lower stack, unplugging the wire connectors the same as you did the window switches.

Remove the carpet and leather side panels from the lower centerstack. Pull the leather panels from the rear forward with minimal force.
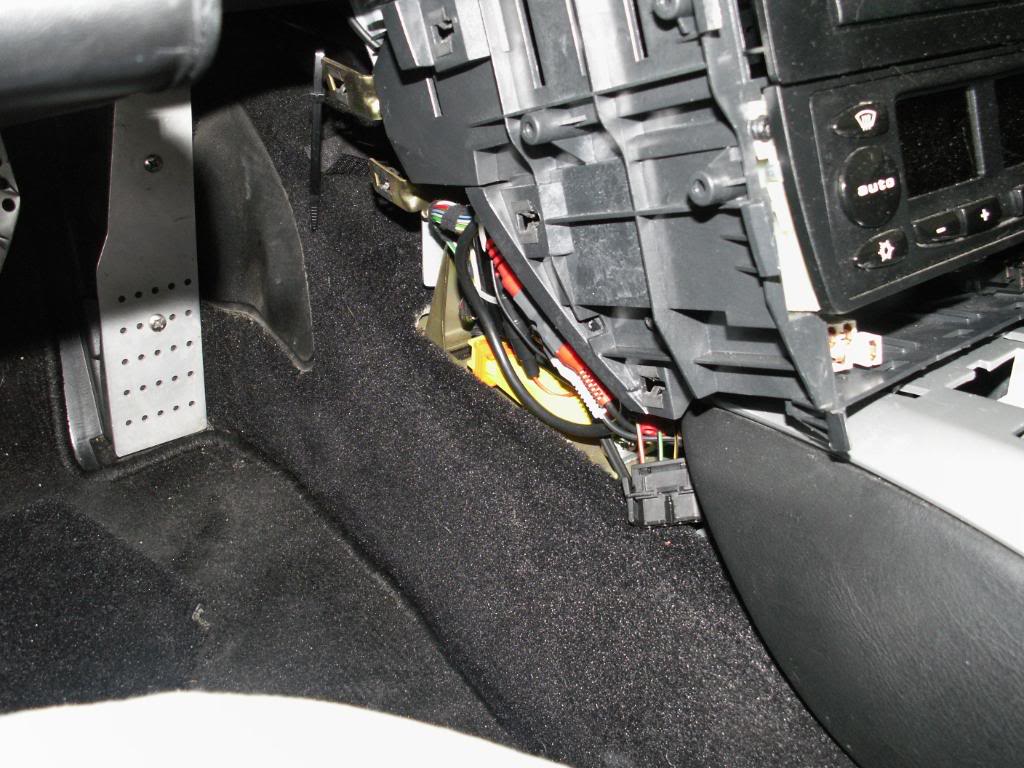
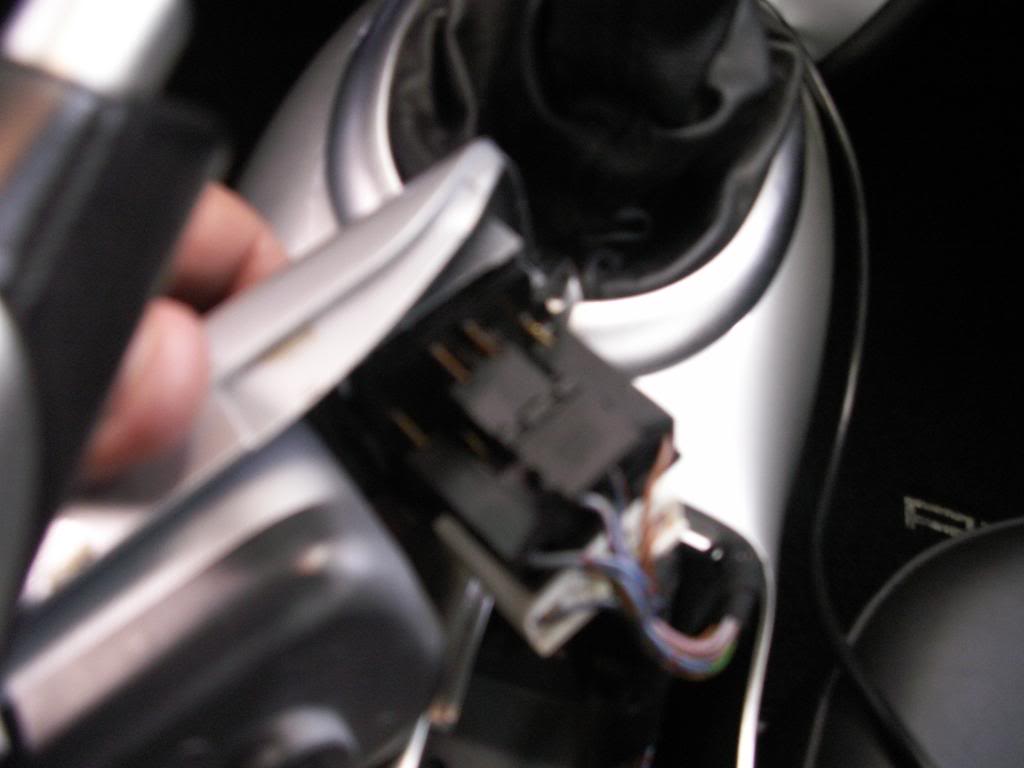
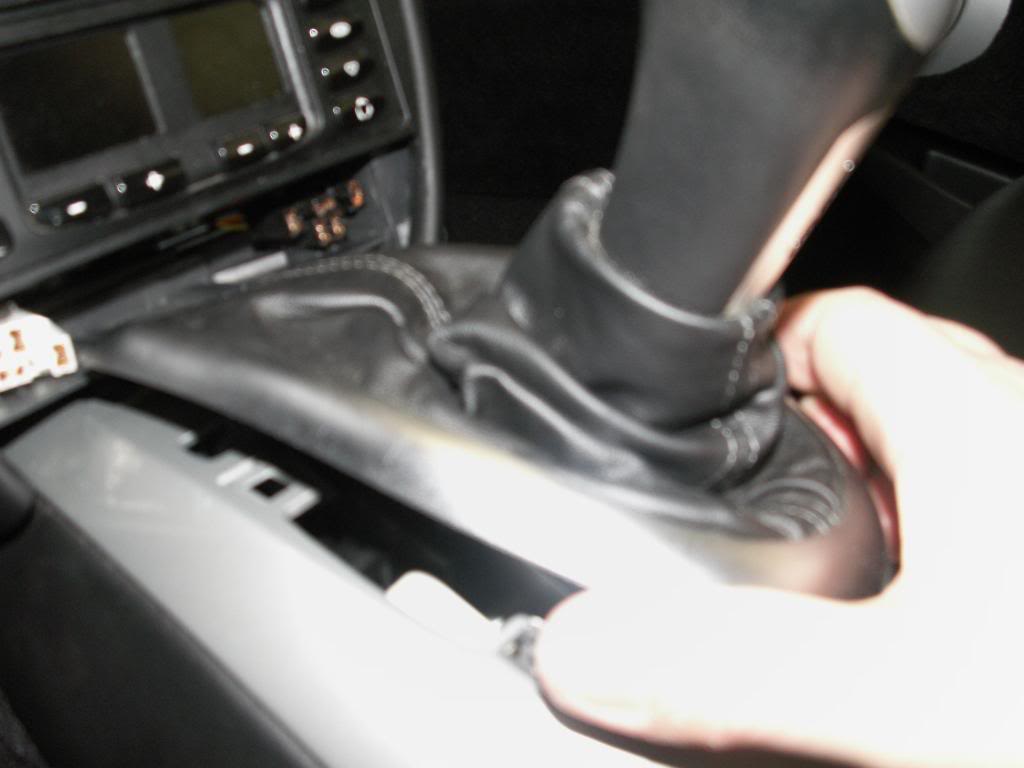
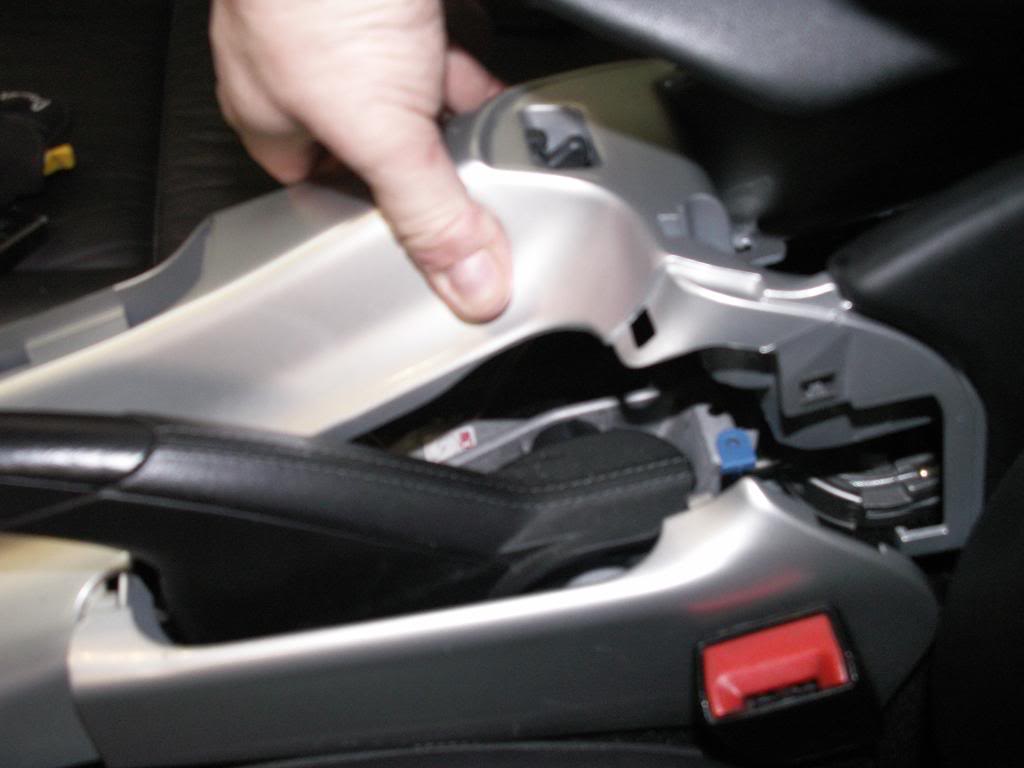
Remove the shifter boot surround and pull the boot up over the shift ****, exposing the bolt that secures the shifter to the handle. Loosen the bolt and slide the assembly off the shaft of the shifter.
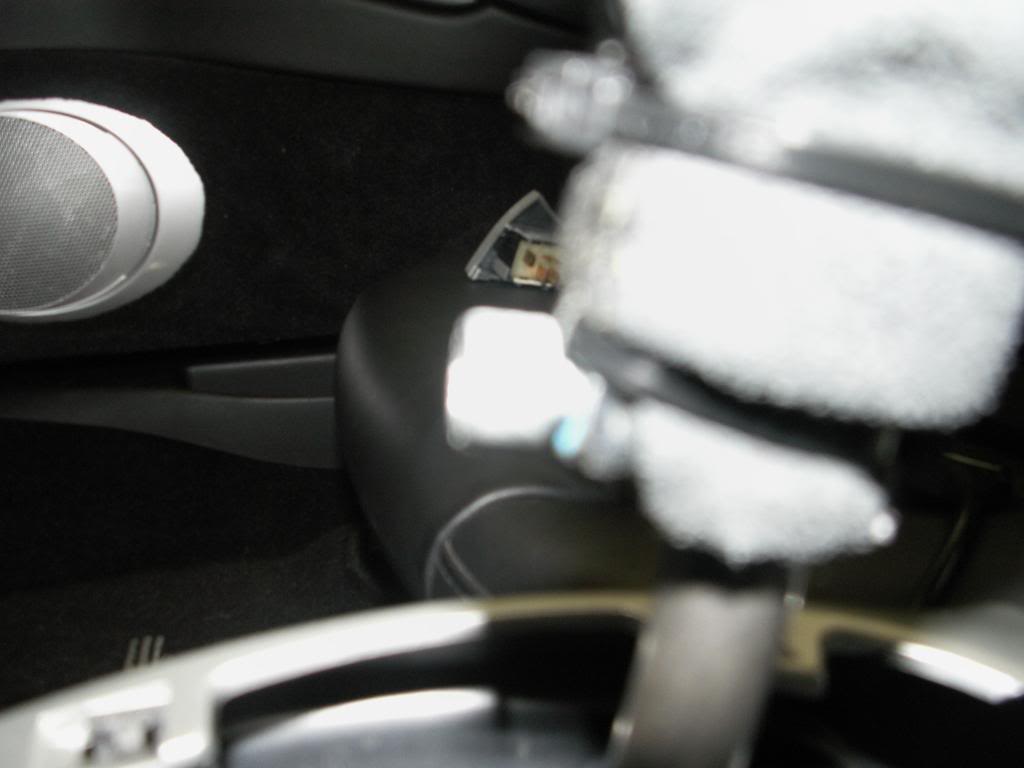
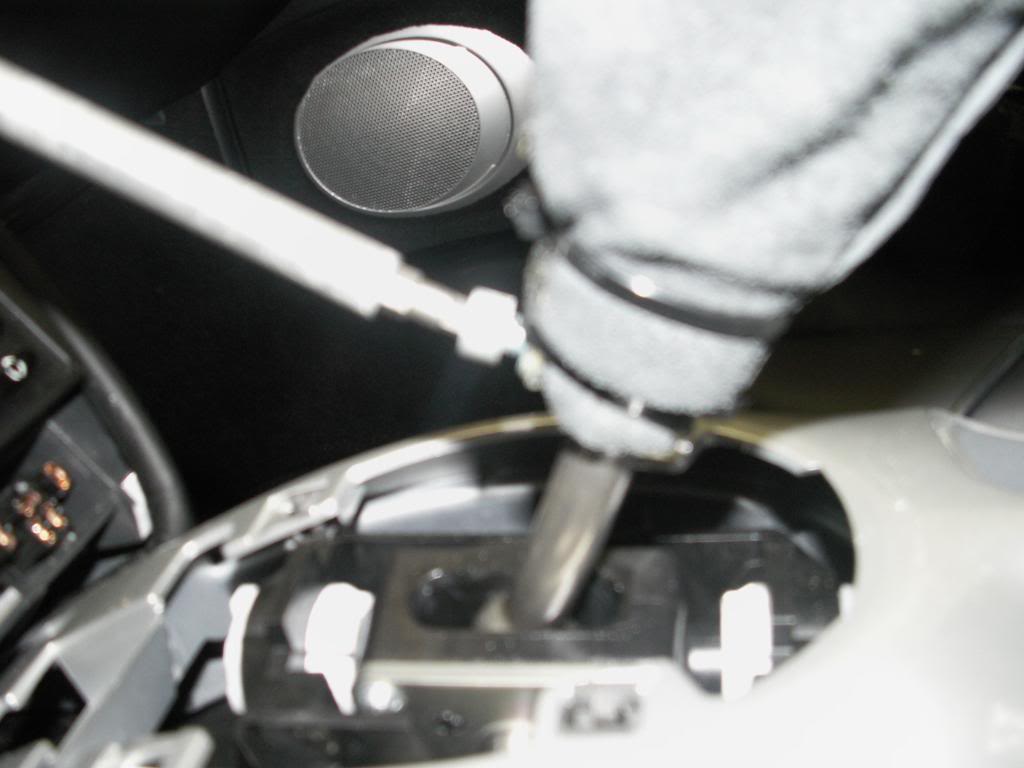
Remove the front torx screw that was hidden under the shifter surround.
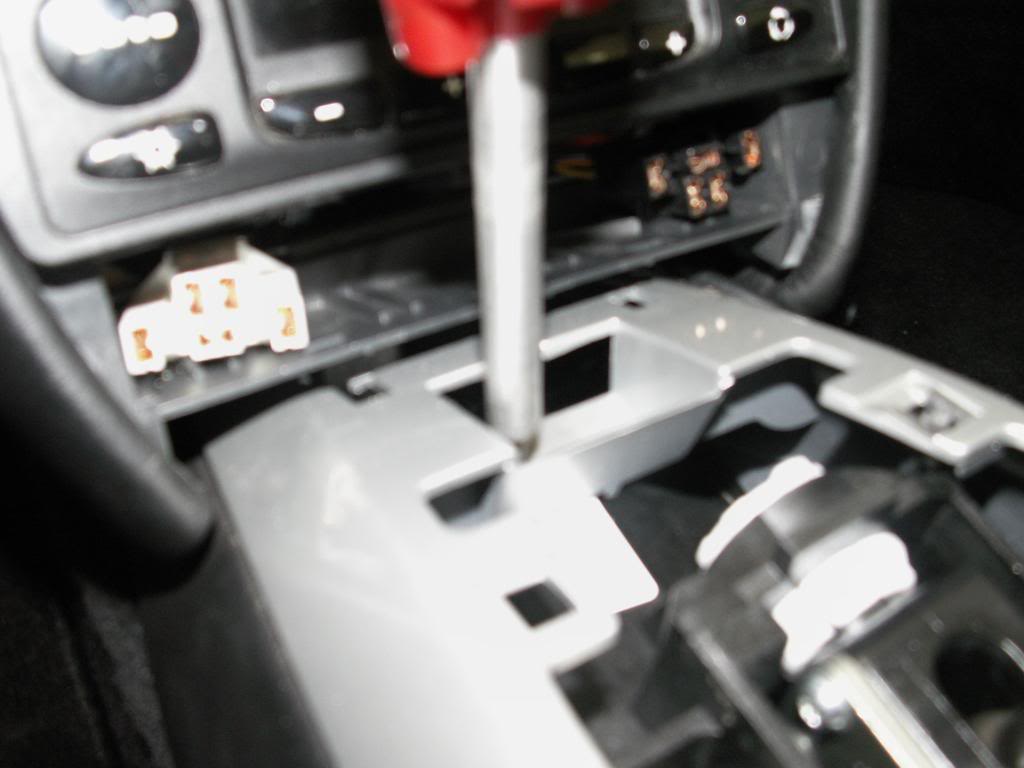
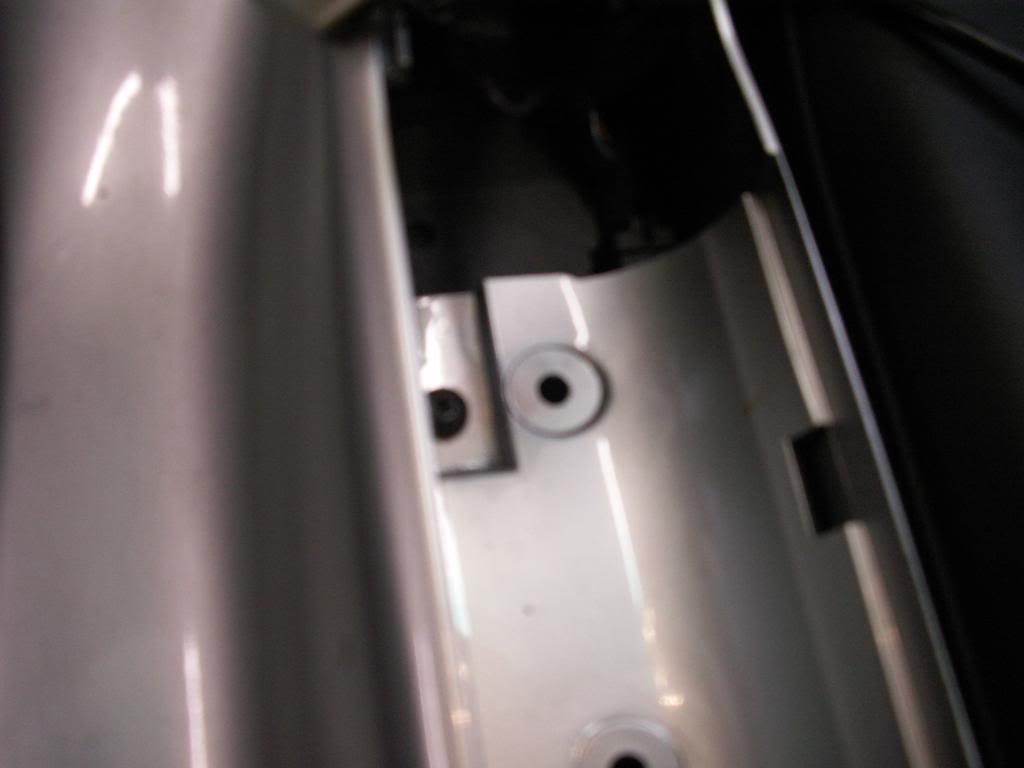
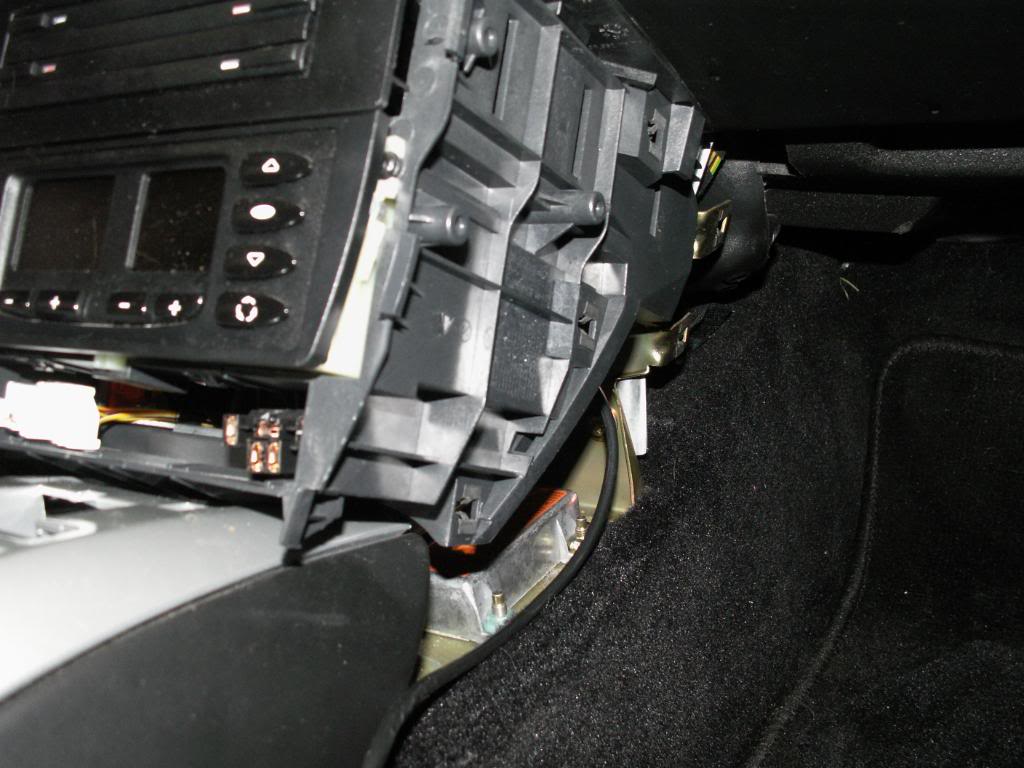
Now you are ready to remove the console, sort of…There are two different tasks you need to do. Follow closely…
There is a wire connecting to the microswitch that monitors the lock on the console. Carefully disconnect that and be mindful not to break the wire because it limits your range of movement on the console. Next, remove the side panel that sits between the console and the e-brake handle.
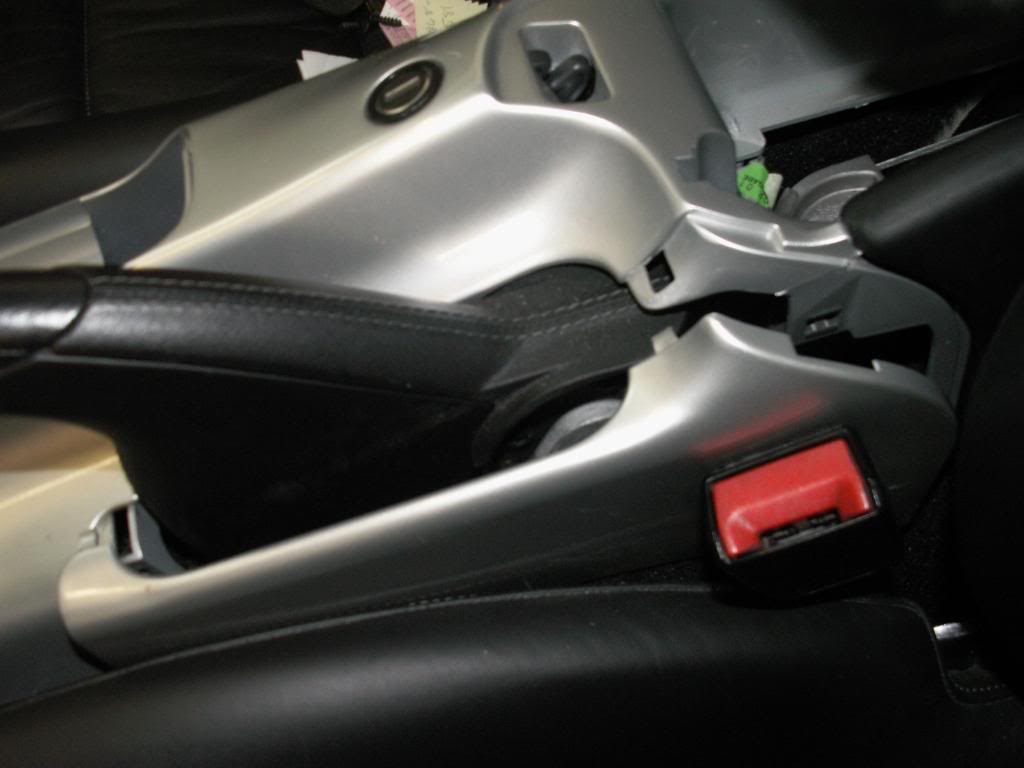

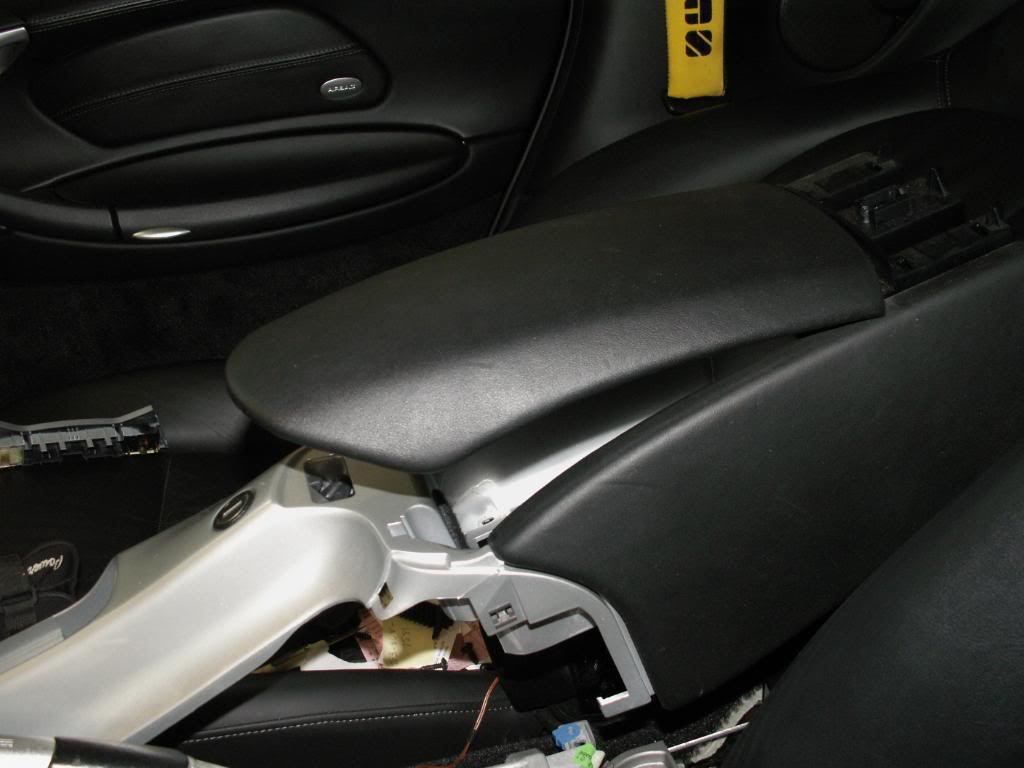
Pull the console from the back slowly and rotate the piece to the passenger seat so it clears the e-brake mechanism.
See that pile of parts? Big pile isn’t it? Took me 1.5 hours total from start to finish this last time and only 2 hours the first time, so don’t panic.
If you want OEM FACTORY Parts at a very competitive price, give the guys at Suncoast a call or email... They will not let you down.
Now on to the DIY:
First thing to do is Pull the e-brake lever up and remove all “junk” from the center console compartments. Remove the rubber mats in both the storage areas. See those torx screws in the base of the console storage areas? Remove those first…
Now remove the coin holder in the console area. There’s another torx screw hiding under it!
Remove the Window switch panel and disconnect the wire connectors… Just pull them off… nothing “special” that I could tell…
Remove the torx screw below the window switch panel
Remove the “Batwing” Seat heater switch from the lower stack, unplugging the wire connectors the same as you did the window switches.
Remove the carpet and leather side panels from the lower centerstack. Pull the leather panels from the rear forward with minimal force.
Remove the shifter boot surround and pull the boot up over the shift ****, exposing the bolt that secures the shifter to the handle. Loosen the bolt and slide the assembly off the shaft of the shifter.
Remove the front torx screw that was hidden under the shifter surround.
Now you are ready to remove the console, sort of…There are two different tasks you need to do. Follow closely…
There is a wire connecting to the microswitch that monitors the lock on the console. Carefully disconnect that and be mindful not to break the wire because it limits your range of movement on the console. Next, remove the side panel that sits between the console and the e-brake handle.
Pull the console from the back slowly and rotate the piece to the passenger seat so it clears the e-brake mechanism.
See that pile of parts? Big pile isn’t it? Took me 1.5 hours total from start to finish this last time and only 2 hours the first time, so don’t panic.
Last edited by Mikelly; Feb 24, 2010 at 06:16 PM.
Now comes the fun part...
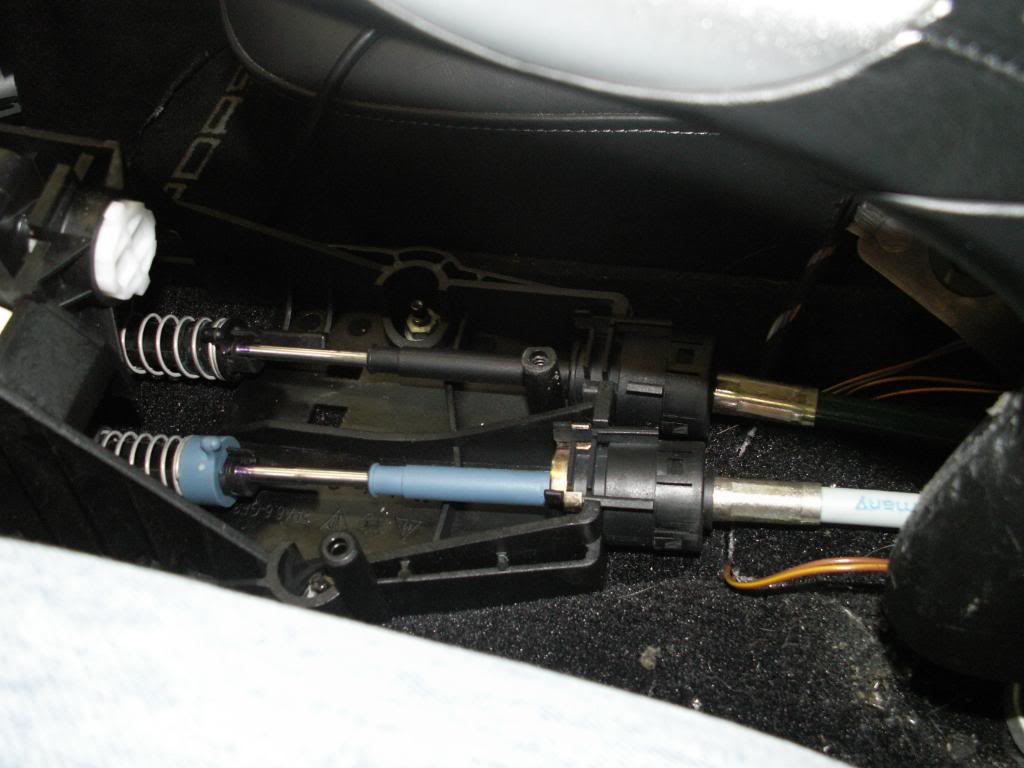
Now, you have exposed the shifter housing, cables and are ready to move on to removing the shifter�
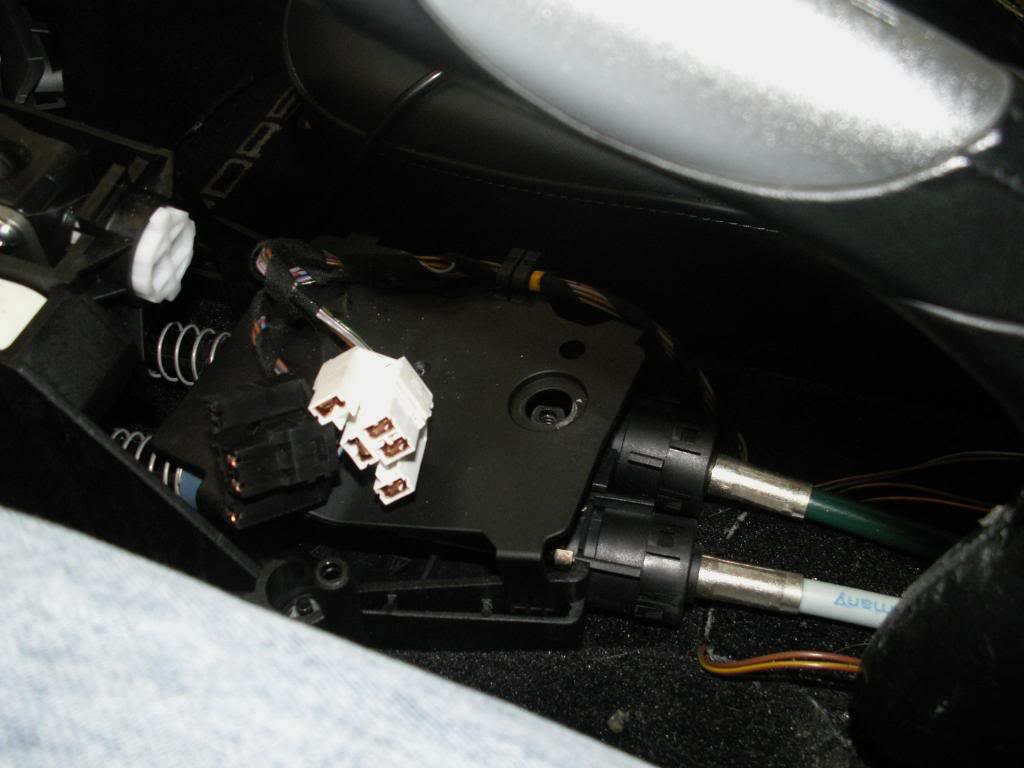
Remove the shifter cable cover that sits above the rear of the shifter/cable base. Remove the 4 6mm nuts (10mm socket) from the shifter base but do NOT remove the shifter base.
Next, you want to take a moment, take a pee, get a drink, your reading glasses and a permanent marker. If you don�t use reading glasses, borrow some. You want to get this one right:
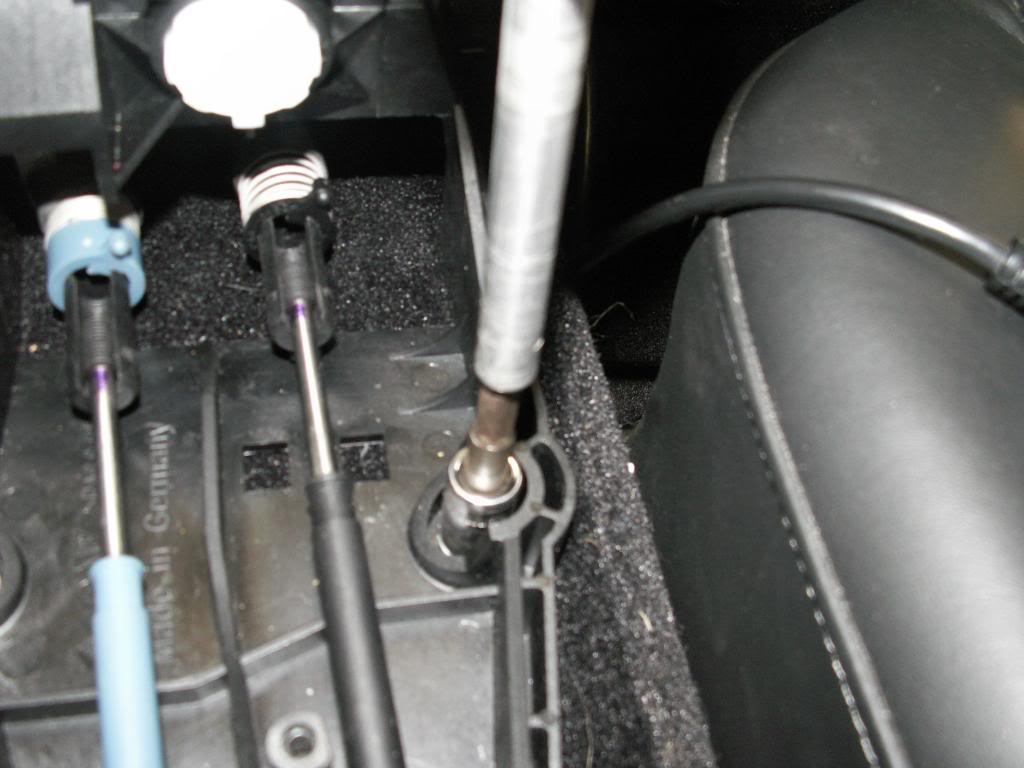
Where your cables are right now, in the bases (the blue and grey connection housings ) of the shifter cable linkages is where they must be in the new shifter, EXACTLY, if you want to have proper shifting. Seriously, don�t screw this up or you�ll be kicking yourself.
Put your glasses on and count the threads on each cable as it sits in the existing linkage. I also used a permanent marker (the black marks on my cables) to mark the cable against the base of the linkage. Also use your cell phone camera to take pics so you can triple check yourself.
The linkages are spring loaded. You must push them back and rotate them counter-clockwise to unlock the cables from the linkages. Now remove the right cable, then the left from the cable linkages.

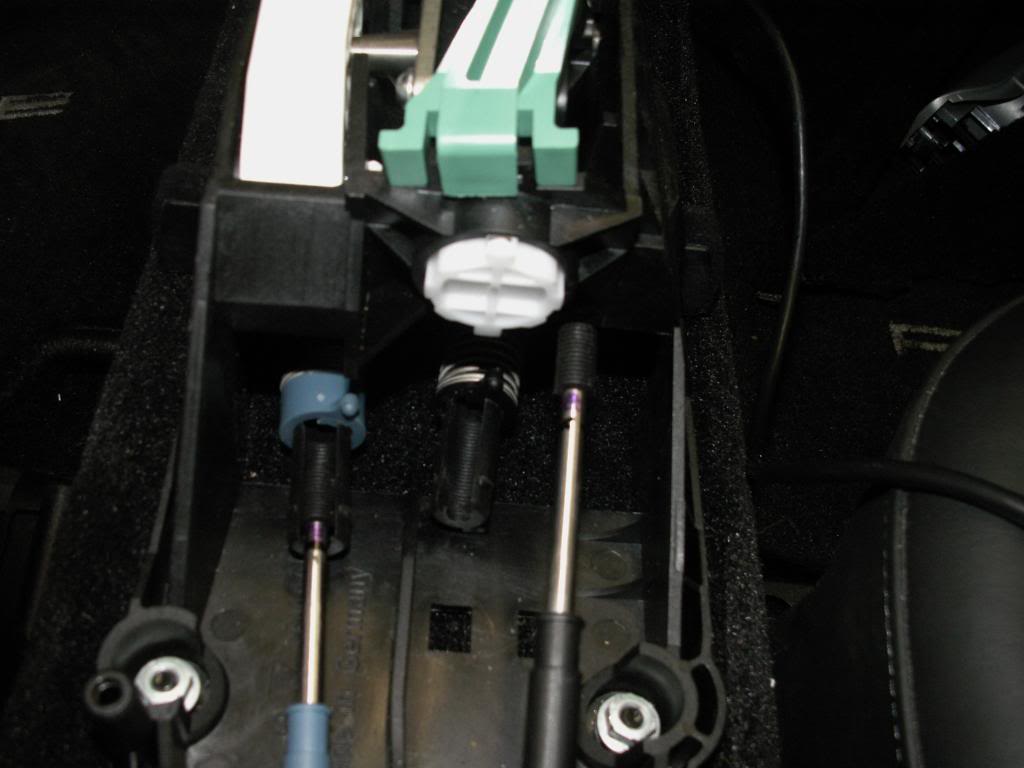
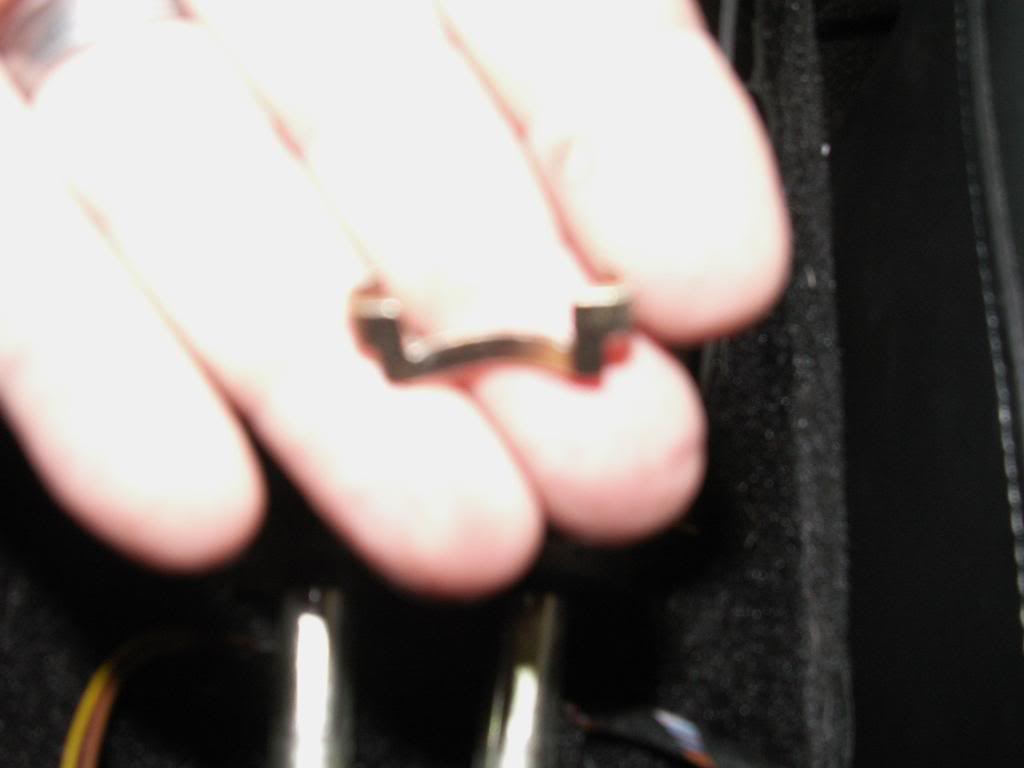
Remove the cable clips from the cable housing base at the rear of the shifter base.
Squeeze the tabs on the shifter cables and pull the shifter cable out of each slot. Now you can remove your shifter from the car.
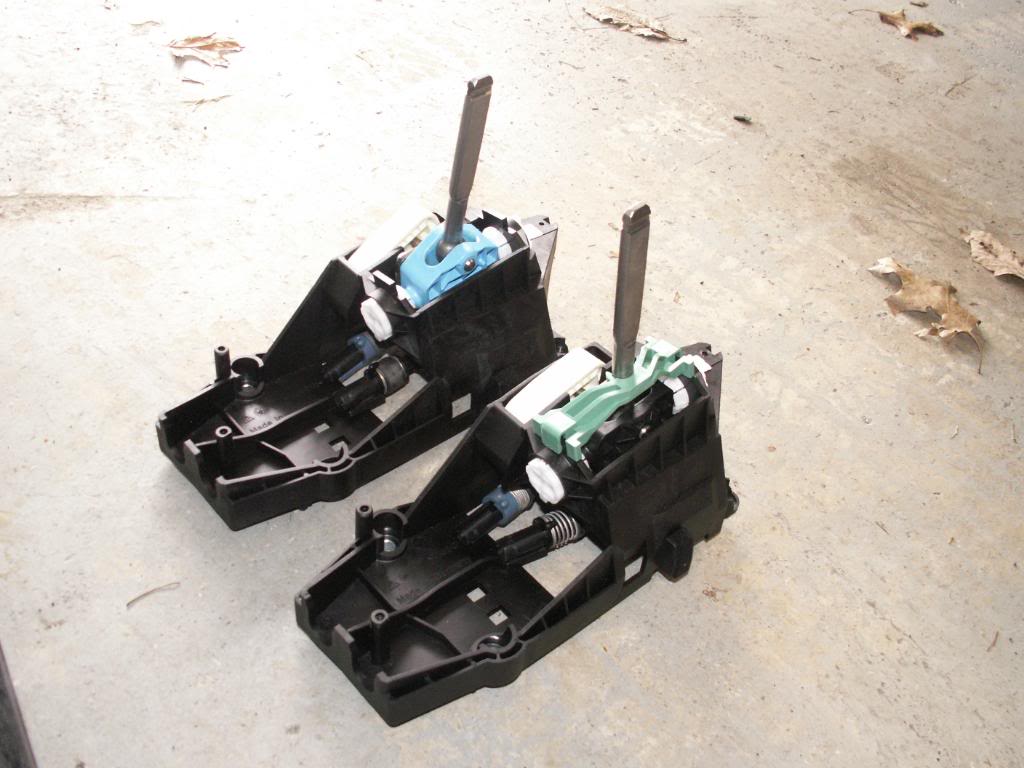
Notice the new shifter has a green fixed piece in place holding the shifter in position. It�s the proper position of the shifter, so do not remove the plastic holder. That holder should NEVER be thrown away. It�s actually a �tool� that you would have to buy, if Porsche didn�t include it in their shifter kits. Put it in your tool box when you�re done.
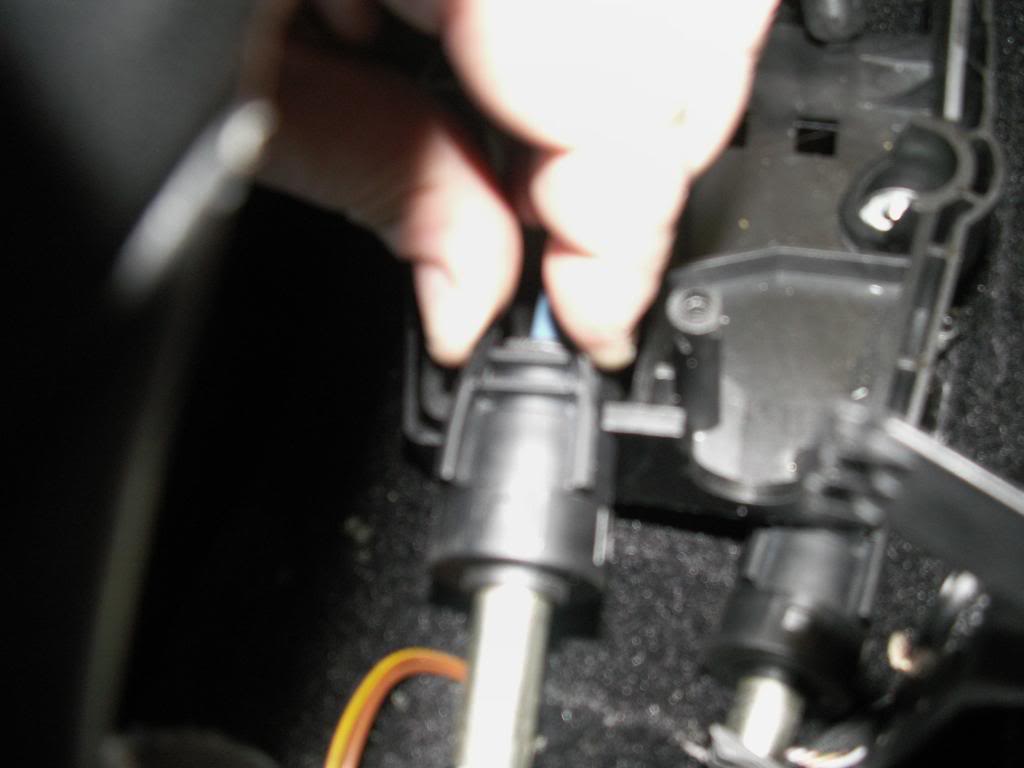
Place the shifter on the studs on the trans tunnel. Secure the shifter with the four 6mm nuts. Snap the cable housing bases into the shifter body at the rear of the shifter, and attach the metal clips
Now align the linkages with the cables. Count the threads on the cables, and connect the cables in the appropriate position.
Before you continue with re-installing everything else, Start the car, and make sure you can engage every single gear and feel the car move under its load. Make sure every gear is engaged before you start buttoning it all up, or you�ll have to take it all back apart again to troubleshoot why you can�t get the car into gear� You don�t want that, now do you?
Now that you�re done with the test shifting, you can put it all back together. Reverse order of the above instructions should do you fine.
Mike
Now, you have exposed the shifter housing, cables and are ready to move on to removing the shifter�
Remove the shifter cable cover that sits above the rear of the shifter/cable base. Remove the 4 6mm nuts (10mm socket) from the shifter base but do NOT remove the shifter base.
Next, you want to take a moment, take a pee, get a drink, your reading glasses and a permanent marker. If you don�t use reading glasses, borrow some. You want to get this one right:
Where your cables are right now, in the bases (the blue and grey connection housings ) of the shifter cable linkages is where they must be in the new shifter, EXACTLY, if you want to have proper shifting. Seriously, don�t screw this up or you�ll be kicking yourself.
Put your glasses on and count the threads on each cable as it sits in the existing linkage. I also used a permanent marker (the black marks on my cables) to mark the cable against the base of the linkage. Also use your cell phone camera to take pics so you can triple check yourself.
The linkages are spring loaded. You must push them back and rotate them counter-clockwise to unlock the cables from the linkages. Now remove the right cable, then the left from the cable linkages.
Remove the cable clips from the cable housing base at the rear of the shifter base.
Squeeze the tabs on the shifter cables and pull the shifter cable out of each slot. Now you can remove your shifter from the car.
Notice the new shifter has a green fixed piece in place holding the shifter in position. It�s the proper position of the shifter, so do not remove the plastic holder. That holder should NEVER be thrown away. It�s actually a �tool� that you would have to buy, if Porsche didn�t include it in their shifter kits. Put it in your tool box when you�re done.
Place the shifter on the studs on the trans tunnel. Secure the shifter with the four 6mm nuts. Snap the cable housing bases into the shifter body at the rear of the shifter, and attach the metal clips
Now align the linkages with the cables. Count the threads on the cables, and connect the cables in the appropriate position.
Before you continue with re-installing everything else, Start the car, and make sure you can engage every single gear and feel the car move under its load. Make sure every gear is engaged before you start buttoning it all up, or you�ll have to take it all back apart again to troubleshoot why you can�t get the car into gear� You don�t want that, now do you?
Now that you�re done with the test shifting, you can put it all back together. Reverse order of the above instructions should do you fine.
Mike

Registered User
Joined: Nov 2006
Posts: 1,657
From: Long Island, New York
Rep Power: 115


Great Write up but DIY?! haha! you forgot step 13 "$h*t your pants" - when your cars in many pieces and undrivable, pull the tissues out of your glove box and clean yourself.
Good job though, this is one of my next mods, but I think a shop will be installing it for me.
Good job though, this is one of my next mods, but I think a shop will be installing it for me.
Registered User
Joined: Nov 2009
Posts: 1,184
From: Bentonville, AR
Rep Power: 89
Thanks for the pics and write up. I've been wanting to know how to get the console out. I have a Tip and have been wondering how to get the shift handle off.
Trending Topics
Registered User
Joined: Mar 2007
Posts: 1,870
From: San Diego, San Francisco
Rep Power: 116
Mike,
Ty for the great DIY. I know that suncoast sells a 997SS and a GT3 shifter. The GT3 uses metal in many area's the the 996 and 997 shifters uses plastic. Why did you pick the 997SS shifter over the GT3 shifter?
Ty for the great DIY. I know that suncoast sells a 997SS and a GT3 shifter. The GT3 uses metal in many area's the the 996 and 997 shifters uses plastic. Why did you pick the 997SS shifter over the GT3 shifter?


Registered User

Joined: Apr 2005
Posts: 2,436
From: North Bend, WA
Rep Power: 164
I look forward to testing these directions out, and I'm a true newbie when it comes to disassembling my 996TT (only done parking light LED bulb swaps and a steering wheel swap so far). Thanks a lot for taking the time to document the SSK swap, and I am looking forward to installing and enjoying my own 997 SSK shortly.
Thanks for the DIY Mike. I am probably going to have this done while my car is in the shop (where it is now) for its other upgrades. I'll be back in CONUS March 15, and am looking forward to what will feel like a completely new car.
Jon
Jon

Registered User
Joined: Jan 2010
Posts: 108
From: Bay Area, CA
Rep Power: 21
All i could say is Damn!!! So crisp and smooth. I just installed the 997 SSK in my 03 996 TT. Feels like a whole different car. Probably the best mod i have done so far. I hated the stock shifter, it was everywhere. Thanks Mikelly for the DIY write up. Pretty much followed every step and took me about 45 minutes from start to finish.
Registered User
Joined: Apr 2005
Posts: 2,436
From: North Bend, WA
Rep Power: 164
You guys who did this in under an hour are impressive. I split it up into a 2 day affair and bumbled through all kinds of steps, wanting to ensure that everything was perfect.
That being said, the instructions are terrific...thanks so much Mike. I did send you a PM with a few observations I had, which may or may not help others if you'd wish to include them in your document.
My thanks to Suncoast and Mikelly! I'm now pretending to be a Cup Car driver with my newly installed 997 SSK!