When you click on links to various merchants on this site and make a purchase, this can result in this site earning a commission. Affiliate programs and affiliations include, but are not limited to, the eBay Partner Network.
OK. I finally got around to this project and need more help. The Pelican deal was for a 996 and did not apply to the 997. The other link was helpful in that I removed the three 30 hex screws but couldn't get the metal piece with the light attached to it to remove. I could not find any other additional screws that I would need to remove. When I went to pry the light off a chunk broke (this was stupid on my part but I was getting desperate). Can someone hold my hand through this? I'm driving around with a busted taillight on an otherwise perfect 997 so I look like a complete idiot. Thanks.
I know a for-sure way to remove it. I'm not aware of any shortcuts. The quick answer is that you have to remove the panel it is installed in and access the releases for the light from the underside of the panel. Here's the long answer... I hope it helps. Let me know if you have any questions.
A while back I changed to a Turbo wing and an upper panel with no upper brake light in it (since the wing has its own). As part of the disassembly, my son and I took photos that should help you.
First you have to remove the back carpeted panel in the interior of the car. A trim removal tool helps but is not required as long as you can get something back behind the top of the panel to pull it out. Both the top and bottom pull straight out, but with the metal clips on the top you need to be sure to pull straight out or they will bend. I failed to pull straight out and lightly scratched my tint as well. Harbor Freight has trim removal tools for cheap if you have one in your area.
The panel to remove:
The removed panel and clips:
What you see after the panel is removed. Notice that you can now see in the photo the bottom of one of the two bolts that hold the panel on the car. Up in the recess there is a nut. Remove being sure to keep the nut in the socket so you don't drop it down into the recesses around the hole.
With the nuts removed, you can life the panel off on the outside after you remove the three externally visible Torx screws under the front edge of the deck lid. I put quality masking tape around the edges and surface of the panel to make sure I didn't scratch it or something else. The wire isn't very long, so be careful not to pull too far away. Be very careful with the panel so you don't scratch it or your car.
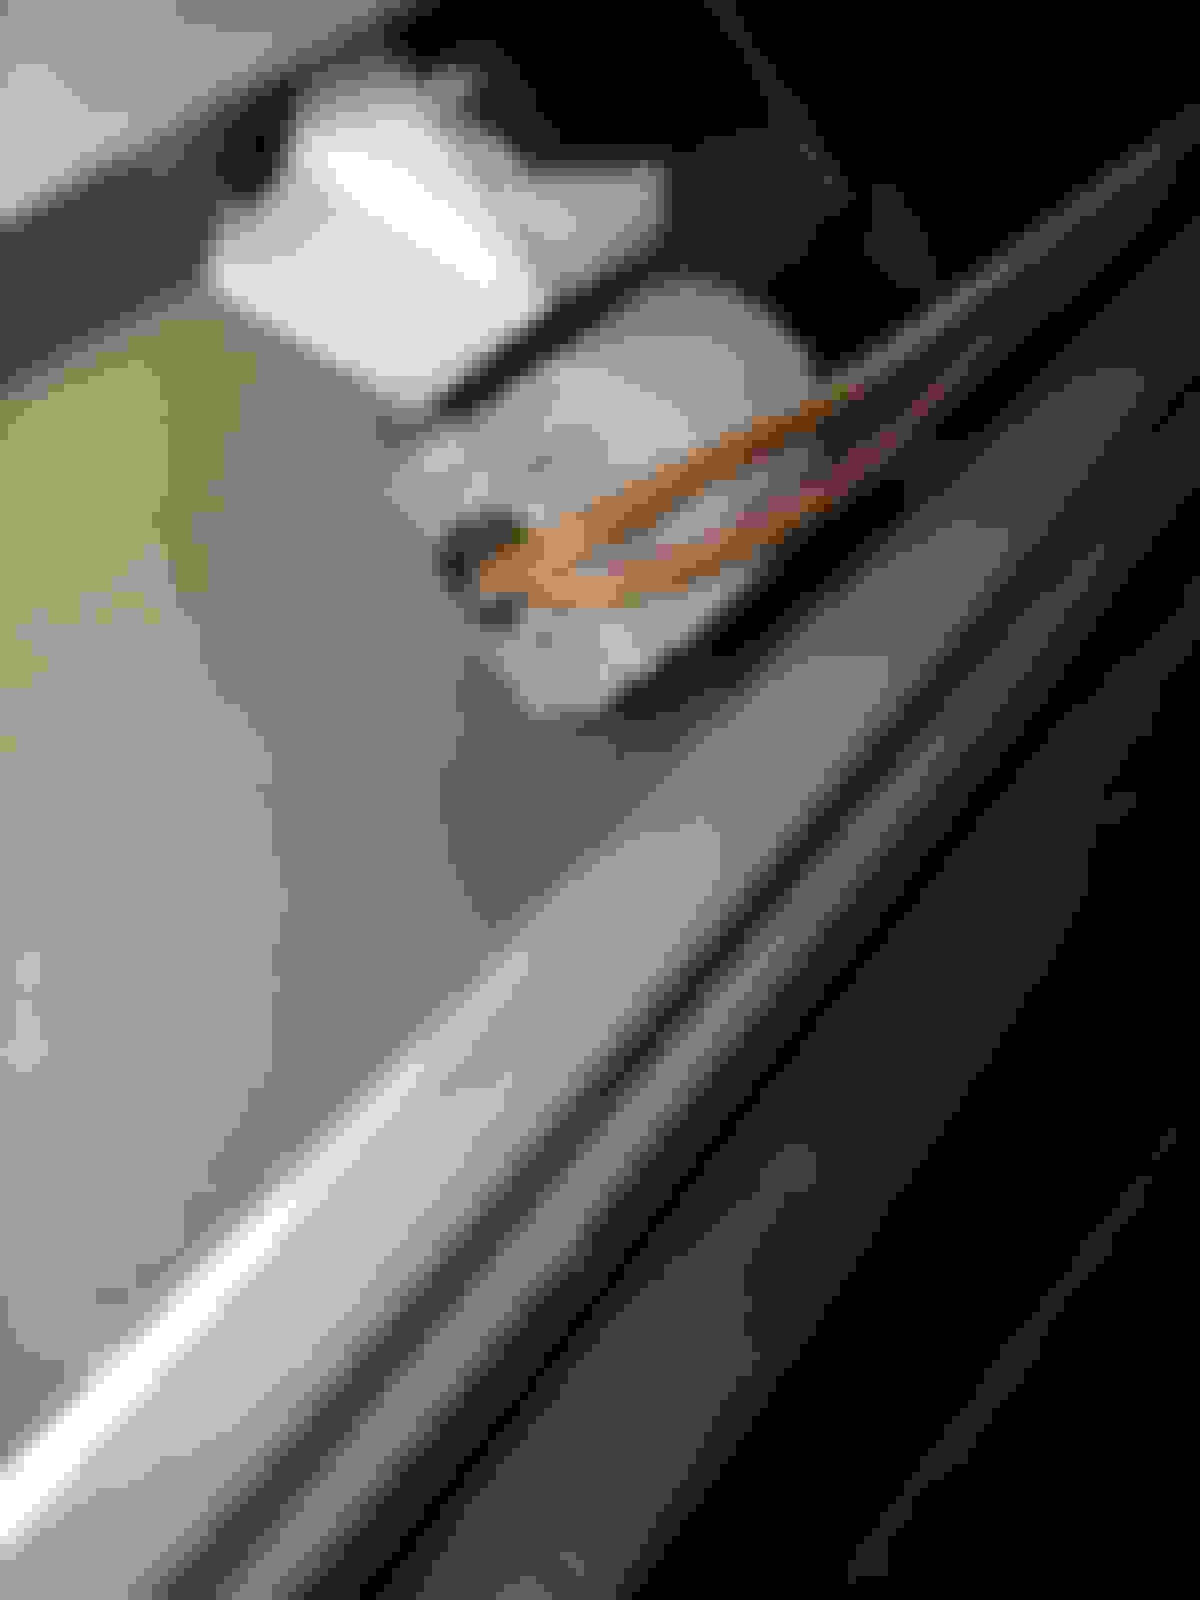
Looking inside the panel you will see the electrical connection. As with all Porsche connectors it seems like it is a challenge to release the clip but it can be done! You can see the release levers at the sides of the connector. Small fingers or a tool help. Don't pull on the wires too hard and pull them out of the connector, try to pull on the connector itself.
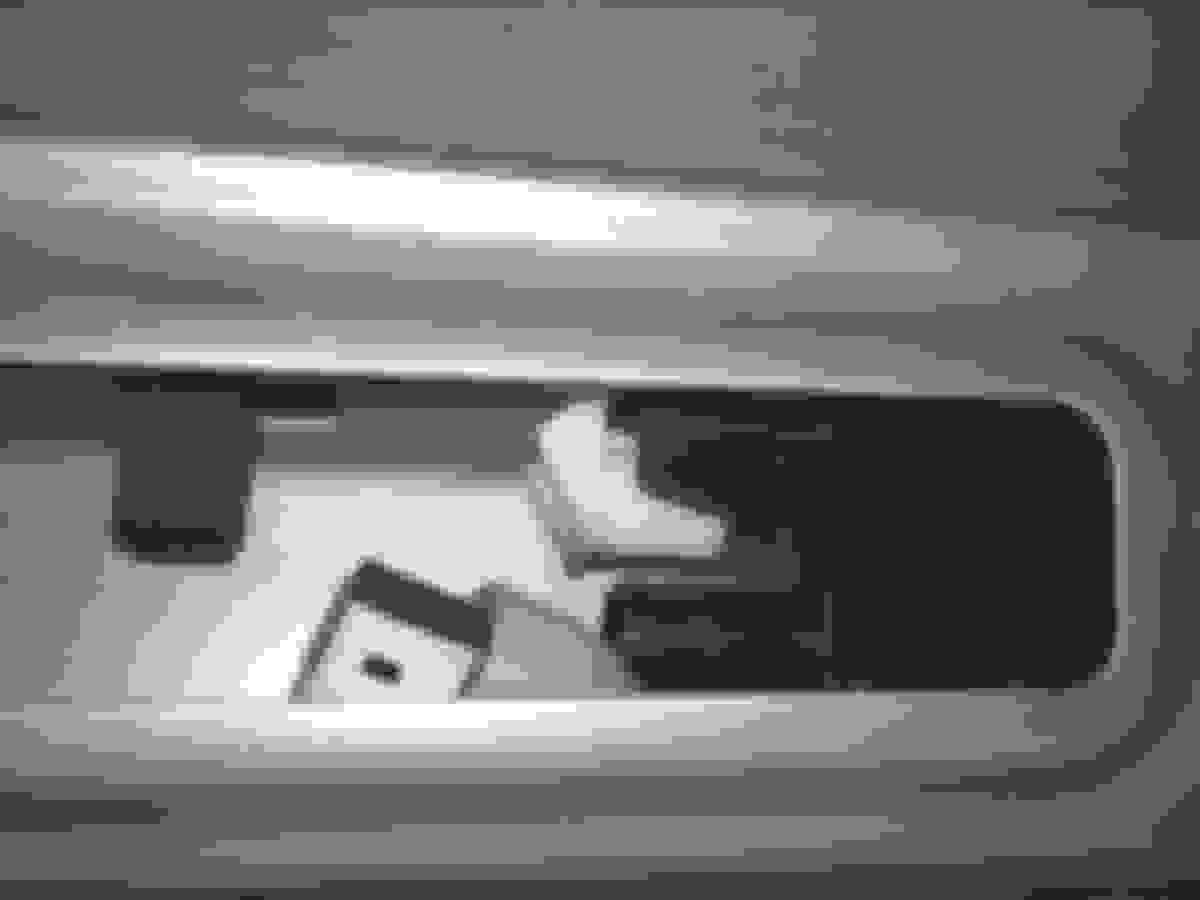
This last picture shows a white spring-loaded clip that needs to be pressed in to release the brake light. To its left you also see one of several black clips spread along the brake light that also need to be squeezed to snap the light out. Extra hands help here since all of the clips need to be released together (to some degree).
Last edited by StormRune; Sep 28, 2015 at 05:28 PM.


 .
.