
Mercedes E63 w\ Kleemann Supercharger, Headers, Quaiffe LSD+more from GMP Performance


Mercedes E63 w\ Kleemann Supercharger, Headers, Quaiffe LSD+more from GMP Performance
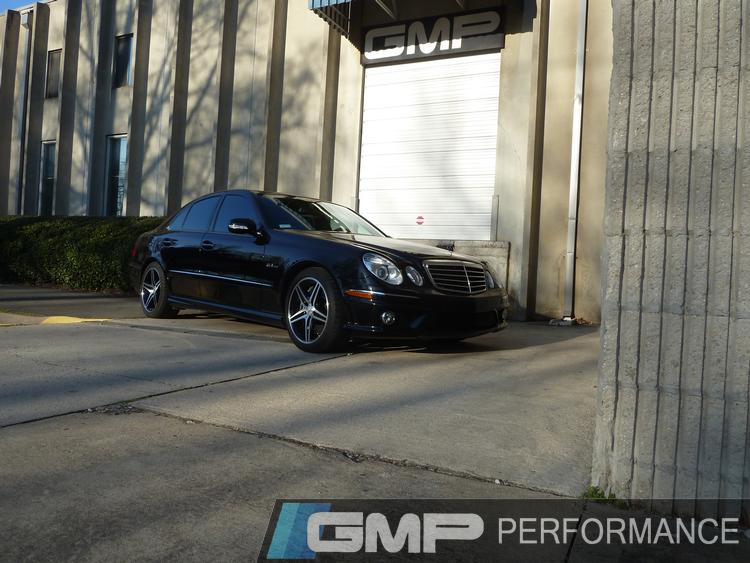
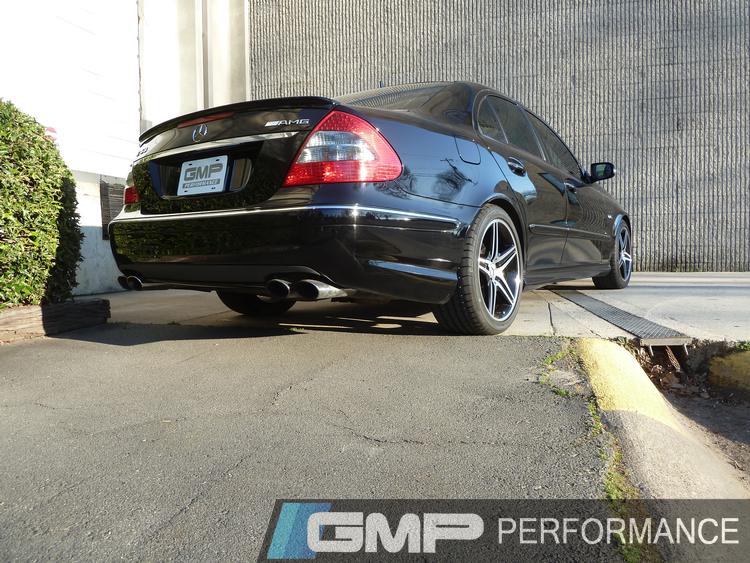
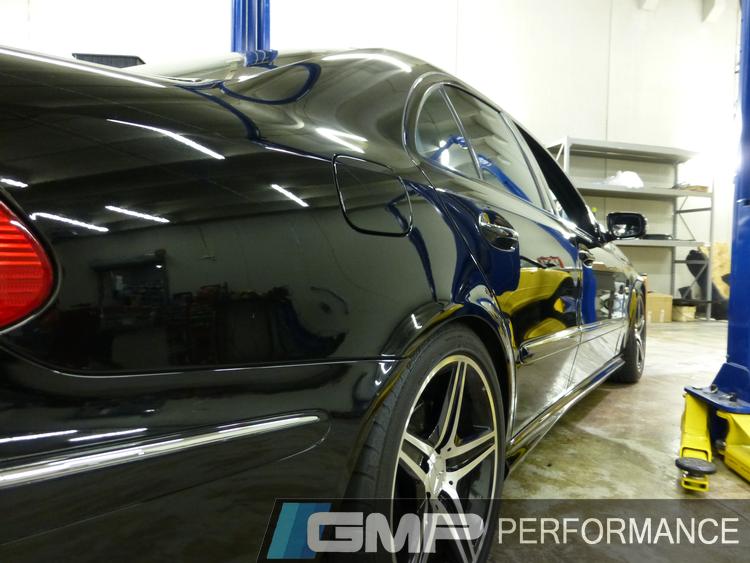
The owner of this 2008 E63 has been preparing for his supercharger kit for a while, having brought it to us for a Quaife limited slip differential to set up the car's handling for the future power upgrade. Getting their upgrades from Kleemann, pros at the mechanics of a Mercedes engine, it's no joke to say this E63 will be one bad Benz by the time we're done with it!
Parts Installed:
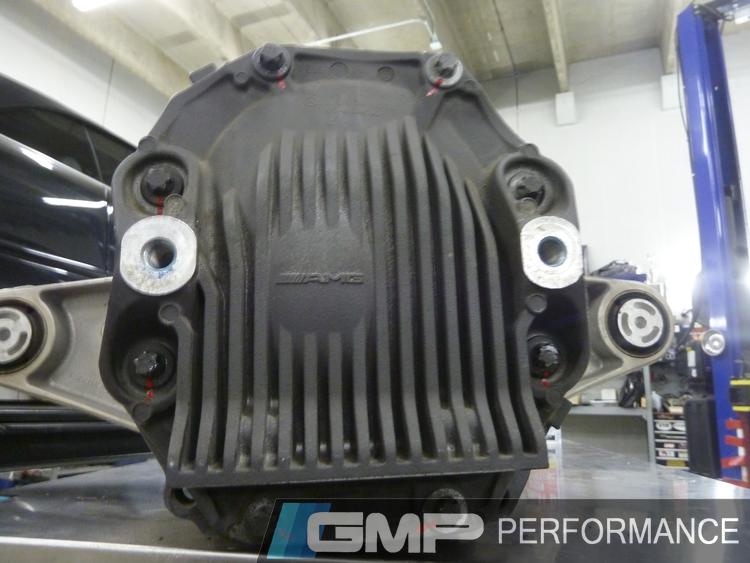
Mercedes AMG V8 2002 MY-on Quaife ATB Helical LSD differential
Mercedes 63 AMG (M156) V8 Supercharger kit by Kleemann
Mercedes AMG63 Long Tube Kleemann Headers
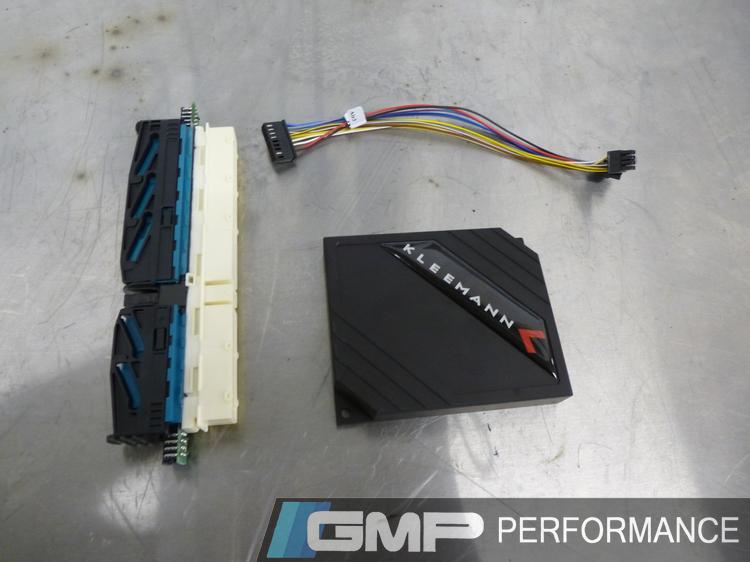
KLEEMANN Electronic Body Lowering module (EBL)
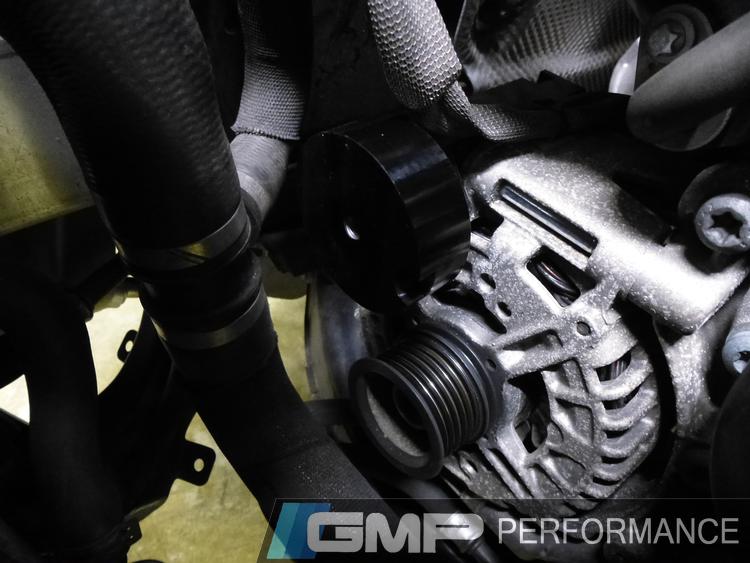
Mercedes AMG63 M156 Billet Idler Pulleys
The Build
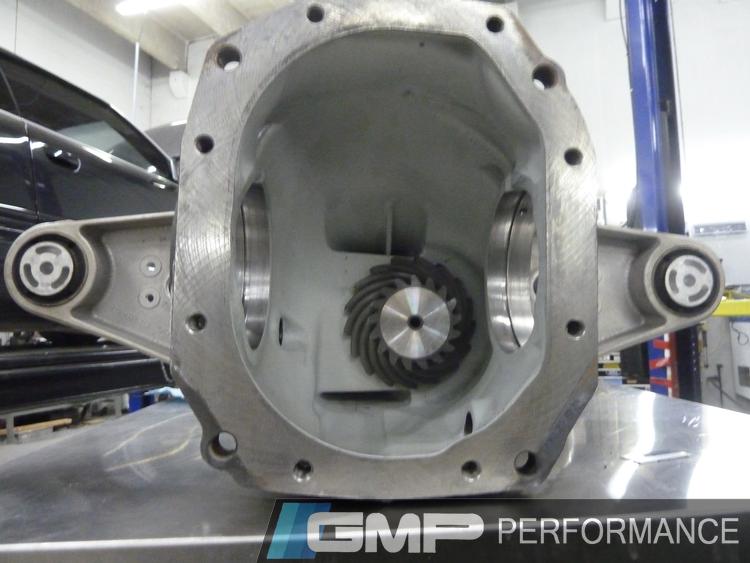
Quaife Limited Slip Differential
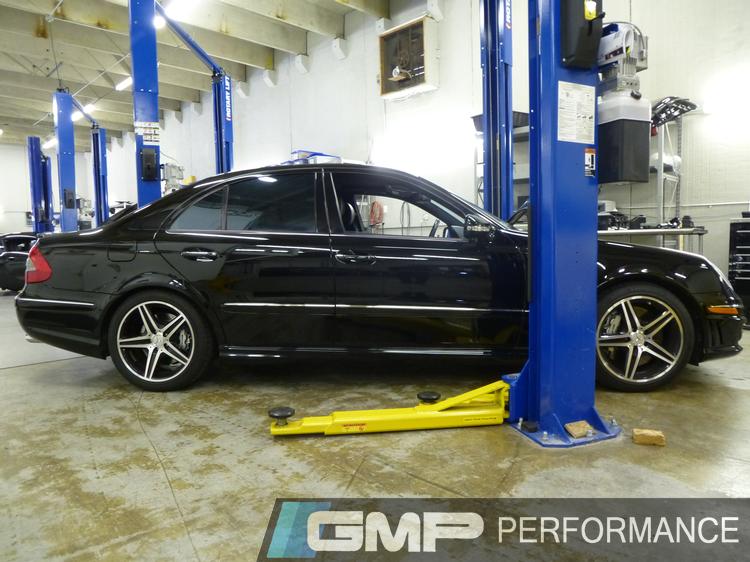
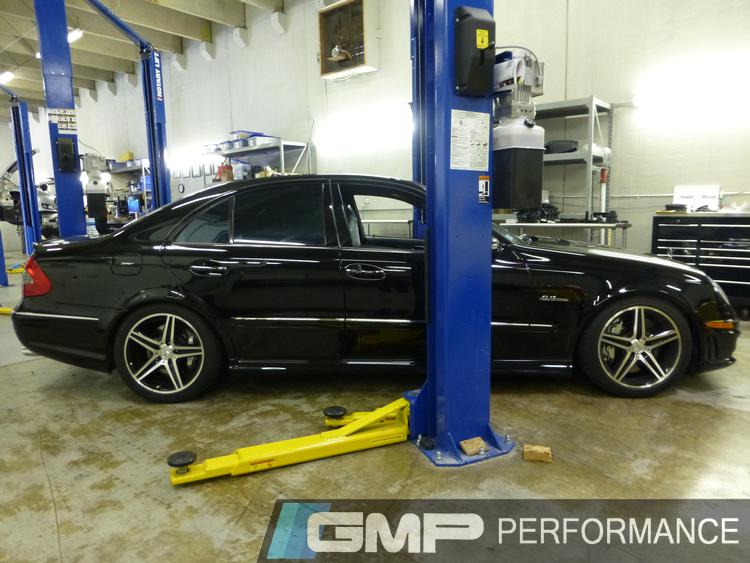
First, getting it out!
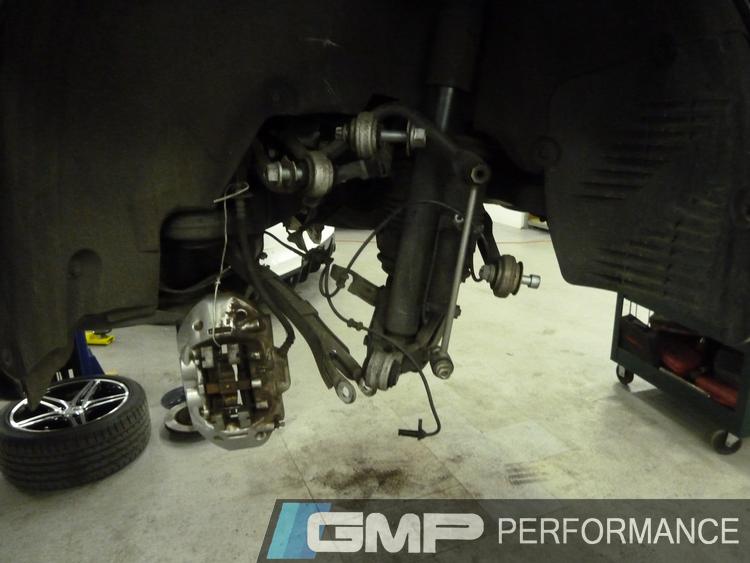

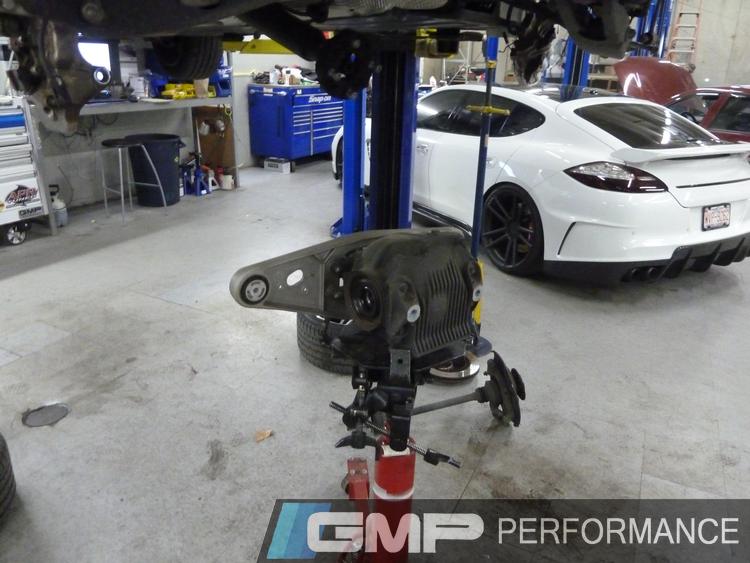
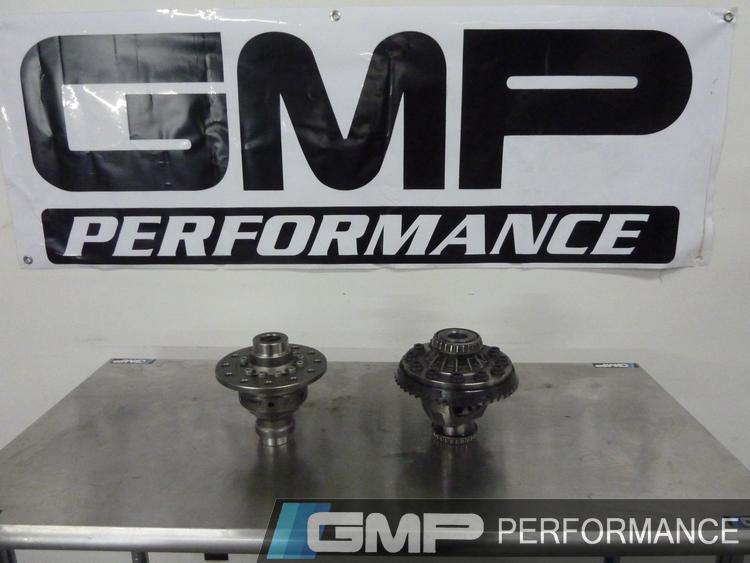
Quaife versus OEM


Kleeman's lowering module

Before the module

After the module
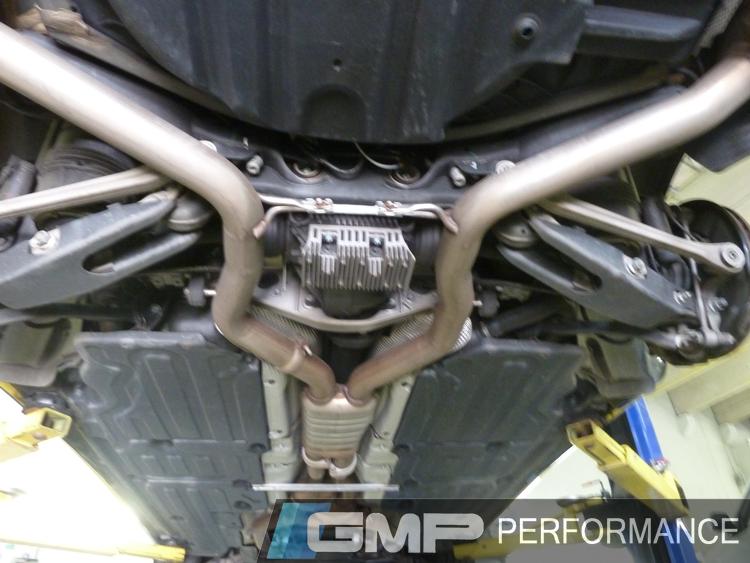
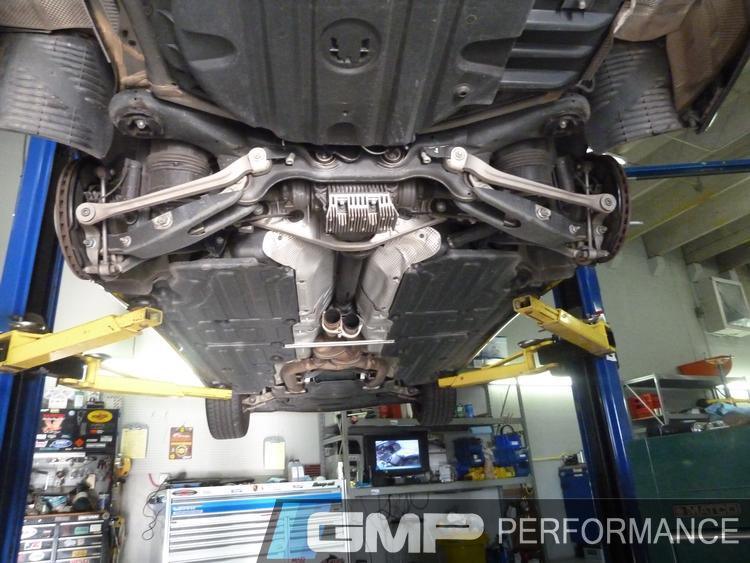
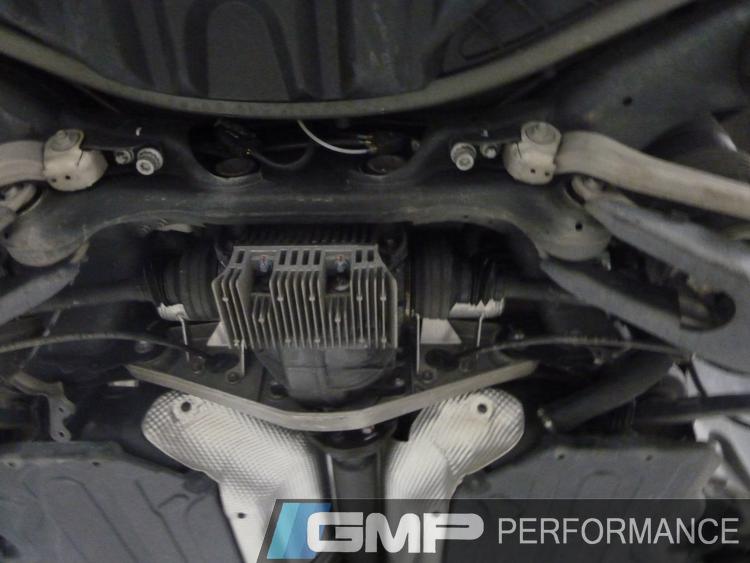
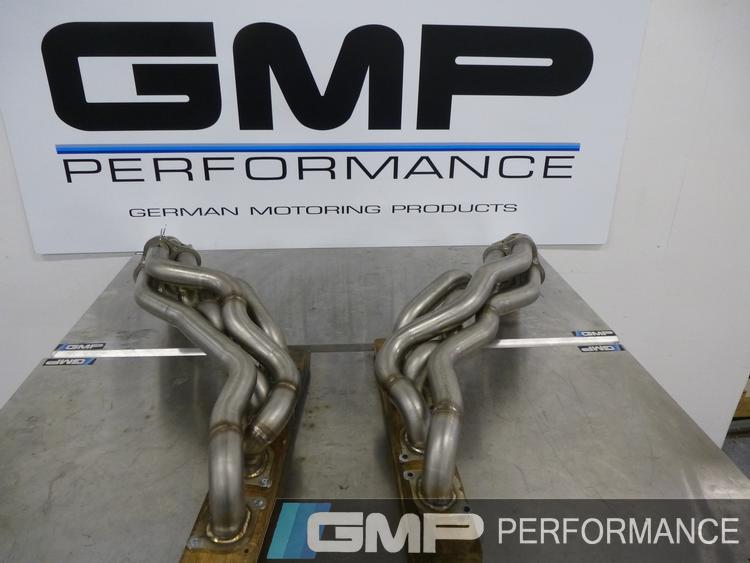
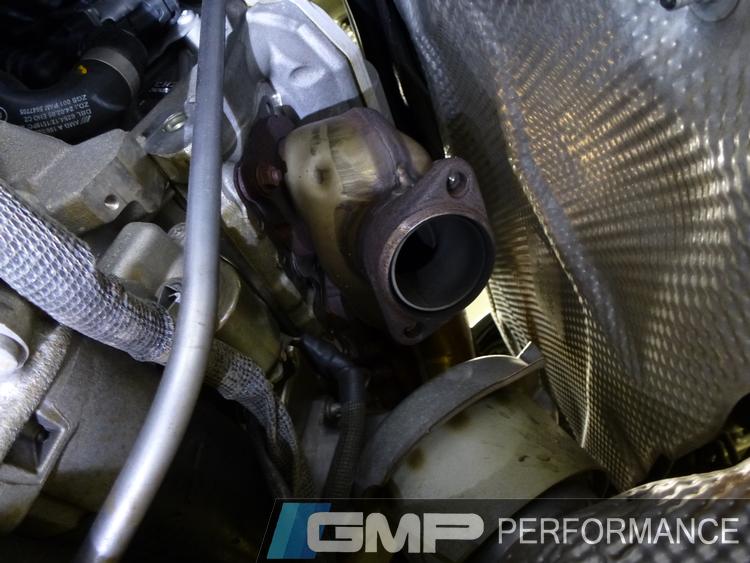
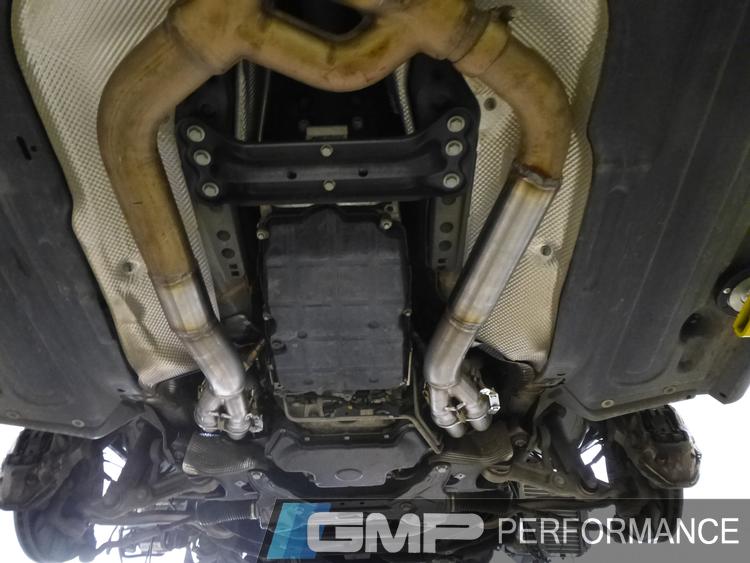
Kleemann long tube headers
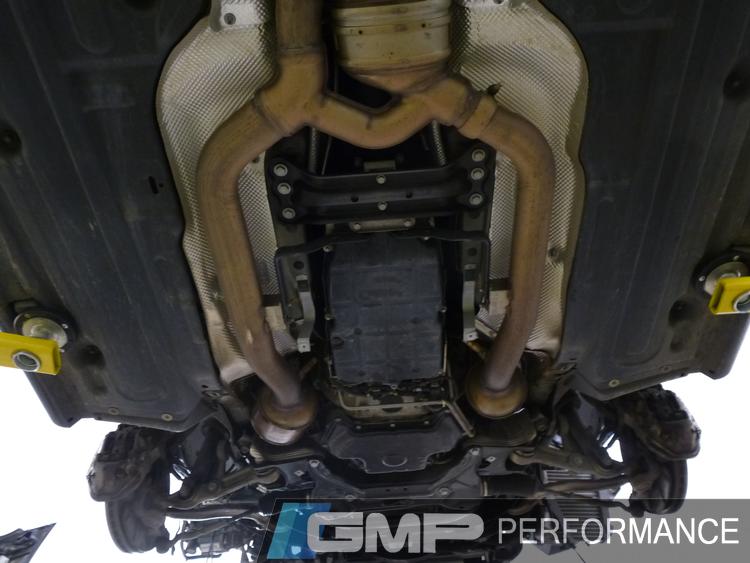
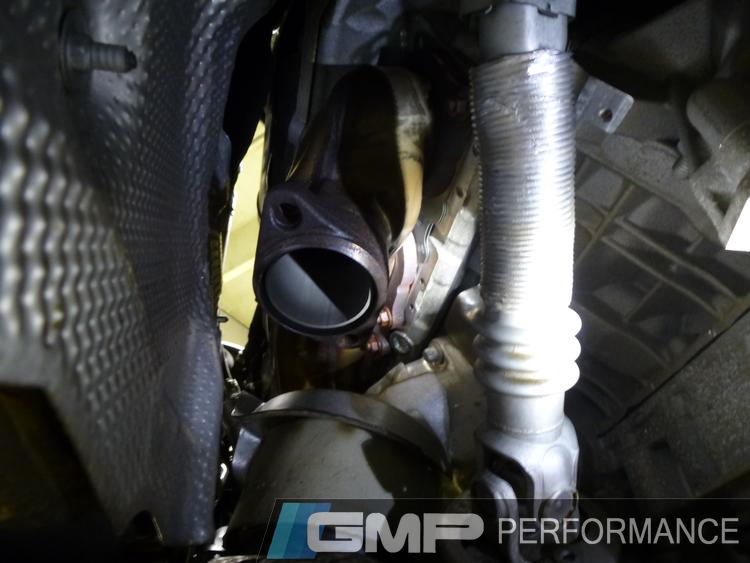
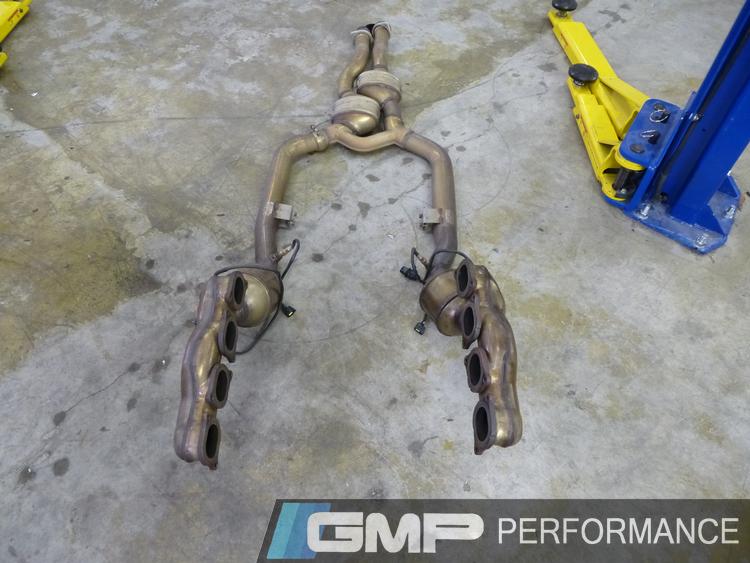
OEM Exhaust
Cats and Resonators removed
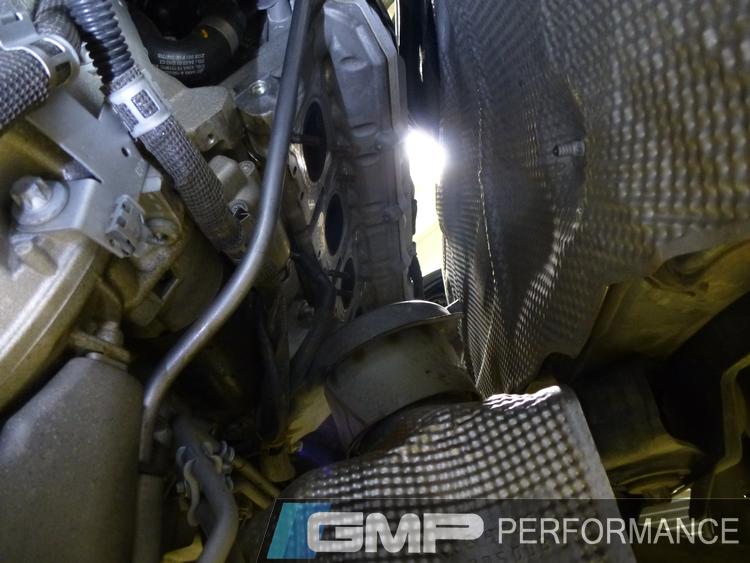
Manifolds removed
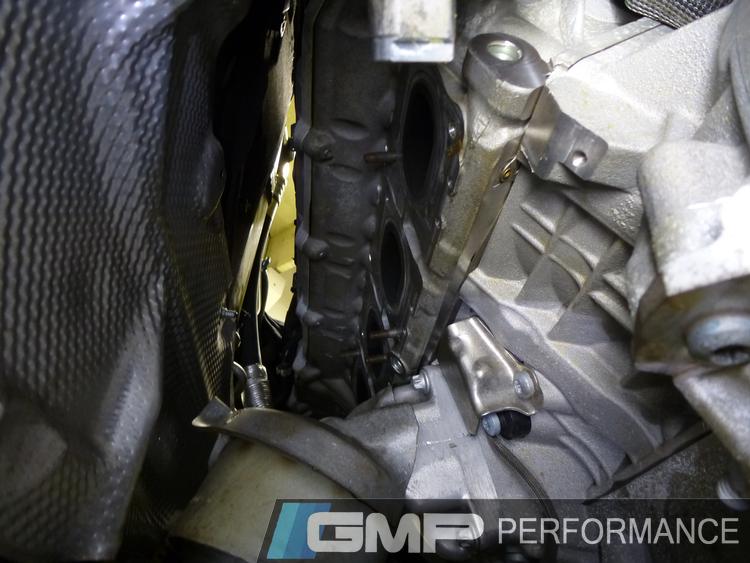
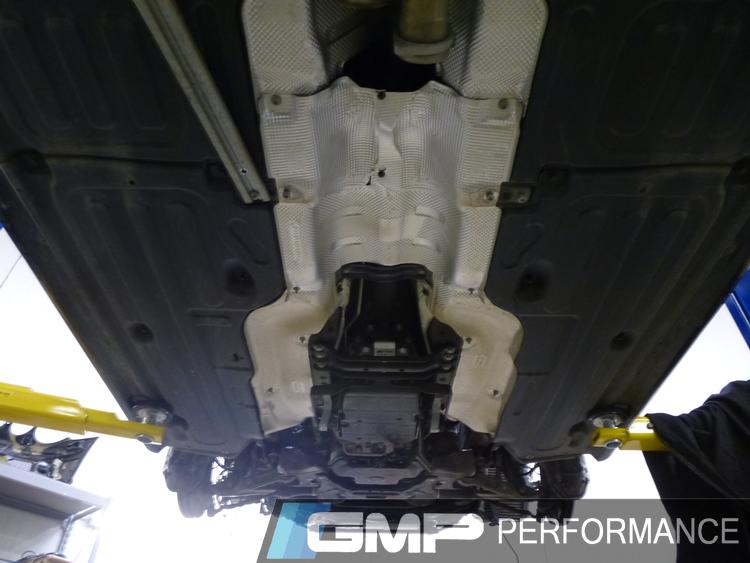
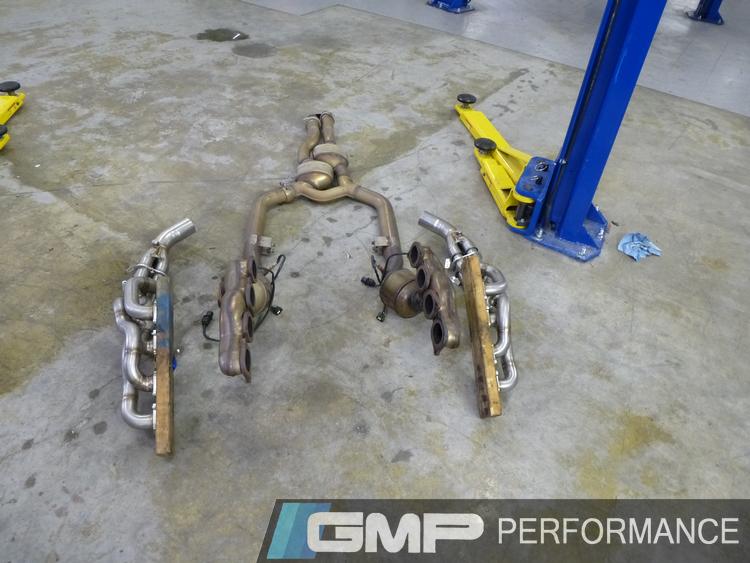
OEM Exhaust Removed
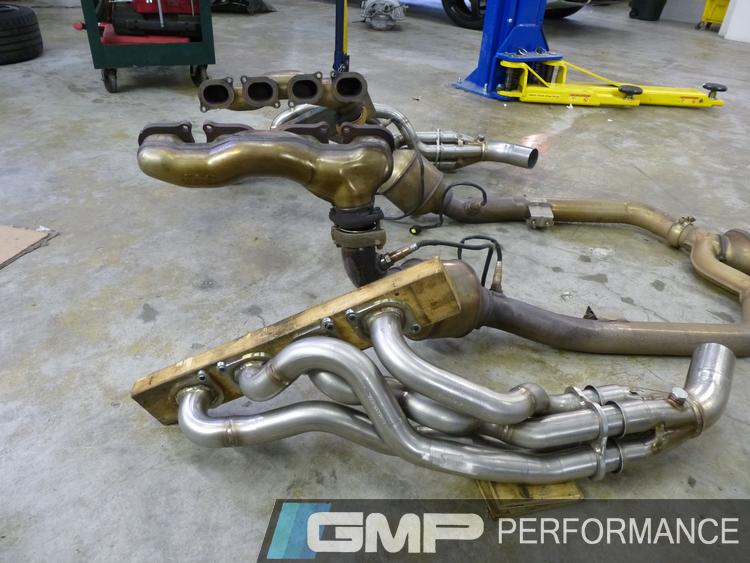
OEM versus the new Kleemann

Time to start getting it all in


O2 Sensor Installed

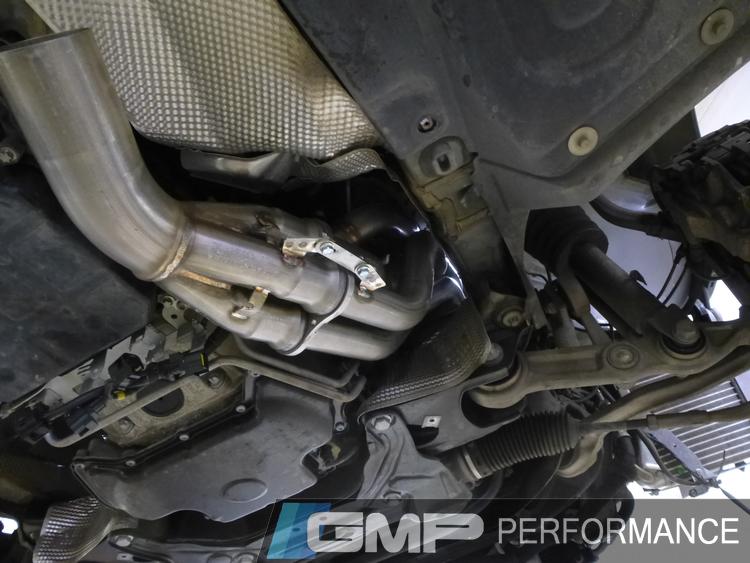
All Installed
Parts Installed:
Mercedes AMG V8 2002 MY-on Quaife ATB Helical LSD differential
Mercedes 63 AMG (M156) V8 Supercharger kit by Kleemann
Mercedes AMG63 Long Tube Kleemann Headers
KLEEMANN Electronic Body Lowering module (EBL)
Mercedes AMG63 M156 Billet Idler Pulleys
The Build
Quaife Limited Slip Differential
First, getting it out!
Quaife versus OEM
Kleeman's lowering module
Before the module
After the module
Kleemann long tube headers
OEM Exhaust
Cats and Resonators removed
Manifolds removed
OEM Exhaust Removed
OEM versus the new Kleemann
Time to start getting it all in
O2 Sensor Installed
All Installed
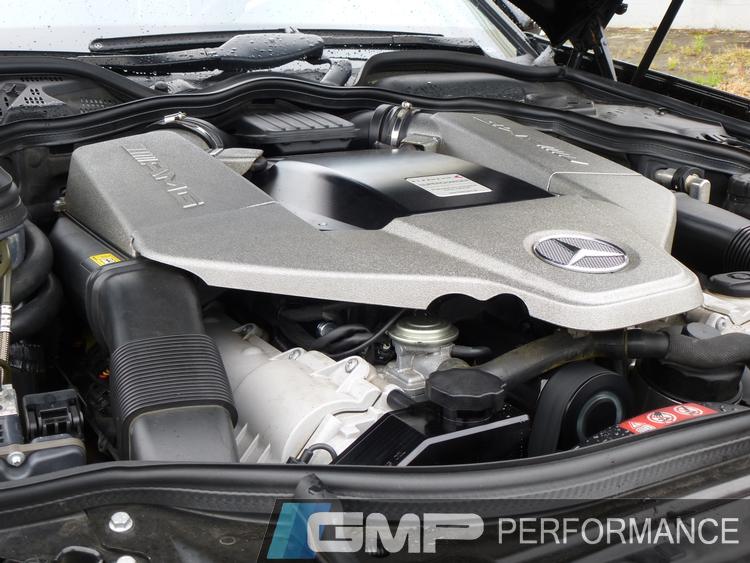
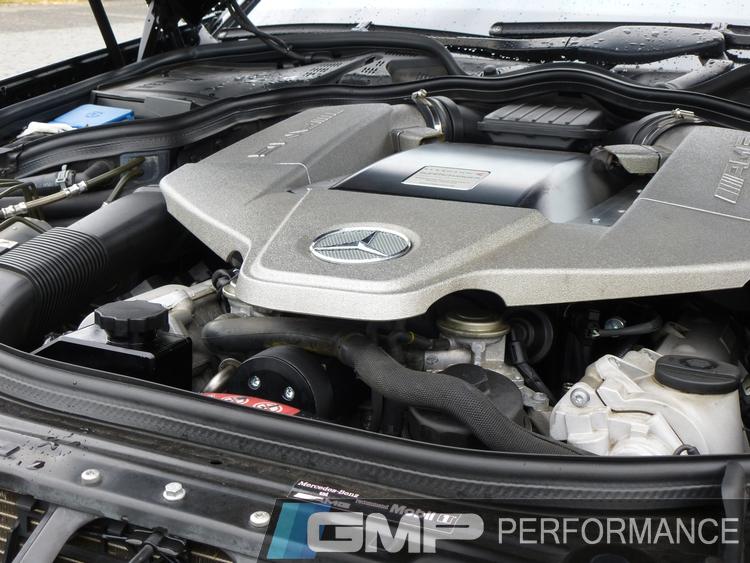
Supercharger!
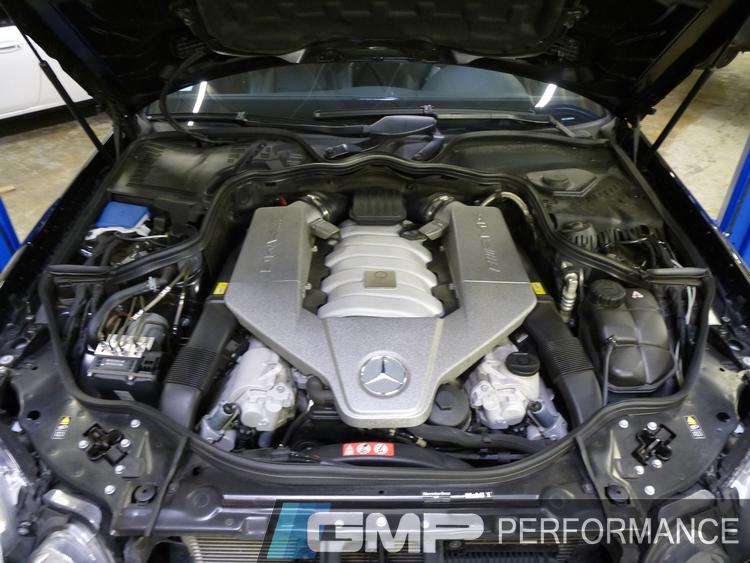
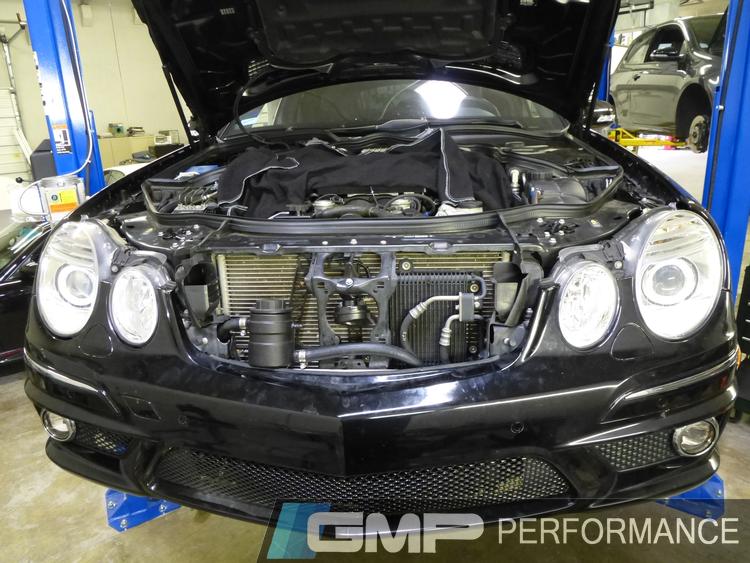
Engine bay before supercharger install

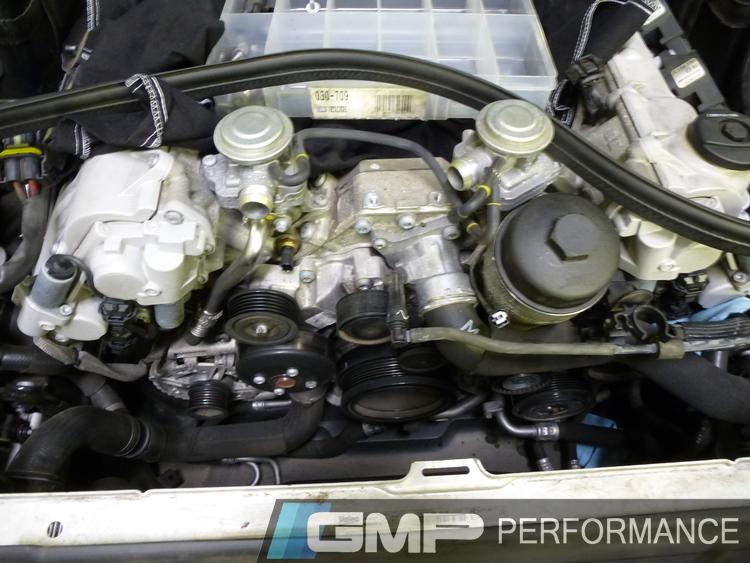
Engine covers and radiator support removed
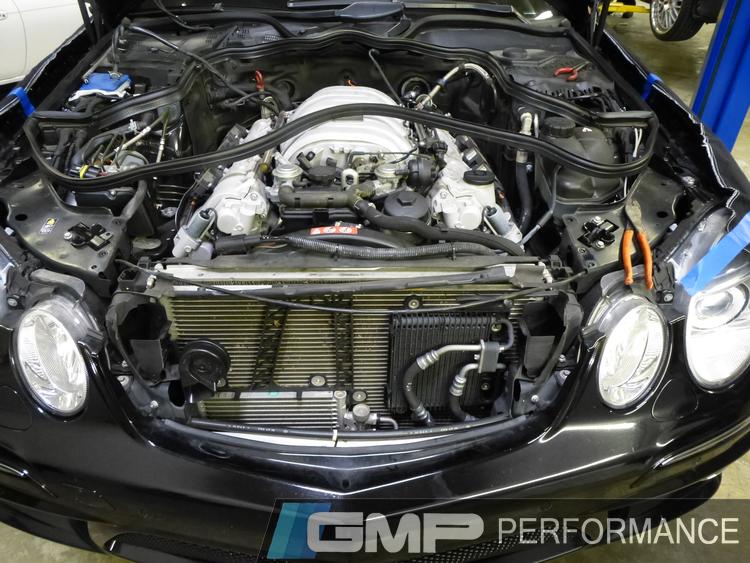
Intake removed

Power steering tank and lines removed

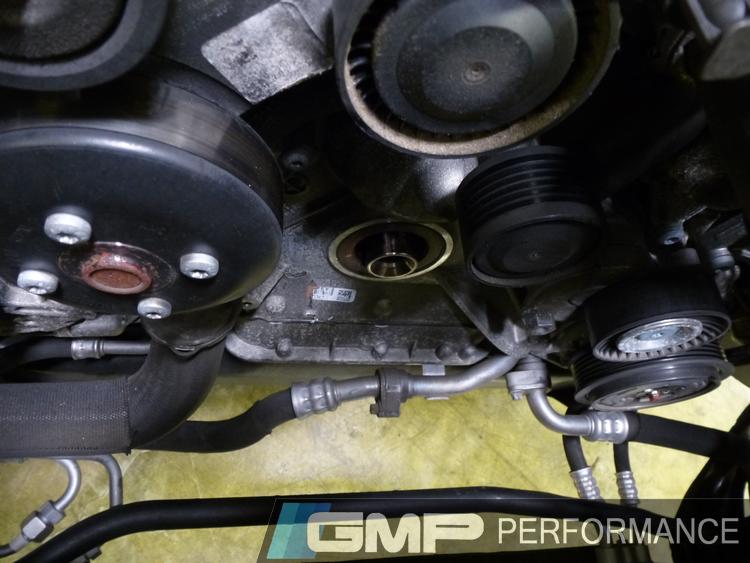
Removing OEM crank pulley
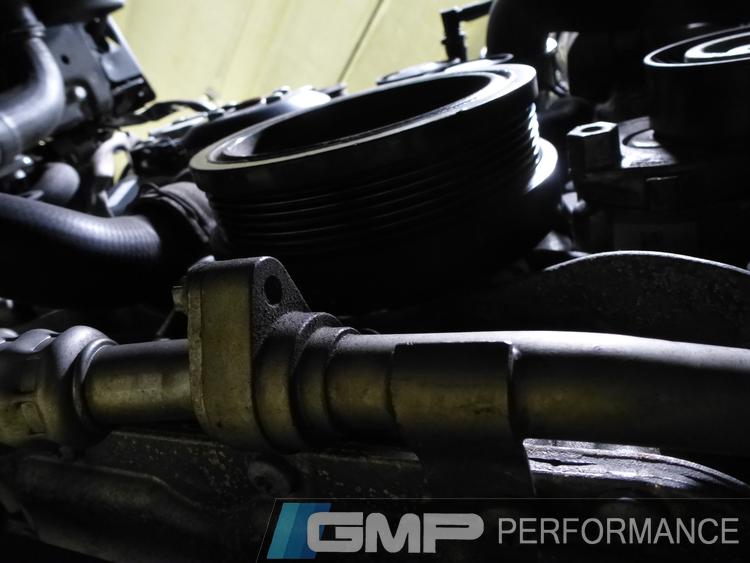

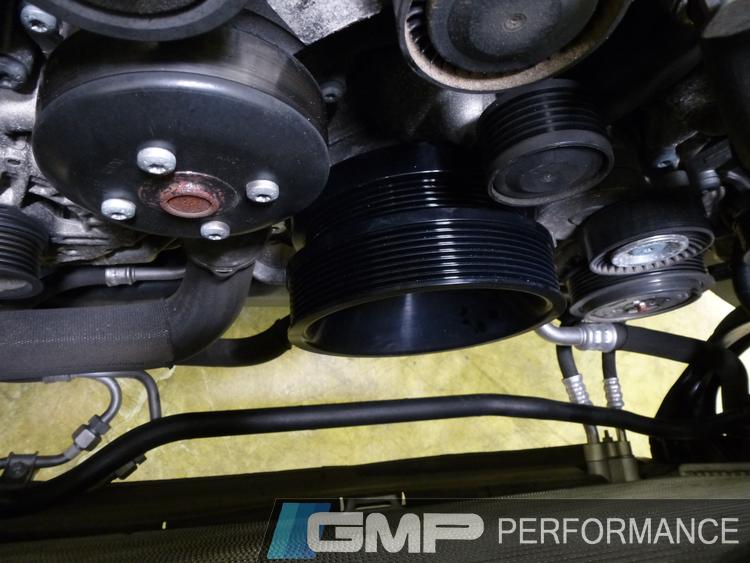
Kleemann crank pulley installed

Idler pulleys removed
Supercharger tensioner bracket installed
Power steering tank bracket installed
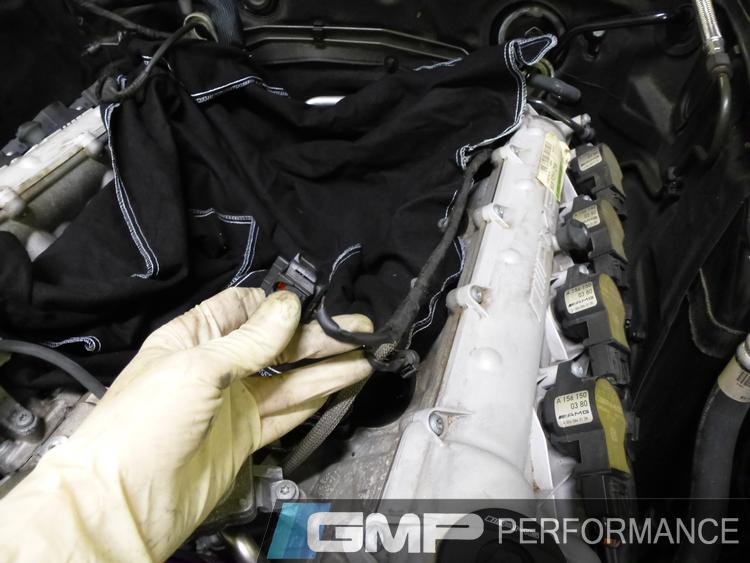
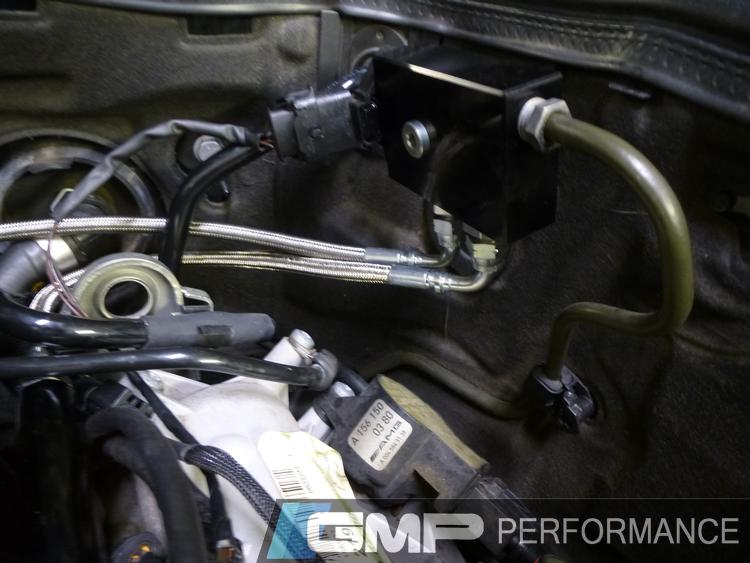
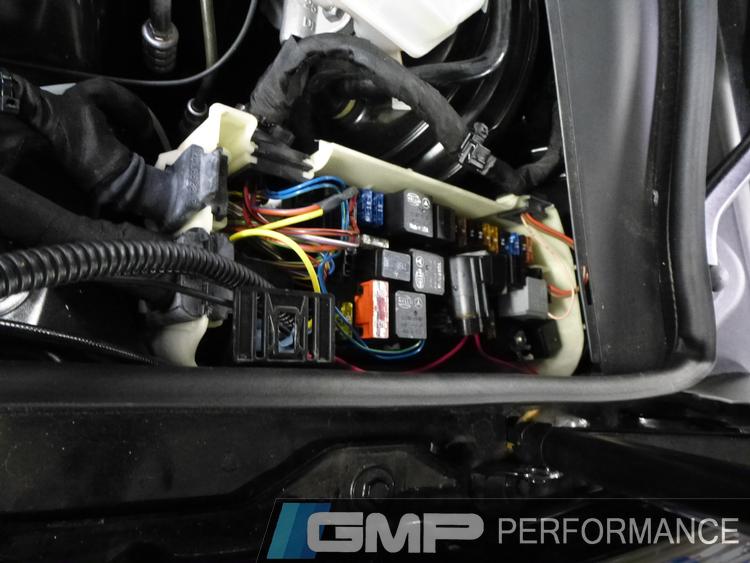
Fuel pressure sensor harness relocated to rear of engine bay


Air intake temp sensor removed
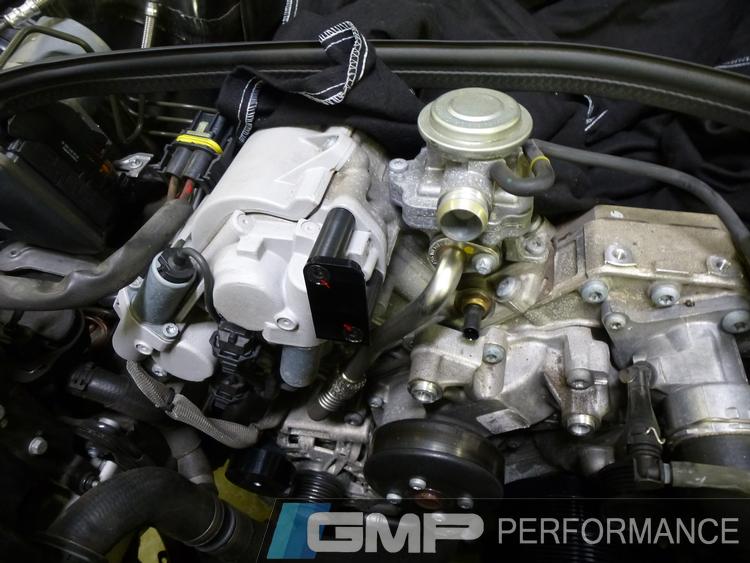
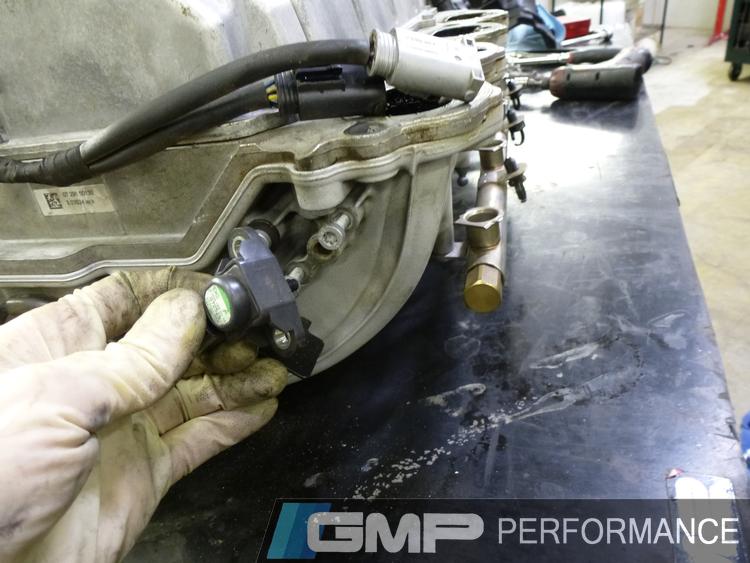
MAP Sensor removed

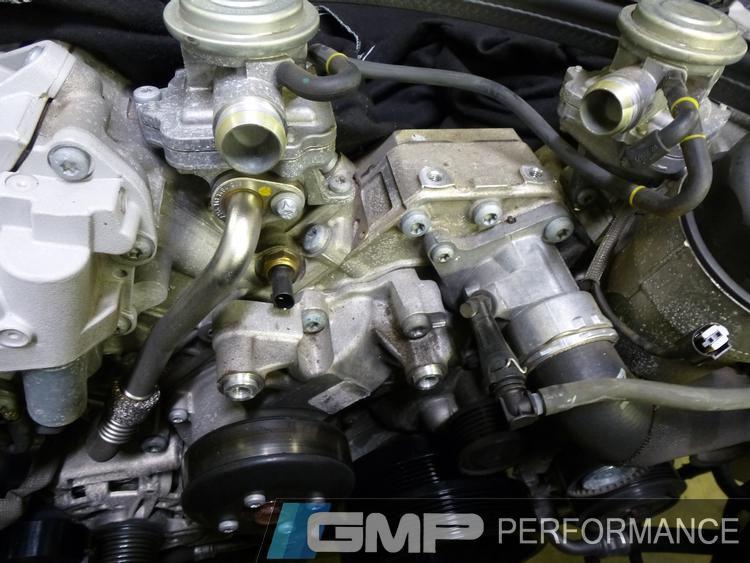
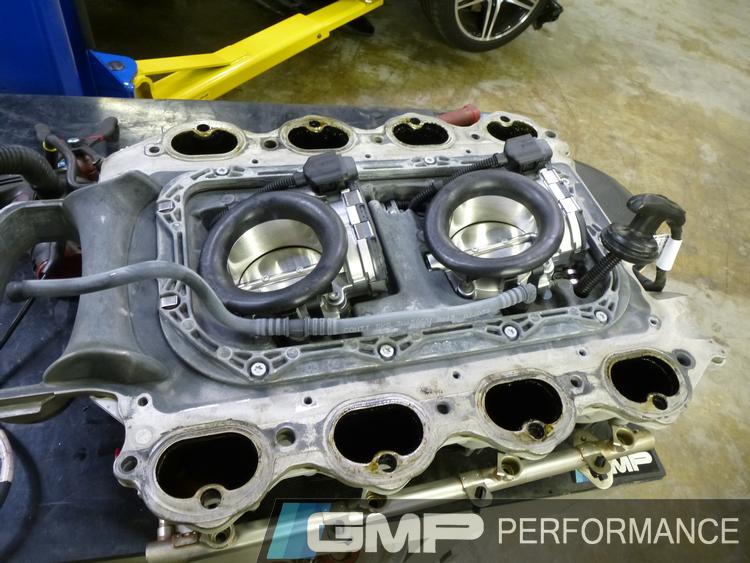
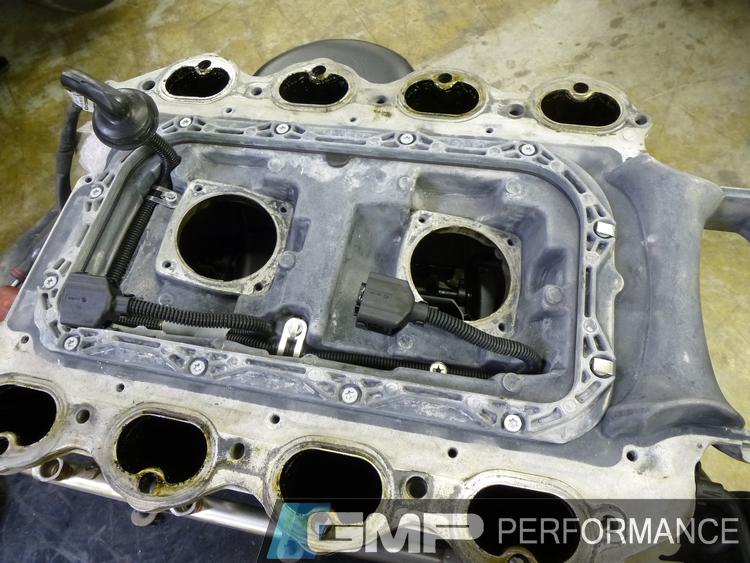
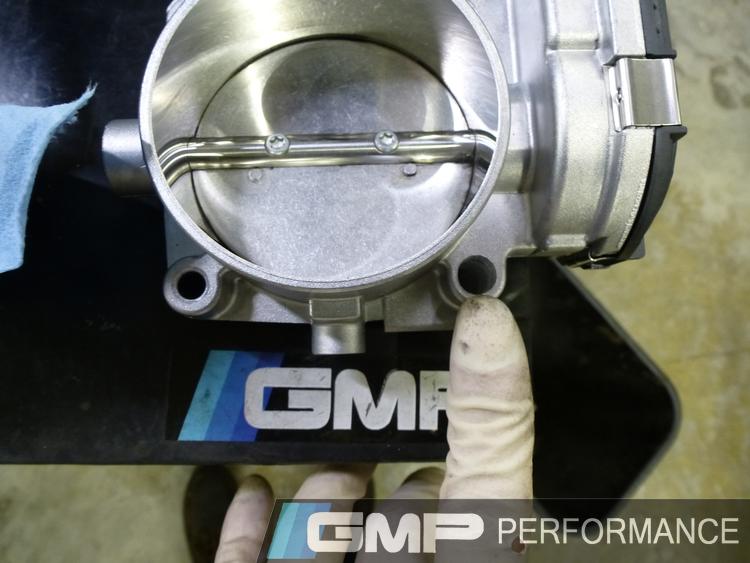
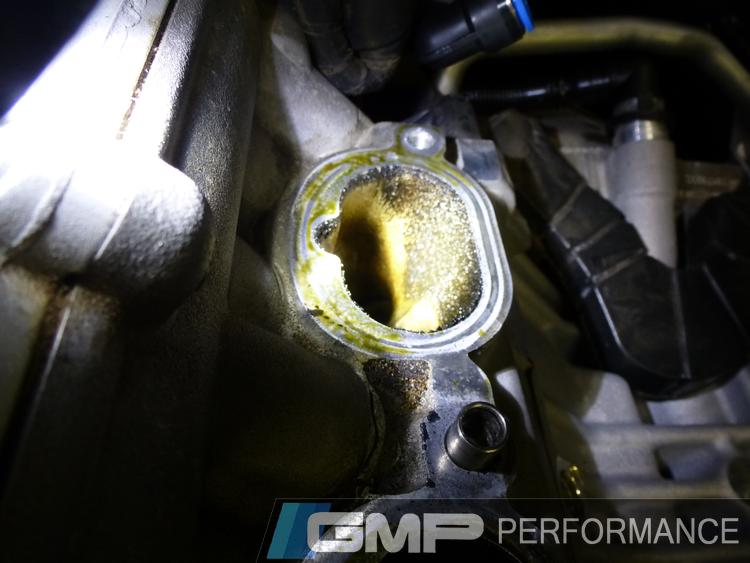
Intake plenum opened up to expose throttle bodies
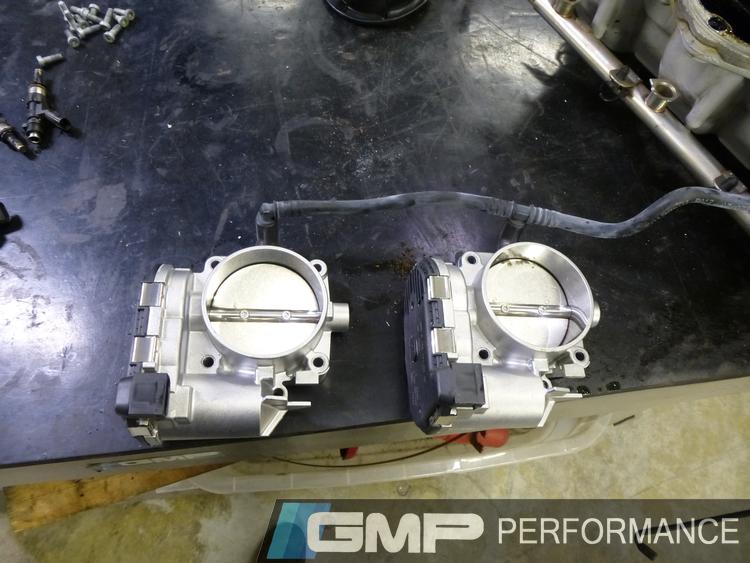
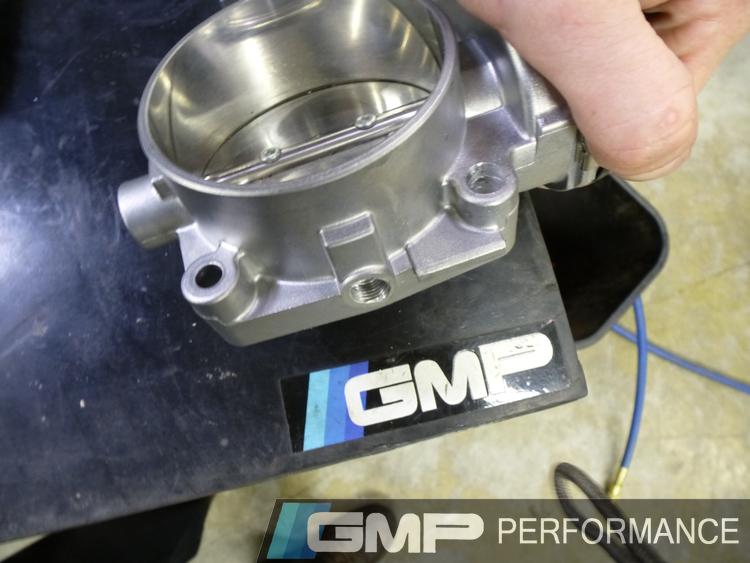
Throttle bodies removed

Right throttle body after hand cleaning compared to before

Throttle body wiring harness removed
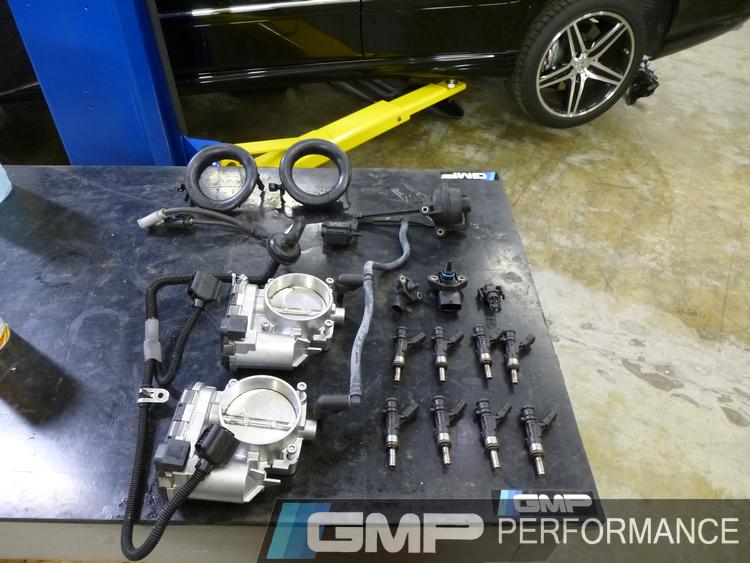
All parts removed from intake cleaned, inspected and ready to be reused
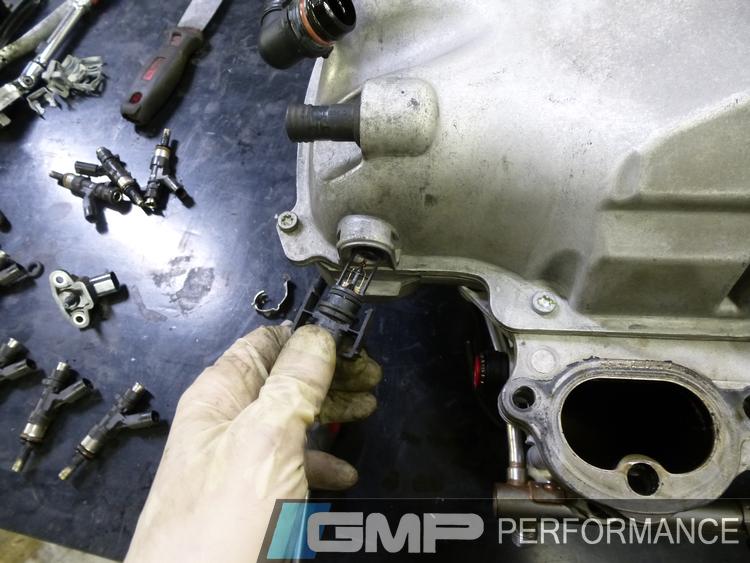
Fuel injectors installed

Air intake sensor installed

Hole enlarged for installation on supercharger

OEM Bleed port cut down and taped for plug


Air bleed hole plugged

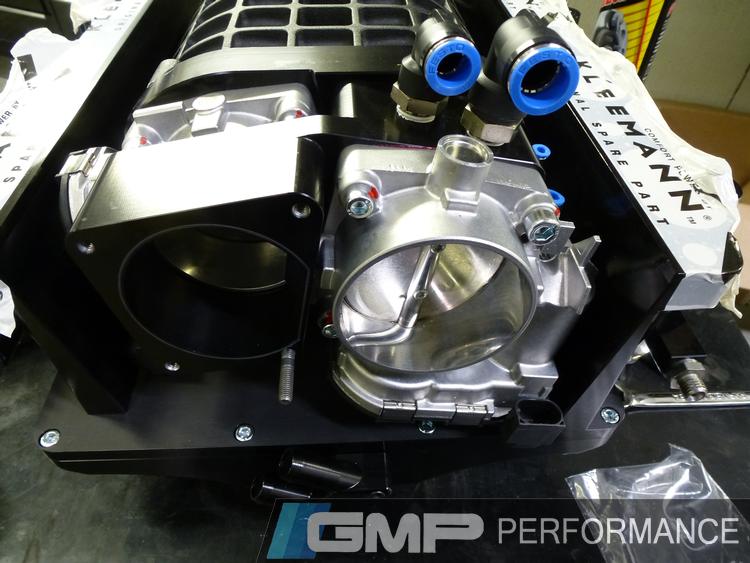
Throttle bodies installed on charger unit

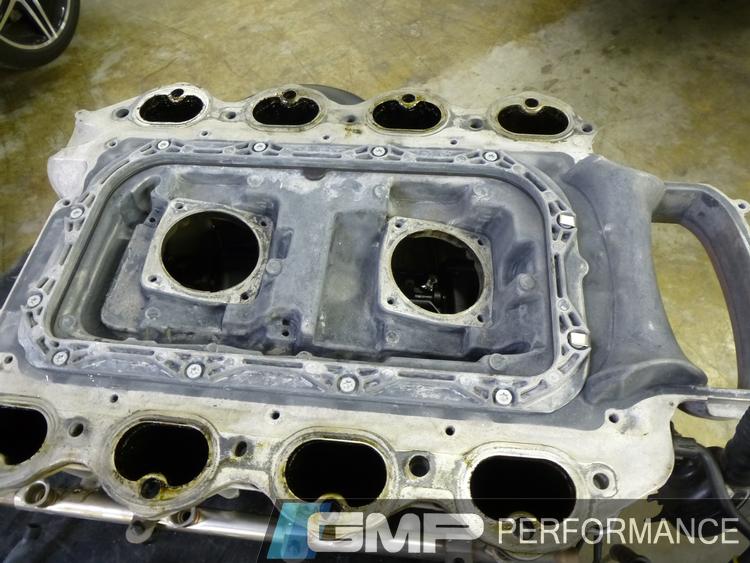
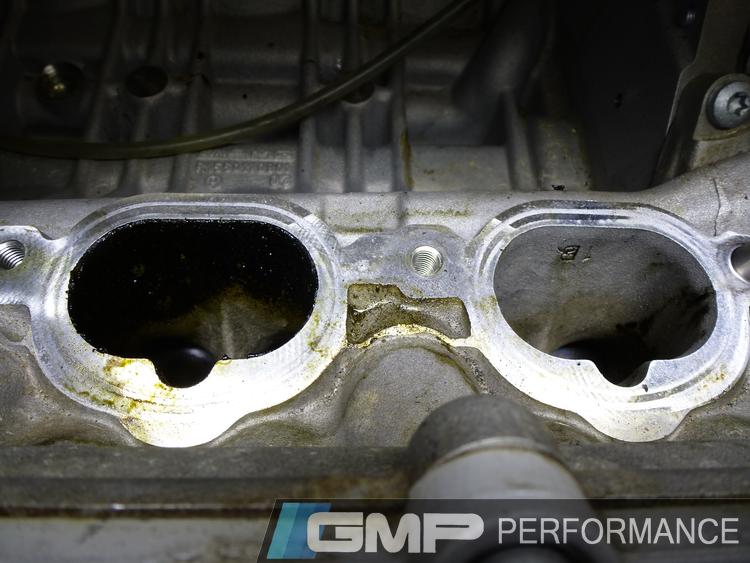
Intake ports getting a good cleaning


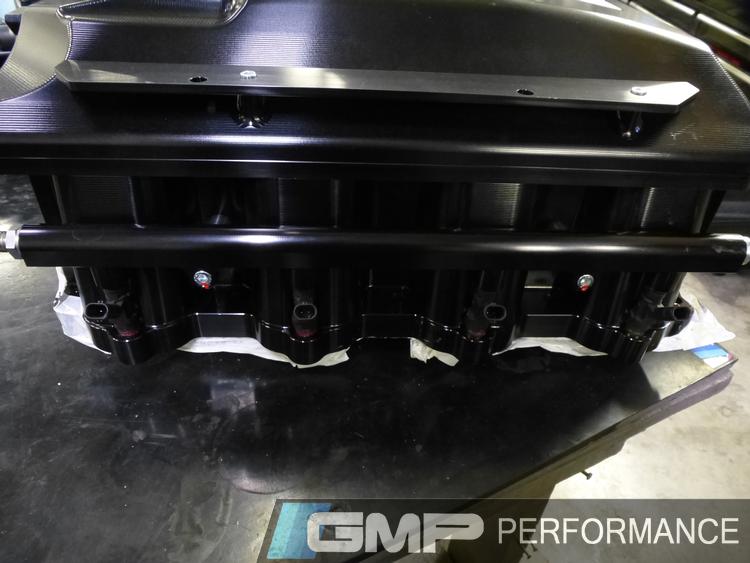
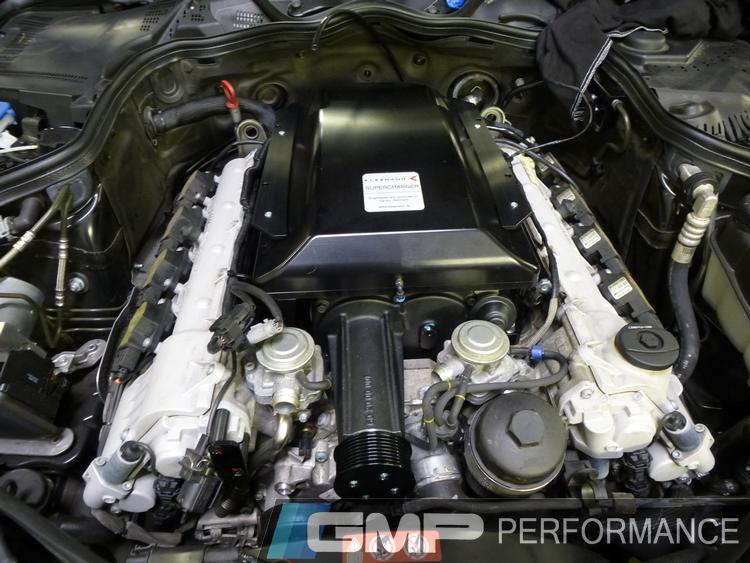
Charger is mounted in

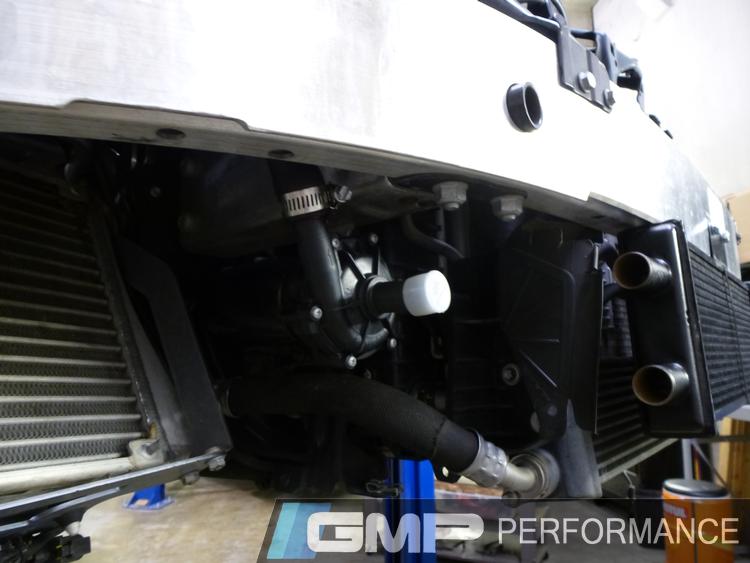
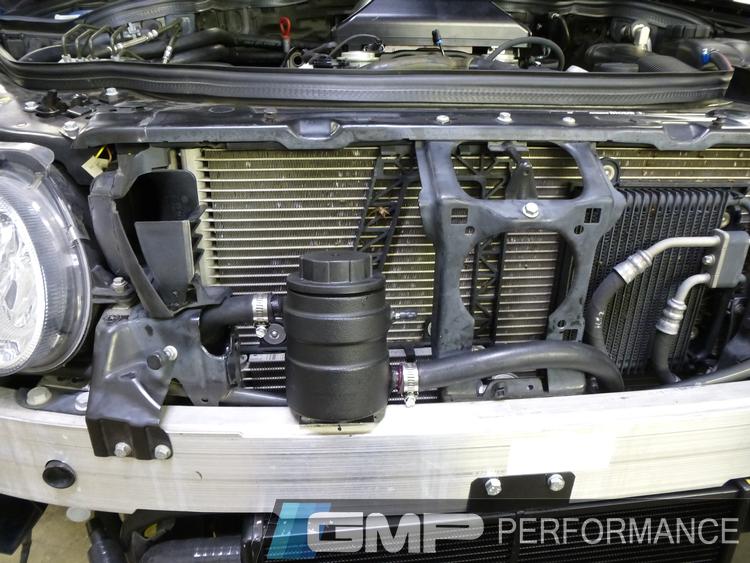
Supercharger radiator water pump and the custom bracket we made


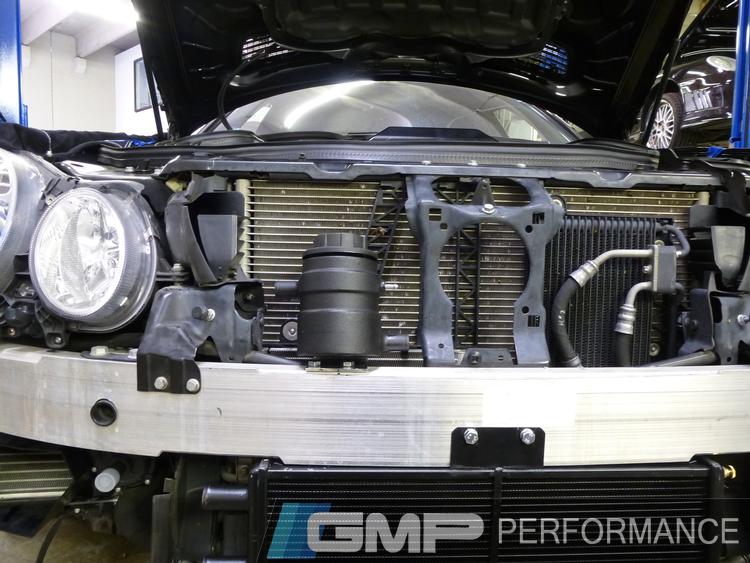
Low profile supercharger radiator

Fuel lines connected to fuel block

Radiator and water pump installed

Engine bay before supercharger install
Engine covers and radiator support removed
Intake removed
Power steering tank and lines removed
Removing OEM crank pulley
Kleemann crank pulley installed
Idler pulleys removed
Supercharger tensioner bracket installed
Power steering tank bracket installed
Fuel pressure sensor harness relocated to rear of engine bay
Air intake temp sensor removed
MAP Sensor removed
Intake plenum opened up to expose throttle bodies
Throttle bodies removed
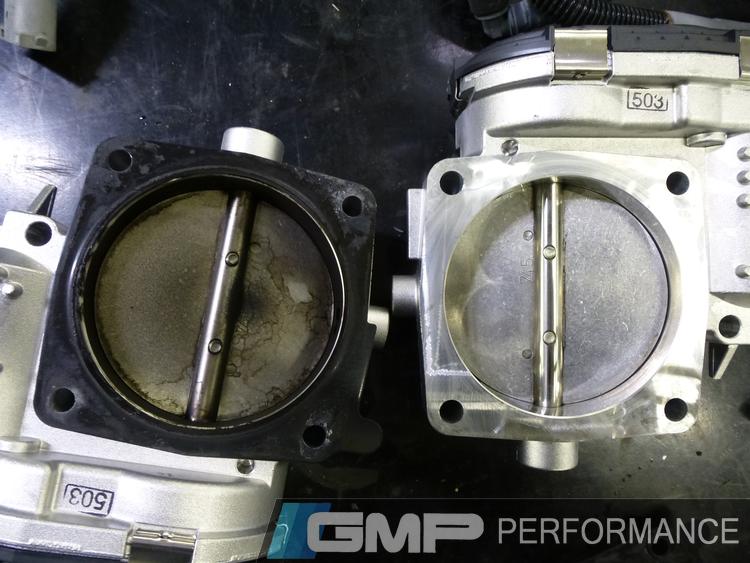
Right throttle body after hand cleaning compared to before
Throttle body wiring harness removed
All parts removed from intake cleaned, inspected and ready to be reused
Fuel injectors installed
Air intake sensor installed
Hole enlarged for installation on supercharger
OEM Bleed port cut down and taped for plug
Air bleed hole plugged
Throttle bodies installed on charger unit
Intake ports getting a good cleaning
Charger is mounted in
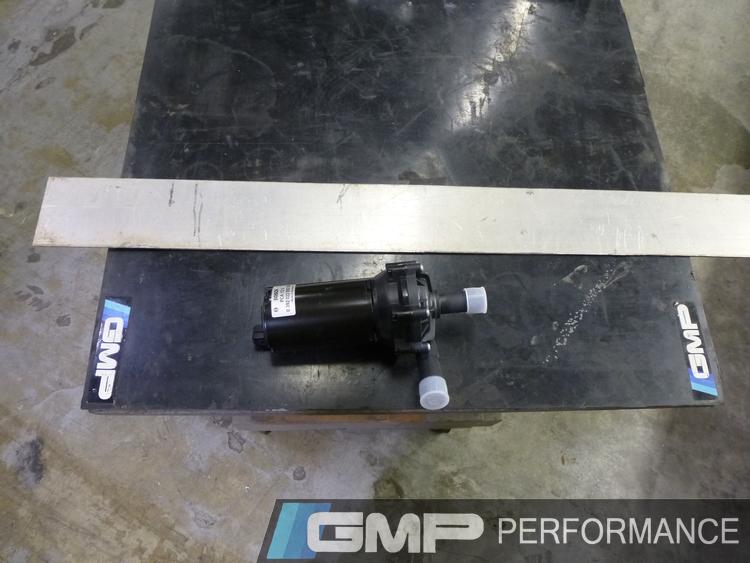
Supercharger radiator water pump and the custom bracket we made
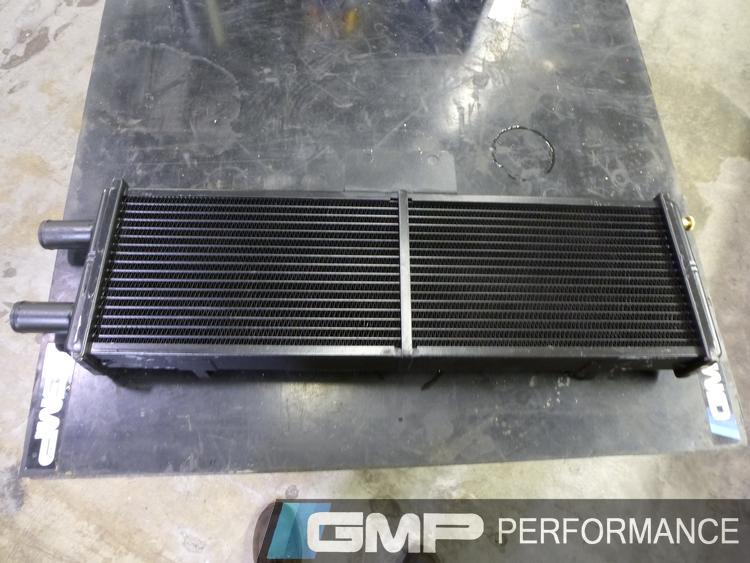
Low profile supercharger radiator
Fuel lines connected to fuel block
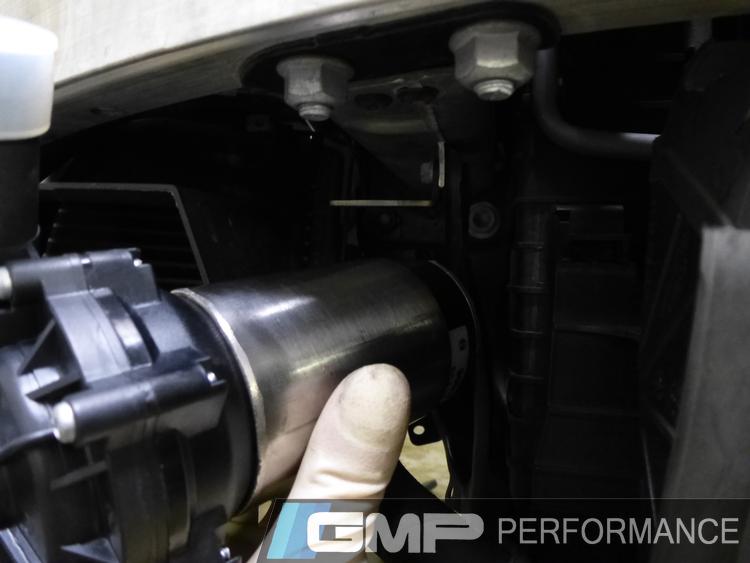
Radiator and water pump installed
Supercharger!
Engine bay before supercharger install
Engine covers and radiator support removed

Intake removed

Power steering tank and lines removed
Removing OEM crank pulley

Kleemann crank pulley installed
Idler pulleys removed

Supercharger tensioner bracket installed

Power steering tank bracket installed

Fuel pressure sensor harness relocated to rear of engine bay
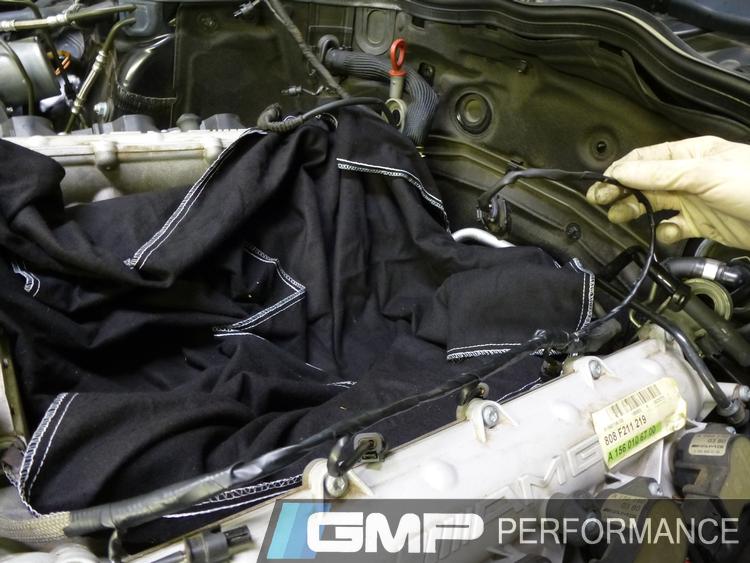
Air intake temp sensor removed

MAP Sensor removed
Intake plenum opened up to expose throttle bodies

Throttle bodies removed

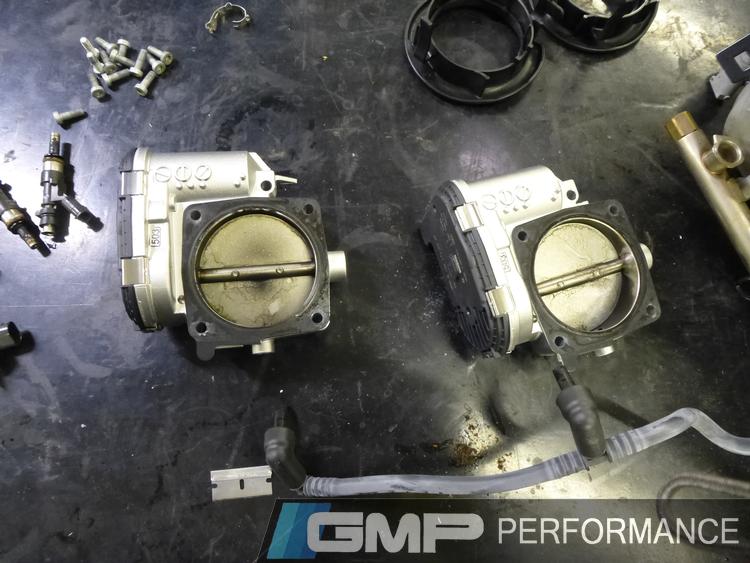
Right throttle body after hand cleaning compared to before

Throttle body wiring harness removed

All parts removed from intake cleaned, inspected and ready to be reused

Fuel injectors installed
Air intake sensor installed
Hole enlarged for installation on supercharger
OEM Bleed port cut down and taped for plug

Air bleed hole plugged

Throttle bodies installed on charger unit
Intake ports getting a good cleaning
Charger is mounted in
Supercharger radiator water pump and the custom bracket we made


Low profile supercharger radiator


Fuel lines connected to fuel block
Radiator and water pump installed
Engine bay before supercharger install
Engine covers and radiator support removed
Intake removed
Power steering tank and lines removed
Removing OEM crank pulley
Kleemann crank pulley installed
Idler pulleys removed
Supercharger tensioner bracket installed
Power steering tank bracket installed
Fuel pressure sensor harness relocated to rear of engine bay
Air intake temp sensor removed
MAP Sensor removed
Intake plenum opened up to expose throttle bodies
Throttle bodies removed
Right throttle body after hand cleaning compared to before
Throttle body wiring harness removed
All parts removed from intake cleaned, inspected and ready to be reused
Fuel injectors installed
Air intake sensor installed
Hole enlarged for installation on supercharger
OEM Bleed port cut down and taped for plug
Air bleed hole plugged
Throttle bodies installed on charger unit
Intake ports getting a good cleaning
Charger is mounted in
Supercharger radiator water pump and the custom bracket we made
Low profile supercharger radiator
Fuel lines connected to fuel block
Radiator and water pump installed
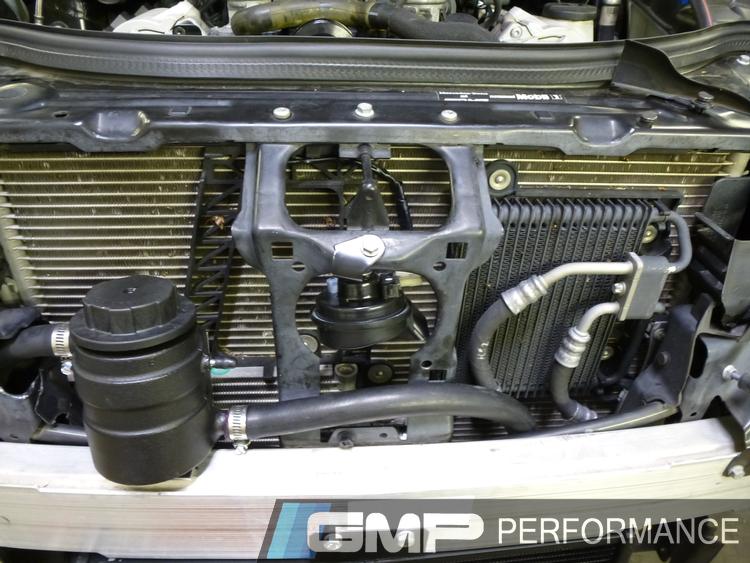
Horn removed and radiator tank installed
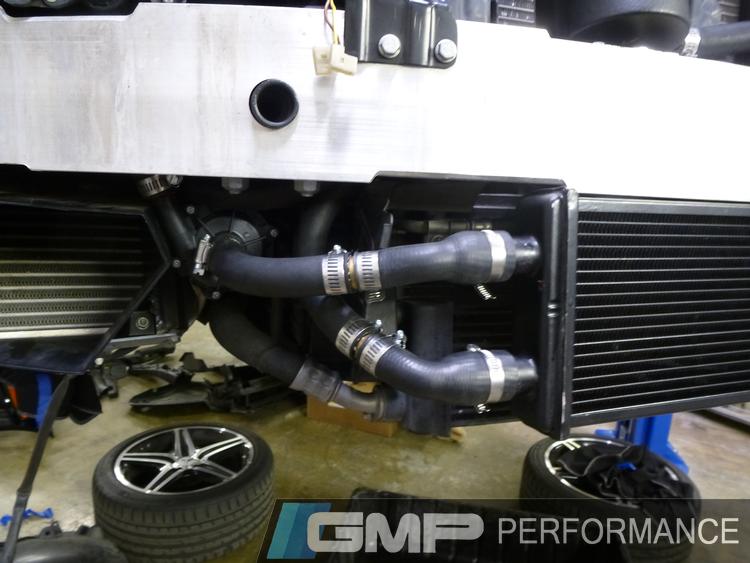
Coolant hoses routed and connected
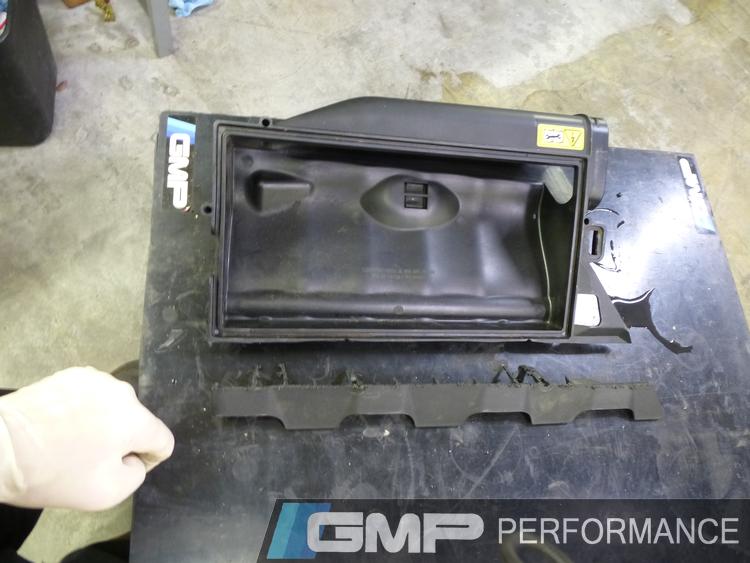
Air filter housing modified to fit over charger
Wiring the water pump fuse and relay
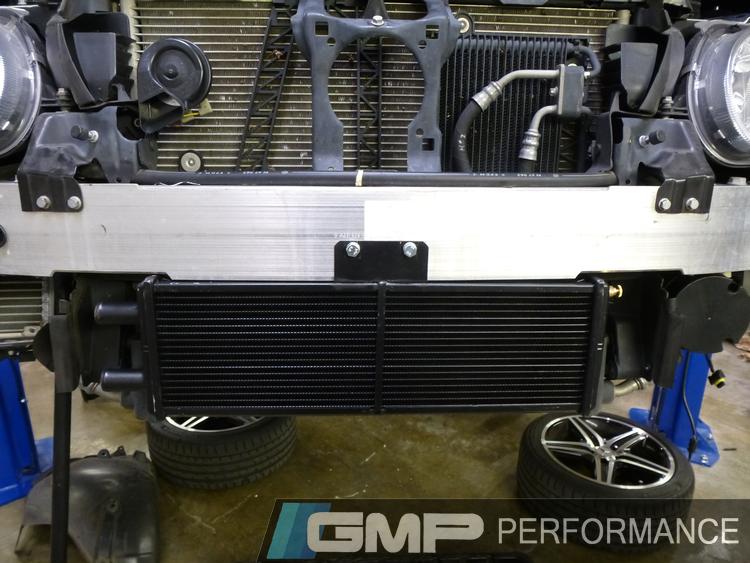
Radiator coolant lines installed
Horn relocated
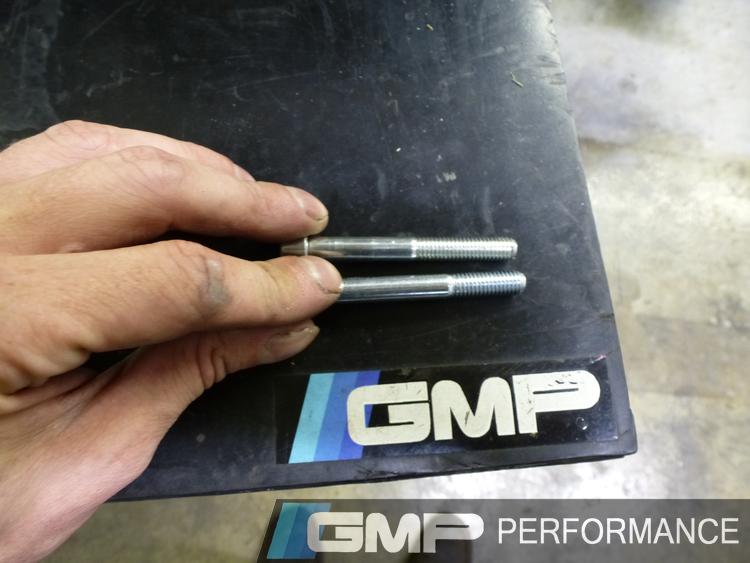
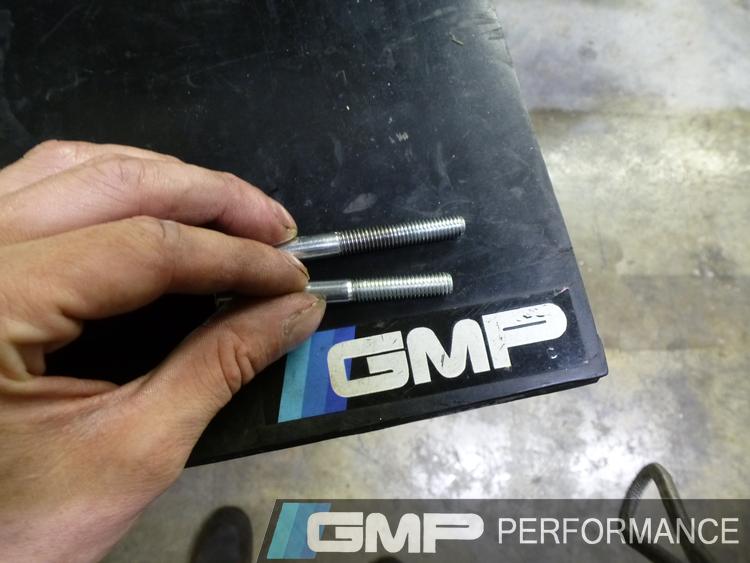
Bolt for new pulleys
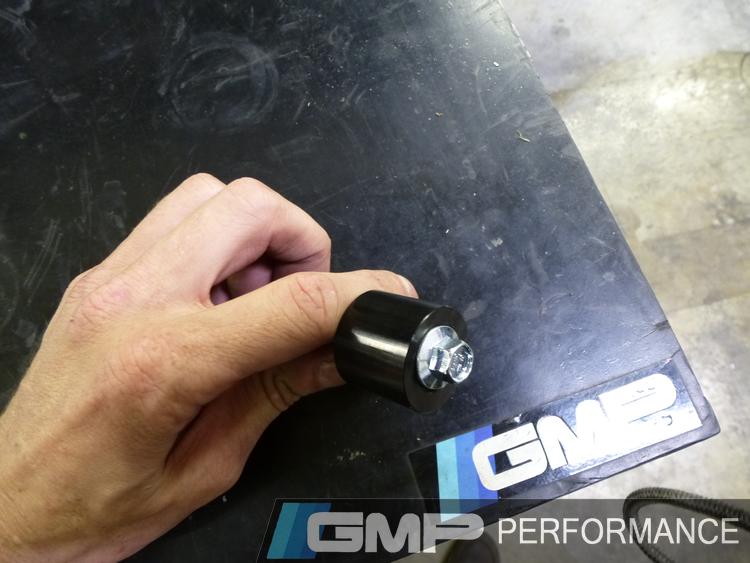
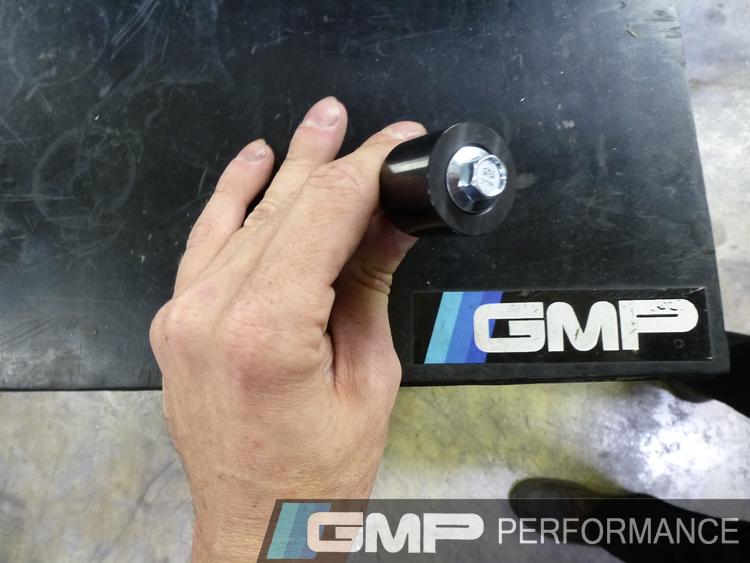
Bolt sized to fit in hole
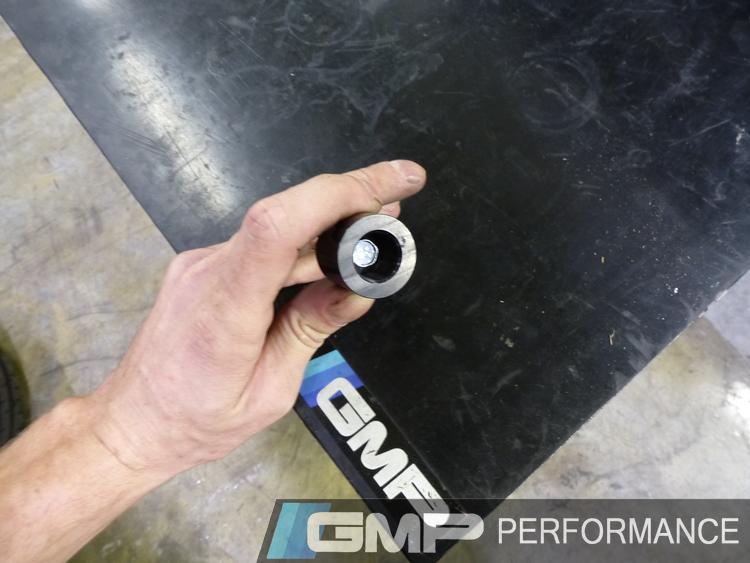
Not enough threads on new bolt so we went ahead and machined some more!
Charger pulleys and belts test fitted

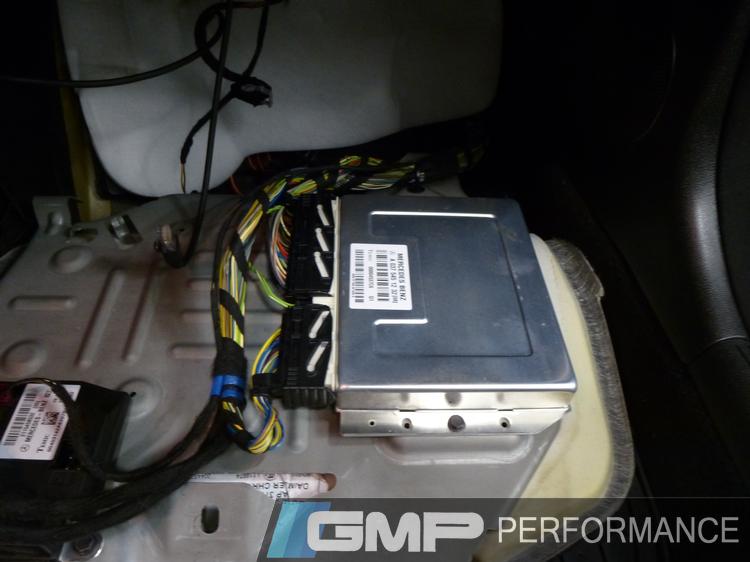
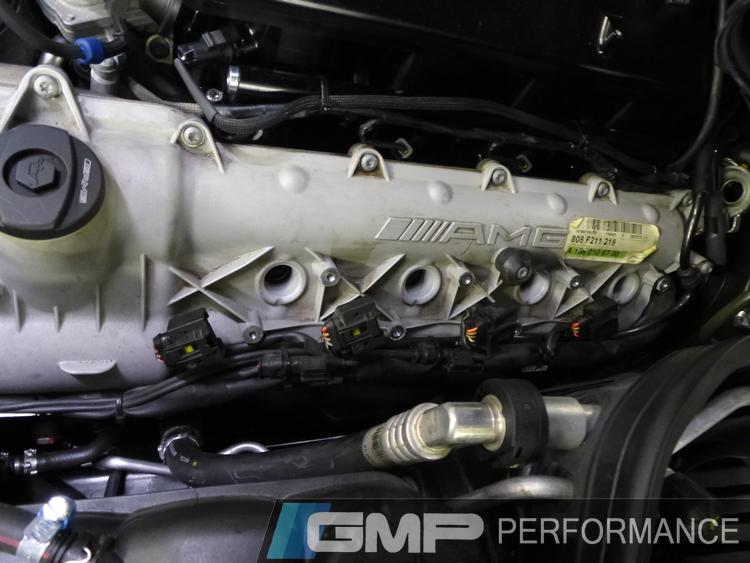
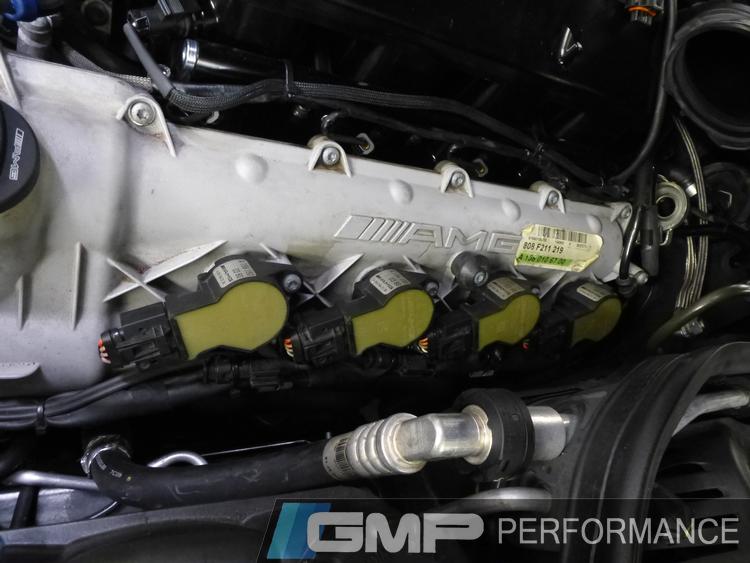
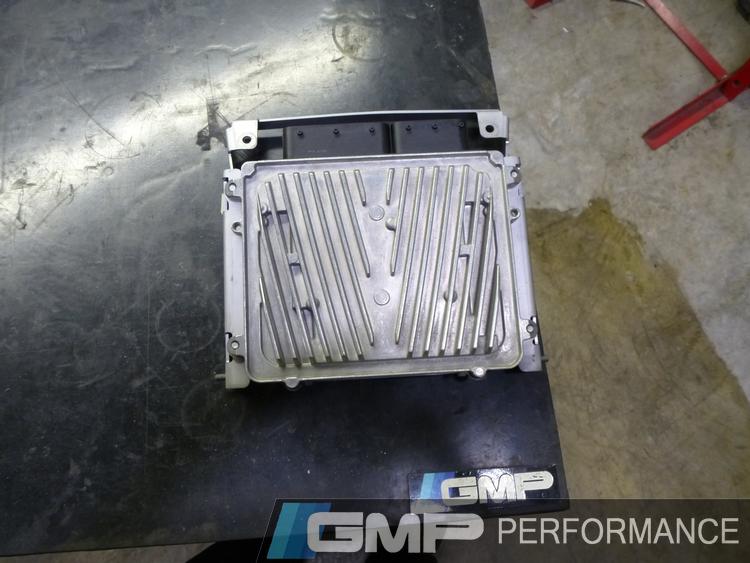
Pulling the ECU for programming
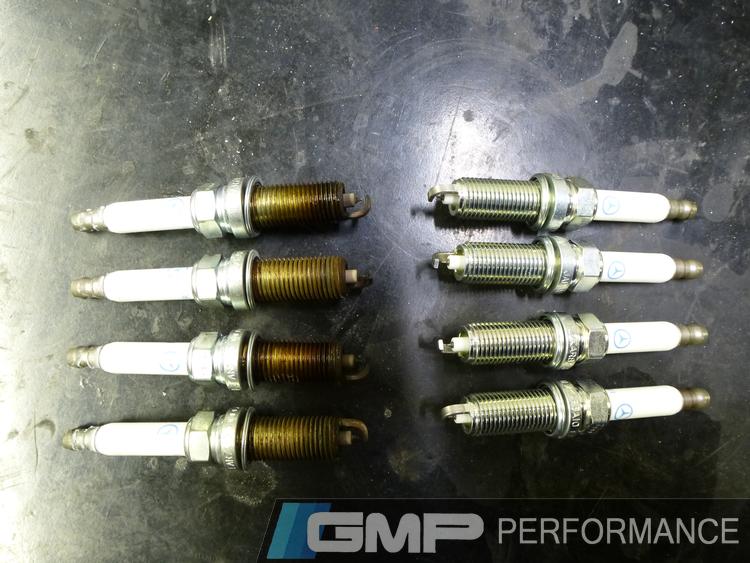
Changing spark plugs
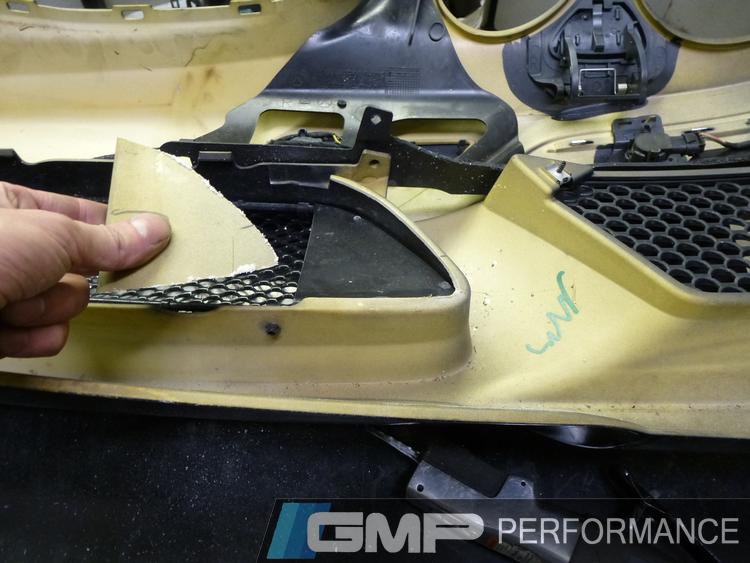
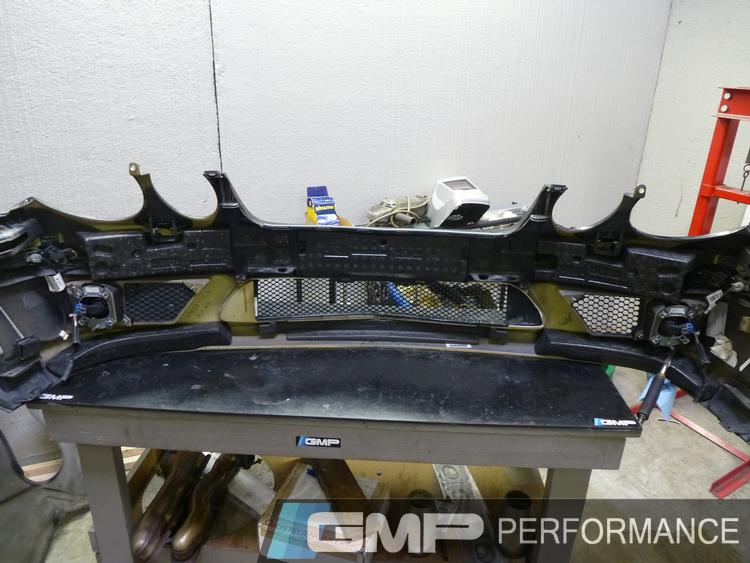
This is where we found out that the front bumper cover would need more clearance for all the hoses.

Nothing to worry about! With some careful trimming, we cut away enough space to allow that room.

All foam inserts back into the bumper cover
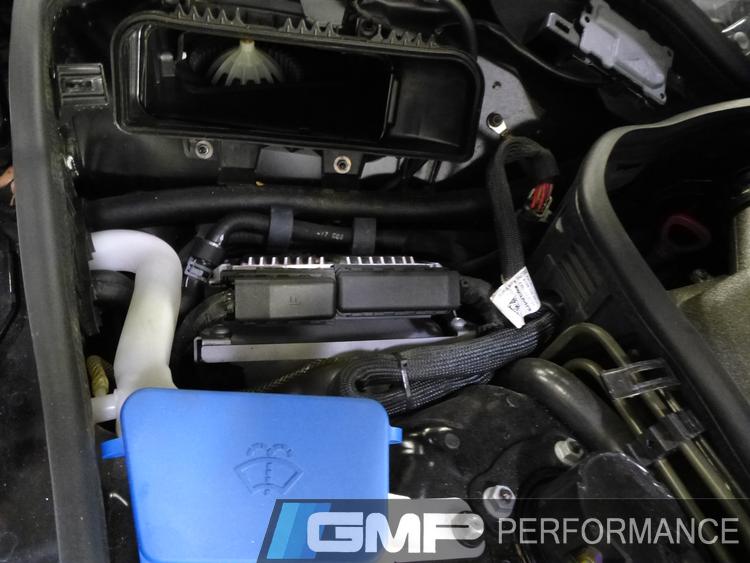
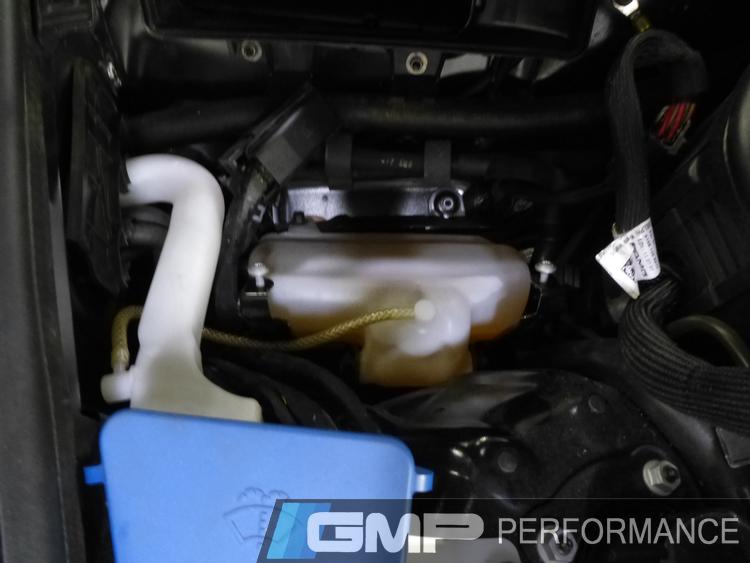
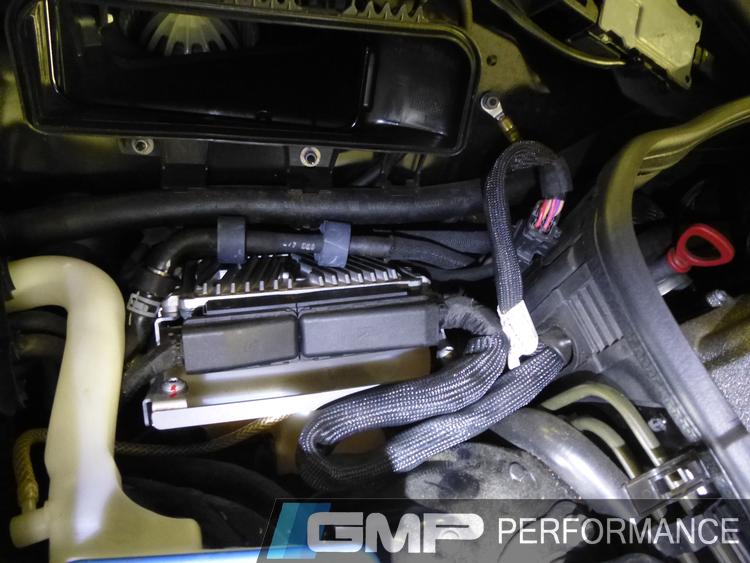
Bumper, ECU and engine covers all get placed back in

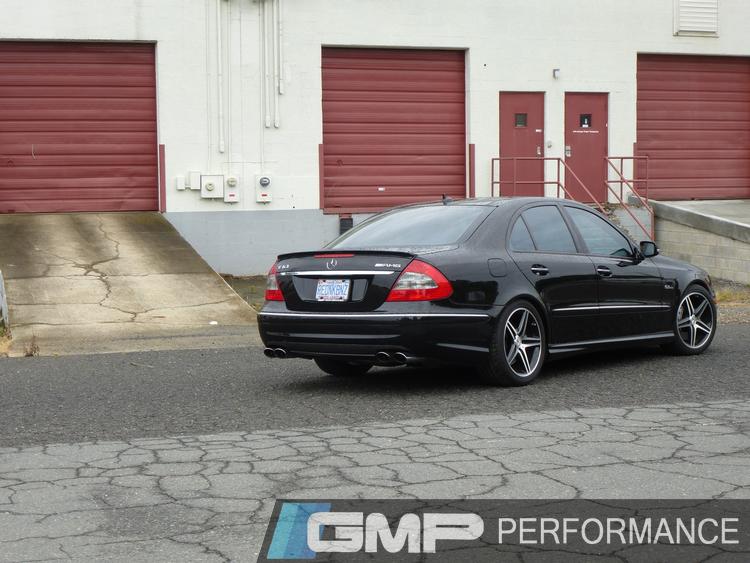
And just like that, this 2008 E63 has morphed into something new, something incredible. Anything rocking that AMG badge is already a stout, powerhouse of a vehicle but when you add the expertise of Kleemann to the mix, you know you're talking something special. Our client is ecstatic and in the end, that's what matters most. We still can't wait to get this bad boy back to do some dyno numbers with though!

To see more on this build, click here!
Coolant hoses routed and connected
Air filter housing modified to fit over charger
Wiring the water pump fuse and relay
Radiator coolant lines installed
Horn relocated
Bolt for new pulleys
Bolt sized to fit in hole
Not enough threads on new bolt so we went ahead and machined some more!
Charger pulleys and belts test fitted
Pulling the ECU for programming
Changing spark plugs
This is where we found out that the front bumper cover would need more clearance for all the hoses.
Nothing to worry about! With some careful trimming, we cut away enough space to allow that room.
All foam inserts back into the bumper cover
Bumper, ECU and engine covers all get placed back in
And just like that, this 2008 E63 has morphed into something new, something incredible. Anything rocking that AMG badge is already a stout, powerhouse of a vehicle but when you add the expertise of Kleemann to the mix, you know you're talking something special. Our client is ecstatic and in the end, that's what matters most. We still can't wait to get this bad boy back to do some dyno numbers with though!
To see more on this build, click here!


Registered User
Joined: Dec 2013
Posts: 11
From: NH
Rep Power: 0

Trending Topics


Thread
Thread Starter
Forum
Replies
Last Post
vividracing
991
6
Jun 10, 2017 07:45 PM
ECS Tuning - MB
Mercedes/AMG Vendor Classifieds
0
Aug 21, 2015 02:25 PM
PelicanParts.com
Mercedes/AMG Vendor Classifieds
0
Aug 21, 2015 01:37 PM
oddjob142
Automotive Parts & Accessories For Sale/Wanted
0
Aug 19, 2015 12:27 PM