When you click on links to various merchants on this site and make a purchase, this can result in this site earning a commission. Affiliate programs and affiliations include, but are not limited to, the eBay Partner Network.
Alright had some time tonight with the day off tomorrow to do the other quarter panel, the application was quite easy, took me under 40 minutes, after the initial stretch, it basically laid itself in with a little heat, quite incredible job I did on this one lol... the trimming/tucking however, man that is such a beast, that took me two and a half hours and its not even perfect! Still happy enough with the results though.
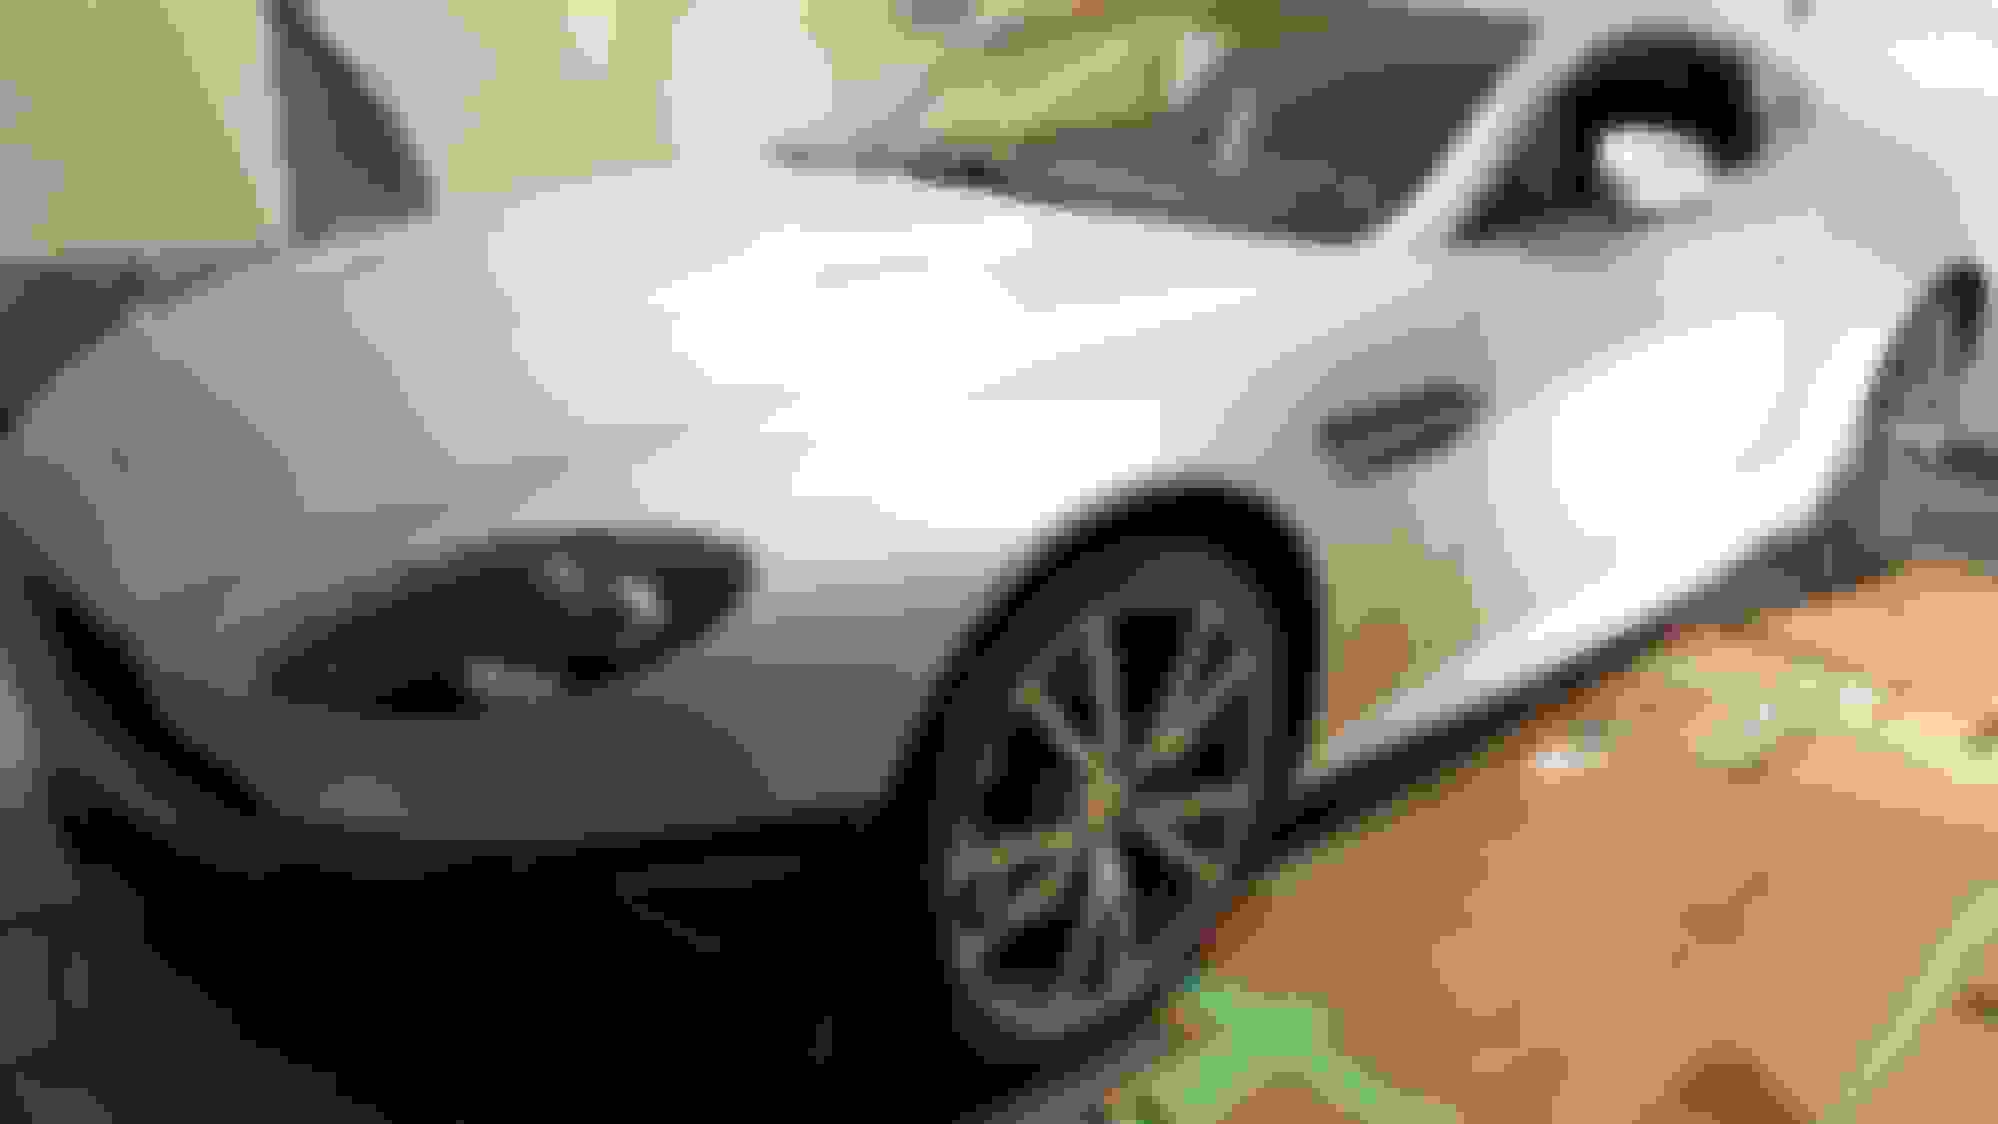
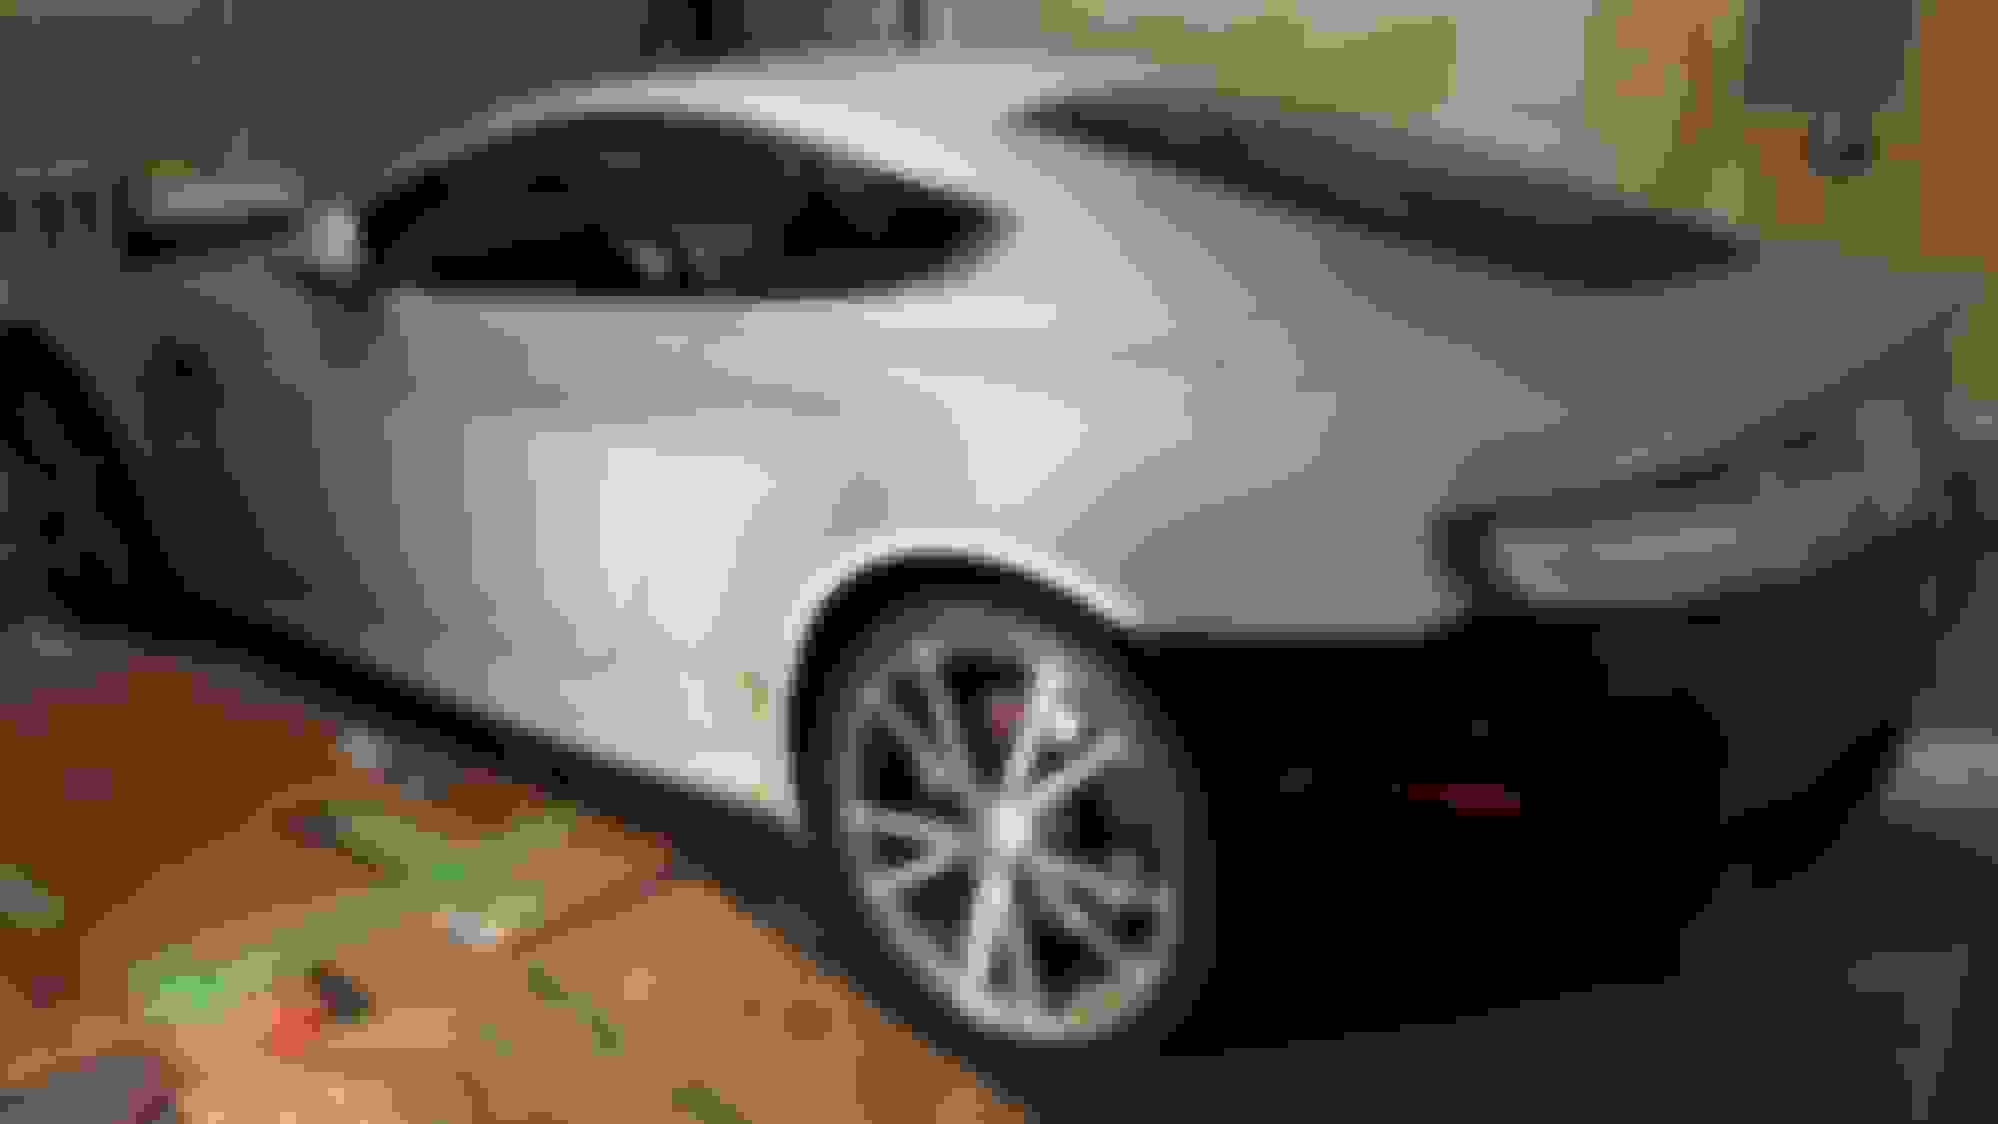
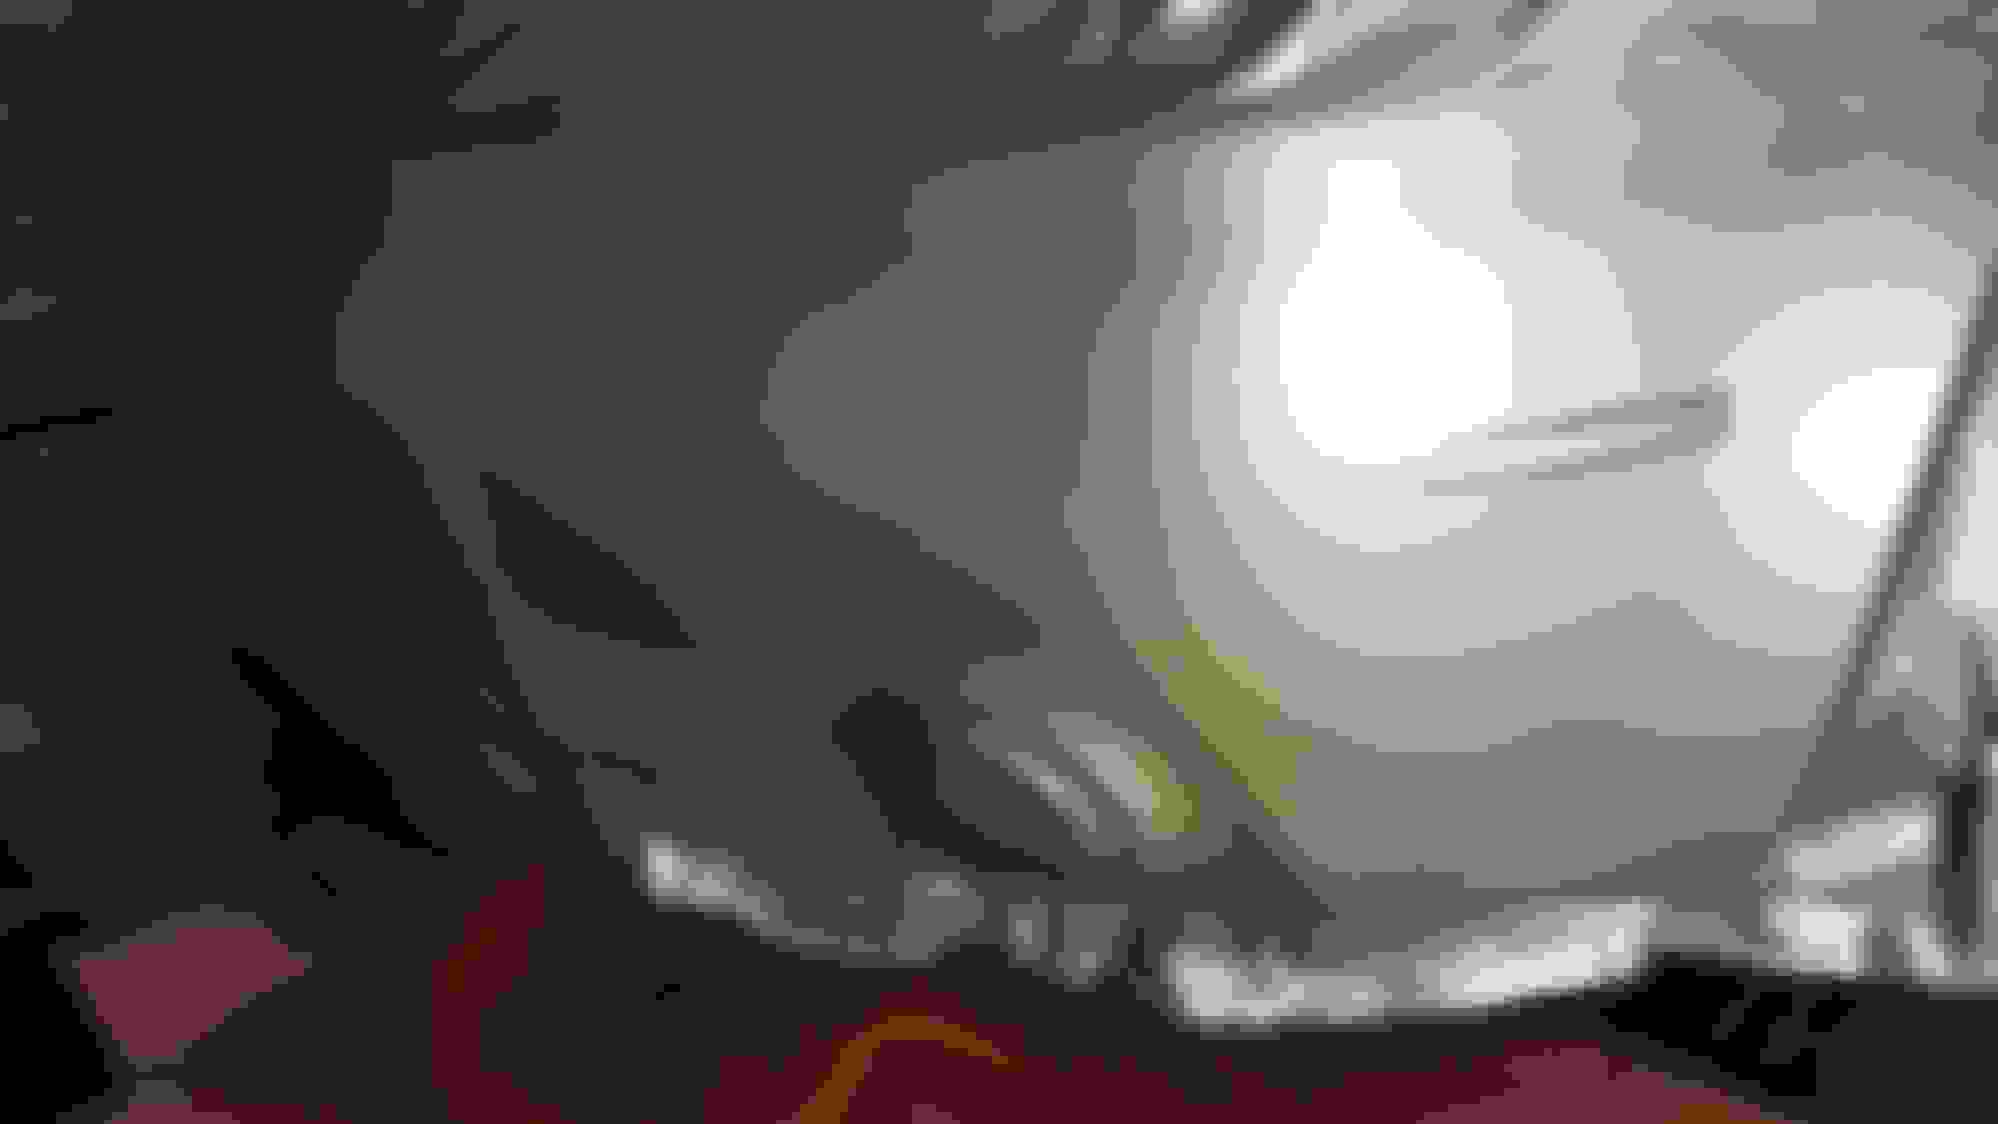
showing how to lay the knifeless tape in the little rut on the roof, press it in good and hard! you only want to remove the backing paper for the rear part at first, then when you get to the pillar, remove the rest of the backing paper and stretch it on, super easy, by the way the only magnetic body part of the car is the pillar so yeah... pretty simple application, just go over the gas cap cover no problem trim around the inside edge of the gas door and tuck it down, hopefully your door is aligned better than mine when you apply film to it, makes for a much easier cut if its even I'm not going to do the door jambs now anyway, I think it looks fine as it is all trimmed and tucked nicely just the front and rear bumpers left, should be pretty easy, all my youtube watching really paid off! as you can see I went right over the chip tape, just make sure to squeegee very hard at the seams this color wrap is very interesting, it doesn't look so beige in person, definitely more silver, this is a picture of the gas door with a LED cell phone flash, and probably more of what it will look like in sunlight
Let me tell ya, I thought the fender was the hardest panel... nope! That would be the rear bumper! Good grief what a pain... if you can remove the bumper DO IT! Will save you many hours of frustration.
I did have to redo this one once after the first attempted bunched up way too much under the exhaust. It was really difficult! Hardest part was down around the exhaust and the underside part of it... holy cow the tight compound curves become a nightmare and that metal skid plate or whatever it is really gets in the way, I probably should have removed it. I think I used 108" x30" of material
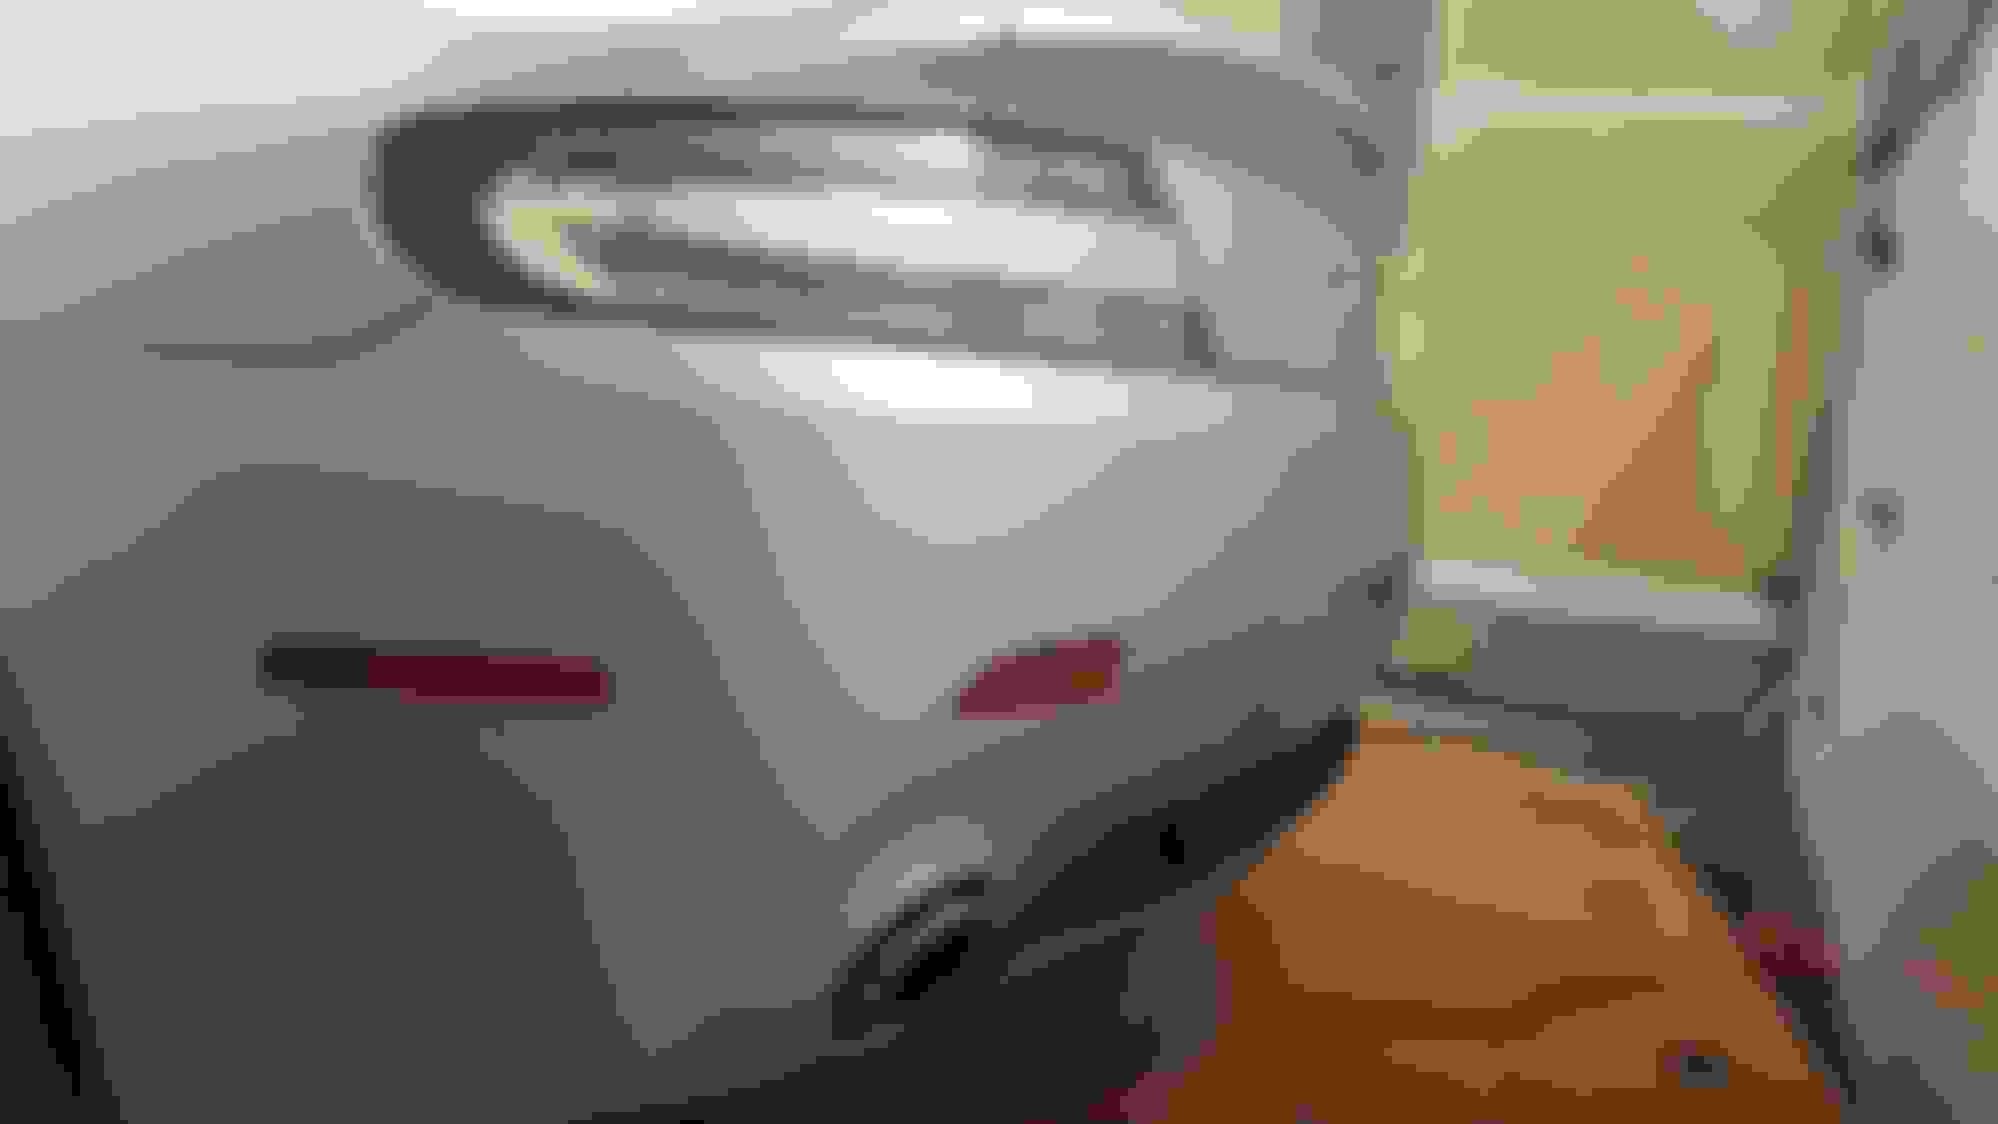
Looks pretty good, no where near perfect, but it is definitely passable for me right now. And my parking sensors don't work anyway so don't worry about that
The pics...
don't need a whole lot of tape as there are body lines and gaps you can cut in
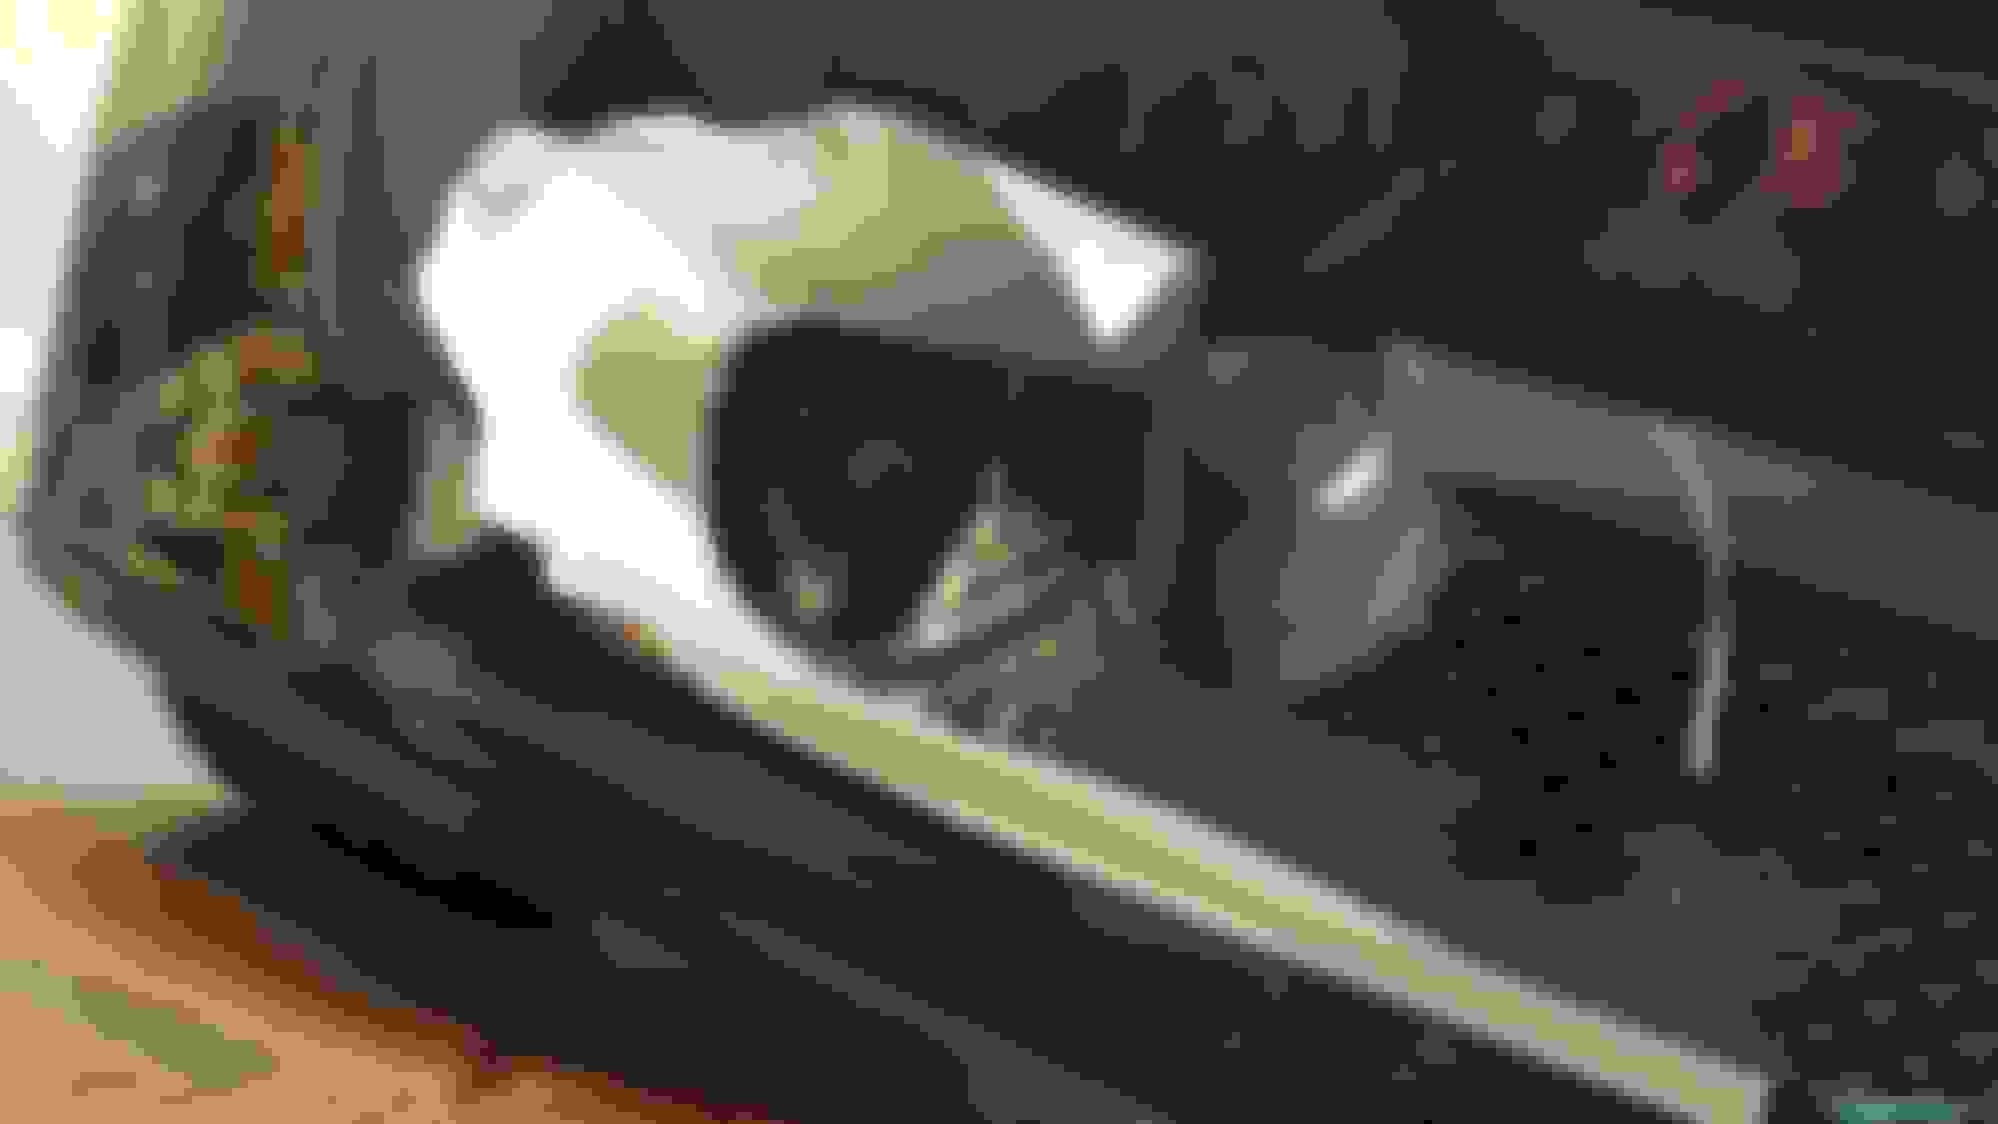
the massive pain in the **** part, and showing my licence plate inlay
halfway done
3/4's done
trimming the top area was quite simple, the lower part and around the side markers was a huge pain
this part was a total chore as well, had to do seperate pieces for those pointless american license plate bumper things
you can see why i want to get my hands on some of Redpants' light clear side markers... will really tie the whole project together!
front bumper is all that's left and I'll finally be done with this massive undertaking!
You obviously have an artistic side and the perfection gene. Both necessary for this kind of work. Looking forward to seeing the car in the daylight.
I think that the lighter color really shows the lines of the car better than black.
Man I have been enjoying following this thread every step! It seriously turned out great for a non-pro
How hard would you say the front bumper is going to be? I am about to attempt a diy 3M clear bra myself, I see you left the front bumper it looks to be last. Any reason why?
Man I have been enjoying following this thread every step! It seriously turned out great for a non-pro
How hard would you say the front bumper is going to be? I am about to attempt a diy 3M clear bra myself, I see you left the front bumper it looks to be last. Any reason why?
Going to do the bumper this afternoon so I'll let you know, there is a lot of prep work with a lot of inlays (at least I did a bunch of inlays), the pros probably don't have to but it will make my life a lot easier. It should be waaaaaaay easier than the rear bumper! It is very straight forward no compound curves really except the small bottom lip
If you are just applying clear bra to the front facing fascia it would be pretty easy IMO, just get it centered and have a friend stretch it with you around the front on each side, you could use the hard body lines to cut the stuff
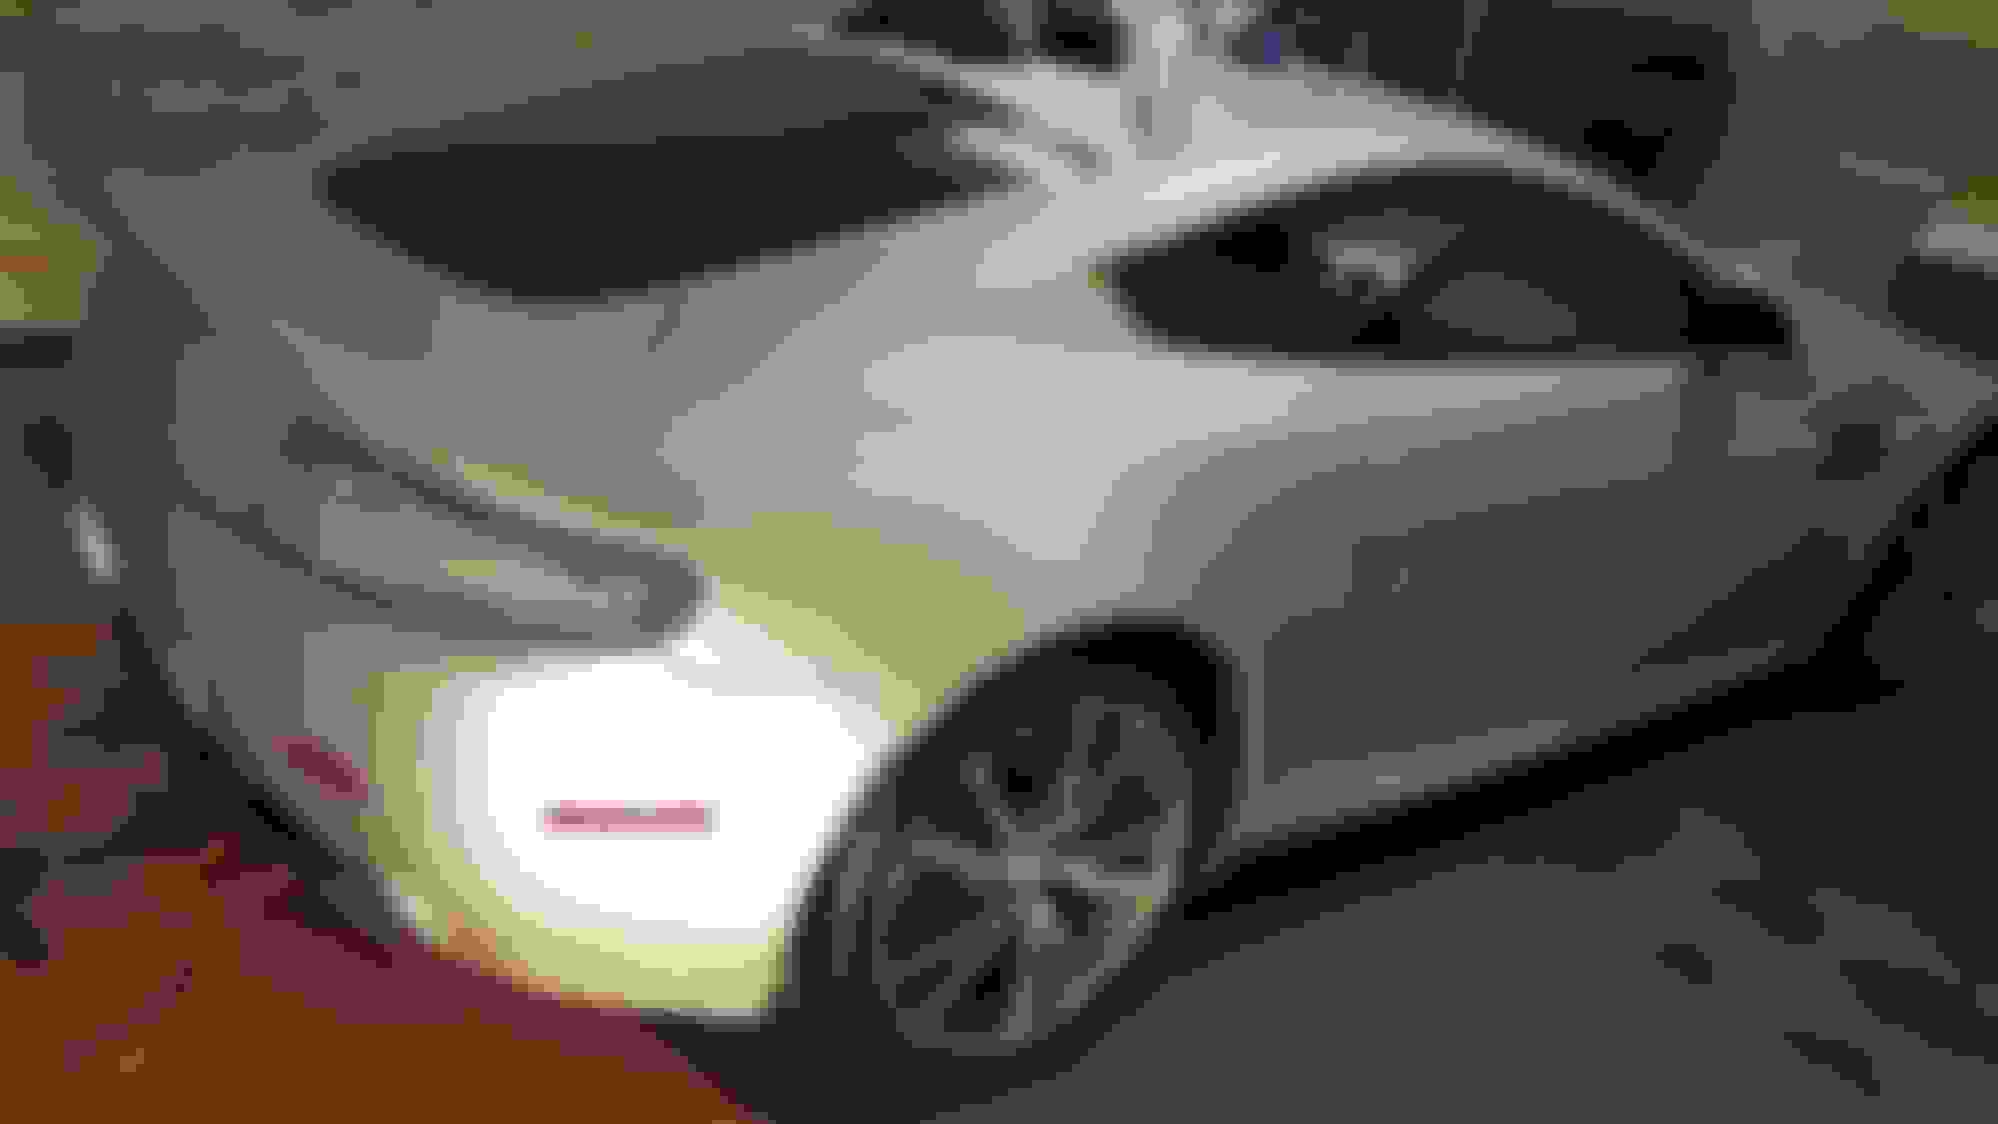
Can't explain my elation, I'm finally done! The front bumper was pretty simple. The key was to do lots of inlays, I don't think this type of film (matte metallic) would have stretched enough into the deep recesses of this front fascia. Yeah it isn't ideal but the overlapping of film is hardly noticeable, especially since its down so low on the car.
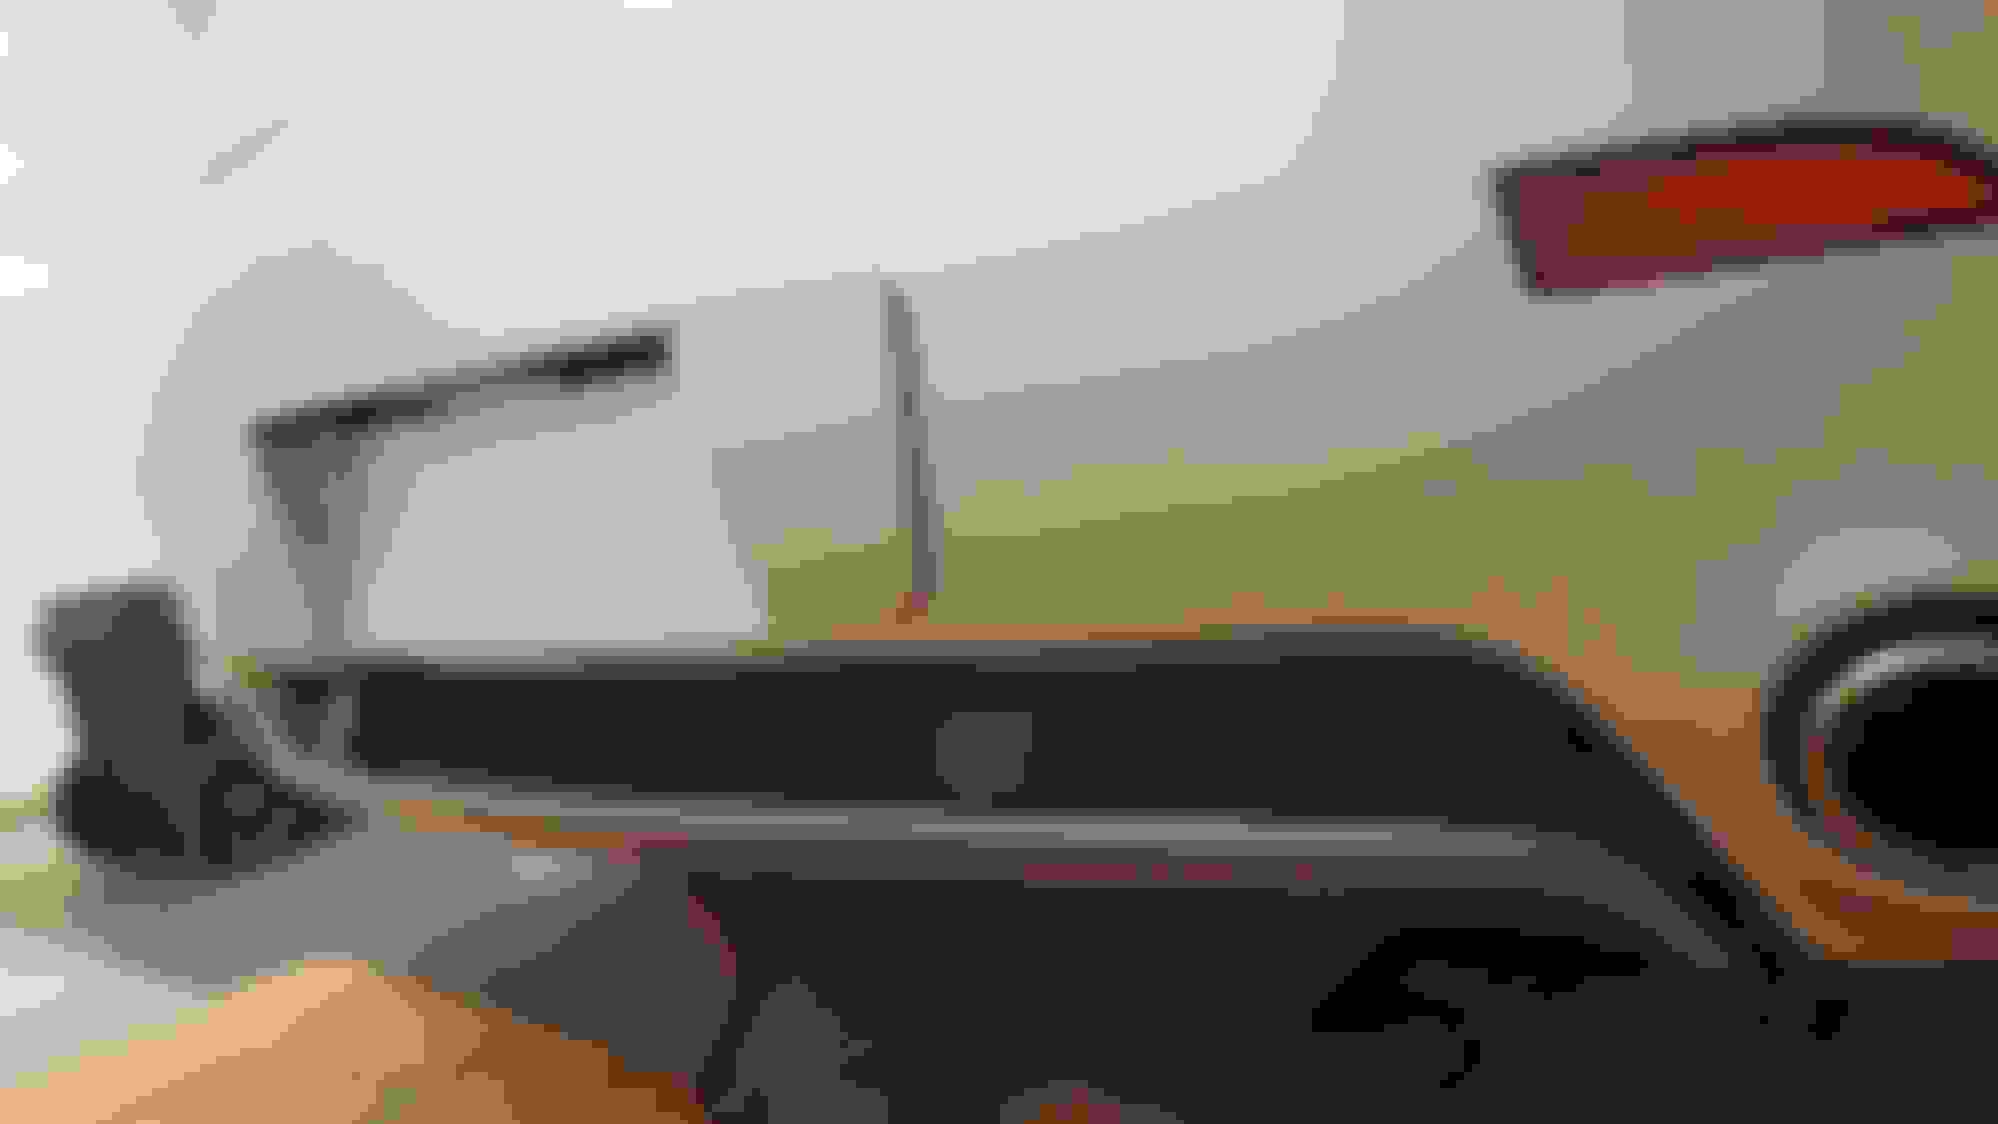
inlaid the under side
This was a huge chore to get in there, I had to make a template with blue tape, and then once the template was made it was a total bastard to get it to line up perfectly, but I did, somehow some way
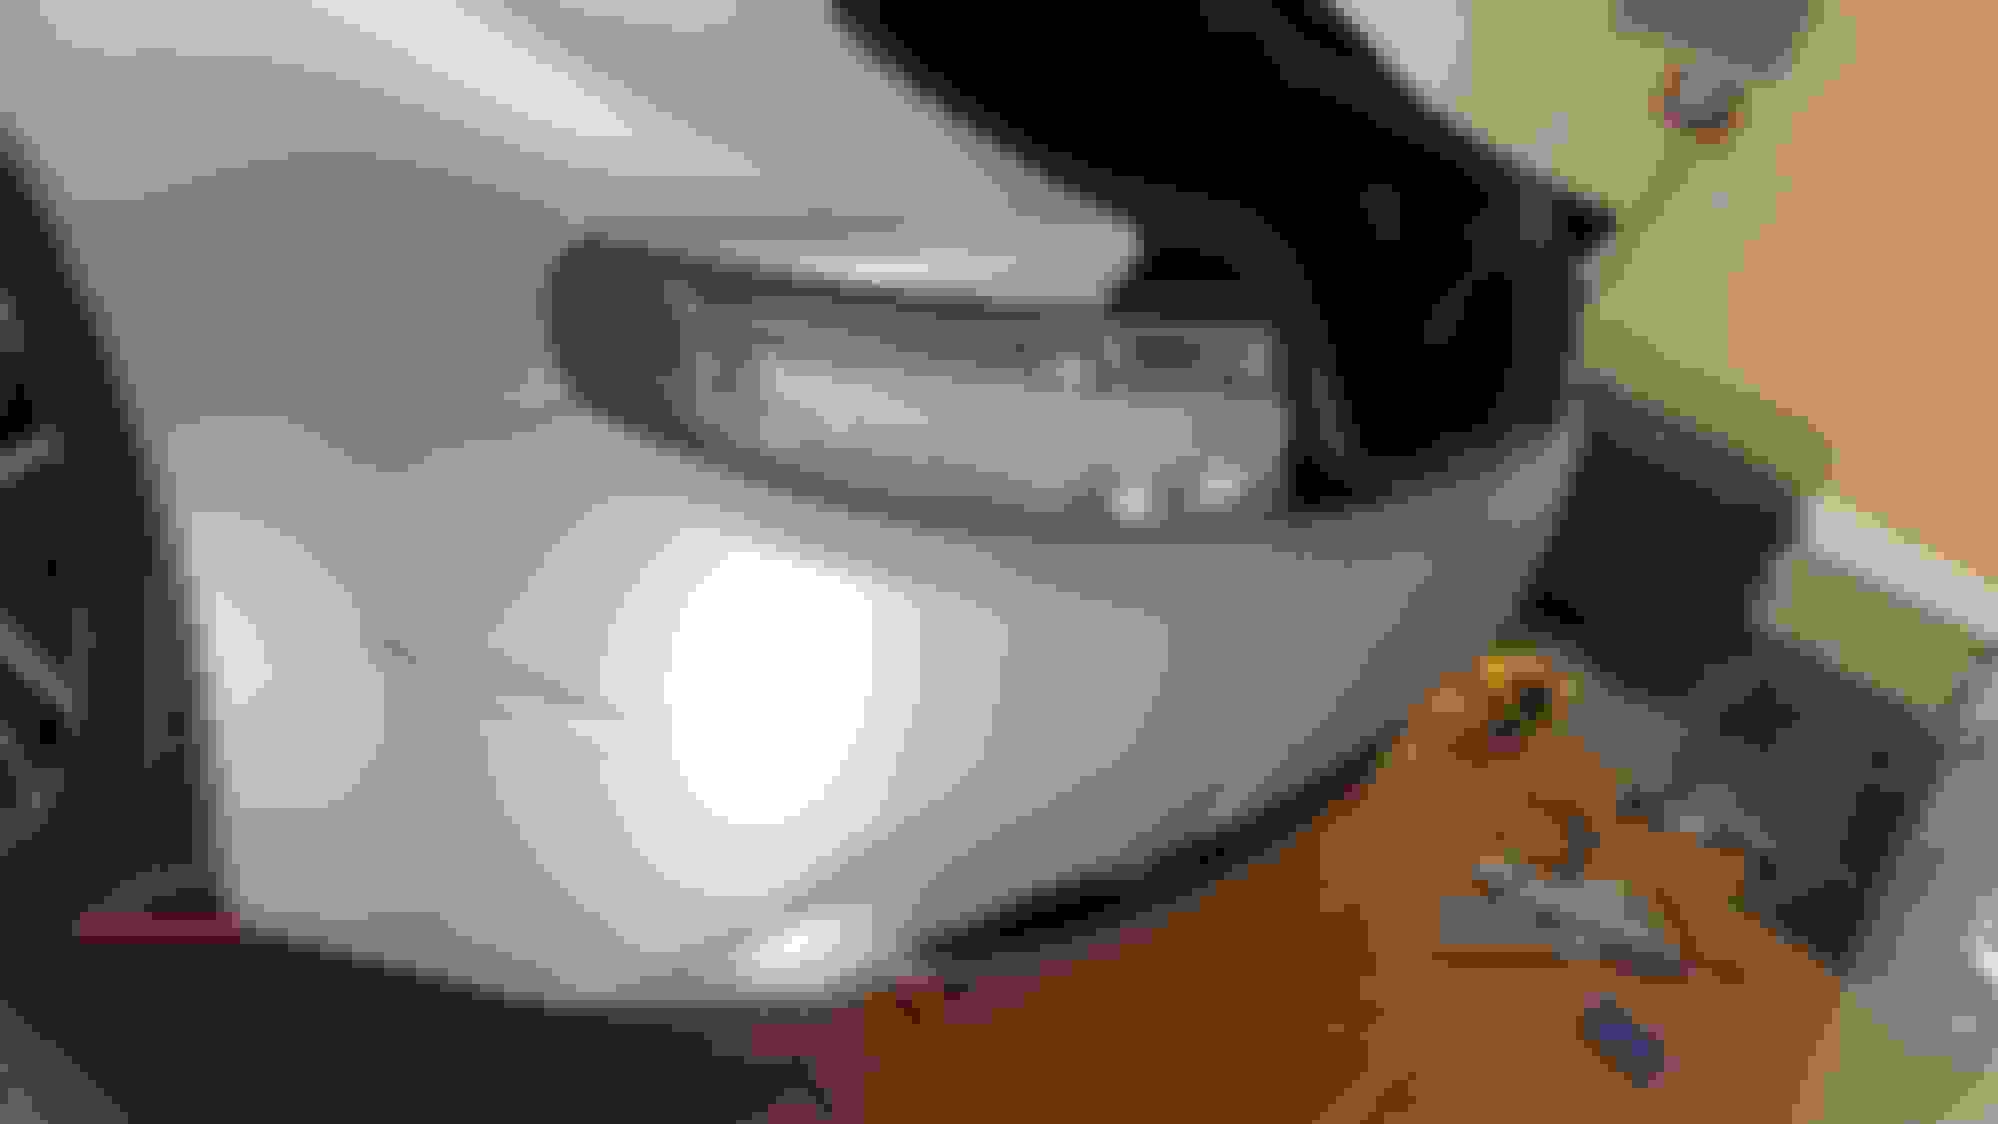
So this is what the bumper looked like all prepped with knife less tape before I wrapped it with the large one piece
The actual wrapping part was really simple with two people, stretch it across, lay it down, I probably got 50% of it laid down on the initial stretch, then a little heat gun and one person stretch up and down while the other person stretches it to the edge. This video right here was probably the single most helpful video I watched, have your helper watch it too lol
stretch and heat and wrap it around, very simple curves on this piece trimmed up the top edges, just have the bottom left to do bottom edge complete, you can see the inlay lines in the angle of the light of the bottom opening, you can't even really see the lines of the inlays in the upper part since its almost right on the seam
As far as putting the car back together, I did absolutely minimal taking apart of the car, I took off the licence plate frame and backing, the stuck on logos, the door window trim, and the grille and thats it... I didn't even jack up the car or anything so this was a bit more difficult than if I could have taken the car apart.
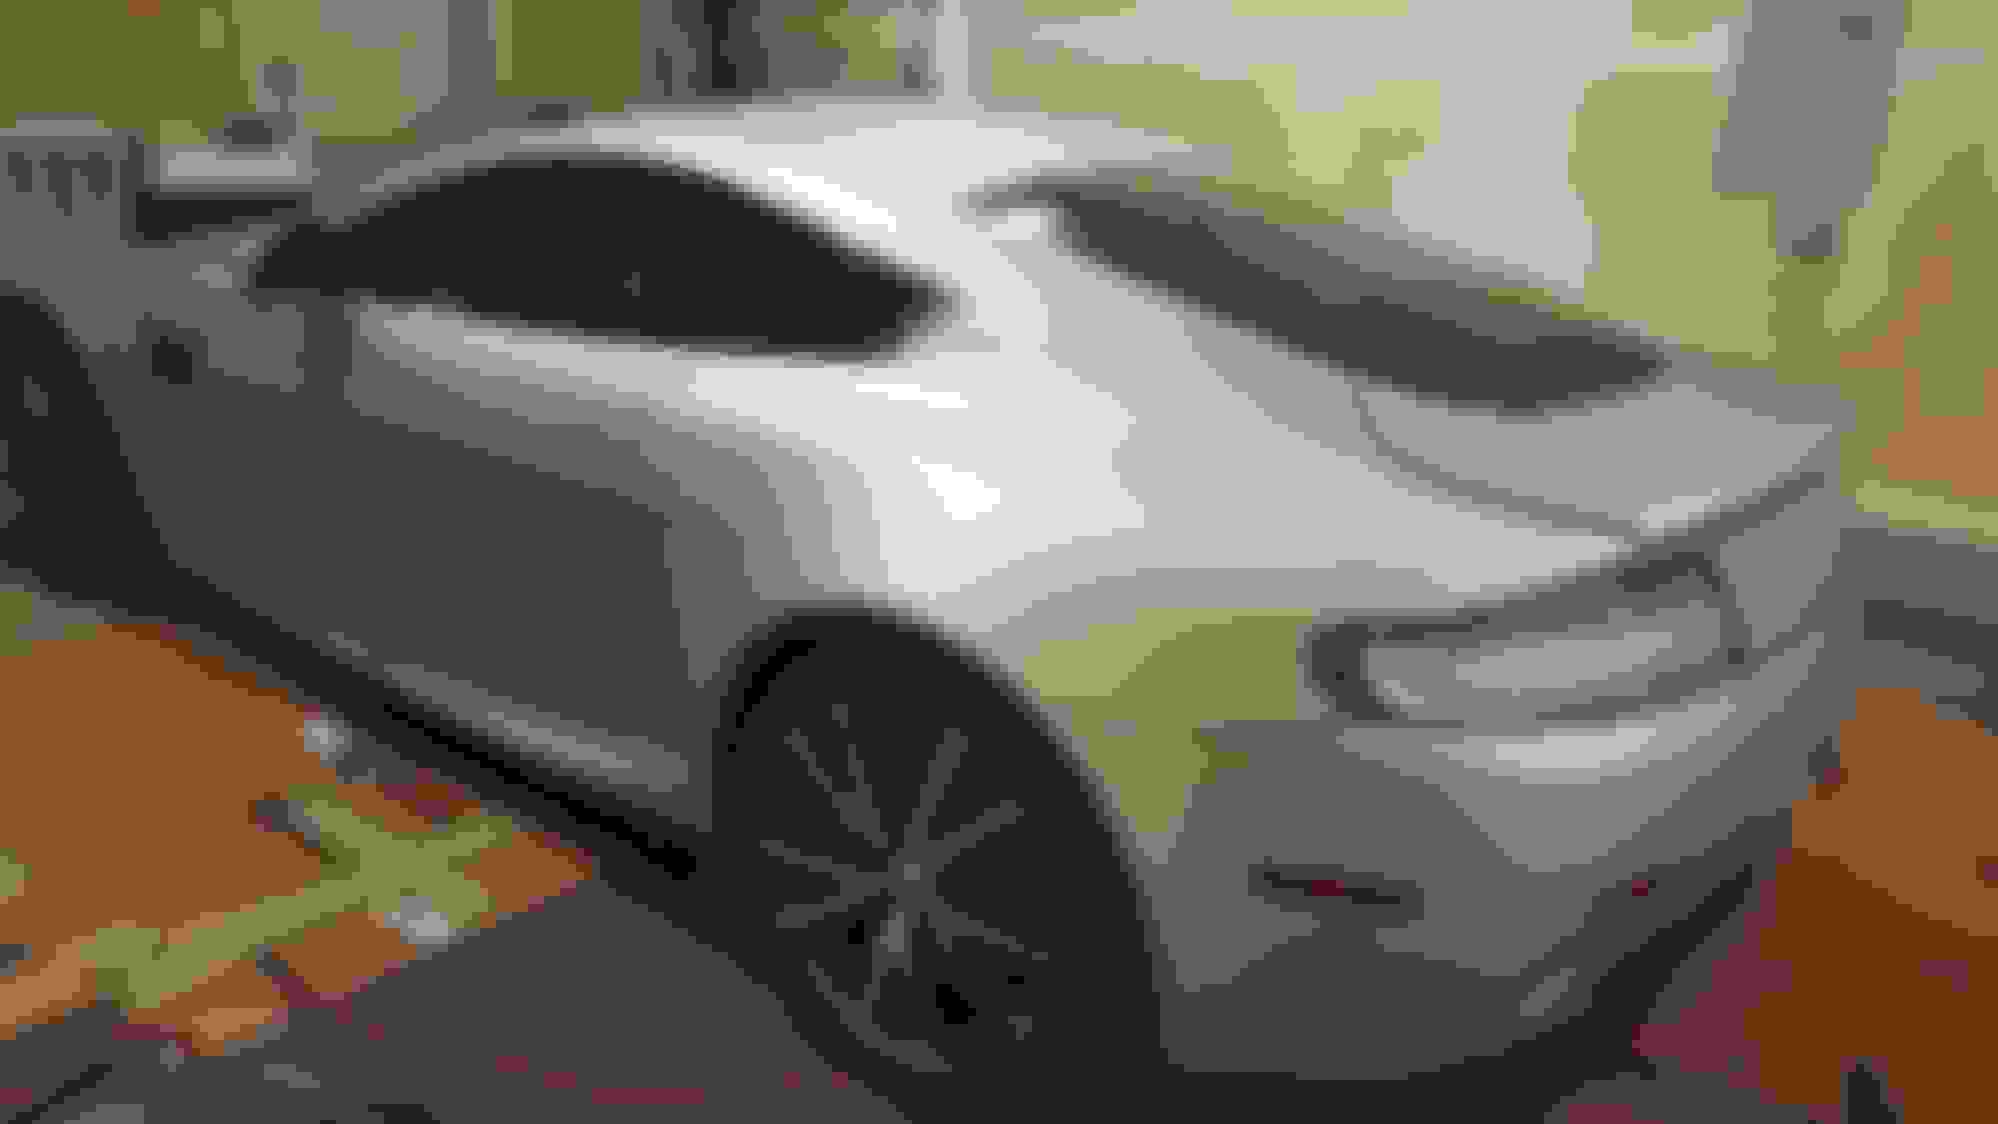
All finished, what a project!
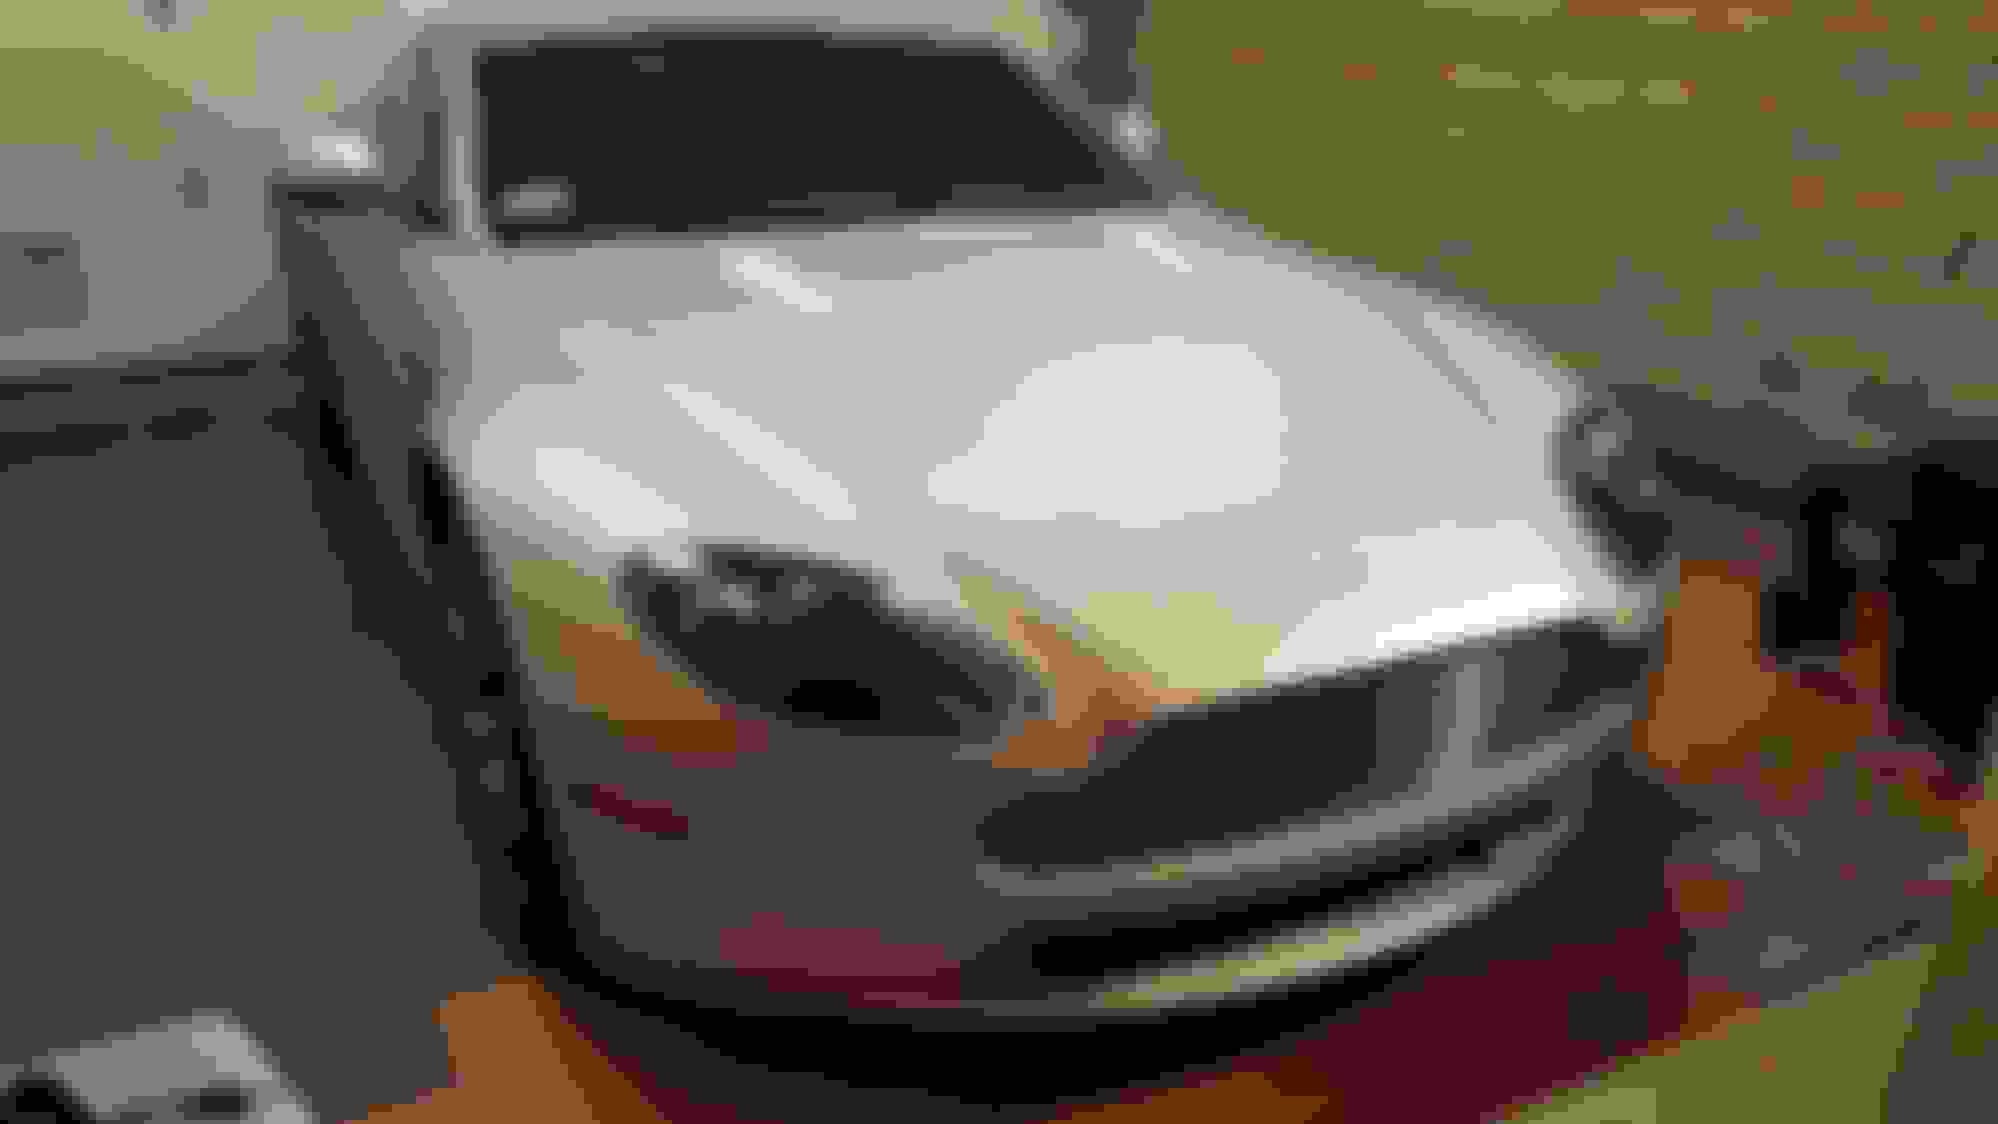
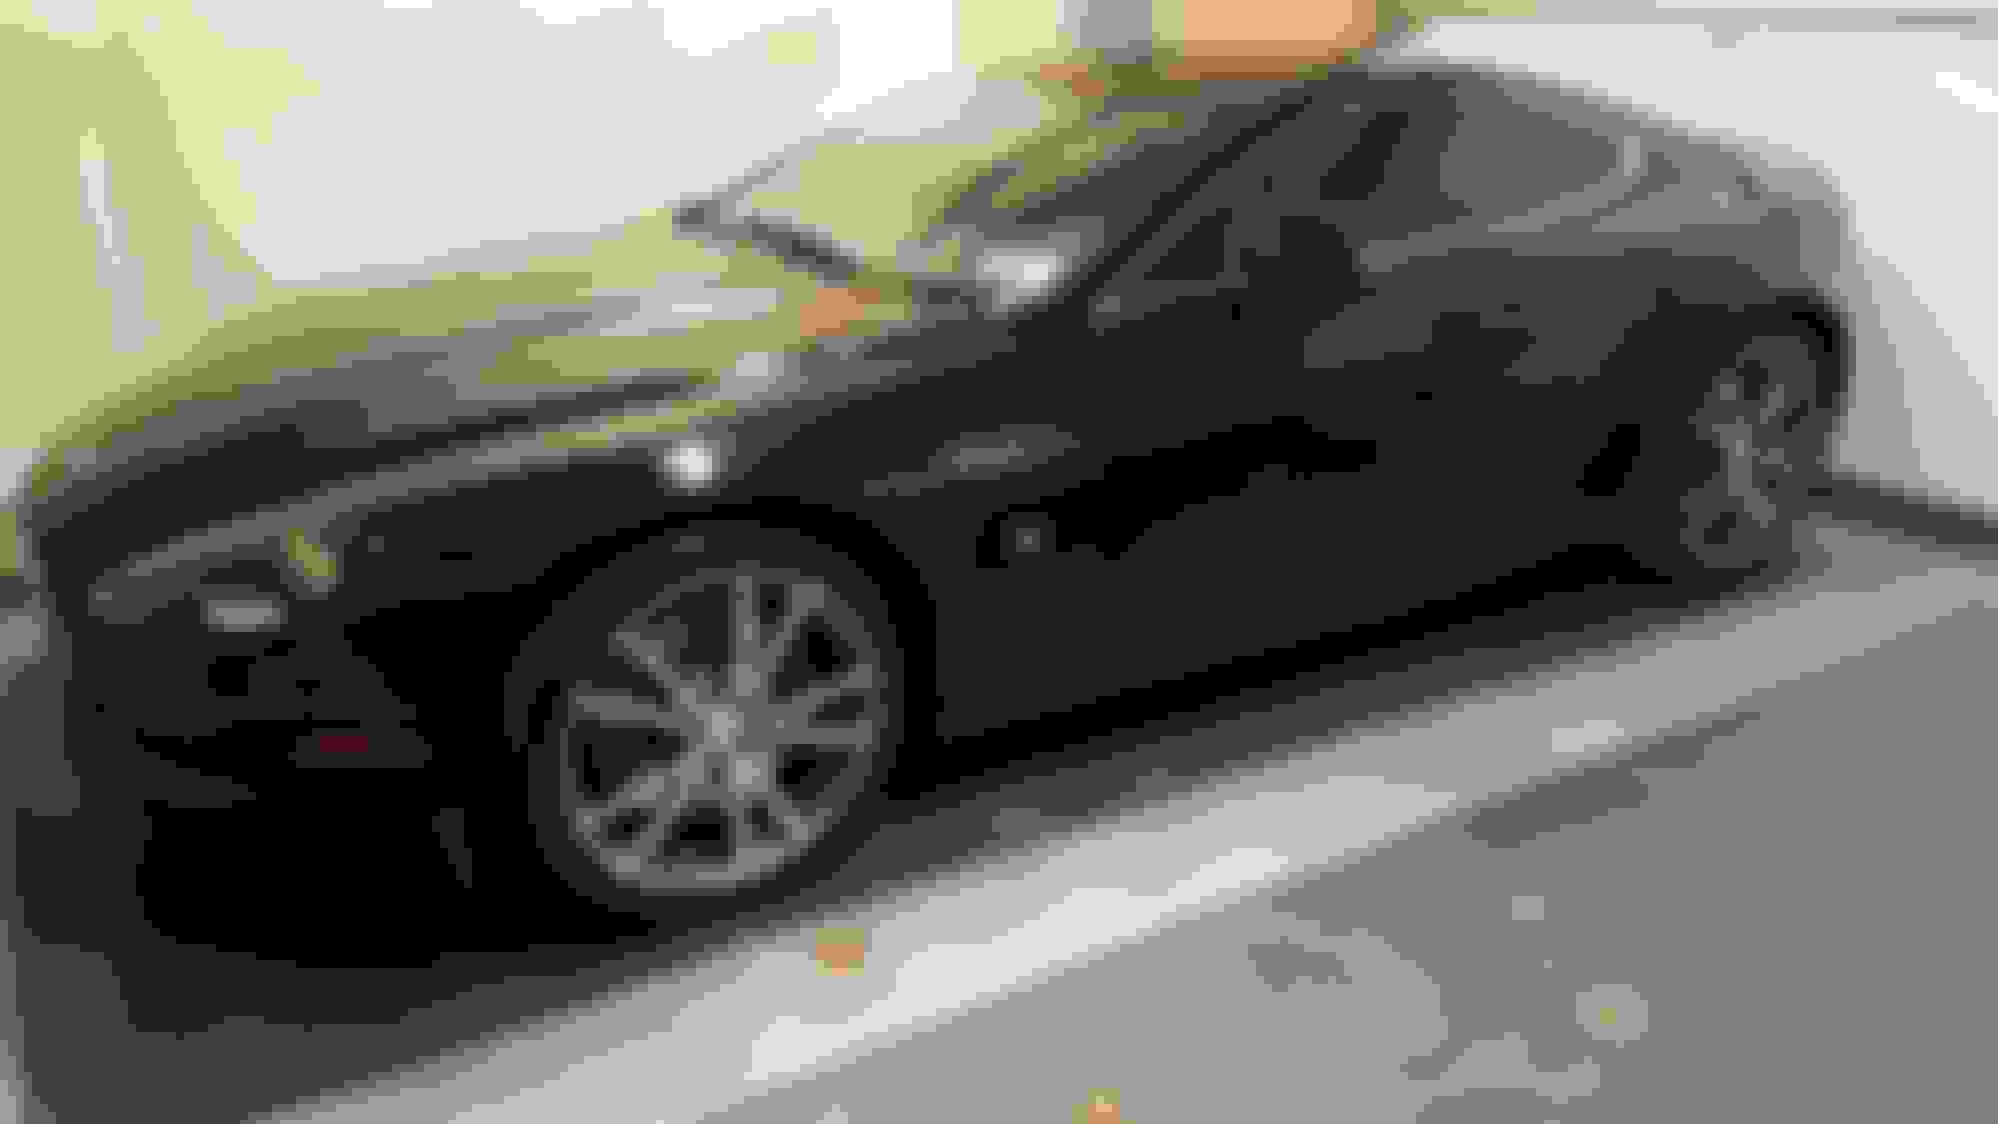
Here's what it looked like before I started
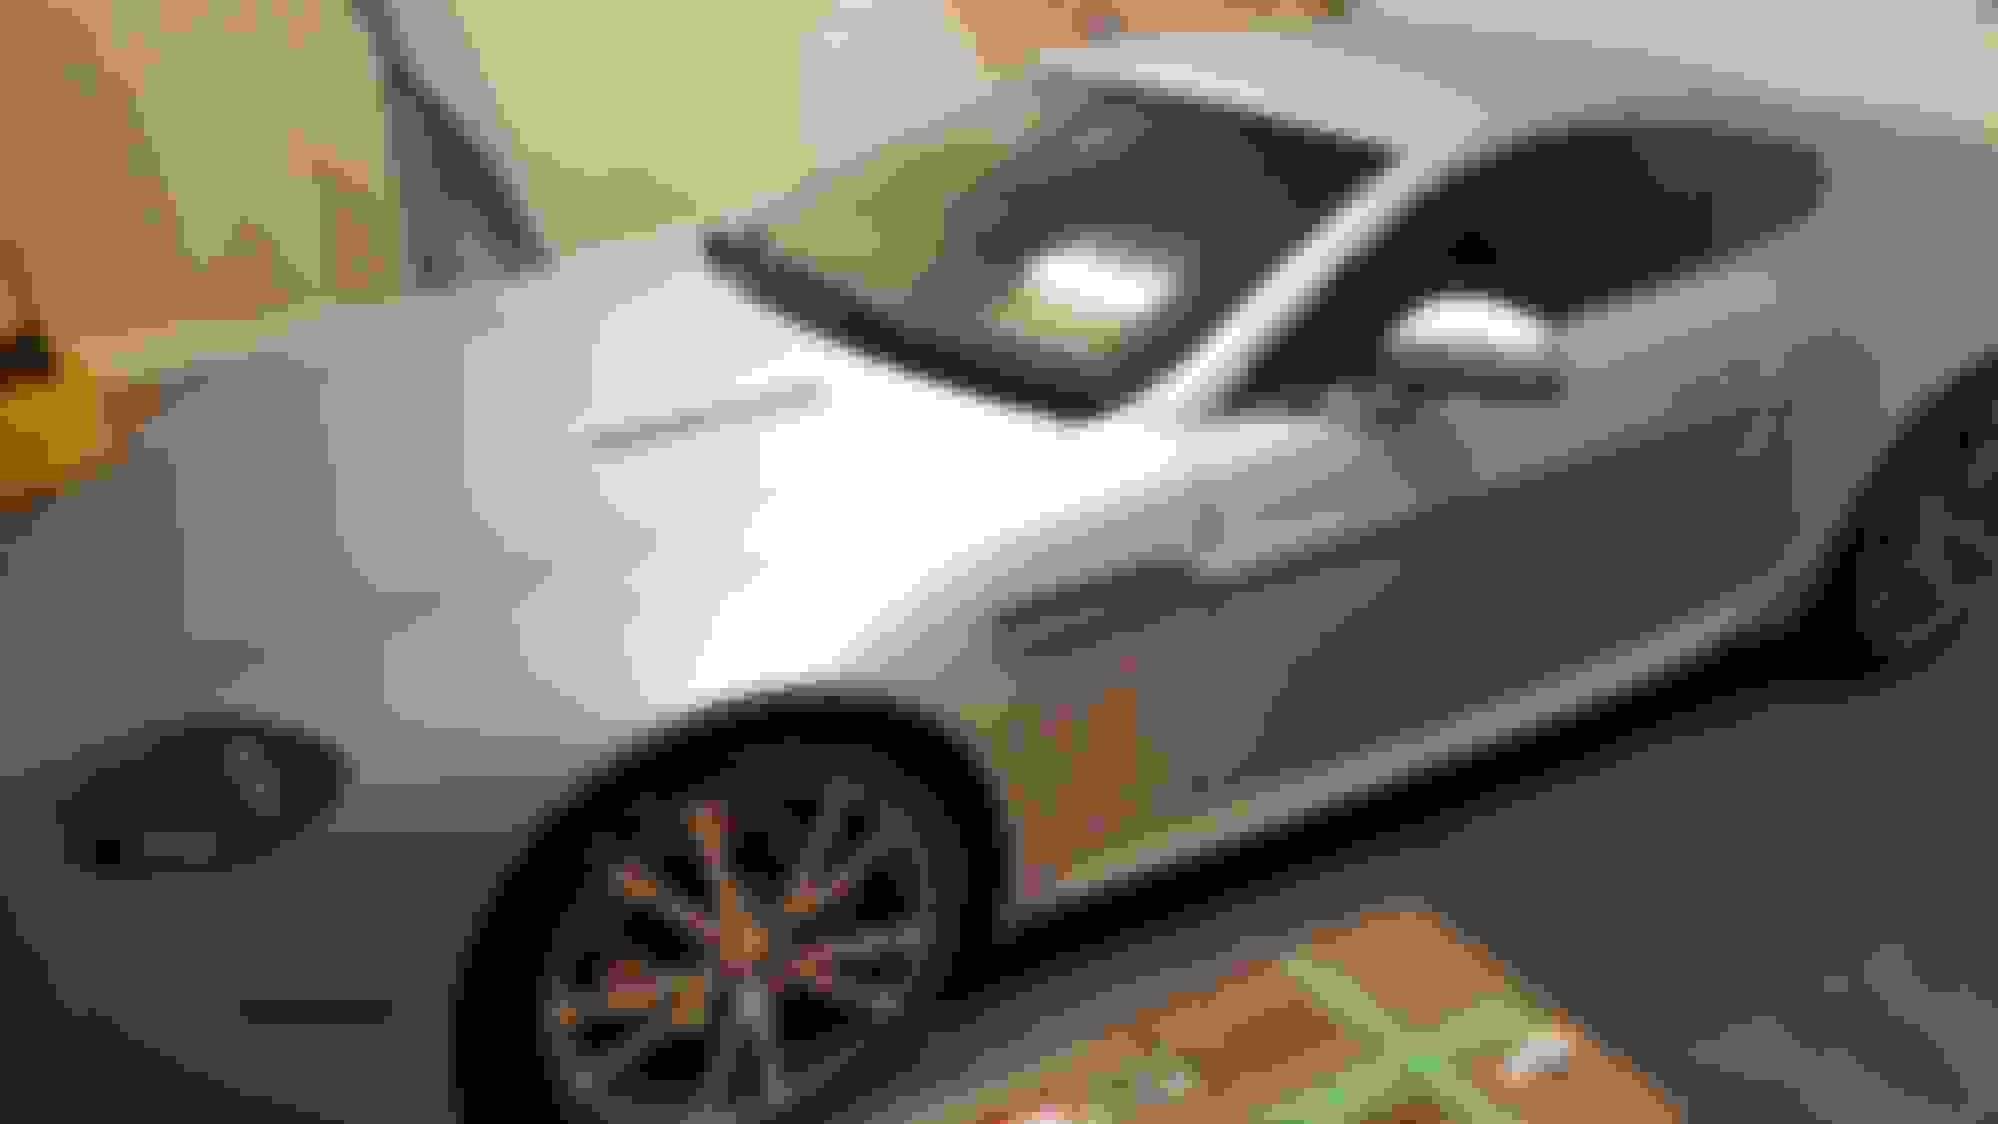
And here's what it looks like now! I freakin LOVE IT!
Overall I'd rate this project a 9/10 in terms of difficulty, the toughest part being patient and having the time for it. Once it "clicked" on how to get the stuff on, life was so much easier but some of the panels were still really hard, so I'd definitely recommend doing the panels in the order that I did with maybe having the rear bumper be the last piece you do.
looks great no doubt but goodluck to you should you ever have to take it off. i had mine wrapped for less than 15 mo, done by a reputable shop (funny enough the owner himself is in the video you linked as a judge), and when it came off there was still clearcoat damage in several spots that i'm not getting taken care of. i guess with wraps some ppl just keep wrapping over and over again and i guess that's fine too.
I am looking to get my 2011 vantage wrapped, it is literally the twin of your car, is yours a 2011? I too am frustrated 15 mins after washing.... cant keep it clean. I told myself I'd never buy a black car again. Oh well.
quick question, do your backup and front sensors still work even though they are wrapped? Was talking with the installer today and he said it could be an issue...
Great work, loved following your thread! I am afraid i don't have your level of patience or skill to tackle myself - i would end up with something far worse than just a dirty Vantage...
mine is a 2010.5 vantage, there are a few differences I'm finding out about that particular model from the regular 2010
my sensors don't work... I am not sure they would function properly with this particular film... maybe though, I have heard metallic or chrome style films definitely don't allow them to work but other colors they do, could always just test with small pieces
looks great no doubt but goodluck to you should you ever have to take it off. i had mine wrapped for less than 15 mo, done by a reputable shop (funny enough the owner himself is in the video you linked as a judge), and when it came off there was still clearcoat damage in several spots that i'm not getting taken care of. i guess with wraps some ppl just keep wrapping over and over again and i guess that's fine too.
oh that totally sucks, sorry to hear that, what brand of film did they use on your car? I hear 3M and vivid is really sticky and that can happen if it gets too much UV exposure
oh that totally sucks, sorry to hear that, what brand of film did they use on your car? I hear 3M and vivid is really sticky and that can happen if it gets too much UV exposure
wrap made by orafol. came off really easily, so it could just be bc my paint is older (07MY).