When you click on links to various merchants on this site and make a purchase, this can result in this site earning a commission. Affiliate programs and affiliations include, but are not limited to, the eBay Partner Network.
Figured I'd start a thread about this since there isn't one, and most of the time people just pay out the **** to have someone do it for them, this will be an ongoing thread as I am in the middle of the process with fresh thoughts. I am here to answer your questions in the future if you have them as well.
Sooo you want to change the color of your car, great! I hope you have lots of hours, patience and a nice warm space to work in. I'd highly suggest watching some how to videos on YouTube as well to get an idea on how its done AS IT IS NOT AS EASY AT IT LOOKS!!! Justin Pate and CK Wraps are two good people to watch as they teach application for a living.
You're going to need about $200 worth of supplies/tools. You can get them all from amazon for the most part, I'm sure there are other places you can get them cheaper, so knock yourself out, these are all 2 day shipping for the most part
Vinyl Squeegies and Wrap gloves (I'd get a couple) ~$24 http://amzn.to/2oqQjhg
I'd also get Monkey Strips felt strips as the 3m ones are crap! Order directly from their site for 25 of them for $25 or get a 50 pack for $40 on amazon here http://amzn.to/2EPO9Sk
70% isopropyl alcohol and a spray bottle ~$5 (this is to clean and degrease the surface before you put the wrap on)
Car safe magnets ( optional as only very few portions of the car are magnetic) http://amzn.to/2opmWMa
To remove your Aston badges and car name you're going to need fishing line ($2), your heat gun, and some goo gone ($5) http://amzn.to/2F6VmwS
To reapply badges I plan to use this super easy to use 3m product http://amzn.to/2F4jKir
and if you want to disassemble your car a bit, a tool kit would be quite useful.
I bought my 75 feet of vinyl (about double what a professional would probably require) from cheetahwraps for like $545 shipped next day. They had far and away the cheapest vinyl, but I got a bunch of samples to see what I wanted from amazon.
I'm attempting to do this with minimal disassembly as to make it DIY friendly as possible.
Reason I'm doing this is because I have a black car and I can't stand the way it looks 5 minutes after it gets washed, so yeah.. Avery Matte Silver Metallic it is
I started with the roof because they always say to start top down, which makes sense because you don't want stuff sticking on what you've already put on.
Anyway the roof was pretty easy except for the cutting part, on the front edges that butt the glass is rubber that you can actually tuck the wrap underneath so keep that in mind when cutting. the sides above the doors was very easy once I used knifeless tape inside the crevices. I plan to have full coverage from the rear quarter panel piece where it intersects that gutter like thing. but yeah, long story short... USE KNIFELESS TAPE ON THE ROOF AND SAVE YOURSELF THE TROUBLE!
Here's the result
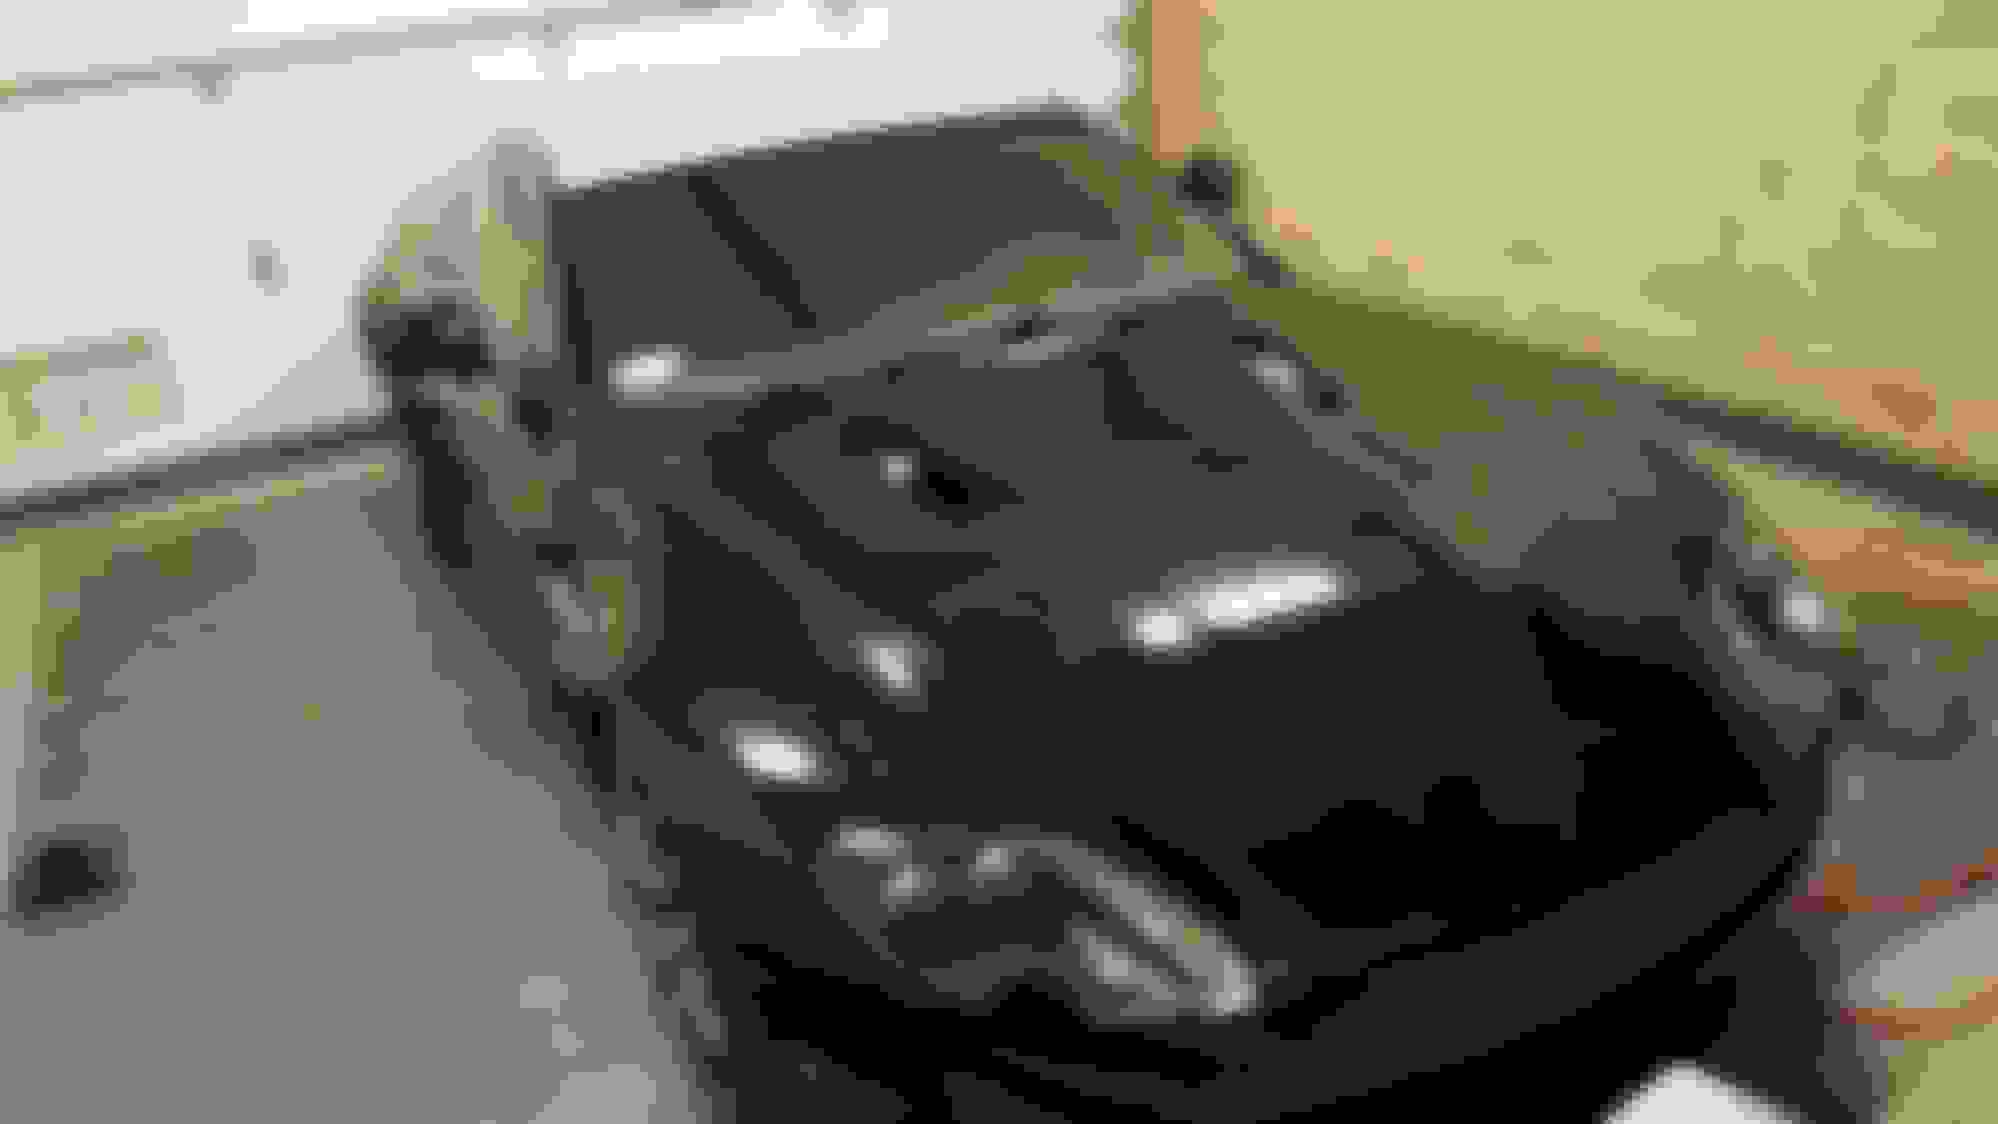
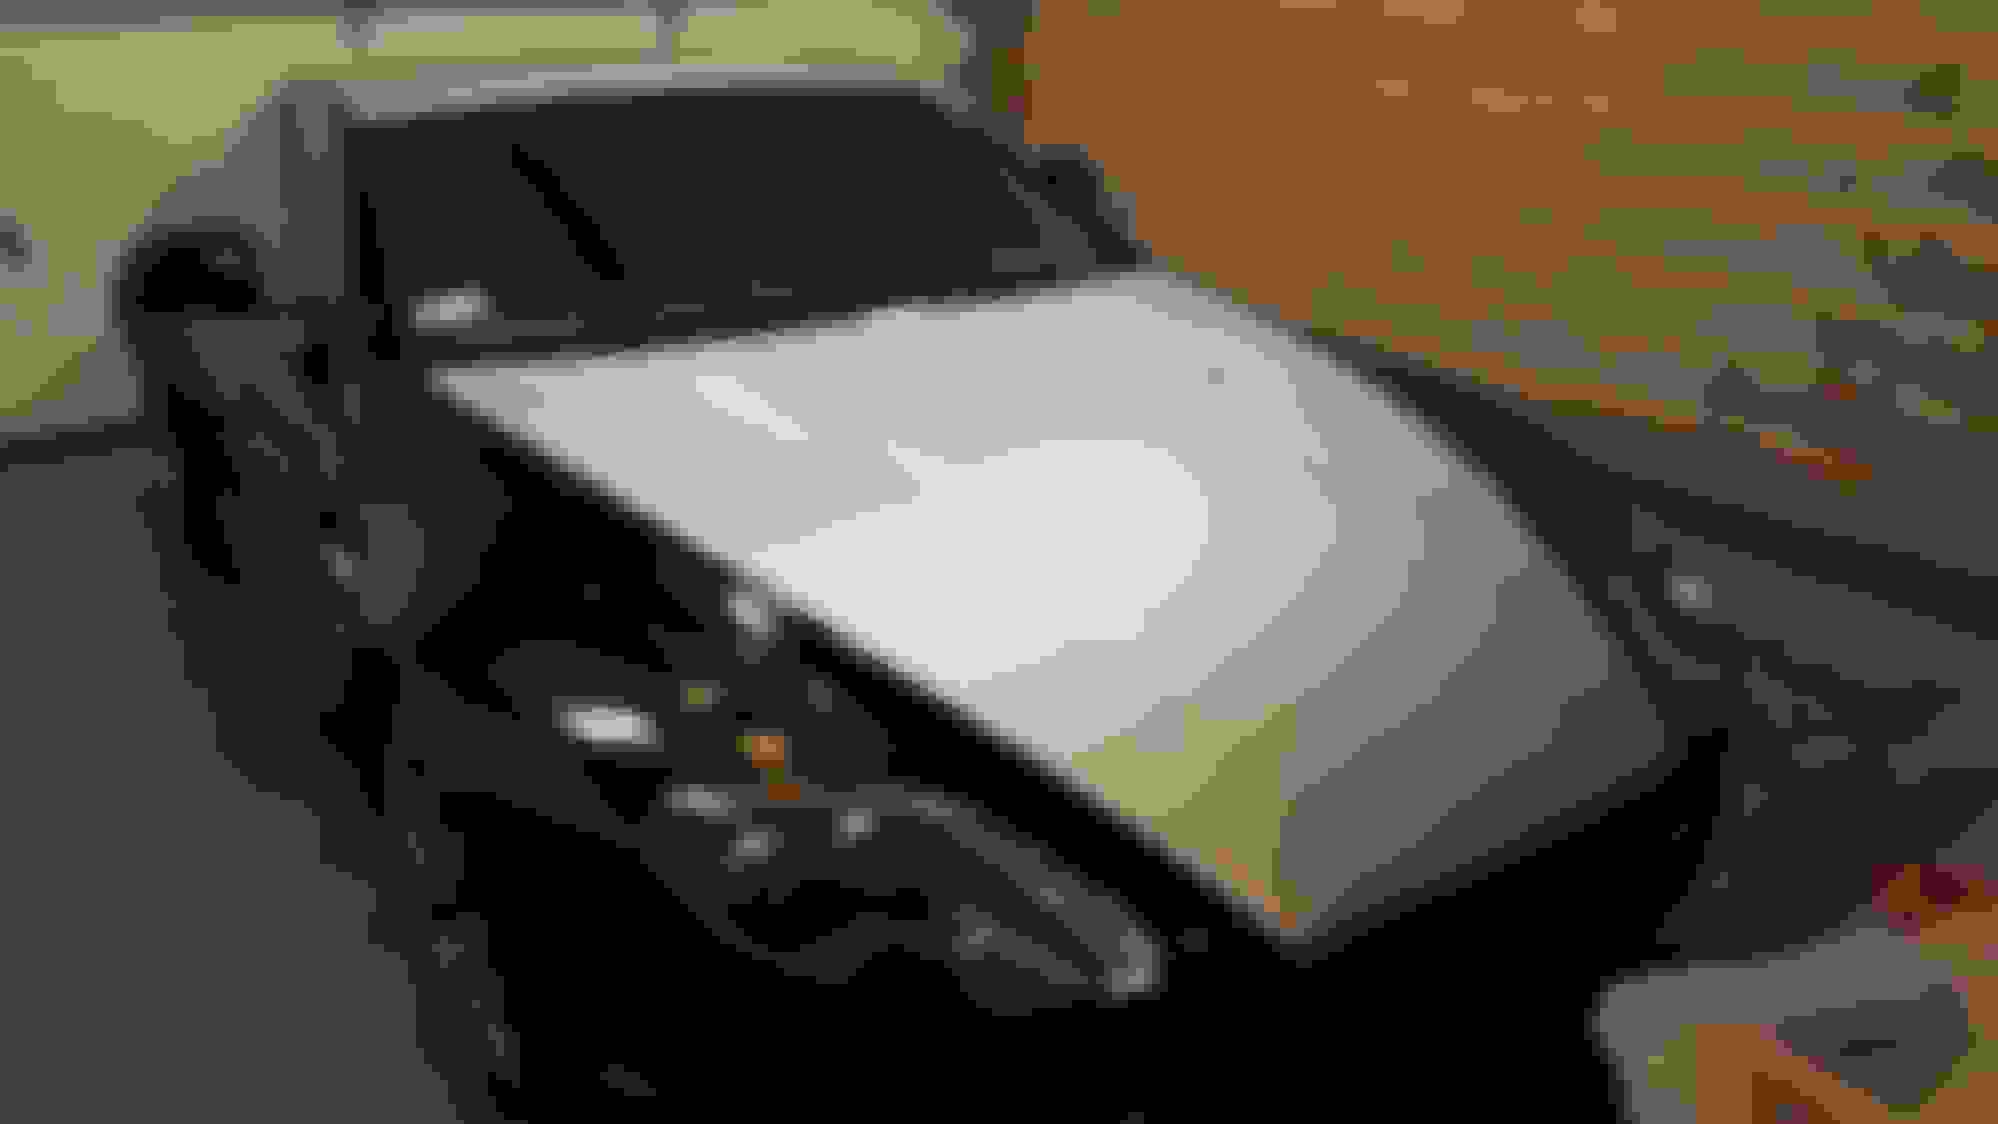
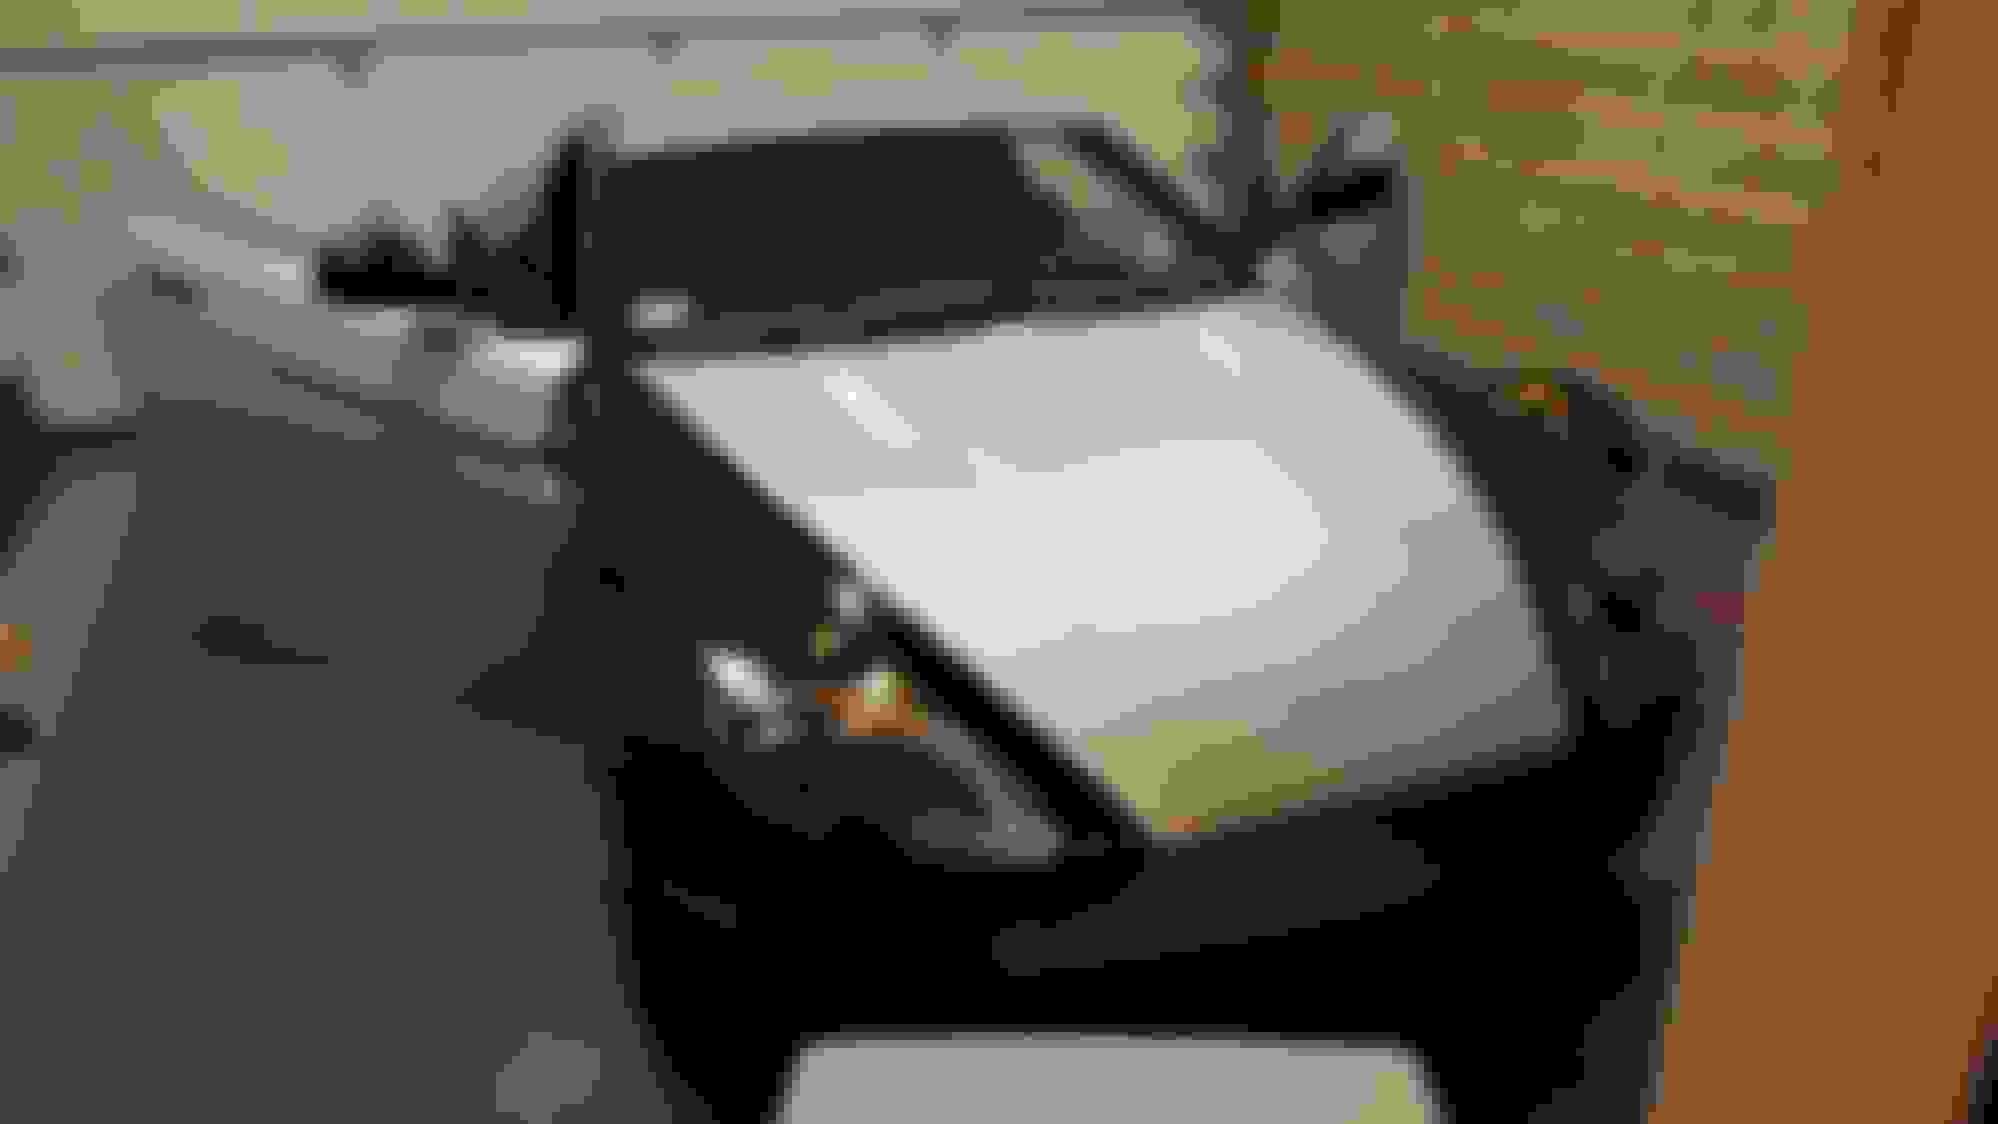
Next part came the Hood as I figured it was going to be pretty easy
Well that kind of was not the case... the **** kept bunching up and we had to do it twice (turns out my wife is pretty good at this application) the corners where the hood meets the windshield are extremely difficult to get under and cut near and get properly finished. I did my best...
Beforehand make sure to remove your Aston Badge by heating it up with the heat gun and running the fishing wire underneath it like a saw. Goo Gone will clean up the residual glue foam crap. In addition it is best to remove the hood louvers as it will make your life a lot easier, they are simple to remove, just have a 10mm ratchet to break the nut loose underneath and hand unscrew the 6 plastic nuts with washers underneath and remove the louver.
As for the application of the vinyl best advice I can give is to be extremely patient with the hood and lay it into the recess properly. We also had to pin ***** in the aston logo recess to get all the air out. Took us about two hours to do on our second try... but here is the result
Any questions feel free to ask and I'll do my best to answer them... this project will continue for the next few weeks until I'm done or I give up! lol
I am well aware of how well/thorough he wrapped that car as I bought it after the person he sold it to traded it in. The only tip I would give is take note of how long you plan to leave it on. It was approaching 3 years on the car and was a pain to remove. You get it warm to release the glue but not too warm where it wants to rip. If it is too cool then you will risk lifting the paint, especially on the wrapped edges. I did no harm to the car removing it but it took me 30+ hours and man were my fingers sore.
I am planning on wrapping my roof gloss black though. I will plan to remove/replace it every 2-3 years as to not encounter that issue again.
Last edited by skywagon; Feb 26, 2018 at 11:06 AM.
I plan to keep it on long as It holds up, I don't drive a ton in the winter nor does it get too hot here so hopefully even with my amateur installation it will hold up a few years at minimum. I checked out that thread, wow he did a ton of disassembly, probably why it took so long for you to get the wrap off! I plan on not doing as much as my car is black and it hides things pretty well. We shall see... i'll do my best to take more photos going forward
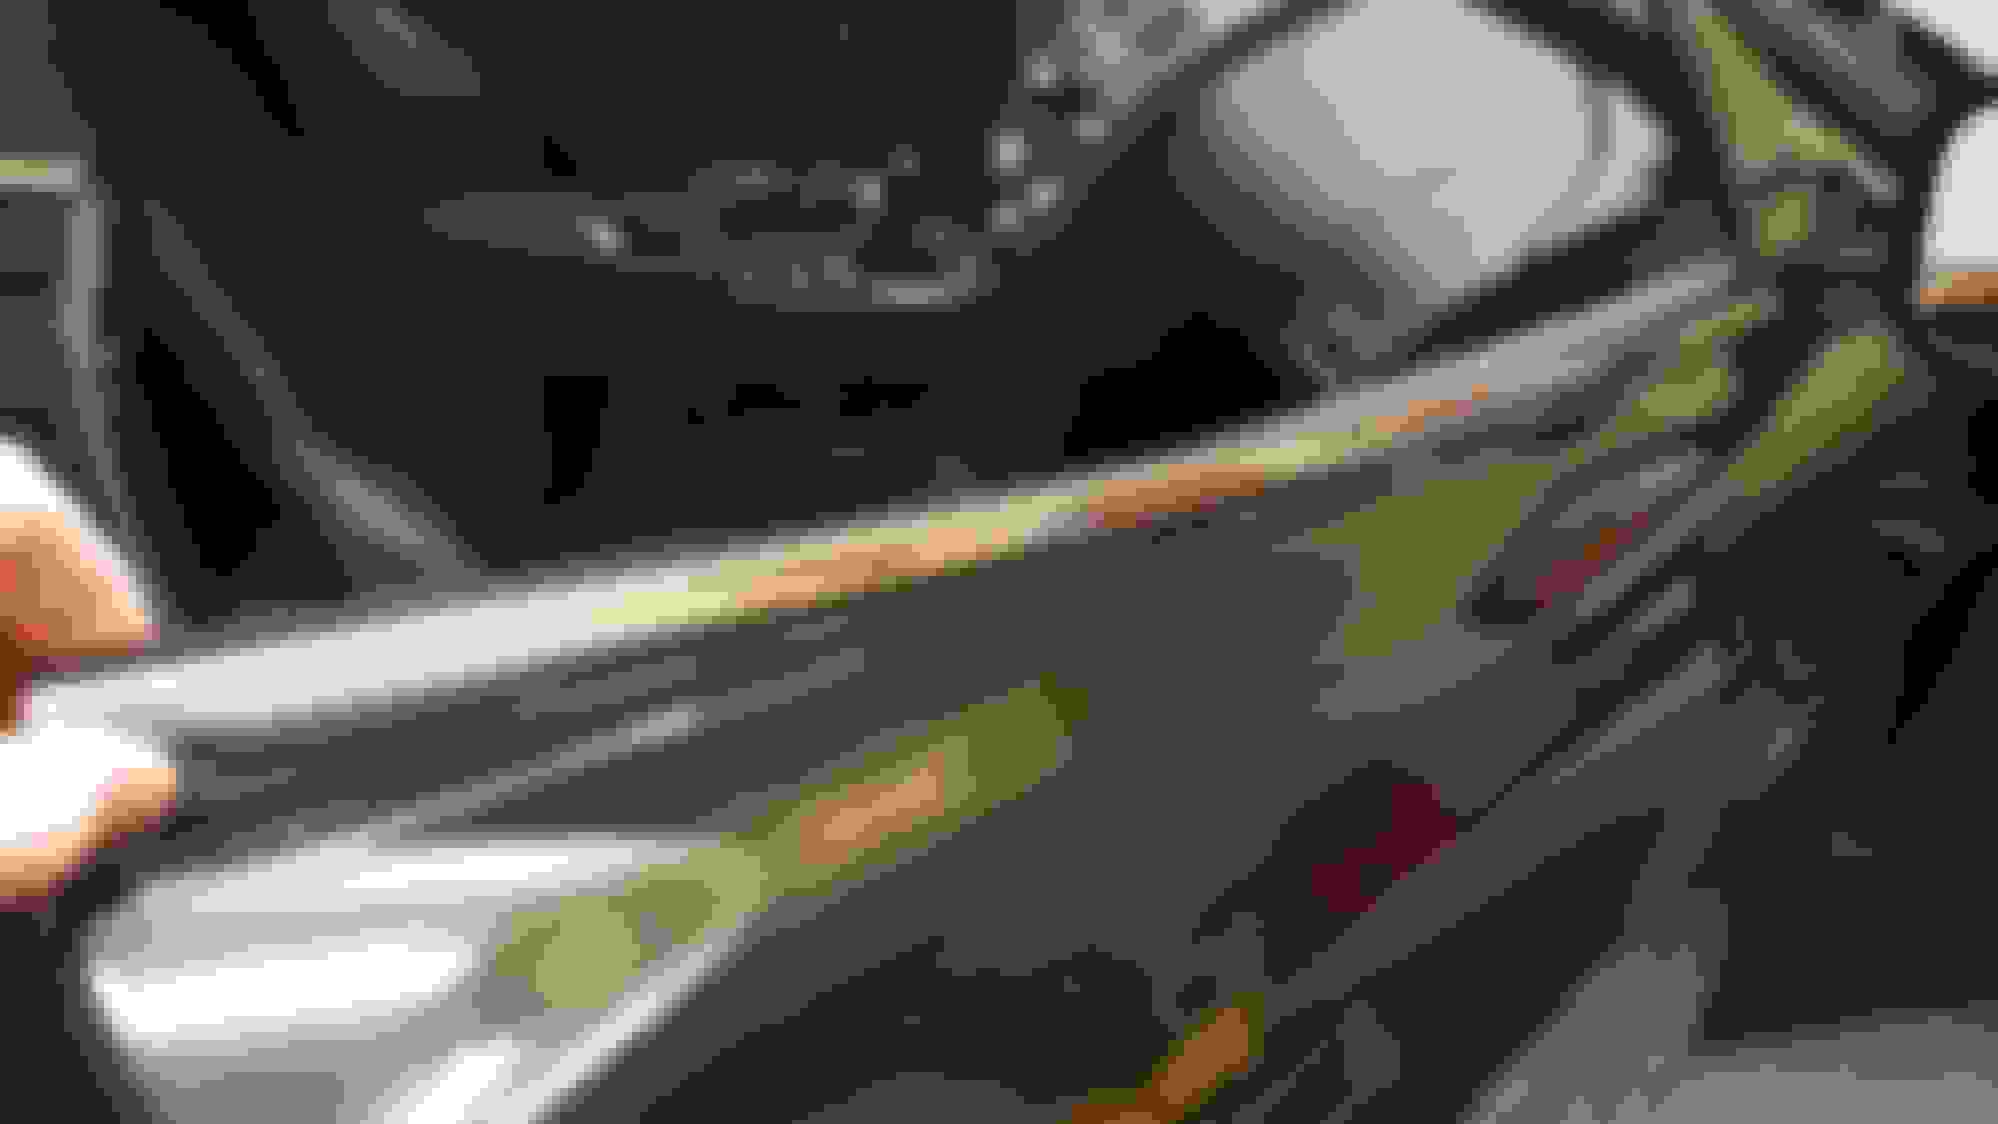
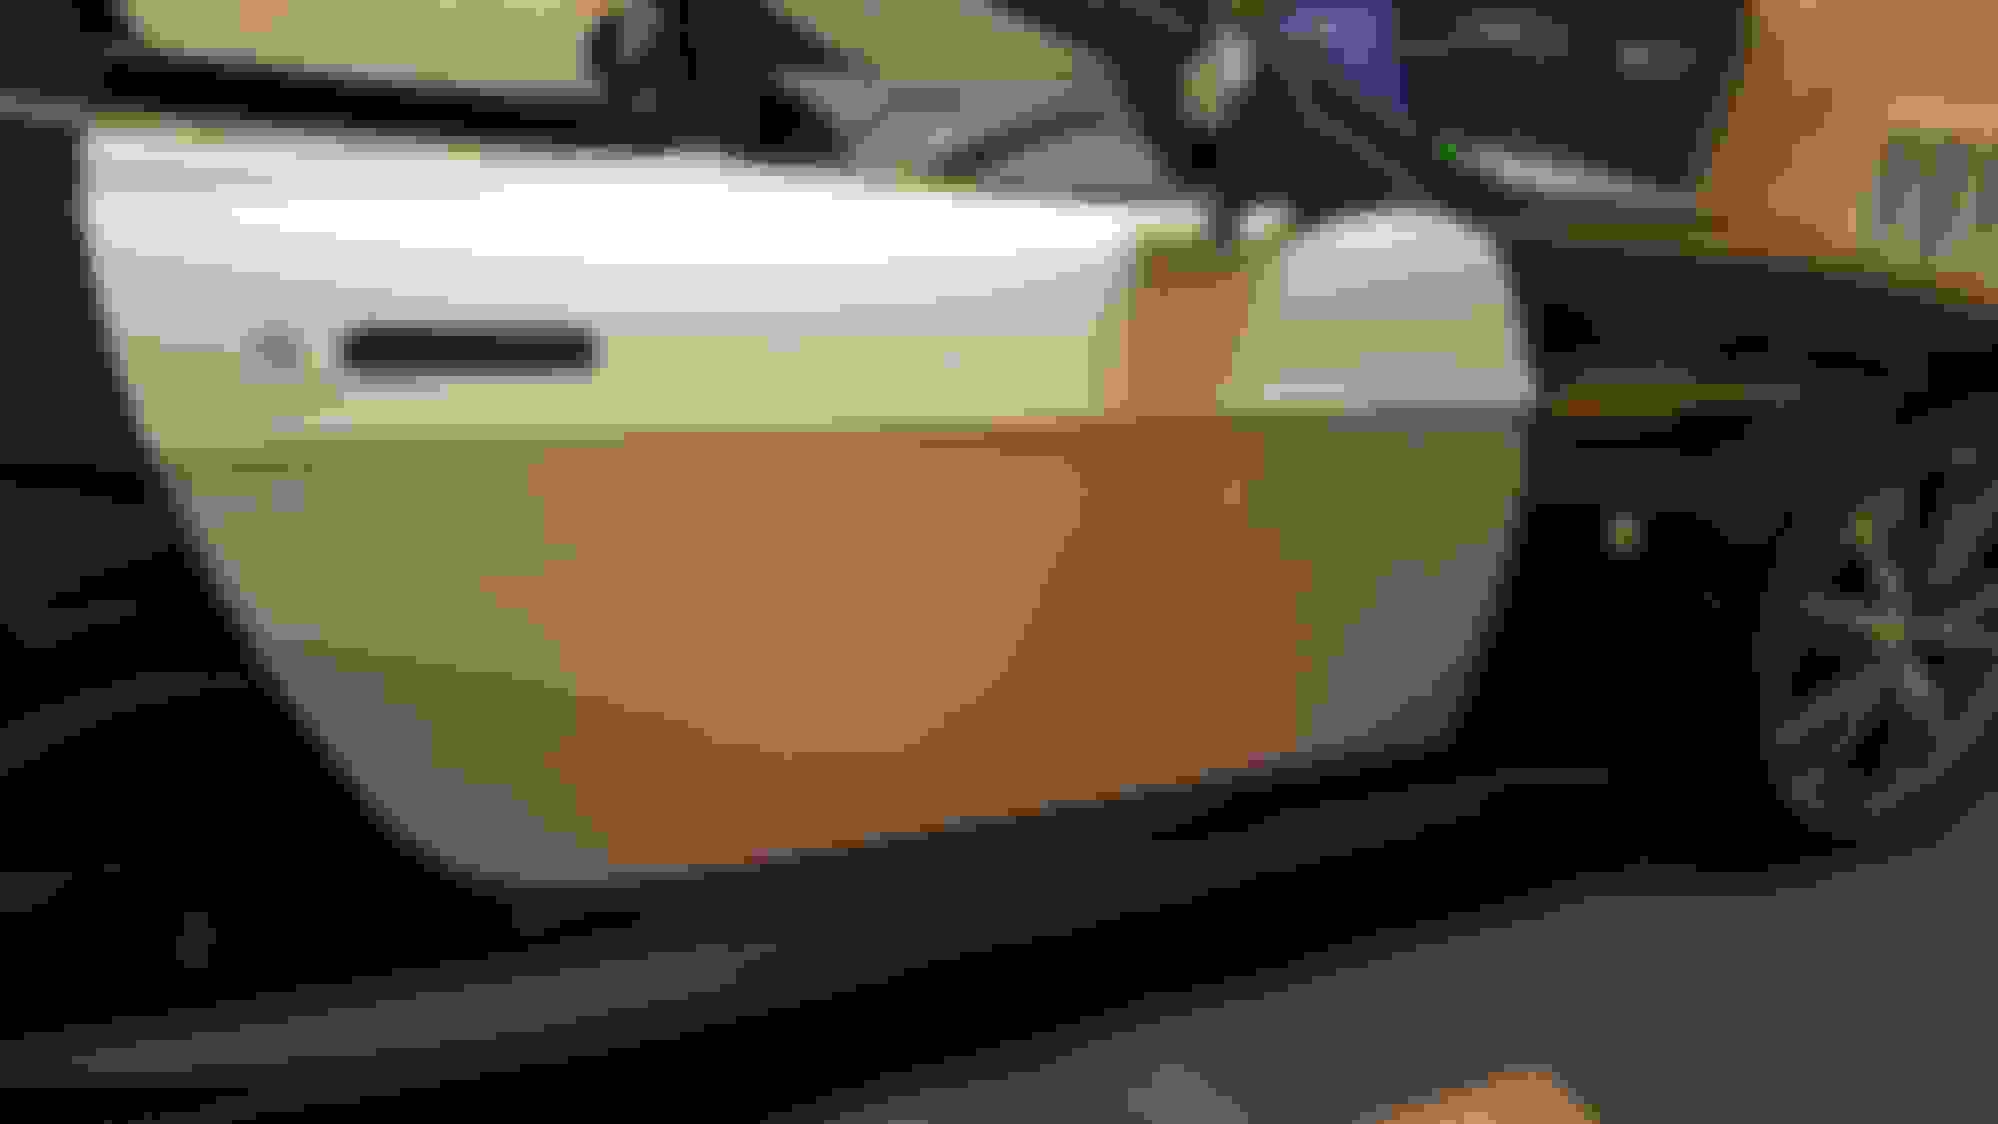
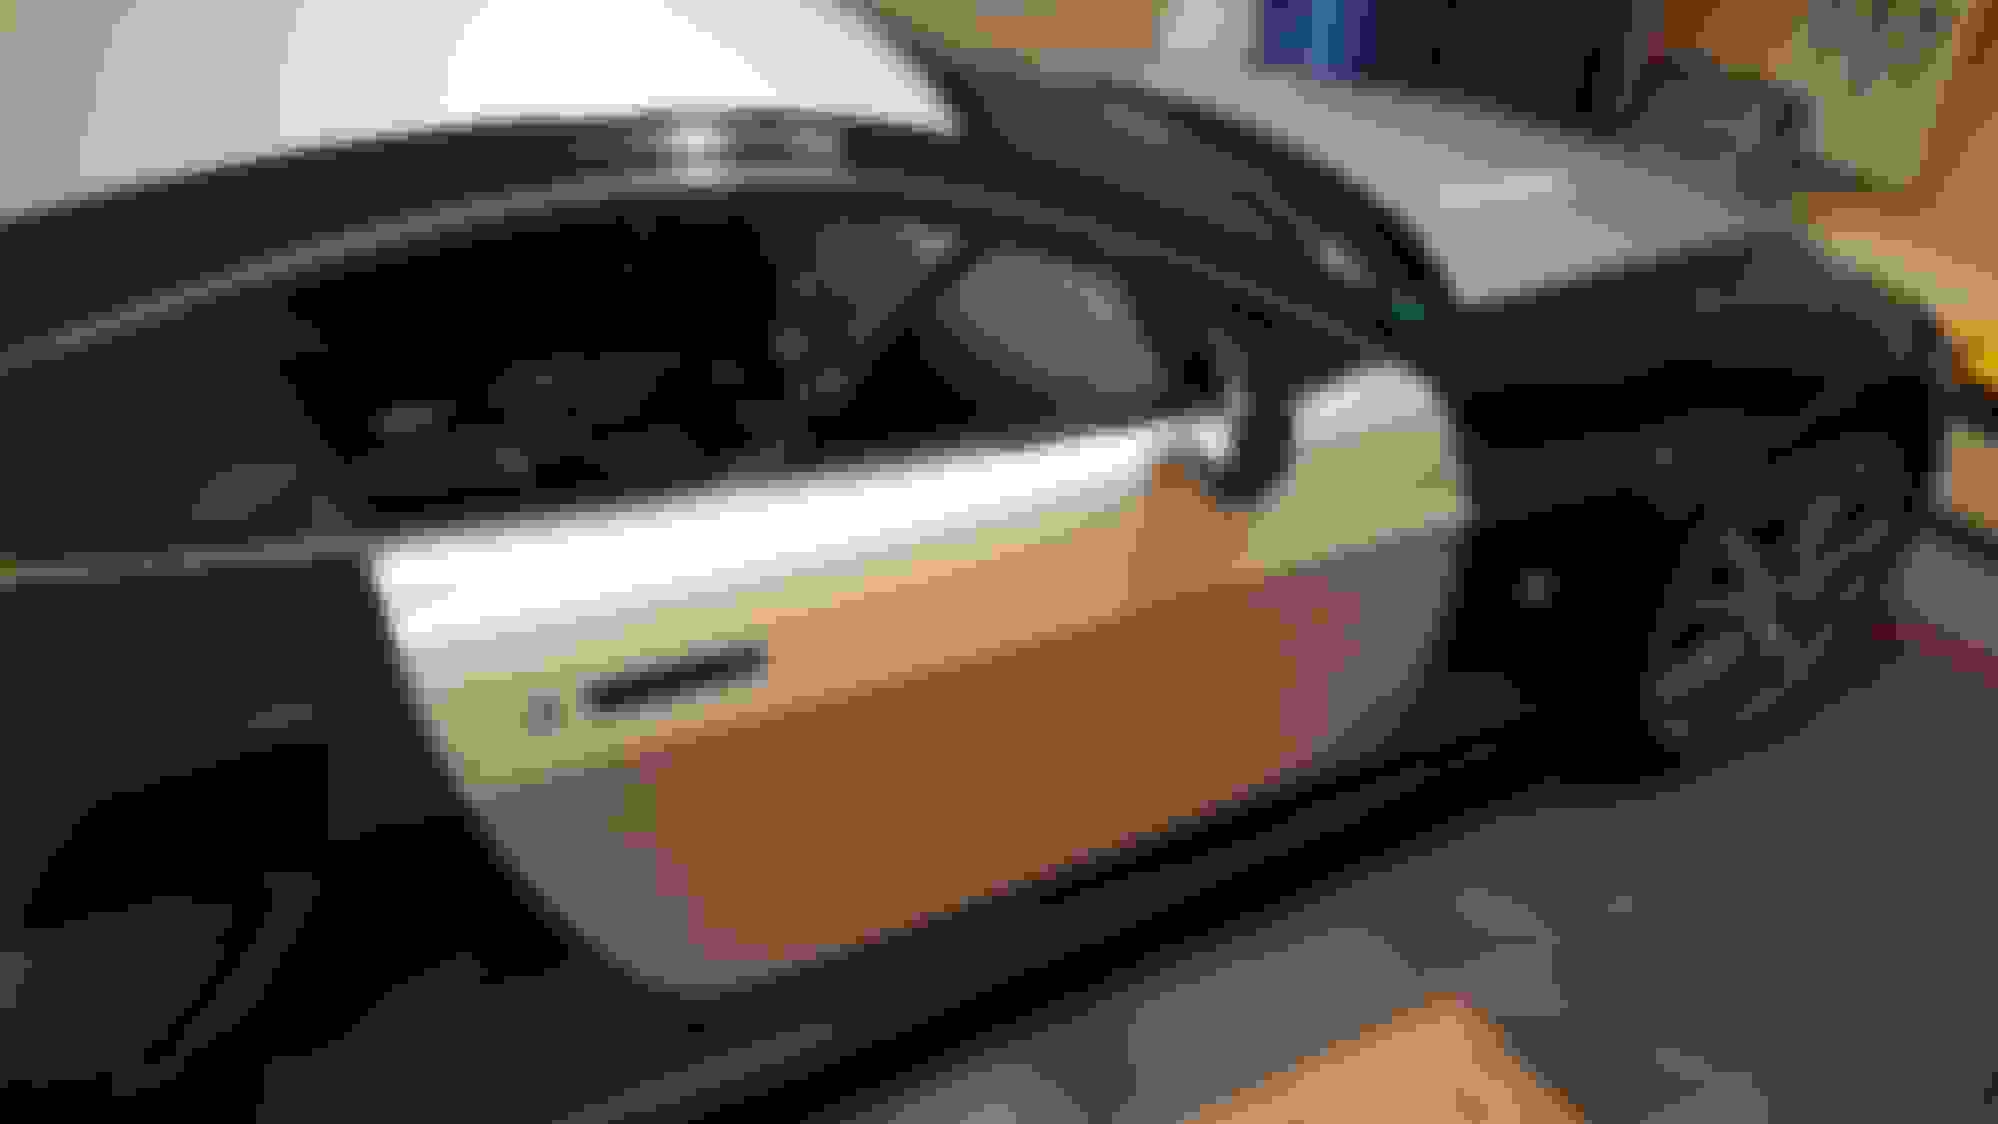
Ok did the doors tonight, they were surprisingly easy, but the cutting took some time to get just right. Every time I do something twice it just gets so much better, if I did another aston again, it would be smooth sailing I think!
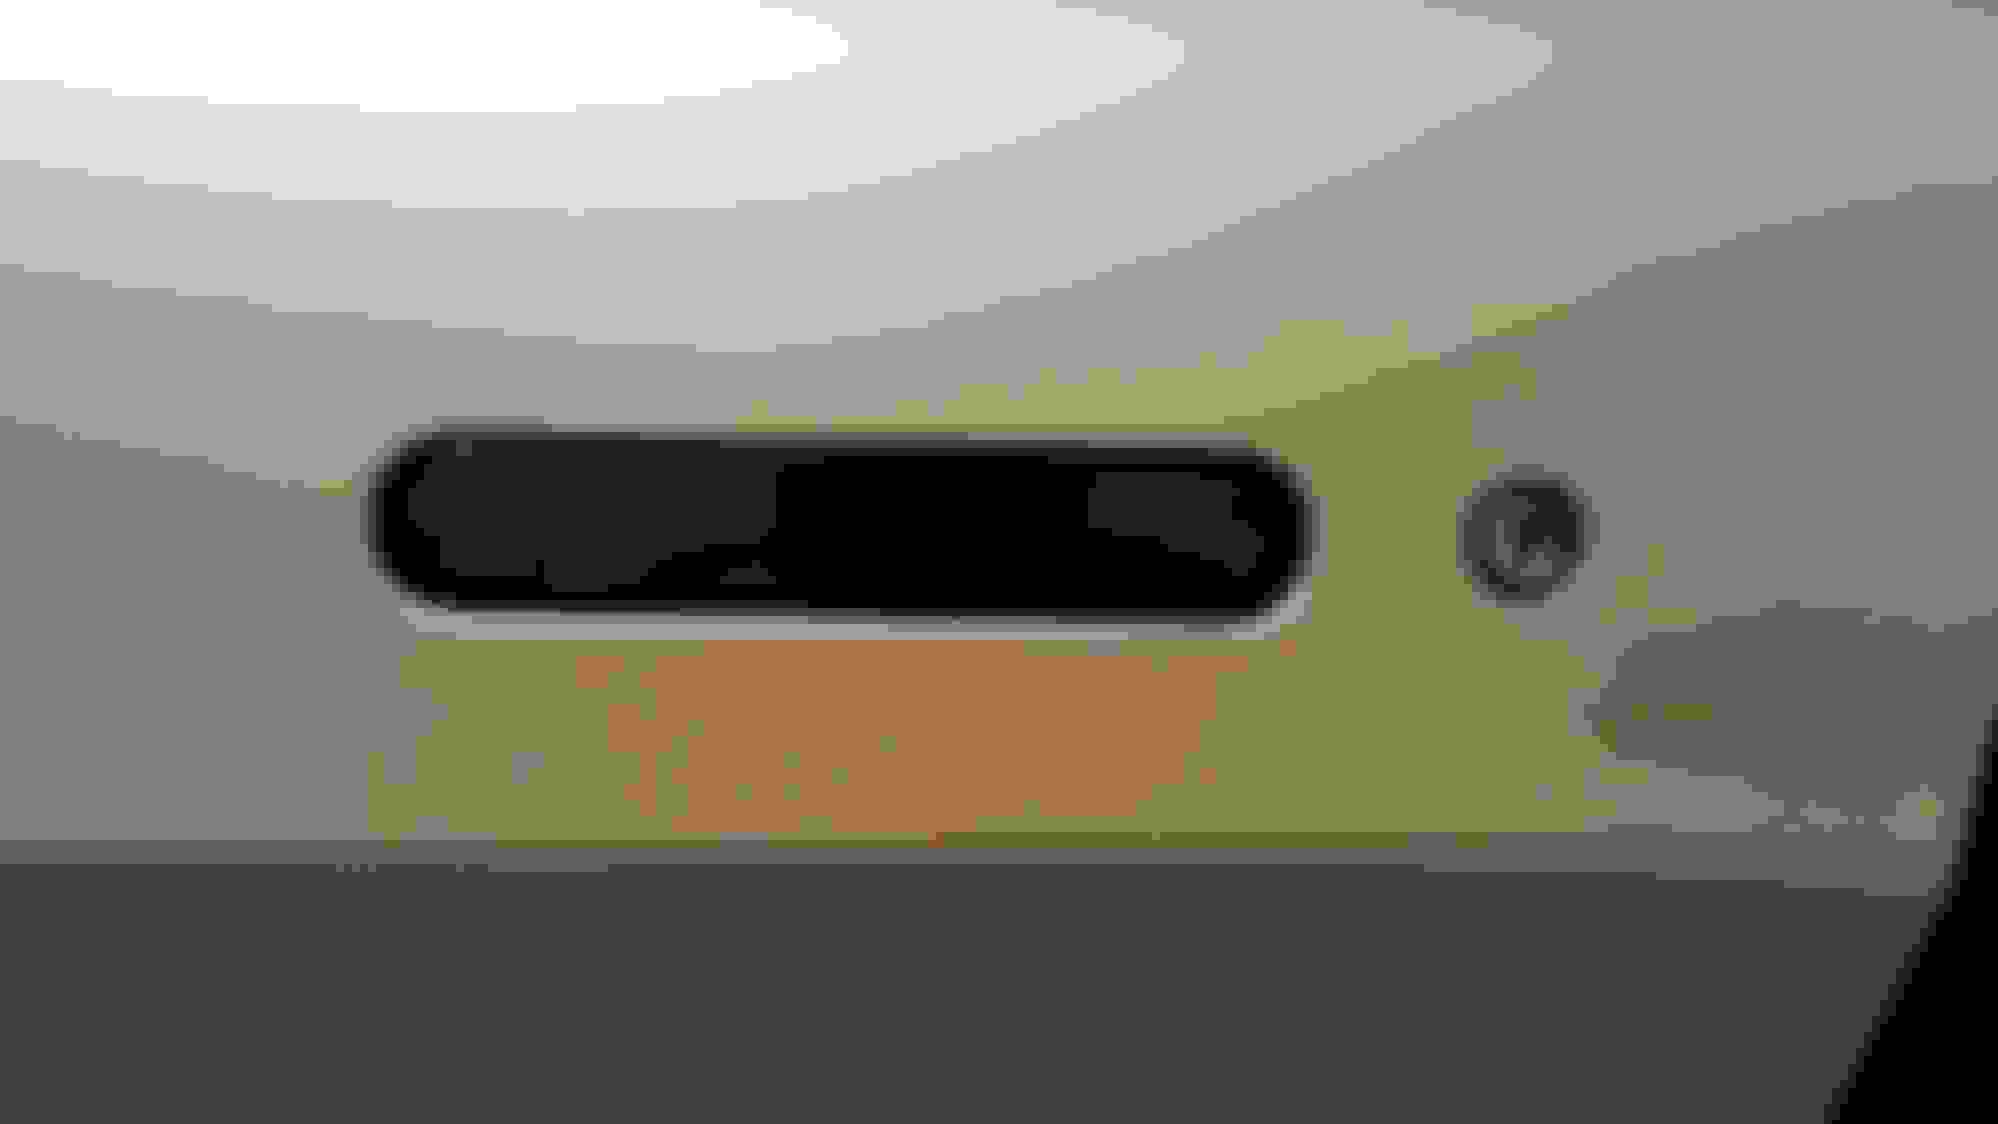
So I didn't remove the mirrors or door handles, not really necessary IMO, however I did remove the window trim which was super easy, just lower the windows, and pull it straight up and off
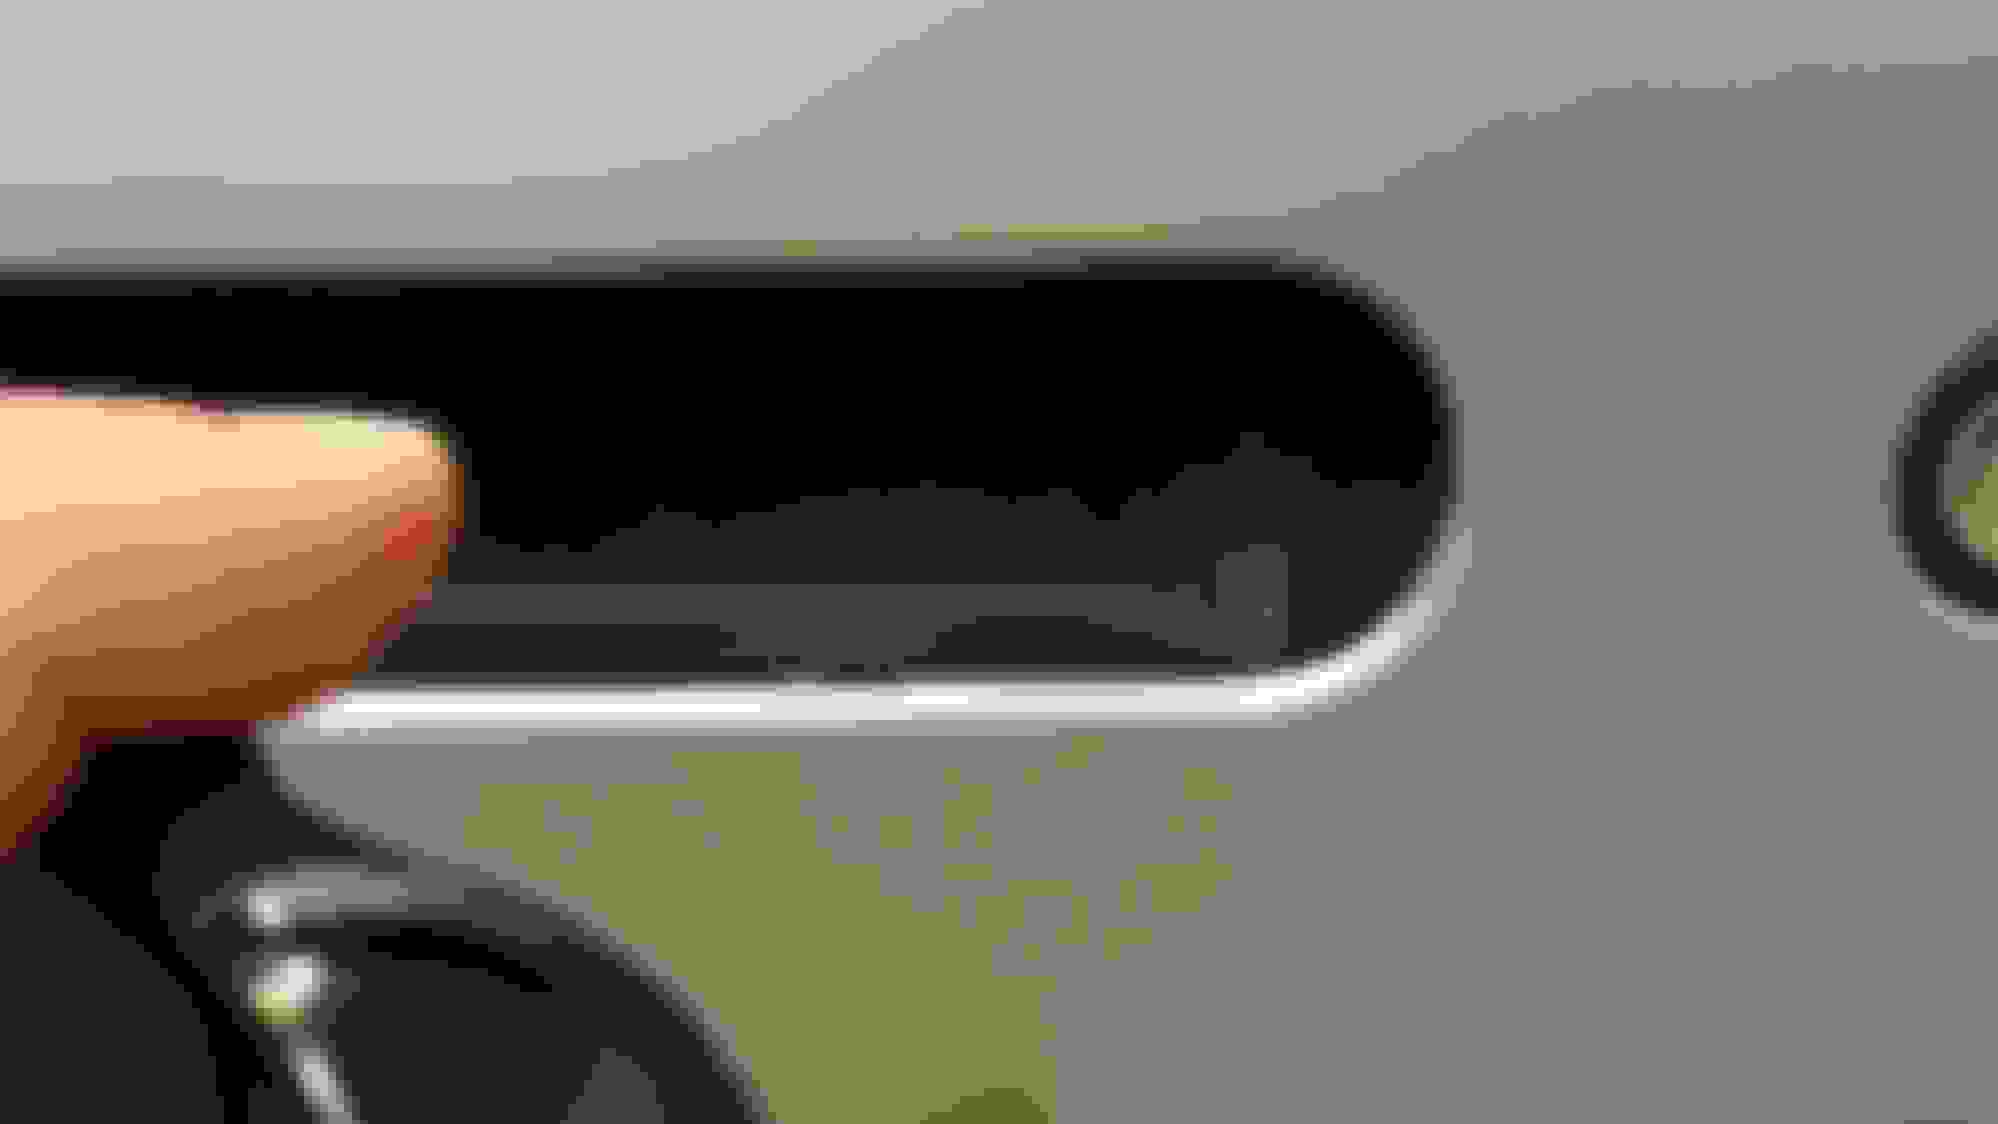
Then I proceeded to wrap, starting from the top down, it was a total ***** to get the top part of the door lined up right since they swoop up and aren't a straight line! so it took a bit of troubleshooting and I got it all done, that was definitely the most difficult part, under the mirror, but hey it looks really good! Just took a bit of jimmying and tucked it under the mirror and the window trim no problem at all!
The cutting the door handles was not difficult at all basically i just followed the shape of the handle itself on the inside and cut around it slowly and surely. There is a plastic piece behind the door handle that you can't wrap (thankfully!) but I plan to wrap the handle itself on top, here are some pics without it wrapped.
the cutting around the doors is easy as well, just be careful to not cut the rubber weather stripping on the bottom, use the opposite door for reference on where you can and can't cut
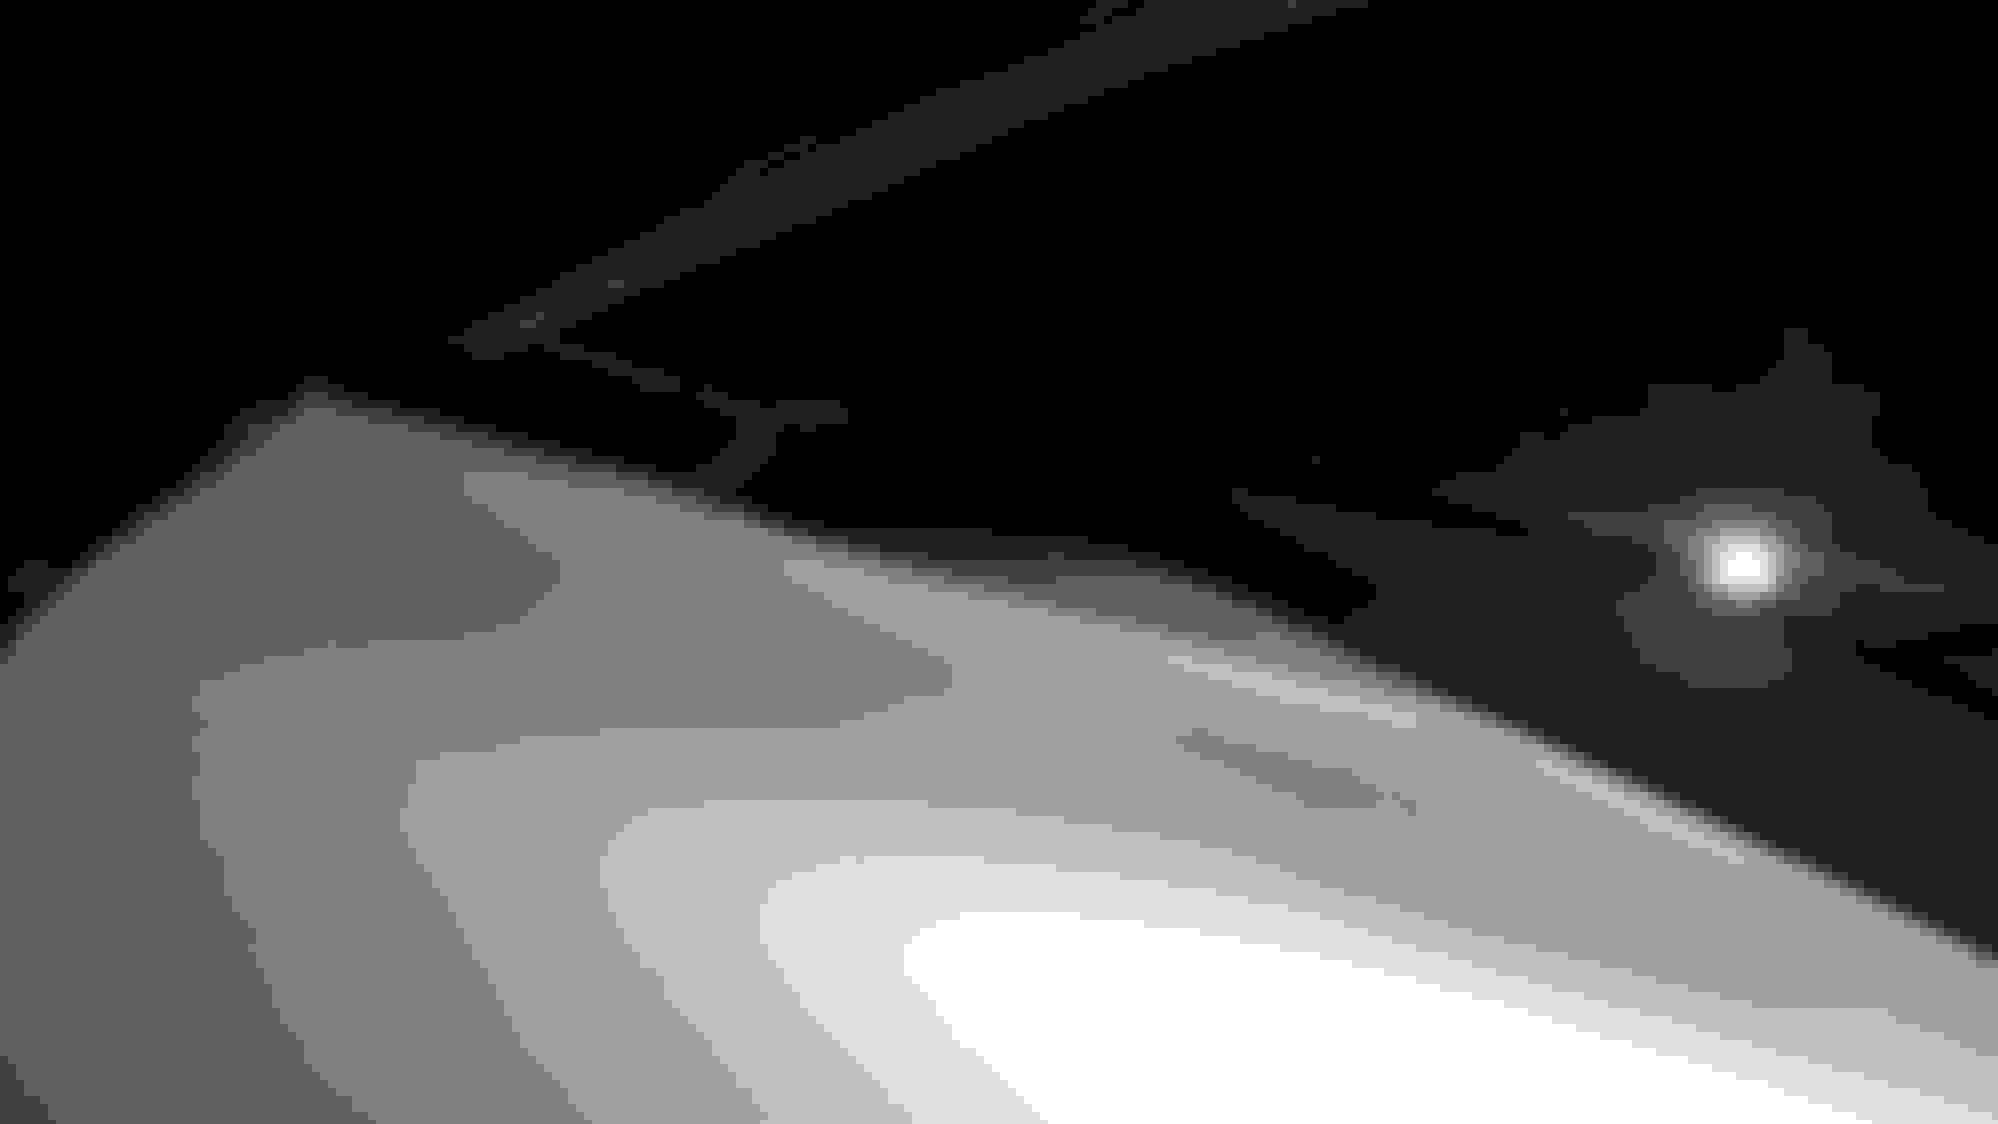
finished product of the two doors, roof and hood
going to attempt the body part of the boot next followed by the gigantic rear quarter panels probably, got some tips from karlfranz about the trunk, I hope it works