When you click on links to various merchants on this site and make a purchase, this can result in this site earning a commission. Affiliate programs and affiliations include, but are not limited to, the eBay Partner Network.
After 18 months of looking, I finally bought a DB9 to augment my current collection. My DD is a 2000 BMW E39 M5, my fun car is a replica Austin Healey with a Ford small block V8. I've had the Healey since 2001 and decided to try something different.
I found a DB9 that had starved the oil pump (I could only drain only 6 quarts from it). I bought it eyes wide open and the price made it worth the effort. I like working on cars, have a 4 car garage with a small lift and access to machine shops and I figured that the DB9 V-12 would be easier to work on than the S-62 variable valve V-8 in my M5.
I am either a genius or an idiot... But, at this point we aren't sure. I thought I would post a picture of the separation of the body from the engine/torque tube/gear box as I've not seen one on the forum. The directions in the work manual understate some of the work, but in general it's exactly as described, but clearly the person writing the works manual was paid by the job, not by the word! I can say that having a lift is almost a requirement for owning the car, as every job in the manual starts with "raise the car", and most of the big ones follow up with "remove engine/transmission".
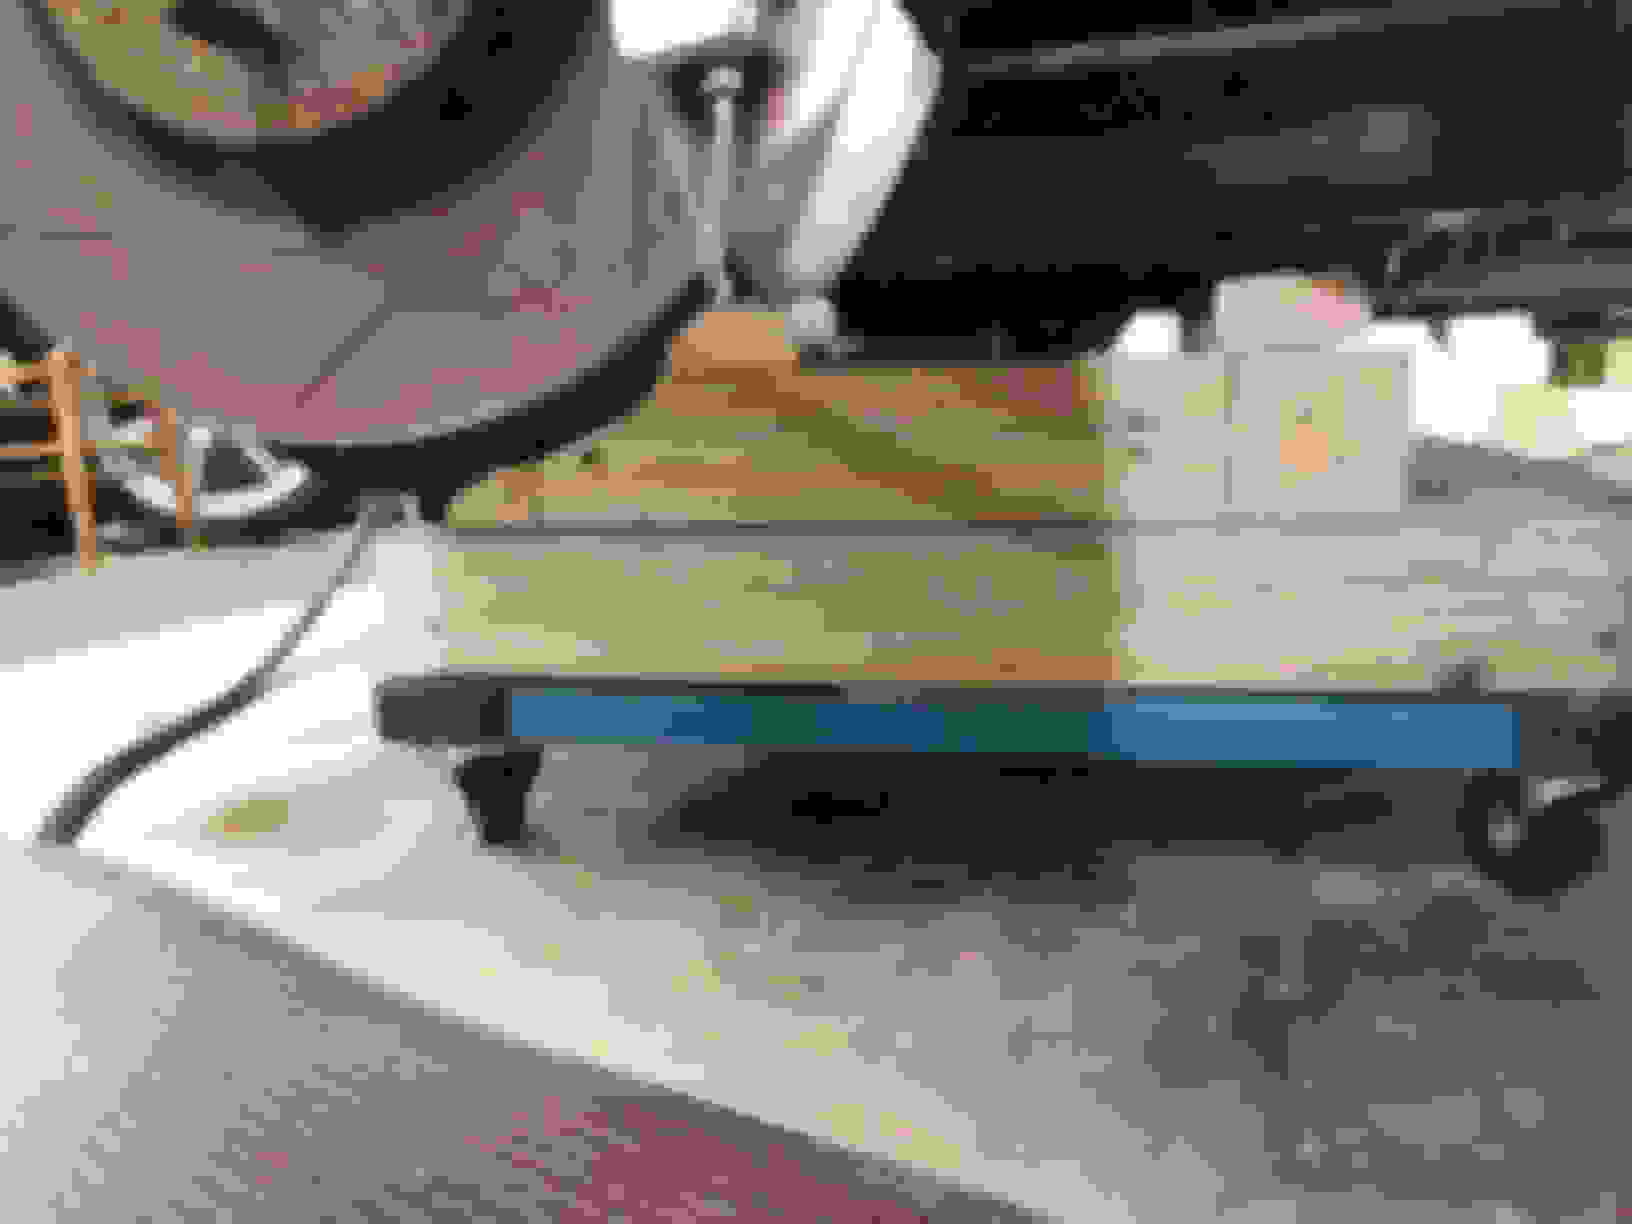
Here is the picture from the Ebay ad. These are pretty cars! One of the few tools I had to fabricate. The E-Brake to backing plate springs are too narrow to just use a hose clamp so I took some shim stock and made a release tool. Cheaper than the $120 from AM. I built a couple of work frames from 4 furniture dolleys and 4X4s. I only have a 8' garage, so a MaxJax 6 is all I can fit. It's sufficient to bring the car up and out of the way. I'll need to go up some more to wheel the assembly out.
I'm looking forward to warmer weather, and to actually starting on the engine rebuild!
a brave job / move indeed! I'd be keen to get a link to the workshop procedure on how to seperate the body / chassis: not that I need any on my car at this stage but hey it's a Britton that gets older...
The manual tells exactly what needs to be done, but doesn't really share how to do it. I had the car on the lift for two months, and slowly went around and around removing and labeling and photographing the parts...
Ironically, the hardest thing to figure out was where inside the car the engine wiring harness is connected. A modern vehicle would make this brake inside the engine compartment (I almost bought a Deutsch connector and did this for them).
By looking at a harness for sale on Ebay, I could see the length and pattern and finally found them tucked up high against the RH side of the foot well behind the carpet. I spent a couple of hours carefully disconnecting them - little victories.
Your undertaking that is capable of becoming Aston Martin lore on 6SPEEDONLINE ! I"ll bet there are a bunch here rooting for your success and willing to help. Good luck for sure.
A fun day - got the motor and it's dolly separated from the torque tube/rear end and pulled into another bay so I can begin taking it down.
I have seen a Merlin engine up close, and while this is only 6 Liters versus the 27 L for a Merlin it looks enormous compared to my BMW or Ford small blocks.
This will be fun. I wouldn't have taken it on, except the car is gorgeous, and the motor is a Ford Cosworth. All the internals except the crank look like they came from the Ford Global supply chain. The trick (fun?) will be intercepting the GSC and getting to the motorcraft equivalent.
I've also "decided" that since I really don't want to make a habit of dropping the drive train, I'm going to replace pretty much everything I see on the way.
Lots of effort to get the motor and sub frame separated from the rest of the car. Finally had time to put the motor on an engine stand. I chickened out and bought a bigger one as the motor is much larger than the traditional straight six or small block V-8.
Got the front cover off, so I can start to see what the motor looks like. Same set up as my S-62, but without the complexity of variable valve timing.
There have been so many updated parts for the V12 internal over the years, such as new oil pump, pressure relief valve, bearing shell designs, lifters etc.. Would be really nice if you could document the rebuild with all the new parts.
But I suspect for pistons and rods, it might just be better to contact Carrillo and get some nice lightweight H beams and forged pistons.
Thanks, I am sure that is true, since everything I've seen so far is identical to what is used in a stock 2005 Ford Escape V6. Obviously the castings/crank are different, but the rest could be sourced at RockAuto.com... I'm waiting to be impressed, but I will allow that they were creative.
So I now have a crank laying in the top half of the main bearings. A pretty productive couple of days. Turns out the pistons didn't seize, but it did spin the bearings on pistons 3 & 9 (they share a journal). I have seen worse, and was expecting worse, so this was really good news (If you are easily grossed out skip the last image!).
Now I just need to get everything cleaned, and the crank either turned/ground/polished depending on what we decide after measuring it. Lots of little stuff to do, but it looks straight forward from here.
scuzzy big end crank block with crank, mains still attached homemade spread tool using a turnbuckle most of the big end plan bearings from #3 & #9 rods ended up in the bottom of the pan
The crankshaft rides in 7 bearings called "main bearings". In a normal motor, these are held in place with 4 bolts that go "up and down". This is easy to make, and pretty strong as the normal forces are from the motor and mostly vertical. If you are worried about have the bolts strip out, you add 2 more bolts that come in from the side. Pretty common in high power motors, and these are "6 bolt mains". The AM V-12 has 6 bolt mains. Because the mains are bolted to the case, they are in pretty tight tolerance. Because of this, the case has to be spread apart, ever so slightly (eg, less than 25NM of force or you can crack the case). The spreader "tool" (I hesitate to call a turnbuckle from the hardware store, a crow foot, and a torque wrench a tool) pushes the block apart so the mains can be removed.
In my case the main journals and rod journals will be ground .25mm ("10 thousandths of an inch) under. This is a standard size and I can buy OEM from Ford, or after market bearing sets.
I'm off for the week, but will probably drop the block, main caps, crank, heads off at the machine shop on Friday. I'm curious to see what they say!