When you click on links to various merchants on this site and make a purchase, this can result in this site earning a commission. Affiliate programs and affiliations include, but are not limited to, the eBay Partner Network.
It just broke a week ago, suspiciously right after the car was detailed, and it bothered me instantly. I found your post that night and by morning the order was placed. I was going to do the job myself but when I mentioned it to my friend he told me to just bring it in and let him do it rather than risk breaking something else.
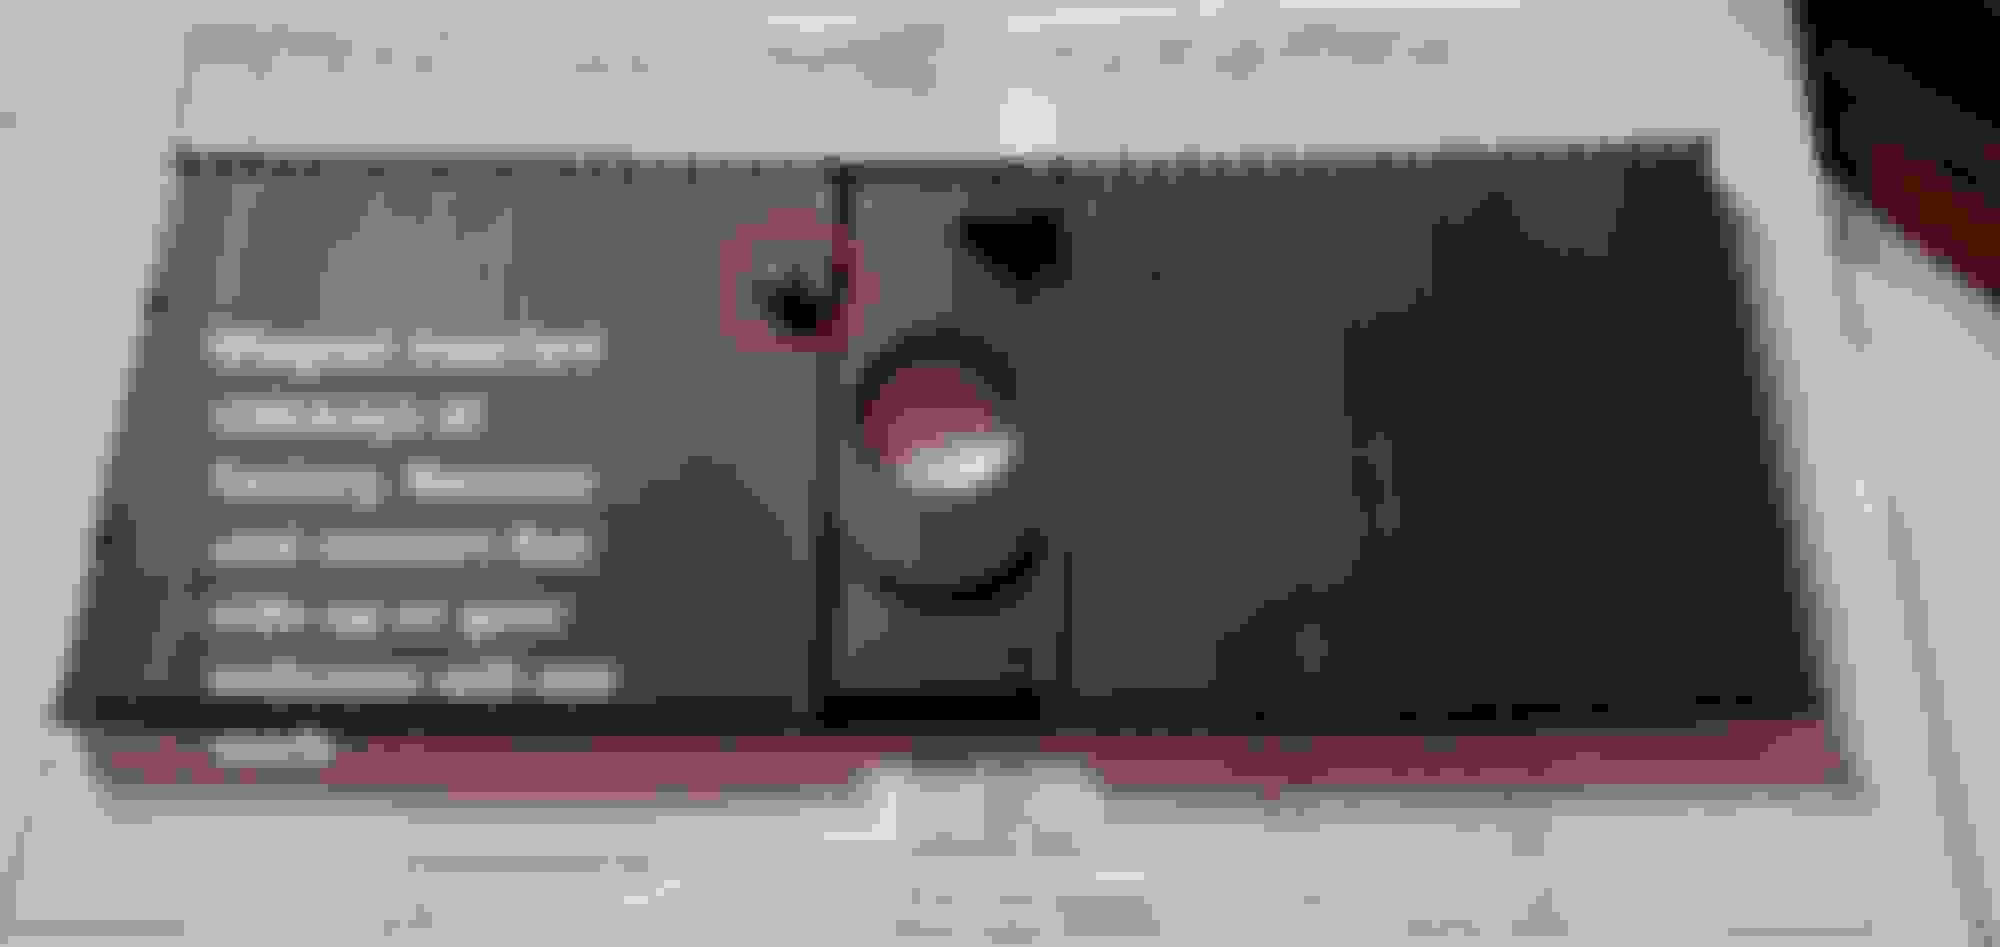
Just got back from having the shifter strip installed using the Audi part. It's a 15 minute job (for someone who's done it before) BUT - there was a problem! As I drove away I noticed that the gear indicator on the instrument cluster had ALL the gears lit! Did a U turn back to the shop and had him take a look. After verifying that the the old part worked as it should, he compared the magnet layout between the original Bentley part and the Audi part. As you'll see in the photo below, the circled magnet appears round instead of flat as in the second photo. He touched the magnets with a small screwdriver and noticed that the new one was much weaker than the original and then it popped right out! The magnet, which is a disk, had been inserted at the factory sideways instead of with the flat side up. Once he inserted it correctly the problem was solved! Since this was a factory sealed part right from VAG, be on the lookout for this problem and verify that the magnets are inserted correctly before installing and save yourself some frustration! Hope this helps someone down the road. Audi part with magnet inserted wrong. Original part showing proper insertion.
@Randy V ,
I can not find the pictures in my phone at the moment, but the first step is to put the shifter into neutral, then push down on the aluminum trim on the shaft, then pull up on the ****...
Johnny
Last edited by Johnny Hotspur GT; Jul 4, 2020 at 09:11 AM.
The small magnets inserted into the bottom of the slider just sit inside the location. They can easily fall out. Others have reported them being installed sideways.
Should I apply a dab of glue to them to secure them in their captive spots?
Success! Thanks to Johhny for the write up and British for the part source. Some of the pictures are not helpful to the process so don't feel; you need to understand all of them. Just take your time and figure out how things fit together. You only need a small flat blade screwdriver to release some of the catches. No other tools are required.
A few tips:
Put the shifter in N before beginning. You will need to remove the shifter ****. Push the collar under the **** down to release the clips that hold the **** to the shaft then pull straight up.
After releasing the center console top from the back by raising the two arm rests and gently pushing them more to the rear and lifting from the cup holder opening, gently wiggle it back and forth to release the catches.
Next, unplug the four power plugs attached to the underside by depressing the catch and pulling out. Release the long one by separating the connector under the foam wrap.
You can now raise the console almost all the way up no need to totally remove it. I used a short cord to suspend it from the rearview mirror.
Next you pop off the shifter bexel - it comes off as a total unit.
Finally, remove the decorative top to reveal the circuit board. Remove that carefully by releasing the four corner clips.
Now you can remove the black plastic that covers the slider - again by finding the clip releases.
Now you have access to the slider piece. Note how it is oriented before removing it.
Install the new one then reassemble shifter assembly.
Replace the shifter assembly - it catches on the for corners onto the underlying white plastic part.
Reattach the plugs in the reverse order they were removed.
Lower the console into place making sure it is fully forward and under the dash panel.
Wiggle it around until you can get it back flush into place.
Hi All, this thread has been greatly informative.
Do you know if the Audi part will fit on the 2012+ Gen 2 CGT? I'm not sure if the assembly of the Gen 1 ('04-'11) is different from the Gen 2 ('12-'17); i know the shape of the steel base selector is different (more rectangular, instead of round shaped).
I'm looking at this option for my Gen 2 and want to know if this repair is possible before I invest in the complete shifter assembly unit.
Depends on who you believe. The first link to Alpine indicates that it'll work but the second link to Scuderia doesn't show it as a separate part. The first thing to do is find out if there is a Bentley part number for it and then see if there's an Audi version. Maybe call the Bentley dealer parts dept. and see what they say. https://www.alpineperformance.com/be...er-replacement https://www.scuderiacarparts.com/par...356/2158/39766
Well, here's some more info... The FlyingSpares site lists the cover for "up to 2011" and no part for 2012+ so you may be out of luck. But do call the dealer. https://www.flyingspares.com/shop/be...1713111jp.html
First great thanks to Randy V, Johnny, British and all who have built this thread as I was successful in disassembling the console in my car and installing a new shifter dust cover. This probably save me big $$ US and leaving the car for a few days at a dealer on the other side of Dallas, so I am very grateful
to all who contributed.
I go the cover off of E Bay US and it was a German made VAG part with the same number as the photo above.
In addition to a screwdriver as Randy V mentions, a flashlight, WD-40, cloth, cleaner, and lube was used along with photos on my phone during disassembly. Read the full thread before these comments to have the complete explanation on this project.
Let me add a few things I learned to help the more mechanically novice in this thread. My car is a 06 GT standard edition with a Sirius radio installed where the ashtray would be. They relocated the lighter plug into the front wall of the storage bin under the sliding or tambor cover. I have bright lights on both sides of the car and worked from the seat without the steering wheel.
Shifter ****. Shift to N or S and just press the collar below the **** down, it chokes 4 clips on the bottom of the shifter **** to hold that in place. It needs to go down about 25 mm or 1”. Of course, this collar was probably not moved since the day it was put on so it required prying with a screwdriver to get it to move. I would flush it out with a wet lube like WD-40 to try to loosen it up if yours is resistant. Once the collar is down the **** will pull up. Don’t punch yourself in the face, I didn’t, but I see it would be easy to do!!
I do not think this console cover has been removed since assembly at Crewe so everything was very resistant to disassembly. I used a plastic trim pry bar under the edge of the cover to pry it up and get the pins to release, but not without concern I would be breaking the cover. These are metal pins in a metal female fitting so they get bonded if not taken apart for a few years. I shot of WD-40 would help. Everything did release. See photos.
Console Cover Clips. There were 4 clips, 2 on each side. They are pins going into a metal clip. On this console they were on each side of the strip between the sliding tambor cover and the ashtray / Sirius cover and at 10 and 2 on the sides of the shifter hole if Park was 12:00.
Once I got the cover released, I was able to find enough slack in the wiring to lift the back of the cover high enough to move the armrests forward and hold the cover up and not have to unplug anything on the console. Read the thread for the location of the clips that holds the assemblies together, what plug to disassemble, and which way the cover goes in, smooth side and magnets up or the top.
I was able to unclip the end of the covers and pulled the broken cover out and slide the new one in from one end so I did not have to take everything apart as described in the thread.
All these clips are 15-year-old plastic so a shot of WD will help disassembly. Be kind to these parts, mine were old and brittle and taking your time is much better and faster than getting replacement parts. Have a rag handy to catch the overflow during clean/ lube and keep the project clean.
Having a clean cloth and some mild cleaner would be helpful to clean everything while apart and I put a light lube on all the pins to help in assembly and future access.
I also flushed out all plugs and electrical assemblies with a good circuit cleaner to help refresh these connections. Experience with totally difference circuitry of this vintage has taught me it can be oxidized and cleaning helps. So far it has not hurt and solved several lighting problems in this vehicle. Lights were fine, connections were dirty.
Everything either clips together or doesn’t so assembly was simple, but for those of us with a short memory taking photos of each step during the take apart process would be wise. Shifter in P position for photos, the S position was best for removing the parts.
If you are not as **** as I am with the cleaning and lubing this project could be done in less than an hour.
Good luck and if you are in England buy those contributing to this a cold one on me. If you are in the US message me with a number and I will talk to you if you want.
I left the back up so I could get to the screws that attach the cover to the back console to recover the tambor slider for that console for repair. It is missing and an empty hole. That project tomorrow morning. Note pins before parking lever and storage bin. See cross member with fittings for rear pins and fittings beside shifter cover. There was enough room to remove the assembly and insert the new dust cover from the back without unplugging anything. That is a switch for the Sirius antenna by the parking brake. The pin and fitting are clear here and at 9:00 on the shifter cover. Relocated lighter in front of storage bin. **** and collar, mm on L, inches on R of ruler. The collar squeeze's the 4 latches at the bottom of the **** to secure it. Arm rest screws to loosen to lift rear console cover. Heater duct in opening. Notice broken crossmember where pin was inserted. The fitting pulled out when removing cover. Crossmember is VERY weak and made out of some hardened foam material.
I inserted the new cover with the smooth side and magnets on top or towards the roof of the car. Magnets will be on left under gear indicators.
I found out a good use for the screen, a place to mount my I Phone!! I know what shows up under the mounting point. Happy New Year and good luck on installing the cover. Call it you get stuck but it is not that hard if you take your time.