
Cayman bumper removal & GT3 grill install

Thread Starter
|
Registered User
Joined: Oct 2007
Posts: 292
From: MD
Rep Power: 42


Cayman bumper removal & GT3 grill install
Difficulty scale from 1 to 10: 5 (to remove bumper)
Tools needed:
-jackstands or ramps
-1/4 socket wrench
-7" extension
-T30 socket
-T25 socket
-5mm deep socket
-flathead screwdriver
-needlenose pliers
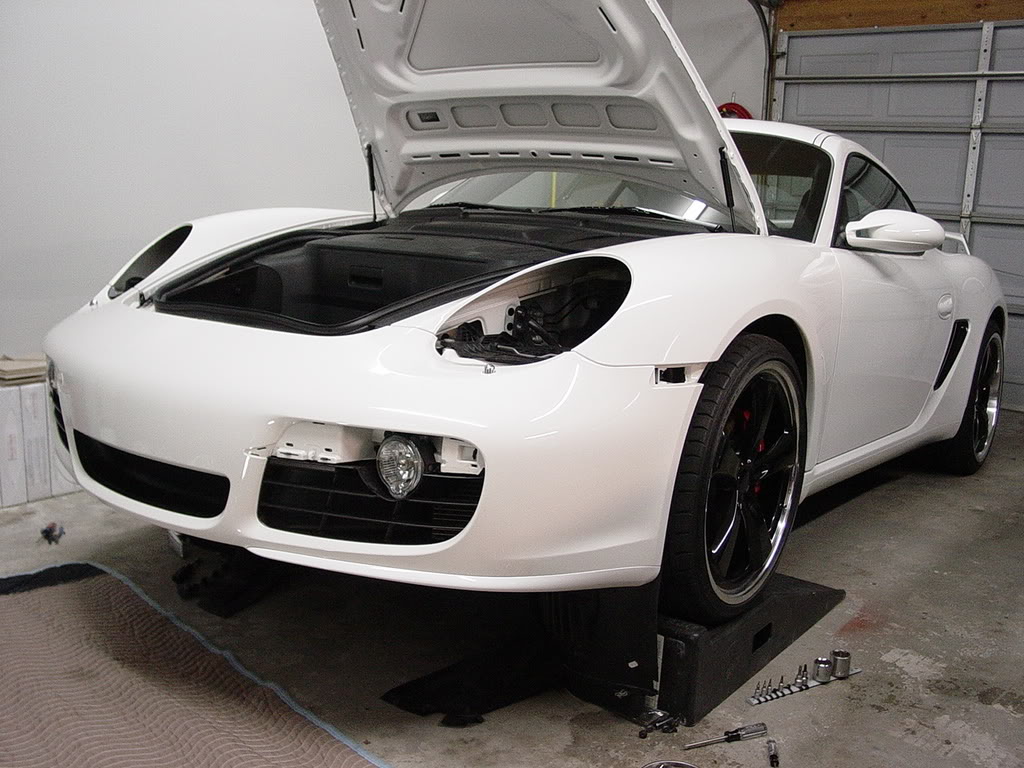
Start off by putting you car on ramps,
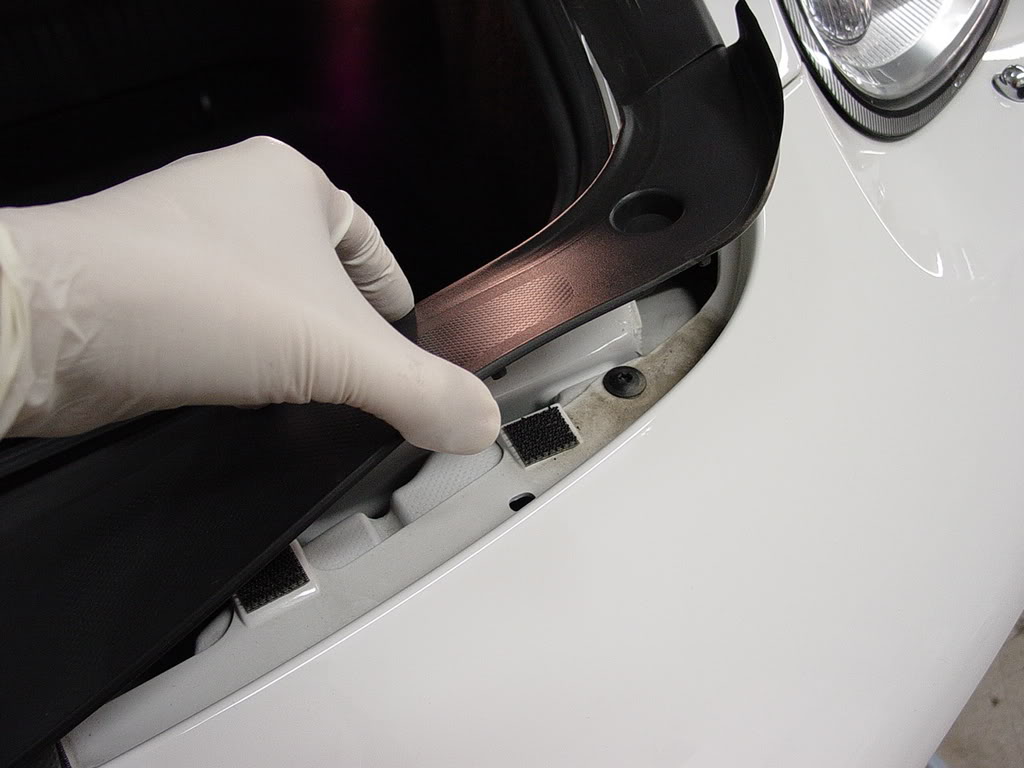
Pull the plastic up they are held down with hard velcro.
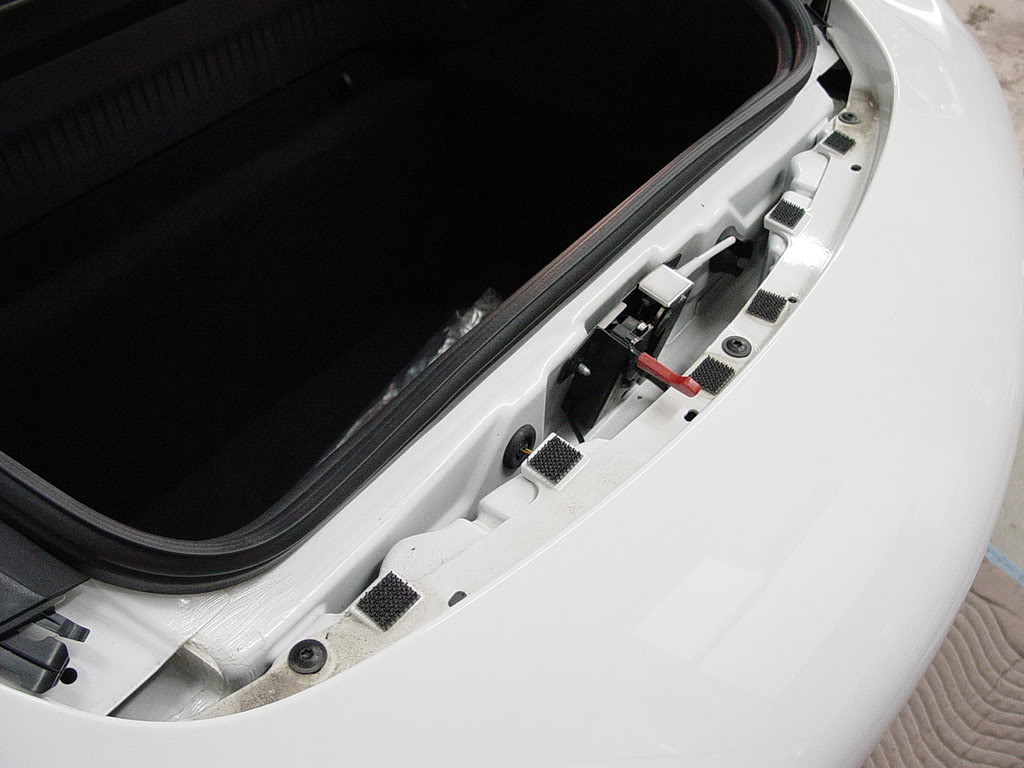
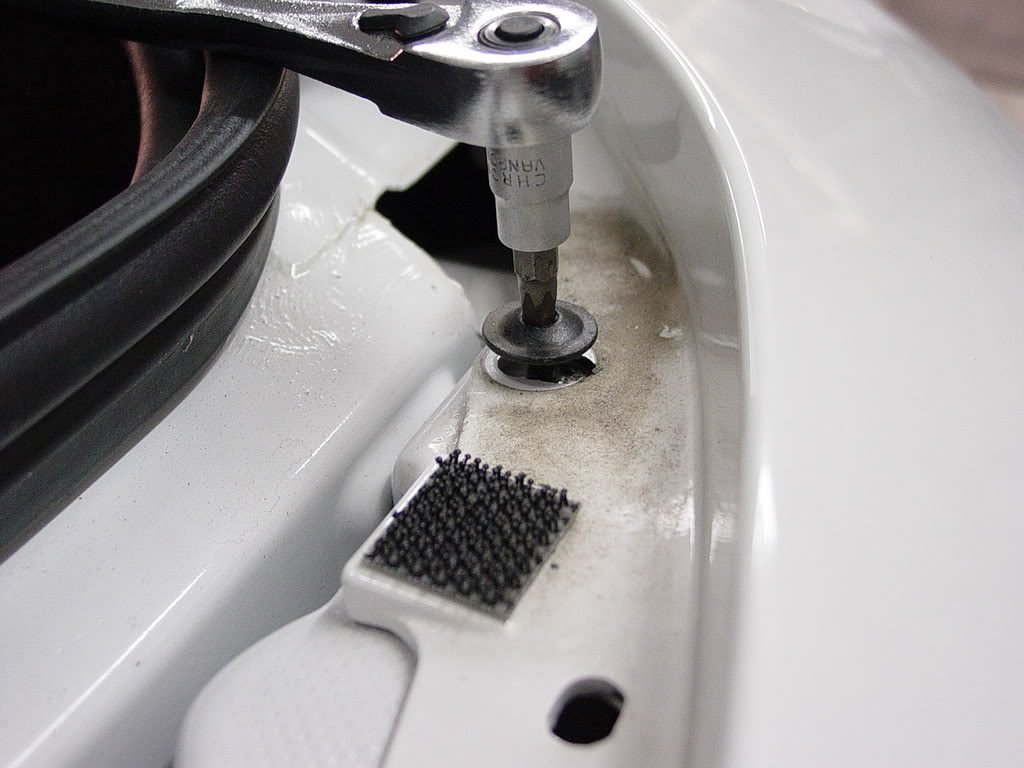
once you pull it up there are 3 T30 screws, remove them.
Now lets go to the bottom, there are a few more T30 screws under that need to come out. You will see them along the painted lower part of the bumper.
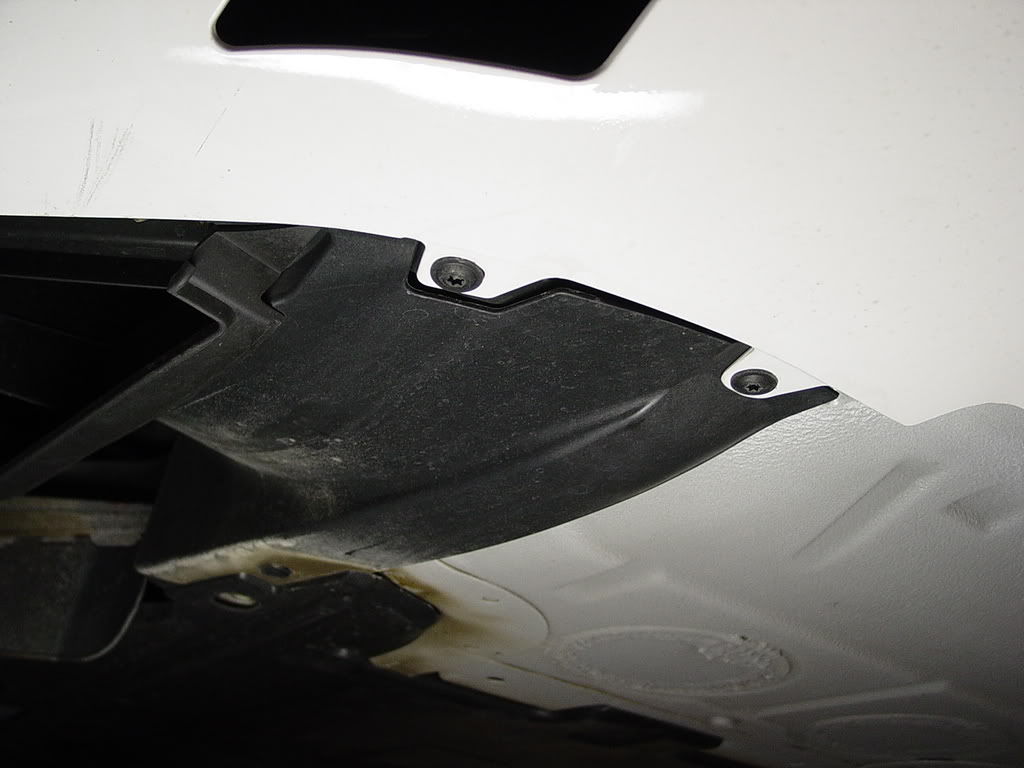
one of them are in a larger hole at the end of the lip.

dont forget to remove that one
now there is one in the back that is a T25 remove that as well. not sure why they made this one a different size.
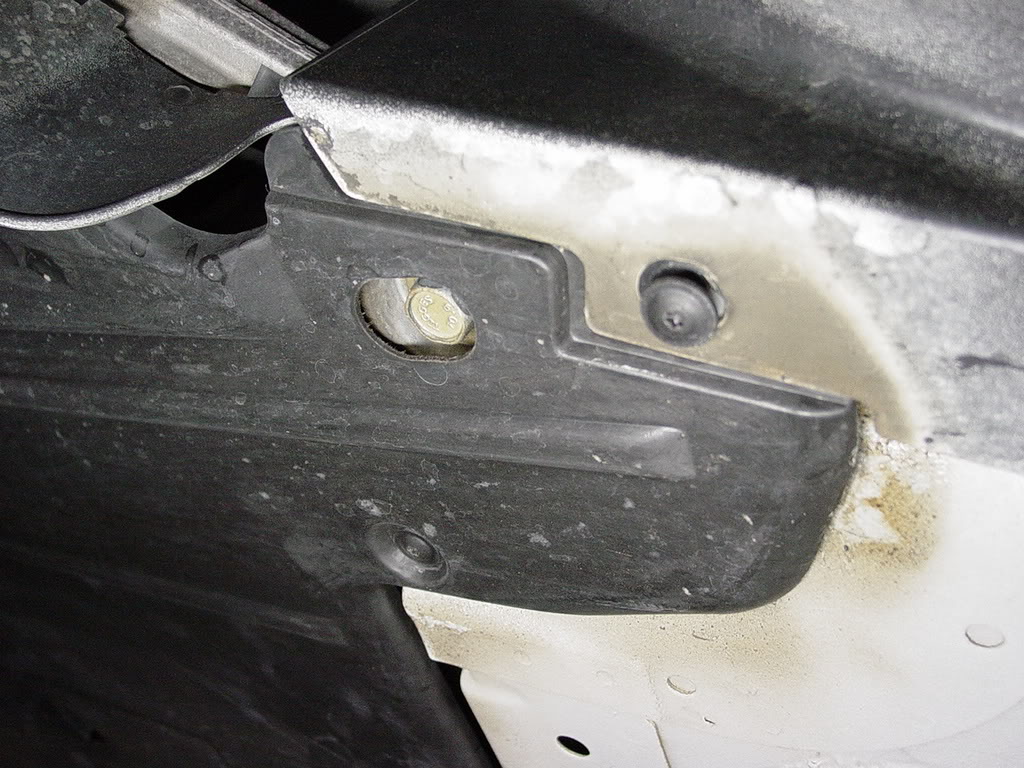
in the wheel well there are 4 more T25 screws to remove.
2 up high and 2 down low
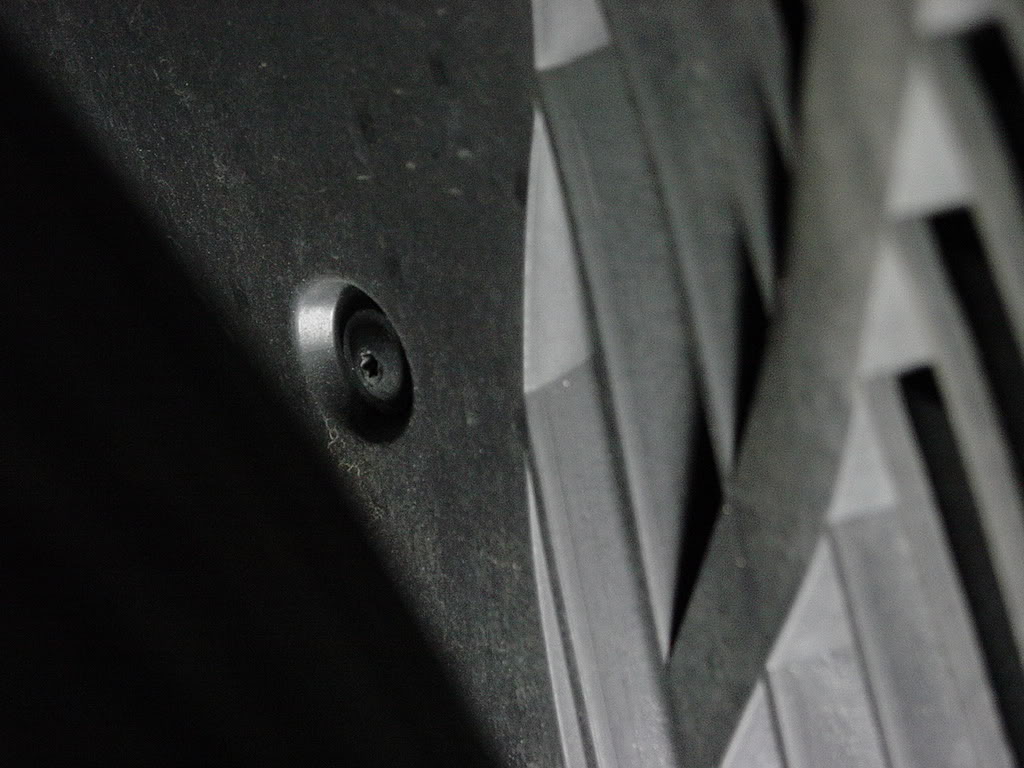

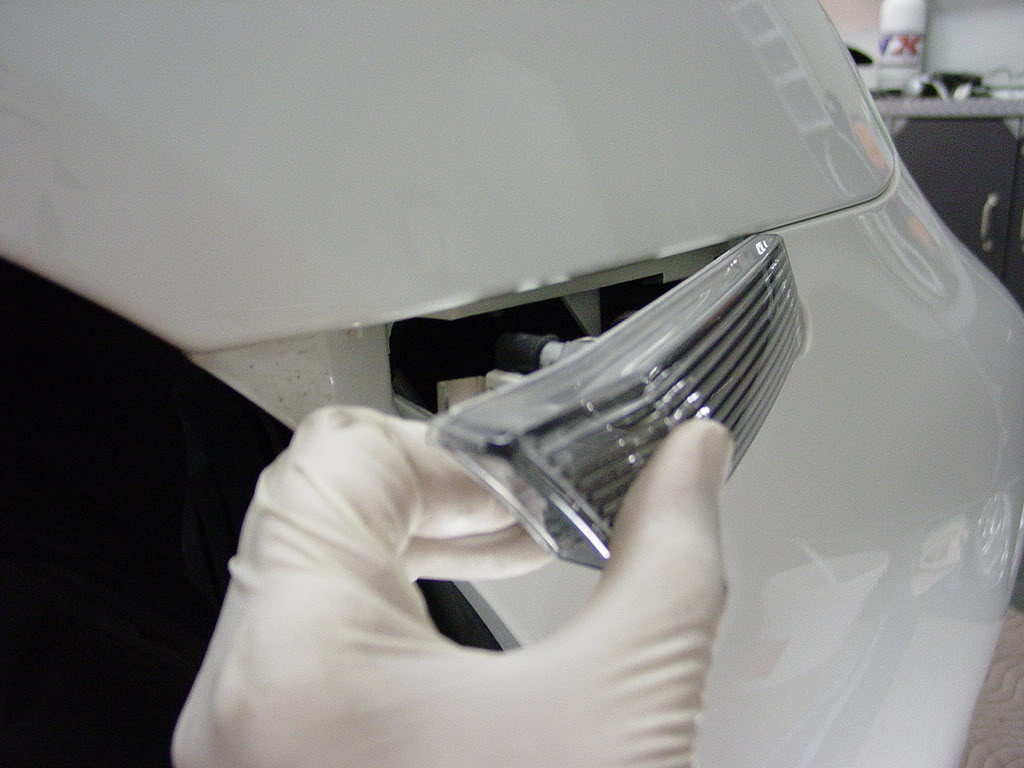
I used the socket wrench to get to these, didnt have to remove the tires. Once you remove all of the T25 screws you should be able to pull down the liner. The side lenses have a release clip accessed through a rubber plugged hole in the fender liner (see the Owners Manual). If you force it off you may break the locking tab.
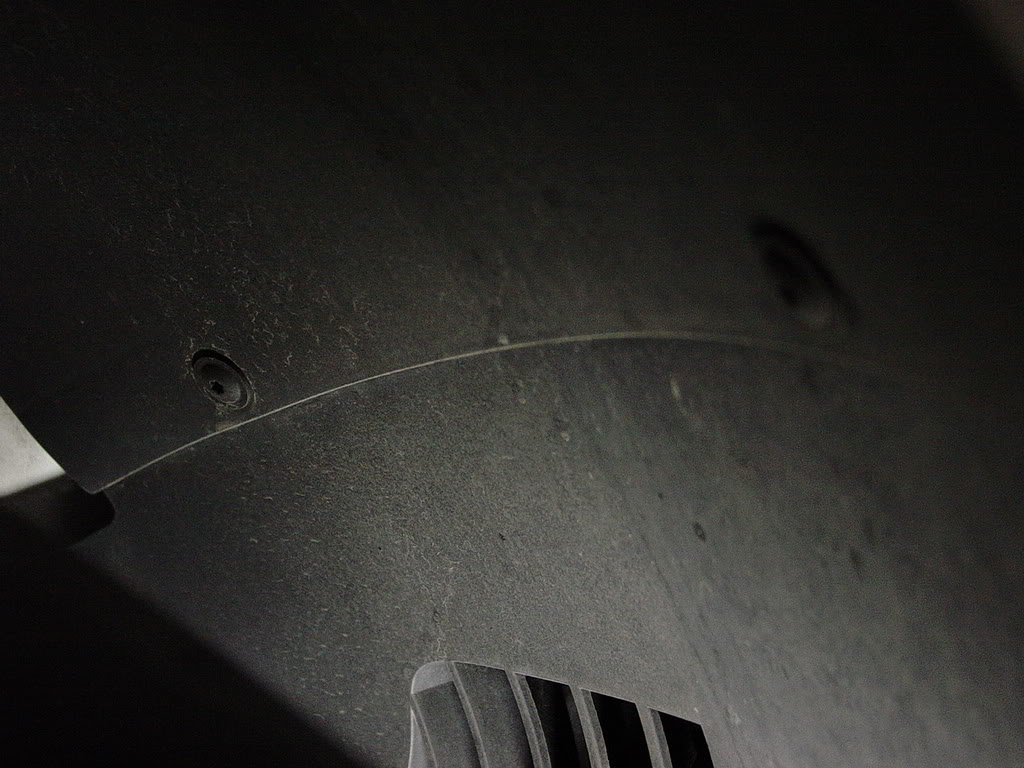
Now use your finger and pull the fender liner down.
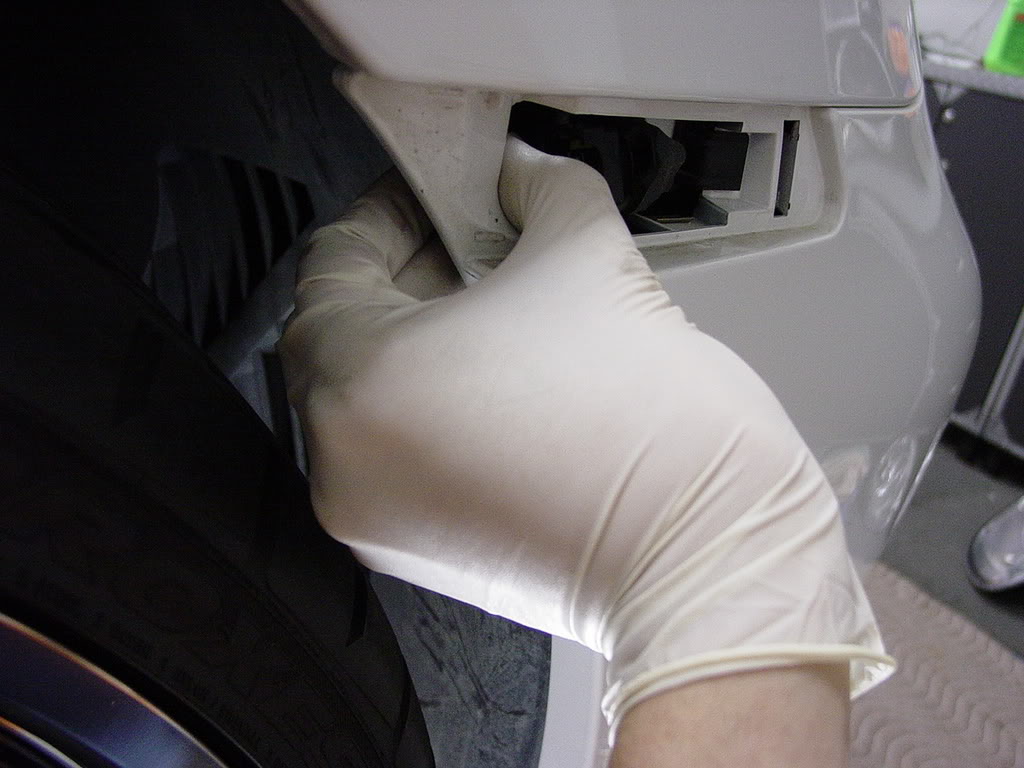
there is another T25 screw here that needs to be removed.
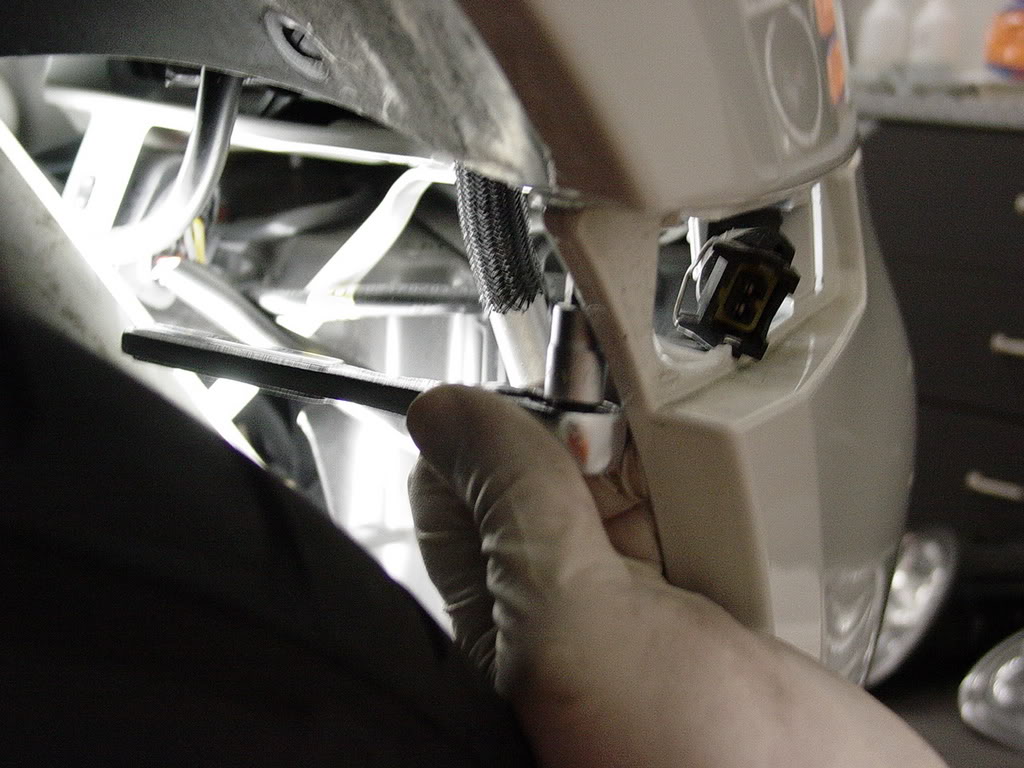
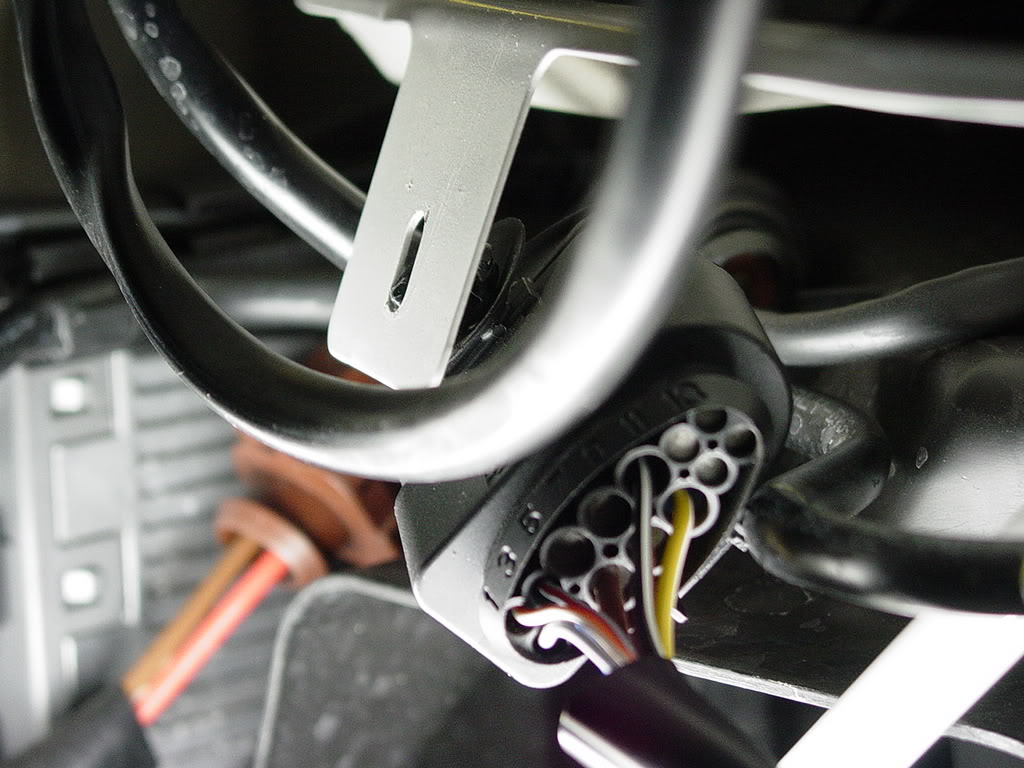
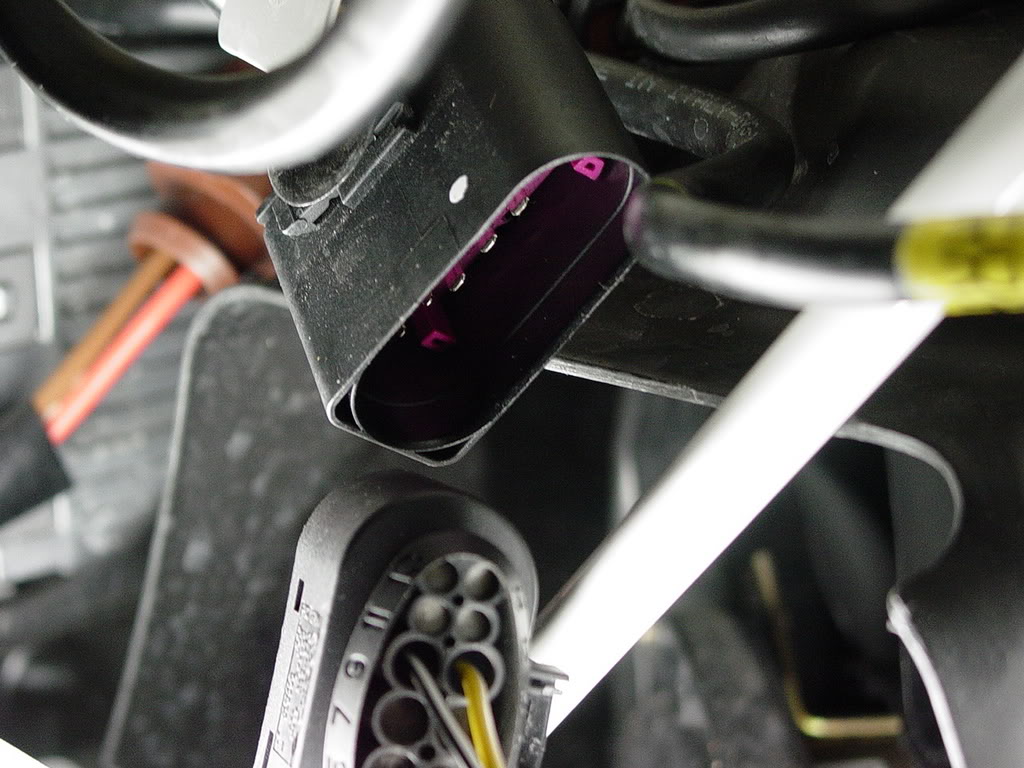
Once the screw is removed you need to disconnect the foglight clip. Use your needle nose pliers to pull the wire housing from the body of the car, then you can easily unclip it.
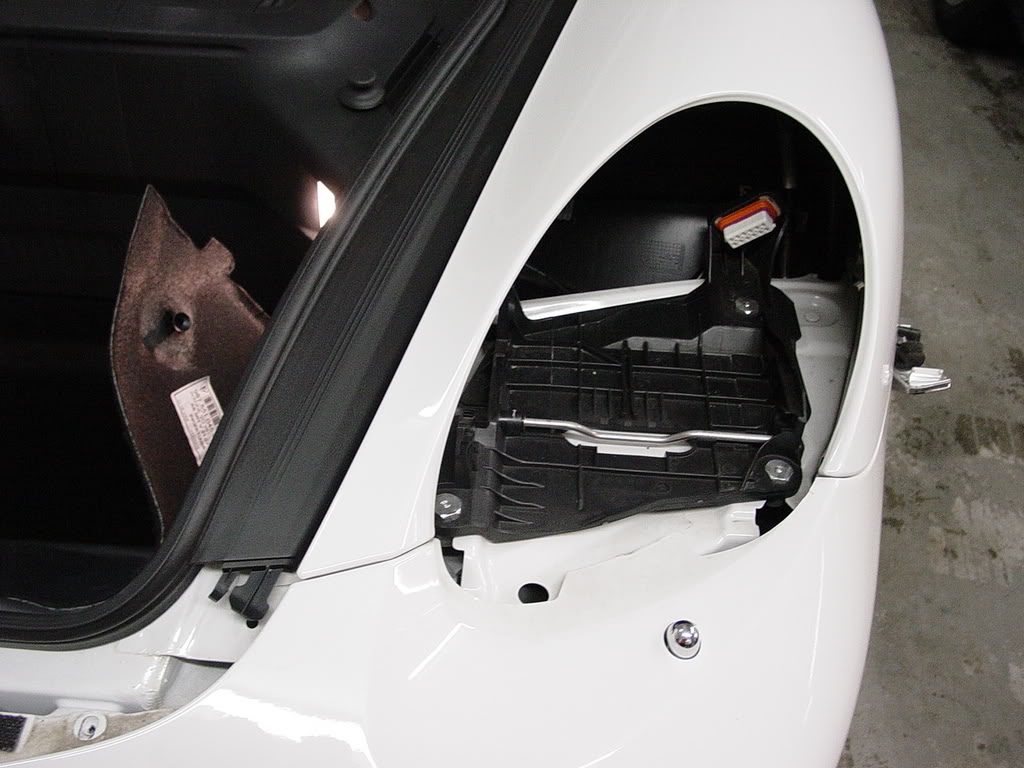
Now lets go back to the top and remove the headlights. Just unscrew the plastic tabs in the trunk and pull out the carpet. You should now see a black ****.
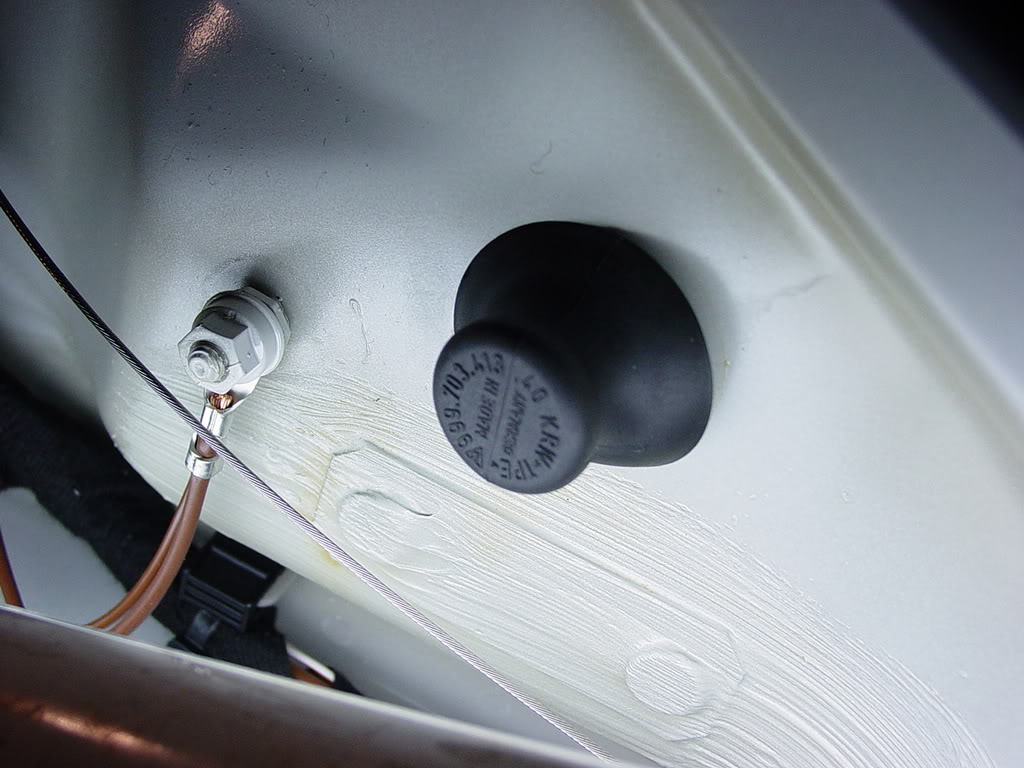
just pull it off and there is a double wall.
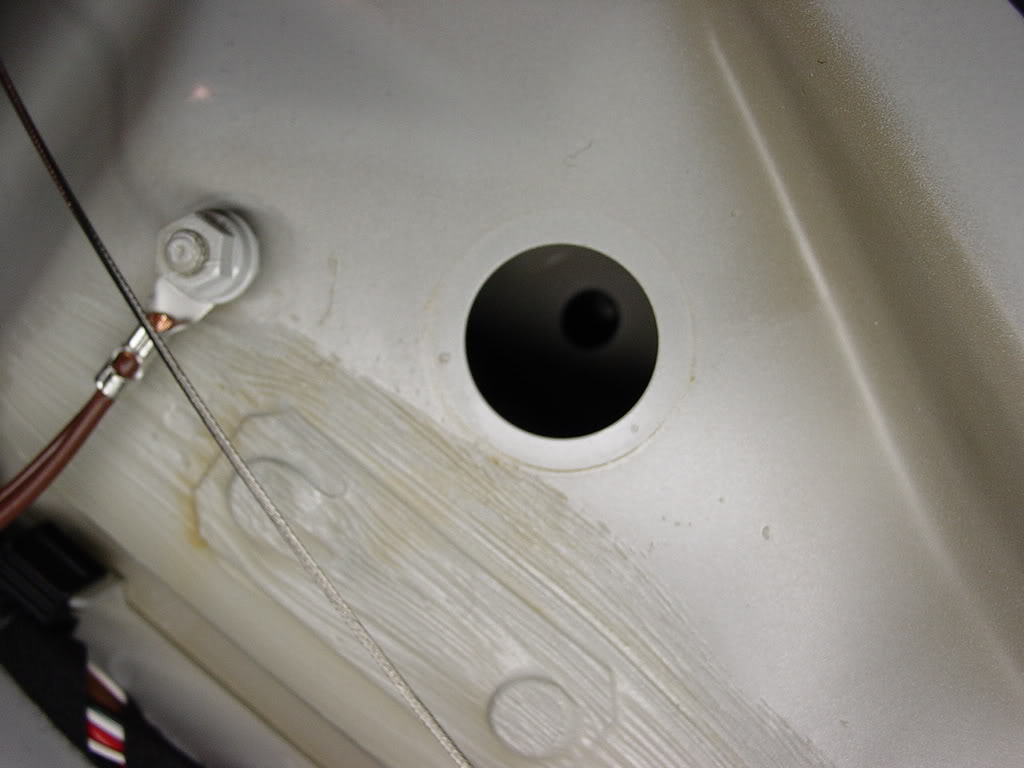
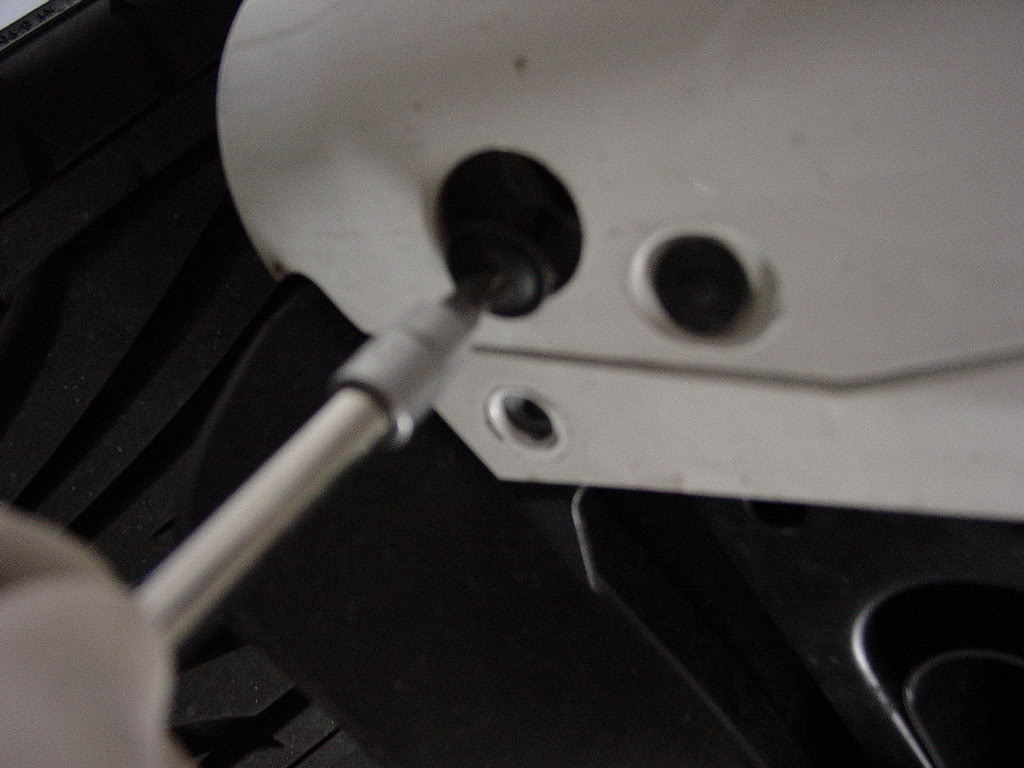
Use the 1/4" long extension and you need a 5mm deep socket.
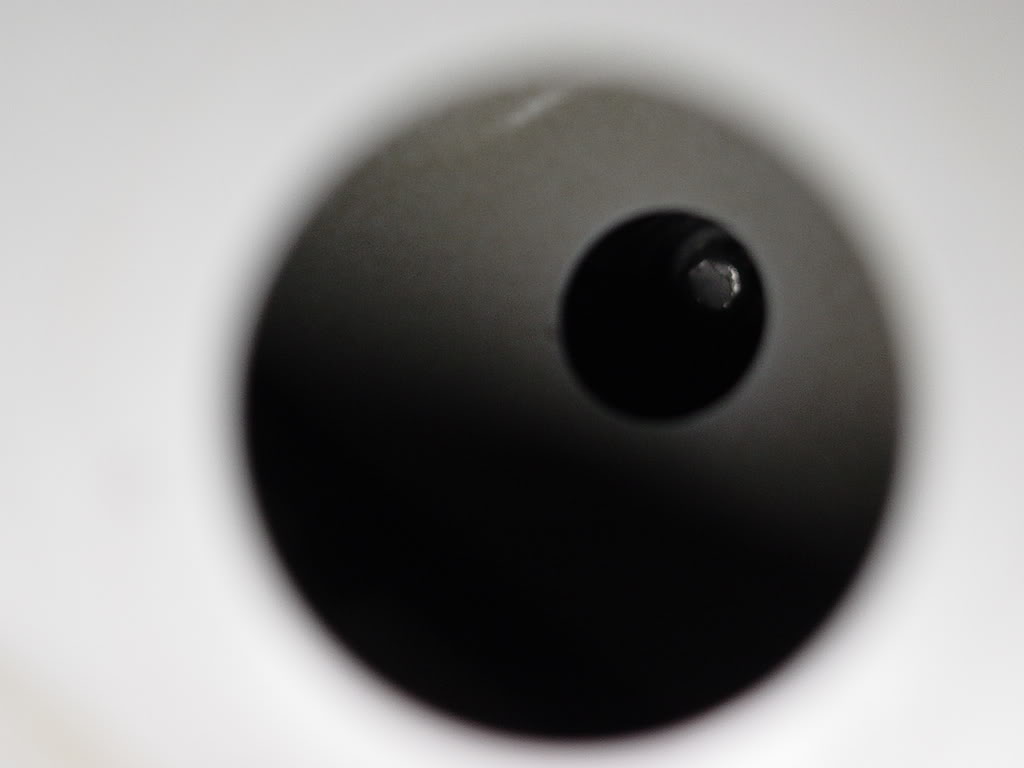
This should only be a half turn then you will hear a loud snap, like something just broke. This sound is normal, the headlight will pop up, just pull it out. There are no wires, its already disconnected.
Tools needed:
-jackstands or ramps
-1/4 socket wrench
-7" extension
-T30 socket
-T25 socket
-5mm deep socket
-flathead screwdriver
-needlenose pliers
Start off by putting you car on ramps,
Pull the plastic up they are held down with hard velcro.
once you pull it up there are 3 T30 screws, remove them.
Now lets go to the bottom, there are a few more T30 screws under that need to come out. You will see them along the painted lower part of the bumper.
one of them are in a larger hole at the end of the lip.
dont forget to remove that one
now there is one in the back that is a T25 remove that as well. not sure why they made this one a different size.
in the wheel well there are 4 more T25 screws to remove.
2 up high and 2 down low
I used the socket wrench to get to these, didnt have to remove the tires. Once you remove all of the T25 screws you should be able to pull down the liner. The side lenses have a release clip accessed through a rubber plugged hole in the fender liner (see the Owners Manual). If you force it off you may break the locking tab.
Now use your finger and pull the fender liner down.
there is another T25 screw here that needs to be removed.
Once the screw is removed you need to disconnect the foglight clip. Use your needle nose pliers to pull the wire housing from the body of the car, then you can easily unclip it.
Now lets go back to the top and remove the headlights. Just unscrew the plastic tabs in the trunk and pull out the carpet. You should now see a black ****.
just pull it off and there is a double wall.
Use the 1/4" long extension and you need a 5mm deep socket.
This should only be a half turn then you will hear a loud snap, like something just broke. This sound is normal, the headlight will pop up, just pull it out. There are no wires, its already disconnected.
 , Ive got a few more DIYs Ill be posting soon.


Registered User
Joined: Sep 2006
Posts: 1,153
From: PVB FL
Rep Power: 69
Trending Topics
gang
FYI ,I did this Mod on my old front bumper without taking the front bumper off ,Just a templete and dremmel and all went real well .siliconed it in with tough as nails . took less then 2 hours to complete 

Thread
Thread Starter
Forum
Replies
Last Post
2lflat4
Automotive Parts & Accessories For Sale/Wanted
2
Nov 18, 2019 05:05 PM
Mackchacha
Automotive Parts & Accessories For Sale/Wanted
3
Jul 9, 2019 11:03 AM
vividracing
Boxster / Cayman
0
Aug 20, 2015 12:17 PM