
IPHONE + VIDEO INPUT on my PCM 2.1 for $90 - OH YEAH !!!! Lots of pics of the install

Thread Starter
|
Registered User
Joined: Mar 2009
Posts: 927
From: NJ
Rep Power: 70


IPHONE + VIDEO INPUT on my PCM 2.1 for $90 - OH YEAH !!!! Lots of pics of the install
Not like you all have not seen Video in on a Cayennes PCM, however, I did something a bit different with this install + I only spent $90 on the video module. If you go the same route, you will also need some way to inject the audio stream. I chose to use an inline RF modulator which works great. NOTE - THIS IS NOT A TUTORIAL as I am leaving a lot out. Just sharing the steps I went through to achieve the results.
Primary components I Used:
> Progressiveice.com multi-media interface (bought on Ebay from UK vendor). http://cgi.ebay.com/ws/eBayISAPI.dll?ViewItem&item=160390107447&ssPageNam e=STRK:MEWAX:IT
> Video Modulator: Bought on Amazon for $40
> Reverse camera (had one from a previous install)
> Iphone Composite video cable (had one already)
> Iphone (of course) with TVOutTuner app (outputs the entire iphone UI).
What I got:
> 2 Video Inputs
> 1 Backup camera input
> 1 AV output (that I connected to the FM modulator).
A way of displaying all my iphone stuff on my PCM
What I need:
The only issue I have now is I need to figure out how to run the wire for the reverse camera. I was able to snake wire neatly without removing any trim ALL the way to the back hatch. I figured I would run the wire up the pillar trim and then snake it into the back hatch at the hinge. Well, NOPE! if I did this I would have to run the wire over or through the hatch seal. I am not messing with that and get a leaky hatch.
IF ANYONE knows how to get a wire into the back hatch, please share!!!
What I did different:
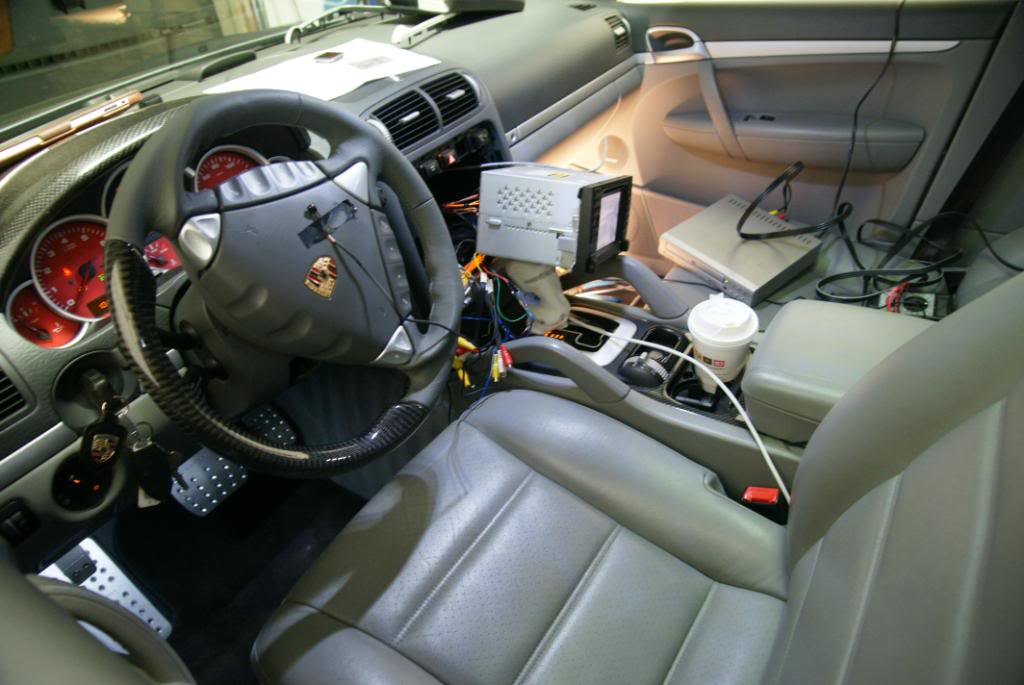
There is ZERO room behind the PCM and as I was lucky enough not to have some module in my PCM (I dont know, maybe the phone module??), I had extra room under the circuit board. This meant I could stick the AV breakout box IN THE PCM!!! So I did. Def not for the faint of heart.
Additionally, I wired a 3.0 amp USB cigarette adapter under the right kick plate. This lets me charge my iPhone any time its plugged into unit.
Some Step-by-step:
1. First I removed the PCM and stripped it down to the LCD. There is an circuit board that you have to install inside the PCM. It basically hijacks the video signal. Here is a pic of the board installed:
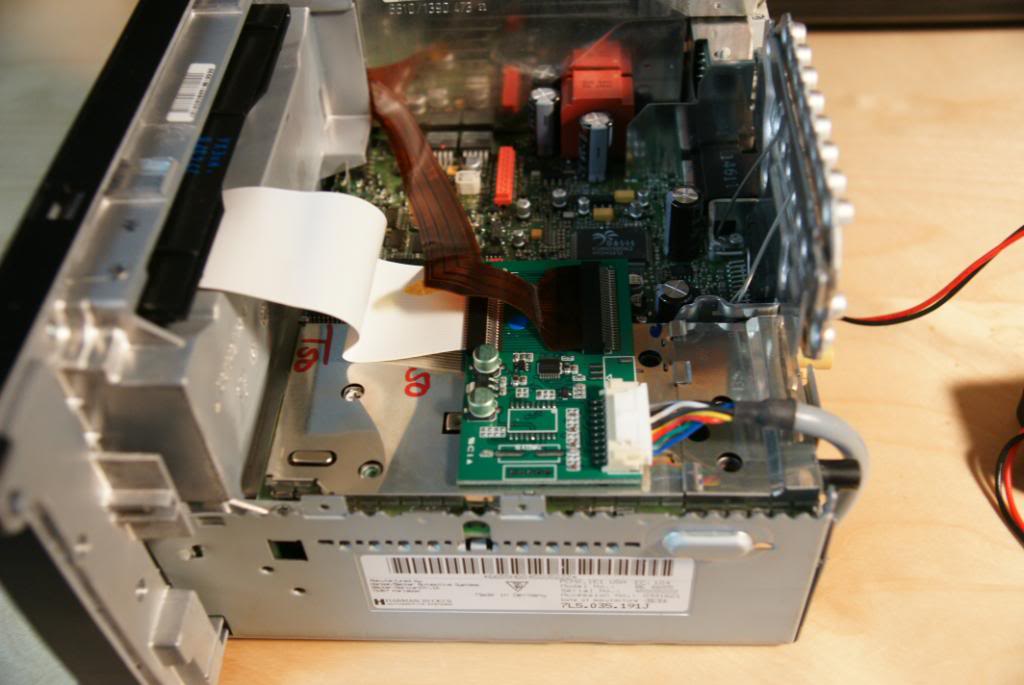
2. After the board was installed, I realized I could install the breakout box inside the PCM. Here are some pics:
Here is the breakout box next to the PCM:
Now here is where I am going to put it:

Here is what I had to do - Very carefully I had to bend some tabs, remove 2 very hidden screws, and then bend the back frame back.

Now that there is access, here is the box going in the empty area.
Once the box was installed (3M weather stripping tape), I had to modify the back plate to run the cable from the circuit board to the breakout box.
Here is the prime hole to do it !
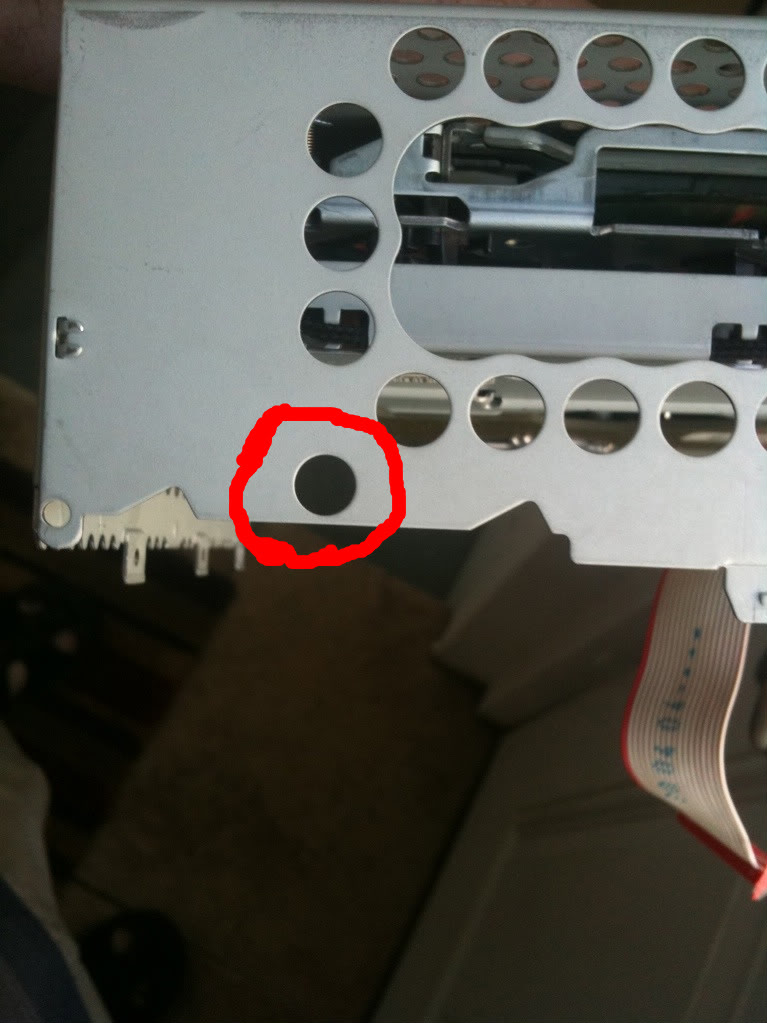
A little dremel action and the hole is ready:
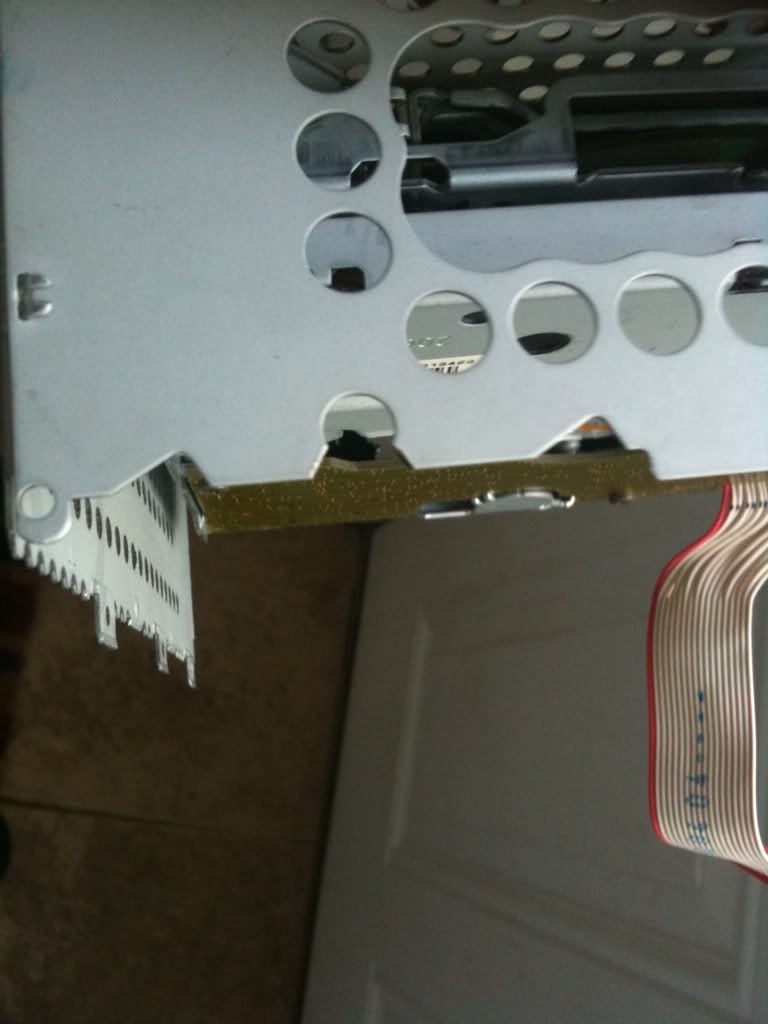
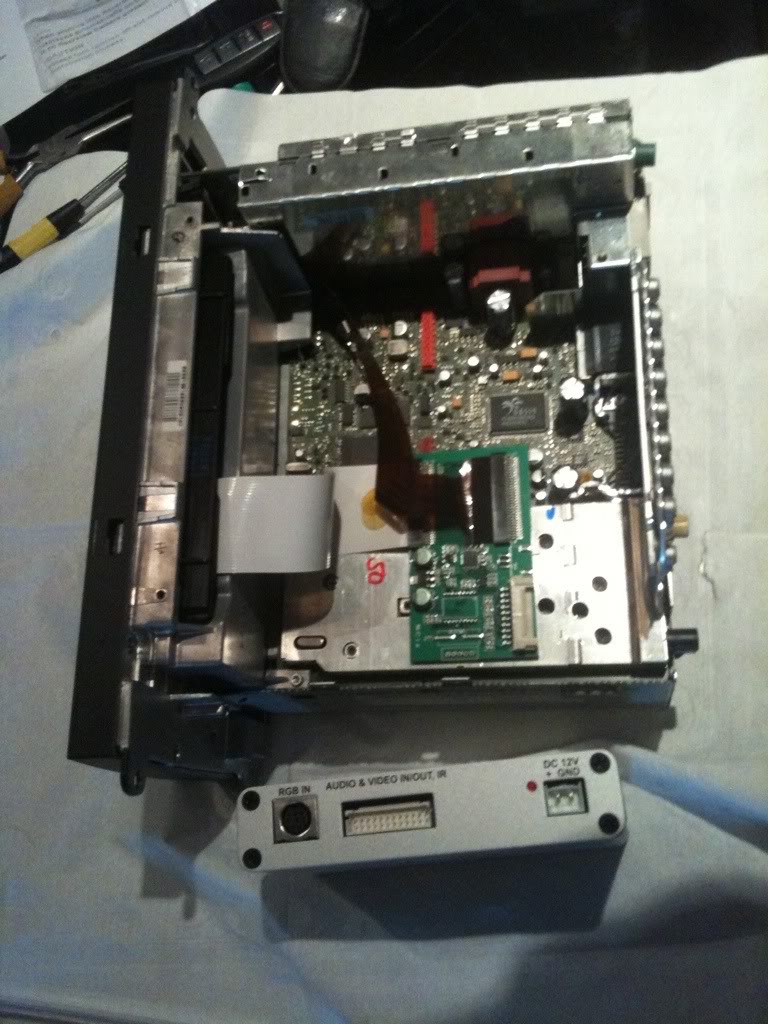
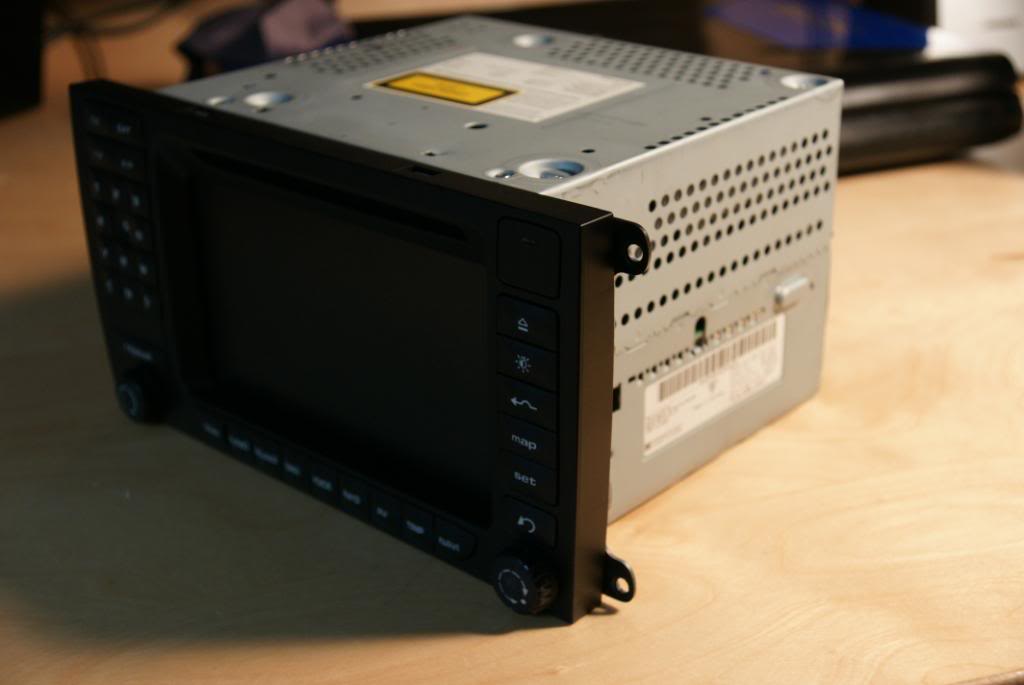
With the hole dremeld, here is the final PCM assembled. You can see the wire connecting the breakout box and the circuit board I installed earlier.

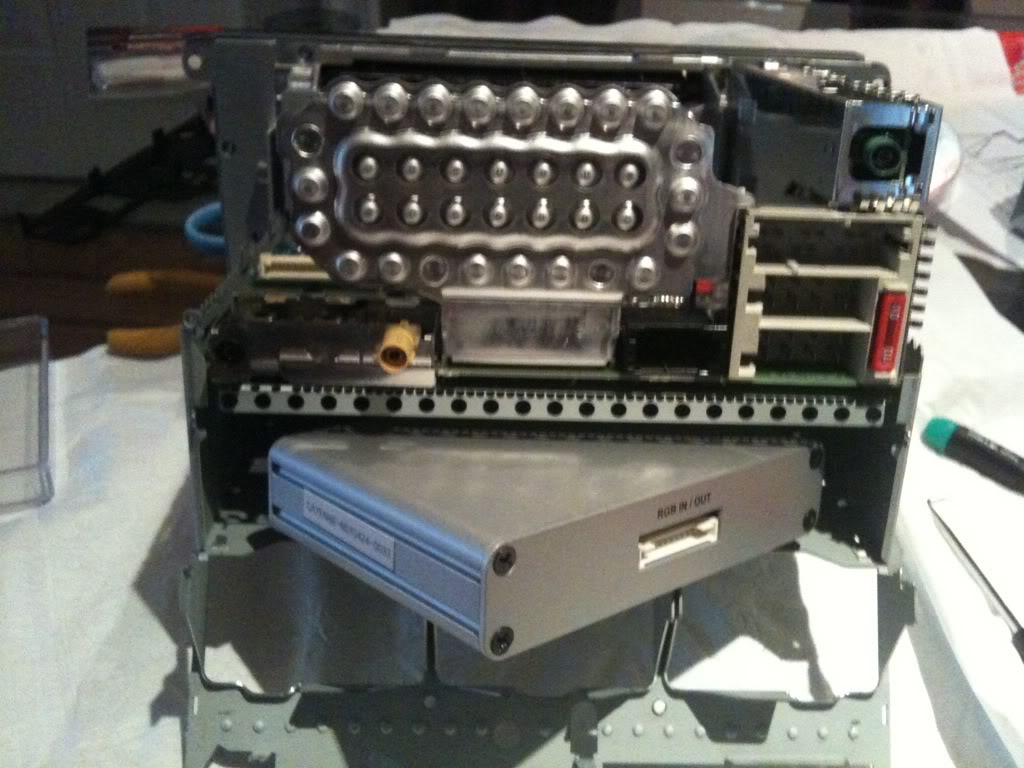
And of course, the front - You would never know the unit was inside. The good news is the install is completely reversible.
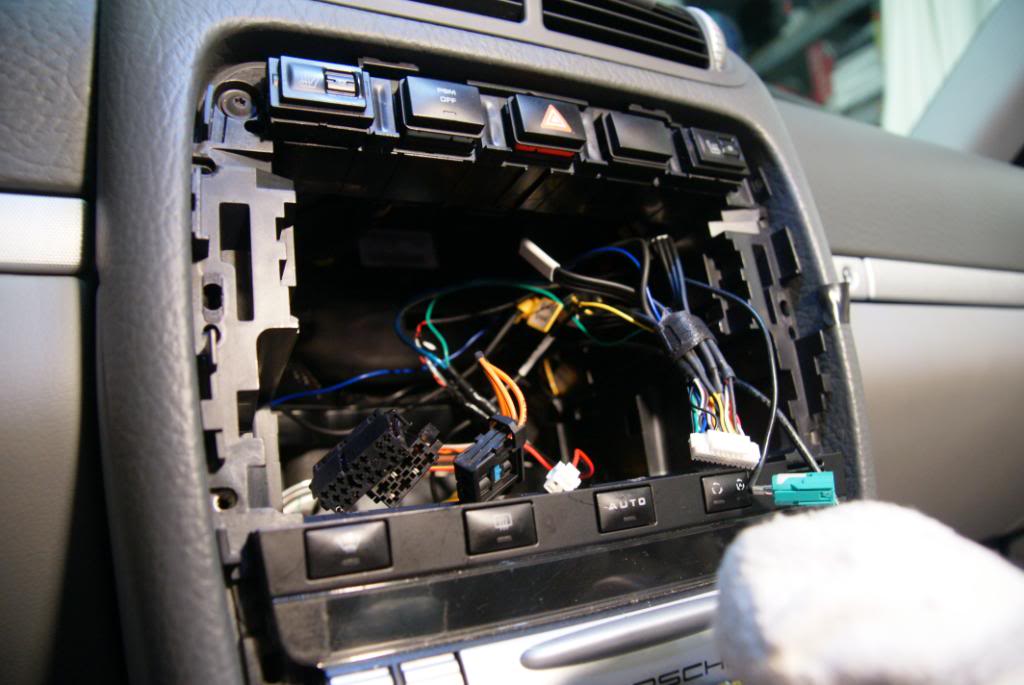
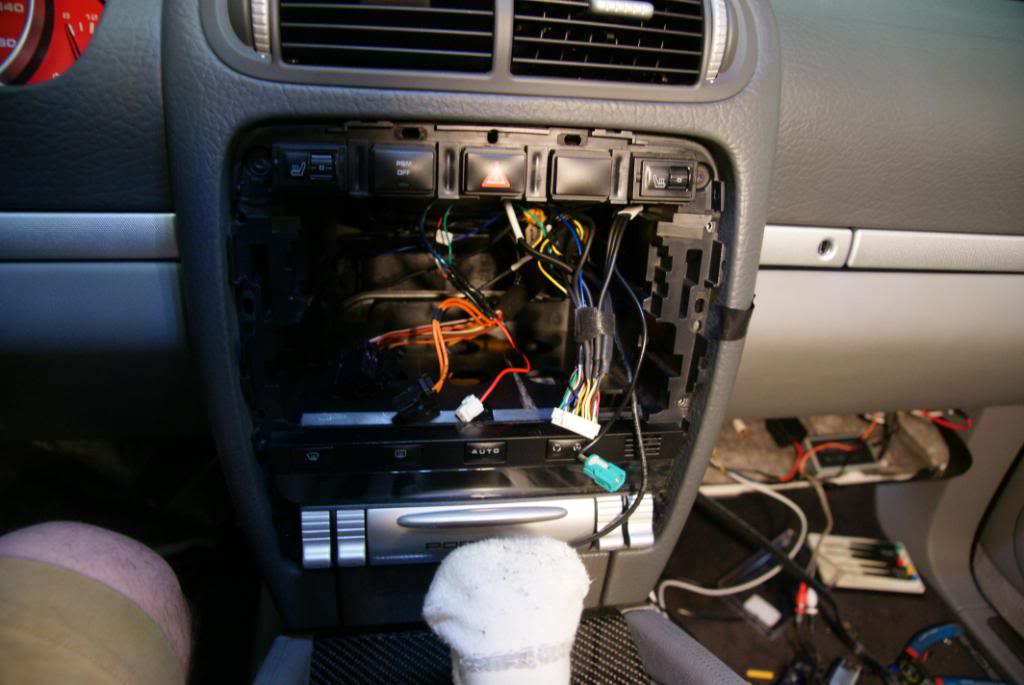
Now - off to the vehicle for the install. Here you can see the stock harness, plus the units harness in place. It was a MAJOR pain, getting all the wires tucked away.
Here you can see where I have routed the wires + where I have the RF modulator installed. Everything is under the right side kick panel. I used a piece of cat 5 as a pull wire. It works great as its stiff and its snagless.
And now the HUGE scary mess - testing all components before the final install. You can see the IR sensor tapped to my airbag. I also have a cheap DVD player I was using to test input #2.
WELL - after a lot of trial and error (as the instructions that come with the unit suck), I was able to get everything working.
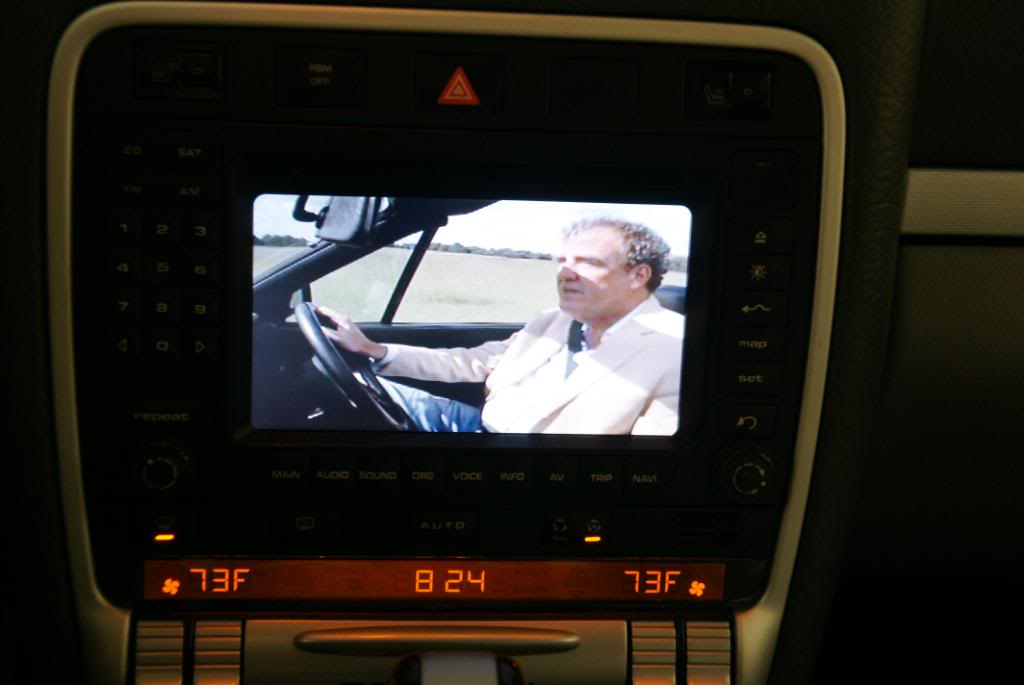
A little TOPGEAR running from my iphone:
A little 6speed
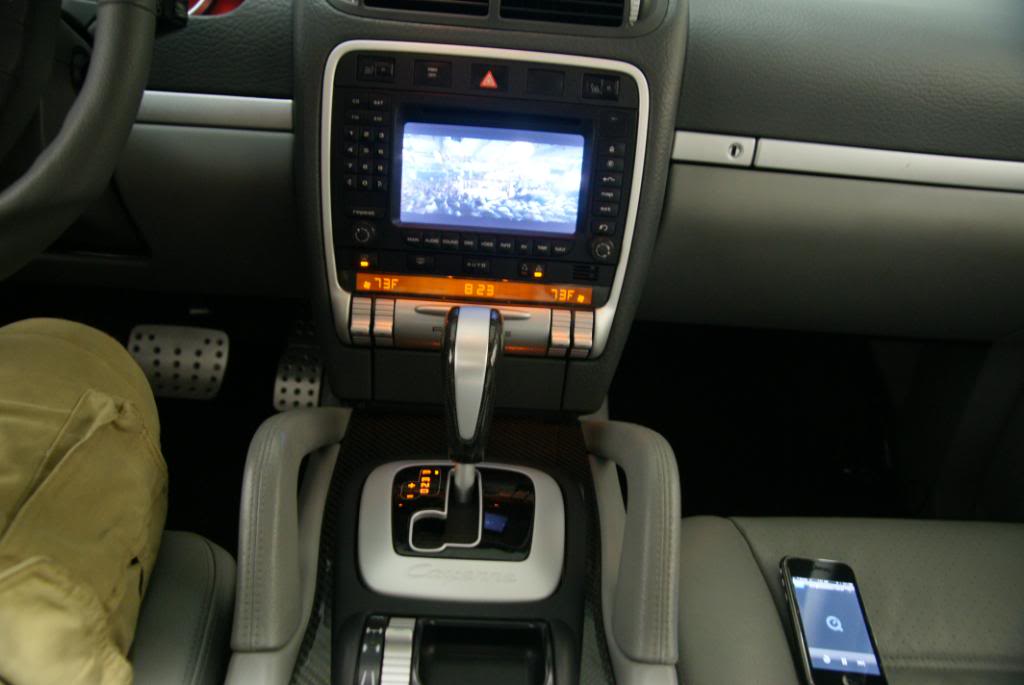
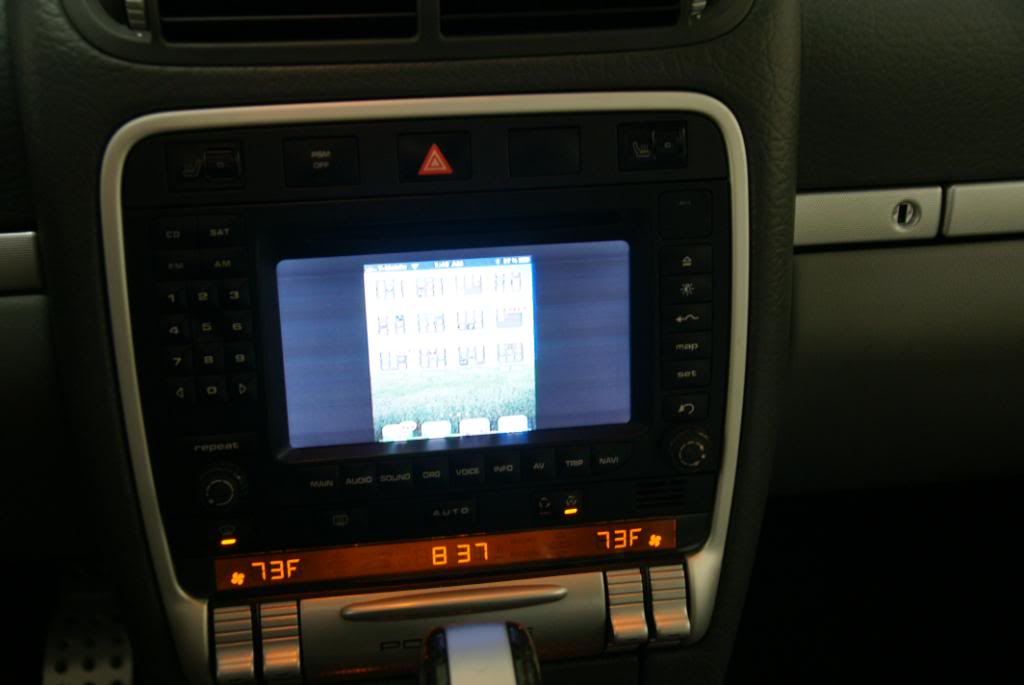
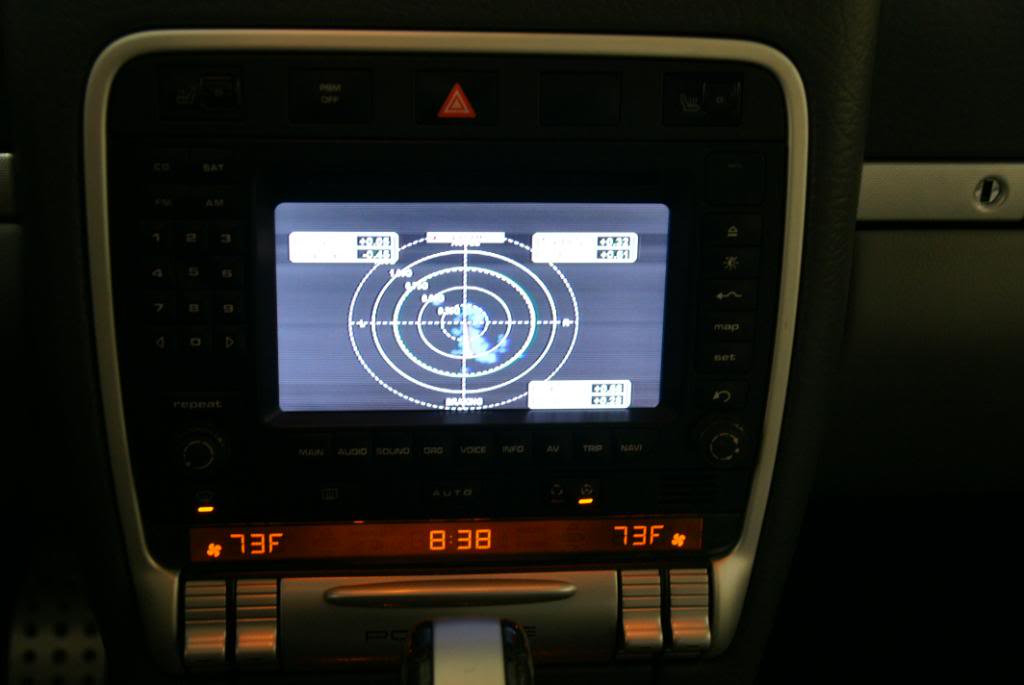
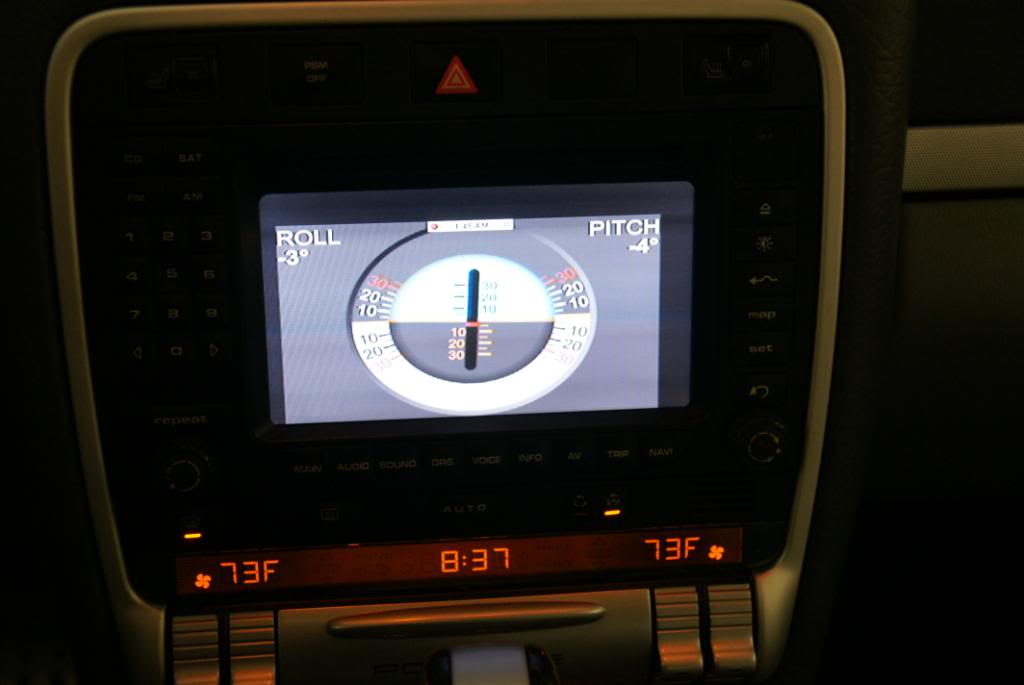
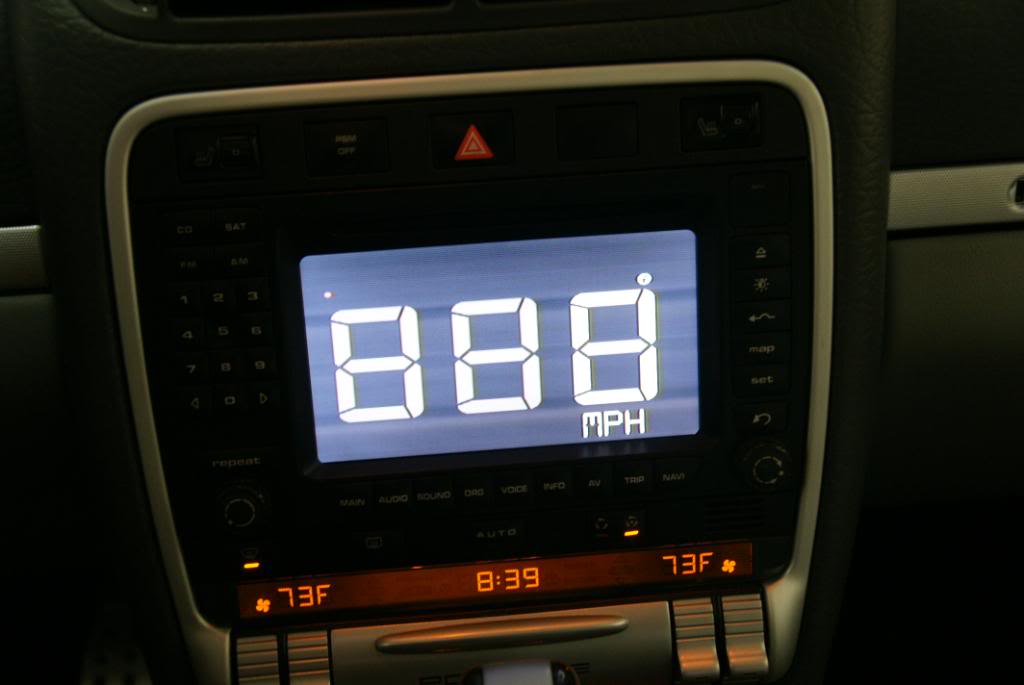
My iphone UI
Most games work fine:

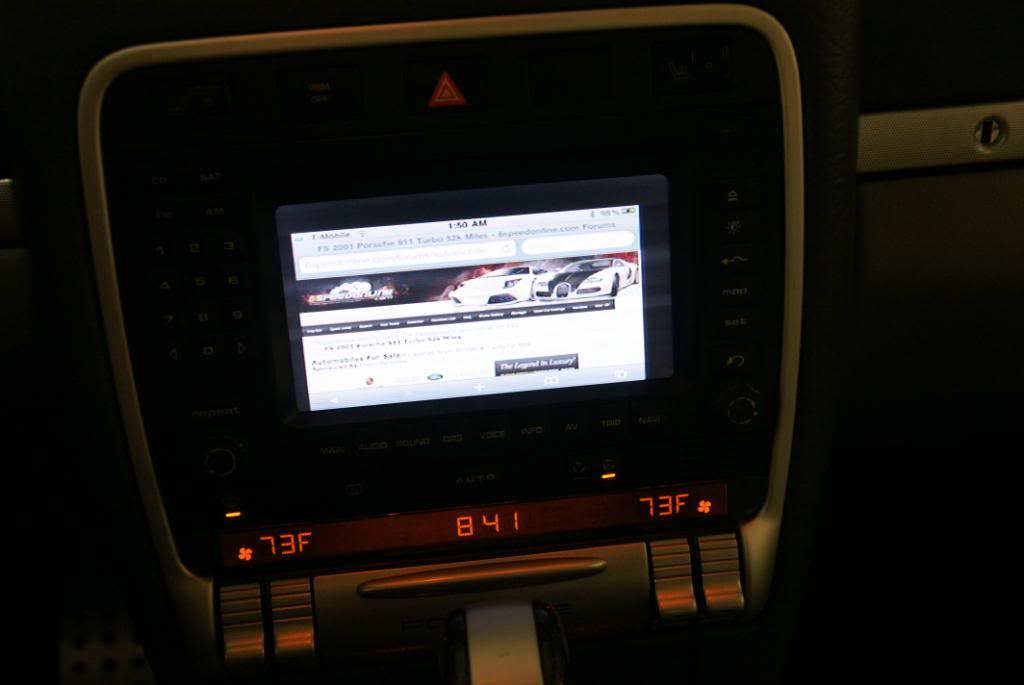
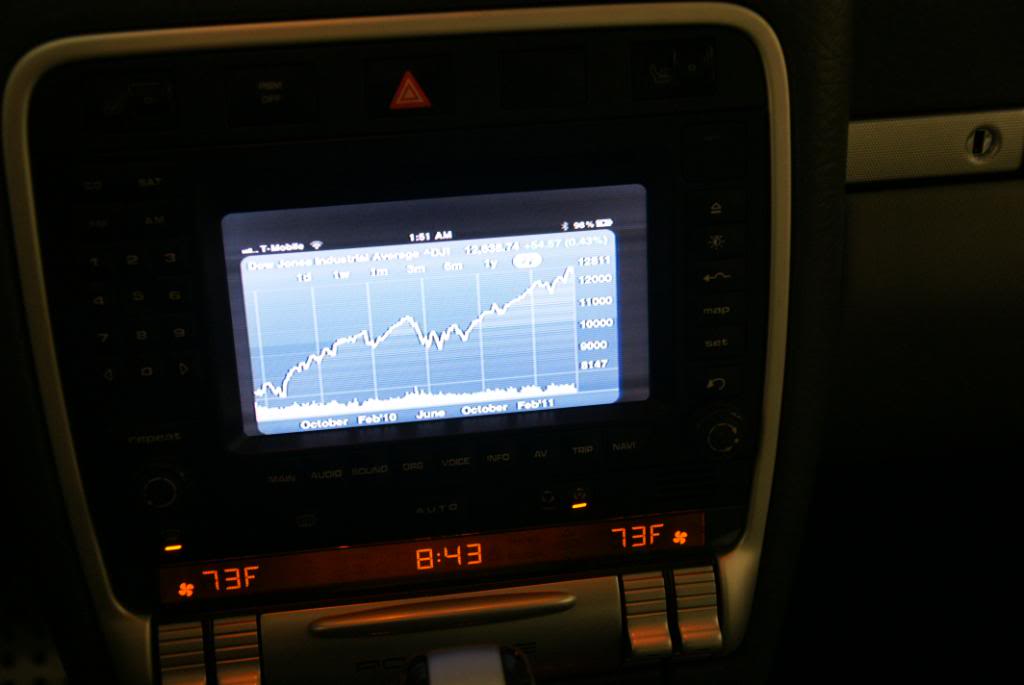
Pretty much every app outputs fine:
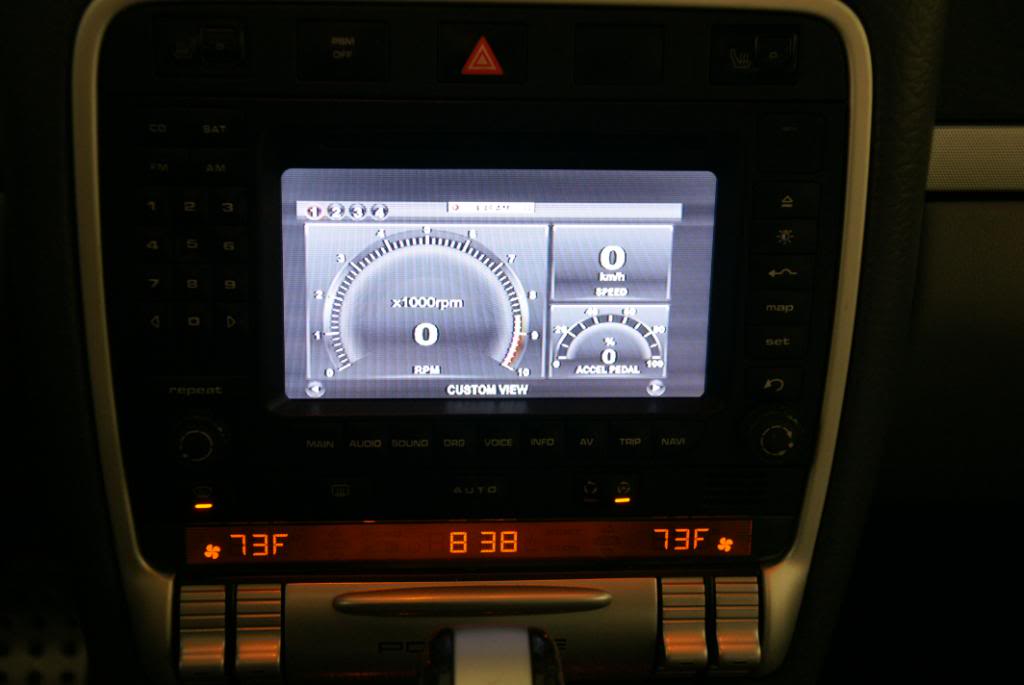
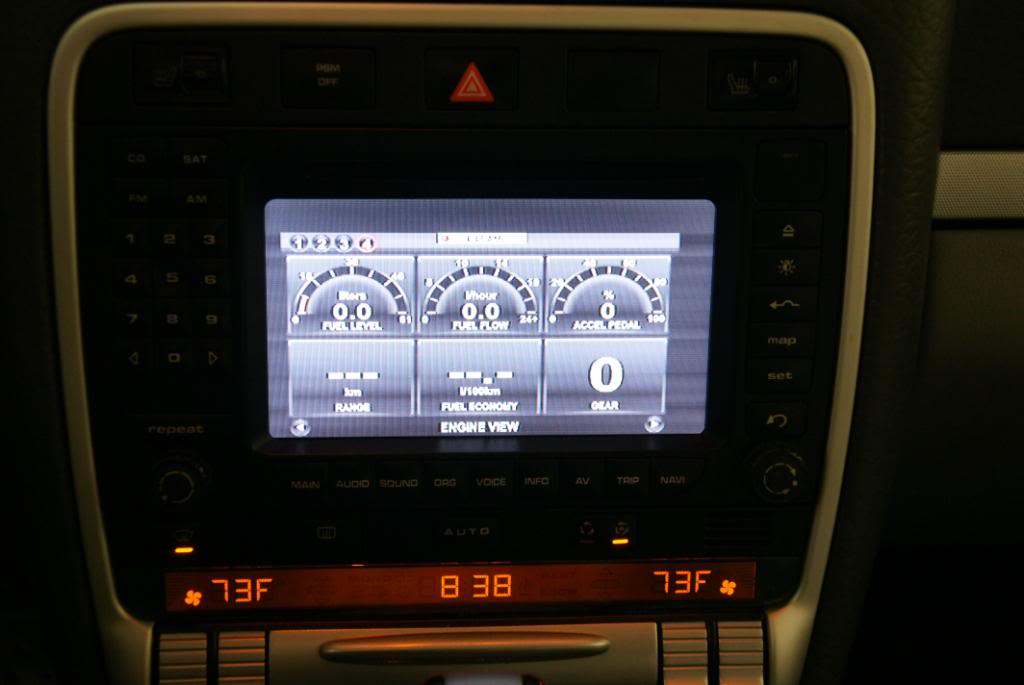
And MOST IMPORTANTLY - ODB ii APS, Like, Speedbox, Rev, DashCommander, Ihud !!!!!!! WOOOO. Here are some Dash Commander screens with the GTR skin.
So there you have it, iphone doing its thing on my PCM
BTW, my ipad will only output video and the ipod functions with the same setup. In writing this, I just remembered I did not install the tv app I mentioned I had on my iphone. That might be the trick.
Overall, VERY happy and can not wait to get the reverse camera wire issues resolved.
UPDATE!!!! I INSTALLED THE BACKUP CAMERA - FIGURED OUT HOW TO RUN THE WIRES:
Note - I order a wireless video send / receive unit and did not use it as I could not find constant power in the tail gait with the key in the on position. This means i could only get power when the lights were on which was a no-go for me. I decided to just snake a wire from under the dash all the way to the back and pull my power from there. The wire was approx 12 gauge and contained 4 inner wires. I was able to tuck it under the trim with ZERO wire exposed + NO trim panels had to removed right up to the back storage area. It came with an older backup camera I had that I never used. NOTE: CAT5 works PERFECT for this application as its shielded and easily transmits the video signal. I have used it in lots of car applications and with 4 twisted pairs, you have a lot of wire options for one wire pull.
NOTE - The camera was an ebay special direct from china for $35!
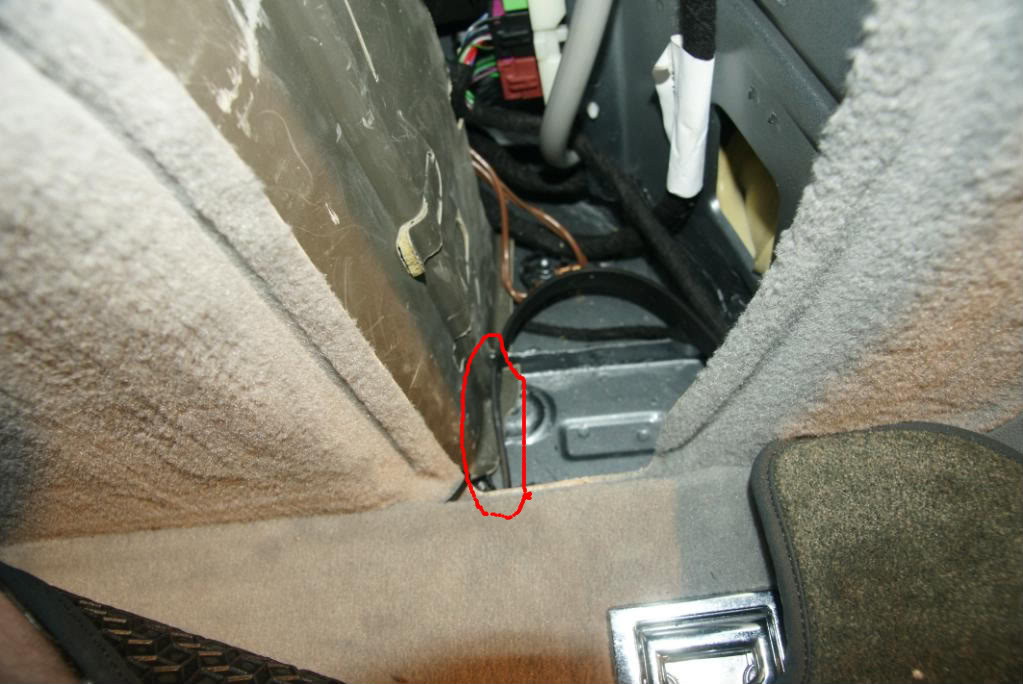
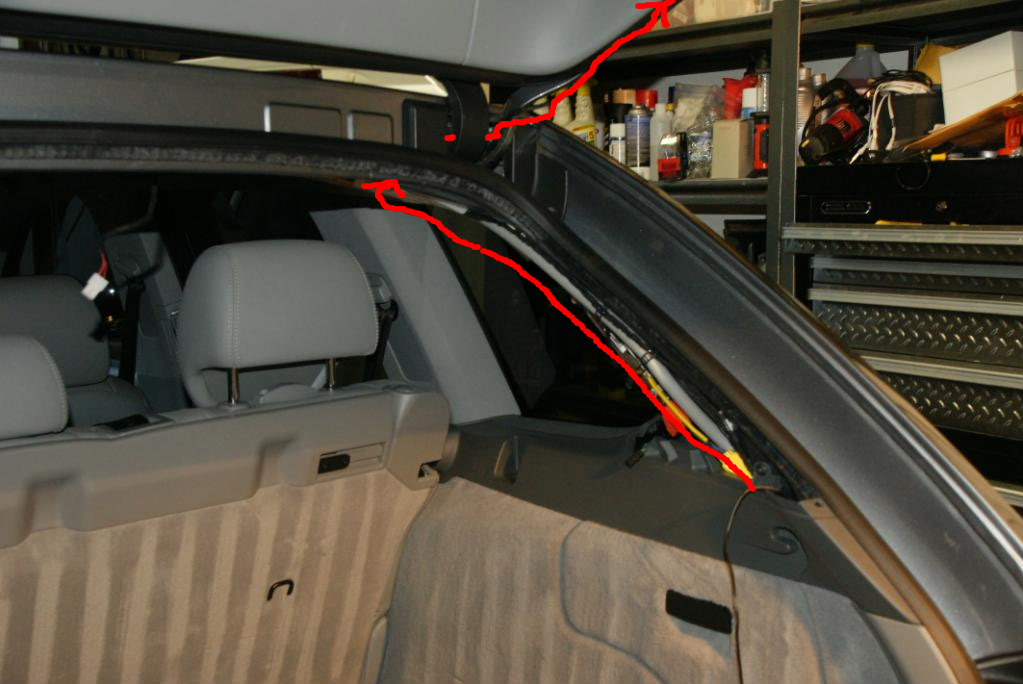
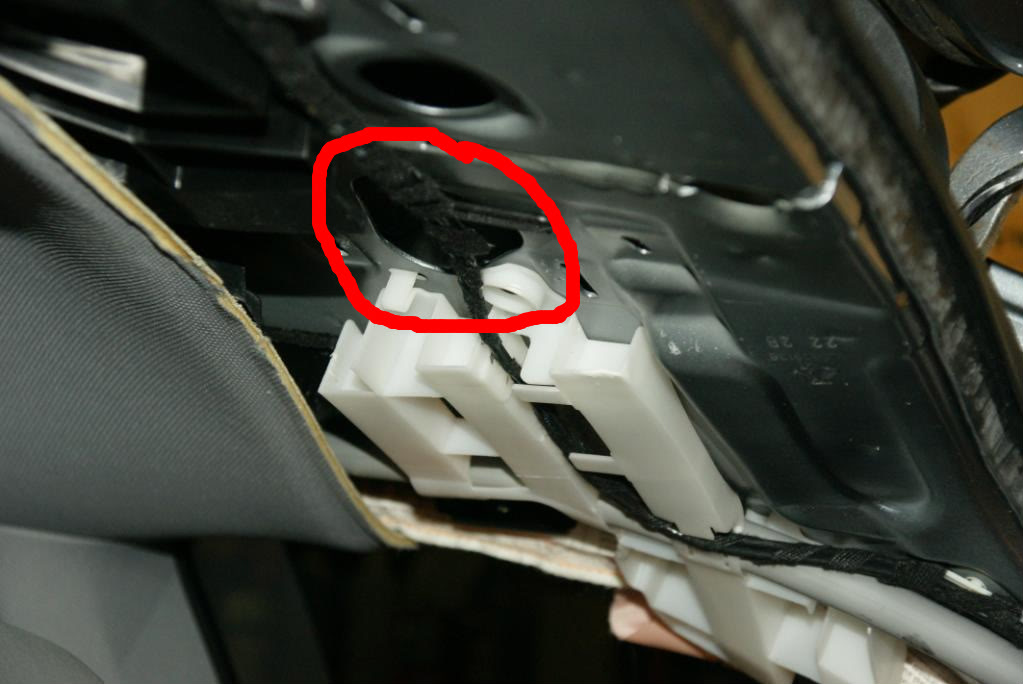
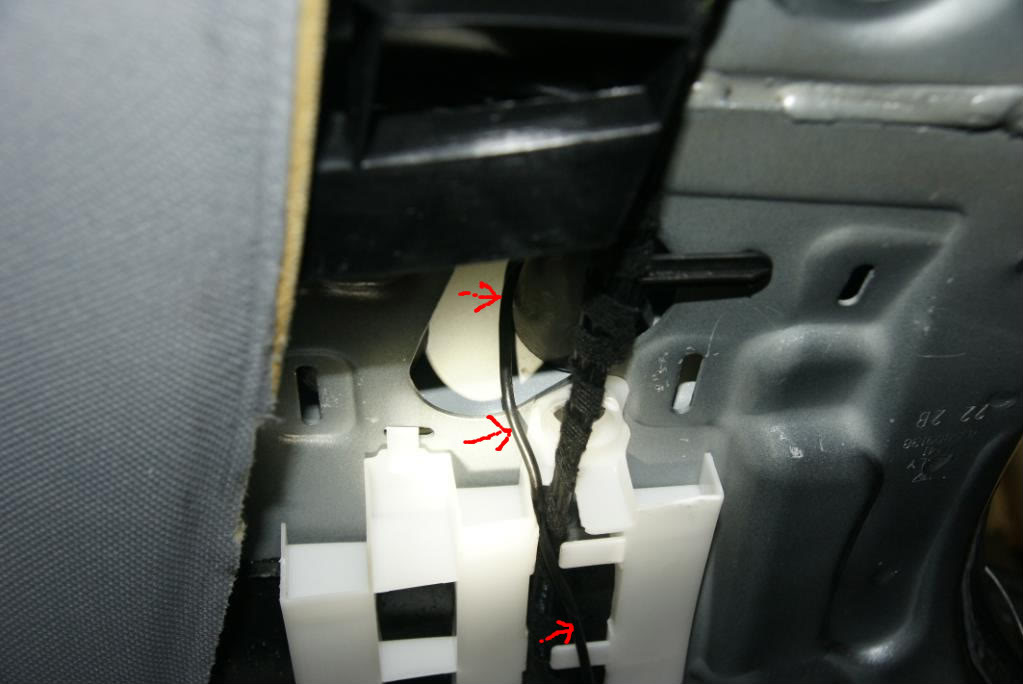
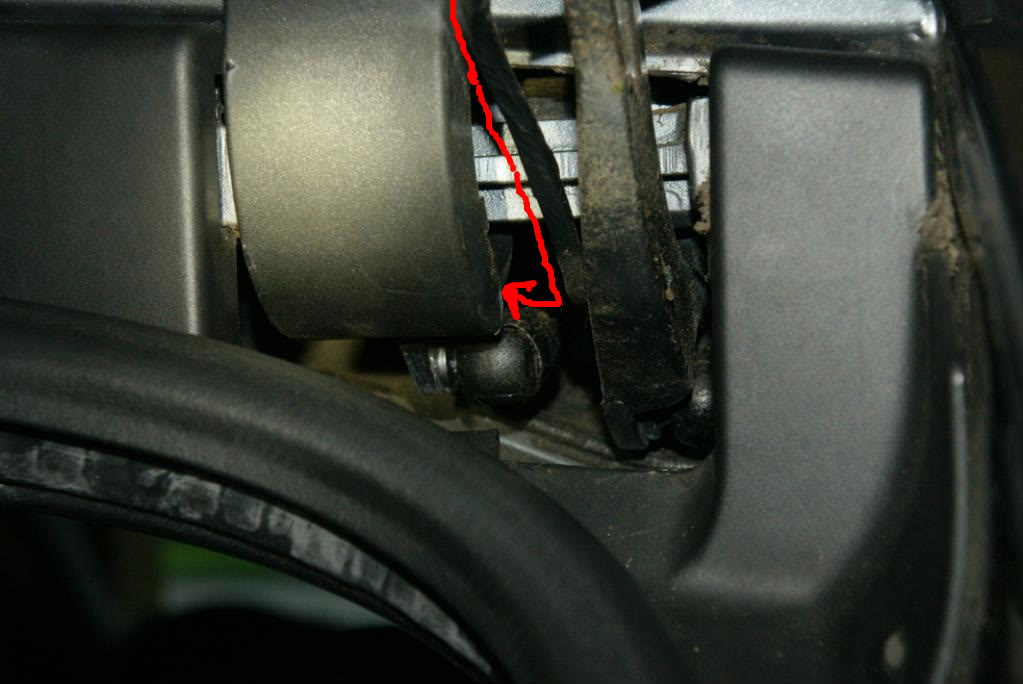
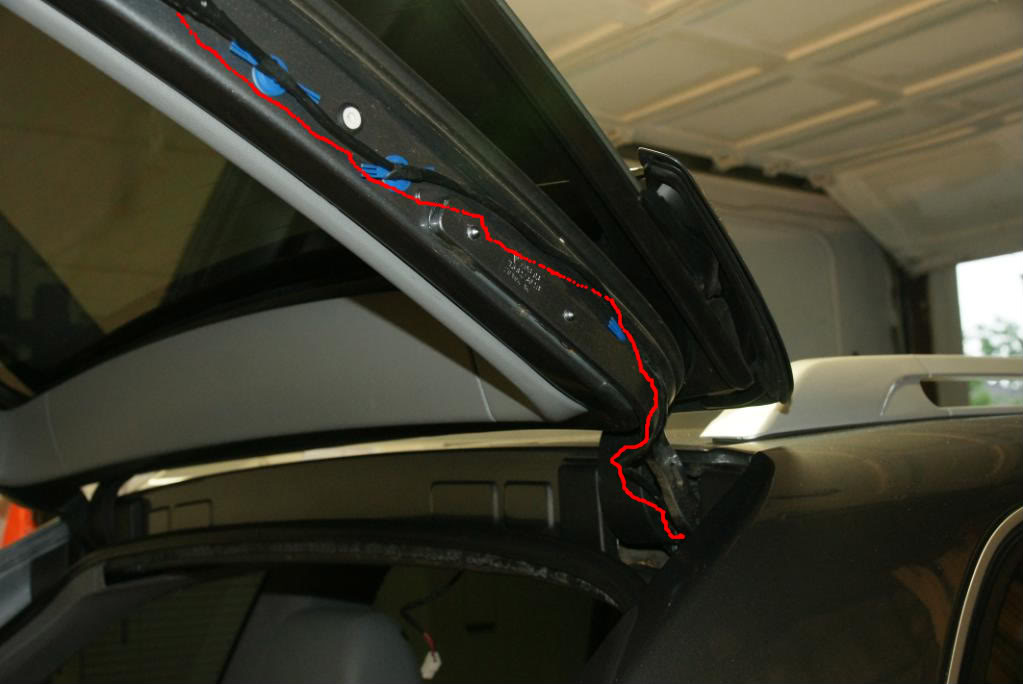
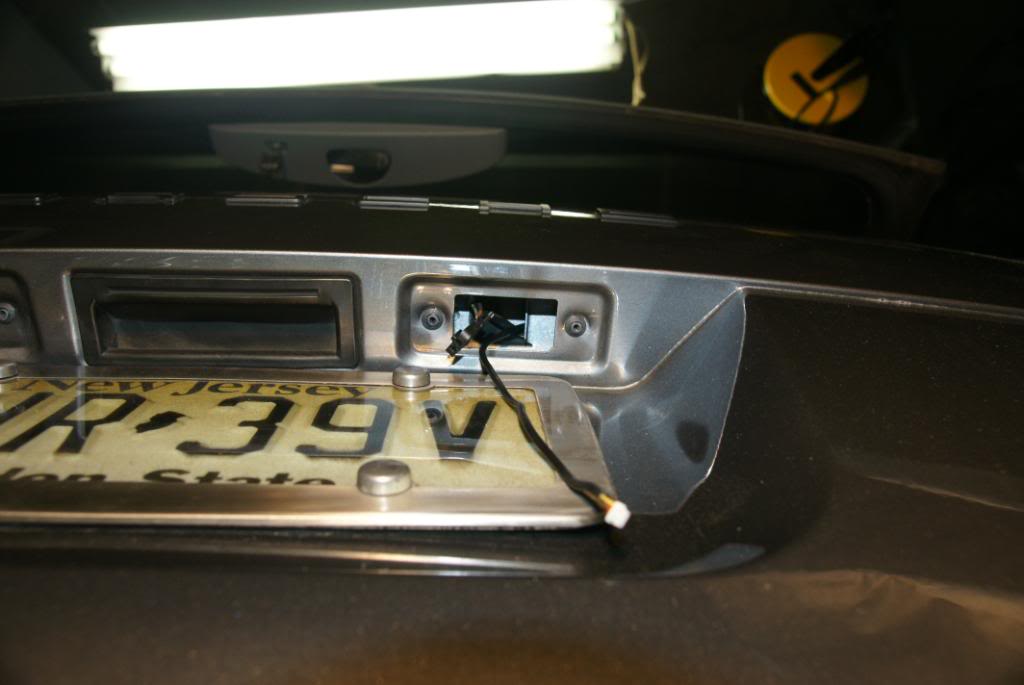
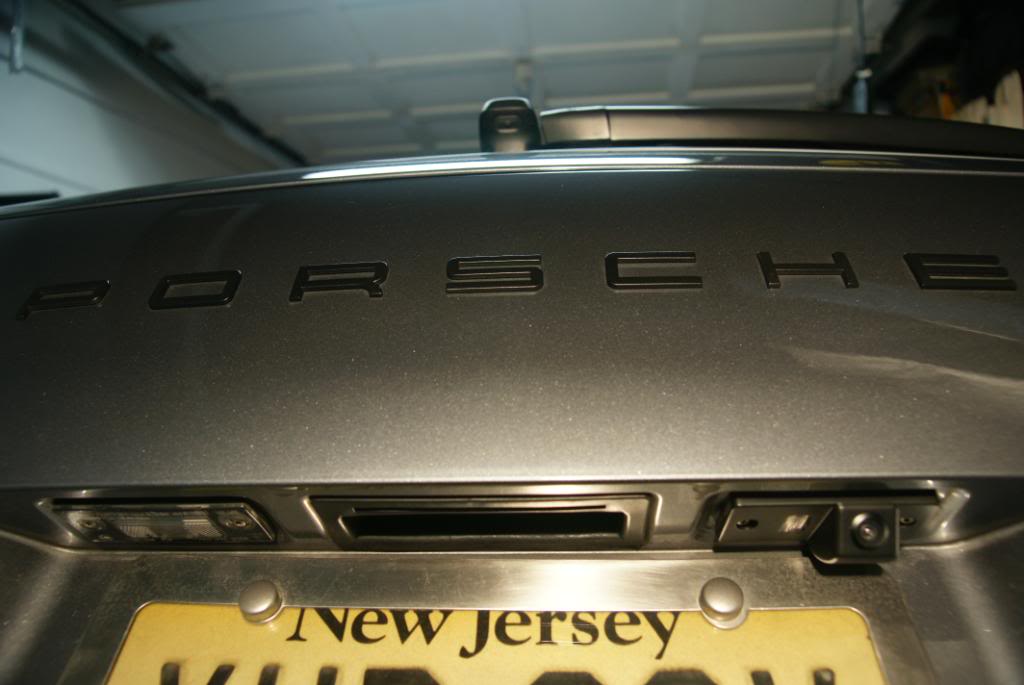
Here are a bunch of pics with red lines to indicate where I ran the wire once I got it to the right rear storage area.

Primary components I Used:
> Progressiveice.com multi-media interface (bought on Ebay from UK vendor). http://cgi.ebay.com/ws/eBayISAPI.dll?ViewItem&item=160390107447&ssPageNam e=STRK:MEWAX:IT
> Video Modulator: Bought on Amazon for $40
> Reverse camera (had one from a previous install)
> Iphone Composite video cable (had one already)
> Iphone (of course) with TVOutTuner app (outputs the entire iphone UI).
What I got:
> 2 Video Inputs
> 1 Backup camera input
> 1 AV output (that I connected to the FM modulator).
A way of displaying all my iphone stuff on my PCM
What I need:
The only issue I have now is I need to figure out how to run the wire for the reverse camera. I was able to snake wire neatly without removing any trim ALL the way to the back hatch. I figured I would run the wire up the pillar trim and then snake it into the back hatch at the hinge. Well, NOPE! if I did this I would have to run the wire over or through the hatch seal. I am not messing with that and get a leaky hatch.
IF ANYONE knows how to get a wire into the back hatch, please share!!!
What I did different:
There is ZERO room behind the PCM and as I was lucky enough not to have some module in my PCM (I dont know, maybe the phone module??), I had extra room under the circuit board. This meant I could stick the AV breakout box IN THE PCM!!! So I did. Def not for the faint of heart.
Additionally, I wired a 3.0 amp USB cigarette adapter under the right kick plate. This lets me charge my iPhone any time its plugged into unit.
Some Step-by-step:
1. First I removed the PCM and stripped it down to the LCD. There is an circuit board that you have to install inside the PCM. It basically hijacks the video signal. Here is a pic of the board installed:
2. After the board was installed, I realized I could install the breakout box inside the PCM. Here are some pics:
Here is the breakout box next to the PCM:
Now here is where I am going to put it:
Here is what I had to do - Very carefully I had to bend some tabs, remove 2 very hidden screws, and then bend the back frame back.
Now that there is access, here is the box going in the empty area.
Once the box was installed (3M weather stripping tape), I had to modify the back plate to run the cable from the circuit board to the breakout box.
Here is the prime hole to do it !
A little dremel action and the hole is ready:
With the hole dremeld, here is the final PCM assembled. You can see the wire connecting the breakout box and the circuit board I installed earlier.
And of course, the front - You would never know the unit was inside. The good news is the install is completely reversible.
Now - off to the vehicle for the install. Here you can see the stock harness, plus the units harness in place. It was a MAJOR pain, getting all the wires tucked away.
Here you can see where I have routed the wires + where I have the RF modulator installed. Everything is under the right side kick panel. I used a piece of cat 5 as a pull wire. It works great as its stiff and its snagless.
And now the HUGE scary mess - testing all components before the final install. You can see the IR sensor tapped to my airbag. I also have a cheap DVD player I was using to test input #2.
WELL - after a lot of trial and error (as the instructions that come with the unit suck), I was able to get everything working.
A little TOPGEAR running from my iphone:
A little 6speed
My iphone UI
Most games work fine:
Pretty much every app outputs fine:
And MOST IMPORTANTLY - ODB ii APS, Like, Speedbox, Rev, DashCommander, Ihud !!!!!!! WOOOO. Here are some Dash Commander screens with the GTR skin.
So there you have it, iphone doing its thing on my PCM
BTW, my ipad will only output video and the ipod functions with the same setup. In writing this, I just remembered I did not install the tv app I mentioned I had on my iphone. That might be the trick.
Overall, VERY happy and can not wait to get the reverse camera wire issues resolved.
UPDATE!!!! I INSTALLED THE BACKUP CAMERA - FIGURED OUT HOW TO RUN THE WIRES:
Note - I order a wireless video send / receive unit and did not use it as I could not find constant power in the tail gait with the key in the on position. This means i could only get power when the lights were on which was a no-go for me. I decided to just snake a wire from under the dash all the way to the back and pull my power from there. The wire was approx 12 gauge and contained 4 inner wires. I was able to tuck it under the trim with ZERO wire exposed + NO trim panels had to removed right up to the back storage area. It came with an older backup camera I had that I never used. NOTE: CAT5 works PERFECT for this application as its shielded and easily transmits the video signal. I have used it in lots of car applications and with 4 twisted pairs, you have a lot of wire options for one wire pull.
NOTE - The camera was an ebay special direct from china for $35!
Here are a bunch of pics with red lines to indicate where I ran the wire once I got it to the right rear storage area.
Last edited by roxboxxx; Jun 1, 2011 at 10:23 PM.

Registered User
Joined: Sep 2010
Posts: 35
From: NJ
Rep Power: 17
I have been watching the same item on ebay for over 6 months now. Wanted to pull the trigger but not sure what else I would need. This DIY you just did is awesome! You dont mind if I pm you if I have any questions when I do my own install right? Thanks for the DIY!
Thread Starter
|
Registered User
Joined: Mar 2009
Posts: 927
From: NJ
Rep Power: 70
Nope - feel free to ping away!
Thread Starter
|
Registered User
Joined: Mar 2009
Posts: 927
From: NJ
Rep Power: 70
I may go this route and tap power from the rear plate light. Sucks that I routed the wire all the way to the back and now have a 1" rubber strip standing in my way.
Registered User
Joined: Jan 2007
Posts: 10,774
From: OR Room 5
Rep Power: 1007
Trending Topics
Registered User
Joined: Feb 2008
Posts: 1,969
From: NYC : Miami
Rep Power: 128
gotta give credit where credit is due.... Rox, you are always doing these crazy above the normal DIY projects, and well, you always get the job done! Congrats on another fine job well done. and thanks for posting
Thread Starter
|
Registered User
Joined: Mar 2009
Posts: 927
From: NJ
Rep Power: 70
Thanks bro - but I will take the props if my cayenne has not burnt to the ground by next month


Thread Starter
|
Registered User
Joined: Mar 2009
Posts: 927
From: NJ
Rep Power: 70
Thanks. The online description says it's supposed to and I tested it by connecting the green bu wire to a power source and it did work. It even cuts out the audion in reverse. The only thing is I did not hook it up, but left the wound up 30 foot wire under the drivers side kick plate. I figured when someone can tell me where the reverse wire is or when I have time to get under the dash with a test light, I would connect it. At least 3 people have told me they had to run the wire all the way to the back tail light and tap in there. That seams retarded as that bundle is definitely pulled from the front fuse block and most likely runs next to or under the sill plates. Anyway, for now I push a button on the remote and the camera comes on and stay on until I change the source with the same remote.
