
Installed a Lift over the Weekend


Thread Starter
|
Registered User
Joined: Jan 2013
Posts: 29
Rep Power: 15

Installed a Lift over the Weekend
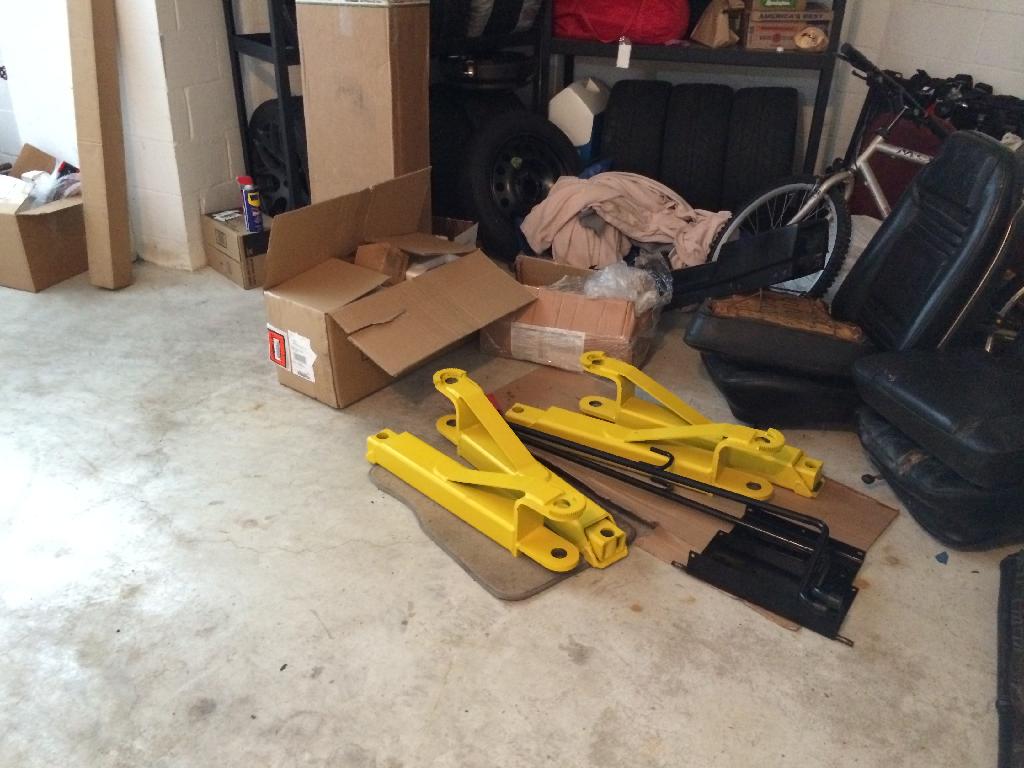
The unit arrived well packed. This has been a concern in the past and it appears they have addressed all the issues. A steel welded frame holds the parts together on a pair of pallets to get the elevation needed. The pump, arms, and other smaller parts are sealed in a large box on top that was reinforced inside against carrier caused damage (something that has been a common problem).
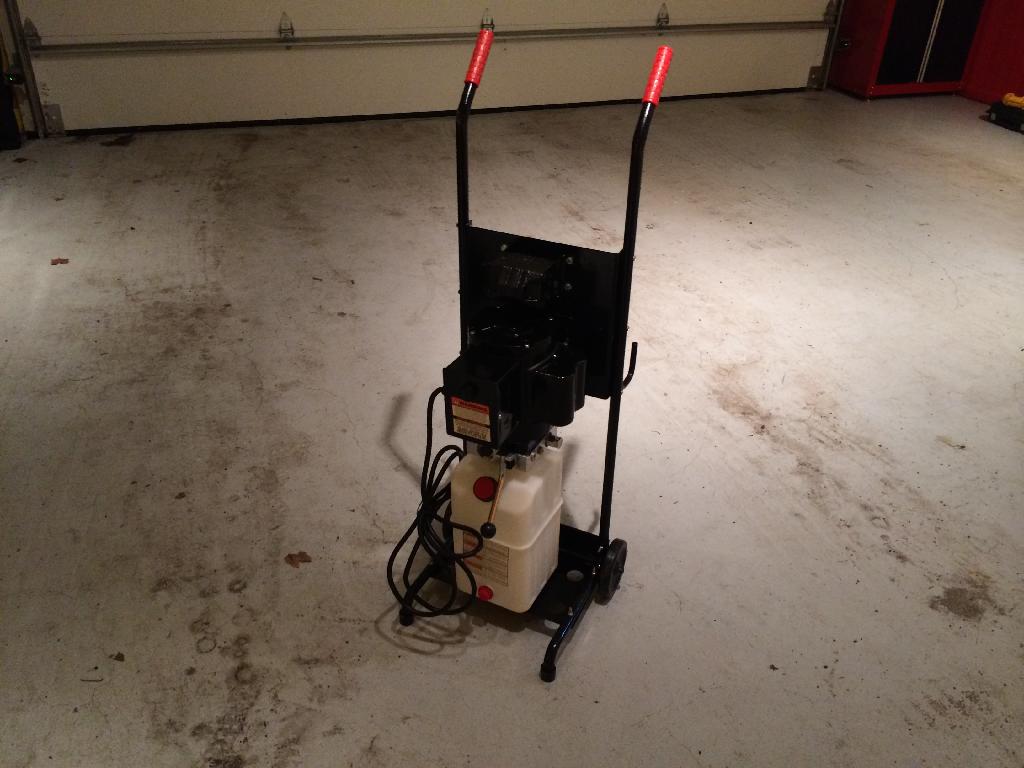
Hydraulic Unit Put together
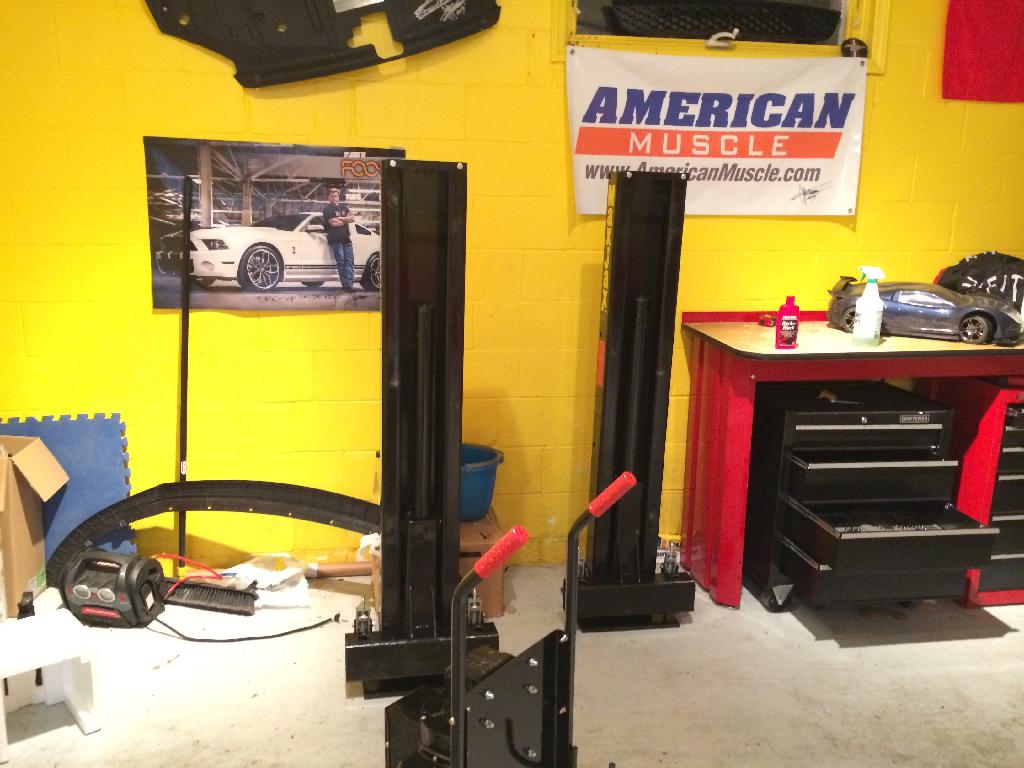
Placement / spacing varies depending on your usage needs. 110-115" between the *back* of the plates / columns for small to midsize, 120" for midsize to small compact trucks, and 125+ for larger. I went with 123". IYou can place the column against a wall, but be advised access to the hydraulic quick disconnect will be limited and awkward. The hose will be fine, but you might not be!

Each hole needs to be 7/8" and 4" deep. Residential slabs in my area were 4" per code at the time (1987), and I lucked out that all of my holes were at 4-5.5". I did drill through all the way just in case I had to redo a hole/fastener. A hammer rotary drill is a must. Well, not a must, but being able to drill the hole in 20-45 seconds is worth it to me. I used a 7/8" SDS Plus drill bit for the job. These aren't cheap- $50 for one from Grainger, but it was amazing to watch it do its magic, boring holes in concrete. My mind just boggles at a metal bit drilling through concrete, yet, there it is.


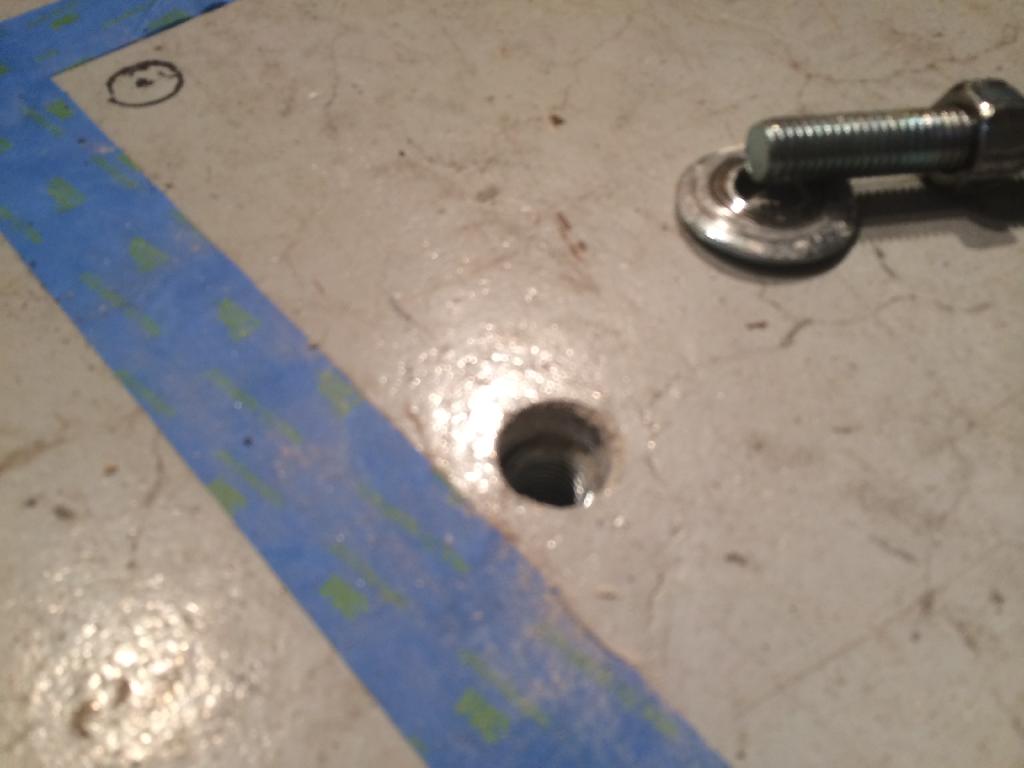
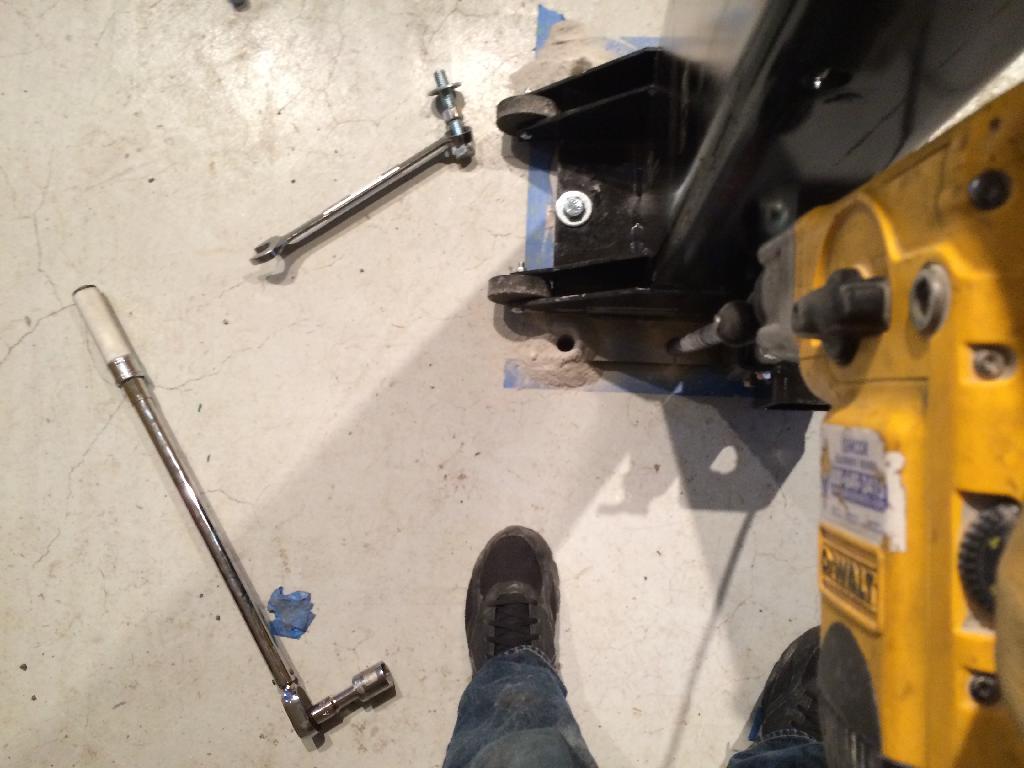

Oh, don't skimp on the hammer you use to drive those Weijet anchors (included) into the concrete. You want some mass to pound them in.
Preparation of the columns was pretty easy. Lay them down on their back (propped up on wood helps to keep them level), lift the carriage to the top and then you can remove the cylinder from the column at the bottom and lift out. It's held in place by gravity and the carriage. You'll need to do this so you can thread in the hydraulic fittings. Use Teflon tape- the tape that was put on there in advance was a bit light and coming off. I replaced it on all fittings with a good quality tape which ensured no leaks. An ounce of prevention really makes a difference here. Put the cylinders back in place and remember to *slide the carriage back down to the base* before you tip the column back up. Some members have nearly lost their fingers because the carriage will slam down with some force. That advice helped me avoid any problems.
Bolting the columns in place was easy. Shims are provided to help level the columns. I used a pair of magnetic levels to guide me. I put them at the top where any shifting would be the greatest. Since my floor is sloped lightly for drainage, it was important to make sure the shims were in place. Danmar recommends noting the number of shims and placement for when you move or return the columns. That's not a bad idea and I might write it on the base with a paint pen next to the holes.
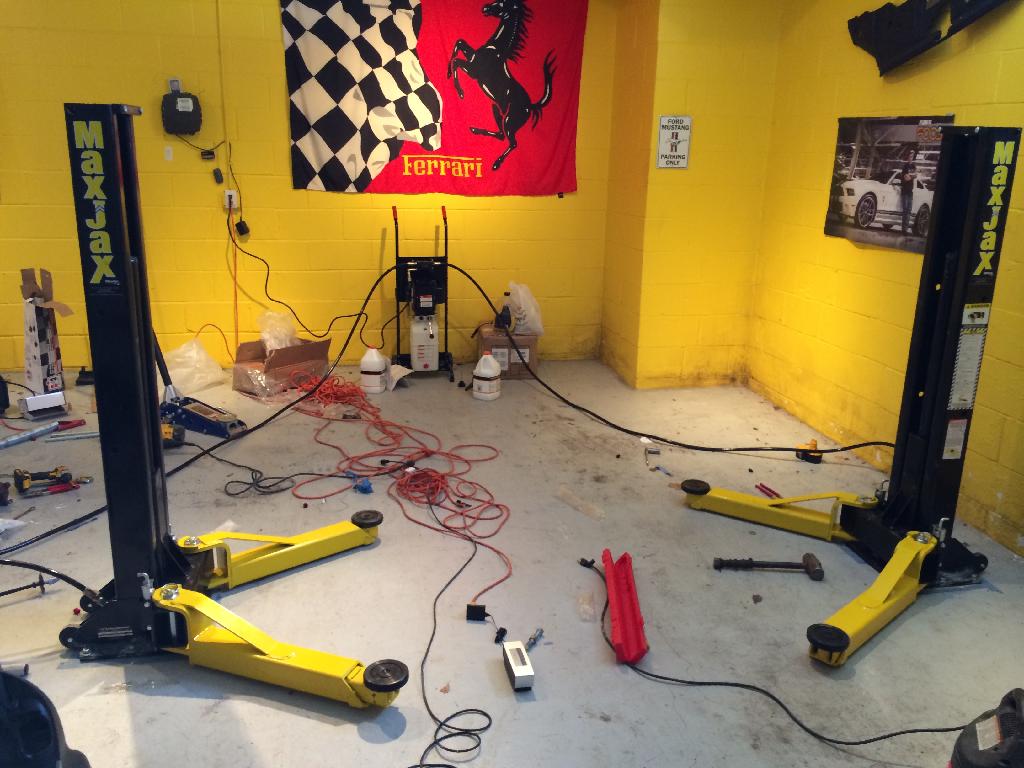
That brings up an interesting point. There is no left or right column. They are identical so it really doesn't matter which one you put where. I might label them with some vinyl stickers if only to keep them straight for myself.
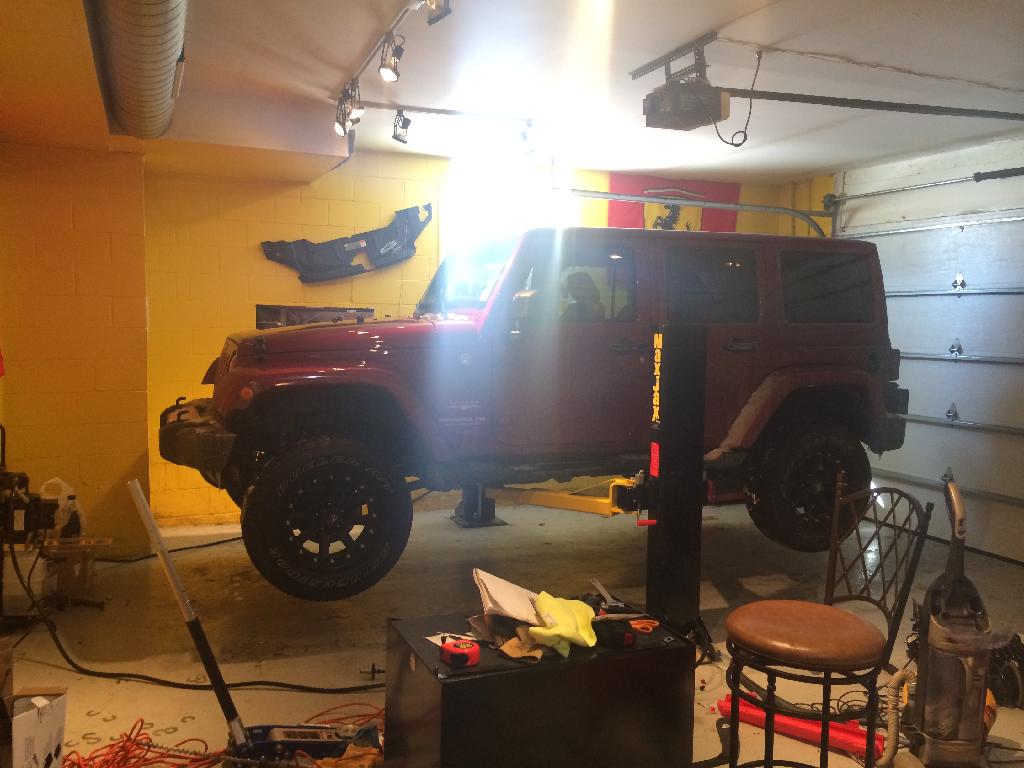
Does it work? Yes. Once the system was bled, it was pretty easy. Definitely lube up the slides in the columns with white lithium grease as recommended. Greatly helps in avoiding binding.
OBSERVATIONS:
The rubber washer for the hydraulic oil reservoir leaked badly. The plastic was malformed lightly and the flat washer couldn't seal. I replaced it with a rubber / nitrile O ring which sealed without any issue.
The quick disconnects are not great. They leak a few tablespoons with each disconnect. I would like to replace them with some of the higher quality fittings available from Weatherhead or similar. During operation, these don't leak at all, but only when disconnecting. A rag under the fitting is advisable to speed cleanup.
I wish I could mod the columns. While additional holes would be nice (three are on the column now), having more settings would be helpful. Also, I would like to weld on small hooks to the back of the columns to hold the yellow arms for storage when not in use. Same thing for the lifting pads and extensions. I might weld up a rack out of rebar to hang on the wall to do the same job.
The wheels on the columns wobble. The vertical plates that form the mounting points are not consistent for width and I found it necessary to shim between wheel and flange to keep the wheels vertical without binding on a couple of the mounts. Easy to do with washers, but it's something that could have been caught during manufacture. Or at least add some washers with instructions to shim as necessary.
These black things attract dust! I was wiping them down a lot during assembly. Again, covers would be nice.
More instructions on what fittings go where would be helpful. I was able to figure it out, but assembly order instructions on the fittings and hose on the power cart could ease in assembly. Install the 90 fittings into the pump and distribution valve *first*, then install the hose. I found it helpful to keep one of the 90 degree fittings loose to help get the hose in place, then tighten up. New Teflon tape on all fittings resulted in a no-leak installation.
TIP: A handtruck can work well to place the columns easier than the built in wheels if you have to place one column against the wall. Approach it from the front of the column with your hand truck and you can place it exactly where you want without issue. They really are that light.
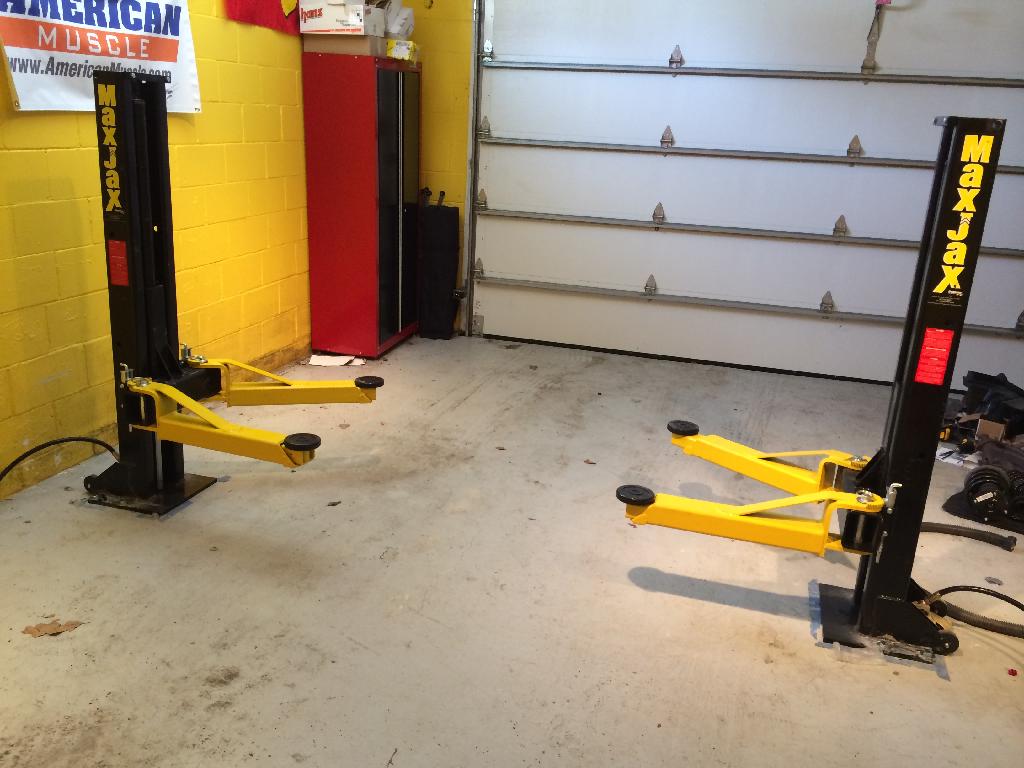
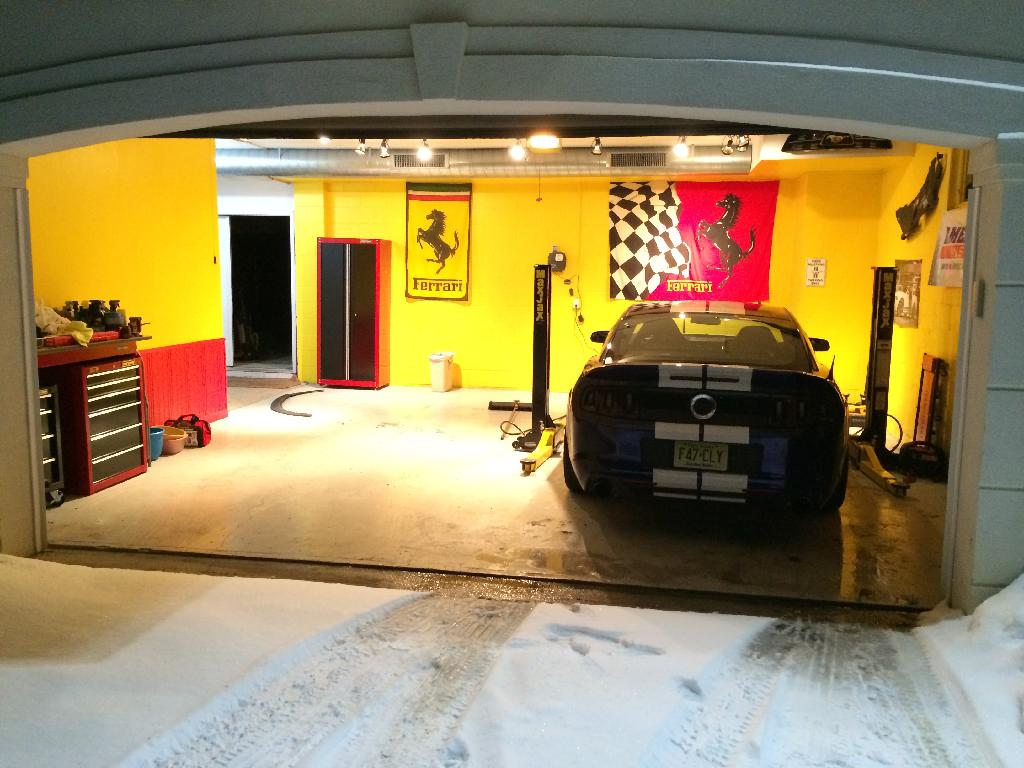
Dirty Garage:
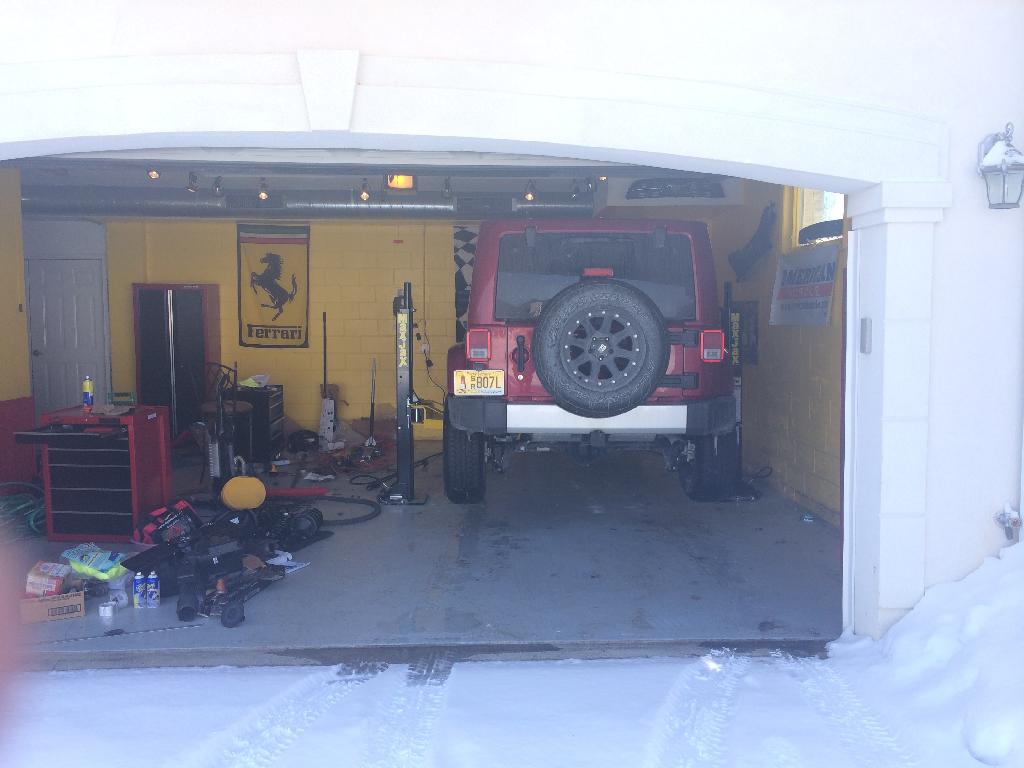
And Here are some final pics of the Install and Clean Garage lol


Hydraulic Unit Put together

Placement / spacing varies depending on your usage needs. 110-115" between the *back* of the plates / columns for small to midsize, 120" for midsize to small compact trucks, and 125+ for larger. I went with 123". IYou can place the column against a wall, but be advised access to the hydraulic quick disconnect will be limited and awkward. The hose will be fine, but you might not be!

Each hole needs to be 7/8" and 4" deep. Residential slabs in my area were 4" per code at the time (1987), and I lucked out that all of my holes were at 4-5.5". I did drill through all the way just in case I had to redo a hole/fastener. A hammer rotary drill is a must. Well, not a must, but being able to drill the hole in 20-45 seconds is worth it to me. I used a 7/8" SDS Plus drill bit for the job. These aren't cheap- $50 for one from Grainger, but it was amazing to watch it do its magic, boring holes in concrete. My mind just boggles at a metal bit drilling through concrete, yet, there it is.


Oh, don't skimp on the hammer you use to drive those Weijet anchors (included) into the concrete. You want some mass to pound them in.
Preparation of the columns was pretty easy. Lay them down on their back (propped up on wood helps to keep them level), lift the carriage to the top and then you can remove the cylinder from the column at the bottom and lift out. It's held in place by gravity and the carriage. You'll need to do this so you can thread in the hydraulic fittings. Use Teflon tape- the tape that was put on there in advance was a bit light and coming off. I replaced it on all fittings with a good quality tape which ensured no leaks. An ounce of prevention really makes a difference here. Put the cylinders back in place and remember to *slide the carriage back down to the base* before you tip the column back up. Some members have nearly lost their fingers because the carriage will slam down with some force. That advice helped me avoid any problems.
Bolting the columns in place was easy. Shims are provided to help level the columns. I used a pair of magnetic levels to guide me. I put them at the top where any shifting would be the greatest. Since my floor is sloped lightly for drainage, it was important to make sure the shims were in place. Danmar recommends noting the number of shims and placement for when you move or return the columns. That's not a bad idea and I might write it on the base with a paint pen next to the holes.

That brings up an interesting point. There is no left or right column. They are identical so it really doesn't matter which one you put where. I might label them with some vinyl stickers if only to keep them straight for myself.
Does it work? Yes. Once the system was bled, it was pretty easy. Definitely lube up the slides in the columns with white lithium grease as recommended. Greatly helps in avoiding binding.


OBSERVATIONS:
The rubber washer for the hydraulic oil reservoir leaked badly. The plastic was malformed lightly and the flat washer couldn't seal. I replaced it with a rubber / nitrile O ring which sealed without any issue.
The quick disconnects are not great. They leak a few tablespoons with each disconnect. I would like to replace them with some of the higher quality fittings available from Weatherhead or similar. During operation, these don't leak at all, but only when disconnecting. A rag under the fitting is advisable to speed cleanup.
I wish I could mod the columns. While additional holes would be nice (three are on the column now), having more settings would be helpful. Also, I would like to weld on small hooks to the back of the columns to hold the yellow arms for storage when not in use. Same thing for the lifting pads and extensions. I might weld up a rack out of rebar to hang on the wall to do the same job.
The wheels on the columns wobble. The vertical plates that form the mounting points are not consistent for width and I found it necessary to shim between wheel and flange to keep the wheels vertical without binding on a couple of the mounts. Easy to do with washers, but it's something that could have been caught during manufacture. Or at least add some washers with instructions to shim as necessary.
These black things attract dust! I was wiping them down a lot during assembly. Again, covers would be nice.
More instructions on what fittings go where would be helpful. I was able to figure it out, but assembly order instructions on the fittings and hose on the power cart could ease in assembly. Install the 90 fittings into the pump and distribution valve *first*, then install the hose. I found it helpful to keep one of the 90 degree fittings loose to help get the hose in place, then tighten up. New Teflon tape on all fittings resulted in a no-leak installation.
TIP: A handtruck can work well to place the columns easier than the built in wheels if you have to place one column against the wall. Approach it from the front of the column with your hand truck and you can place it exactly where you want without issue. They really are that light.
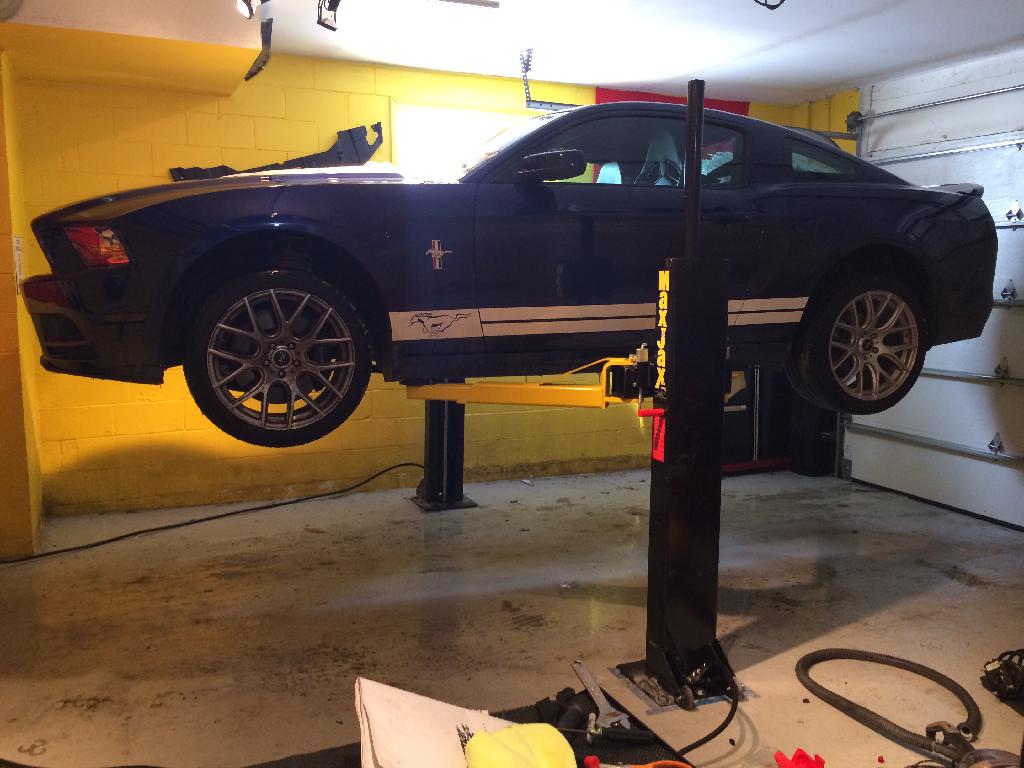
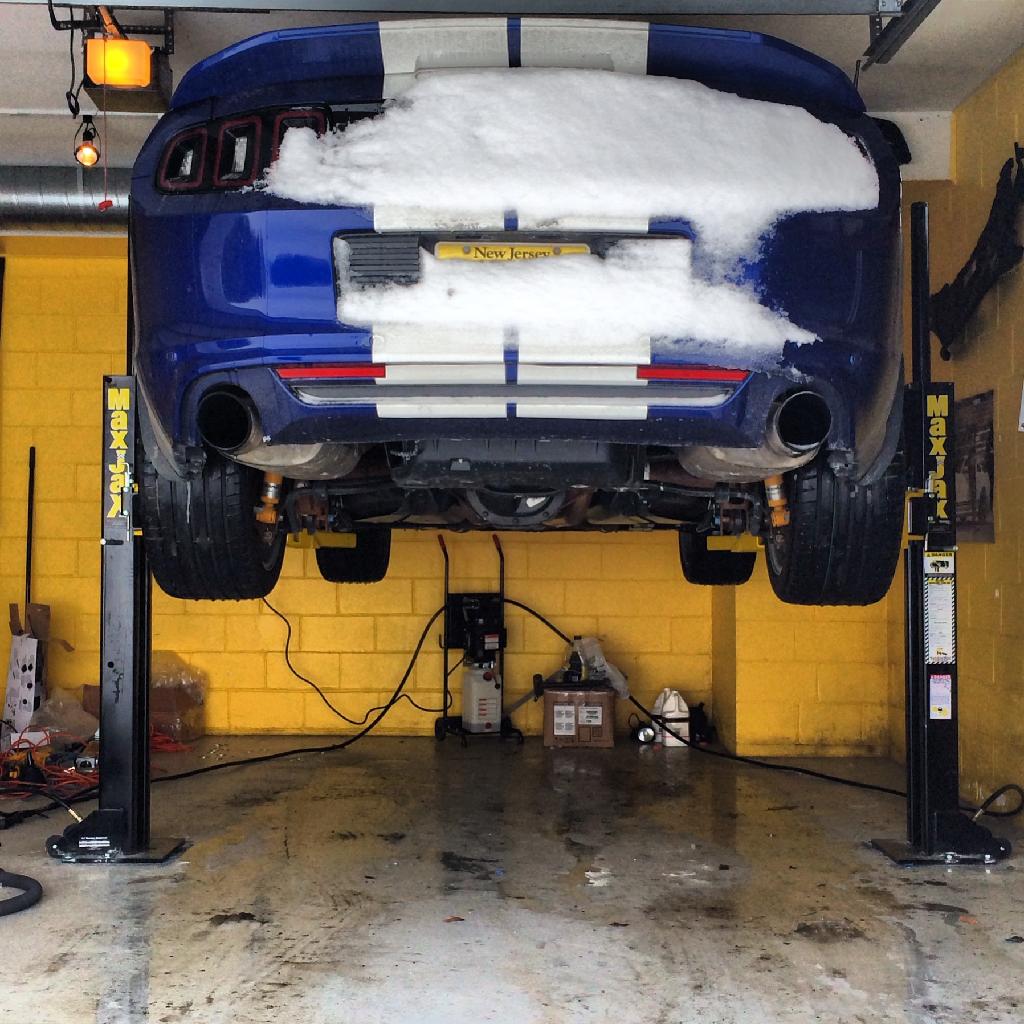
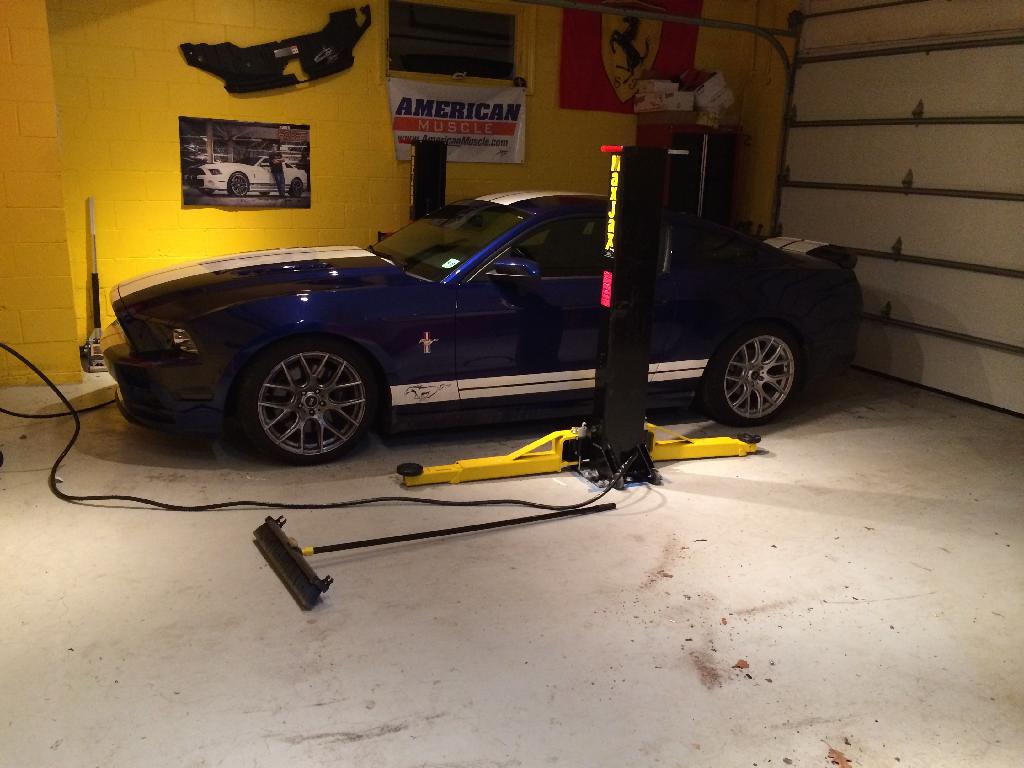
Dirty Garage:


And Here are some final pics of the Install and Clean Garage lol


Registered User
Joined: Oct 2010
Posts: 104
From: Charlotte NC
Rep Power: 20
I also have a Maxjax - I just finished up a long term engine project with it on my c6 - I have no complaints.
I did buy some 90* fittings for the quick connect fittings coming out of the pump - this will prevent you from tripping over the damn hoses - I do it all the time - I just haven't put them in yet.
People have added 2 more sets of holes per side to these lifts with no problem.
People also have mounted the car to the wall - and just got an extra hose or 2 from Northern Tool to reach the other side column - with where yours is placed you could leave the post next to the wall in place and mount the cart next to it.
I suggest checking out GarageJournal - lot of threads over there with the Maxjax.
Registered User
Joined: Jul 2010
Posts: 554
From: N.Va
Rep Power: 39

Trending Topics


Thread
Thread Starter
Forum
Replies
Last Post

