When you click on links to various merchants on this site and make a purchase, this can result in this site earning a commission. Affiliate programs and affiliations include, but are not limited to, the eBay Partner Network.
I've had some experience in wrapping ever since 3M came out with Scotchcal in the 80's. I've done window trim and interior pieces with tight radiuses and tricky corners. Can I offer a suggestion to wrapping the fenders?
I'm assuming you started the wrap from the hood edge and worked toward the wheelwell opening. That's working the vinyl from a large area to a "point" where everything bunches up. It might be better to start from the wheelwell opening and work your way out towards the door, hood and headlight. That way you can stretch the vinyl outwards rather than having it bunch in the middle.
I've never wrapped a complete car and not sure if this method works but I give you credit for doing it alone because it's not easy. Good luck.
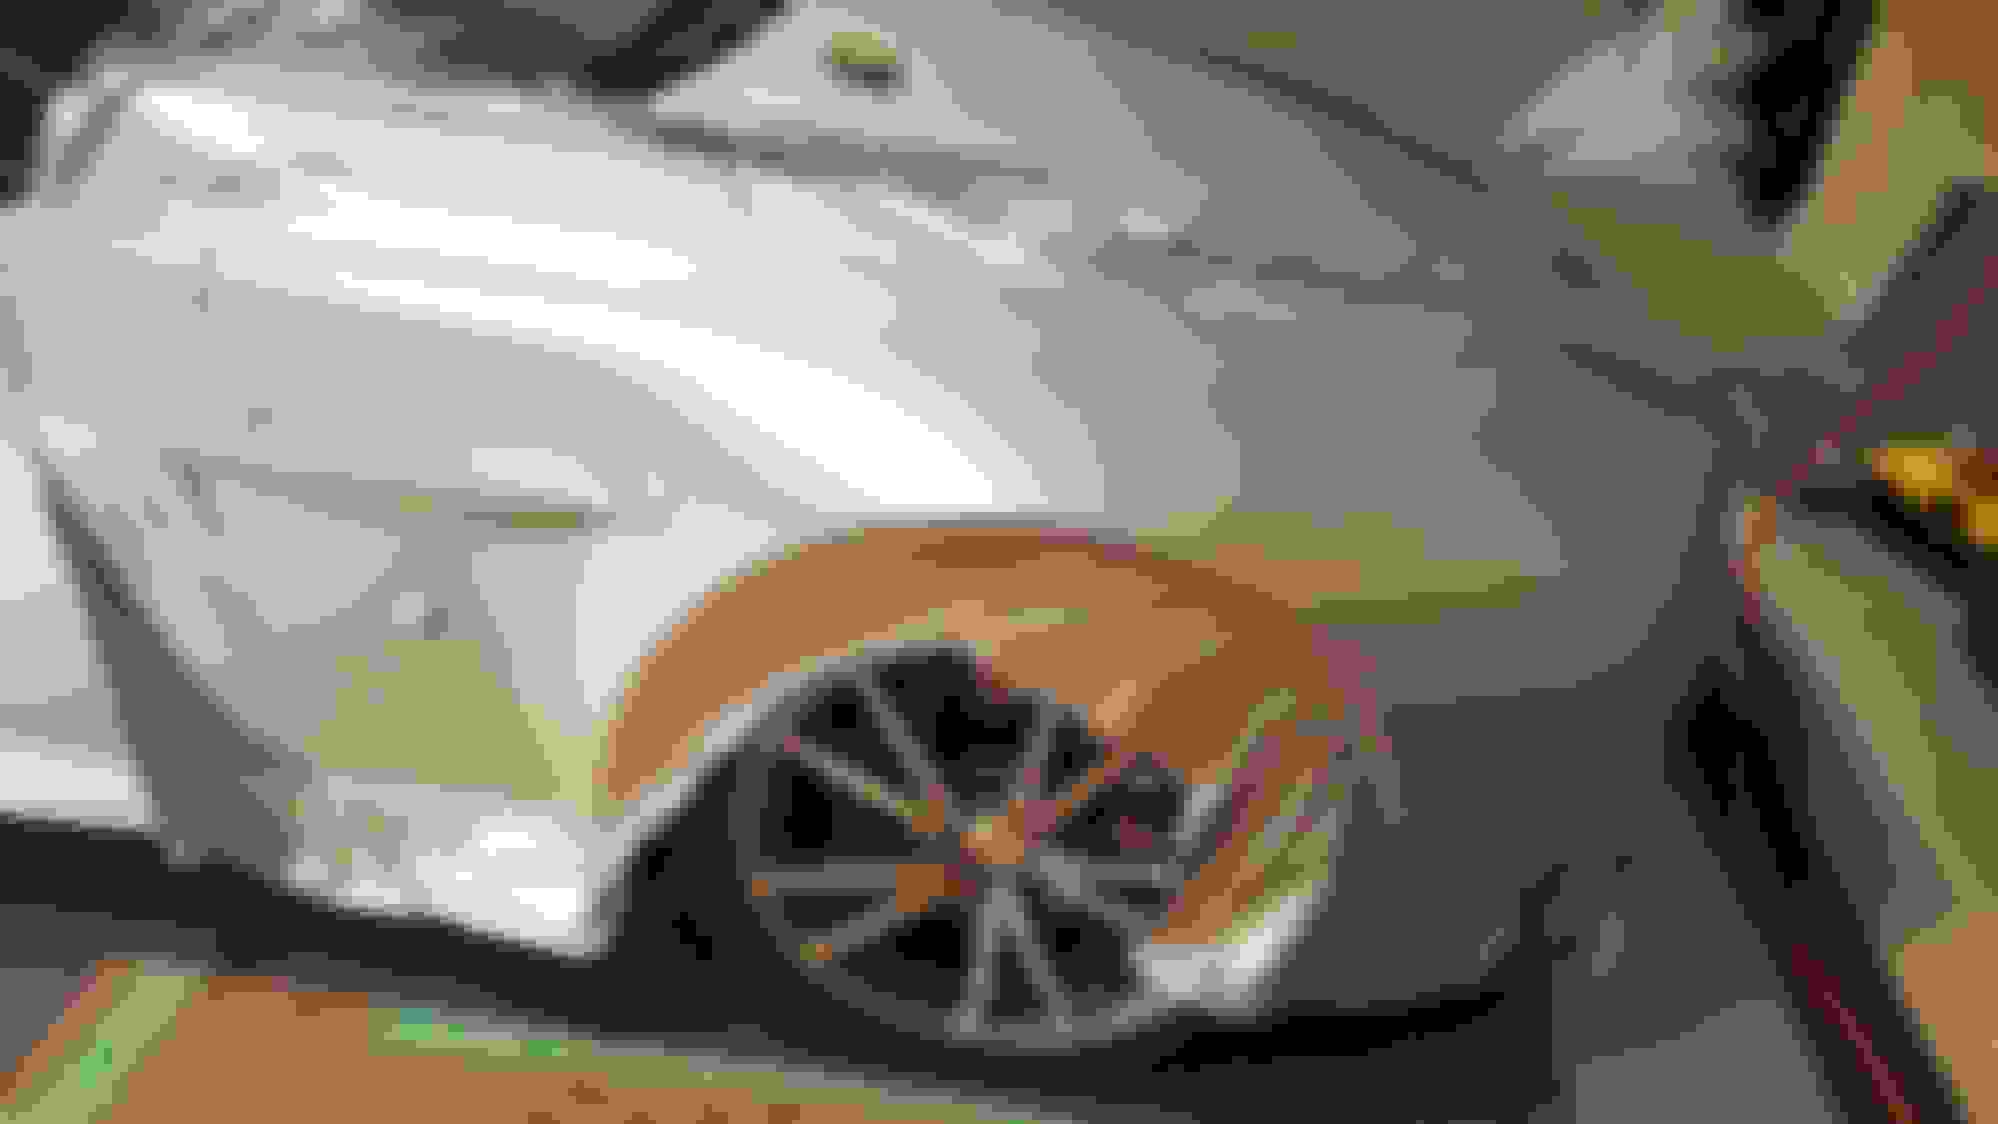
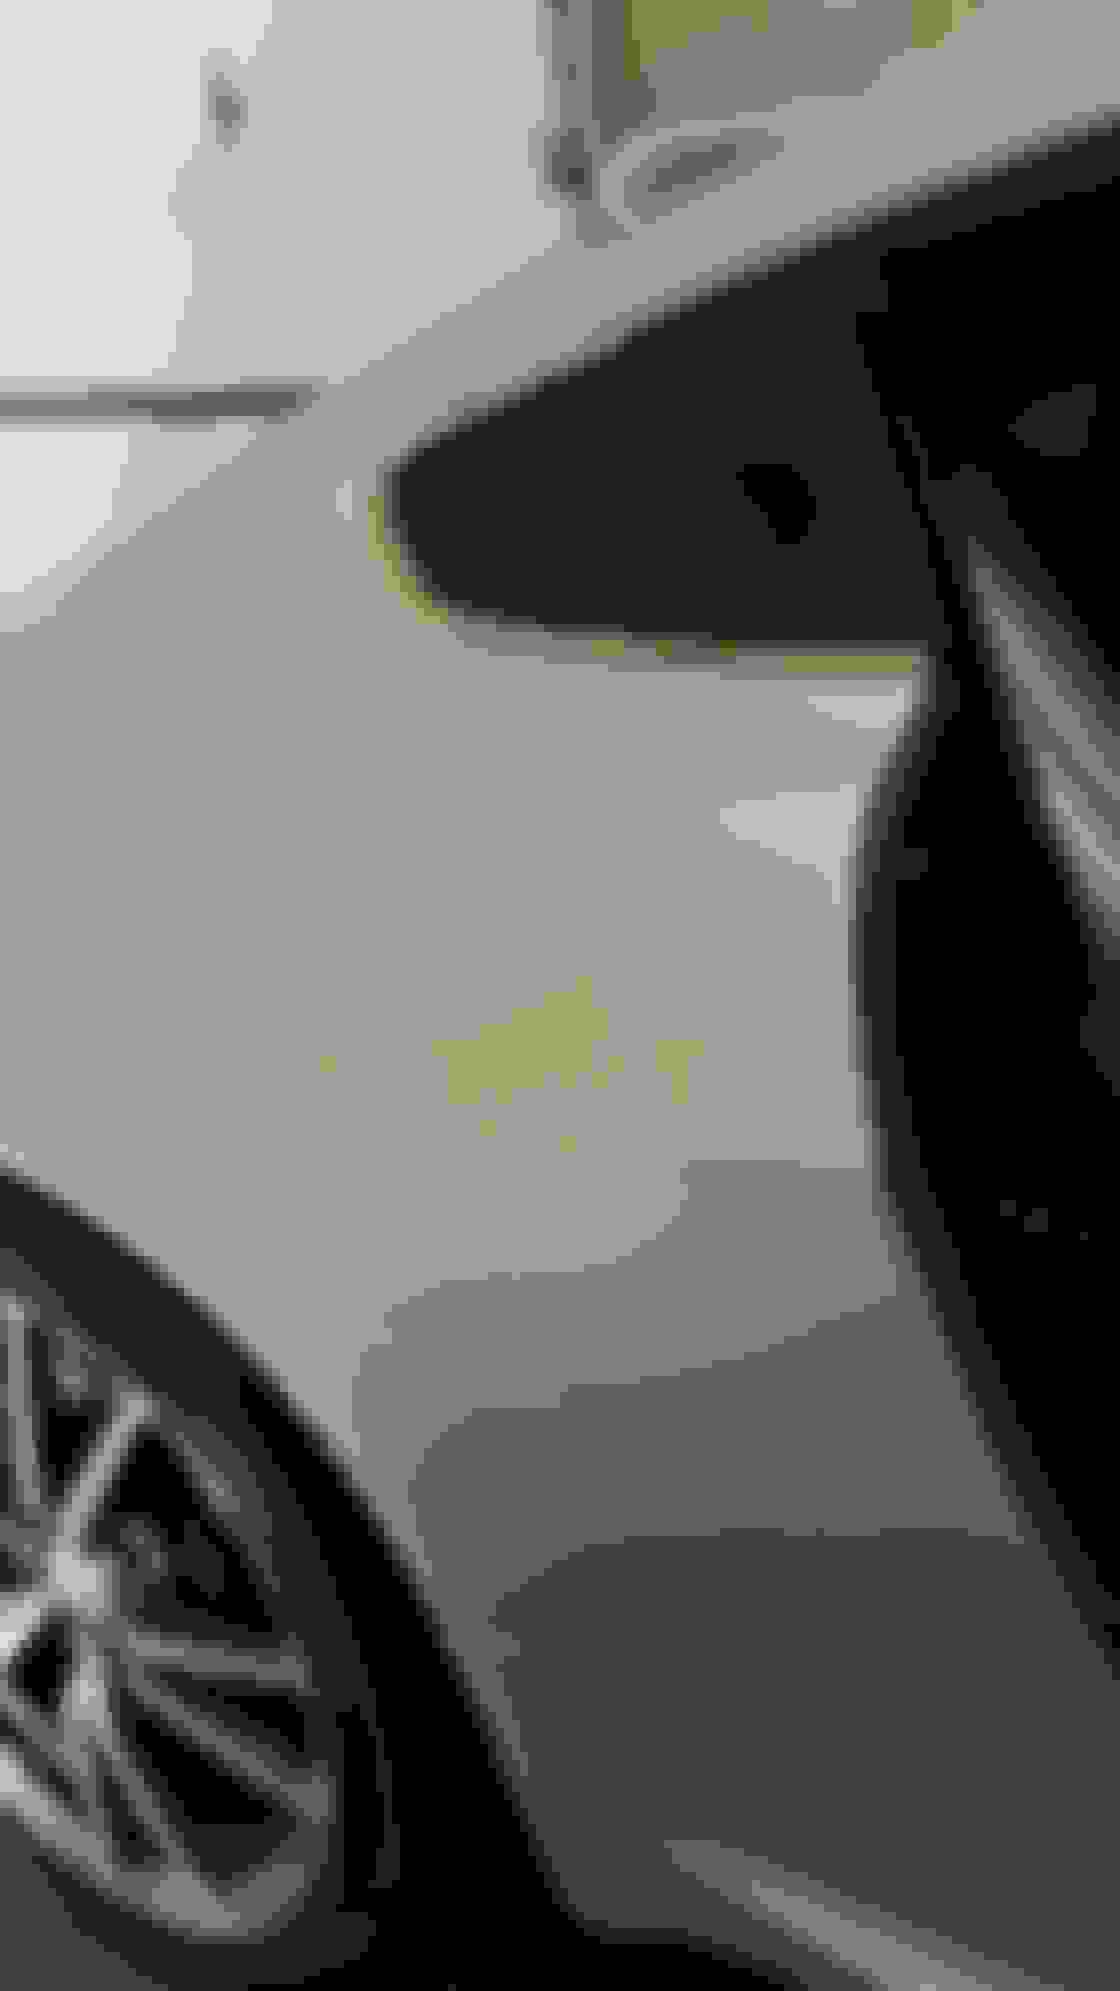
I've tried starting at the hood edge, the side panel, and just above the headlamp and always got bunching on the edges of the panels either under the headlights or where the panel recesses and goes into a point at the very tip and has a curvy edge as well
so not only does the panel twist and is very curvy, but it narrows too...
Its a ridiculously curvy panel, I think I will need a lot of heatgun to get it to conform properly. I am going to try to tackle it again tonight with my helper, success or progress will happen at a minimum
as you know, wrapping anything curvy is a pain! Thank you for the tips!
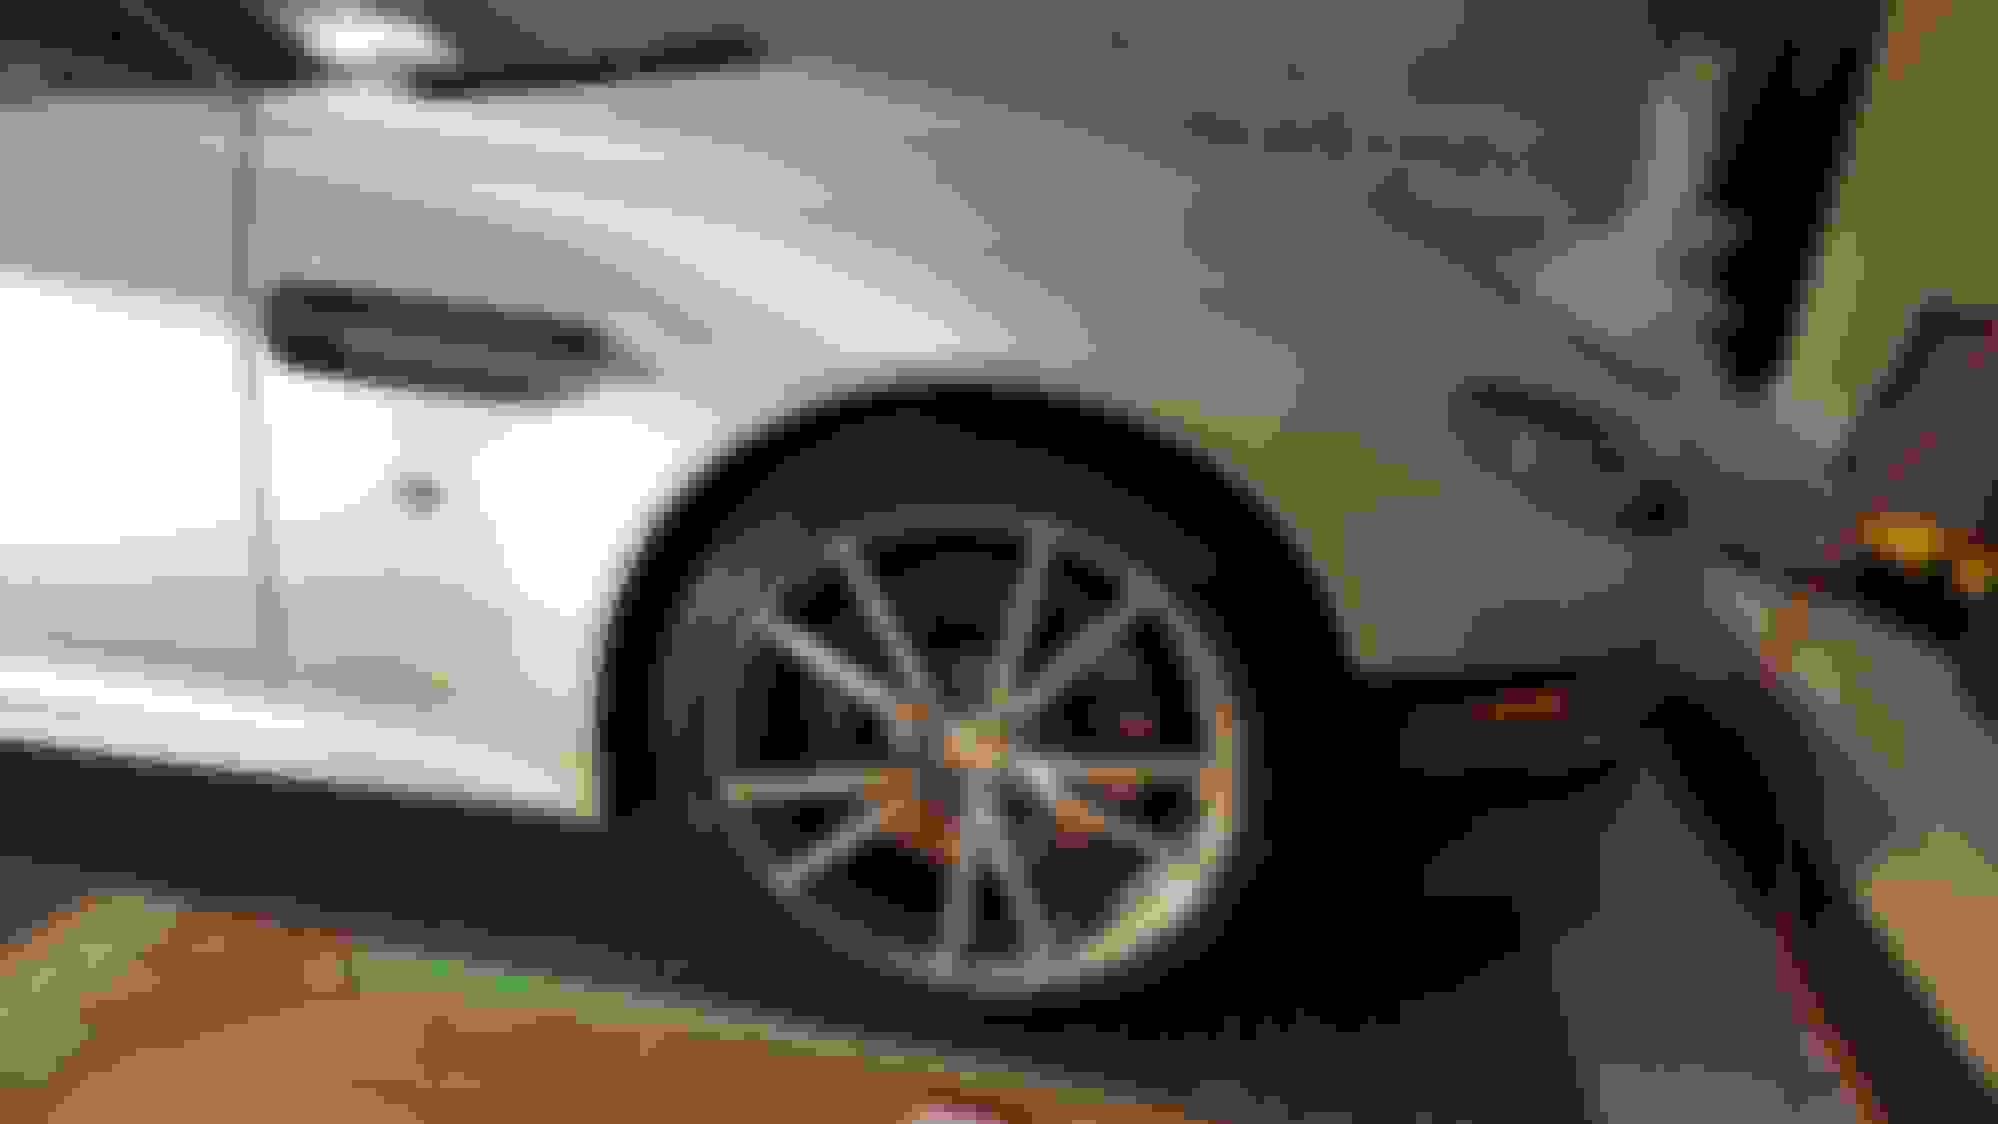
alright I figured it out... started on the front of the wheel well, used lots of heatgun and help, still had a tiny 5" portion of bunching way back in the middle of the hood but, it was manageable and doesn't look too bad! Heatgun and an extra set of hands is a must for the fender so you can heat, then contour the film and glass it out over the curved parts
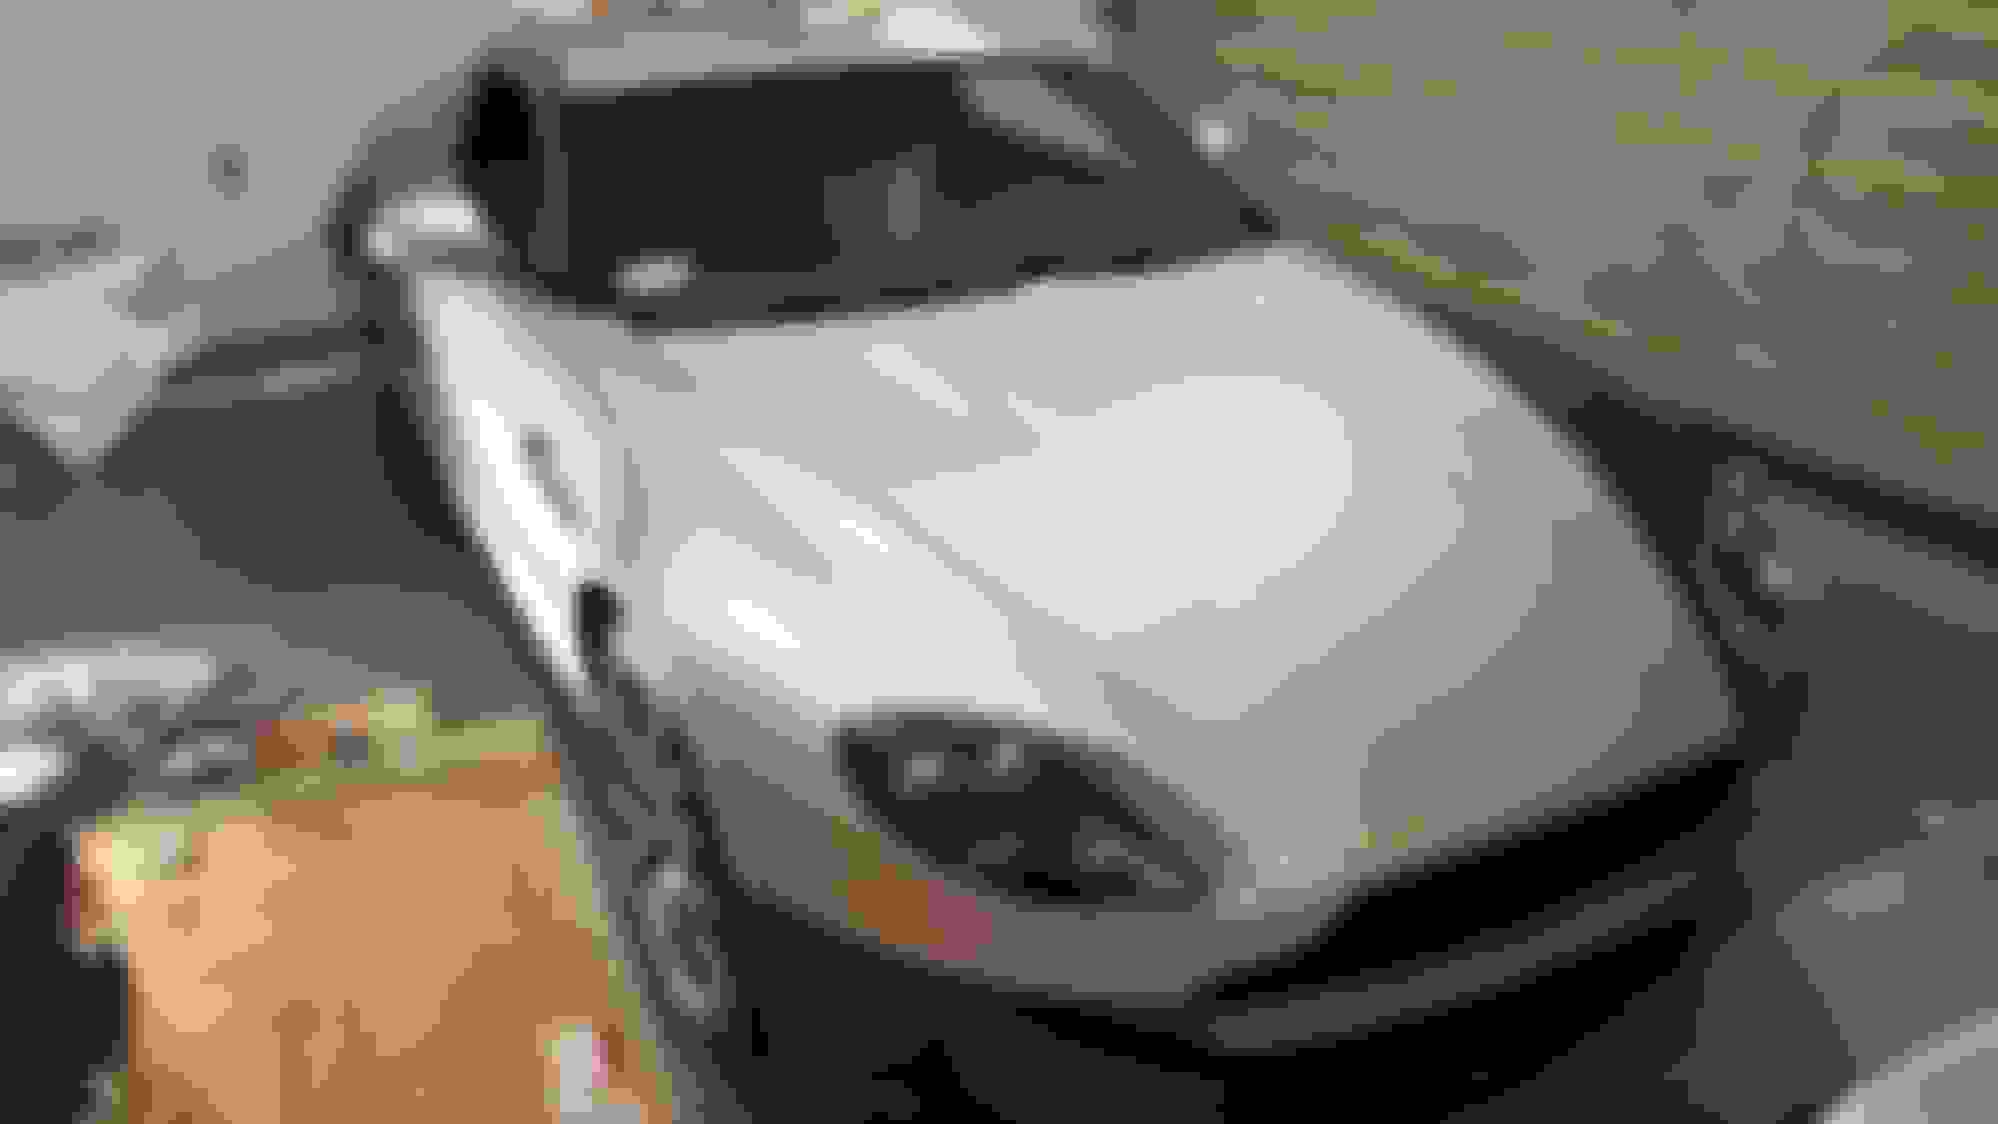
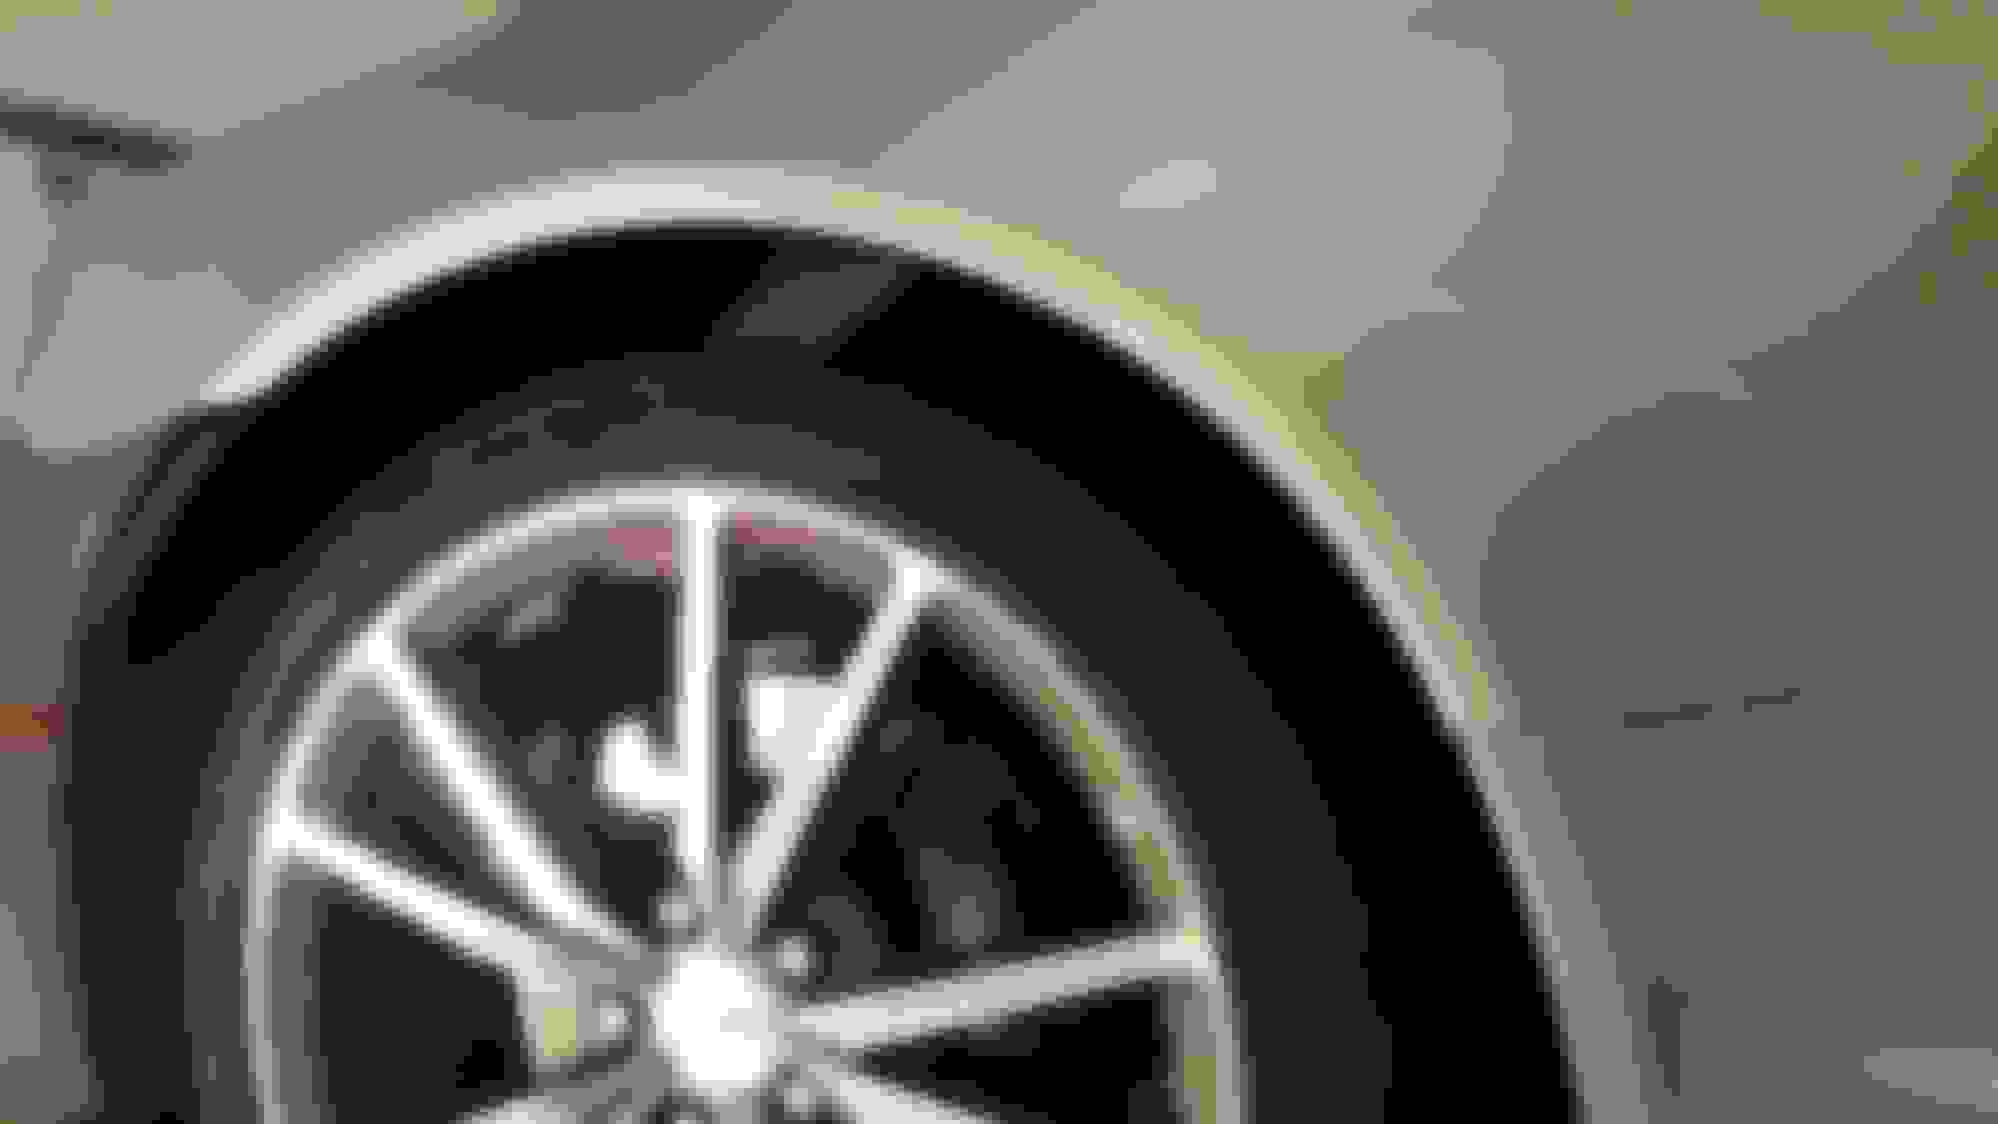
finally got it covered! cutting around the headlamp came out great, don't worry I'm going to wrap the headlamp washer as well as you can see I am inproving my edges! Grill will cover most of this up but it looks good did my best work on the wheel wells completed pic looking good strakes with inlays, came out ok, not perfect but If i was to do again in another location where I could jack up the car properly I'd remove them to make life much easier
Ok finally got some time to start working on this again, its like a second job to do this!
So I did the other side sill, was really easy other than cleaning underneath the car and getting the knifeless tape on the underside. Edges and everything I did were so much better than the other side sill... the perfectionist in me wants to do it again... I won't until the whole car is wrapped, I'm quite sick of not driving !
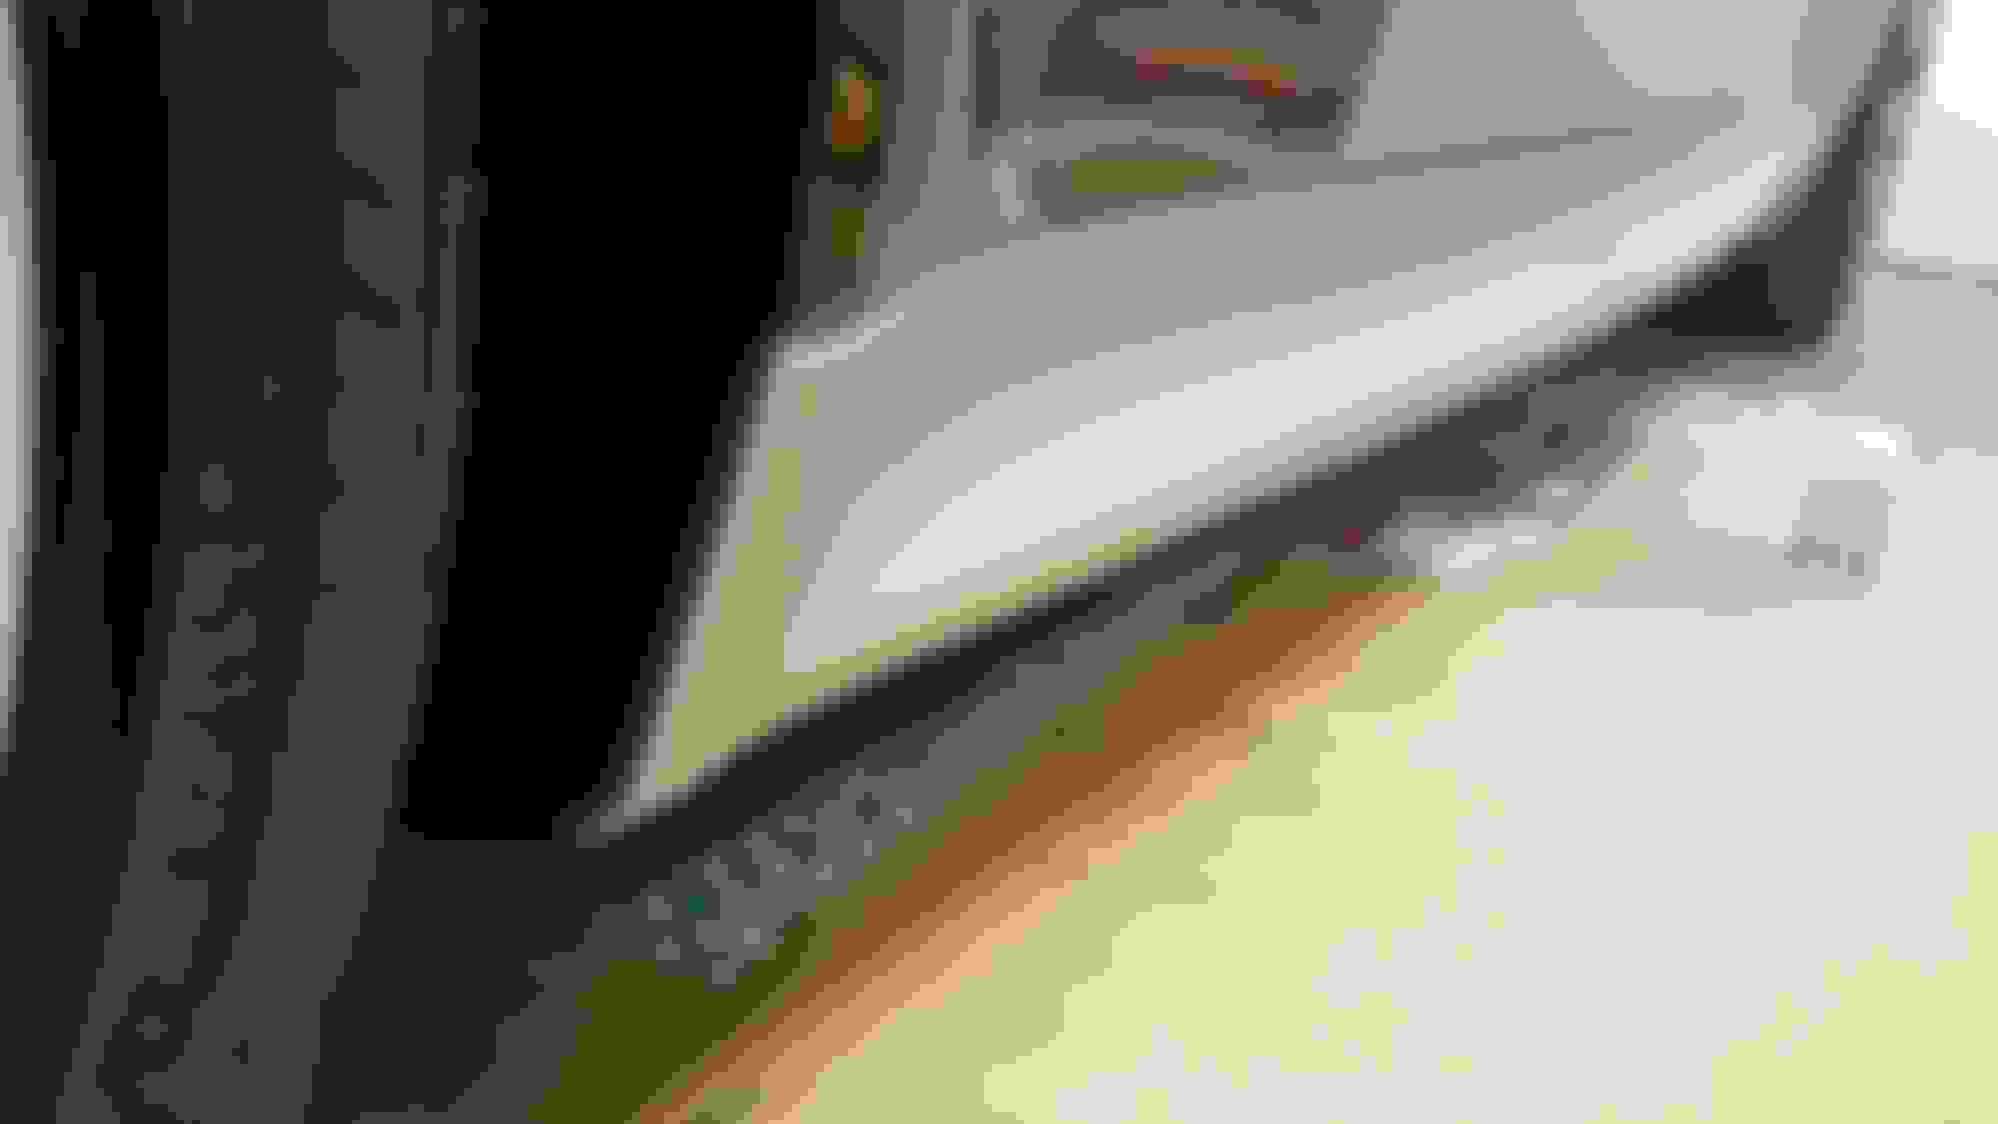
tucked under the weather stripping looks great corners and edges looking better
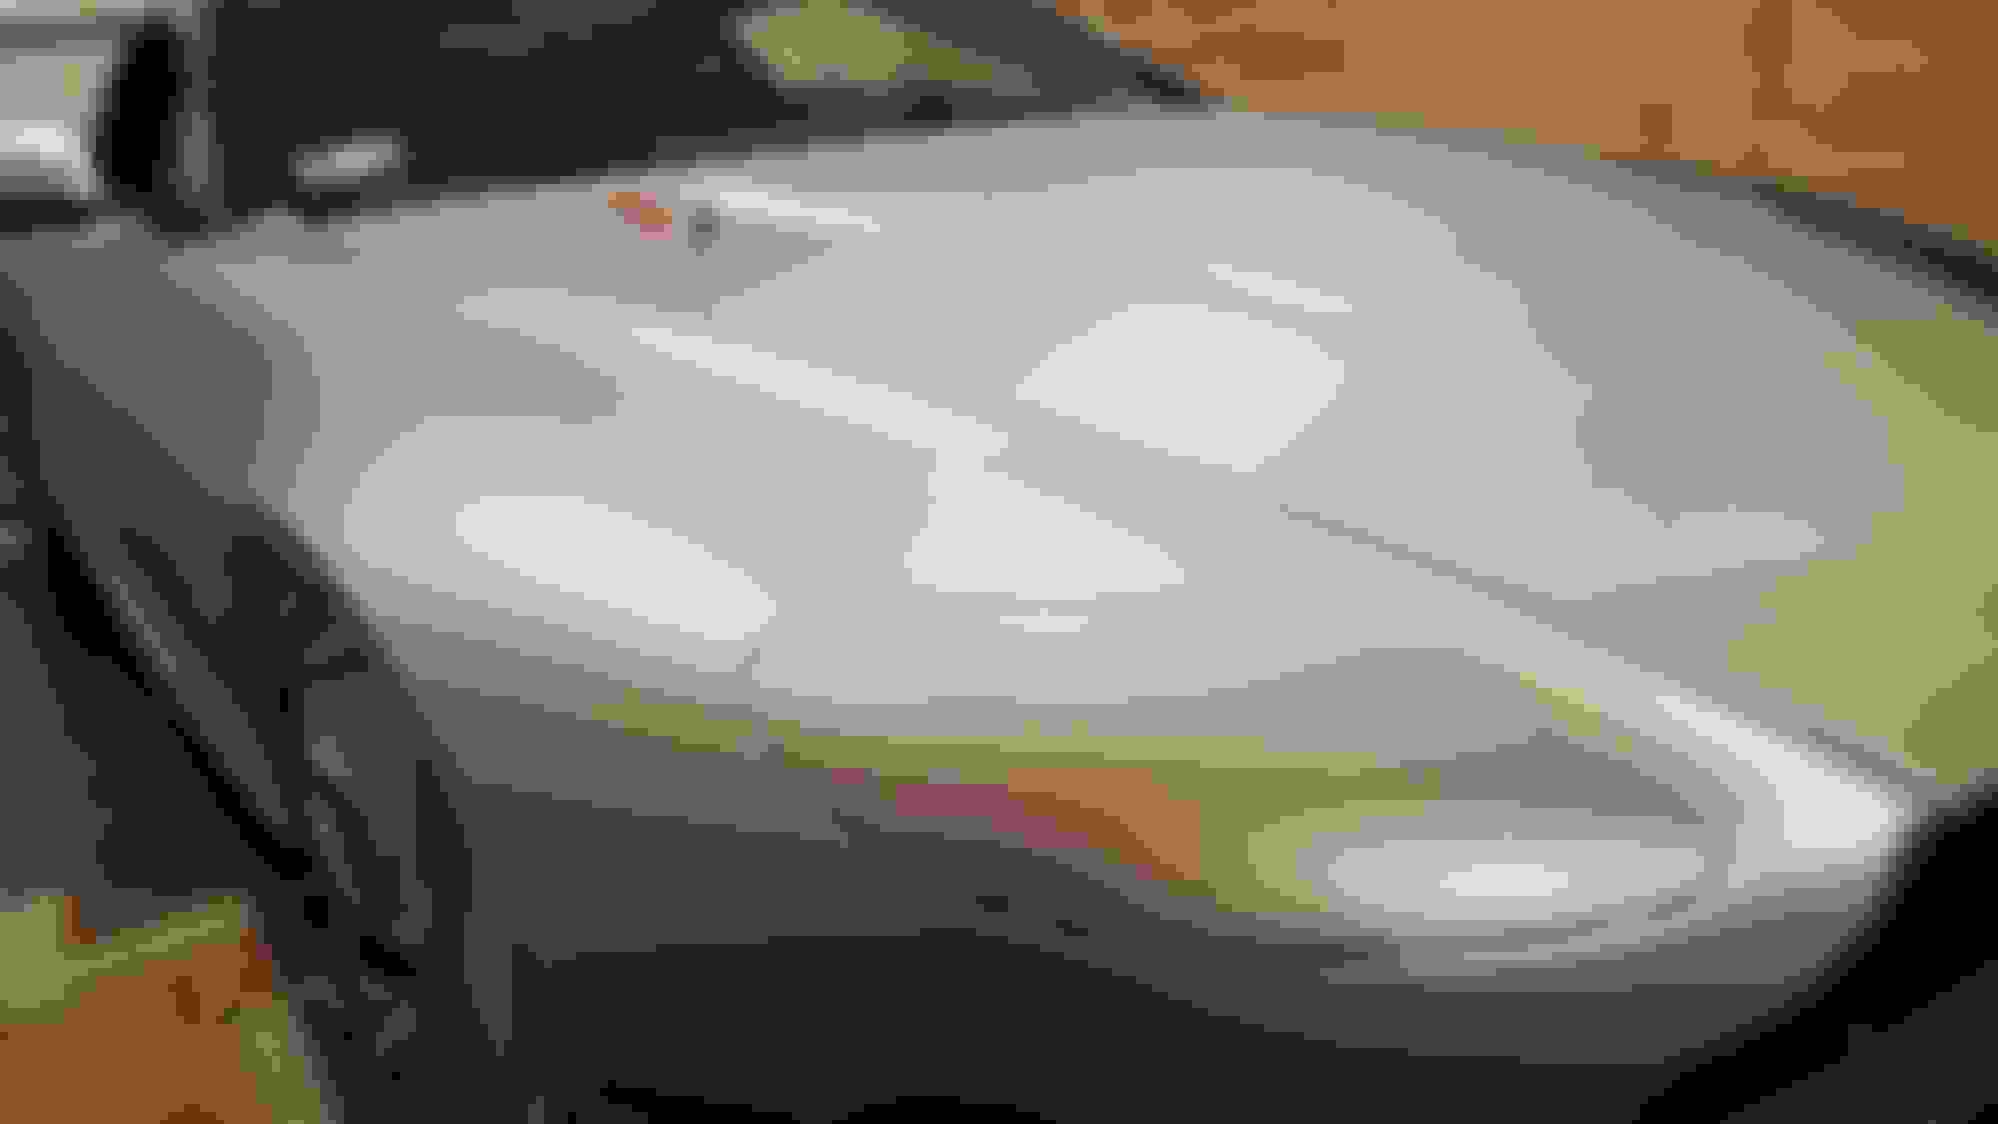
Then today I did the big kahuna, one of the rear quarterpanels, used 115 inches of material and obviously trimmed off a lot. The application was actually really easy, compared to the front fender. I have totally figured out the application part, but now am struggling more with the finishing and cutting. Application of this big piece took maybe an hour including prep - cleaning and taping. The finishing part took me two hours! I had issues with the trim at the top and along the window making it look nice was hard as you can't tuck the wrap under any weather stripping very easily and I didn't remove the chrome trim.
Pics
Best to put tape on opposite edges so when you cut you cut gently and don't cut on any paint application was pretty easy no bunching at all! here is it fully wrapped rear end wrapped part
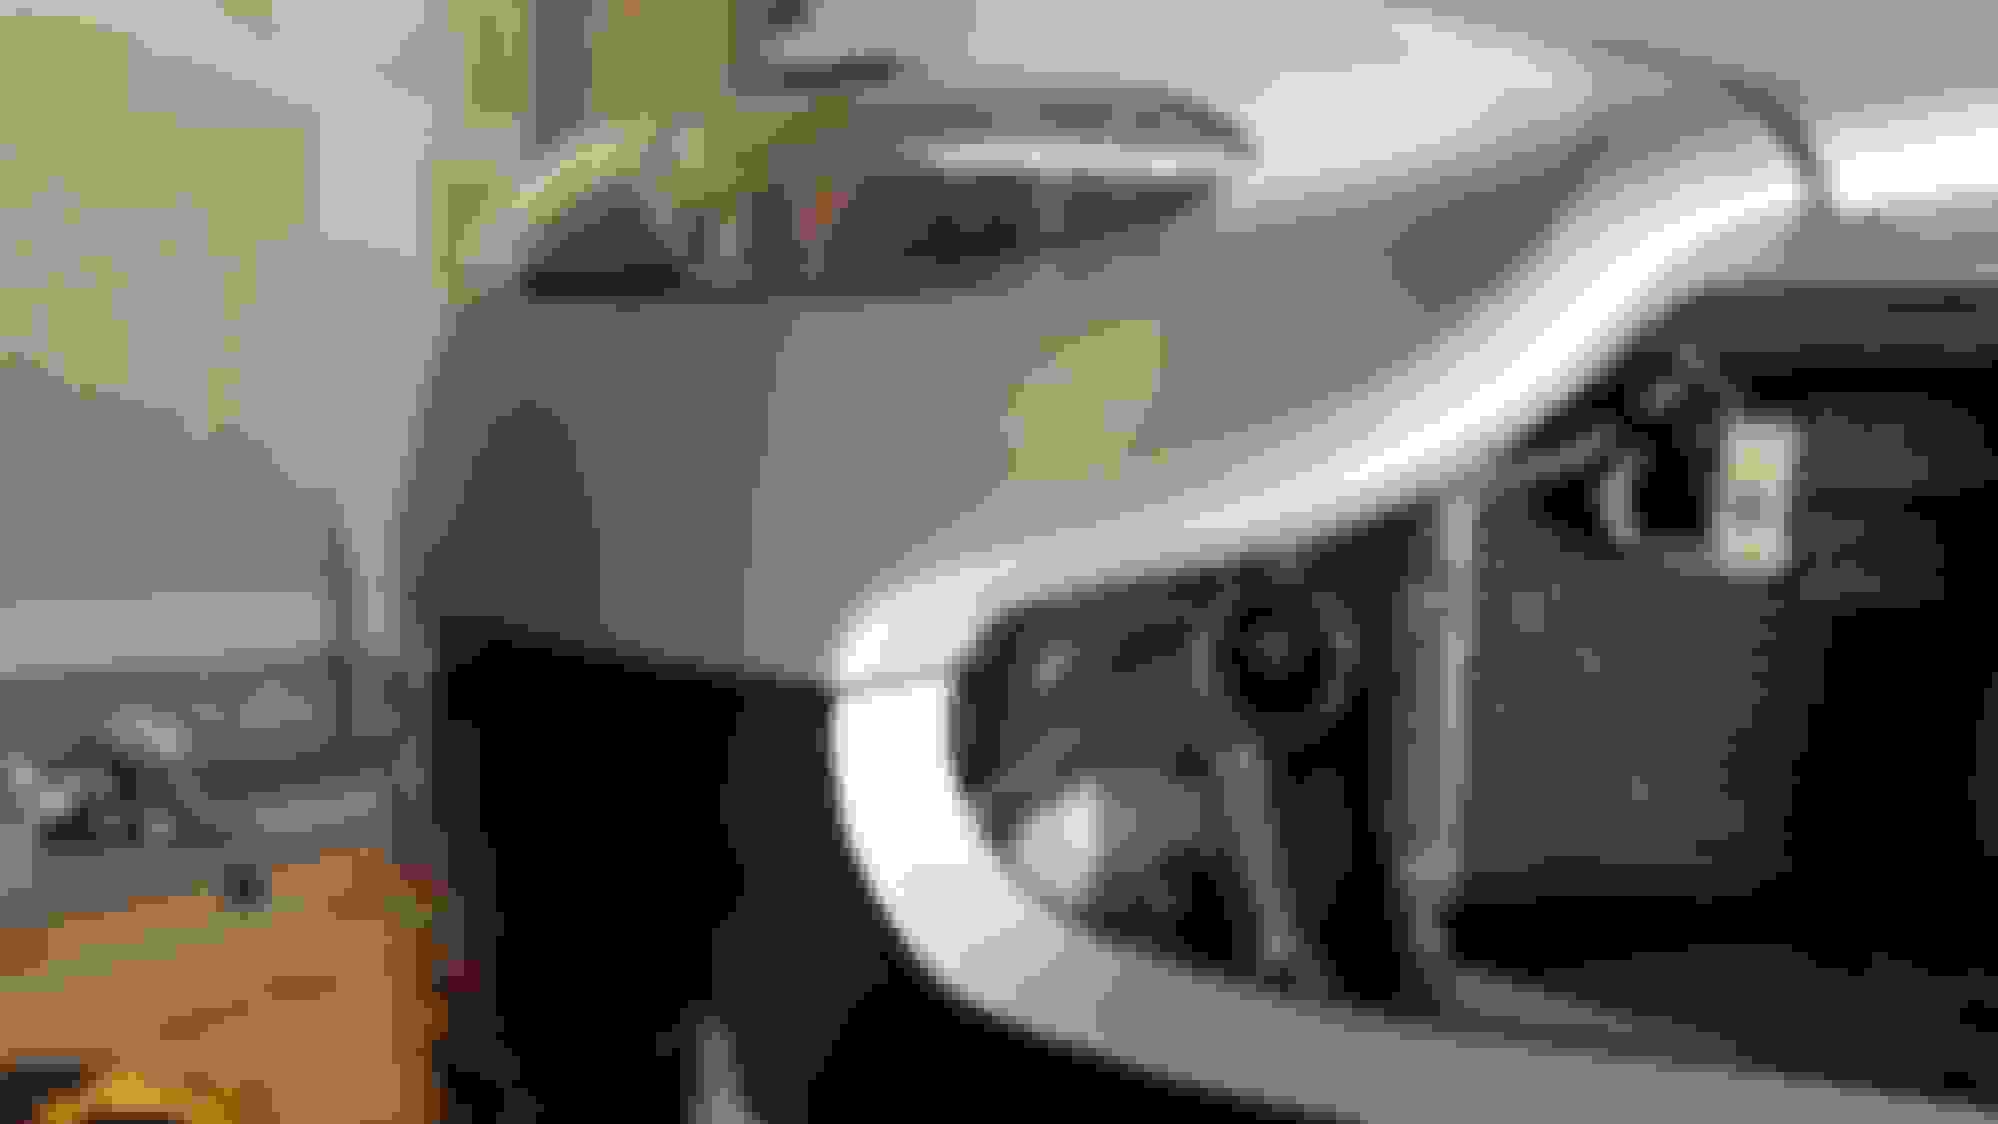
The biggest pain of the finishing touches was the pillar on the window side and the area around the chrome window trim, if you can take this off, do it! Will save you an hour at least, the rest of it was pretty straight forward, tucking the stuff into the weather stripping on the door was easy and the rear end, tail lights and hatch was surprisingly easy as well. Knifeless tape is key for the gutter on the roof of the car, make sure its pressed down very hard and the vinyl gets applied in there very well! roof was easy with knifeless tape, just make sure your vinyl is jammed into that crevice very well! door trim was easy wheel well was easy rear end looking good!
Really enjoying this thread. We're going to try to wrap one of our work vehicles in a week and I'm having my guys follow this thread for tips and such.
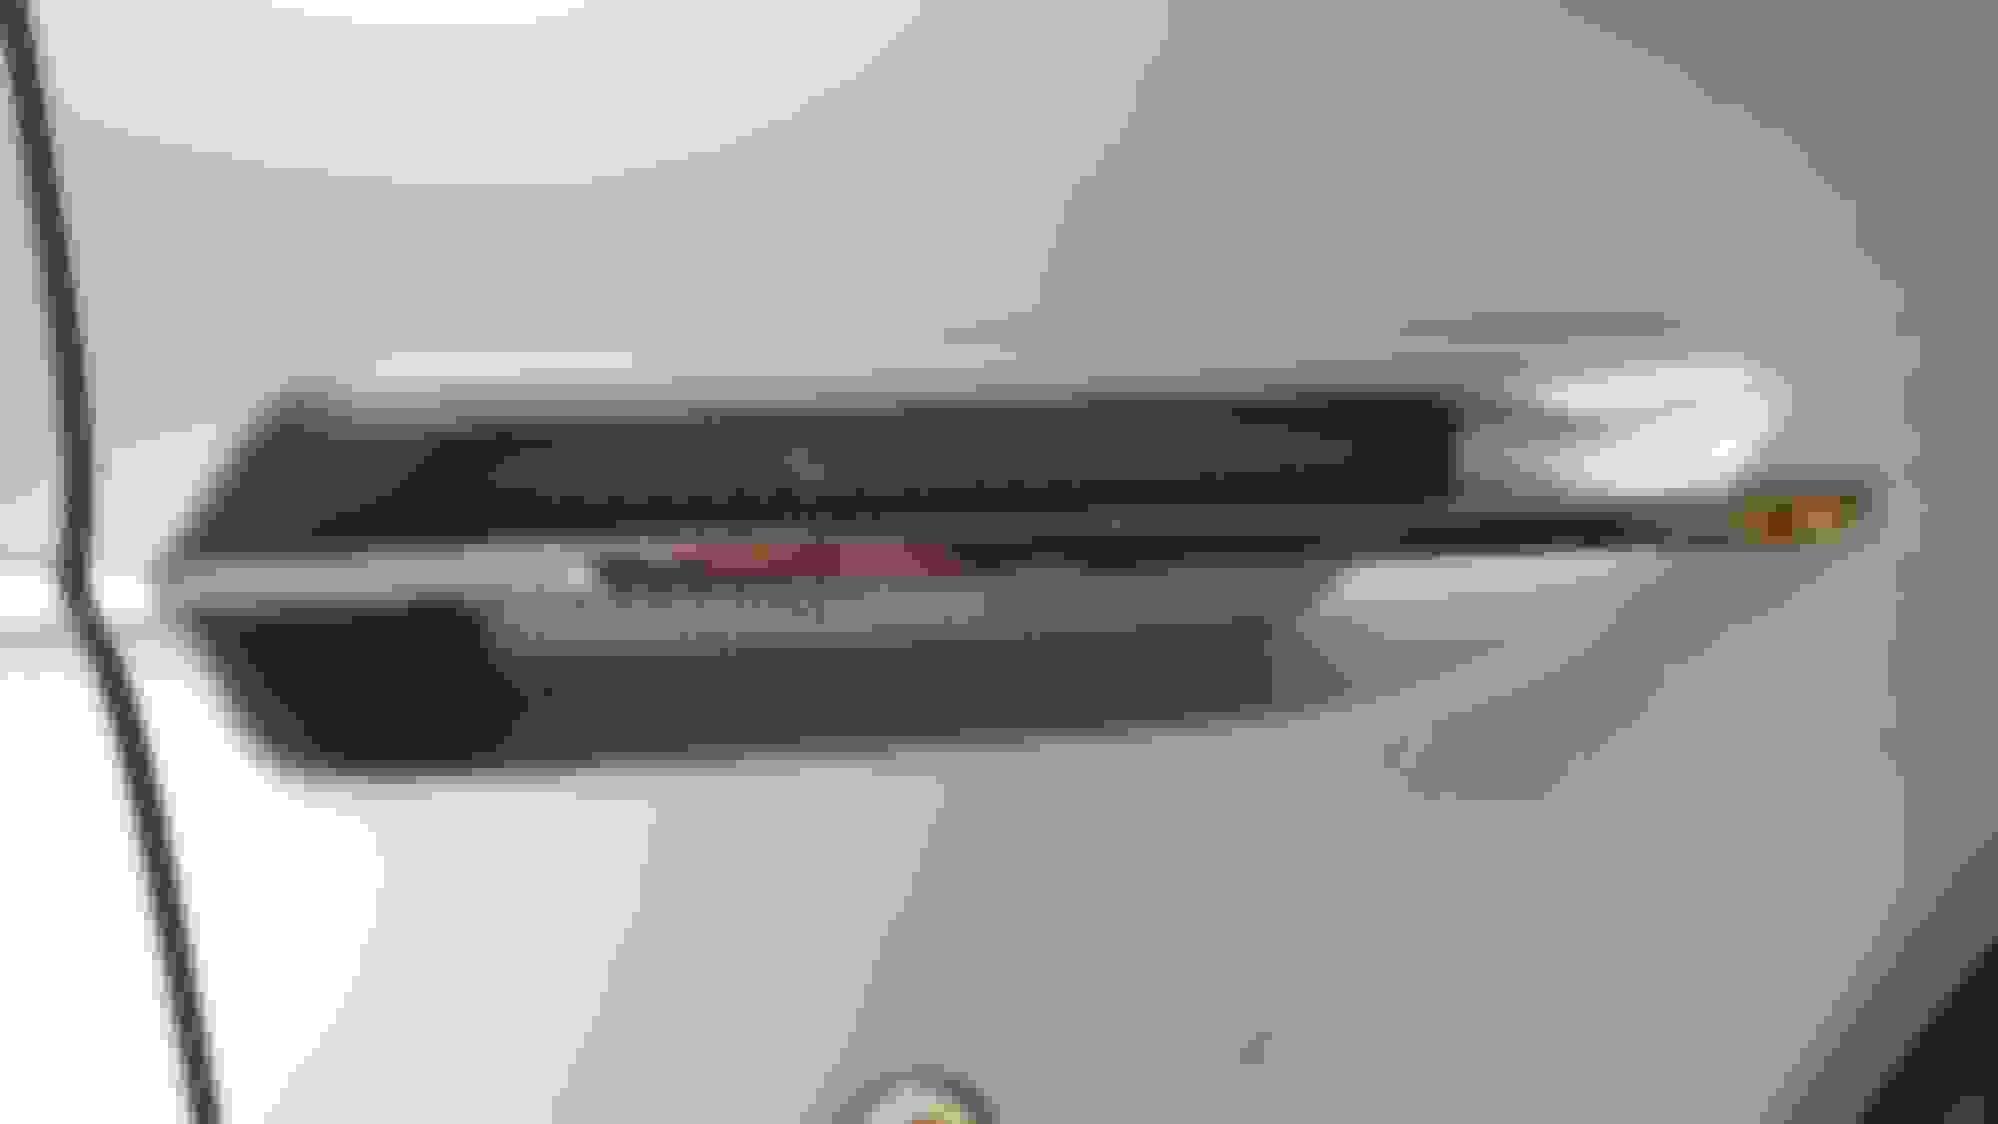
nice job but don't do the headlight washer cover: keep it as it is since it compliments the headlamp lines better from a contrast perspective. my 2 cents :-)
nice job but don't do the headlight washer cover: keep it as it is since it compliments the headlamp lines better from a contrast perspective. my 2 cents :-)
Interesting, I'll have to test it out to see which way I like better, it is removable after all!
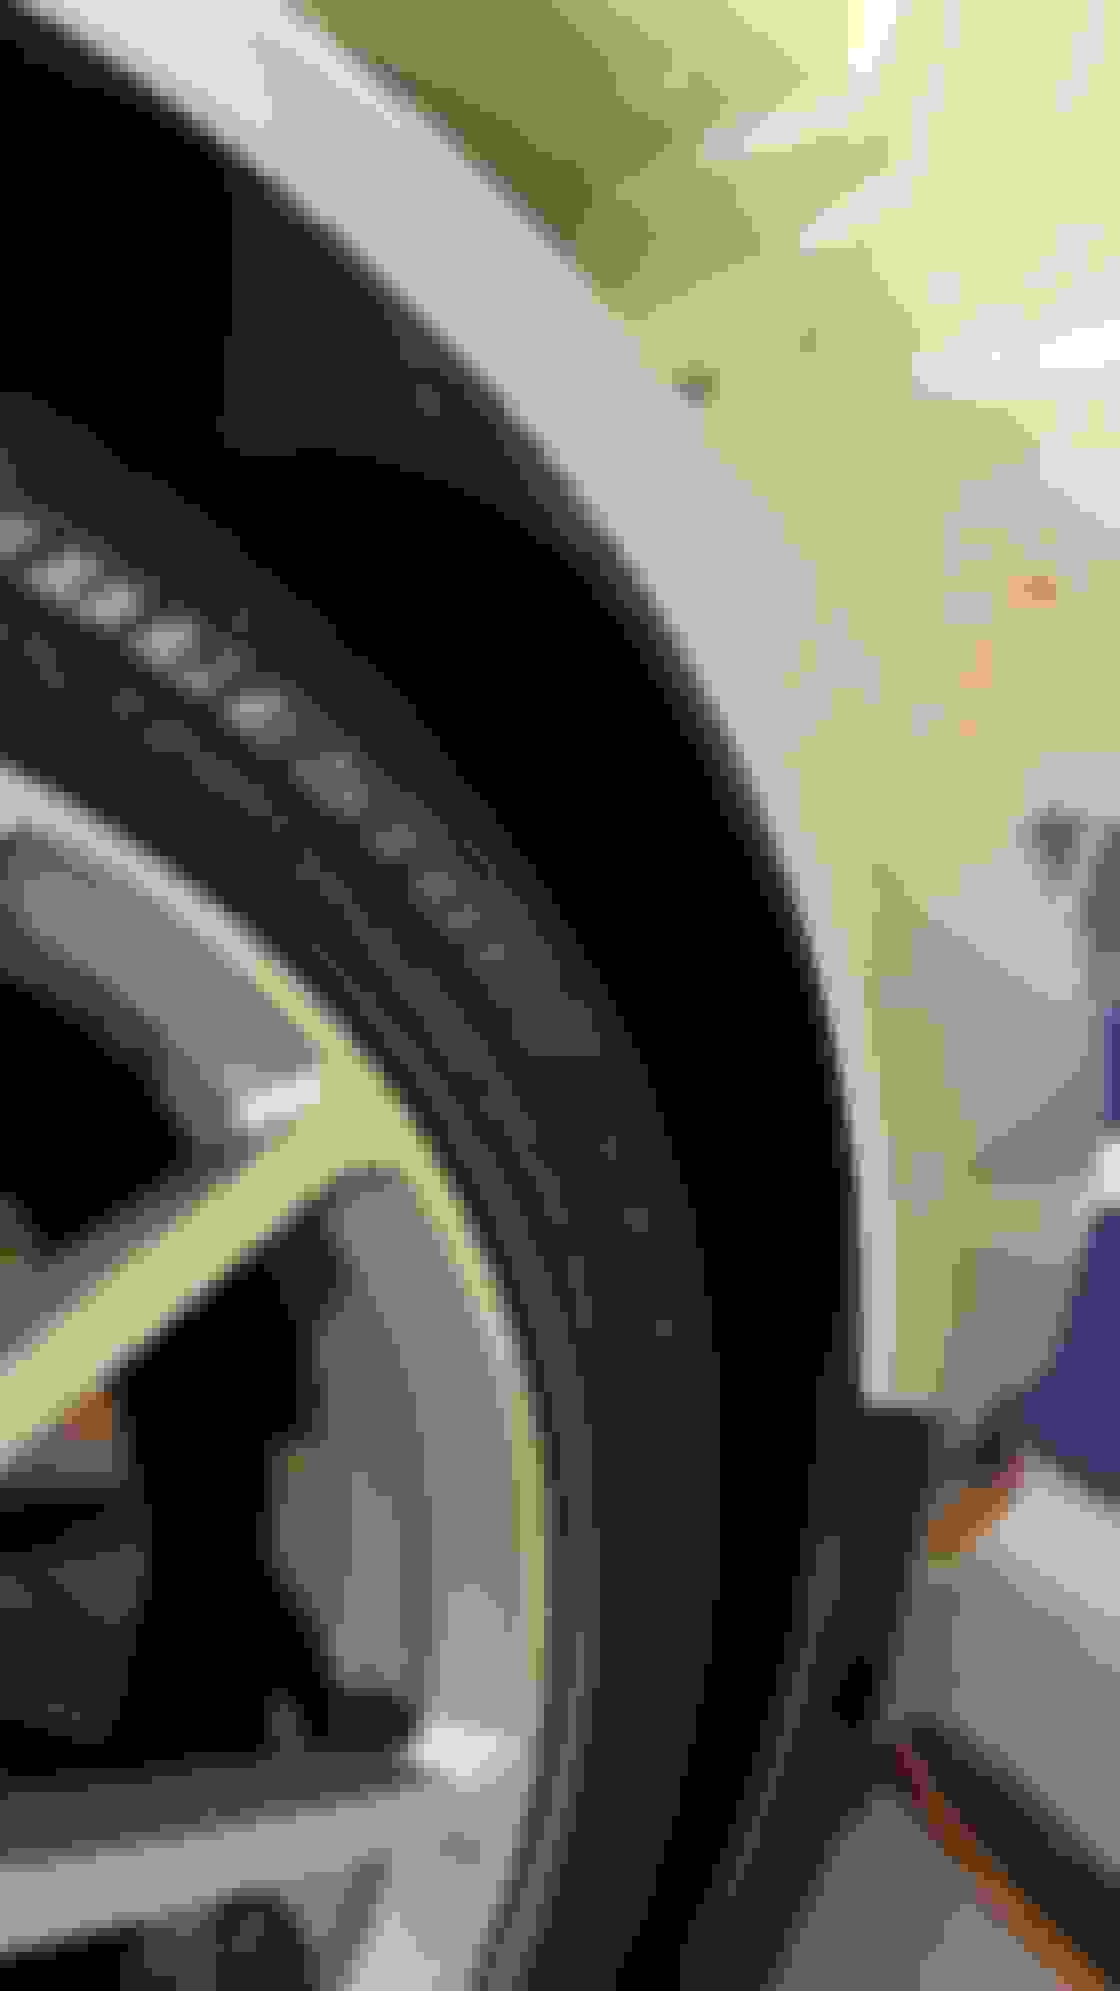
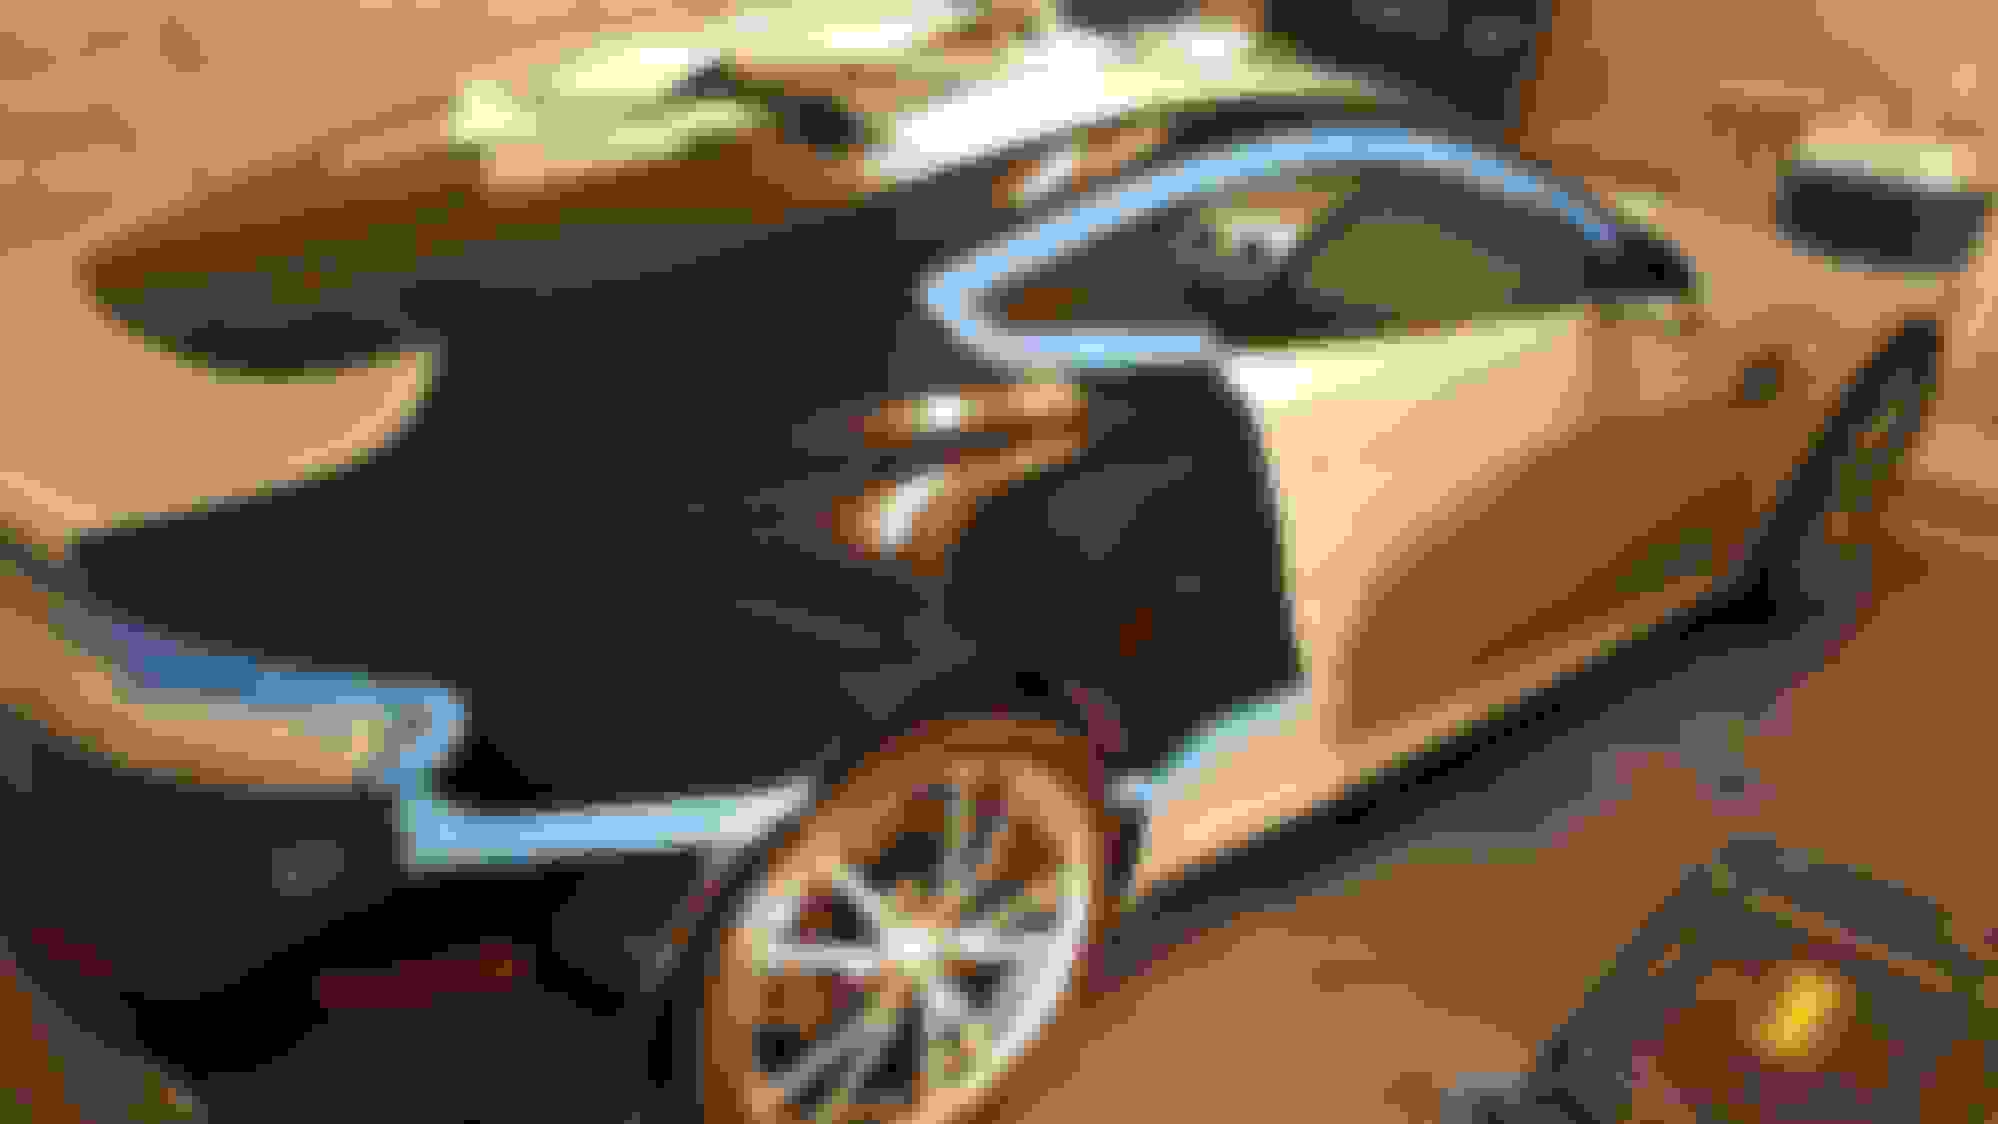
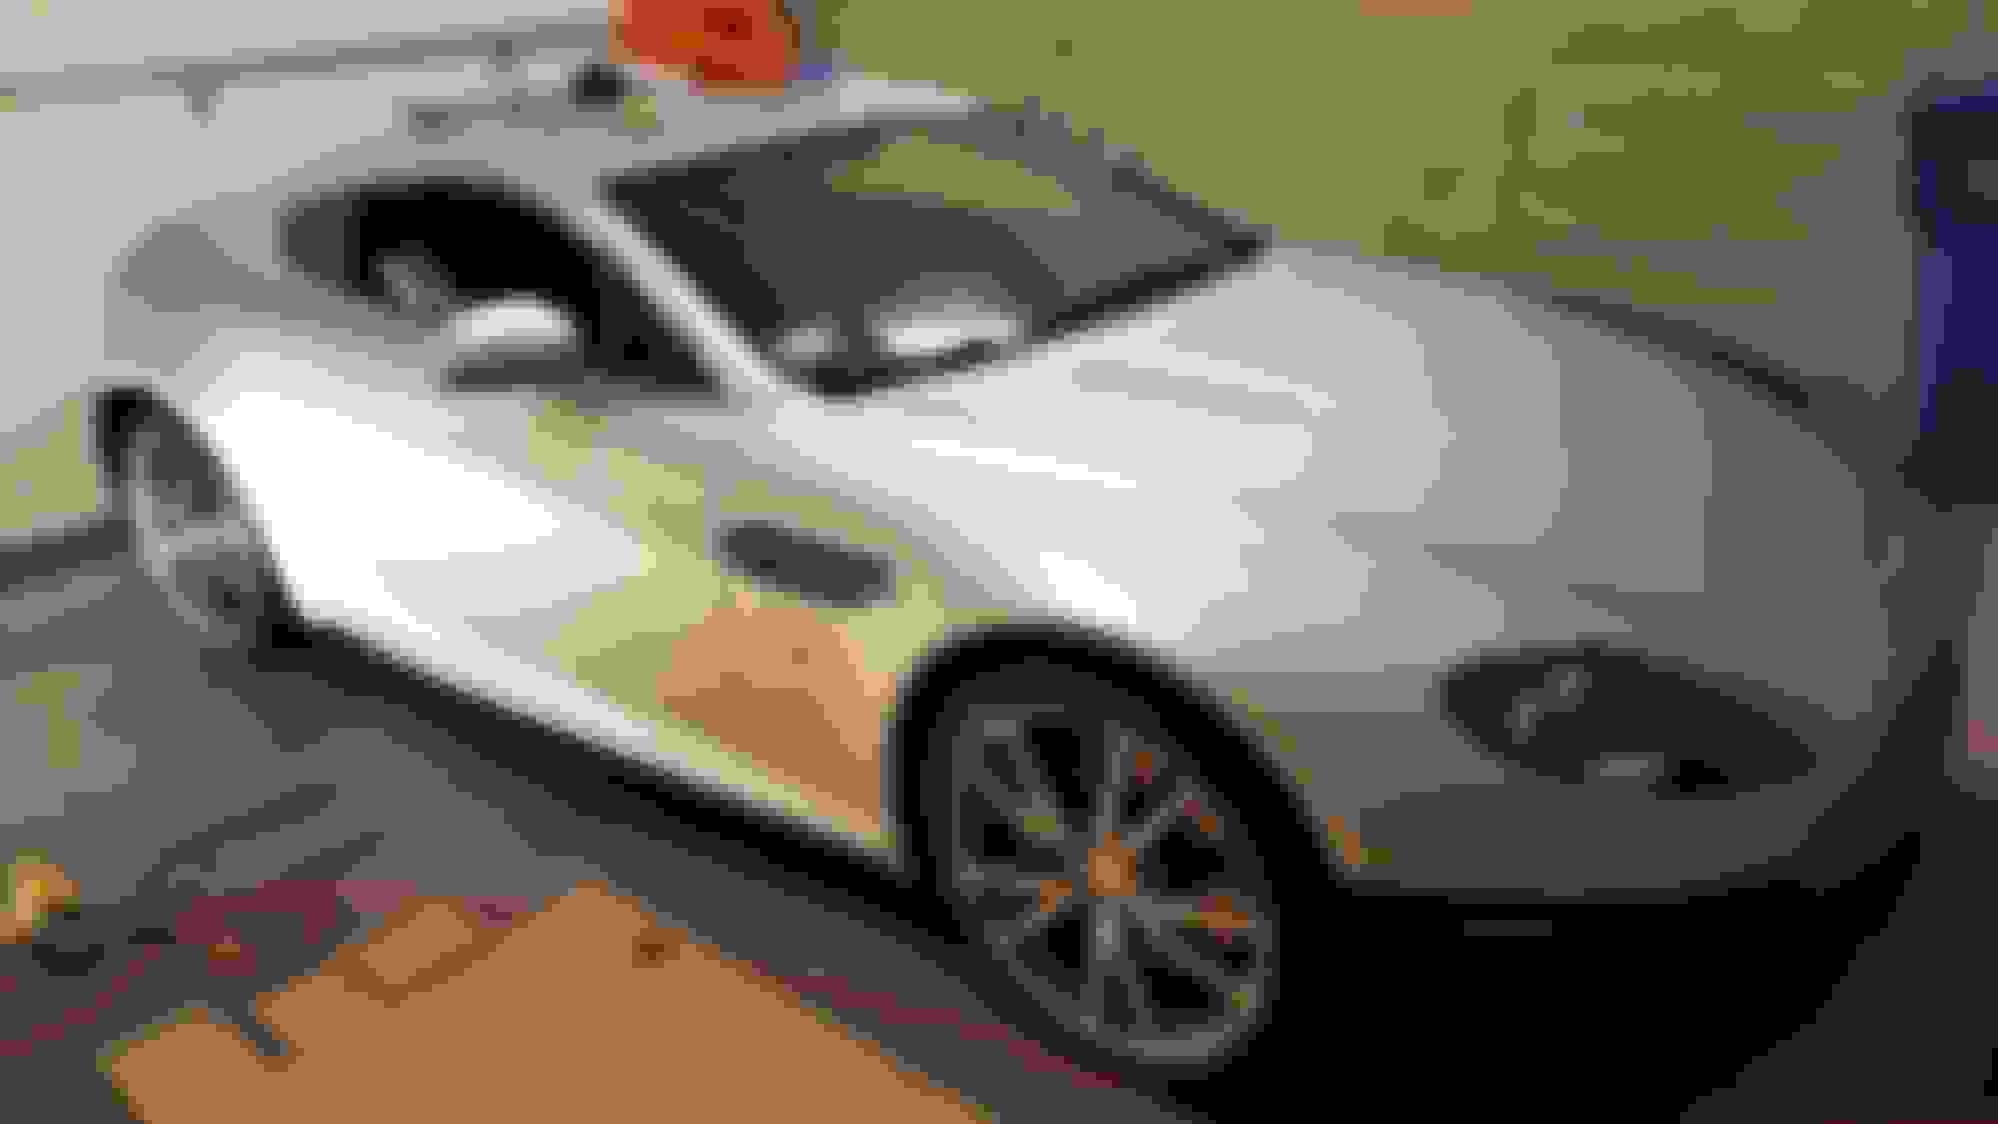
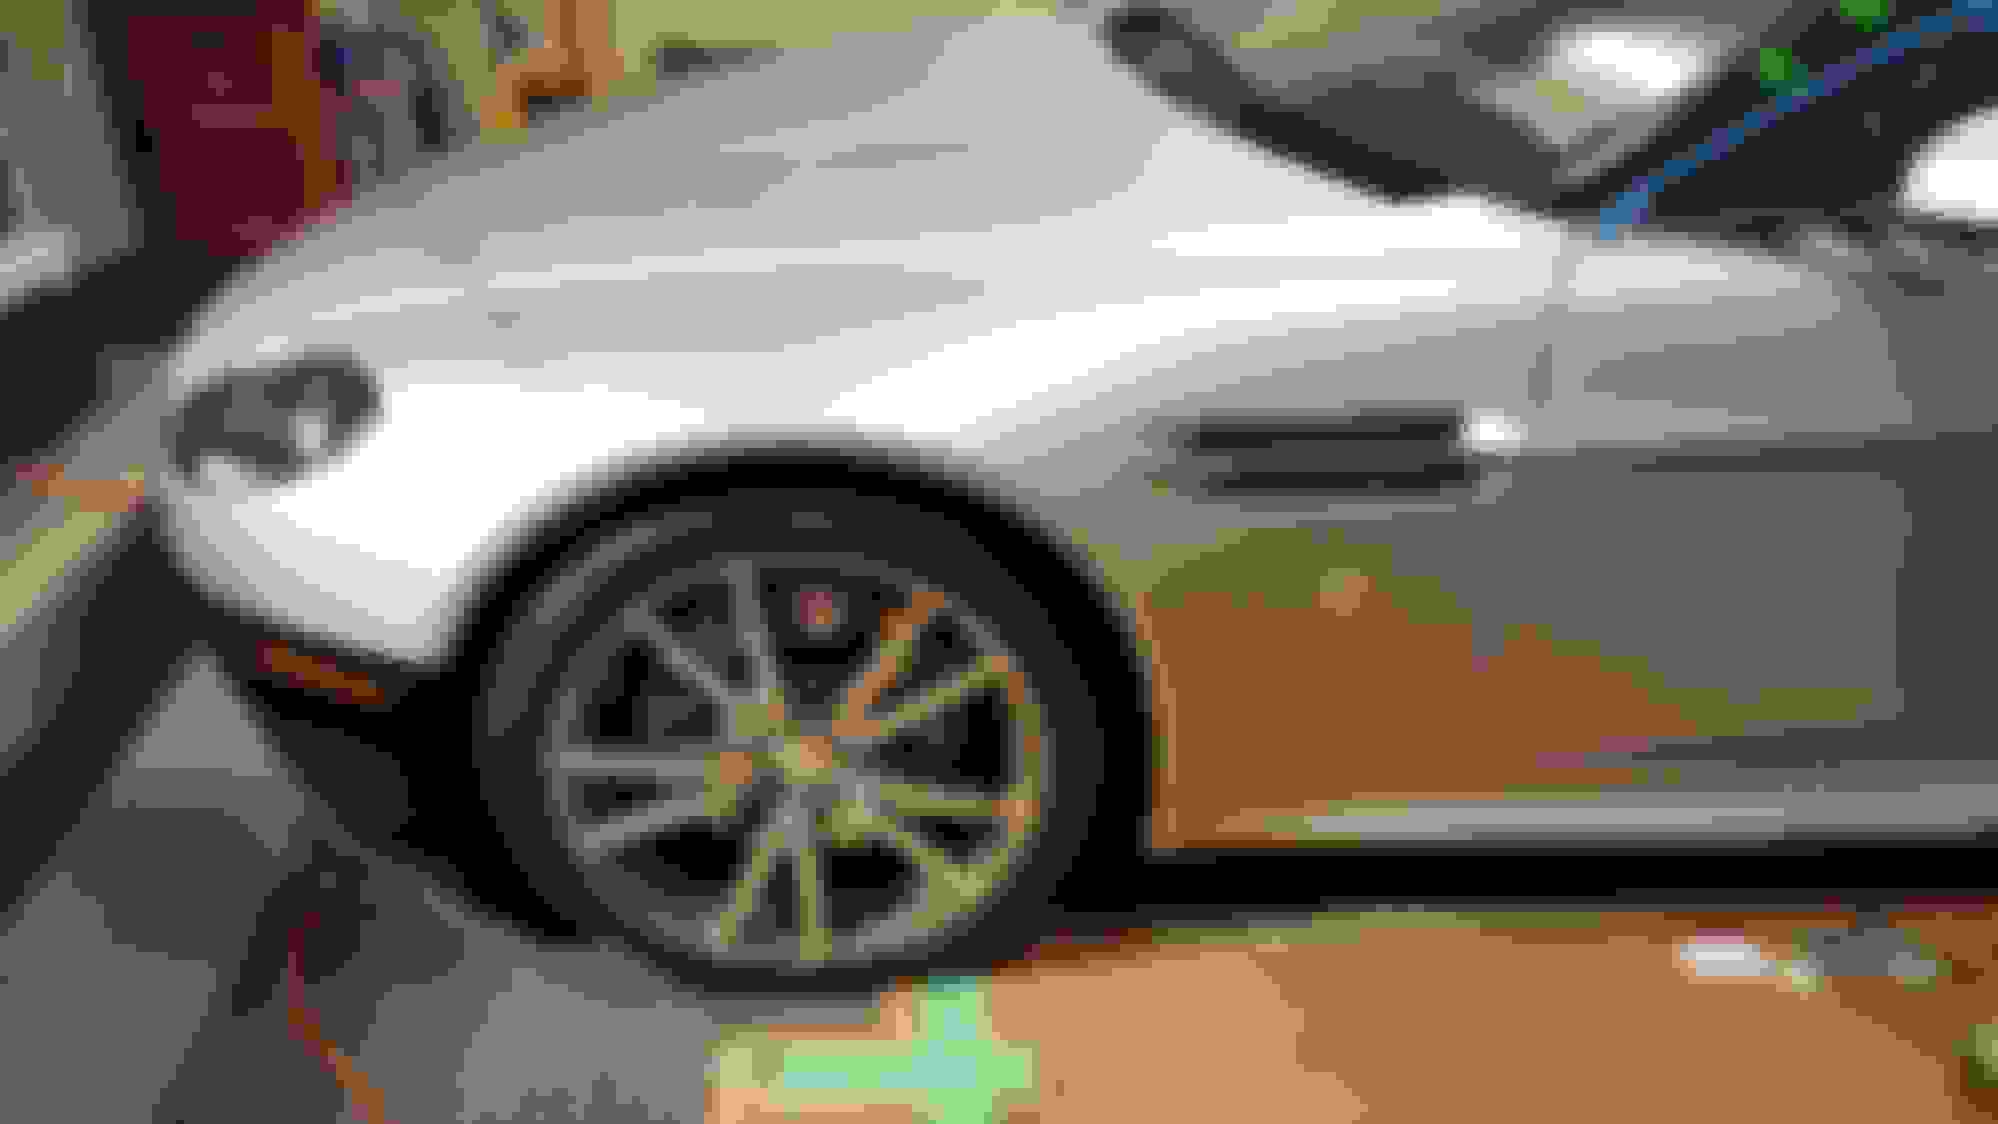
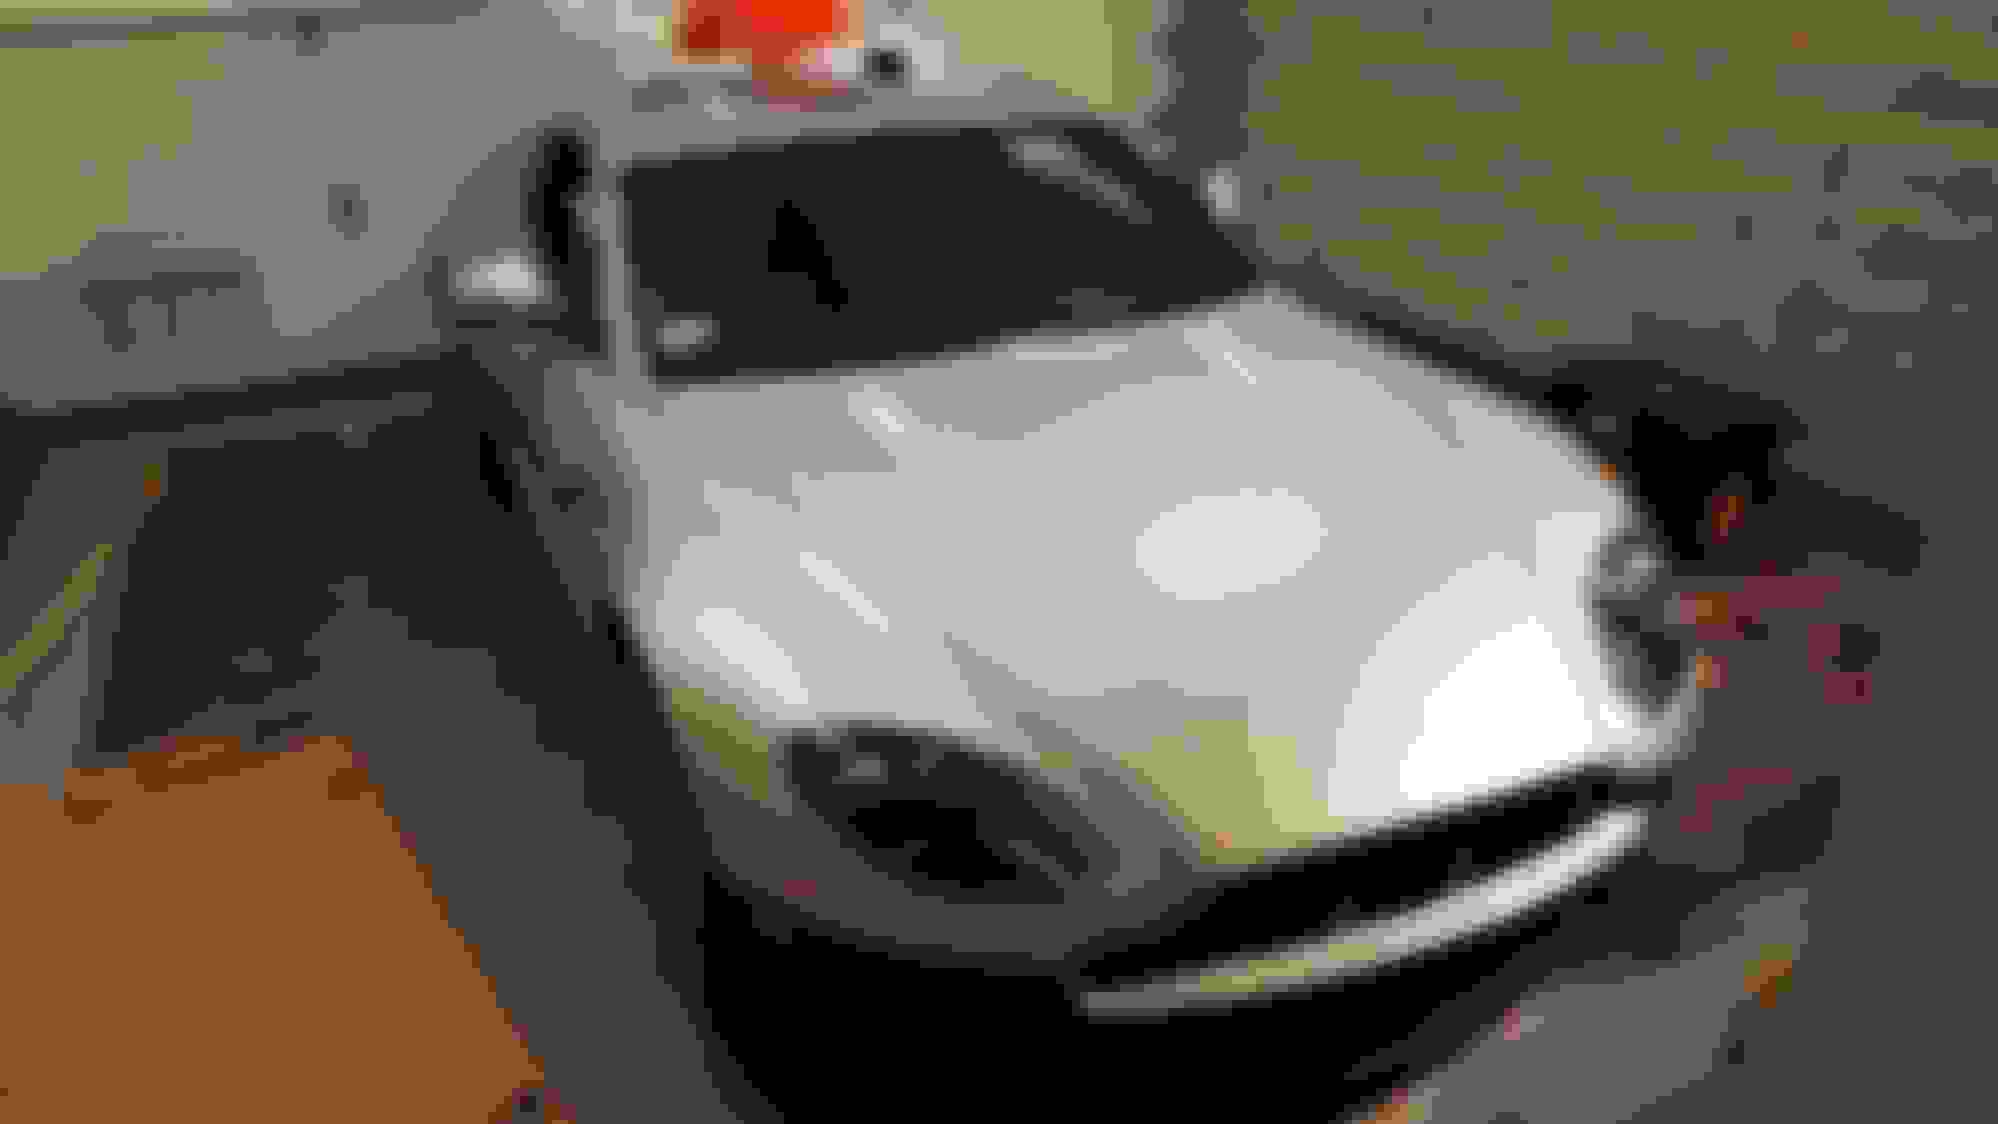
Alright since i had time, I did the other front fender instead of the other rear quarter panel... yeah its still far and away the toughest panel on the vehicle by a long shot. Takes forever to do the finishing touches perfectly but I did just that this time! Edges, corners, seams everything is fantastic. There was also no bunching this time at all, I figured out how to use the heat gun to avoid that sort of thing, very helpful! Also another tool you really really really need for this job is called a micro squeegee, I'll link one here and in the first post. Since the car is put together so tightly you really need something like this to help jam the material between gaps and in the little crevices its a life saver and I wouldn't be able to do this as well without it! https://amzn.to/2DXuJpC
So yeah this took about 5 hours in all but it is done nearly perfect.
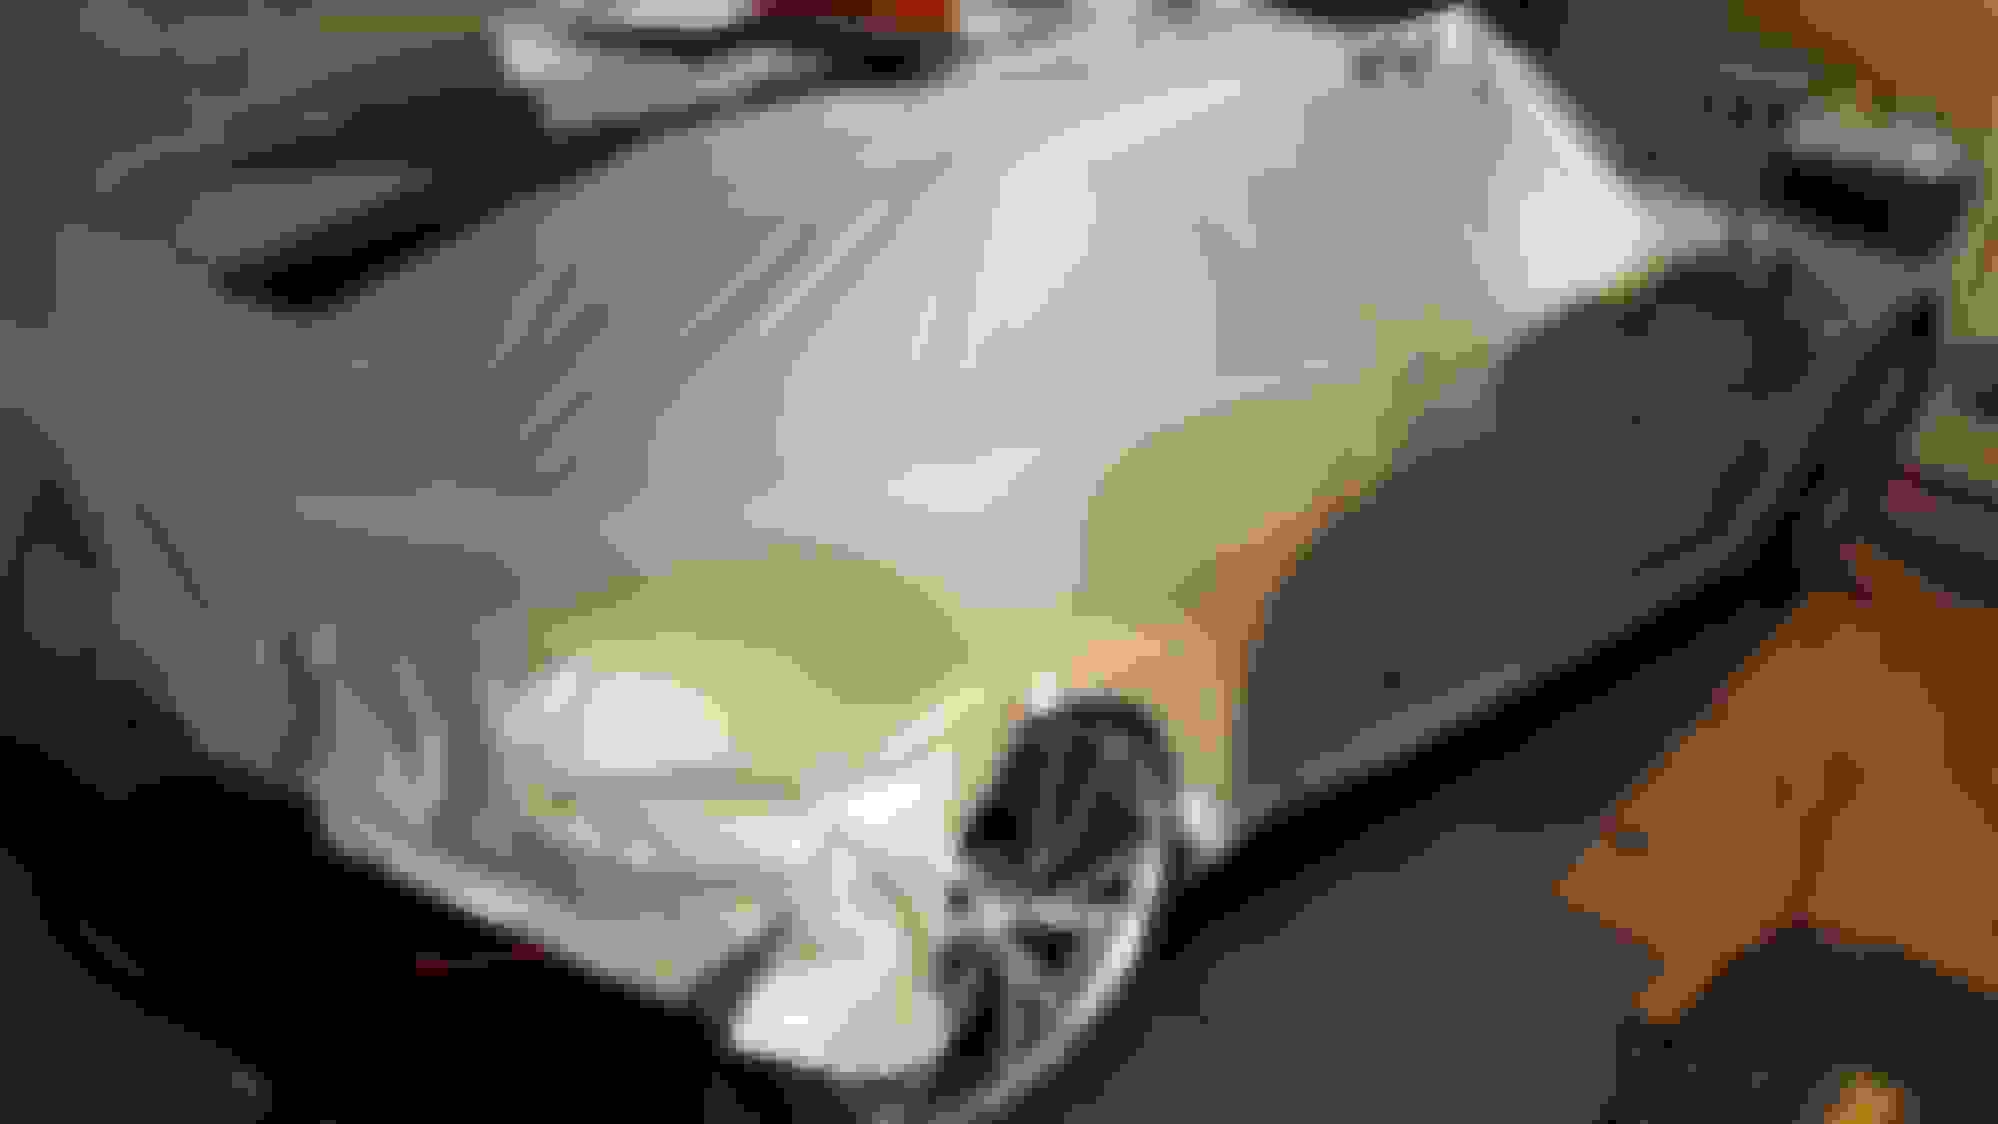
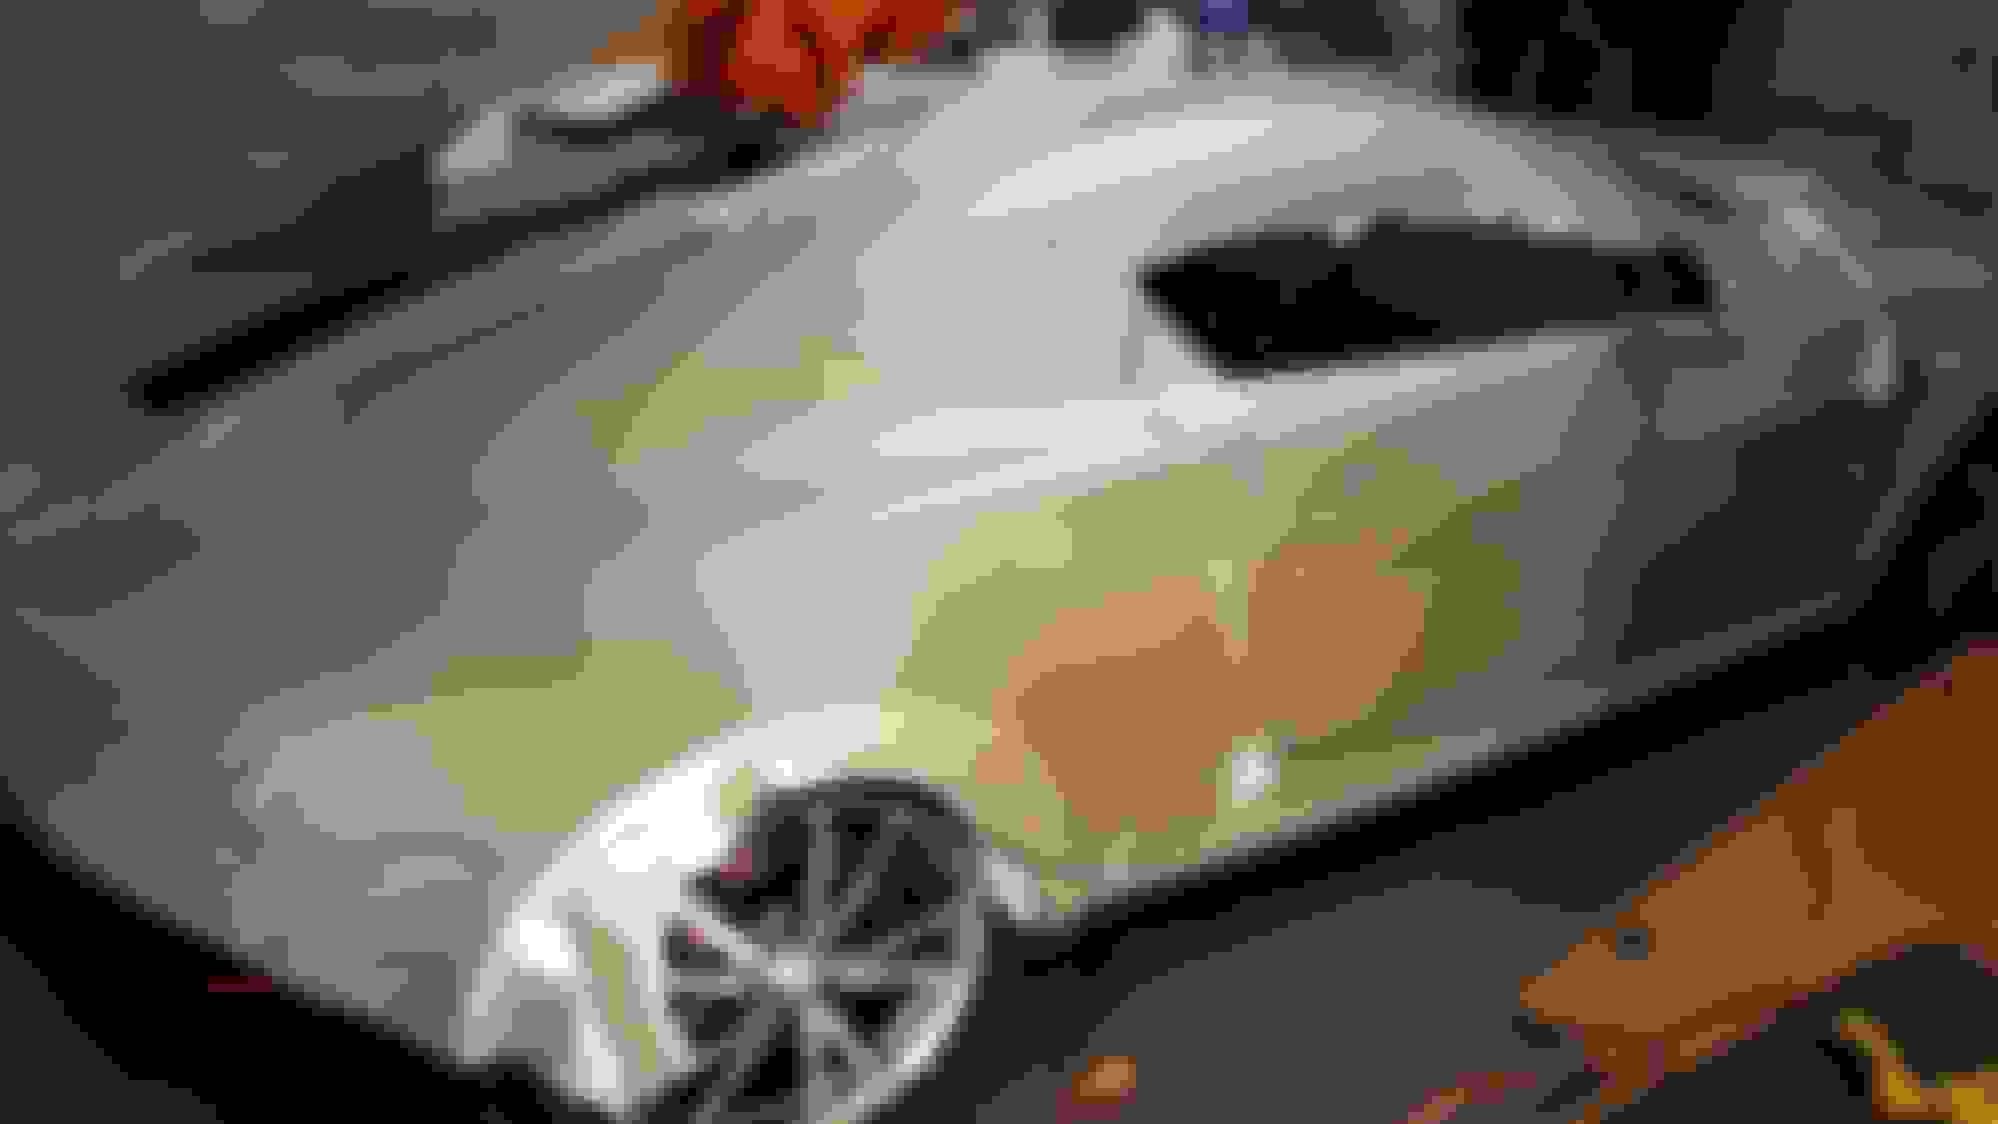
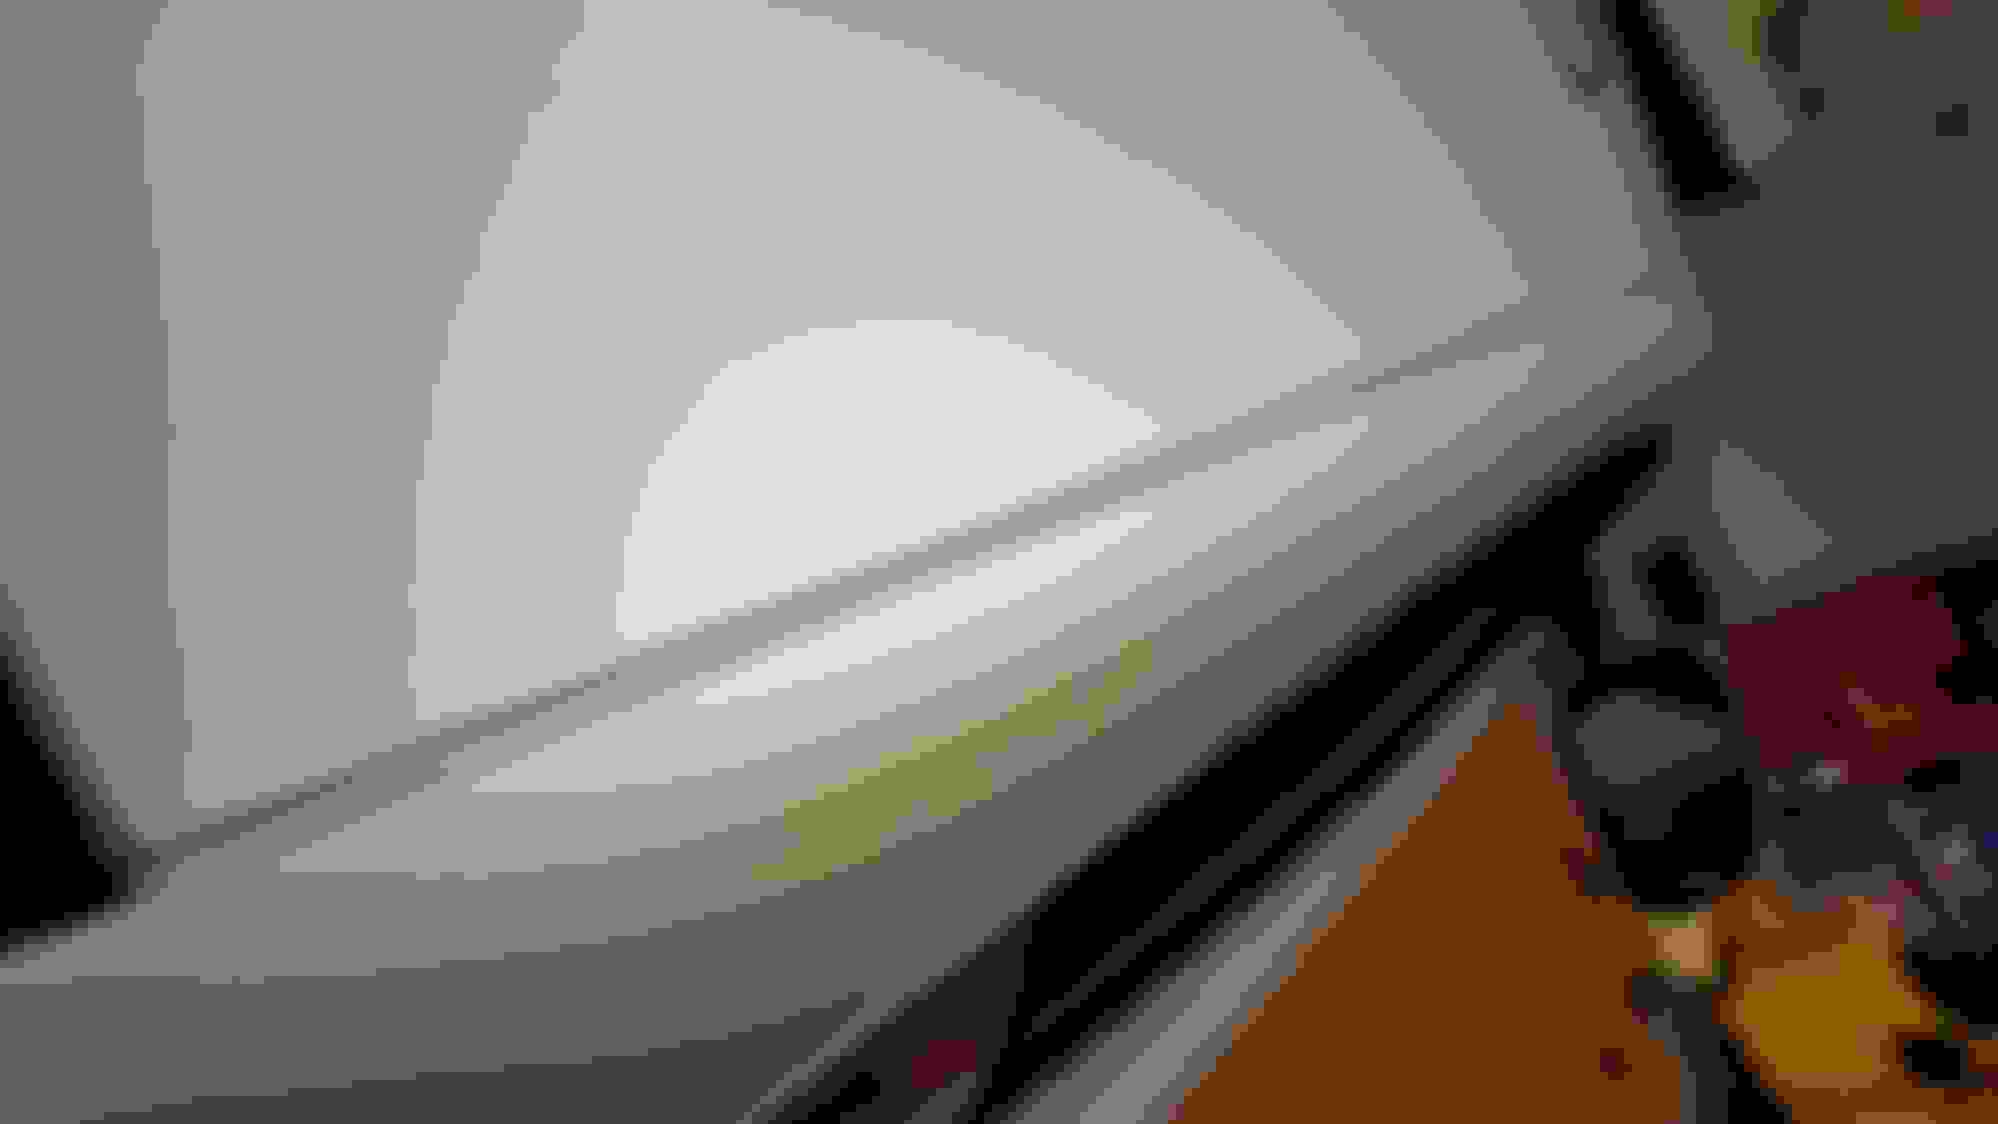
one very curvy piece no bunching! my corner game and edges was really good here did the rubber seam between the fender and the hood perfect, also the area around the headlamp, micro squeegee is ideal for these parts from above side view 3 panels left, almost finished!
hopefully i can "wrap up" this project by the end of next weekend!
Soon as its done going to hit up Rich for those clear side markers and i'll be all finished for driving season!