

DIY Dectane Module Installation

Thread Starter
|
Registered User
Joined: Aug 2007
Posts: 1,364
From: Hawaii
Rep Power: 116


DIY Dectane Module Installation
Ok, finally got around to installing the Dectane Module. Took some pix to give some members out there who are more visually oriented, an idea of how I went about in installing it.
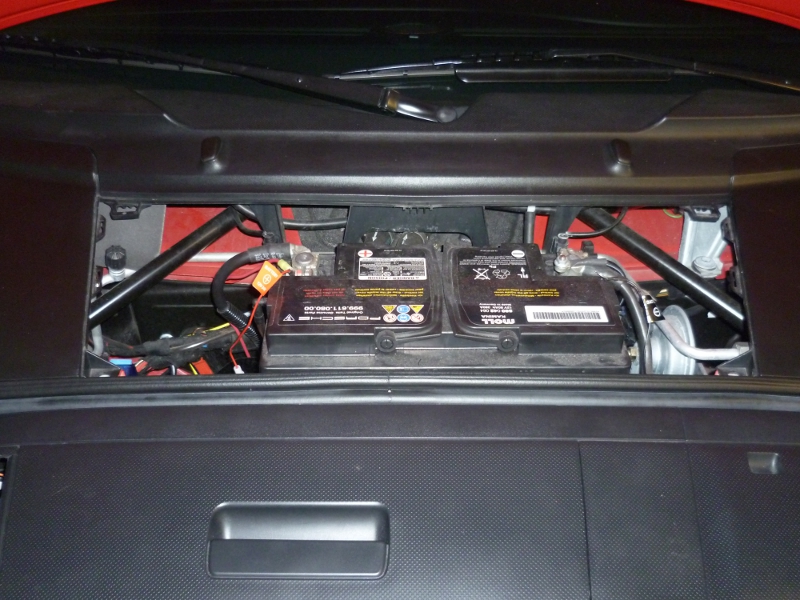
Remove the Battery Access Panel
Remove the Rubber Seal around the trunk
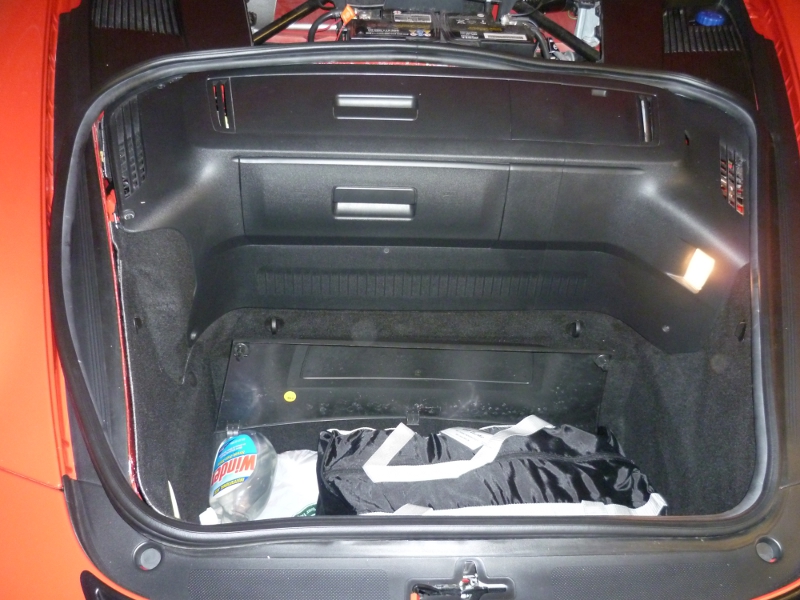
Locate the 8 screws that hold the panel that houses the Multidisc CD Player or Nav Unit and remove them with a Phillip Screwdriver. Remove the panel thereafter.
Locate and pull out the tabs that hold the carpeting on both sides. I find that the easiest way to do this is turn the tab to vertical and slide my hand behind the carpeting and push out the tab with the carpeting.
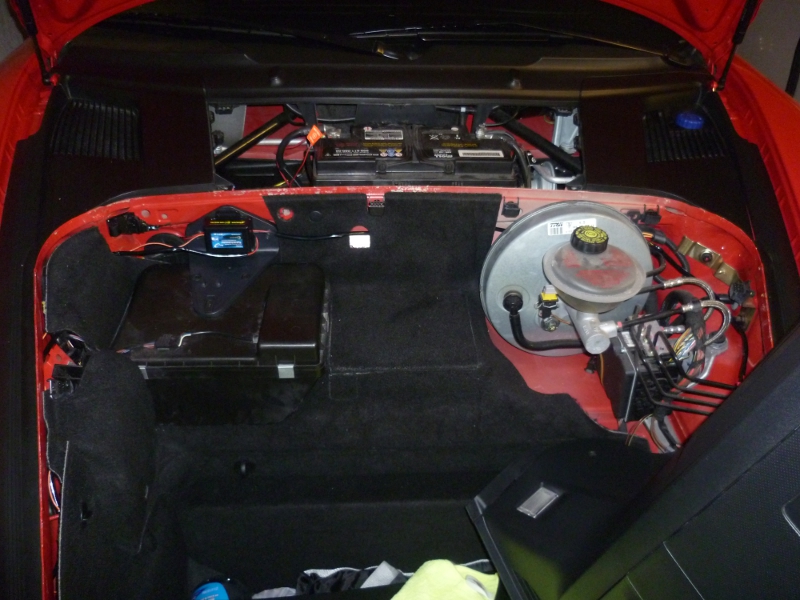
You should now have something that looks like this
Remove the Battery Access Panel
Remove the Rubber Seal around the trunk
Locate the 8 screws that hold the panel that houses the Multidisc CD Player or Nav Unit and remove them with a Phillip Screwdriver. Remove the panel thereafter.
Locate and pull out the tabs that hold the carpeting on both sides. I find that the easiest way to do this is turn the tab to vertical and slide my hand behind the carpeting and push out the tab with the carpeting.
You should now have something that looks like this
Thread Starter
|
Registered User
Joined: Aug 2007
Posts: 1,364
From: Hawaii
Rep Power: 116
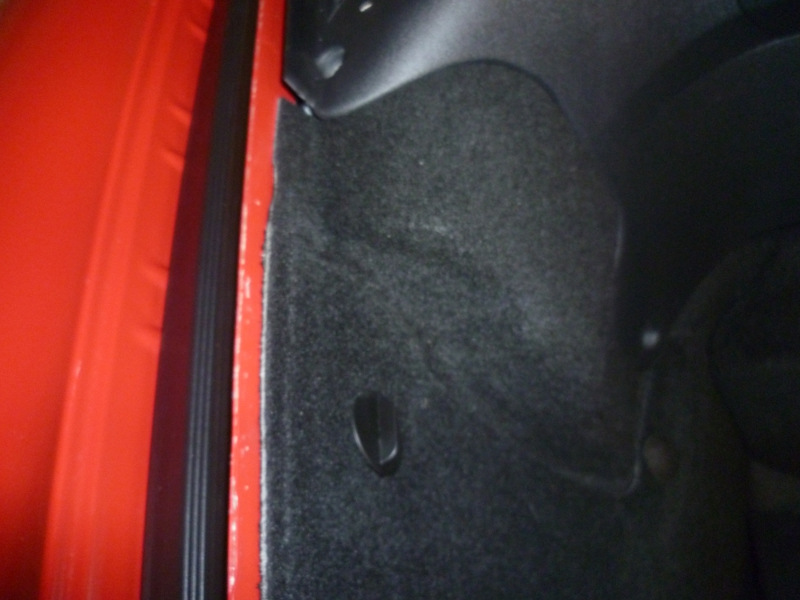
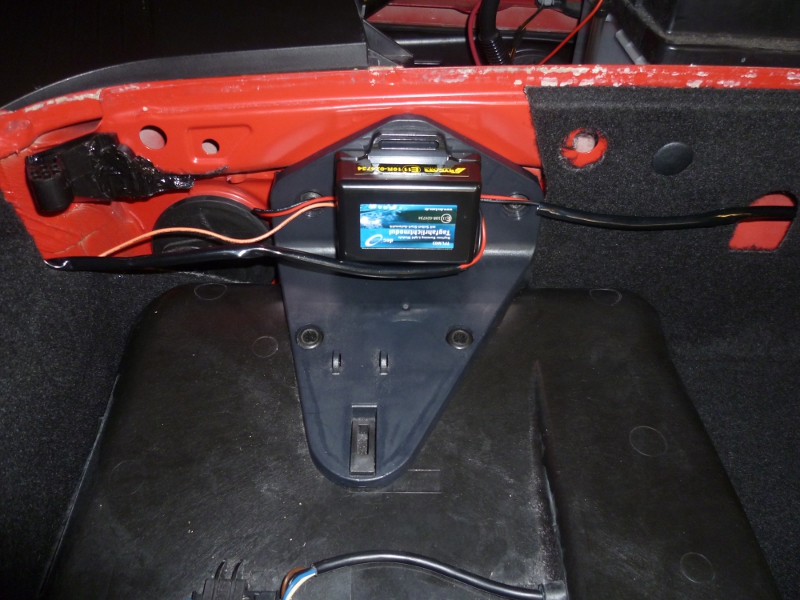
Next, you'll notice a triangular piece of plastic where I use to attach the Dectane Module with the provided sticky pad. Remove this piece with a Hex screwdriver, removing the 2 screws holding the piece to the wall behind it.
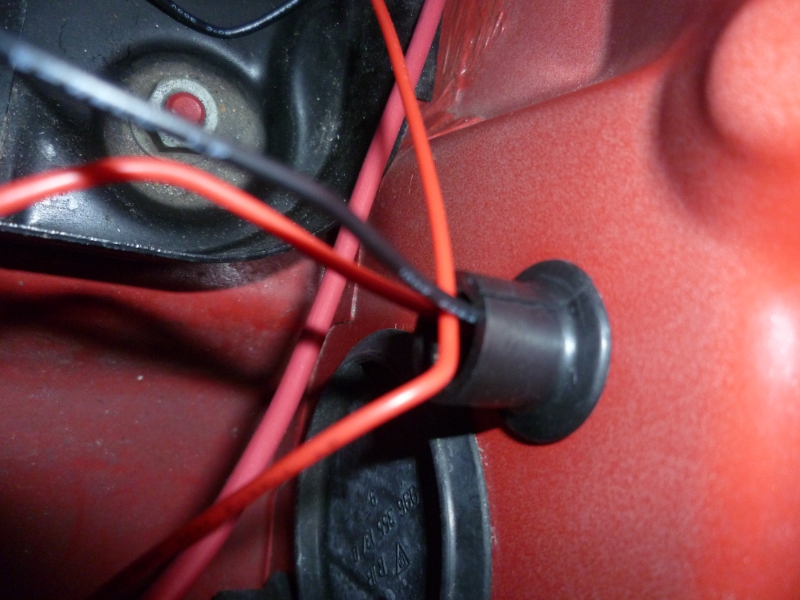
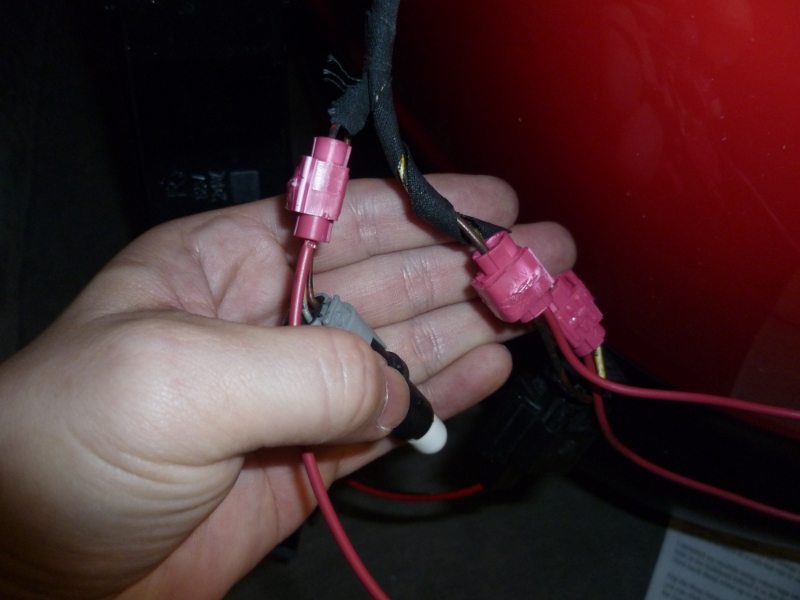
After removal of the triangular plastic piece, you will find a large and small circular rubber grommet separating the 2 compartments. Pull out the smaller grommet and thread the Positive and Negative wires through the hole and into the battery compartment area. Make a slit in the grommet to allow the wires to go through when the grommet is replaced back in the hole. It should look like this: Note: The Fuse Holder connected to the (+) wire will fit through the hole if you twist the cap off. This will separate it into 2 pieces. The bottom piece will go through the hole with ease. The top piece,will just be brought over and reattach to the bottom piece again.
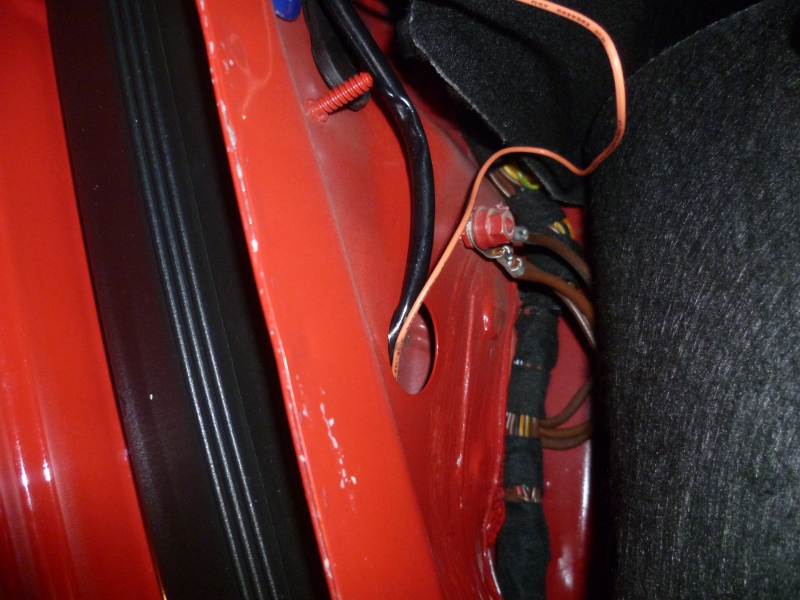
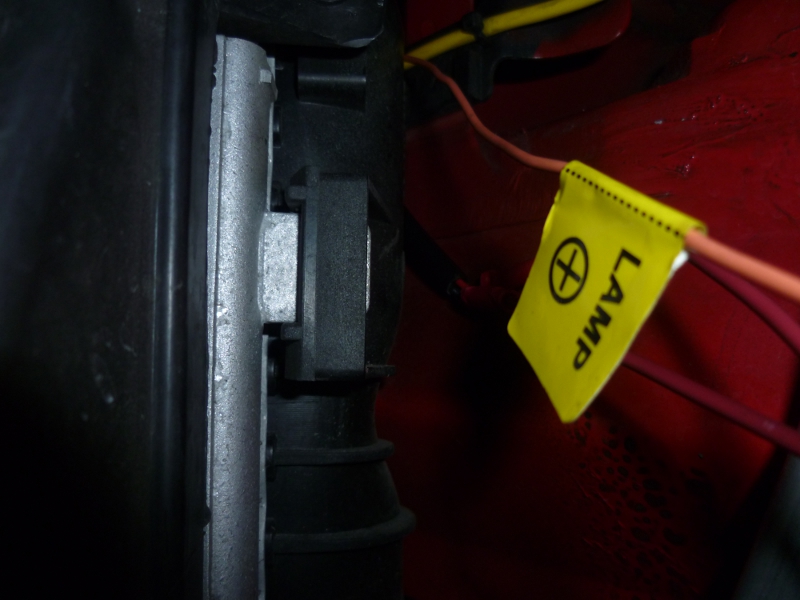
Now, turn your attention to routing of the wires to the holes near the headlights as shown. Look at the pix showing the Module to get an idea of how you can route the wires. Thread the wires through this hole on both sides and you will see them coming through and reaching the front LED compartment areas as shown. Remember, before doing this, you should have already spliced additional wires to the Black & Red wires, as well as the Orange wire to allow them to reach the front LEDs.
Follow TT2911 instructions for tapping the wirings.
After this, connect the (+) and (-) wires to the battery. Put everything back and enjoy your DRL functions.
After removal of the triangular plastic piece, you will find a large and small circular rubber grommet separating the 2 compartments. Pull out the smaller grommet and thread the Positive and Negative wires through the hole and into the battery compartment area. Make a slit in the grommet to allow the wires to go through when the grommet is replaced back in the hole. It should look like this: Note: The Fuse Holder connected to the (+) wire will fit through the hole if you twist the cap off. This will separate it into 2 pieces. The bottom piece will go through the hole with ease. The top piece,will just be brought over and reattach to the bottom piece again.
Now, turn your attention to routing of the wires to the holes near the headlights as shown. Look at the pix showing the Module to get an idea of how you can route the wires. Thread the wires through this hole on both sides and you will see them coming through and reaching the front LED compartment areas as shown. Remember, before doing this, you should have already spliced additional wires to the Black & Red wires, as well as the Orange wire to allow them to reach the front LEDs.
Follow TT2911 instructions for tapping the wirings.
After this, connect the (+) and (-) wires to the battery. Put everything back and enjoy your DRL functions.
Last edited by 808c2s; Mar 25, 2012 at 04:56 AM.


Registered User
Joined: Apr 2011
Posts: 187
From: Southern California
Rep Power: 26
Great write up! Thanks for taking the time! My order from Frank is coming this week, I was planning to do the upkinpol hack and sell the module, but now with pictures... I may as well do the harder way! Thanks!
Thread Starter
|
Registered User
Joined: Aug 2007
Posts: 1,364
From: Hawaii
Rep Power: 116
I got the TFLM-03, just like TT2911.
Registered User
Joined: Mar 2009
Posts: 206
From: belgium
Rep Power: 26
Trending Topics


Thread
Thread Starter
Forum
Replies
Last Post
Mark @ AIM Performance
Automotive Parts & Accessories For Sale/Wanted
119
Jul 28, 2021 08:07 AM