

My 997.1 Carrera2 GT3 Front and Rear Bumper conversion.


Thread Starter
|
Registered User

Joined: Aug 2010
Posts: 194
From: Buffalo, NY
Rep Power: 26

FINISHED my 997.1 Carrera2 GT3 Front and Rear Bumper conversion DONE!!!
I bought my car a year ago, and really love it. However after about 6 months I decided I wanted to "make it my own". There are other 997s in my area, and I just wanted mine to look a little different. I then stumbled upon this image on this forum.


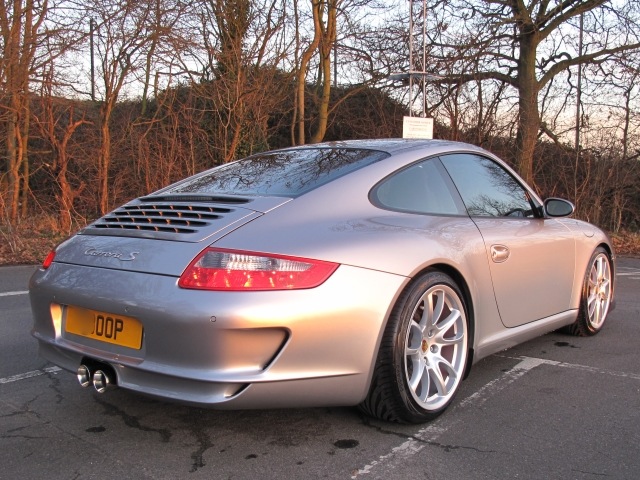
I liked the "wingless" look of this car. It really reminded me on the 993 4S or the 996 4s. More agressive, wider front and rear, yet not as "in your face" as the GT3. That part was really important too, I don't really want to have a GT3 "clone". So that means no rear wing (for now at least) and certainly not the GT3 wheels. Don't get me wrong, the 997.1 GT3 is by far one of the best looking cars IMHO. Anyway...
EDIT here some similar angles of where I'm at now


Here is the rest of the "build"
I ordered some front and rear bumpers from Misha Designs, and after some delay ( guess some other threads on this forum swamped him with orders earlier this year) I got my bumpers delivered and mocked up.


X...
Last edited by Xander; Dec 10, 2013 at 07:57 AM.

Thread Starter
|
Registered User
Joined: Aug 2010
Posts: 194
From: Buffalo, NY
Rep Power: 26
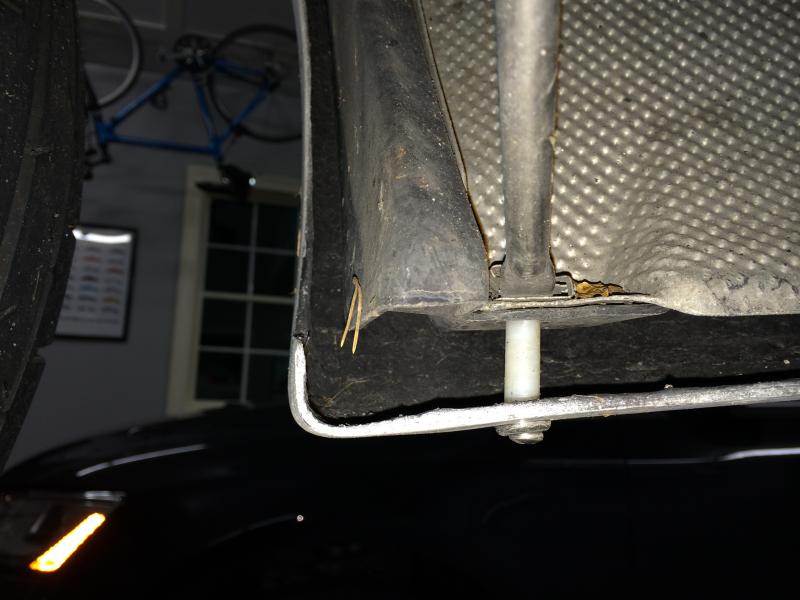
So Fitment on the bumper was great, but there are a few things that needed some adjustment.
First off the heat shields under the bumper cover, and the brackets that hold them on, won't fit under the GT3 Bumpers because of the "vents" in the side of the bumper.

I don't have any pictures of what I cut up, but you can make it work.
The other part about mounting the bumper that doesn't fit 100% is the bottom mounts at the wheel arch. The GT3 one is about an inch lower. Not big deal.

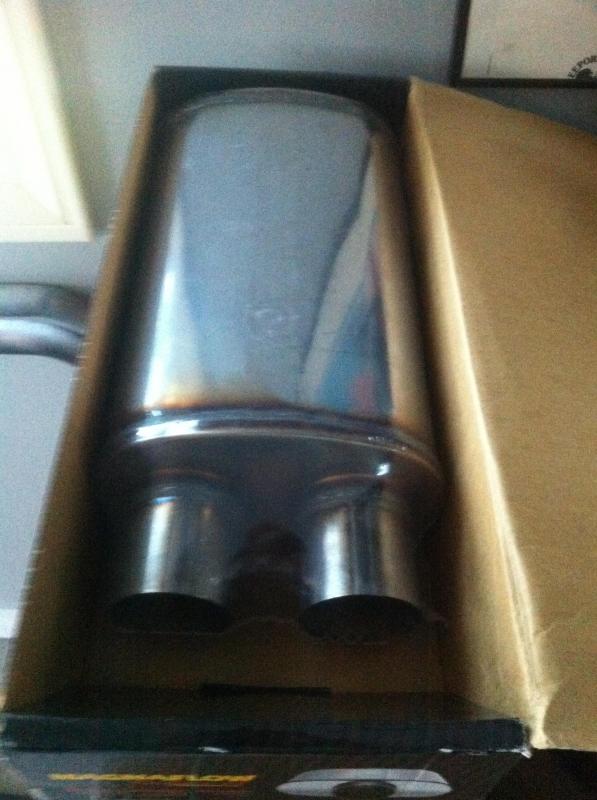
Now on to the "big" issue... the exhaust. I wanted the Center exit exhaust, but obviously that isn't easy. After checking with others and what they did, I decided to try and keep the stock cats, instead of dealing with a light on the dash, or how to eliminate that. It seemed like others have tried, but none with an "easy" fix. Plus I am in NY state and get OBDII scanned for inspections.
I have a local guy that does pretty damn good exhaust work, so I thought I'd see what he could come up with. I bought some Magnaflow mufflers that have the "in" and "out" on the same side.
Here is the 90% done result... (just need to finalize the tips)


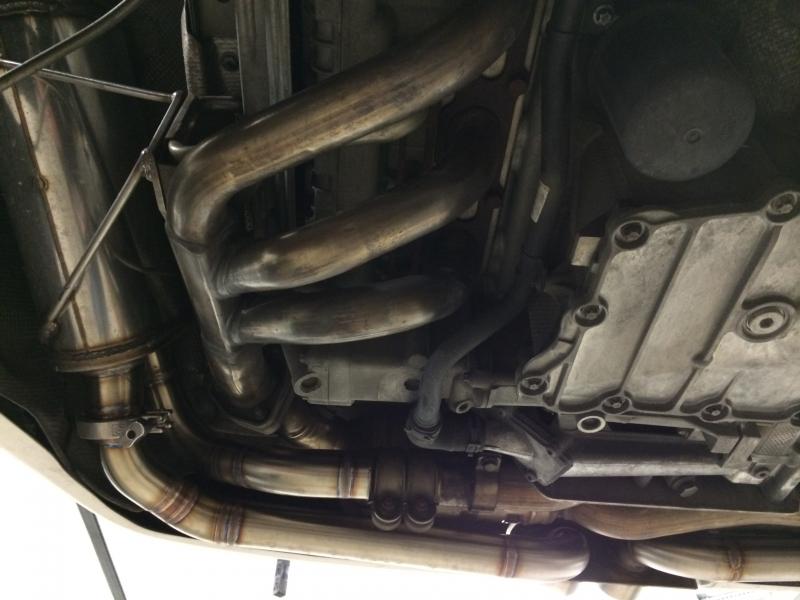
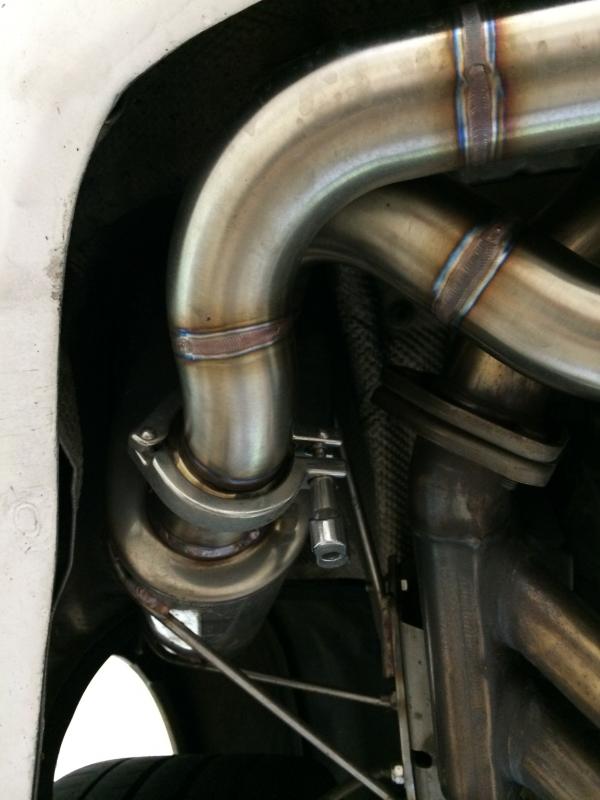
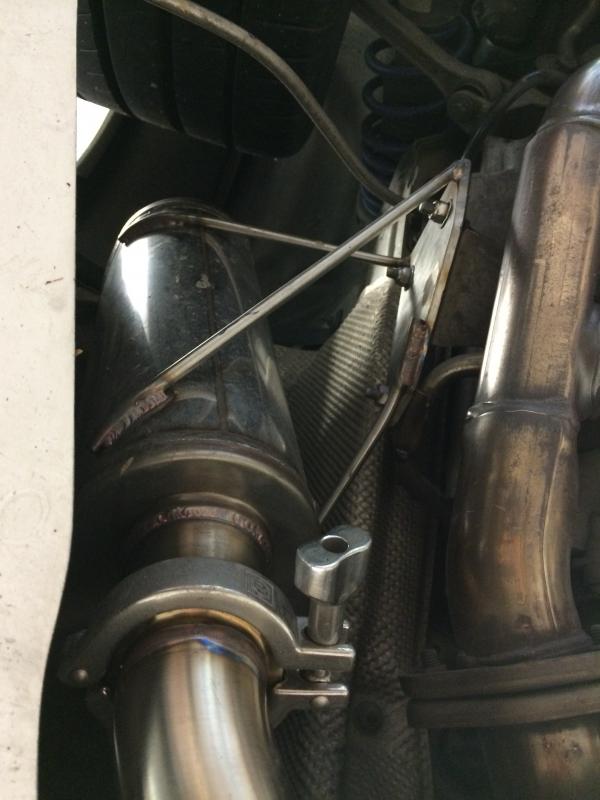
Sorry about the carp phone pictures. I know it's not easy to see everything, but you kinda get the idea. It's run similar to the OEM ones, but the piping keeps going past the "side" exits and goes to the center and out.
That's all I have for now, off to paint with it, and then put it all back together and put the final touches on the exhaust tips and it's respective heat shield.
X...
First off the heat shields under the bumper cover, and the brackets that hold them on, won't fit under the GT3 Bumpers because of the "vents" in the side of the bumper.

I don't have any pictures of what I cut up, but you can make it work.
The other part about mounting the bumper that doesn't fit 100% is the bottom mounts at the wheel arch. The GT3 one is about an inch lower. Not big deal.


Now on to the "big" issue... the exhaust. I wanted the Center exit exhaust, but obviously that isn't easy. After checking with others and what they did, I decided to try and keep the stock cats, instead of dealing with a light on the dash, or how to eliminate that. It seemed like others have tried, but none with an "easy" fix. Plus I am in NY state and get OBDII scanned for inspections.
I have a local guy that does pretty damn good exhaust work, so I thought I'd see what he could come up with. I bought some Magnaflow mufflers that have the "in" and "out" on the same side.

Here is the 90% done result... (just need to finalize the tips)


Sorry about the carp phone pictures. I know it's not easy to see everything, but you kinda get the idea. It's run similar to the OEM ones, but the piping keeps going past the "side" exits and goes to the center and out.
That's all I have for now, off to paint with it, and then put it all back together and put the final touches on the exhaust tips and it's respective heat shield.
X...


Thread Starter
|
Registered User
Joined: Aug 2010
Posts: 194
From: Buffalo, NY
Rep Power: 26
Thanks, I thought about that, but the I know that technically that area should be taken up by a plate, so I went for with it.
X...
X...
Trending Topics

Registered User
Joined: Nov 2007
Posts: 187
From: SF Bay Area
Rep Power: 26
I noticed in the pics, it looks like you don't have or removed the heat insulation on the rear. When I did my rear conversion, I used the stock heat insulation and just trimmed it by the exhaust exit.

Registered User
Joined: Oct 2012
Posts: 220
From: Fresno, Ca
Rep Power: 23
that was my question. Im working on the back bumper conversion. I wasnt sure if the oem heat shield would do the trick. I see that it will. Ill just cut on the sides and center.
Thread Starter
|
Registered User
Joined: Aug 2010
Posts: 194
From: Buffalo, NY
Rep Power: 26
Those are just 3" pipe for now. Still working on the "final"solution. I didn't want to get those made until I knew everything worked as it should.
X...
X...


