When you click on links to various merchants on this site and make a purchase, this can result in this site earning a commission. Affiliate programs and affiliations include, but are not limited to, the eBay Partner Network.
First I would like to thank all the contributors to this forum and today I am trying to do my part.
I have used bits and pieces from a couple of contributors here and on reenlist
I would like to thank Porsche 605 and Porsche 735 and their posts
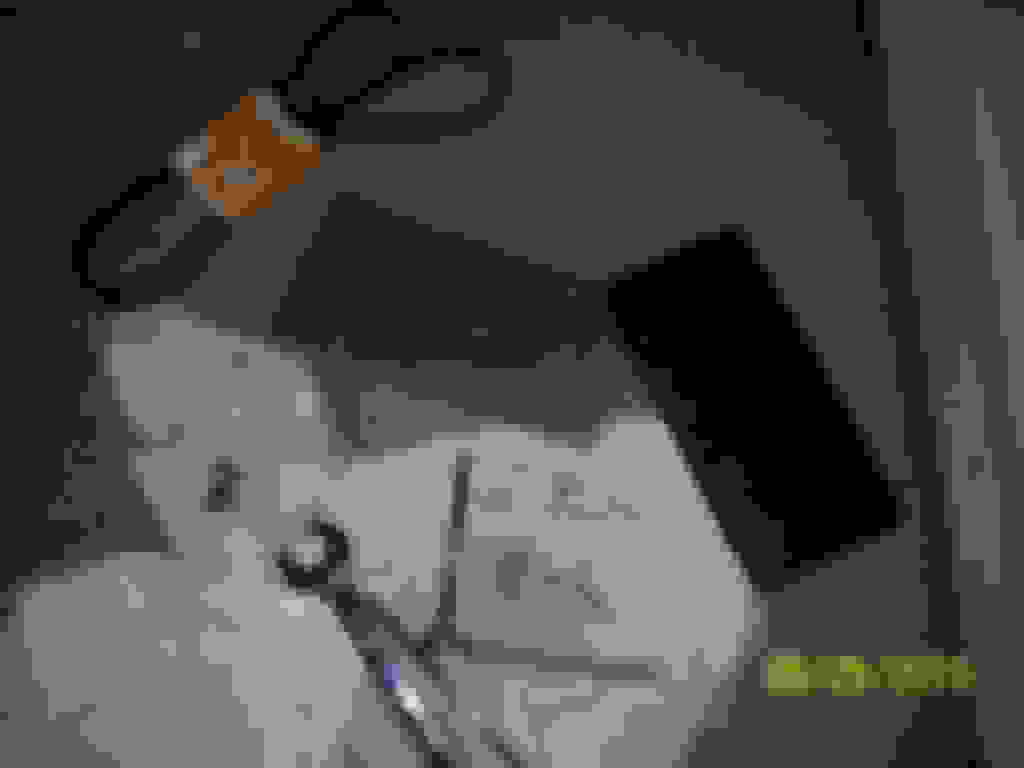
In the first picture you will see what you will need
30mm open end wrench (large crescent wrench possible)
small prybar or screwdriver
16mm socket
8� 3/8� extension
torque wrench
I bought my wrench and extension off eBay for less than 25 USD
1- remove license plate (back)
2- remove license plate holder (you do not need to remove the bumper)
3- Remove vacuum regulator to air box (it has a clip and s pushed back, towards the reader of the car, gently!) on the right side of the air box
4- Unplug electronic sensor to air box
5- Remove air box
6- Unplug vacuum
7- Below the pulley you will see a "silver" tube that is the spacer that needs to come out
8- left to it, you see the tensioner
9- Get your super long extension and put a 16 mm socket on it
10-Thread it through the hole in the bumper behind the license plate (that is why we removed the license plate and its holder)
11- you will be able to loosen the spacer. But if you do not have a magnetic socket, add a piece of tissue and tape it to the socket, that will make the bolt "stick"
12- remove the spacer.
13- (not pictured) use your 30 mm wrench and loosen the belt, take it off the tensioner and take it off all the other pulleys.
14- Start from top to bottom and pull from under the car
15- put new belt, start with shaft pulley, then water pump pulley (bottom ones)
16- Put over alternator, pulley on top and compressor
17- pull on tensioner and push belt over the tensioner pulley
18- It should be there and "snug:
I just did the same thing. I am concerned about my tensioner though. The tensioner is actually a hydraulic cylinder that is attached below the tensioner pulley assembly. See the attached picture.
When I turned the tensioner pulley assembly, it stayed loose. I had to turn the tensioner assembly back counterclockwise to regain tension. It stayed tight however so I am wondering if the hydraulic cylinder is just really slow acting. I wasn't having any problems before I replaced the belt so maybe this is normal?
Question for you. Did your tensioner immediately regain tension after you released the wrench pressure. Did you have to tighten it up or did it slowly regain tension?
Thanks again.
My tensioner immediately regained position, actually that was the trickiest part as I had to slip the belt on the tensioner pulley with one hand whilst pushing the tensioner with the 30 mm wrench with the other.
It was as "fast" as a spring rebound
I just did the same thing. I am concerned about my tensioner though. The tensioner is actually a hydraulic cylinder that is attached below the tensioner pulley assembly. See the attached picture.
When I turned the tensioner pulley assembly, it stayed loose. I had to turn the tensioner assembly back counterclockwise to regain tension. It stayed tight however so I am wondering if the hydraulic cylinder is just really slow acting. I wasn't having any problems before I replaced the belt so maybe this is normal?
Question for you. Did your tensioner immediately regain tension after you released the wrench pressure. Did you have to tighten it up or did it slowly regain tension?
Thanks again.
That photo is worth a thousand words and a good reference for how things look that you can't see very well with the engine in the car. Rep points to you!!
The correct 997.2 belt, (CONTITECH 6DPK1853 SERPENTINE BELT VOLVO C70/S70/V70 CONTI-V MULTIRIB GERMANY), costs less than $20 on eBay. I always carry a spare.
What exactly is the the spacer there for and why does it have to be removed to remove the belt? Does the spacer interfere with the spring loaded tensioner or in the way of removing/replacing the belt?
What exactly is the the spacer there for and why does it have to be removed to remove the belt? Does the spacer interfere with the spring loaded tensioner or in the way of removing/replacing the belt? Thanks, Al
I don't know why the spacer is there, but you cant get the belt around all the pulleys without removing the spacer.
Also to remove the belt with the spacer in place, you would have to cut the belt, but that doesn't help because you still need to remove it to install a new belt.
Got mine all apart now waiting for ordered belt. Took longer to get belt out after it was off the pulleys than the whole rest of the job. What s the easy way to thread the belt back thru? Theres that shield type thing around the bottom pulley that makes it hard.
Took this time to inspect and clean everything up.
My son and I had the best luck with two of us, one working the new belt up from the bottom and sliding it into place on bottom pulley while the other reached down from the top and worked it up through the tight spots. That part took us maybe two minutes max. We don't recall having any problem with the bottom pulley.