When you click on links to various merchants on this site and make a purchase, this can result in this site earning a commission. Affiliate programs and affiliations include, but are not limited to, the eBay Partner Network.
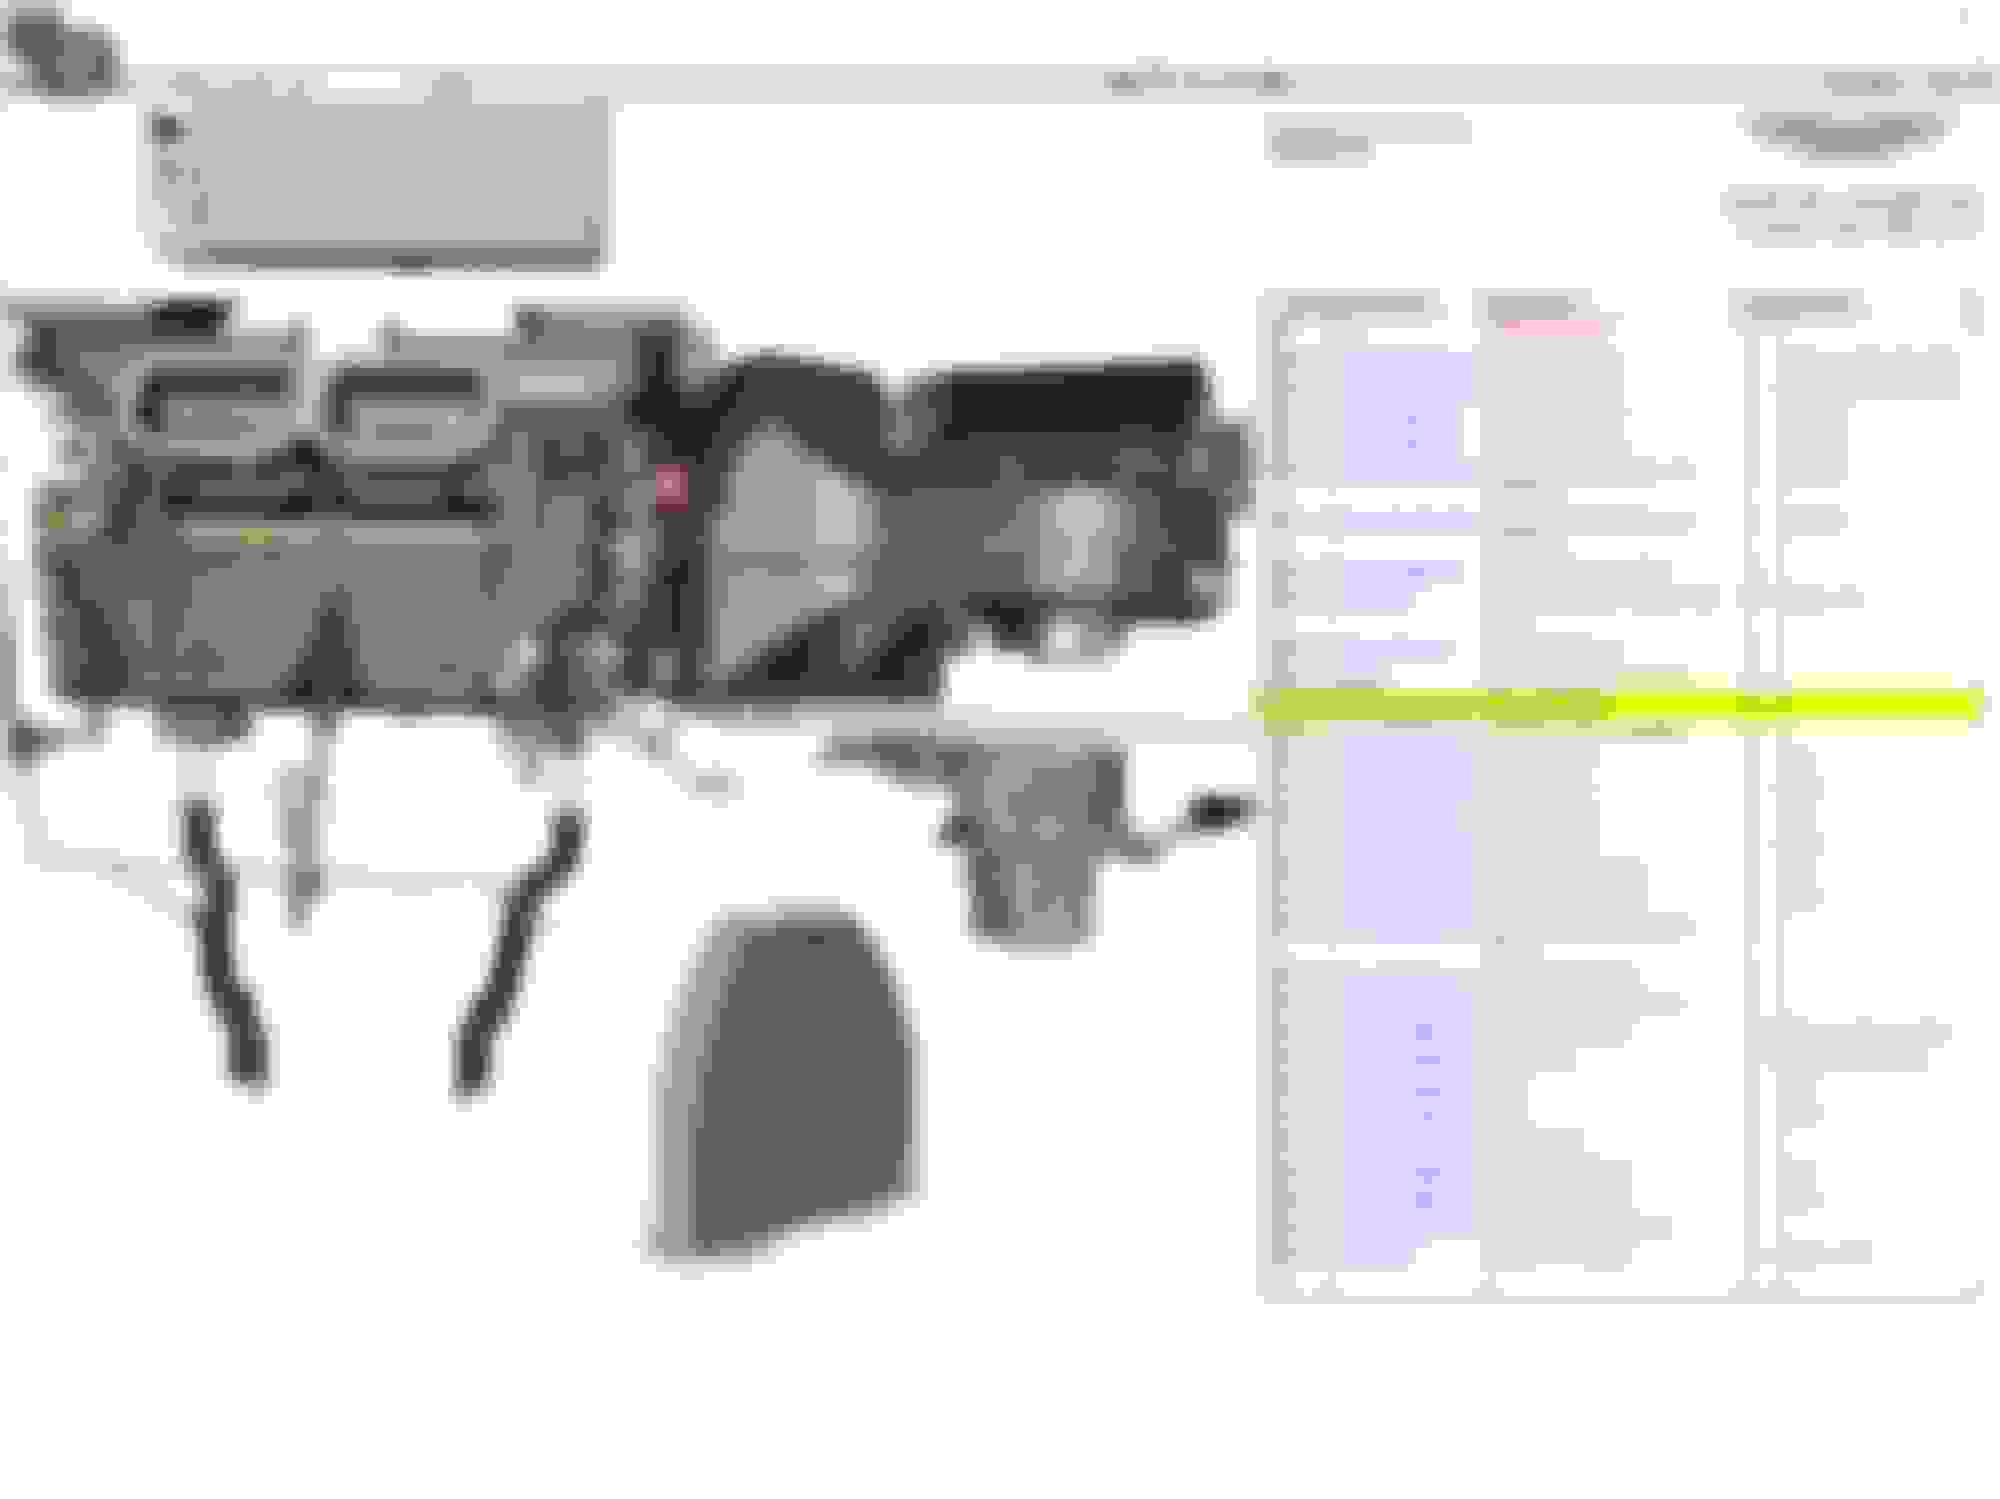
See attached pics for location.. "pollen filter"..
If you shine a light up into the dash from the passenger side footwell, you can see the bottom of the filter. You will have to remove those braces to access it... one brace holds the footwell light and the other holds the bonnet latch...
Last edited by I_gotta_Vantage; 11-22-2022 at 08:24 AM.
I do know that you have to remove the lower dash Airbag for access and there's a good chance it could come unplugged in the process. So you should have the equipment to clear SRS codes.
I do know that you have to remove the lower dash Airbag for access and there's a good chance it could come unplugged in the process. So you should have the equipment to clear SRS codes.
I dont think there is an airbag in the lower passenger Instrument panel, the WSM doesn't reference disconnecting one, but the problem with getting to that Pollen filter is that you have to remove the center console first to remove any of the dash panels. You cant even pull the screen out without having to pull the center console first.
Last edited by I_gotta_Vantage; 11-23-2022 at 06:16 AM.
Workshop manual leave out lots of information and are not 100% accurate. 5 tools and in less than 30 min. One should be able to replace the cabin filter.
1- scan tool to clear SRS fault.
2-Torx 30 to remove the 4 screws on the aluminum brace.
3-8mm socket to remove the 2 bolts for the knee/shin Airbag.
4- Torx 20 to remove single screw for duct that attaches to the aluminum brace.
5-small flat-head screwdriver to remove 2 clips on the ends of the filter.
Thanks to everyone for the advice above. I changed this successfully today on my 2019 AM6 Vantage.
In principle, it's a really quick job. But it took me about an hour, as I found it tricky to get the white H-shaped clip on the filter to re-engage on all 4 edges.
The sequence I followed was:
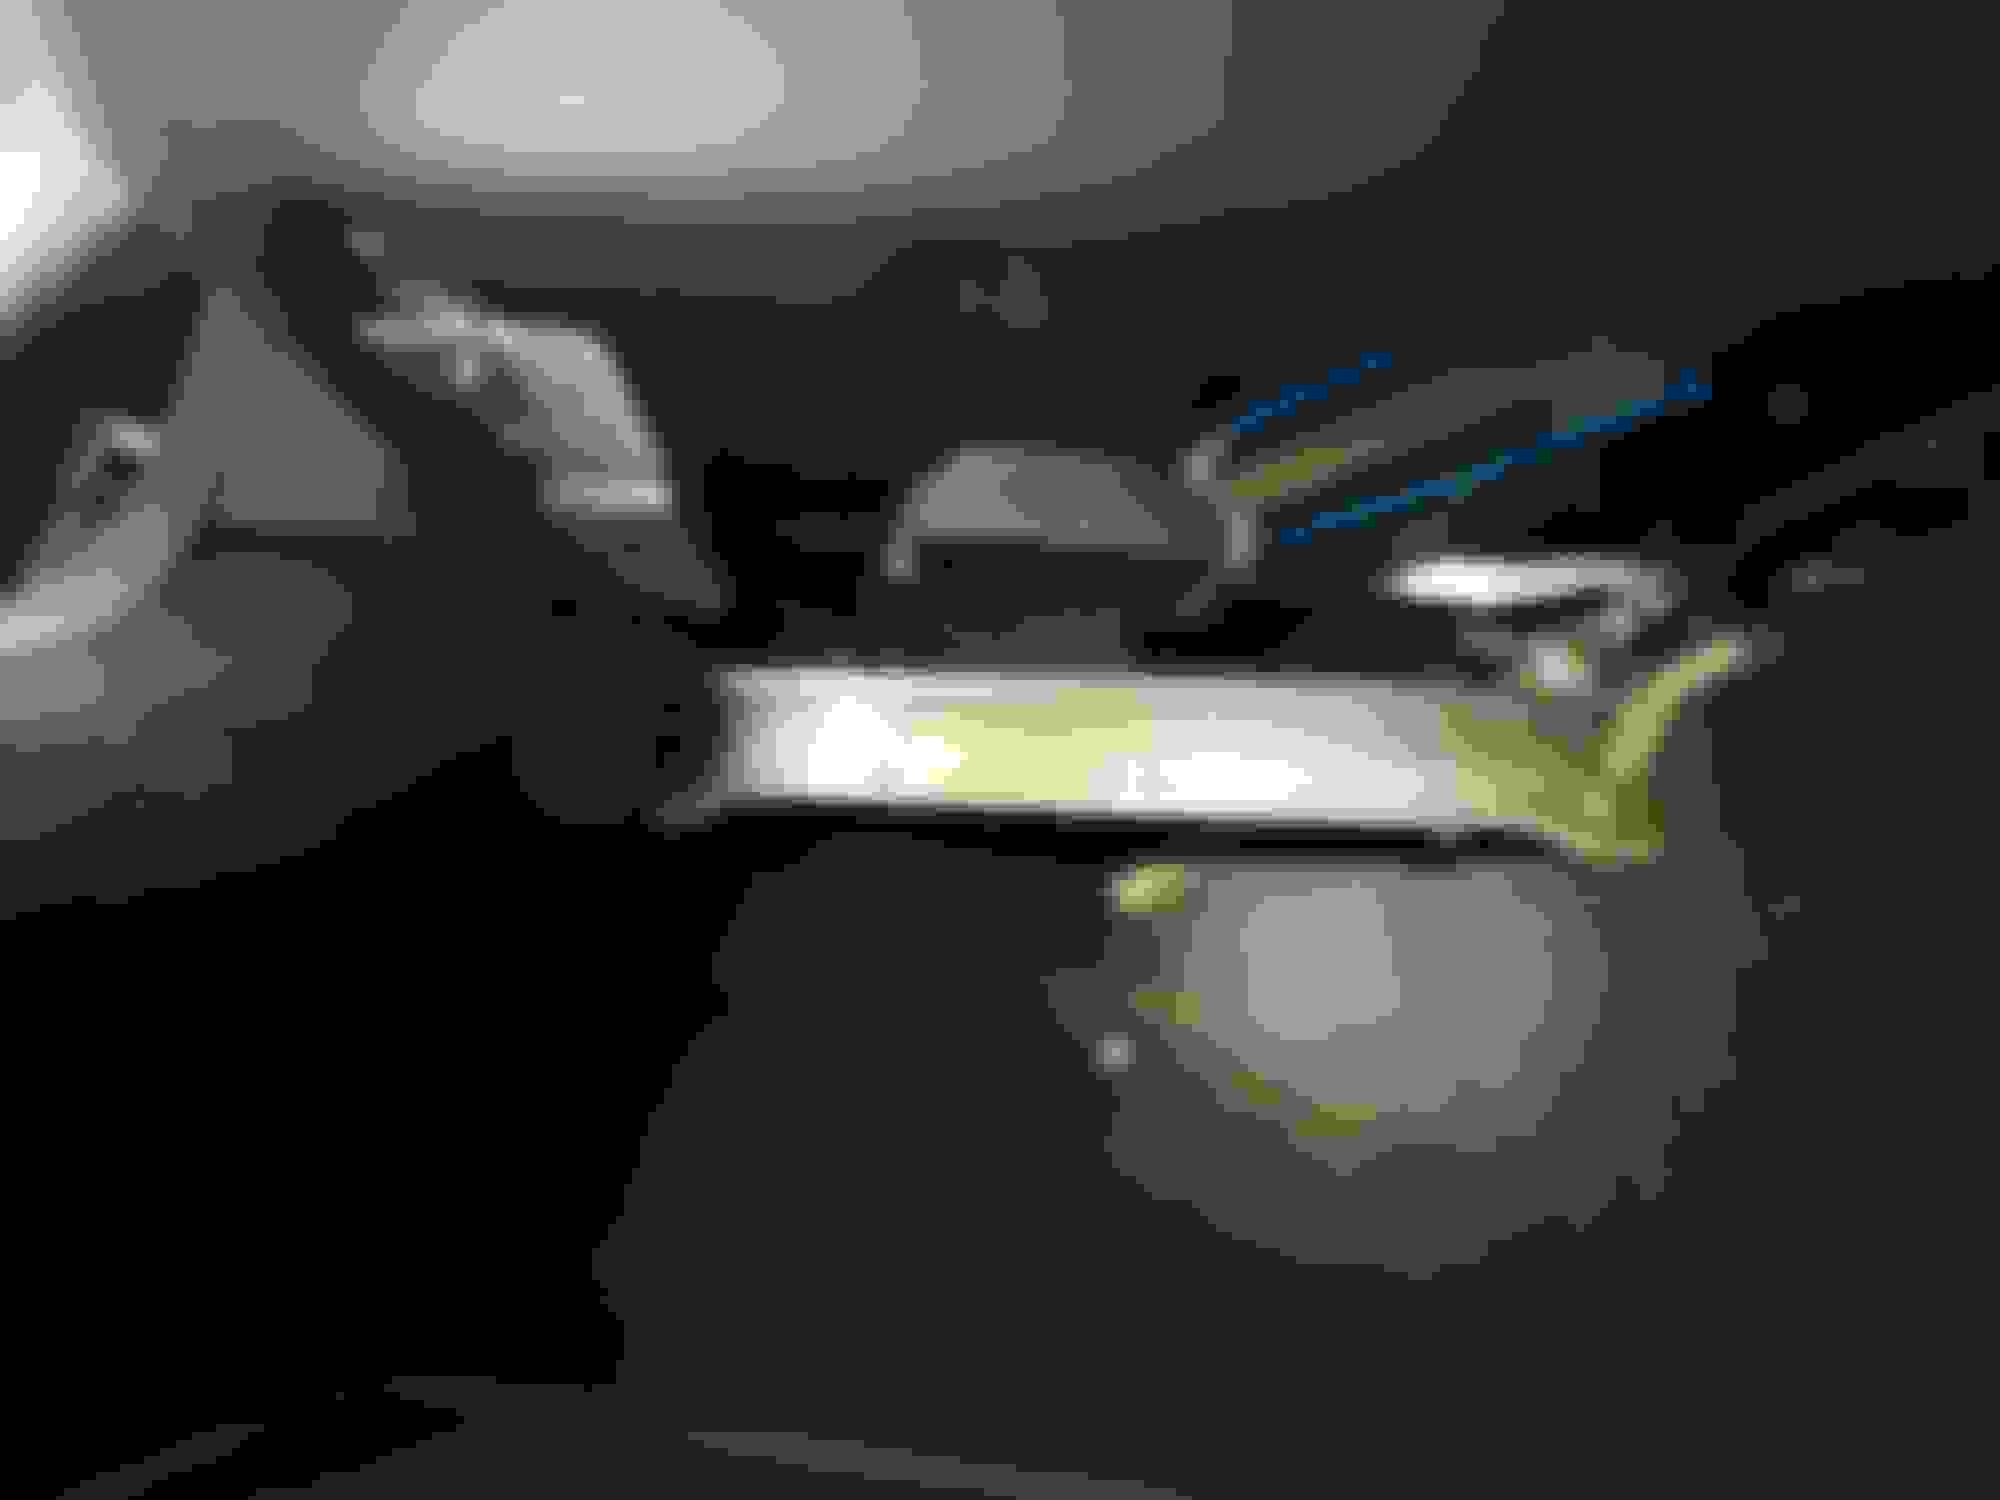
Locate the aluminium brace in the passenger side footwell (it's got the bonnet release catch attached). Behind/above it is the base of the filter: it is the diagonally oriented black plastic rectangle with a white H-shaped plastic clip on it.
Remove the small screw holding the footwell air duct to the brace and move it out of the way.
Remove the 4 larger bolts to release the aluminium brace.
Carefully lower the brace and move it to the back of the footwell (care: there is wiring tie-wrapped to it)
Remove the two small metal clips at either end of the base of the filter (I released one by simply reaching behind and popping it off, but the other needed prising off with a thin screwdriver)
Slide the large white H-shaped plastic clip, which is on the bottom of the filter body, to release the filter. Drop it out from the housing into the footwell.
Replace filter making sure to get it the correct way round.
Reverse the steps above to refit everything
I've highlighted the filter in blue on the photos. One is looking straight up into the footwell. The other shows the brace detached and pushed back in the footwell.


 10-28-2022, 07:44 PM