
COMPLETE CAYENNE LED Interior Light Change-Over Tutorial

Thread Starter
|
Registered User
Joined: Mar 2009
Posts: 927
From: NJ
Rep Power: 70


COMPLETE CAYENNE LED Interior Light Change-Over Tutorial
I promised a few members I would post info on changing over a cayenne�s interior from incandescent to LEDs so here it is. Its been 3 months since the change over so I am going from memory.
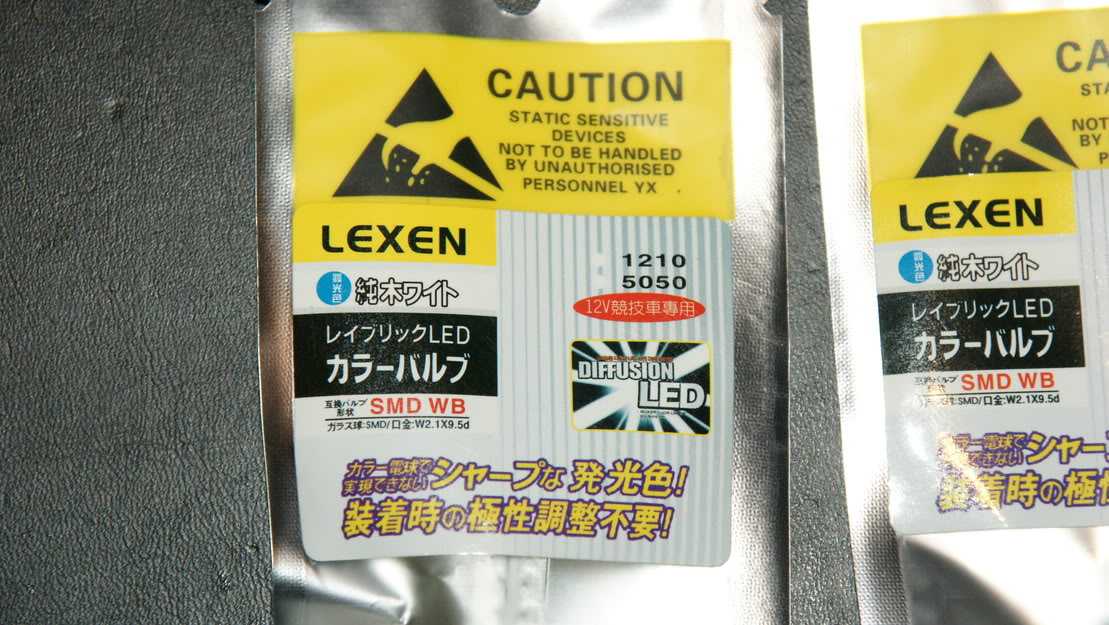
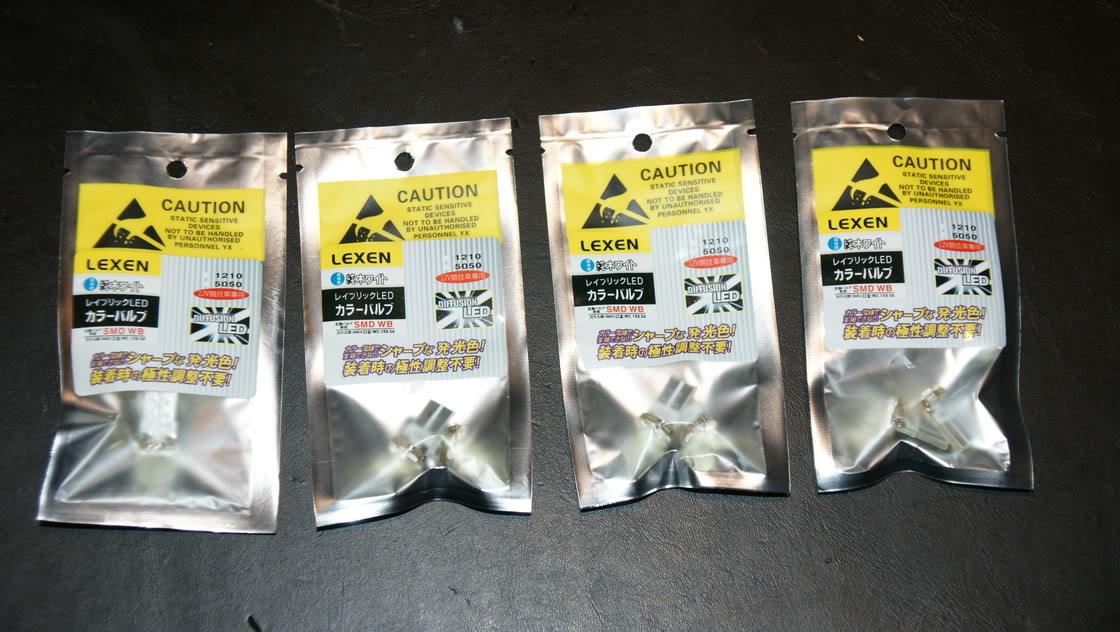
The interior uses all T10 bulbs. They can be purchased on ebay for $8-$12 a pair. The vendor I bought mine from changed over to a different model so I am posting a link to an alternative vendor. As long as the bulbs LOOK LIKE what�s in the picture, they will work. I can not validate any other style.
LINK TO EBAY VENDOR: http://cgi.ebay.com/ebaymotors/2x-T10-5-5-SMD-White-LED-Dome-Reading-Step-Trunk-Lights-_W0QQcmdZViewItemQQhashZitem588c60bc53QQitemZ38031 2271955QQptZMotorsQ5fCarQ5fTruckQ5fPartsQ5fAccesso ries
THE T10 STYLE I USED: http://i412.photobucket.com/albums/p...s/d4ba848b.png
BULBS you will need:
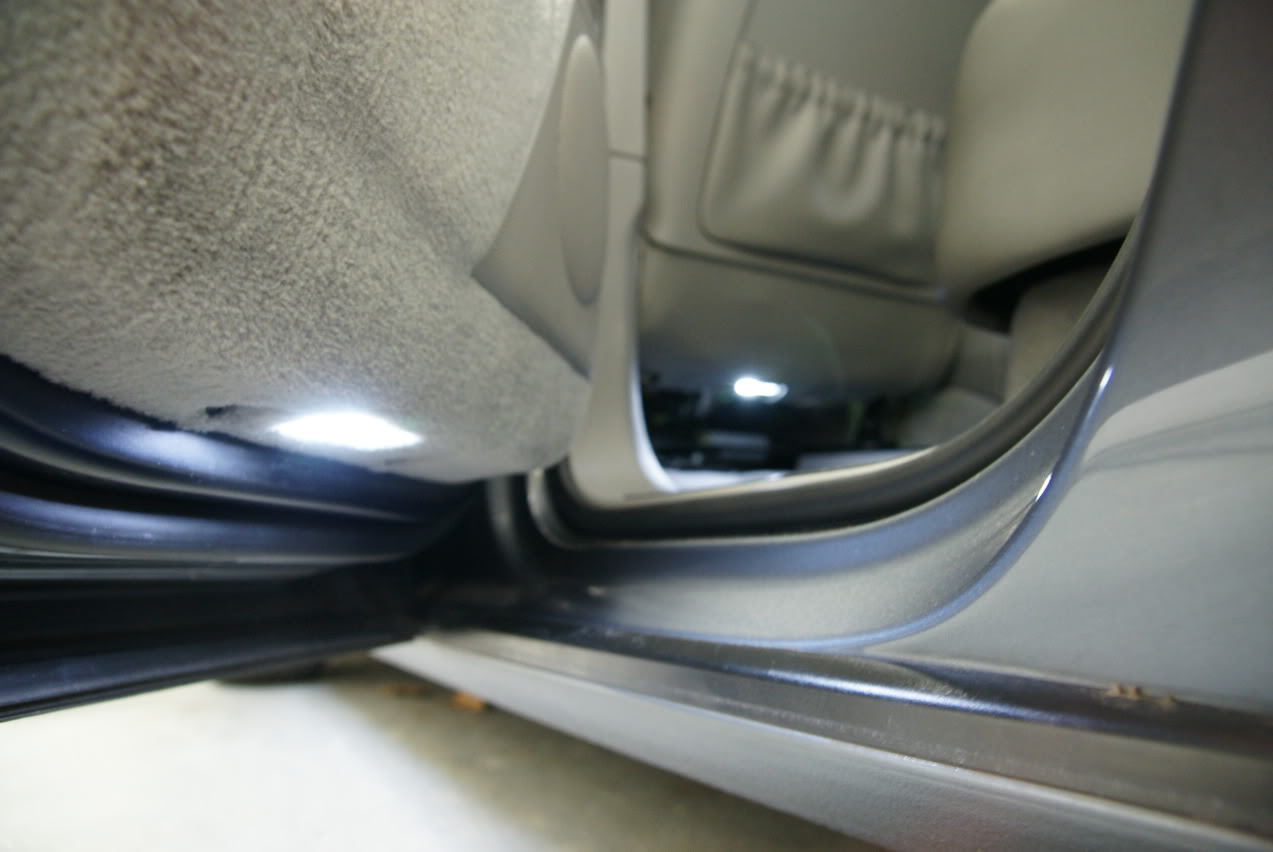
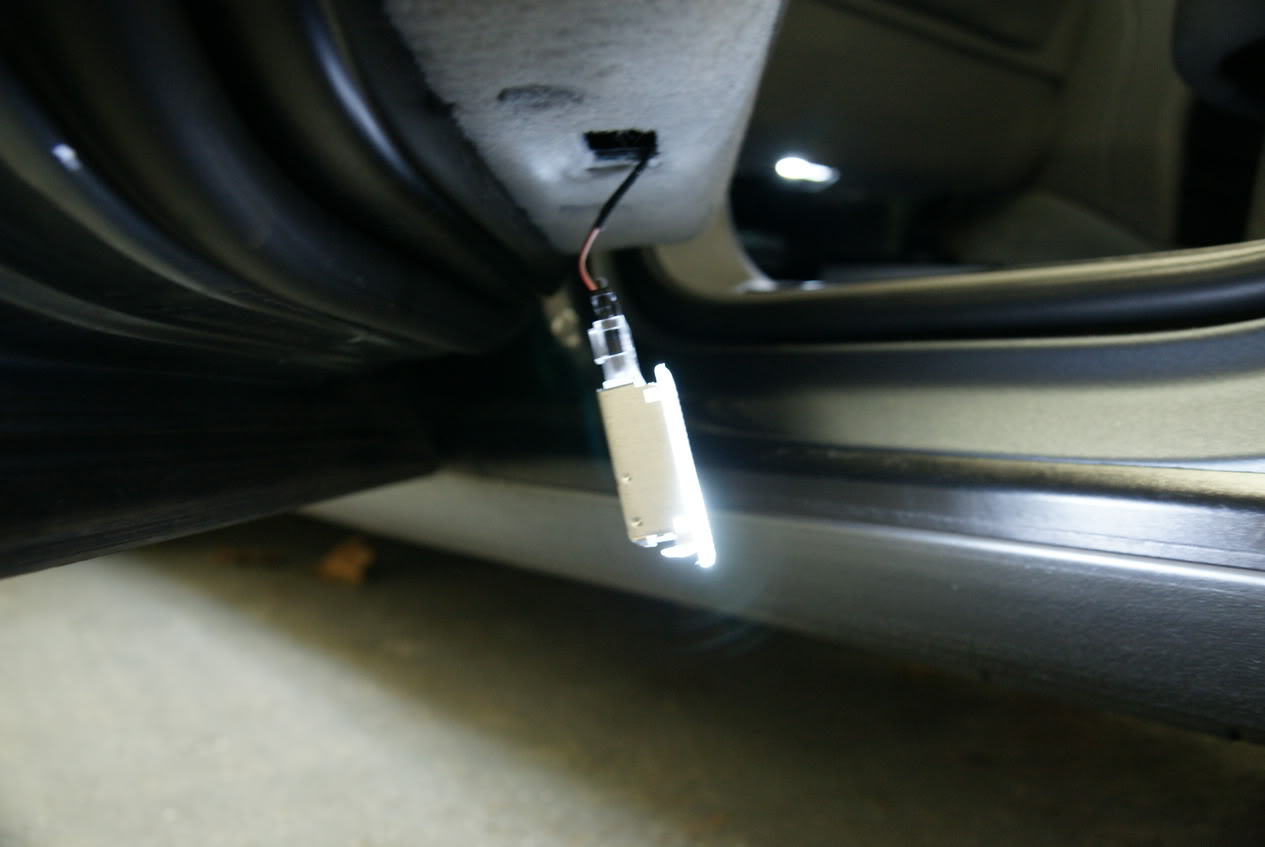
4 � lower door panel (the downlights that shine on the pavement when the door is open).
2 � Front foot well
1 � Center console
1 � Glove Box
3 � Front overhead light
2 � Rear foot wells (under front seats)
2 � Rear map lights (ceiling above the doors)
2 � Cargo area ceiling
2 � Rear hatch (facing cargo area)
2 � Rear hatch (facing back when the hatch is open
21 interior bulbs.
NOTE that this does not include the 4 armrest bulbs & 4 door reflectors (they face towards the back of the car when your door is open) which I am guessing are T10s (I have not done them yet). I chose not to replace these as 1. The door handles look like a ***** to remove. 2 The door reflectors are red so the LED bulb will not really do that much.
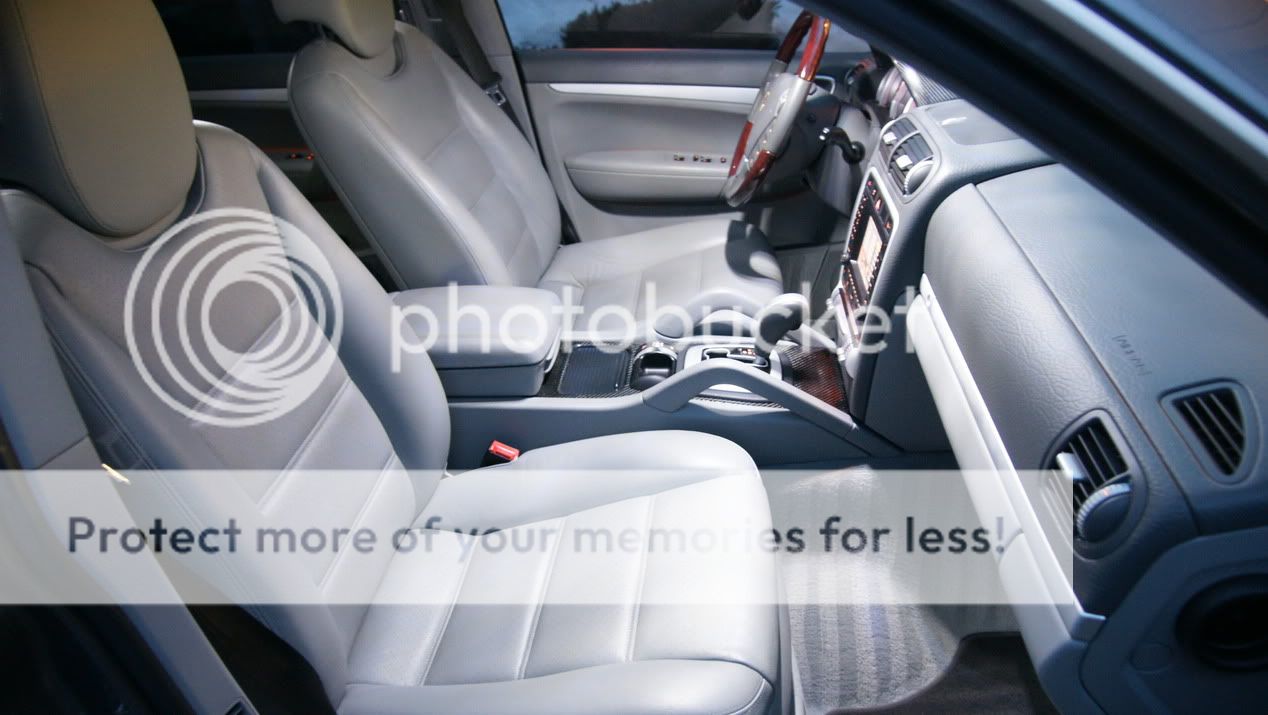
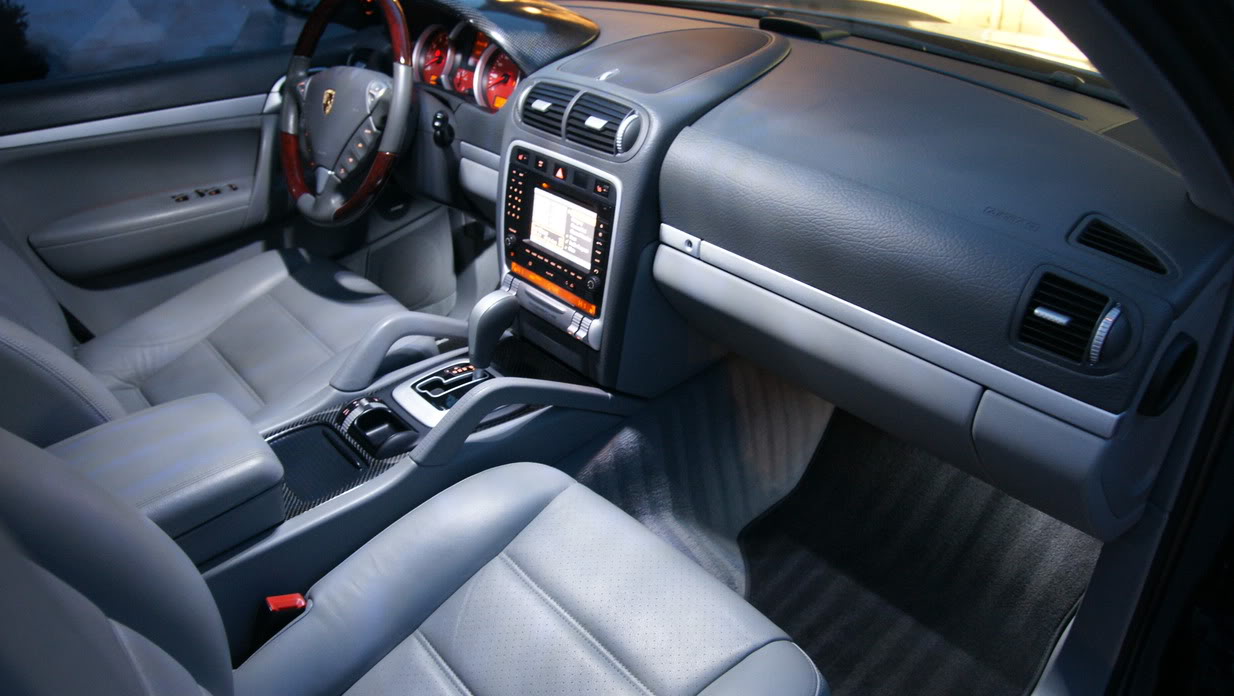
Now some pics and then some install notes
INSTALLATION NOTES:
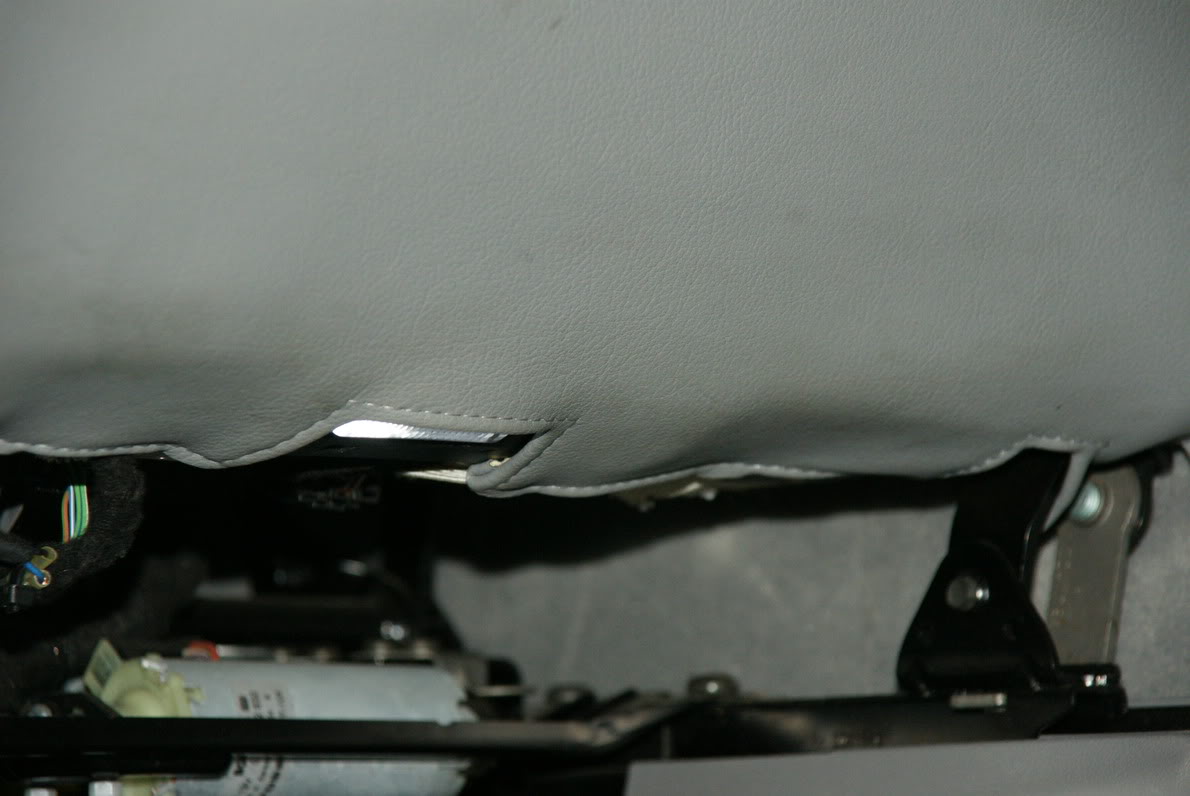
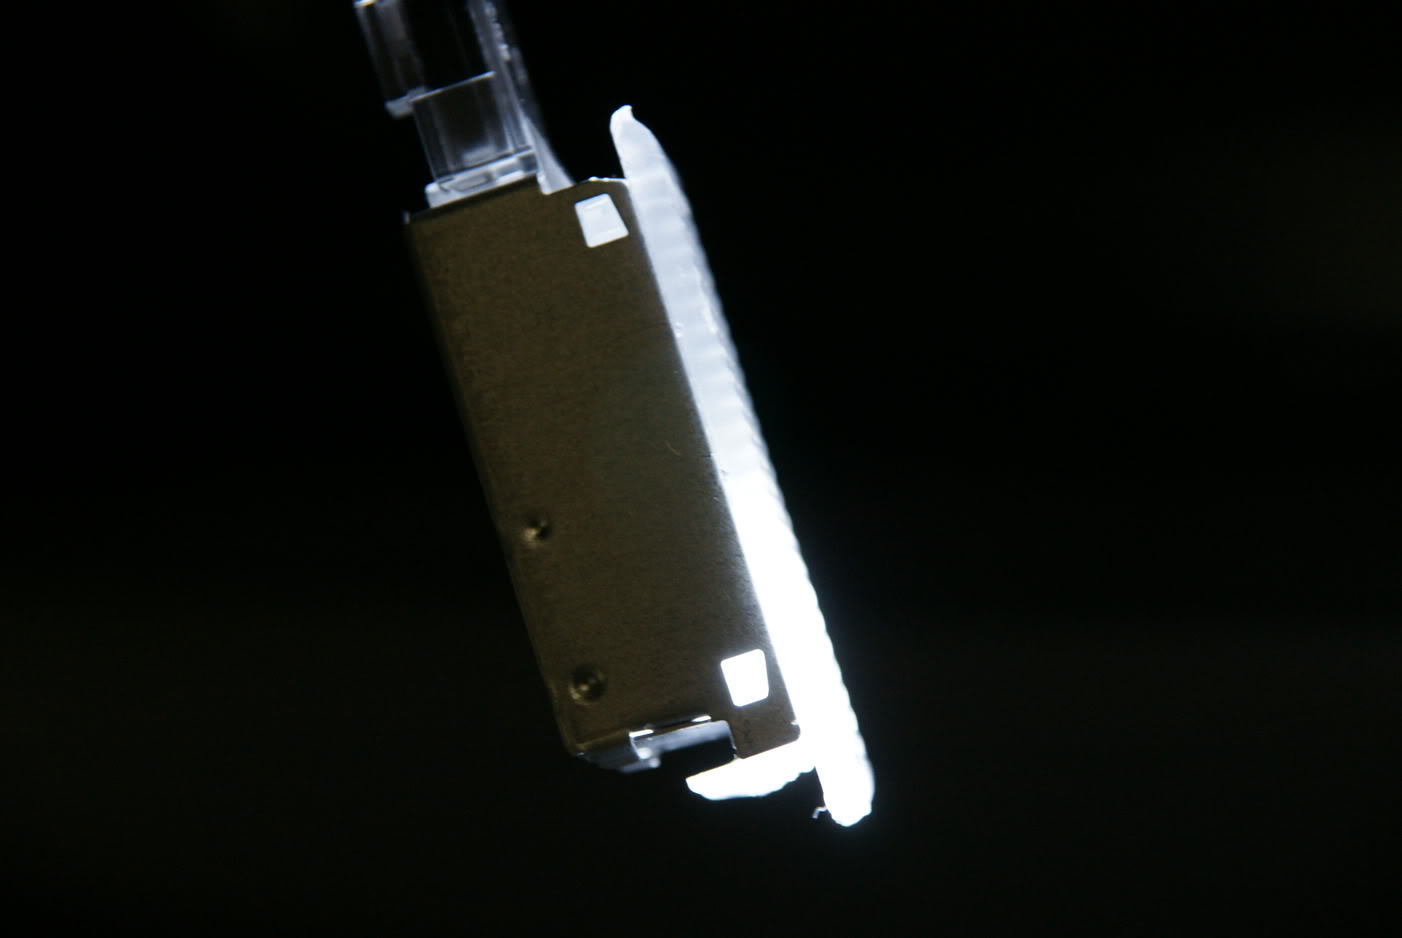
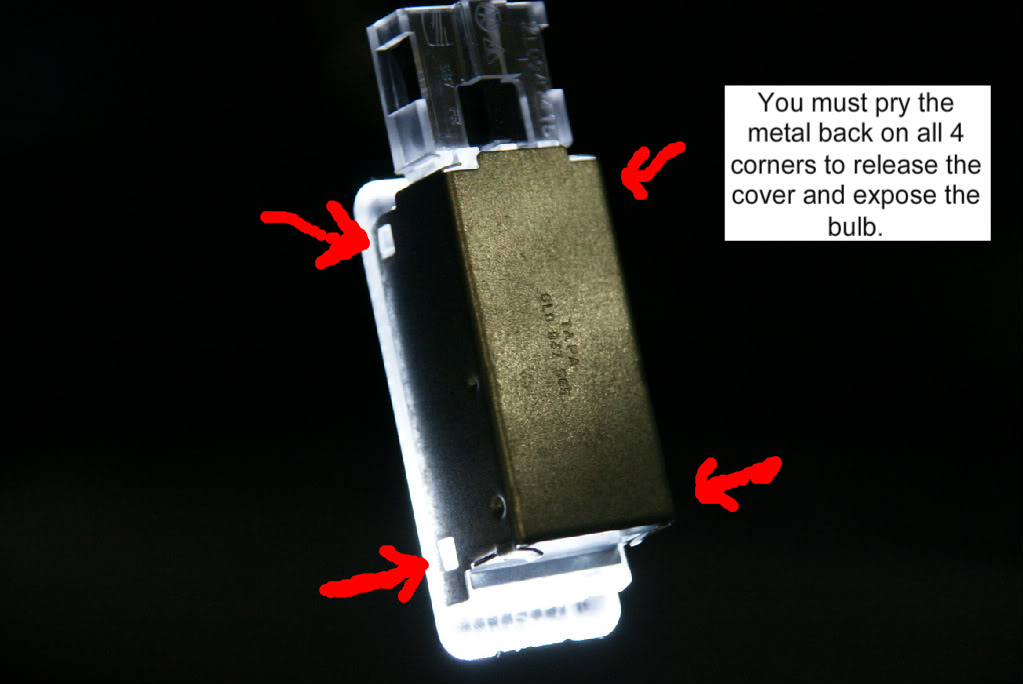
Fortunately the cayenne uses the identical (nearly) housing for every bulb. The only exceptions are the ceiling lights which require you to pry the cover lenses off. The best tool to use for prying the housings out is a butter knife or small flat head screw driver. Once the housings are out, you will pry up on the 4 corners of the metal backer and then lift the rear cover (SEE PICTURES). I replaced all my bulbs at night while the vehicle was running. This was so I can see if I had the new LED bulb seated correctly (if it lit up, it was fine ). Some may say don�t do this as you might short something out, and I will not disagree. If you choose to do the installs with the power off, just make sure you do not re-install any of the housings until you check that they are working.
NOTE � The base of the LED T10 bulbs are a little fatter then the stock lamps. Its ok to apply a little pressure directly to the face of the LEDs to get the bulb to seat.
INSTALLATION PICS:
So, that�s pretty much it. It should take you no more then 1 hour to do all the bulbs.
Lastly, the outside side mirrors are also T10s and I have changed them to. I forgot to take install pics, but basically you need to yank your mirror off
(yes, you have to stick something behind he mirrors glass backing and pry it forward � VERY SCARY) and the rest is very clear.
The bulb housing can easily be accessed once the mirror is off.
Enjoy and feel free to ask away.
The interior uses all T10 bulbs. They can be purchased on ebay for $8-$12 a pair. The vendor I bought mine from changed over to a different model so I am posting a link to an alternative vendor. As long as the bulbs LOOK LIKE what�s in the picture, they will work. I can not validate any other style.
LINK TO EBAY VENDOR: http://cgi.ebay.com/ebaymotors/2x-T10-5-5-SMD-White-LED-Dome-Reading-Step-Trunk-Lights-_W0QQcmdZViewItemQQhashZitem588c60bc53QQitemZ38031 2271955QQptZMotorsQ5fCarQ5fTruckQ5fPartsQ5fAccesso ries
THE T10 STYLE I USED: http://i412.photobucket.com/albums/p...s/d4ba848b.png
BULBS you will need:
4 � lower door panel (the downlights that shine on the pavement when the door is open).
2 � Front foot well
1 � Center console
1 � Glove Box
3 � Front overhead light
2 � Rear foot wells (under front seats)
2 � Rear map lights (ceiling above the doors)
2 � Cargo area ceiling
2 � Rear hatch (facing cargo area)
2 � Rear hatch (facing back when the hatch is open
21 interior bulbs.
NOTE that this does not include the 4 armrest bulbs & 4 door reflectors (they face towards the back of the car when your door is open) which I am guessing are T10s (I have not done them yet). I chose not to replace these as 1. The door handles look like a ***** to remove. 2 The door reflectors are red so the LED bulb will not really do that much.
Now some pics and then some install notes
INSTALLATION NOTES:
Fortunately the cayenne uses the identical (nearly) housing for every bulb. The only exceptions are the ceiling lights which require you to pry the cover lenses off. The best tool to use for prying the housings out is a butter knife or small flat head screw driver. Once the housings are out, you will pry up on the 4 corners of the metal backer and then lift the rear cover (SEE PICTURES). I replaced all my bulbs at night while the vehicle was running. This was so I can see if I had the new LED bulb seated correctly (if it lit up, it was fine
). Some may say don�t do this as you might short something out, and I will not disagree. If you choose to do the installs with the power off, just make sure you do not re-install any of the housings until you check that they are working. NOTE � The base of the LED T10 bulbs are a little fatter then the stock lamps. Its ok to apply a little pressure directly to the face of the LEDs to get the bulb to seat.
INSTALLATION PICS:
So, that�s pretty much it. It should take you no more then 1 hour to do all the bulbs.
Lastly, the outside side mirrors are also T10s and I have changed them to. I forgot to take install pics, but basically you need to yank your mirror off
(yes, you have to stick something behind he mirrors glass backing and pry it forward � VERY SCARY) and the rest is very clear.
The bulb housing can easily be accessed once the mirror is off.
Enjoy and feel free to ask away.
Thread Starter
|
Registered User
Joined: Mar 2009
Posts: 927
From: NJ
Rep Power: 70
Was like when I was driving around with my hood unpainted - on paper,yes, in reality - fail! Same with the plate bulbs, I tried them but they looked to ricer as they we way to purple. Back to stock festoons for now.
Registered User
Joined: Nov 2010
Posts: 163
From: CN
Rep Power: 22
Same reason for me to put stock globes back on.

Last edited by loveivs; Feb 20, 2011 at 10:20 AM.

Registered User
Joined: Feb 2009
Posts: 50
From: Jersey City, NJ
Rep Power: 20
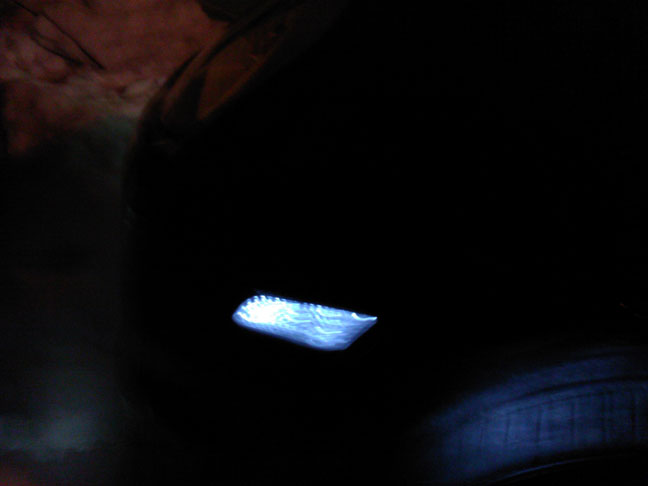
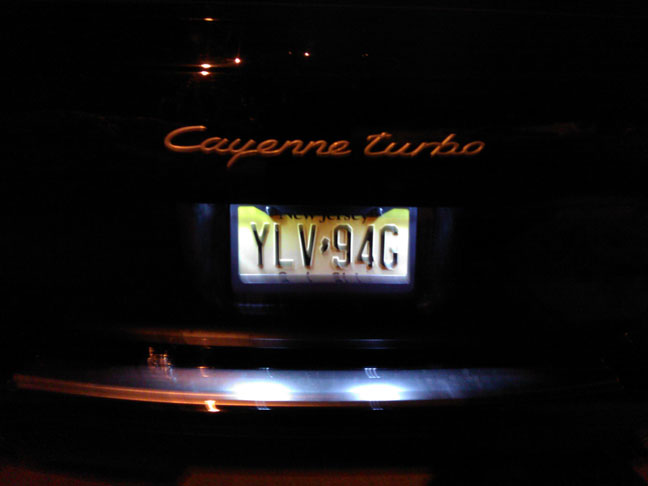
Roxboxxx, thanks for this. I will try out those bulbs. Hope they are whiter than what I have now. I use LED bulbs for my mirror lights and side markers, and just looks too blue. I'll take pics after I try out your bulbs. Attached are side markers and license plate lights(different bulb). Not really digging the rice blue look right now.
Also, do the foot lights still dim to your desired brightness?
Also, do the foot lights still dim to your desired brightness?
Last edited by mikezlee; Feb 20, 2011 at 06:41 PM.
Thread Starter
|
Registered User
Joined: Mar 2009
Posts: 927
From: NJ
Rep Power: 70
Roxboxxx, thanks for this. I will try out those bulbs. Hope they are whiter than what I have now. I use LED bulbs for my mirror lights and side markers, and just looks too blue. I'll take pics after I try out your bulbs. Attached are side markers and license plate lights(different bulb). Not really digging the rice blue look right now.
Attachment 144369
Attachment 144370
Also, do the foot lights still dim to your desired brightness?
Attachment 144369
Attachment 144370
Also, do the foot lights still dim to your desired brightness?
Registered User
Joined: Feb 2009
Posts: 50
From: Jersey City, NJ
Rep Power: 20
Hey roxboxxx, I started replacing my interiors with LEDs. One of the bulbs (rear cargo ceiling) is using a festoon bulb. What did you use for this? I've used a festoon bulb for my license plate, but I needed to modify it. It was a 36mm version, and it was too small. Do you know what size festoon I should be using so it fits perfectly?
Trending Topics
Thread Starter
|
Registered User
Joined: Mar 2009
Posts: 927
From: NJ
Rep Power: 70
Hey roxboxxx, I started replacing my interiors with LEDs. One of the bulbs (rear cargo ceiling) is using a festoon bulb. What did you use for this? I've used a festoon bulb for my license plate, but I needed to modify it. It was a 36mm version, and it was too small. Do you know what size festoon I should be using so it fits perfectly?
Ahh crap - I think mine was also (was 3 months ago). Let me check my eBay past wins and find out who I got that one from.
Registered User
Joined: Sep 2005
Posts: 408
From: UConn, West Chester PA
Rep Power: 38
I just started this same project in my 05..... and after getting most of them switched over to LEDs....... just ordered enough for all my cars...
I really like it, the light is SO CRISP, compared to the stock "bulbs" .....
I got mine off..... http://store.ijdmtoy.com/Porsche-Cay...uro_smd_35.htm
I belive this is the LED for the rear dome light, which is different from all the other bulb types...http://store.ijdmtoy.com/European-Ca..._d36_sku92.htm
They have a package....however, its not a full package...lol but their LEDs are really nice and have no ricer look.....
Will post pics tomorrow..... and thanks for the thread ROXX....i actually missed the lights at the bottom of the doors.....
I also have no affiliation with this store, just had a good experience
Last edited by CayenneTurbo77; Feb 27, 2011 at 10:04 PM.
Registered User
Joined: Feb 2009
Posts: 50
From: Jersey City, NJ
Rep Power: 20
This mod looks really good for interiors with light colors. On my black/chestnut interior, looks a little off because the color look "florescent" as opposed to "halogen" look of stock bulbs. It does look nice at night from the outside, as all my exterior lights are LEDs which looks uniformed when I unlock, and all the lights go on, including the interior.
I'm keeping foot lights as amber, as it looks classy with all the other ambient lighting inside the car when the ceiling lights are off. I'm also a fan of the amber light shining down from under the rear view mirror, which compliments the chestnut brown.
I'm keeping foot lights as amber, as it looks classy with all the other ambient lighting inside the car when the ceiling lights are off. I'm also a fan of the amber light shining down from under the rear view mirror, which compliments the chestnut brown.
Registered User
Joined: Jan 2011
Posts: 153
From: Central Oregon
Rep Power: 27
This mod looks really good for interiors with light colors. On my black/chestnut interior, looks a little off because the color look "florescent" as opposed to "halogen" look of stock bulbs. It does look nice at night from the outside, as all my exterior lights are LEDs which looks uniformed when I unlock, and all the lights go on, including the interior.
I'm keeping foot lights as amber, as it looks classy with all the other ambient lighting inside the car when the ceiling lights are off. I'm also a fan of the amber light shining down from under the rear view mirror, which compliments the chestnut brown.
I'm keeping foot lights as amber, as it looks classy with all the other ambient lighting inside the car when the ceiling lights are off. I'm also a fan of the amber light shining down from under the rear view mirror, which compliments the chestnut brown.
Do you happen to have some pics of what yours looks like? I am considering the change over and think Rox's looks great but your comment about the dark interior concerns me as I have black interior. I would love to see for myself to make a better decisions. If you have the time and your efforts don't break anything (sorry about your mirror, Rox
 ) I'd appreciate it.
Registered User
Joined: Feb 2009
Posts: 50
From: Jersey City, NJ
Rep Power: 20
Do you happen to have some pics of what yours looks like? I am considering the change over and think Rox's looks great but your comment about the dark interior concerns me as I have black interior. I would love to see for myself to make a better decisions. If you have the time and your efforts don't break anything (sorry about your mirror, Rox ) I'd appreciate it.
) I'd appreciate it.BTW, the mirror replacement is actually one of the easiest bulb change. Just push the right part of the mirror all the way in to make the left part come out towards you. Put your fingers behind the mirror on the left part and just pull. Takes a little bravery, because it feels like you're breaking it while you pull, but it comes right out. I've attached a picture of the mirror too.
Registered User
Joined: Jan 2011
Posts: 153
From: Central Oregon
Rep Power: 27
Thank you so much for the photos and especially the one of the mirror. I need to pull those bulbs because they don't light up and I need to see if they are burnt out or if there is some other sort of electrical gremlin making them not work. We'll see. Thanks, again. I appreciate it.