

Money2536's White 991 C2S Journal


Thread Starter
|
Registered User

Joined: Nov 2009
Posts: 671
From: The Villages, FL
Rep Power: 67


Part 1: 991 DIY Oil Change
I know there are other write-ups on changing oil, but I was bored today and decided to do my own version. I'm a wanna be real man car guy, so please cut me some slack if I'm doing something substandard.
Here is my list of tools:
Drain Pan
Dirty Oil Funnel
Clean Oil Funnel
1/2" Ratchet
12" 1/2" Extension
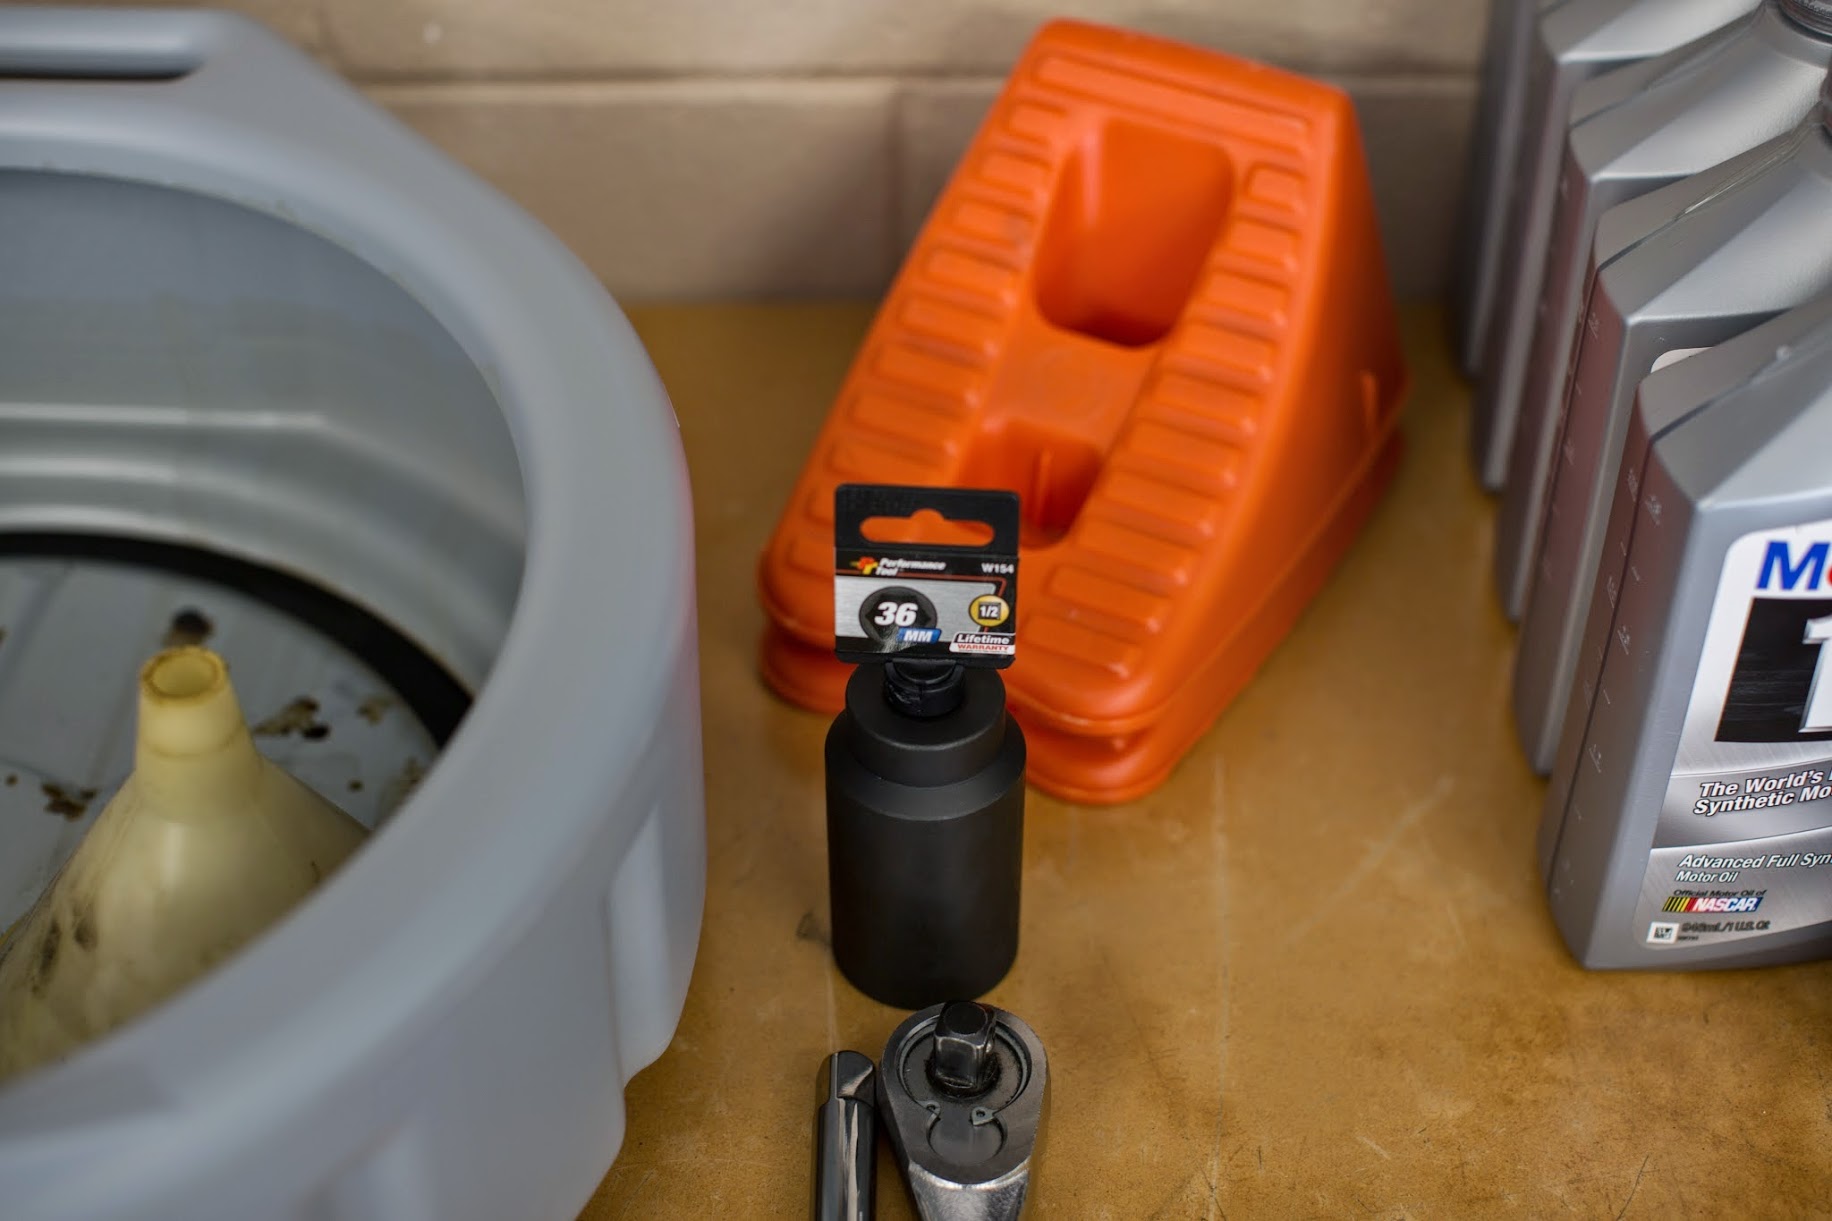
36mm 1/2" Socket
3/8" Ratchet
3" 3/8" Extension
8mm Hex Bit 3/8" Socket
Flat Head Screw Driver
Shop Towels
Paper Towels
Floor Jack
Wheel Chocks
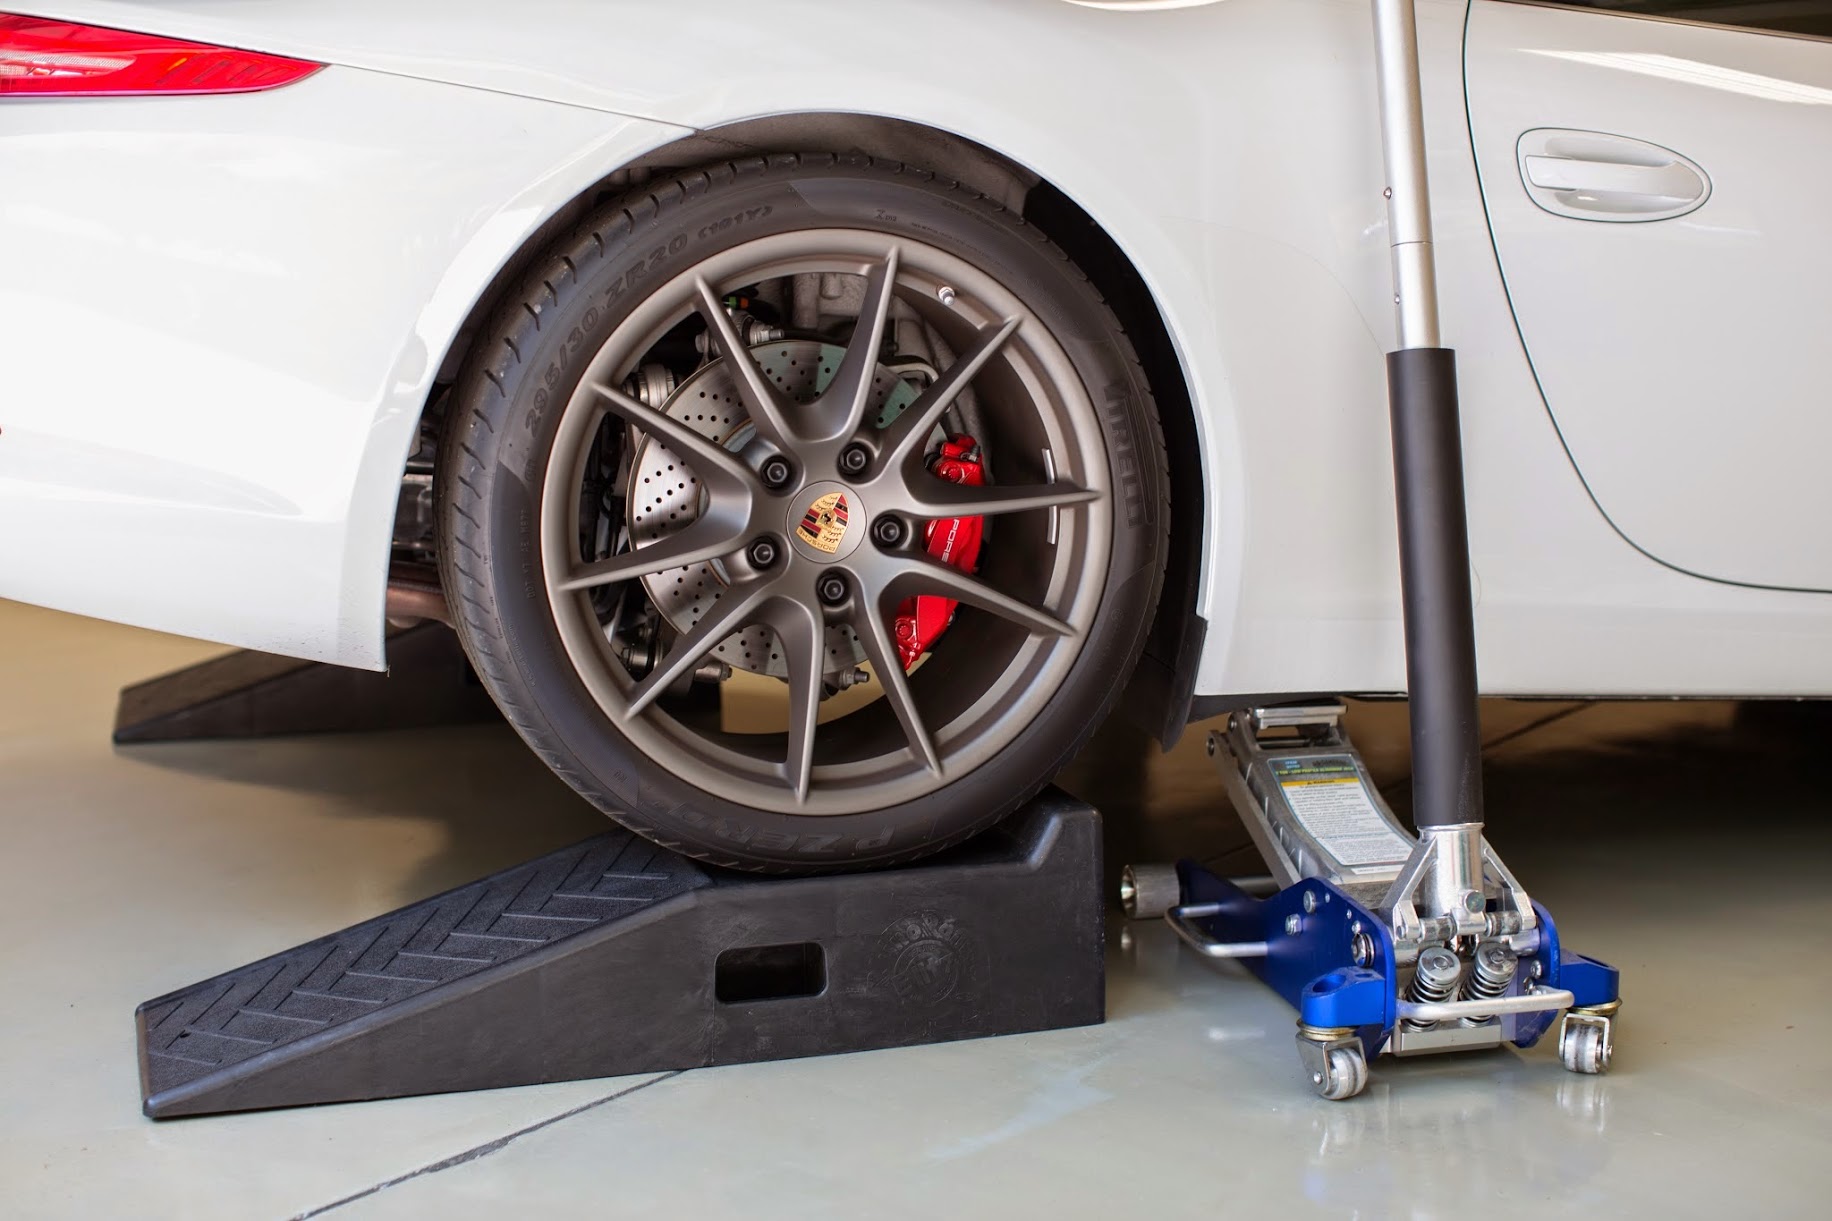
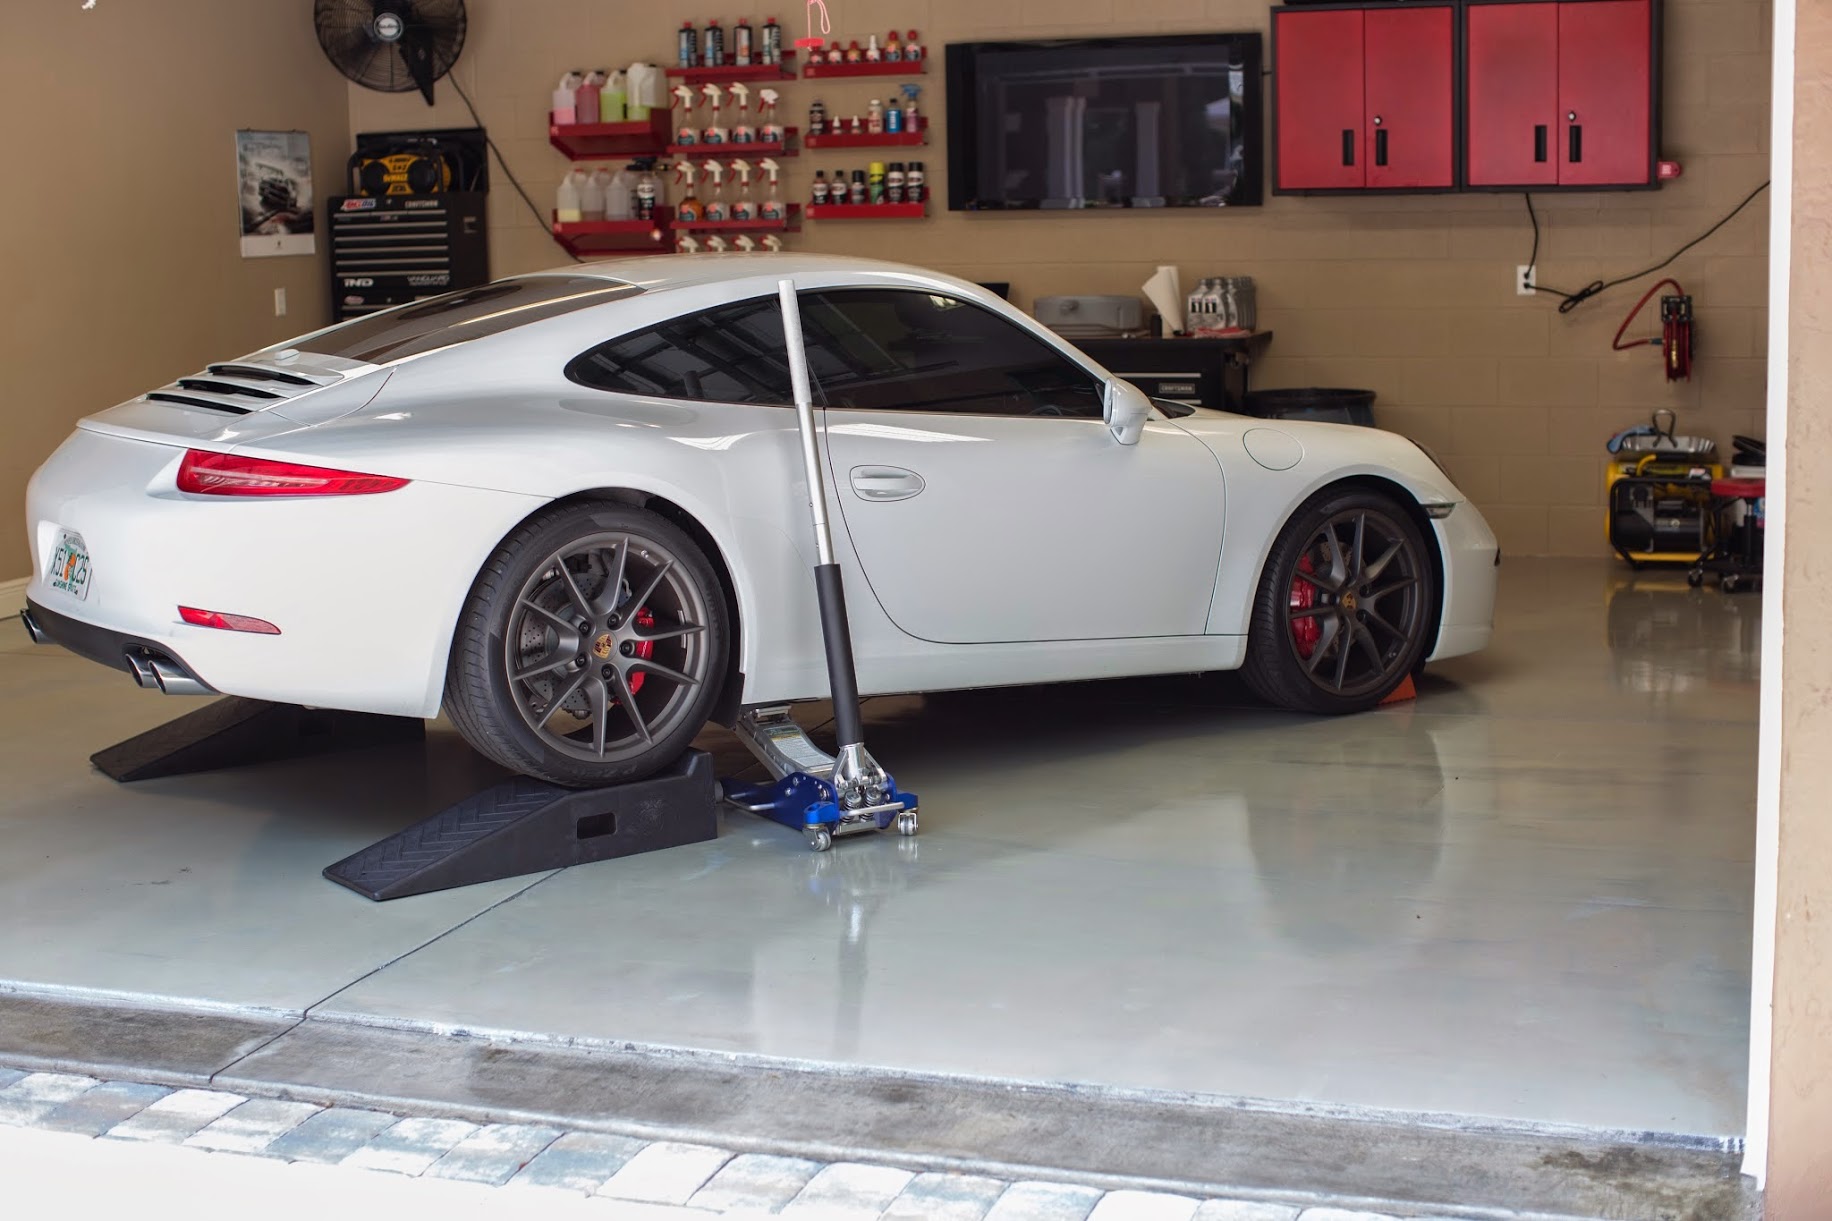
Rhino Ramps
Parts Needed:
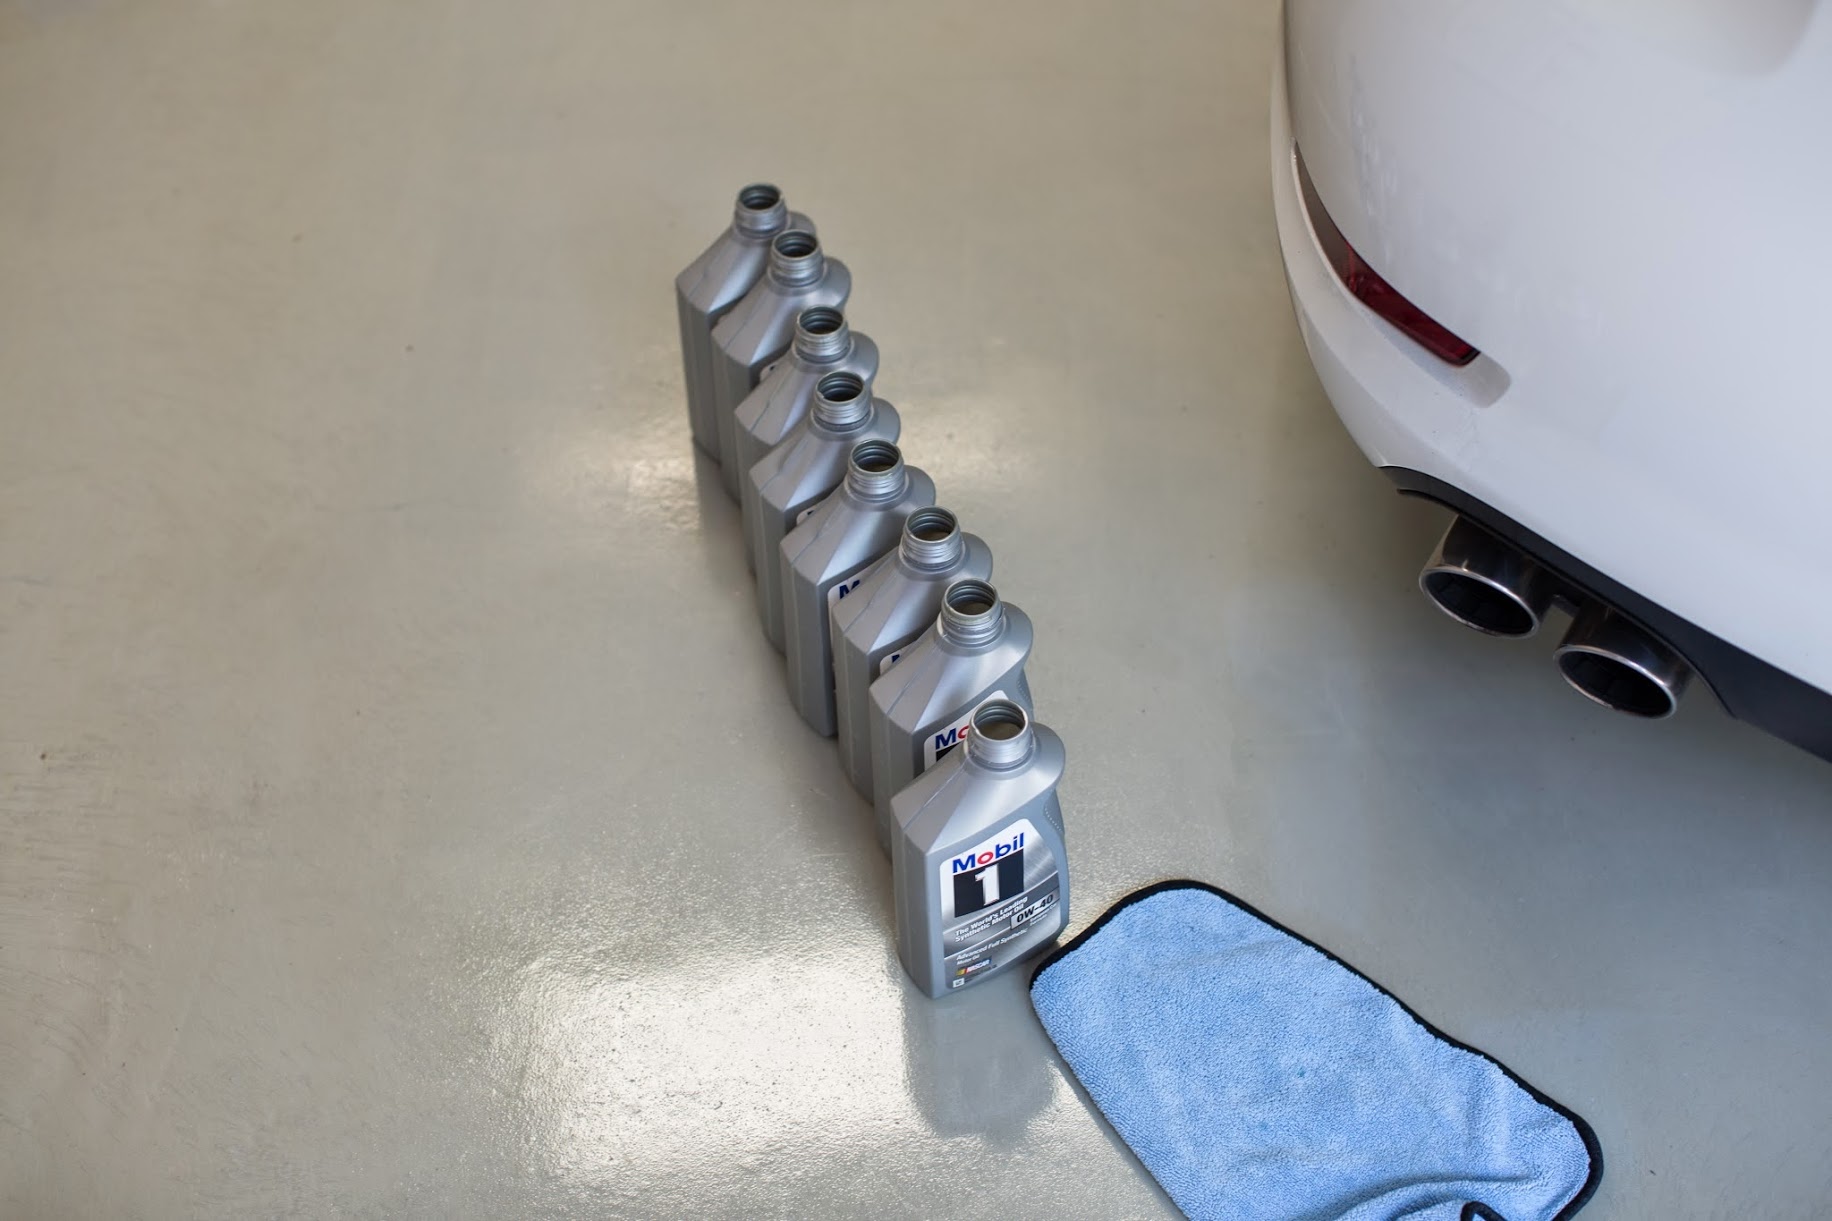
9 Quarts Mobile 1 0W-40 Oil
OEM Porsche Oil Filter, Rubber Gasket, Crush Washer
Before doing anything, I let the car run and idle for about 5 minutes to bring the temperature of the oil up. Supposedly it helps the oil drain better.


I kept buying expensive aluminum jacks and the hydraulic pumps were only lasting a year or two before they blew-up. About 5 years ago I decided to go cheap from Harbor Freight. This thing is indestructible for $130. I've been meaning to buy another one as a back-up. I may get one tomorrow.

Most everything about this car is just better than any other car on the planet. I even like the jack points. It's just plain better!


I've always found it easier to just jack the car up and put the Rhino ramps under the tire. I figure less chance of error. I prefer the stability of ramps to jack stands.

I feel so much tougher and more manly when I see my car up on ramps!
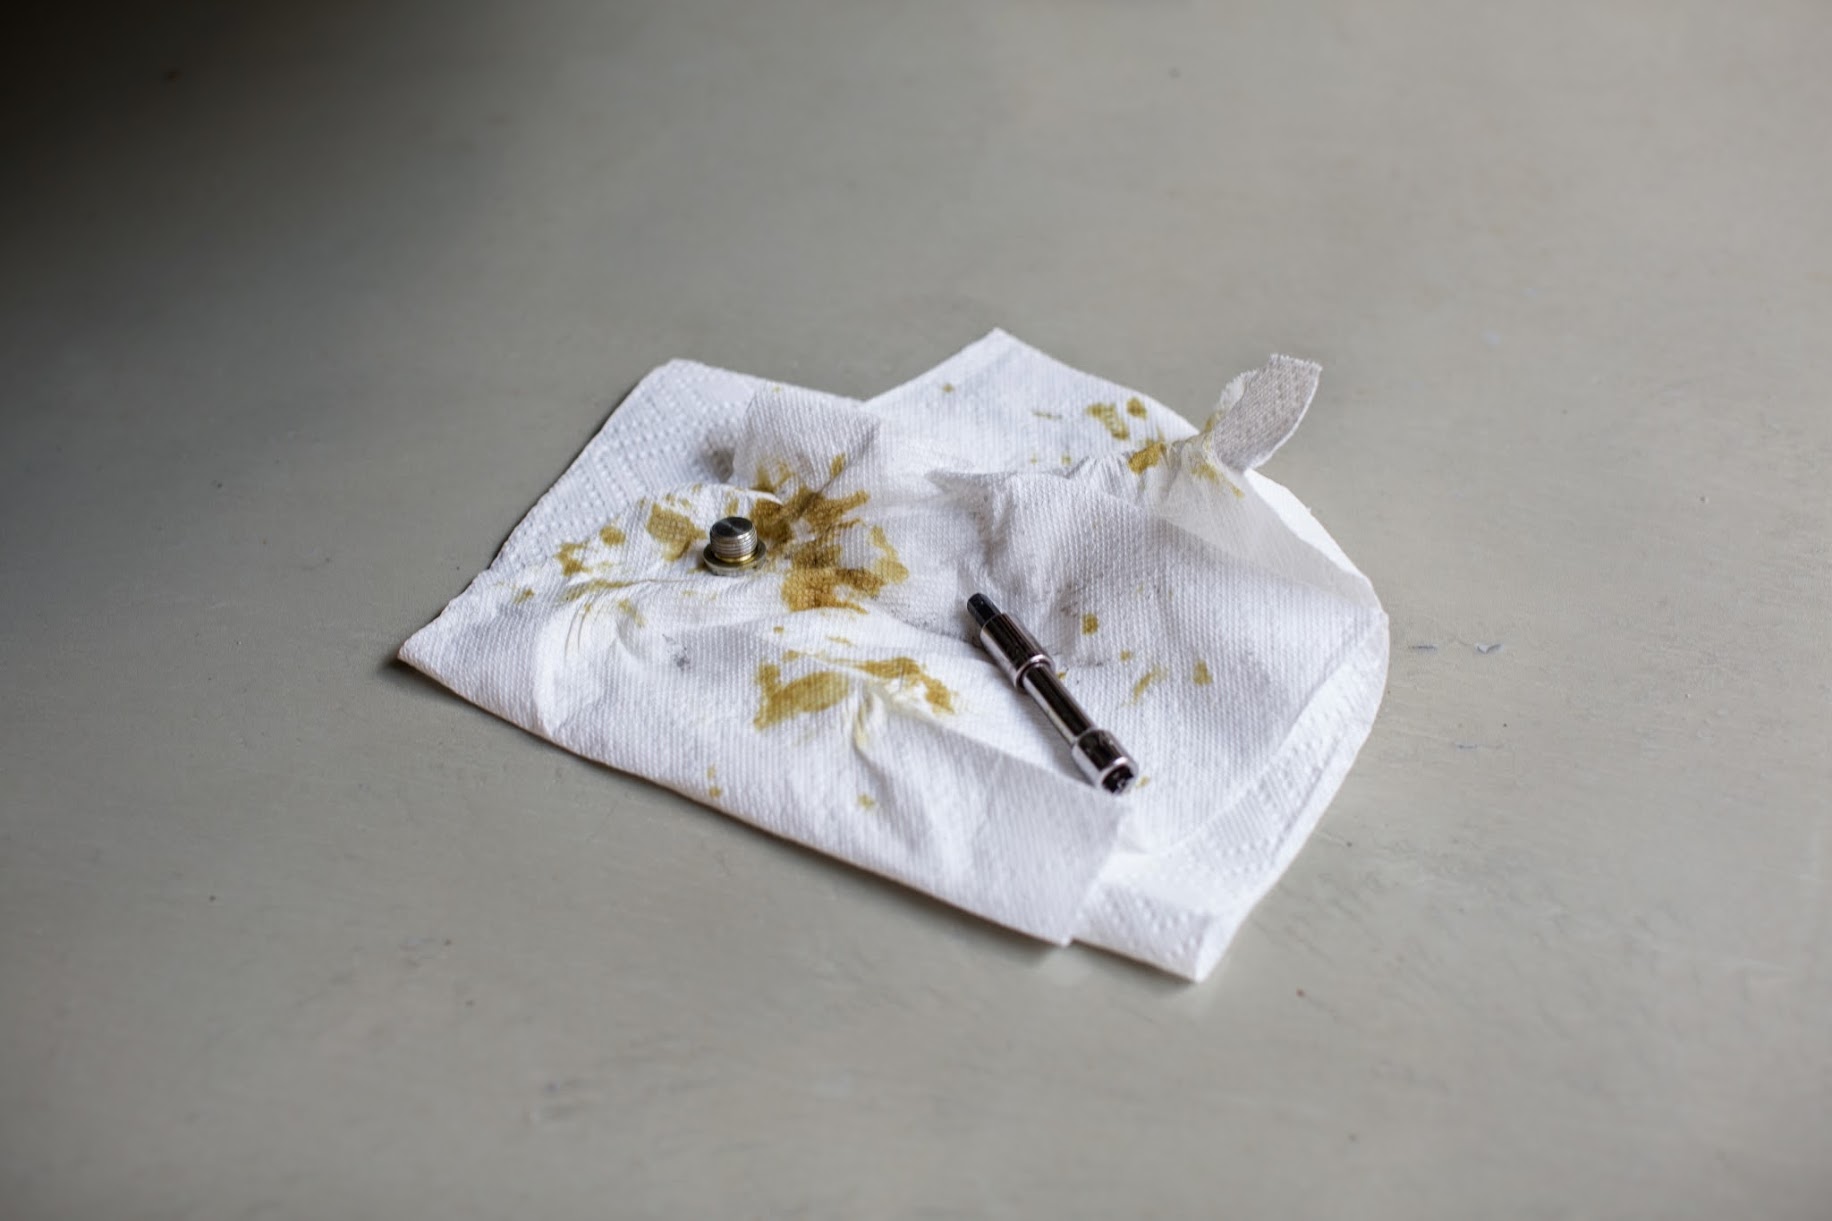
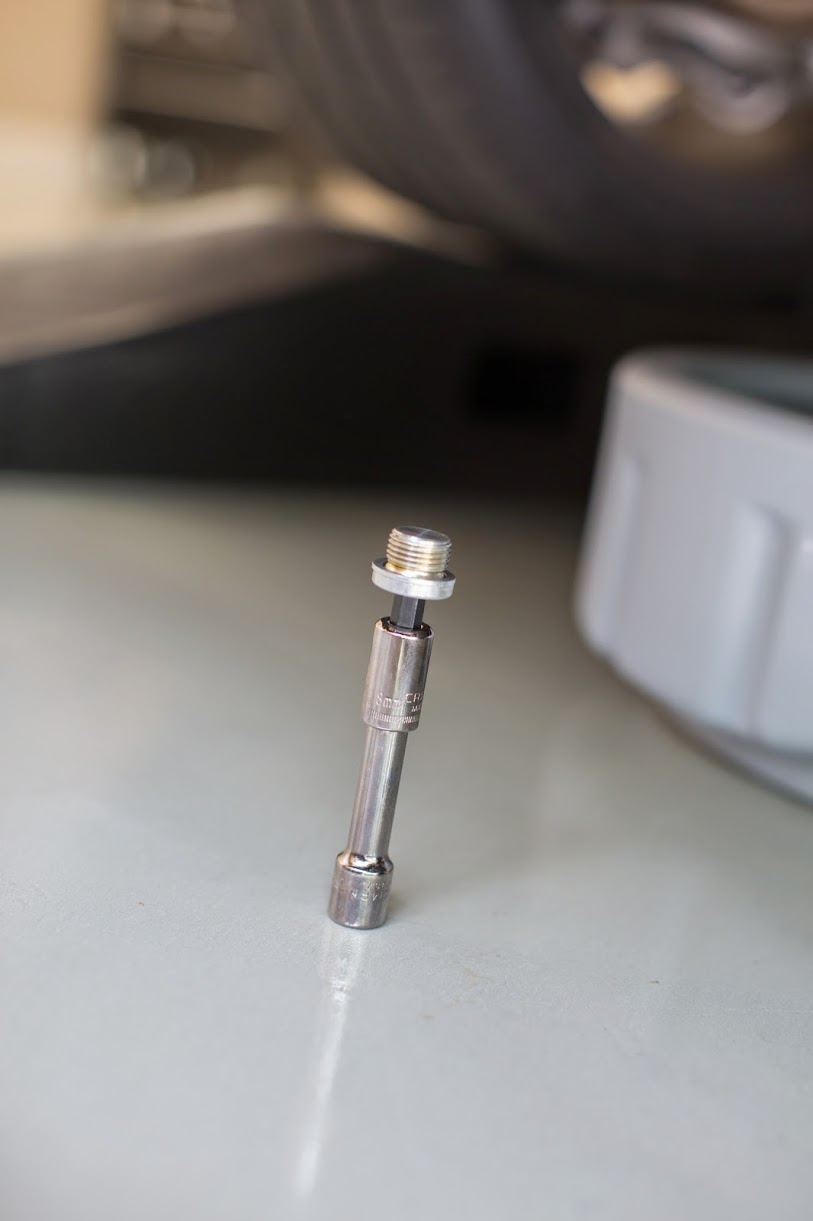
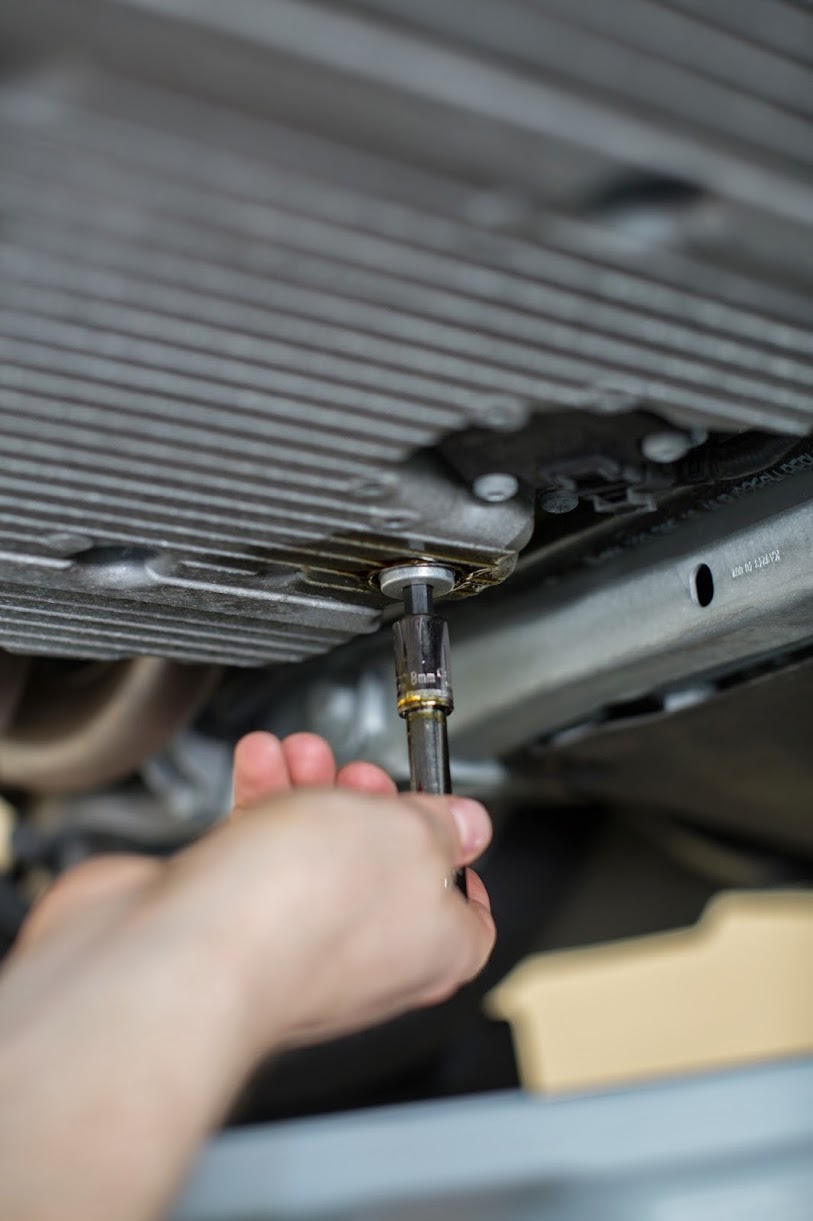
Plug pulled using 8mm Hex Bit and 3/8" ratchet. I always have a few paper towels with me under the car to throw the drain bolt on after removing it.

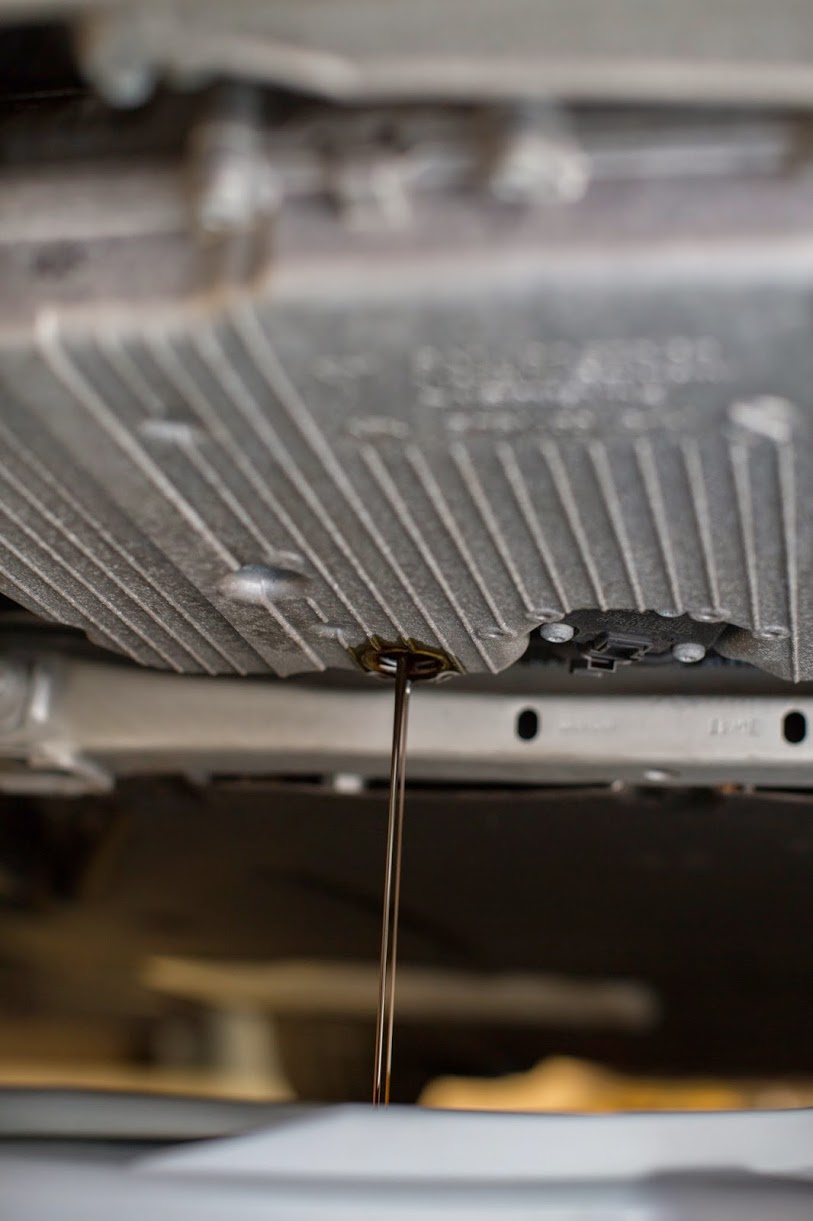
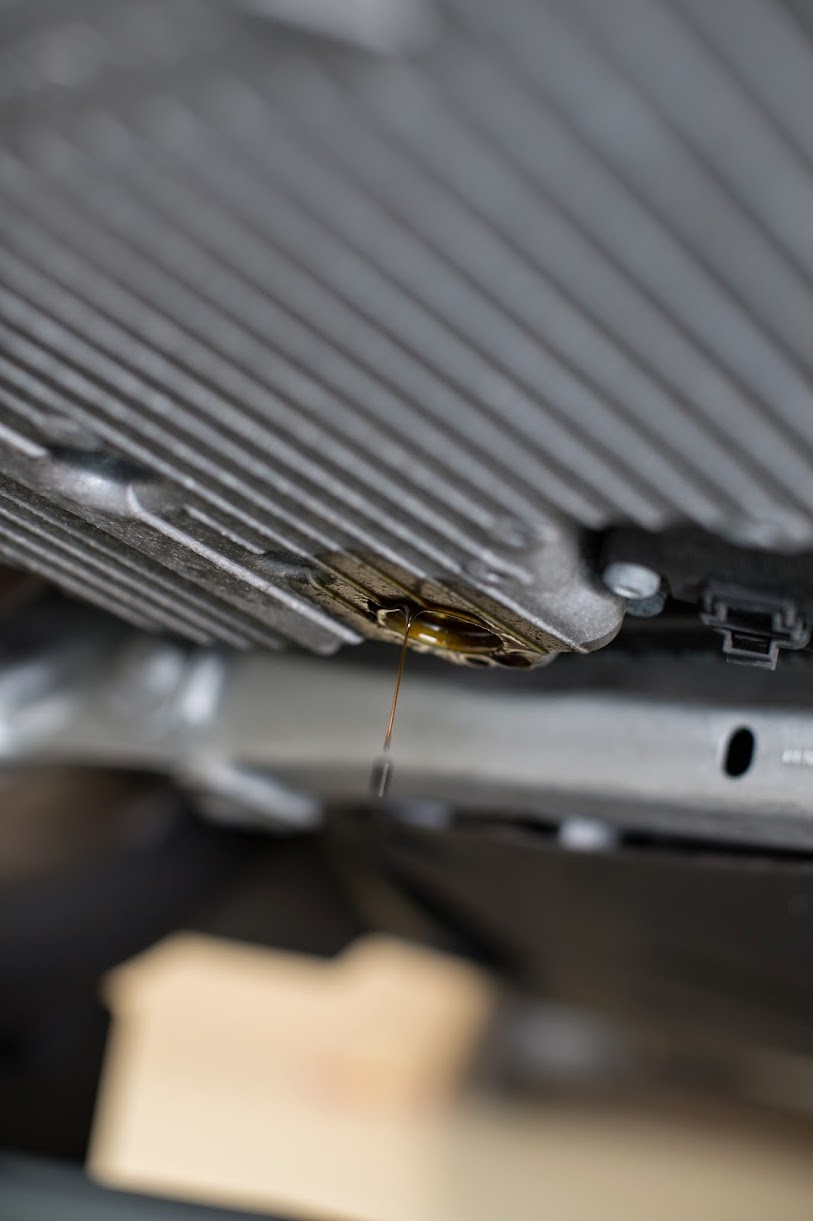
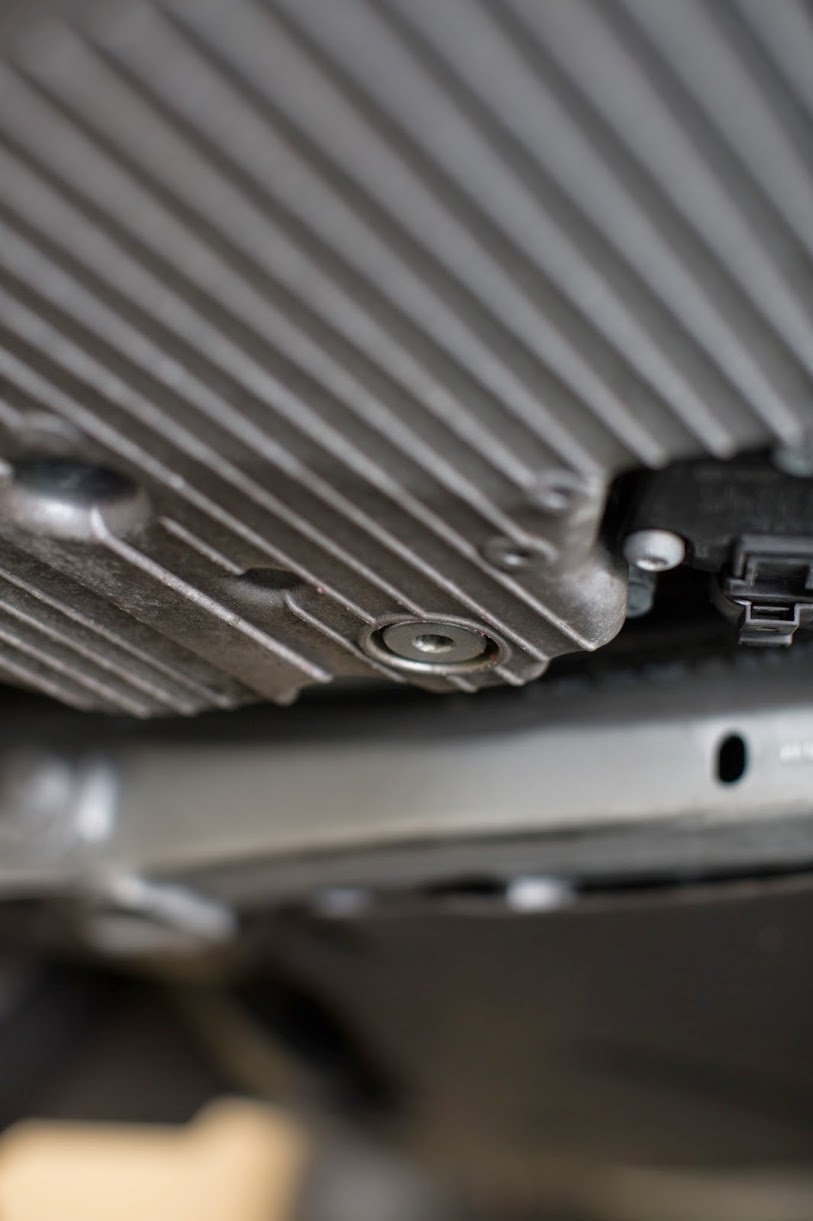
Draining...
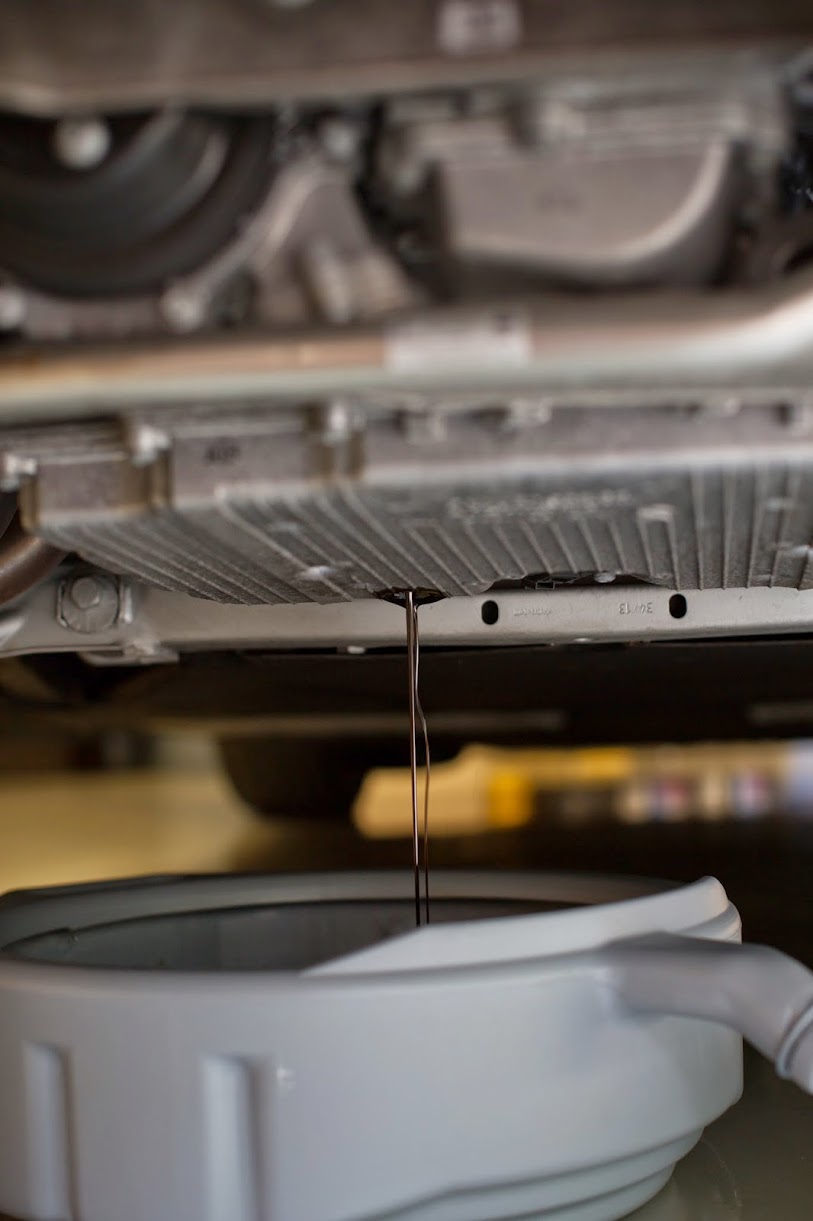
This thing drained forever.
Drain bolt and used crush washer. I always clean up it. Am I the only psycho that cleans each individual thread?


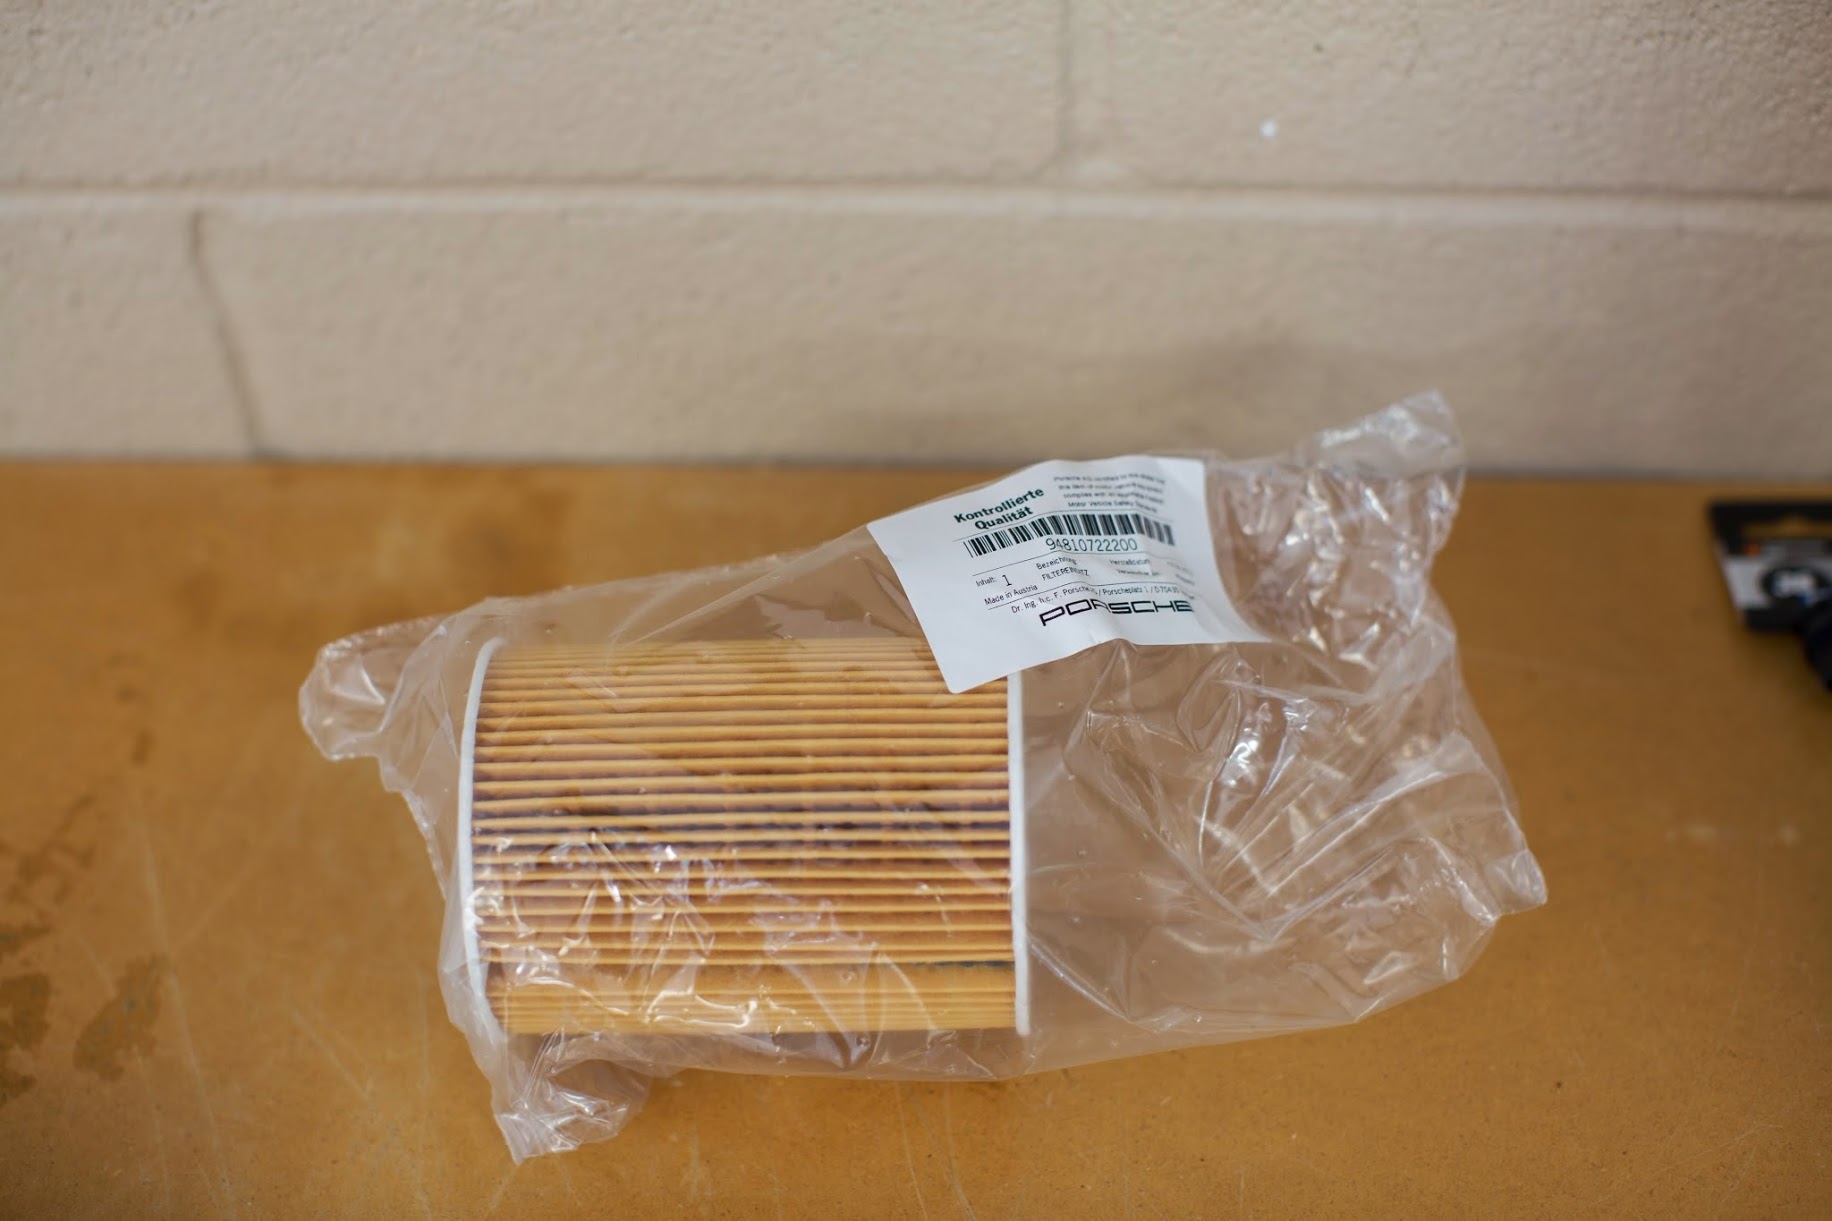
Cleaned and ready for install with new crush washer. I got the kit from Suncoast with washer, rubber gasket, and filter.

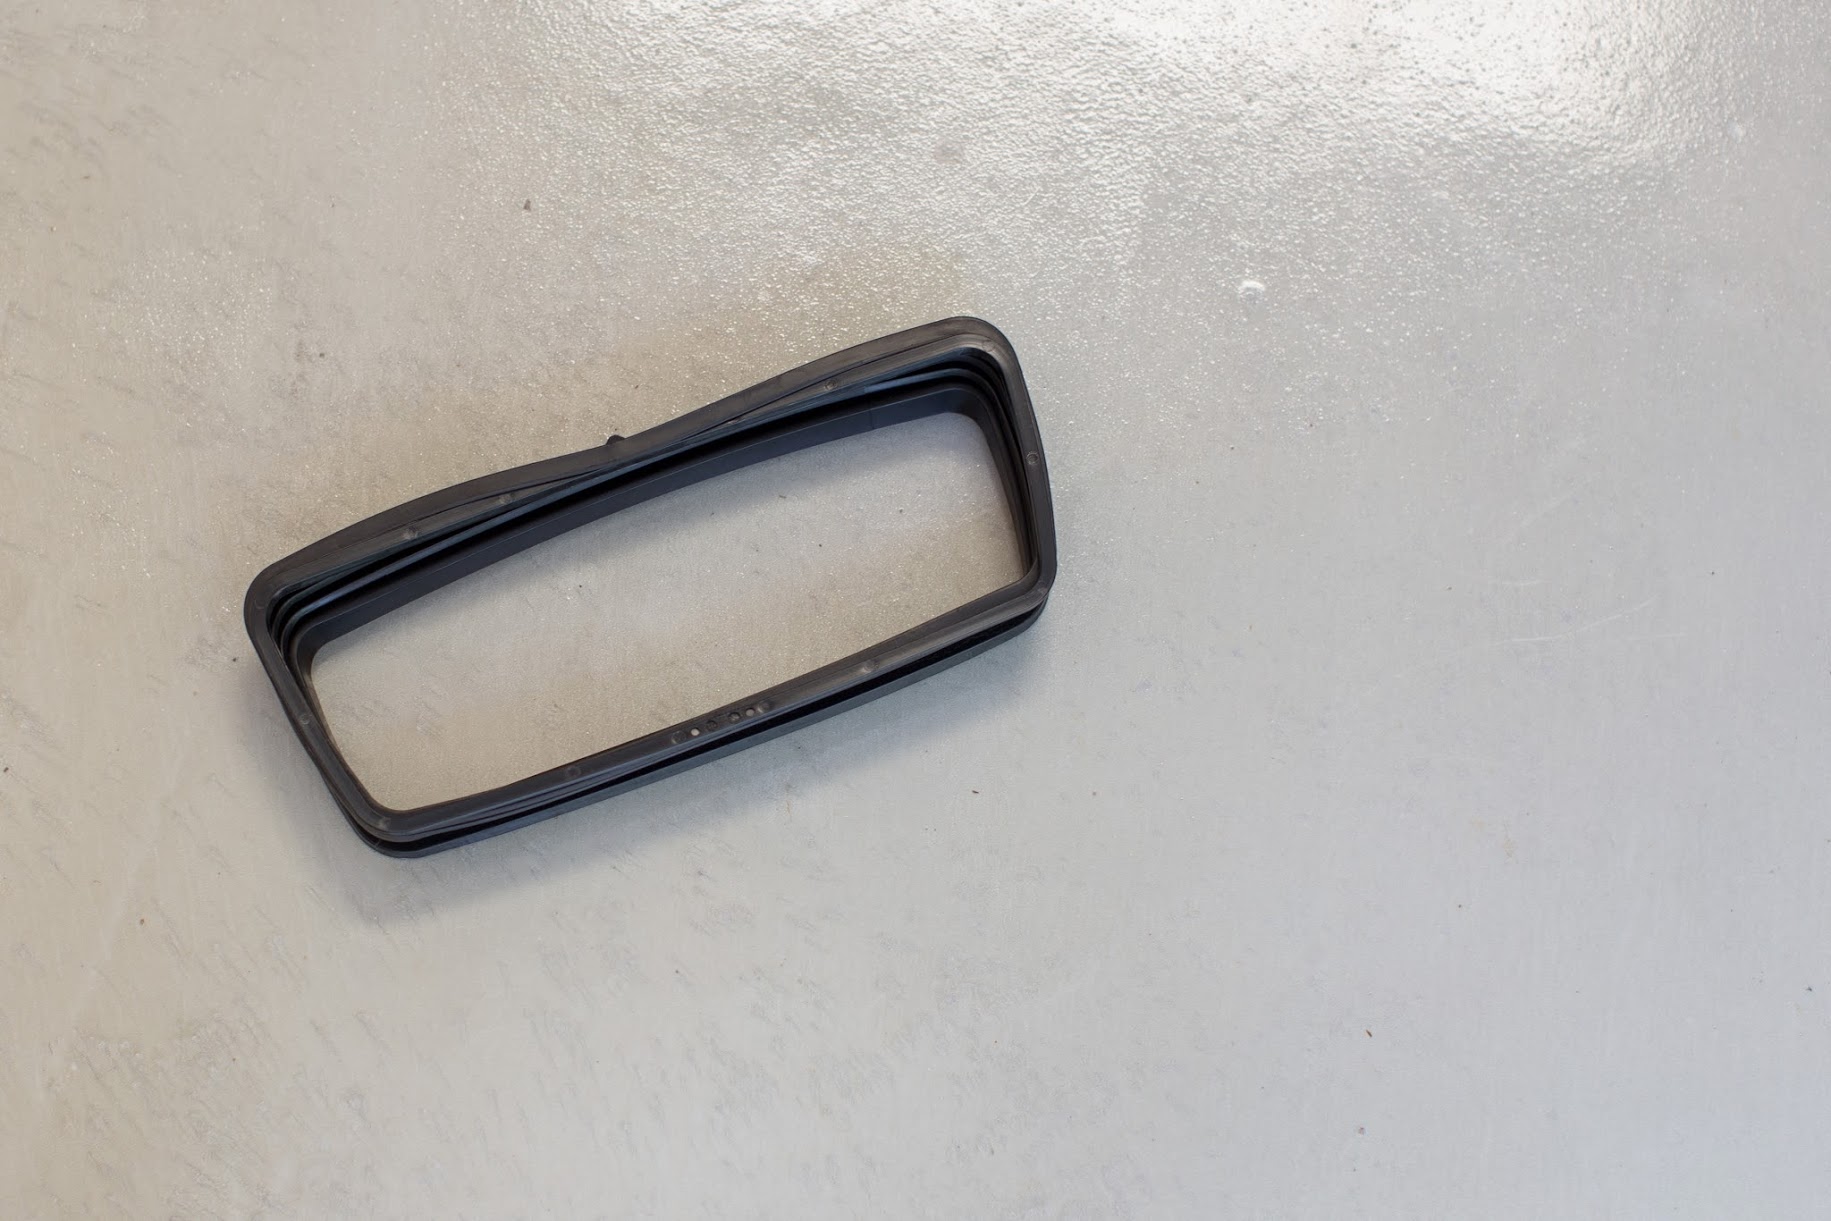
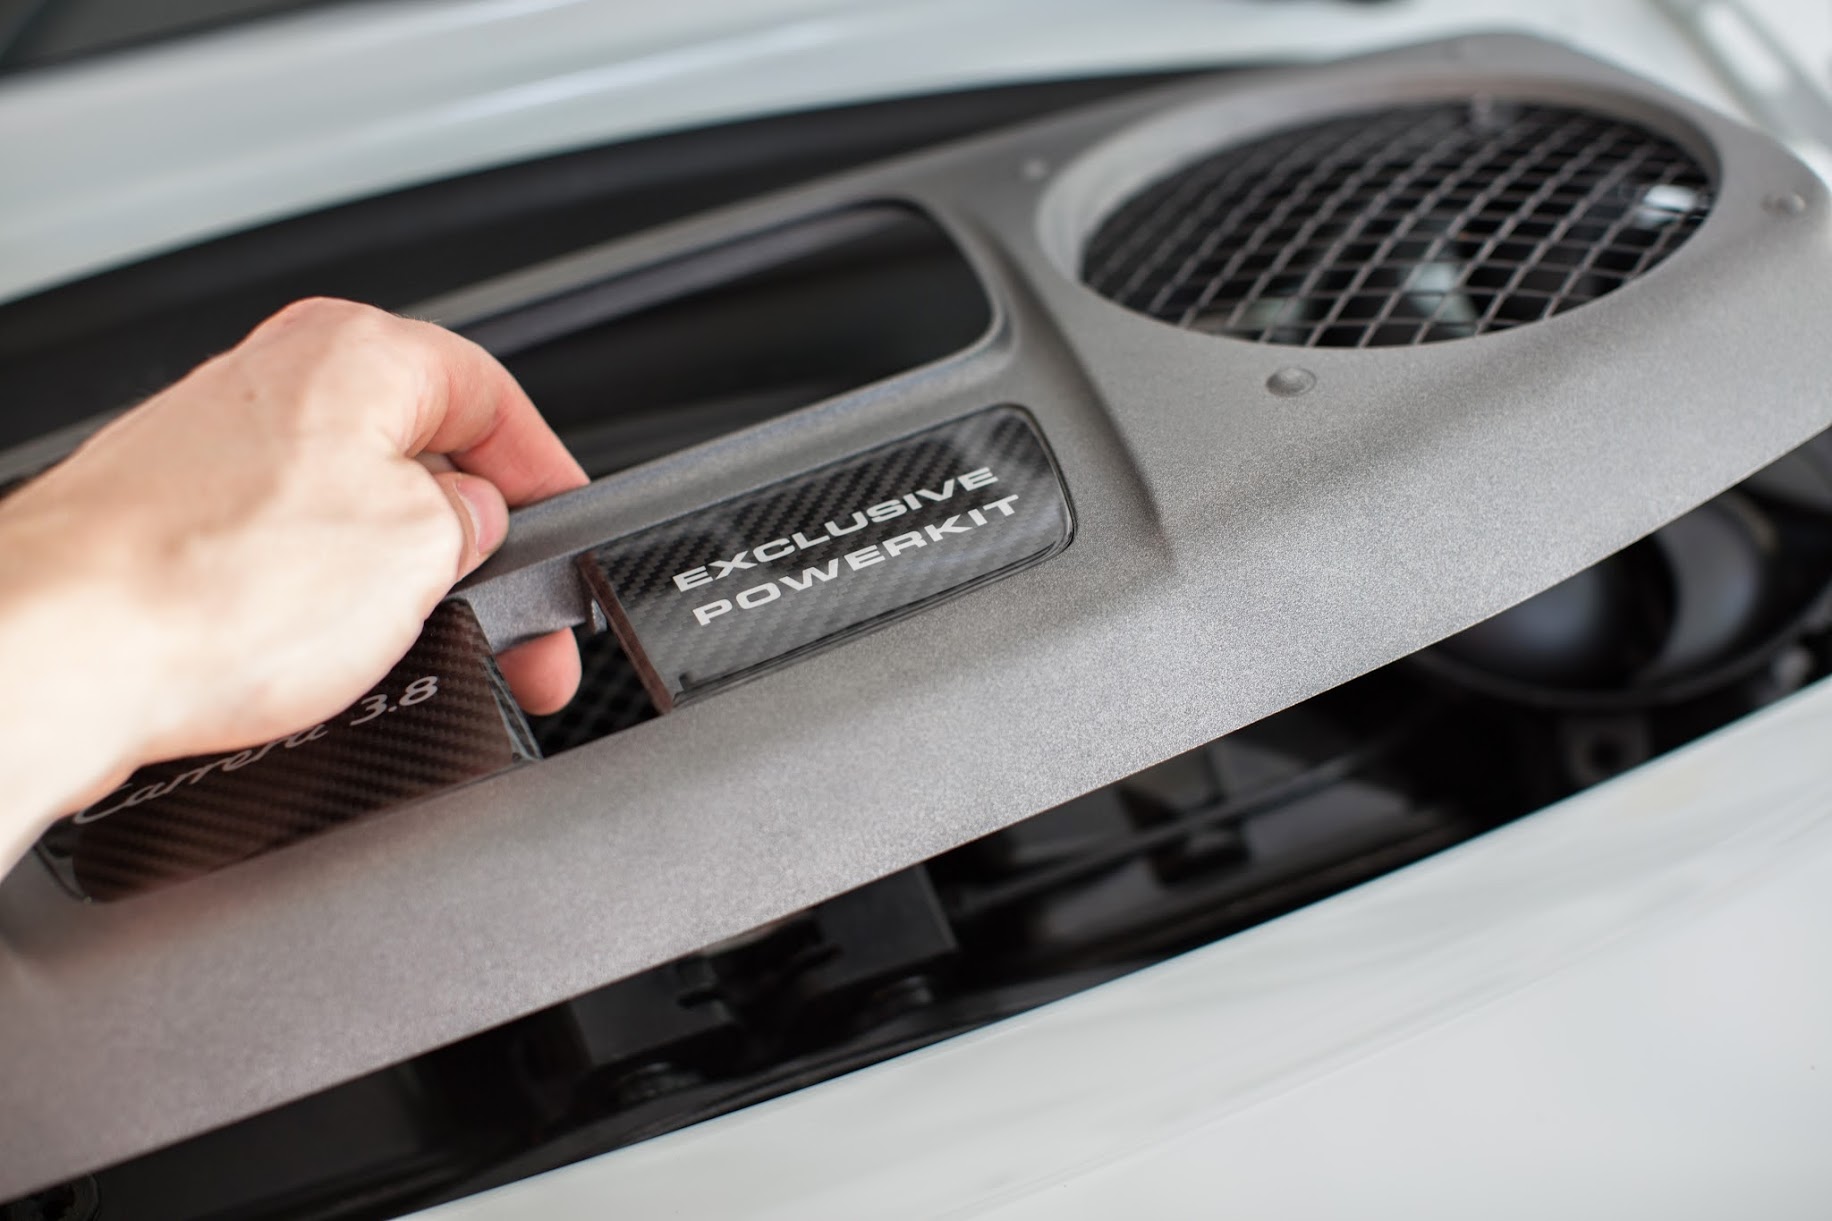
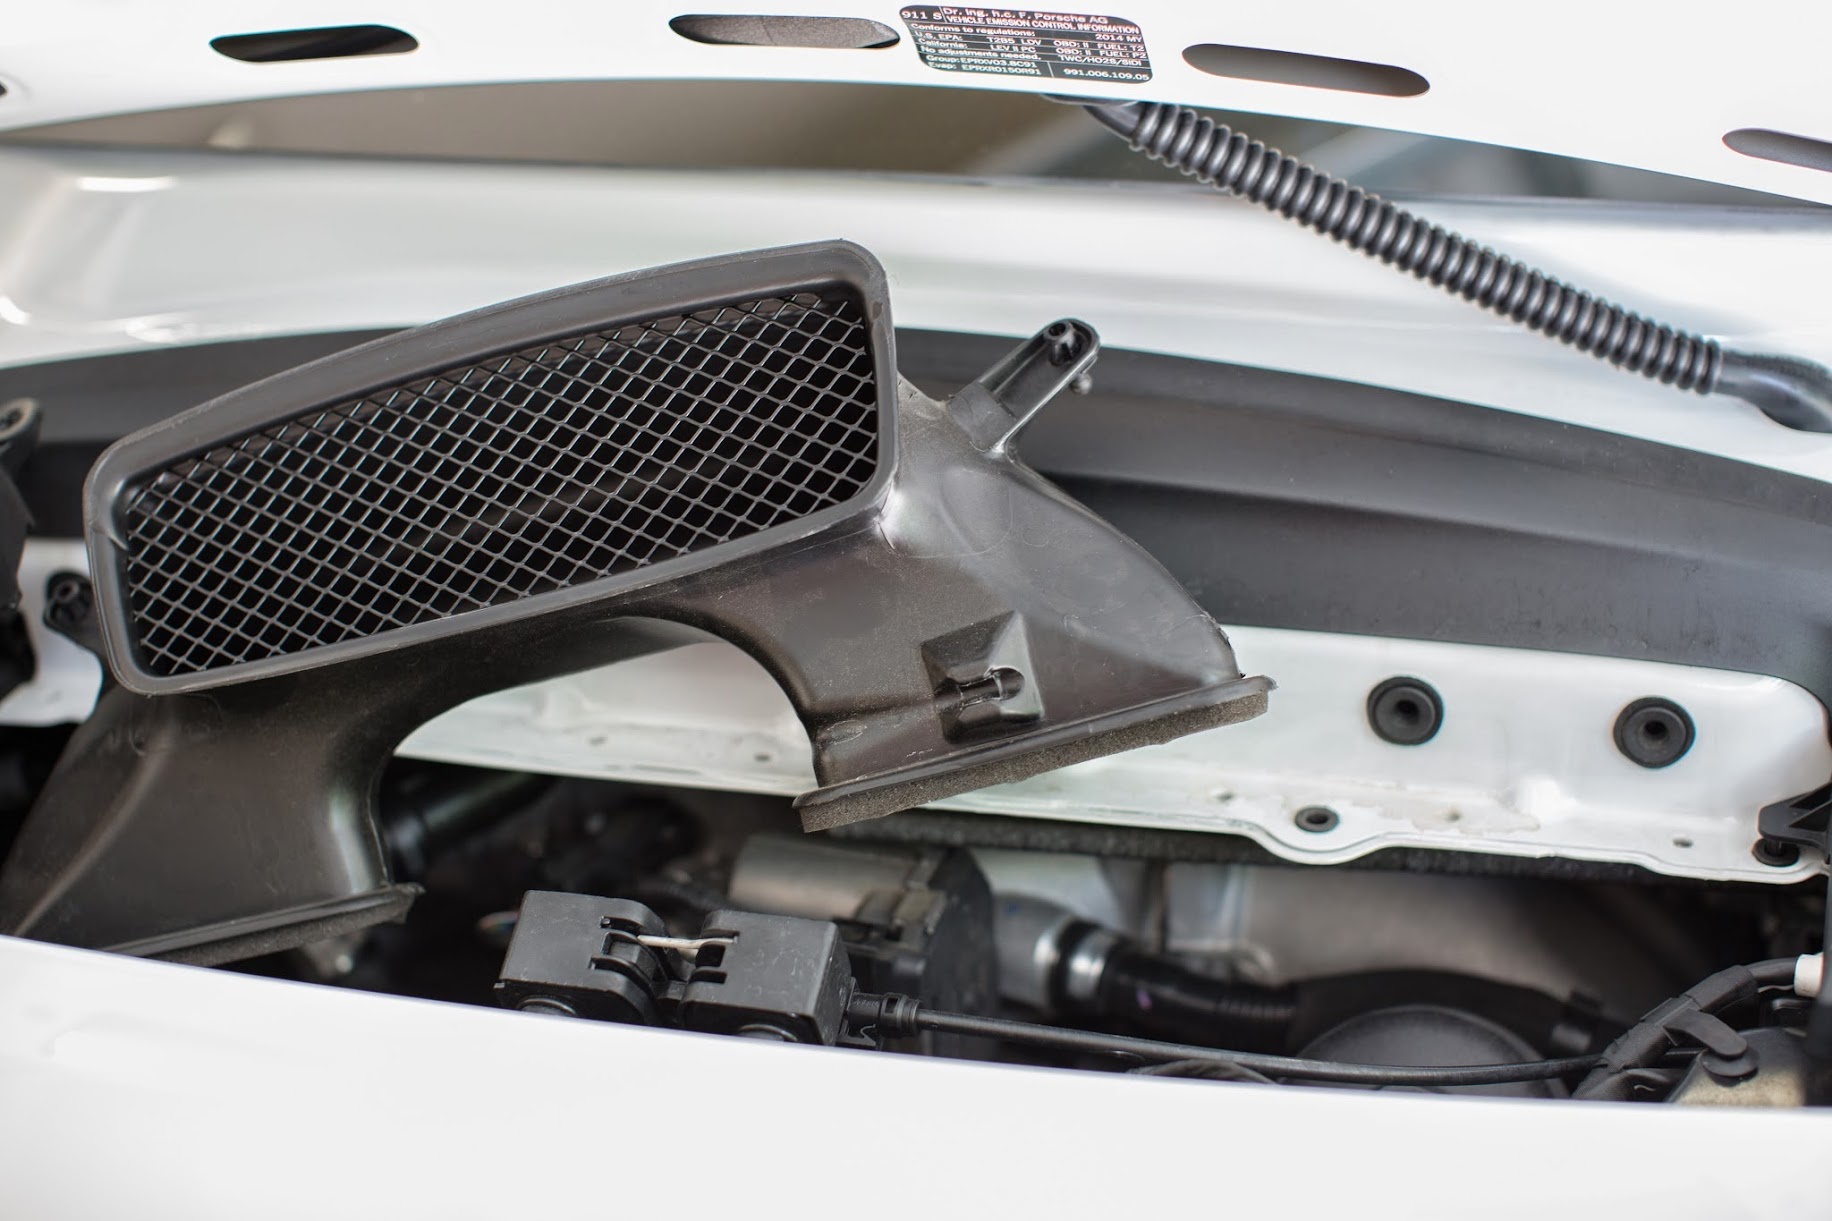
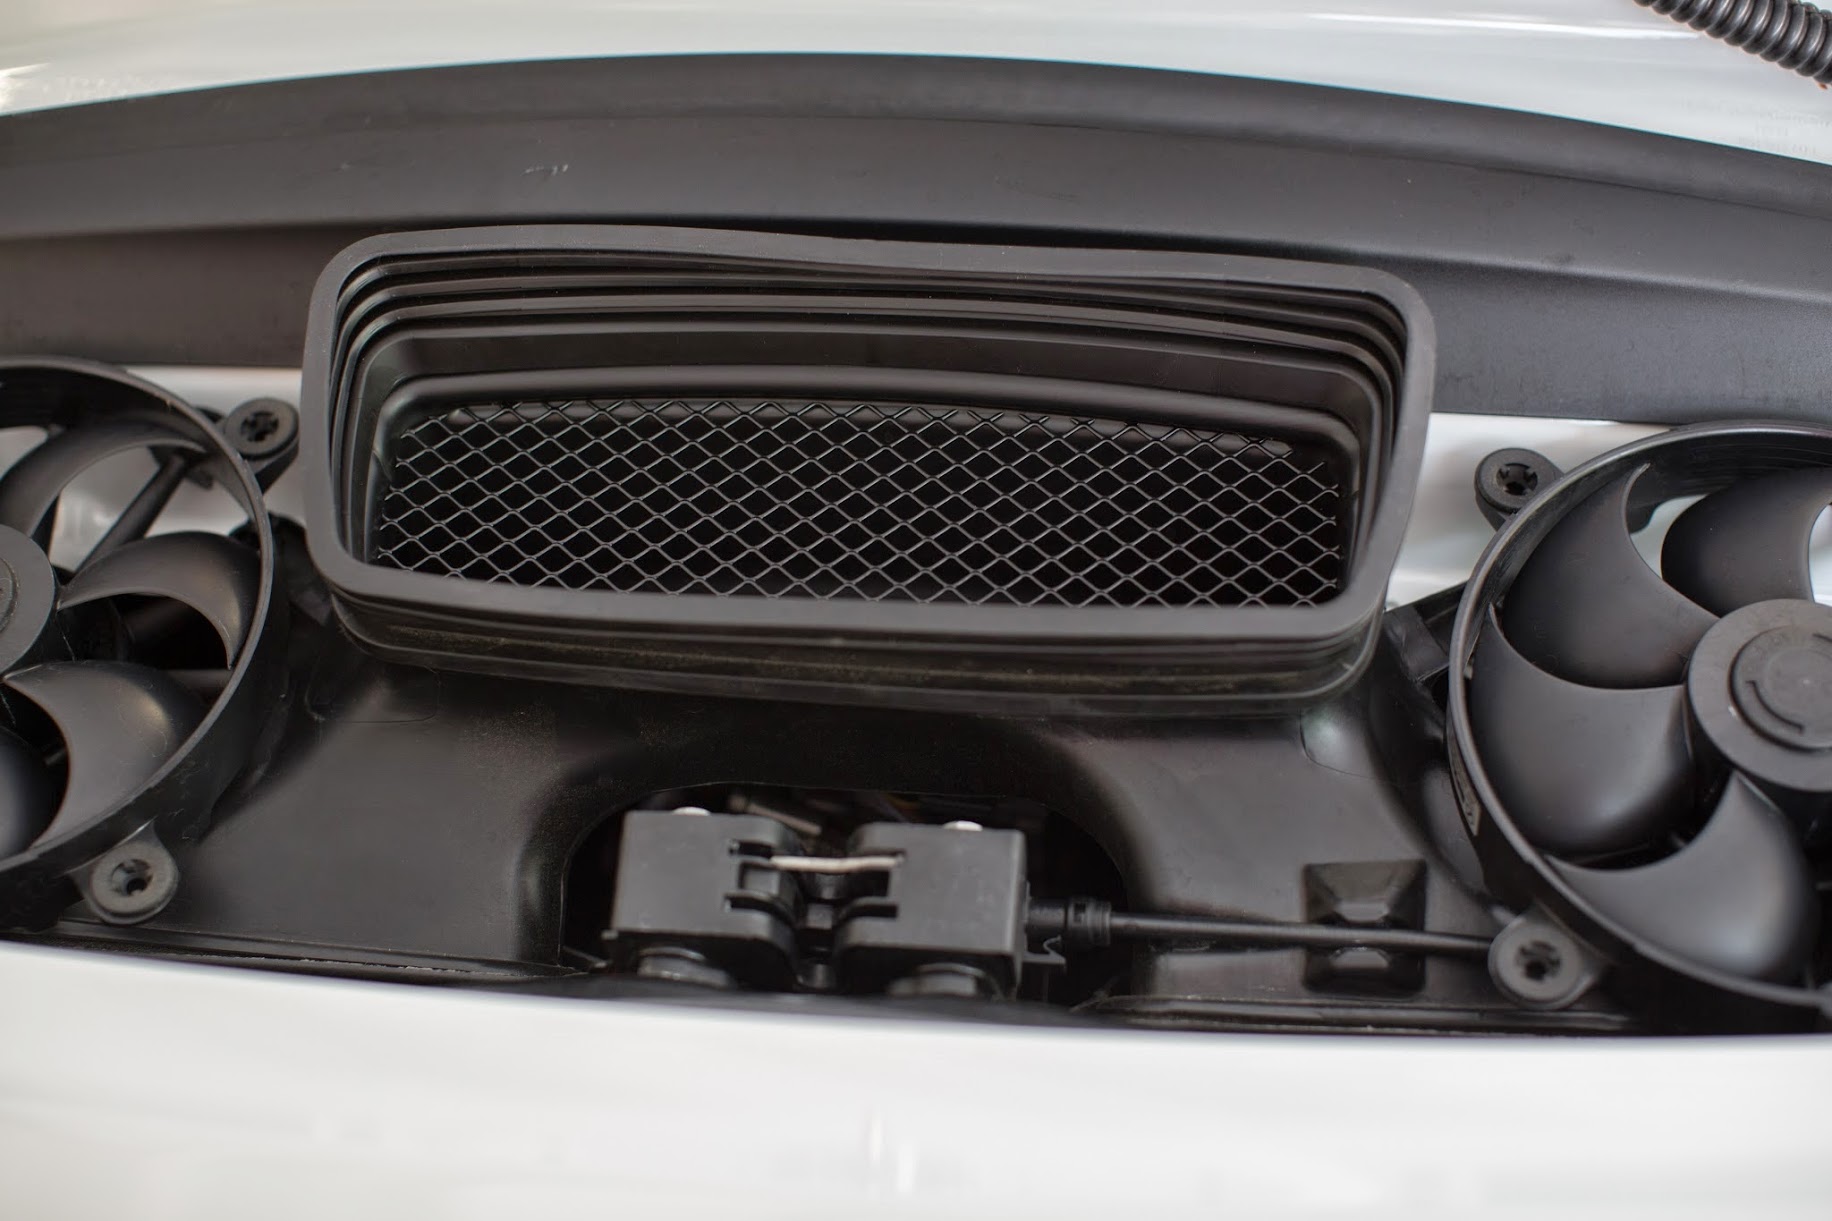
I was going to simply pull out the support bracket, but I found it easier to just pull the whole rubber piece out.
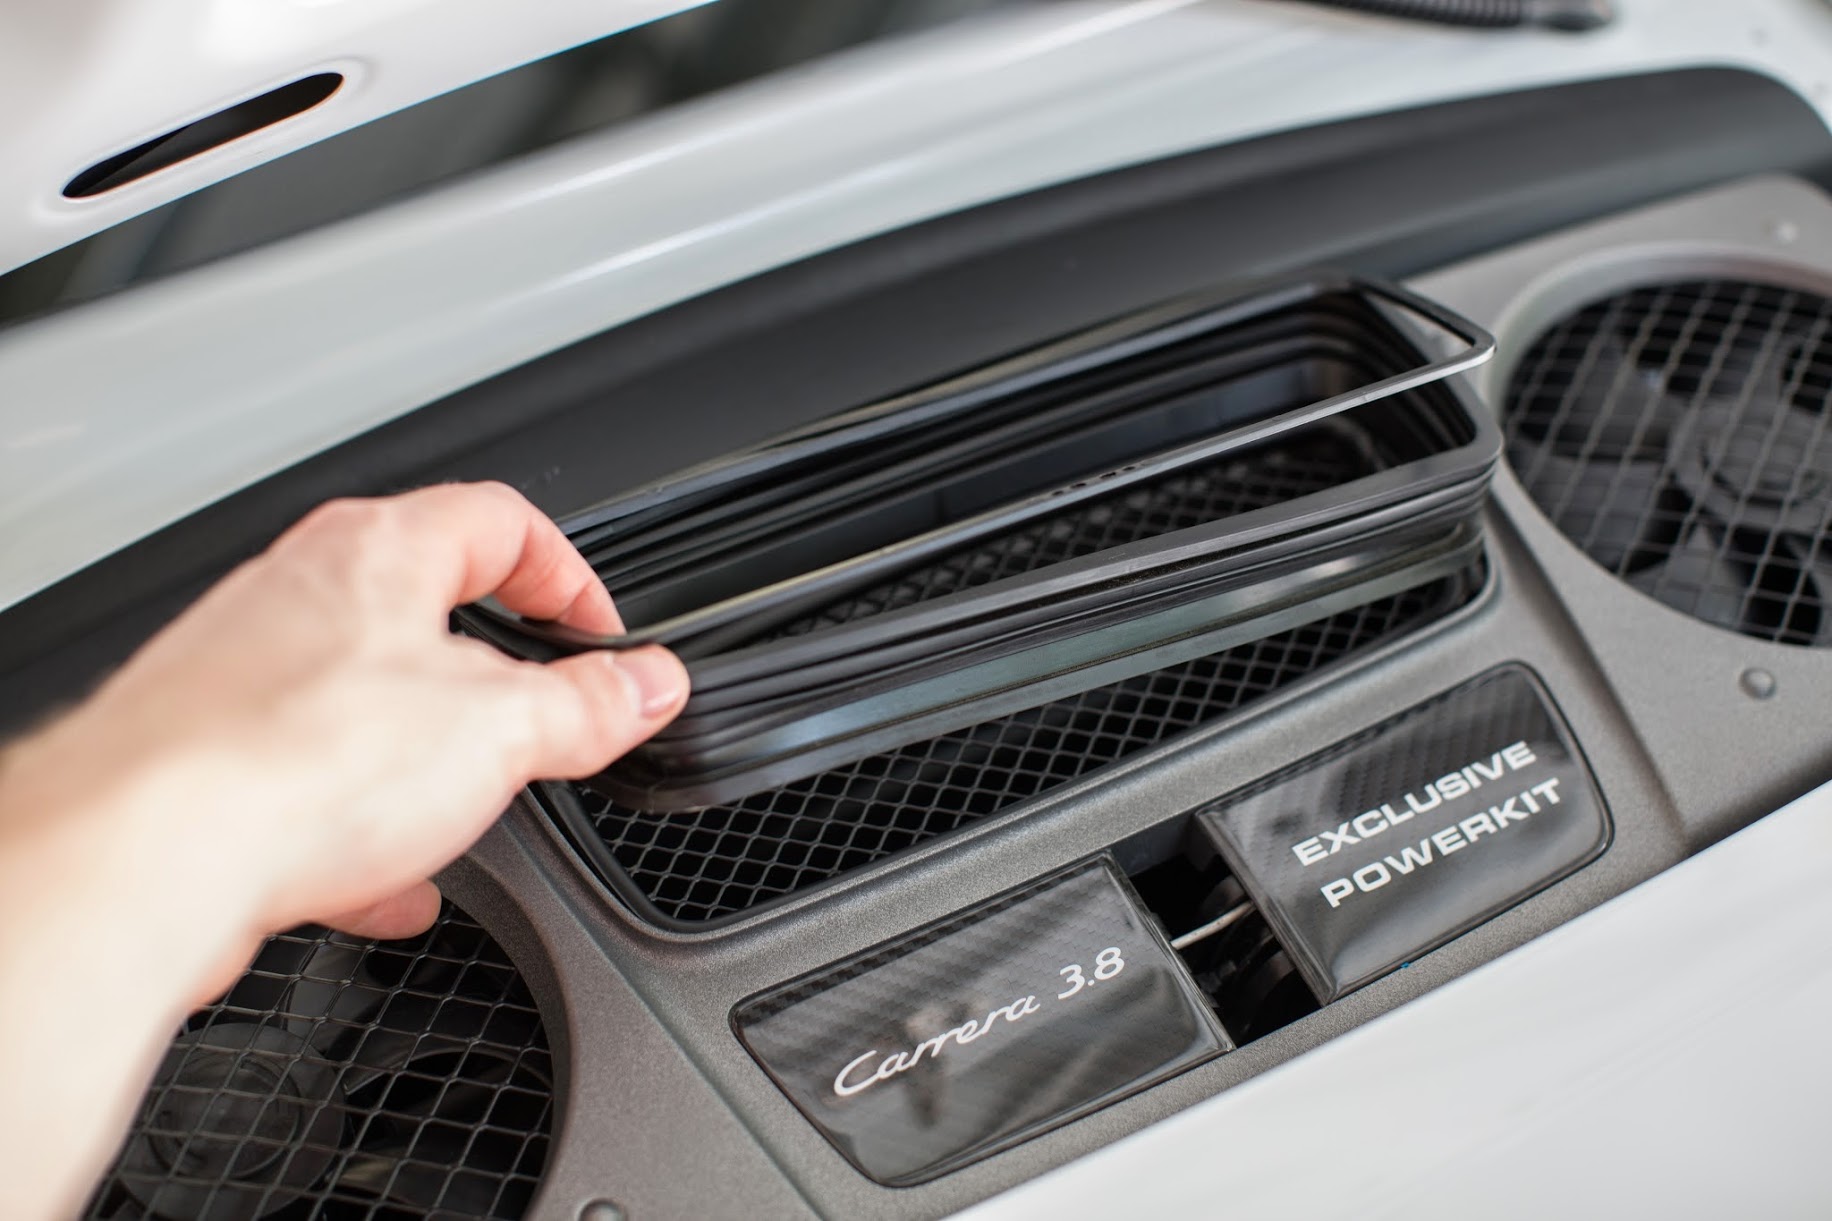
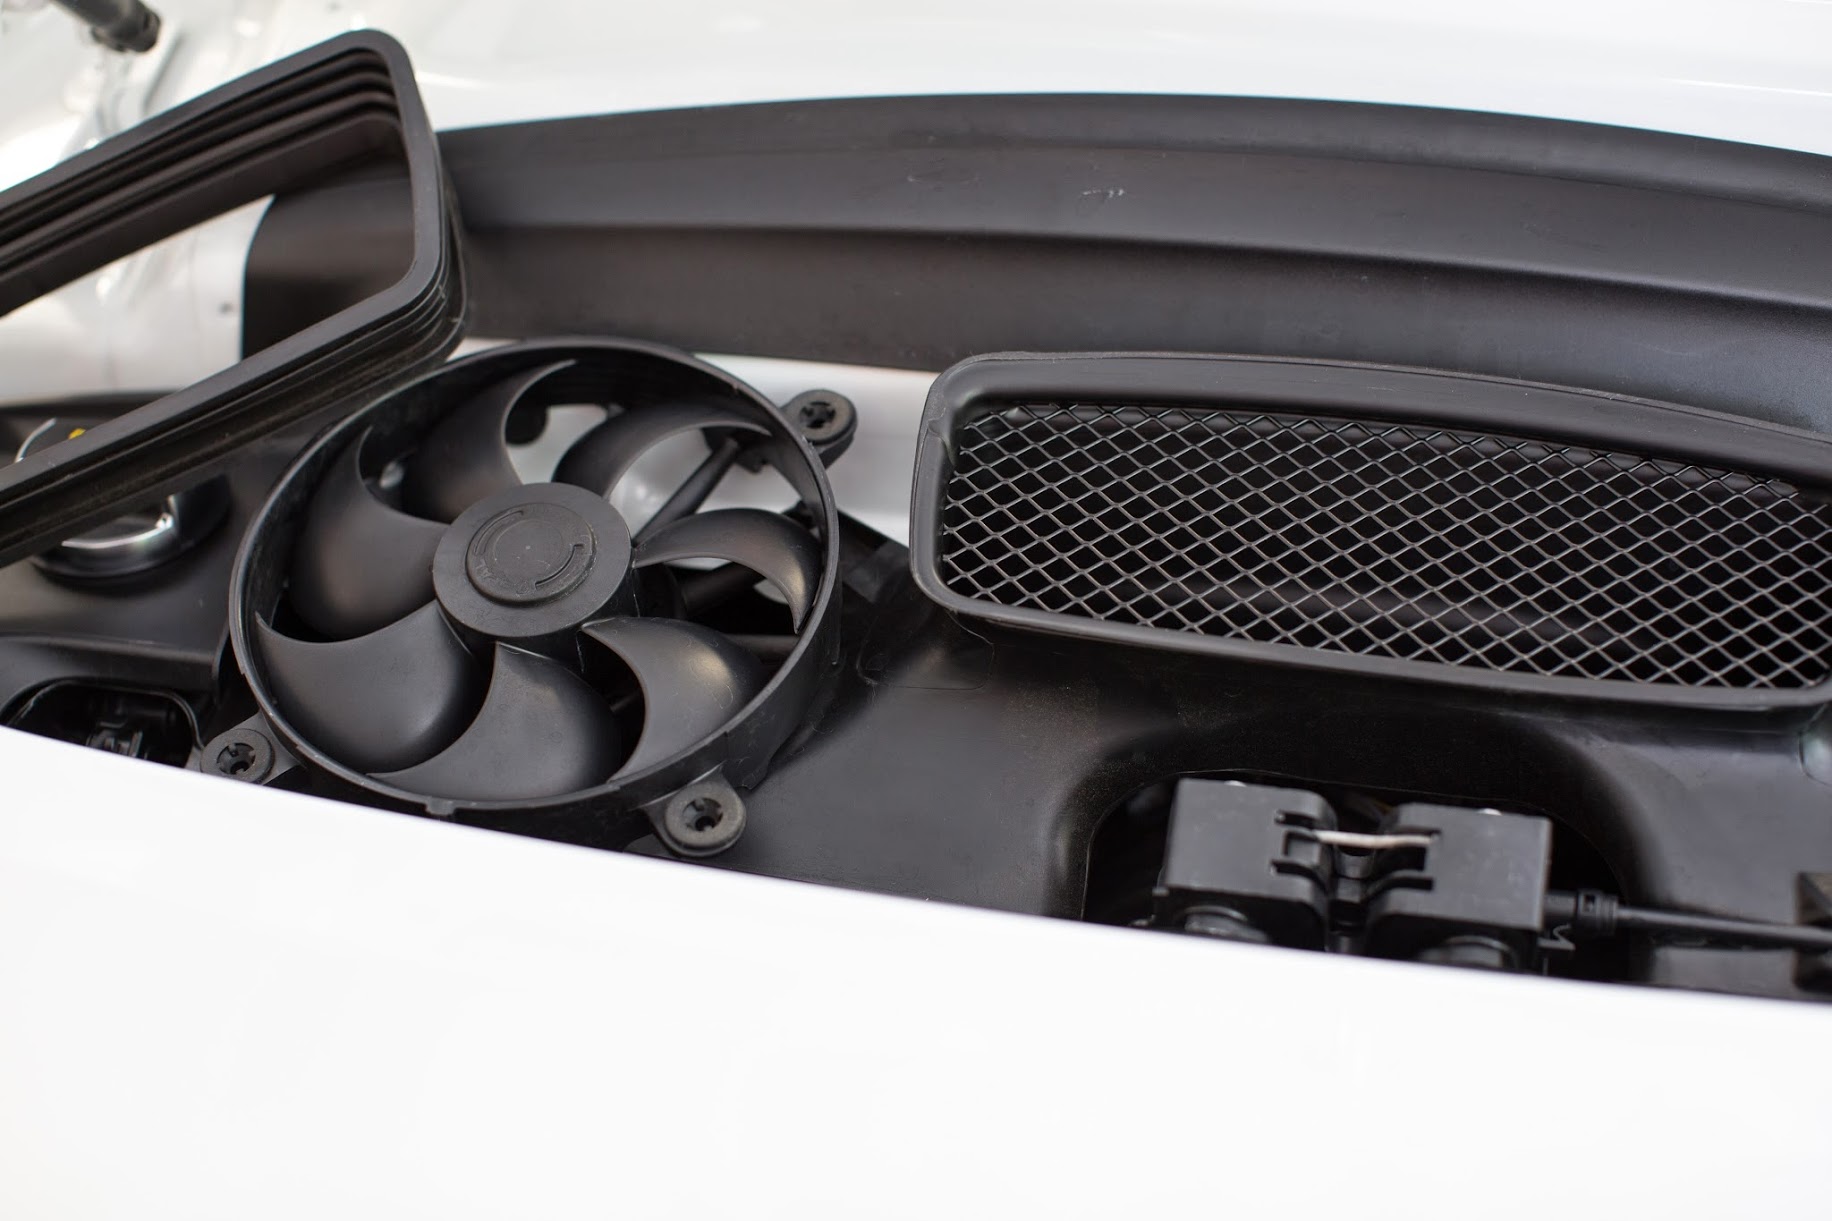
The cover pops right off. Be careful not to smack the paint on the spoiler. I put my fingers underneath on the fans while pulling the cover upward.
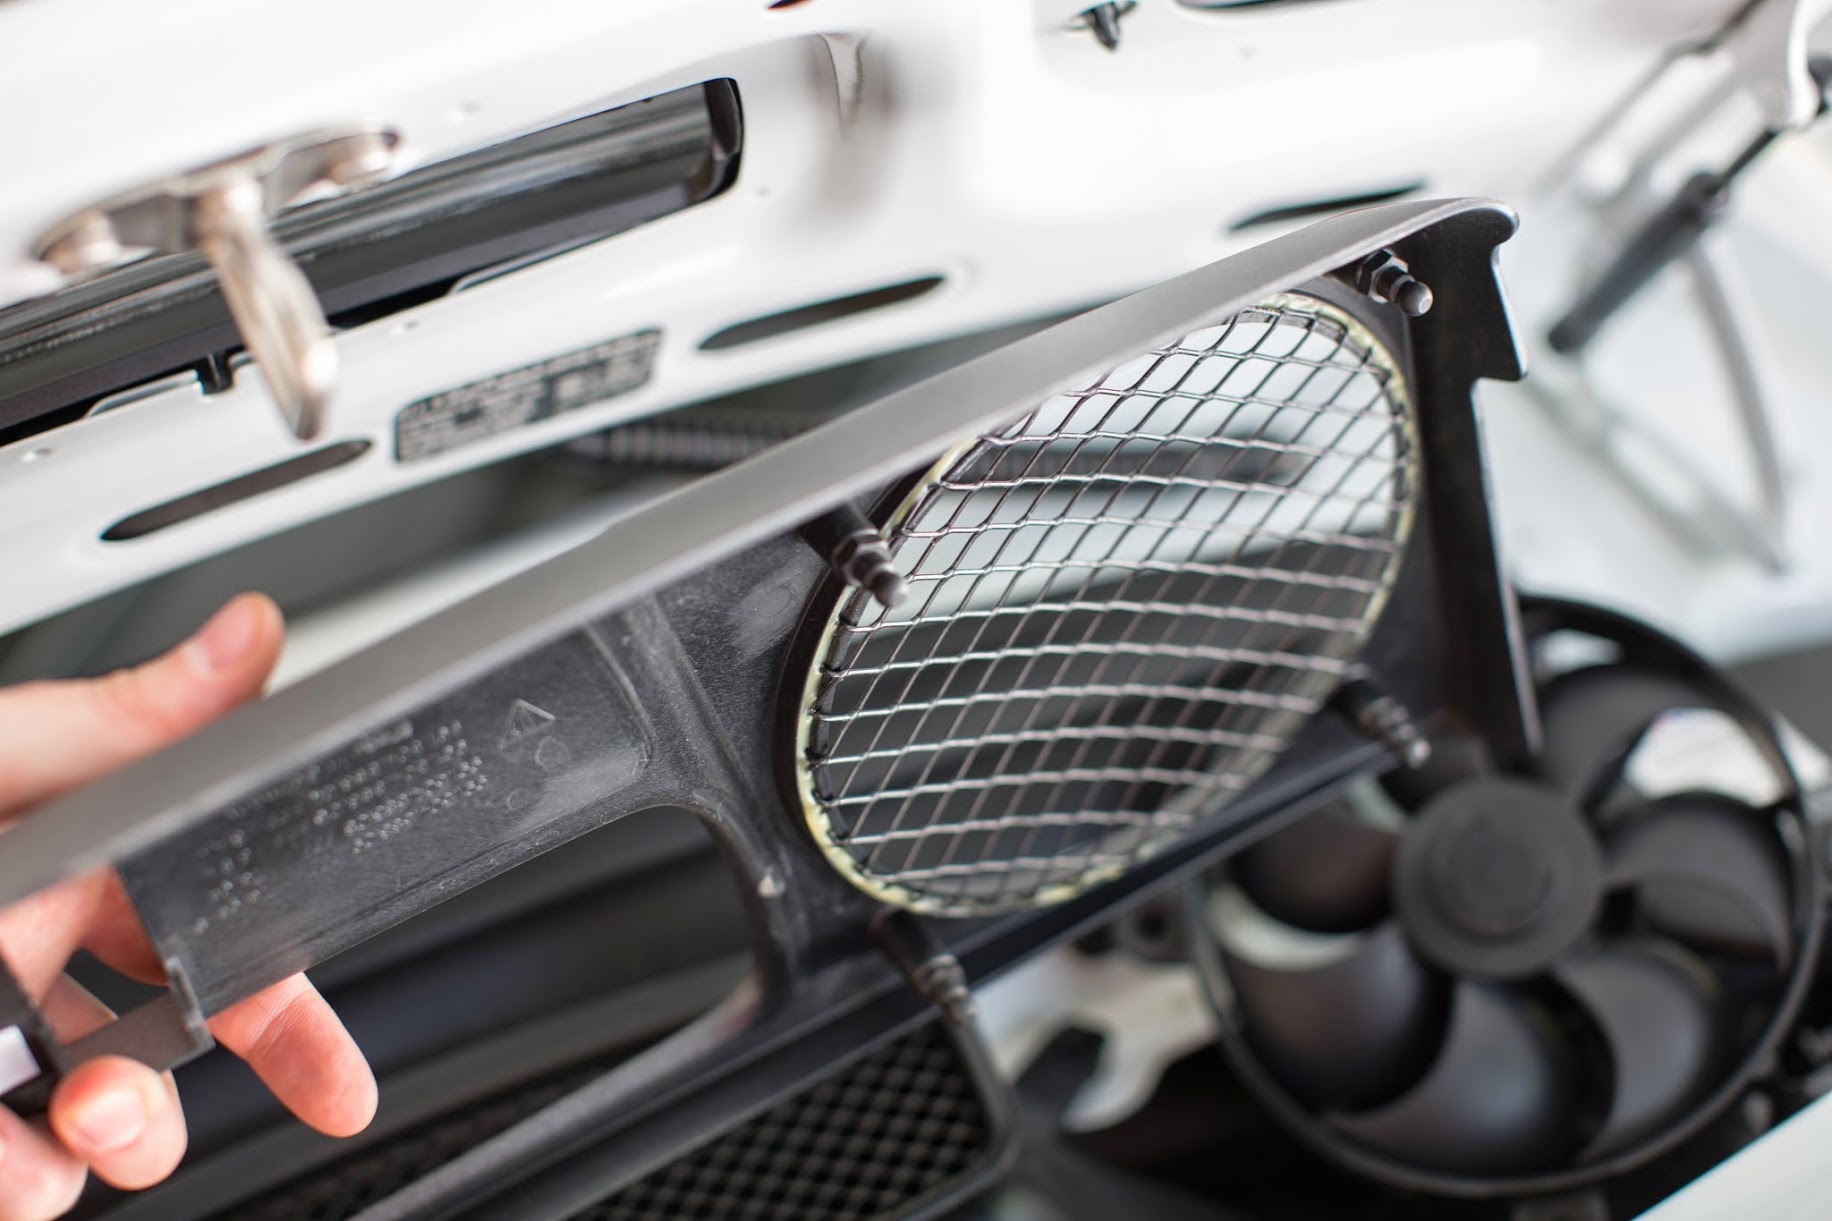
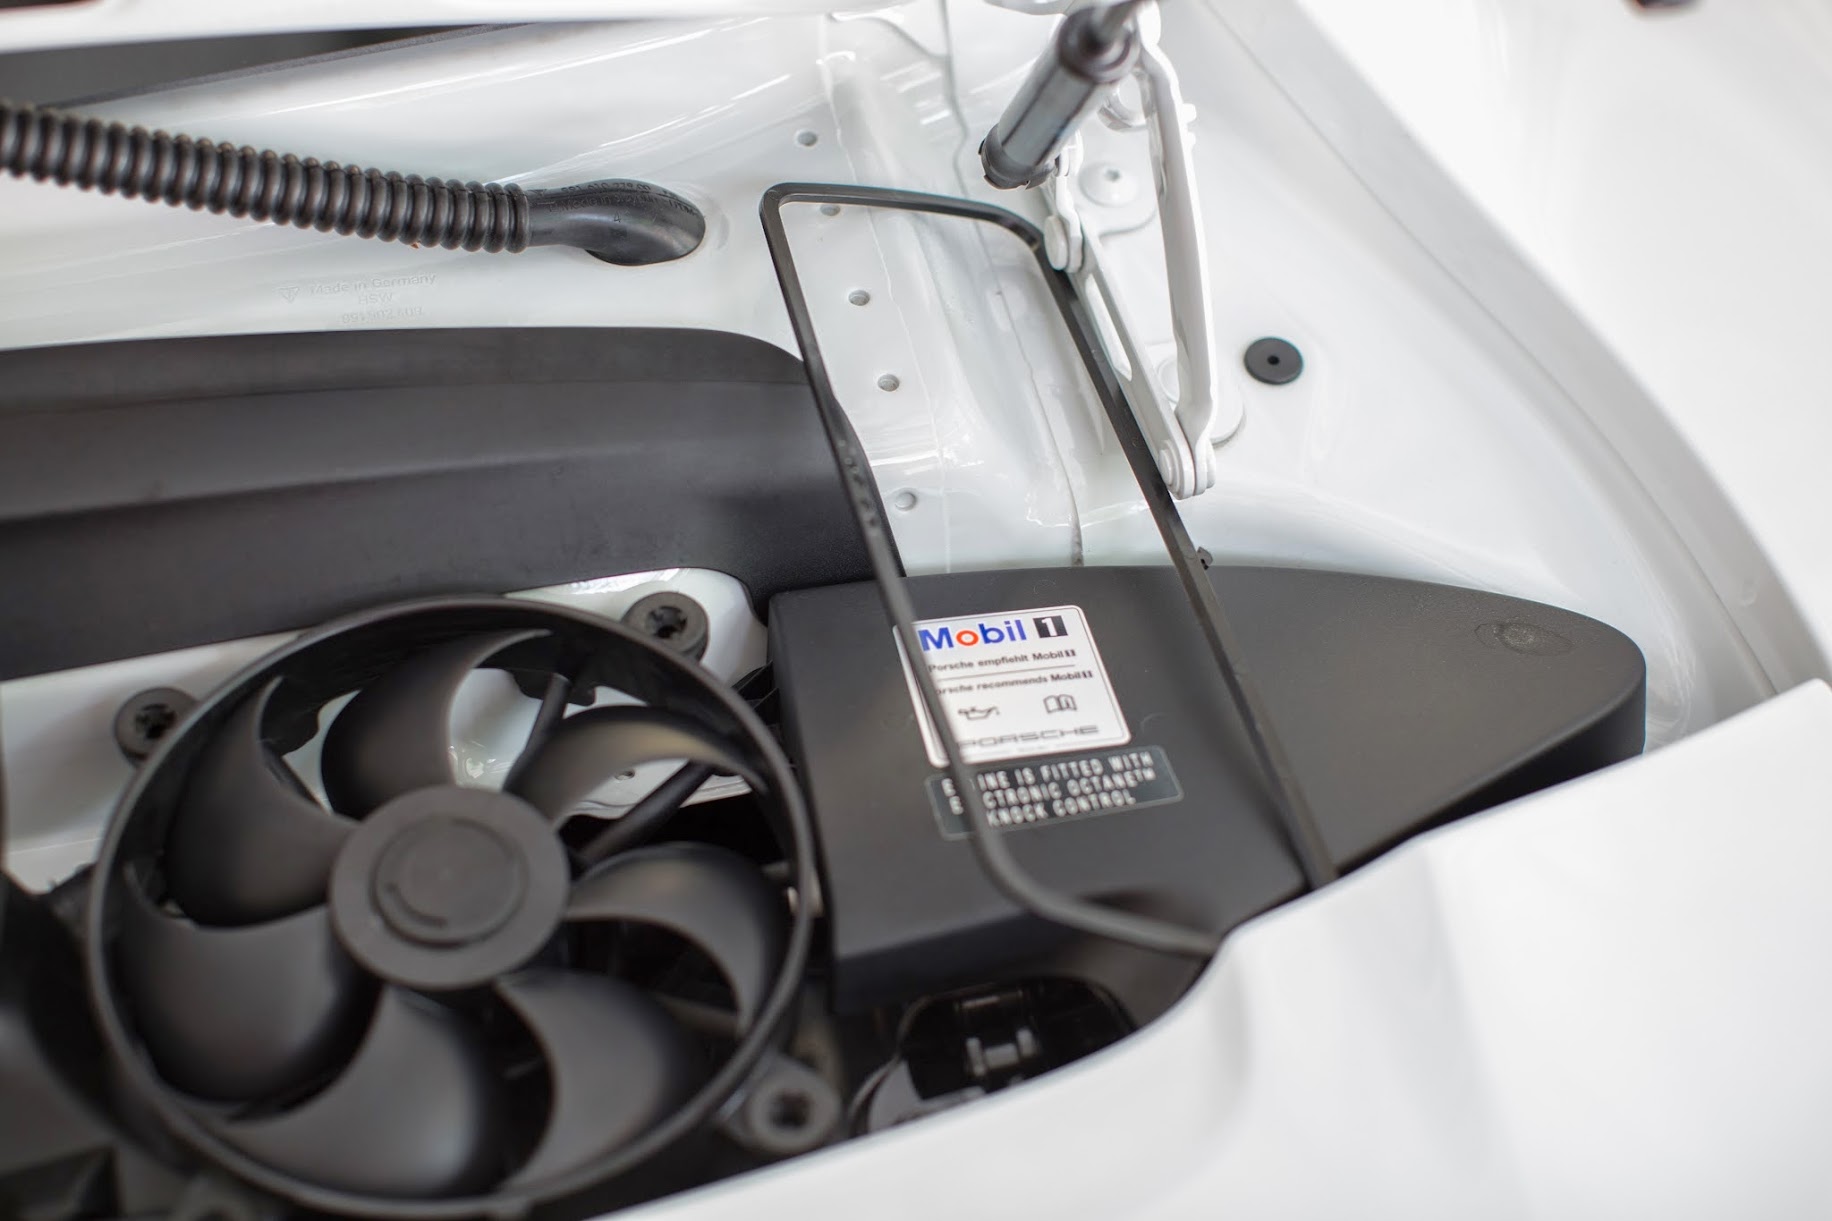
Pull the fan back and up. You only need to remove the one fan on the right to get to the filter. That dirt in the jams is unacceptable. I get than later.
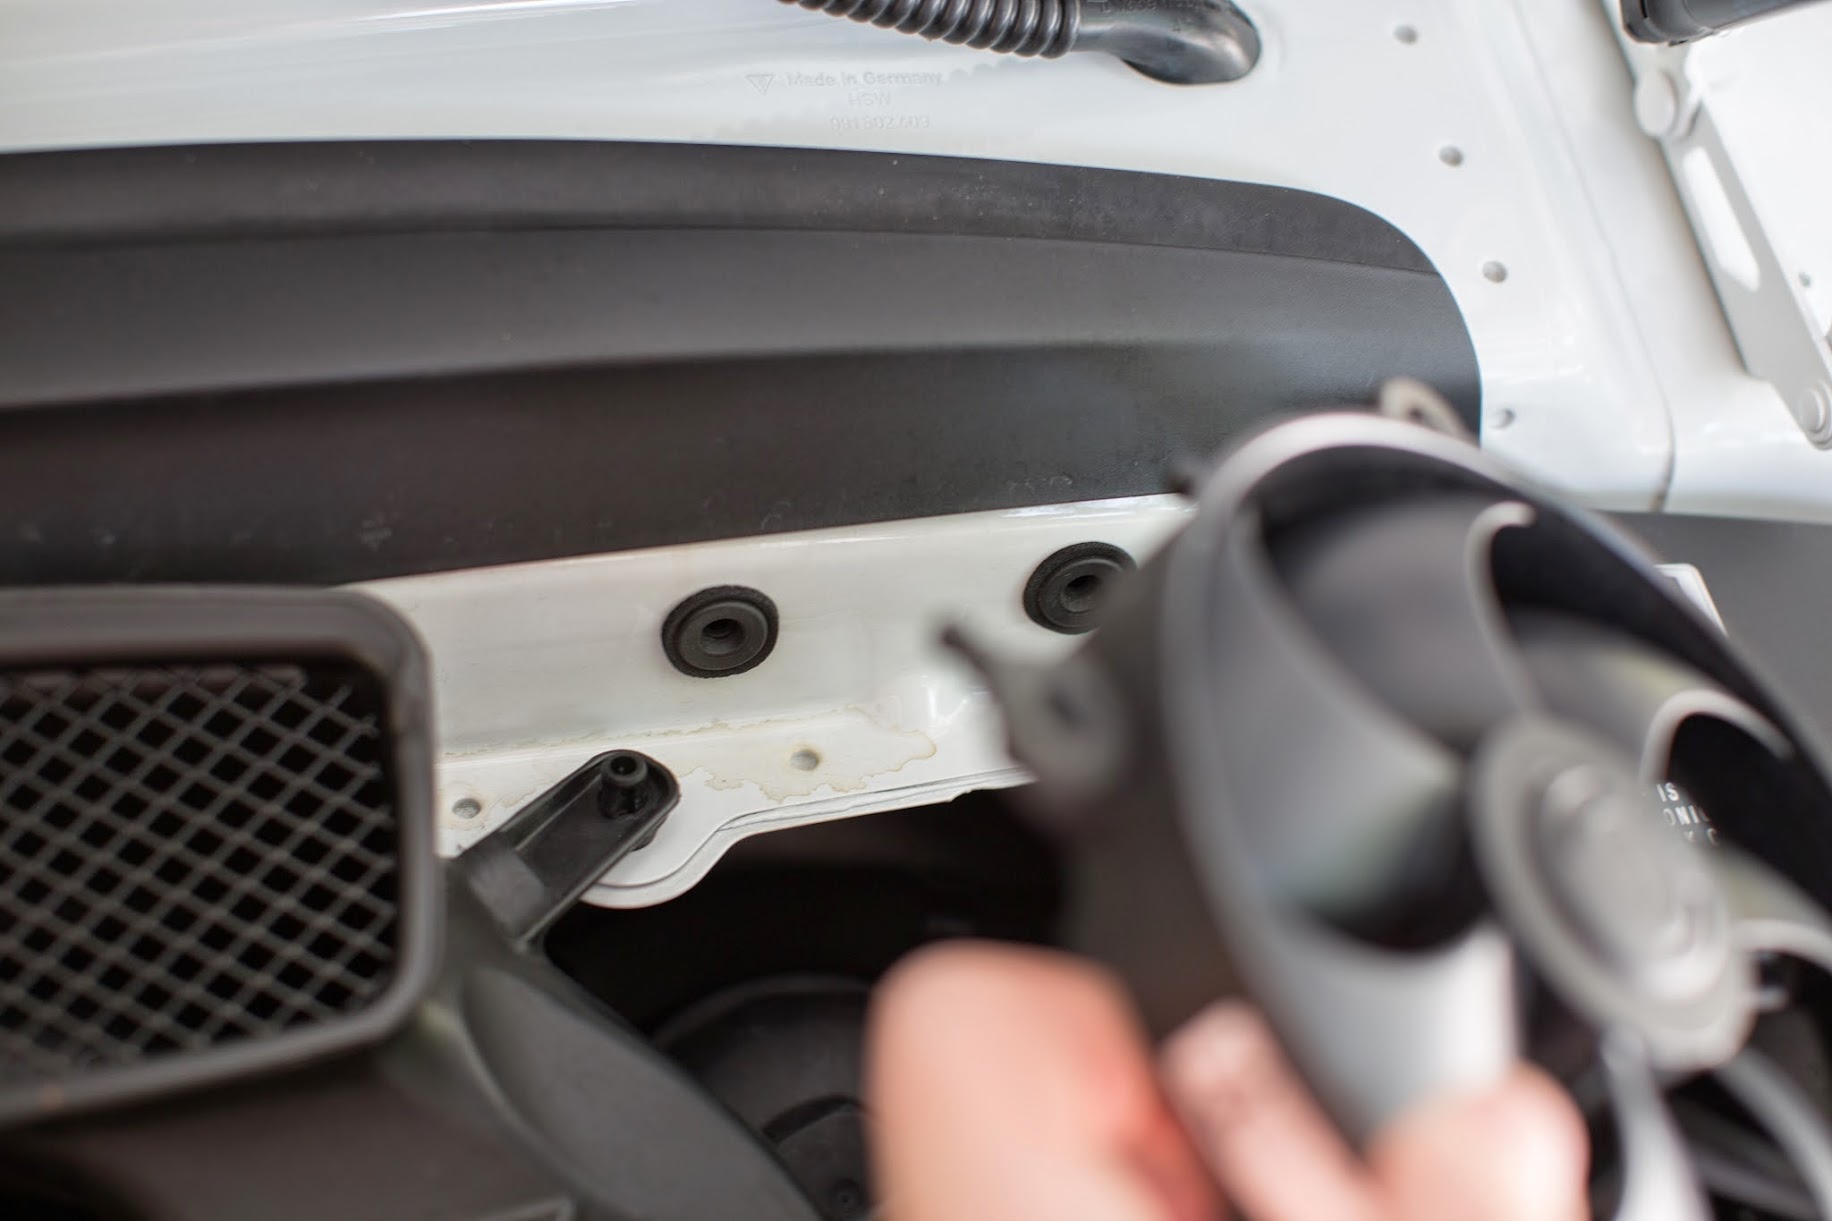

Unplug the fan.


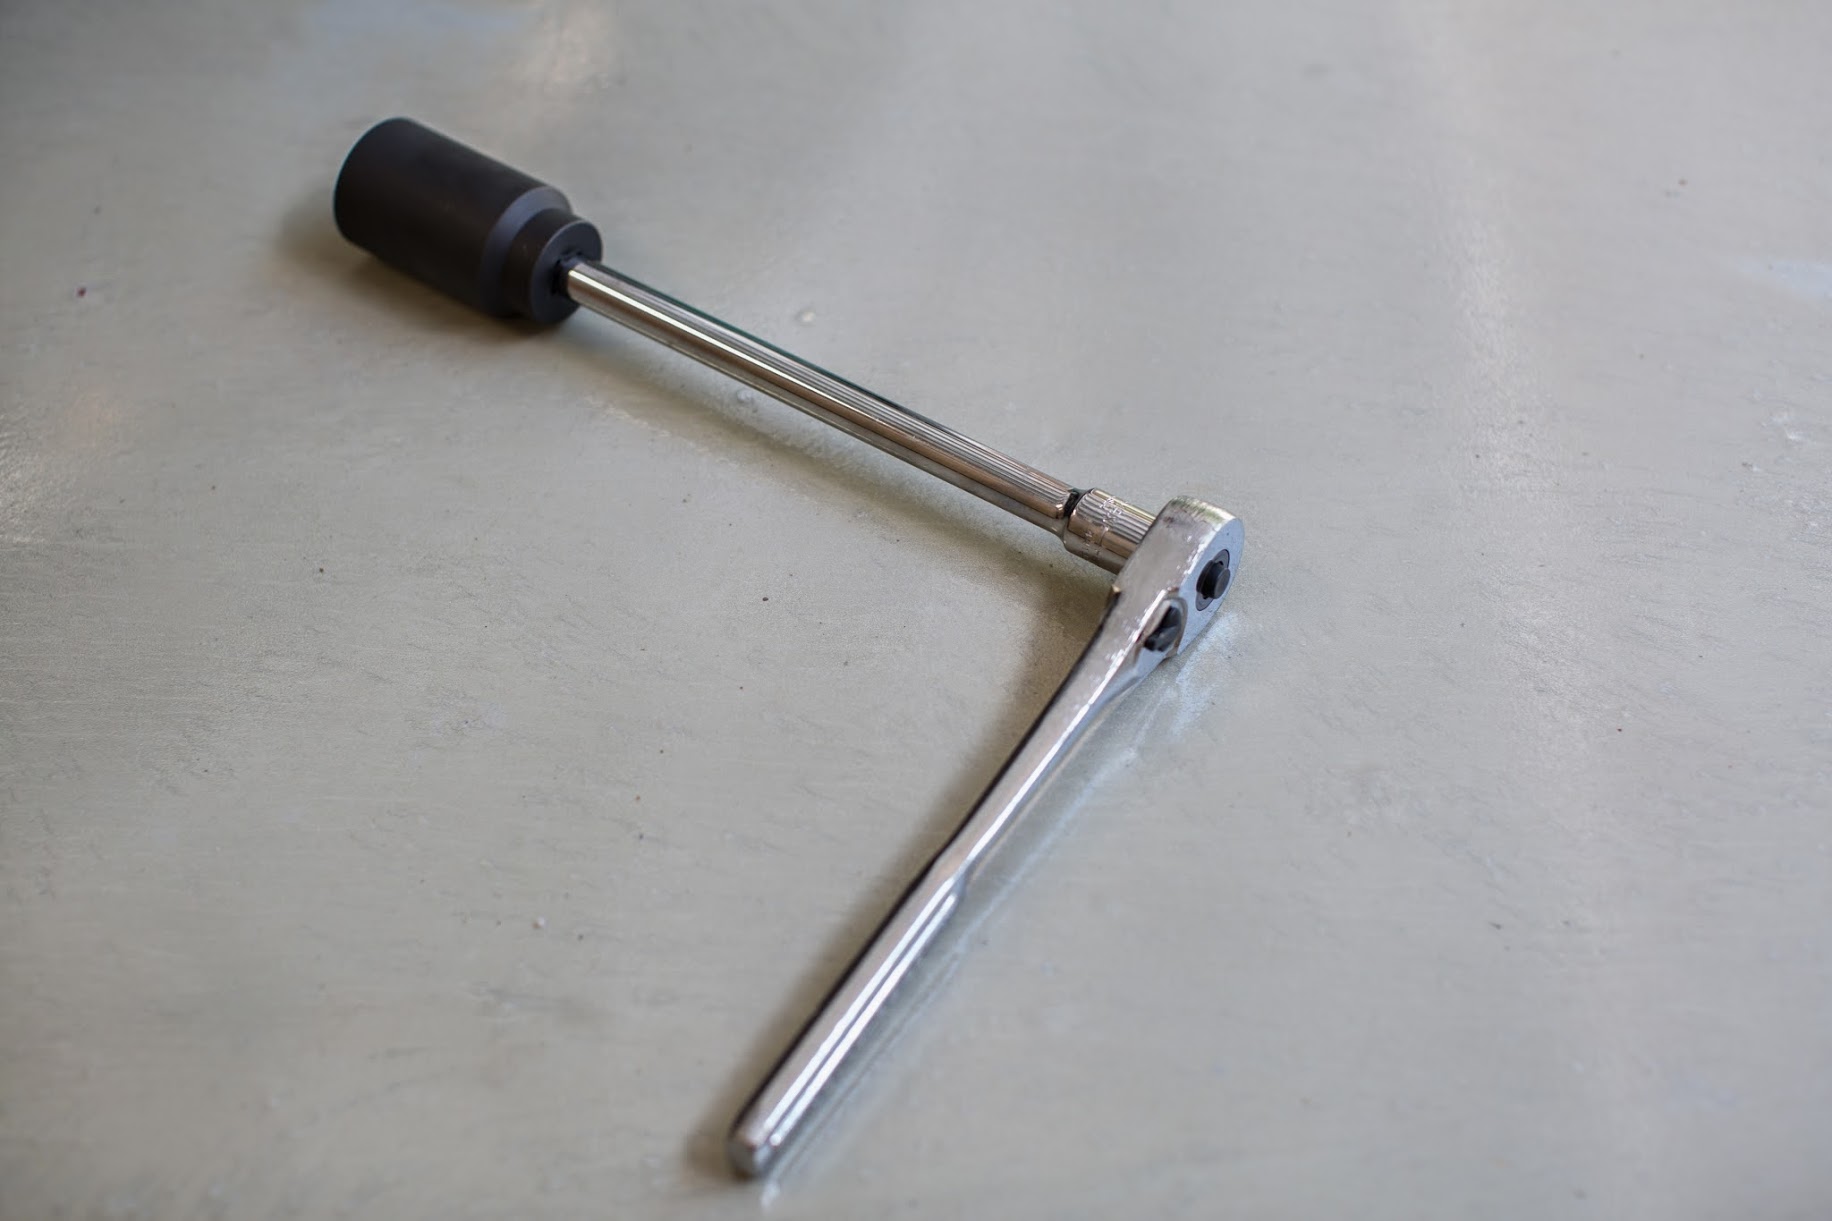
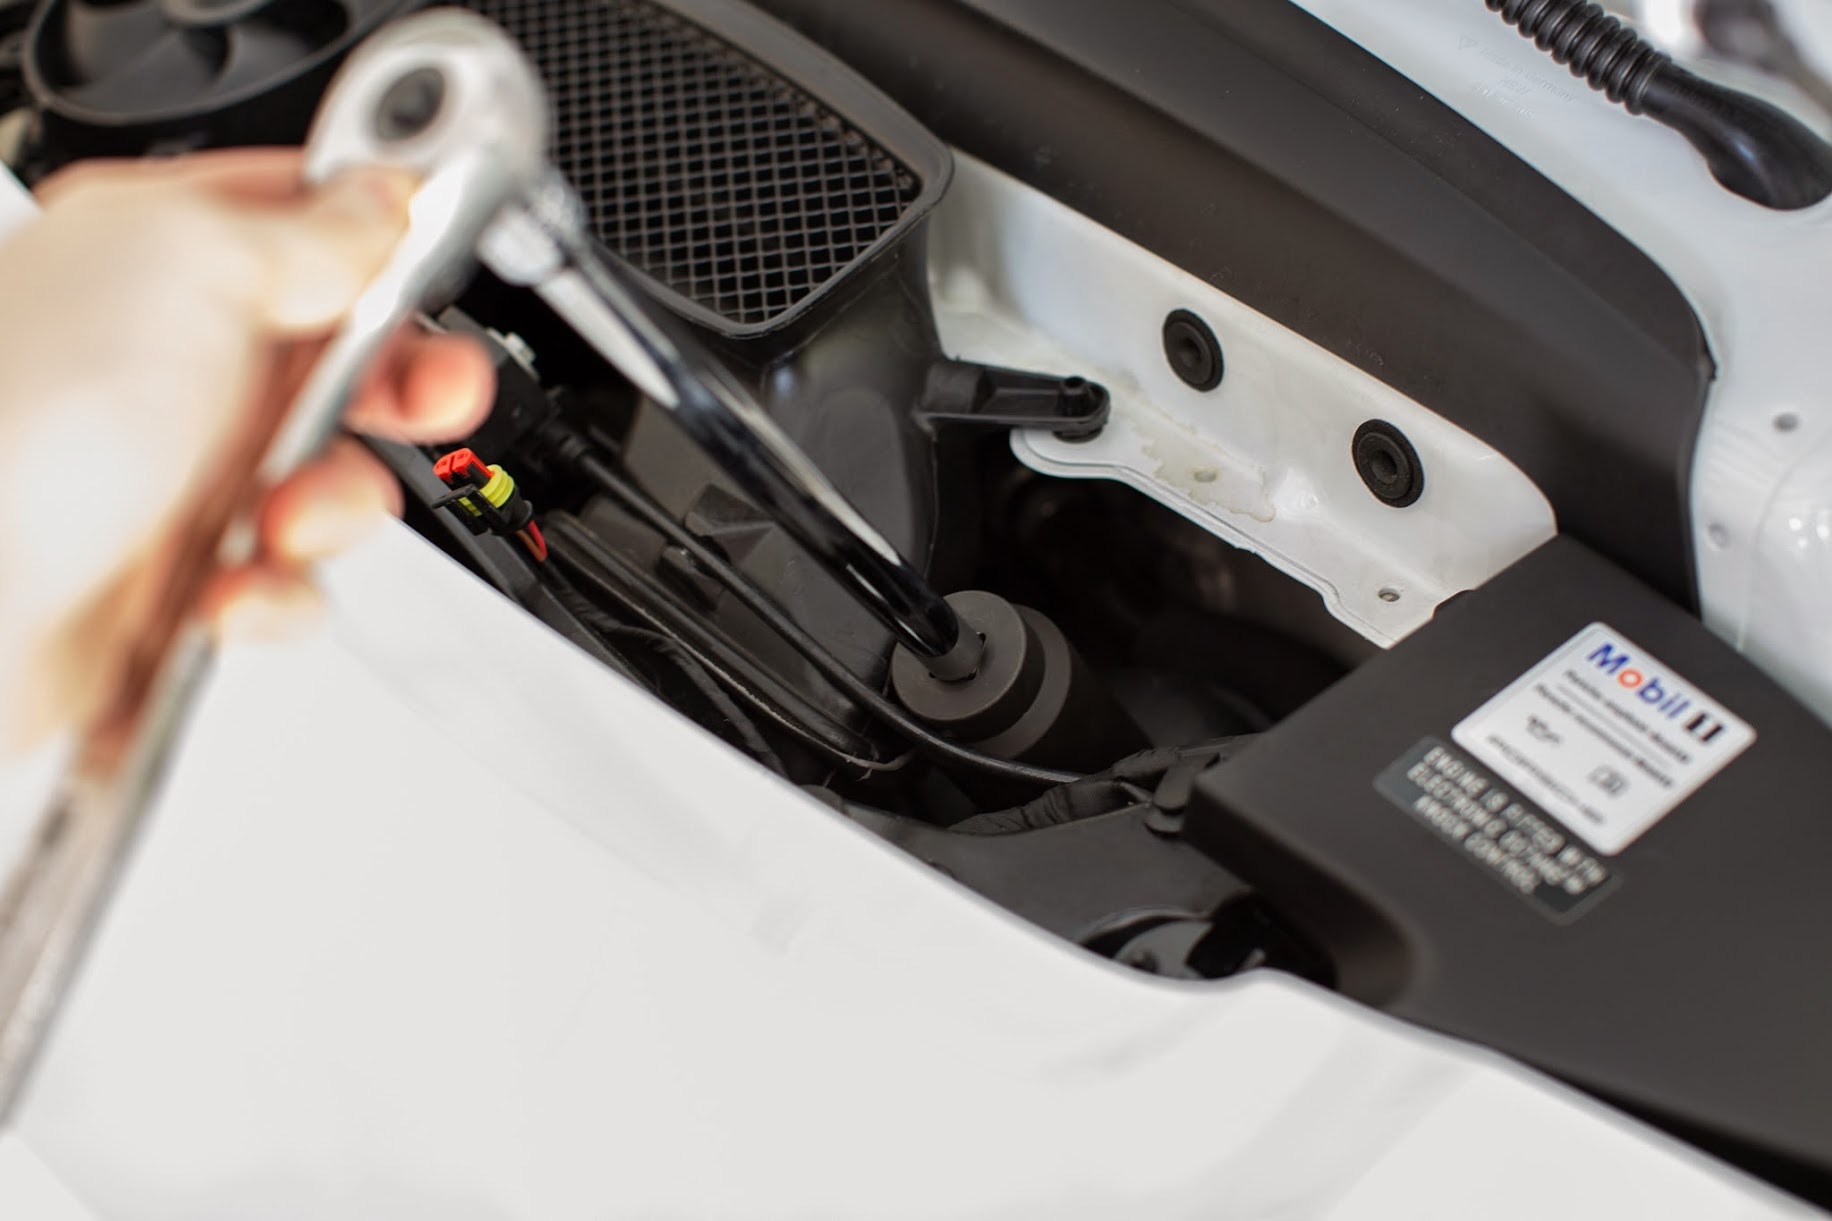
36mm socket with 12" Extension.

Righty tighty, lefty loosey.
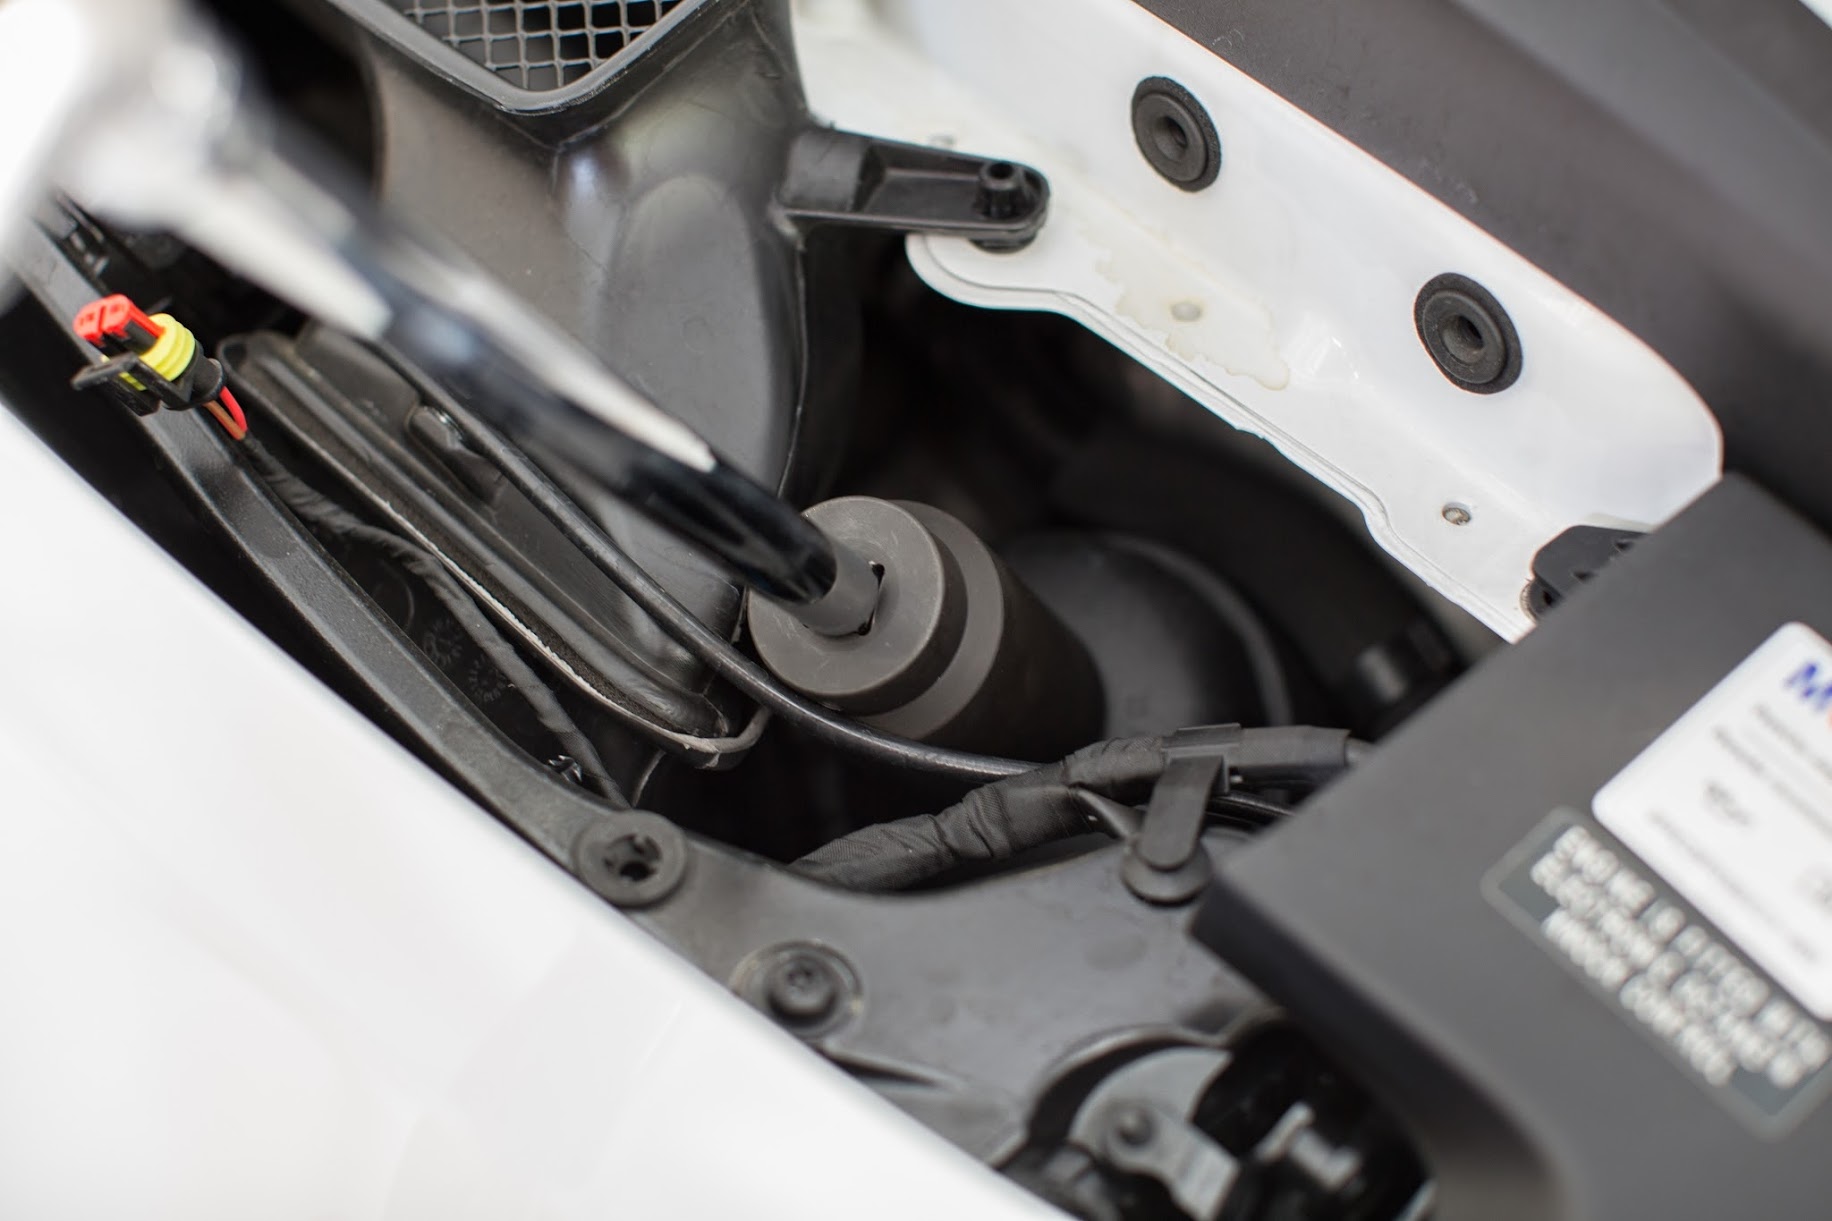
Pop the intake tube loose to allow space to get the filter cap out. Have a rag in hand as the filter cap has oil in it.
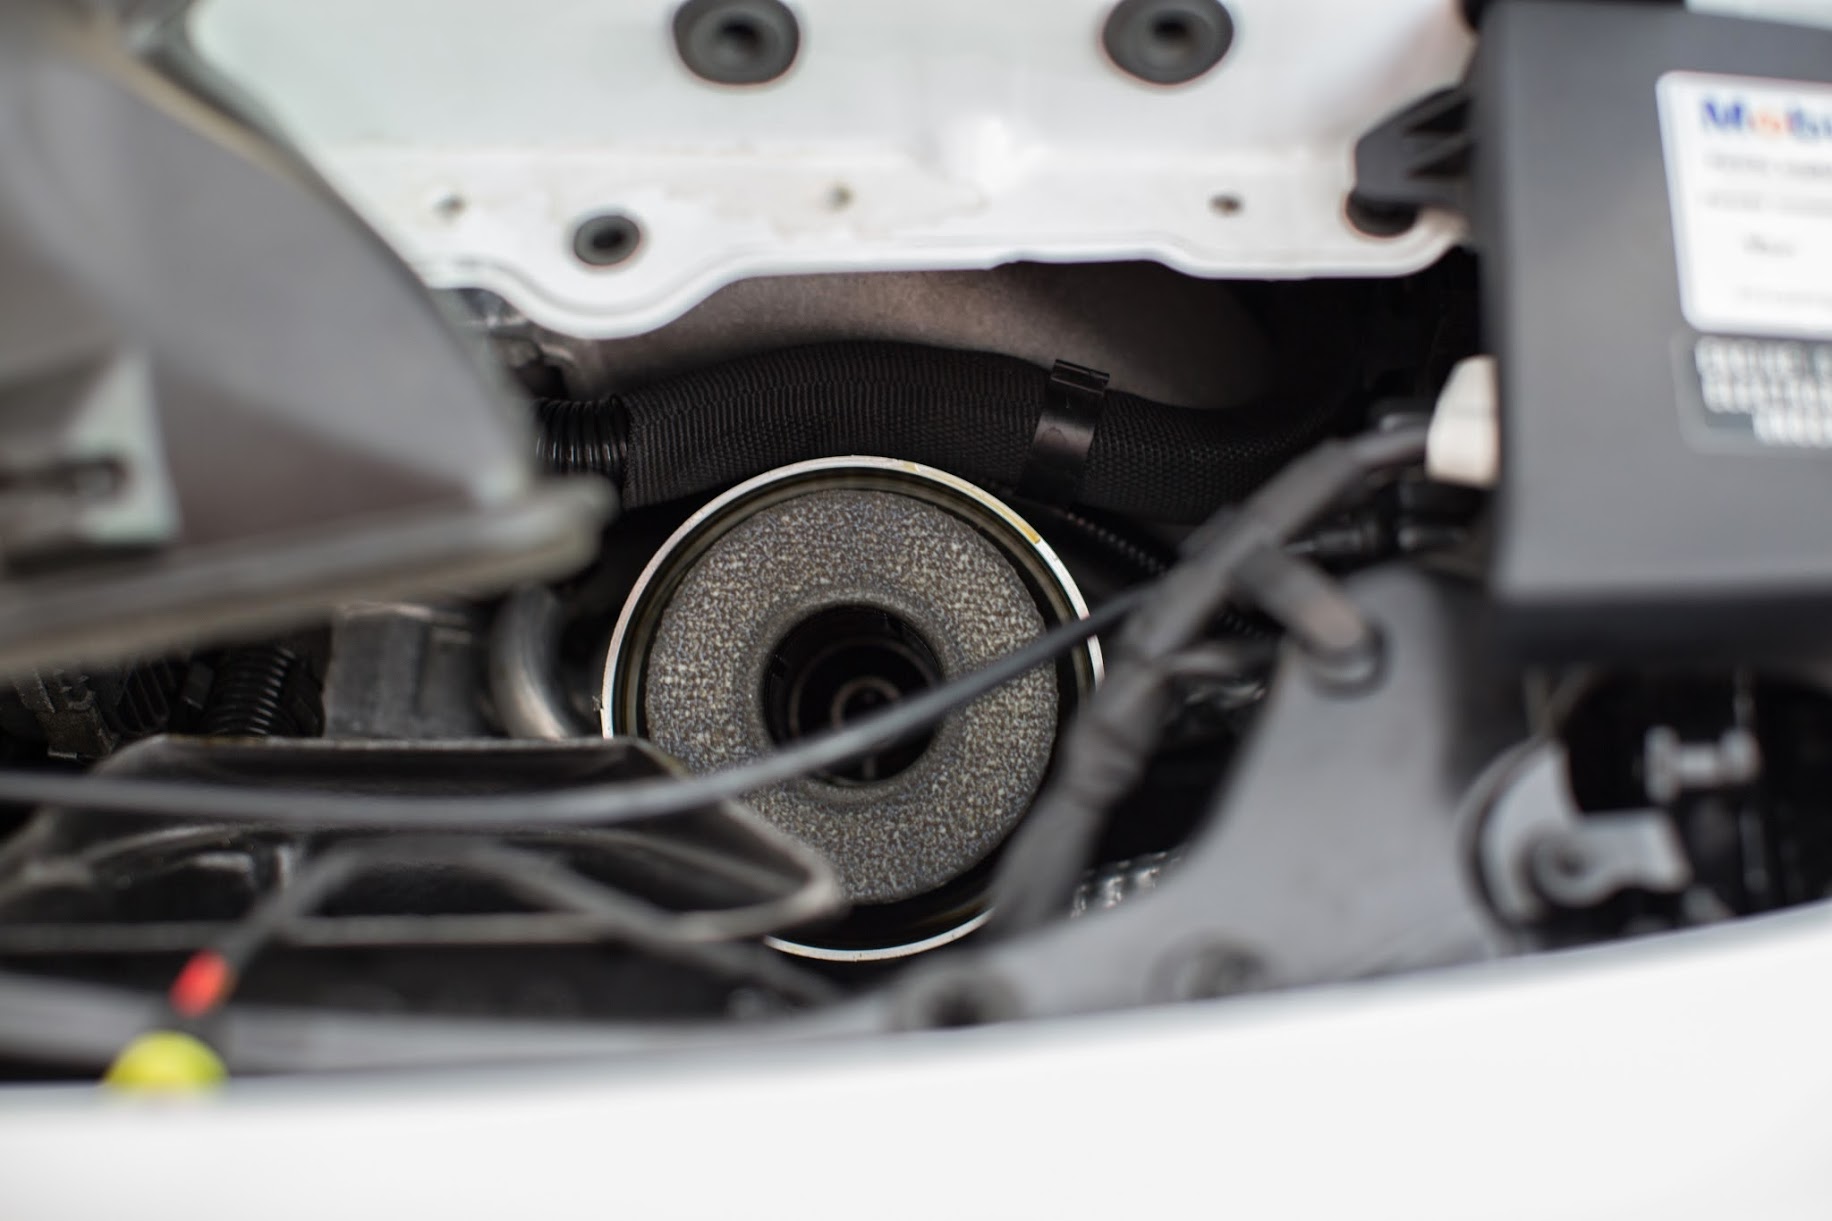
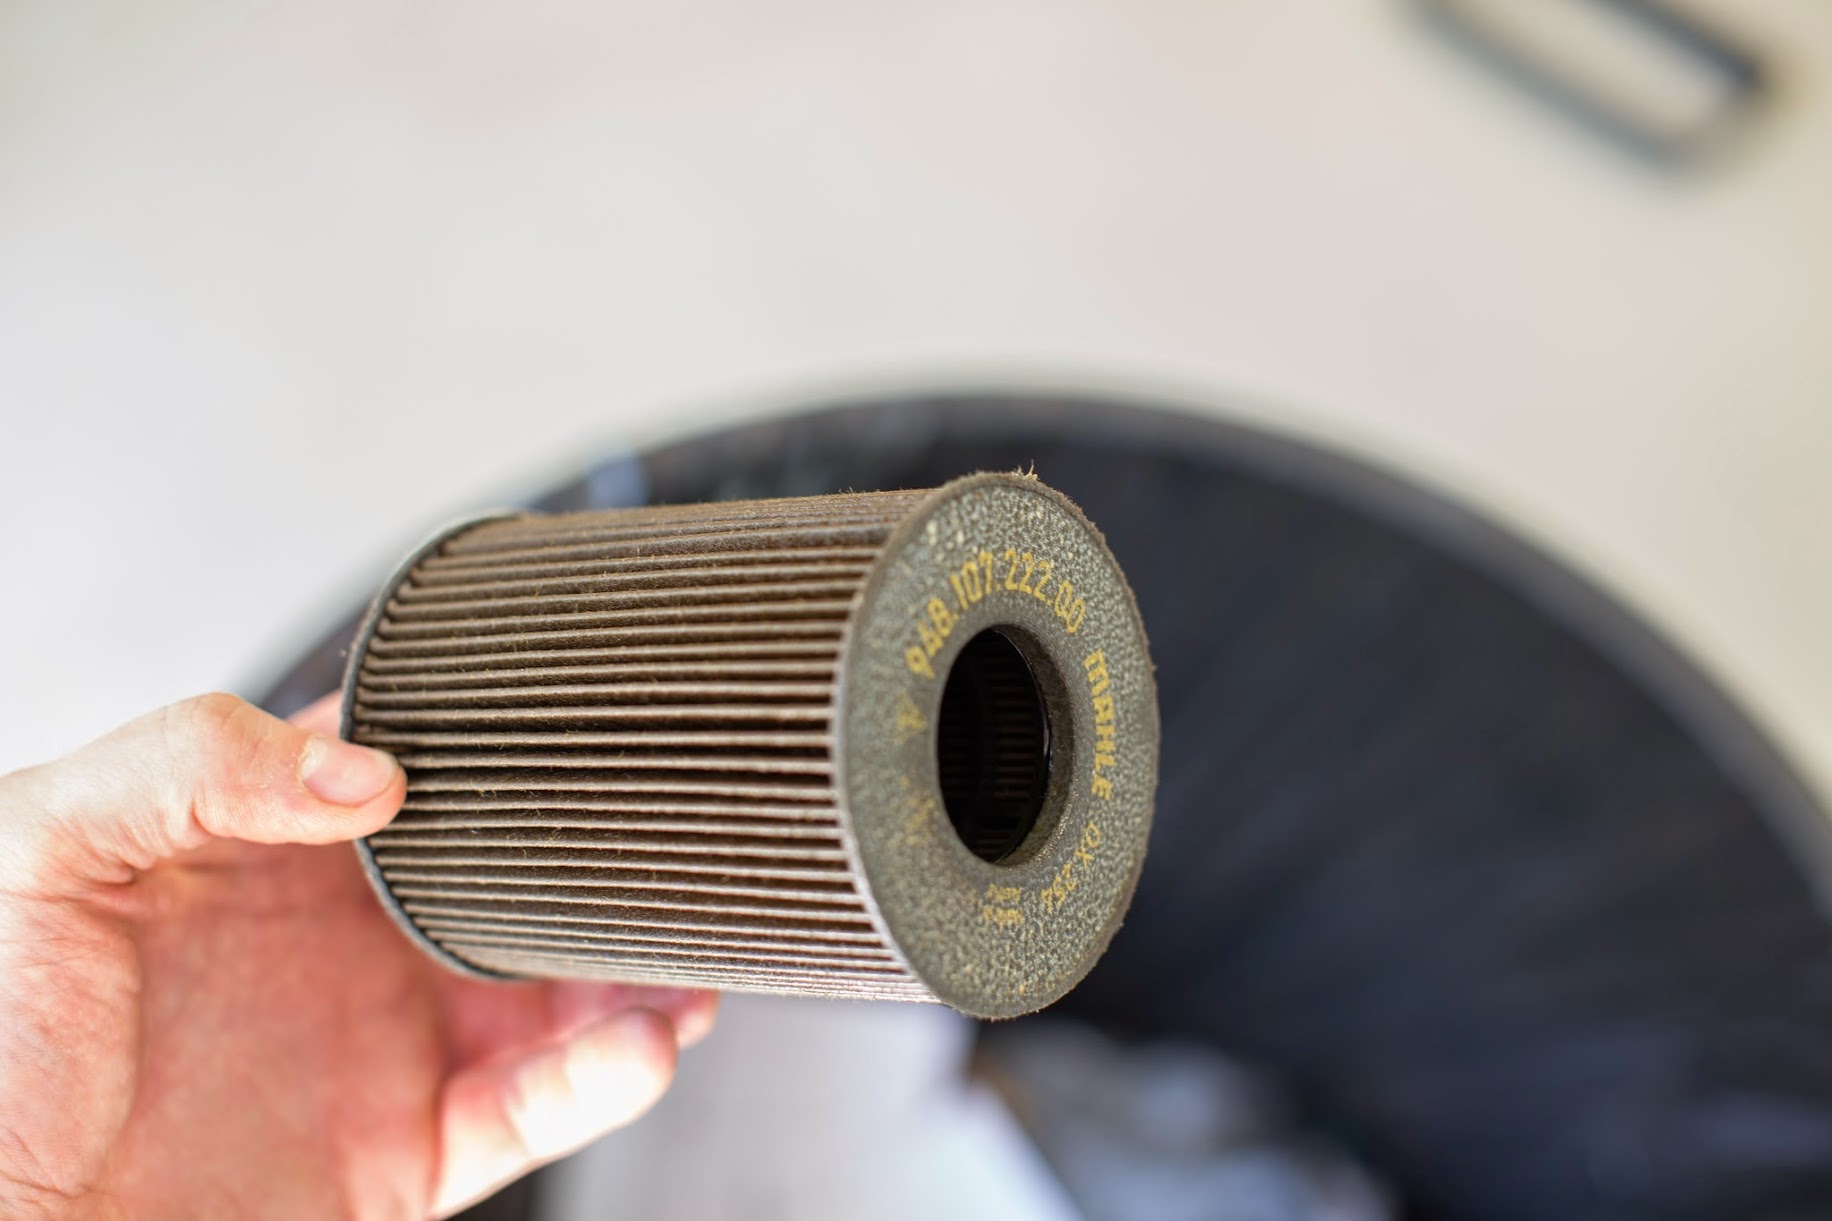
Dirty filter. It fits pretty snug. Just pull.
You know me. I love the details. Clean out the filter cap.

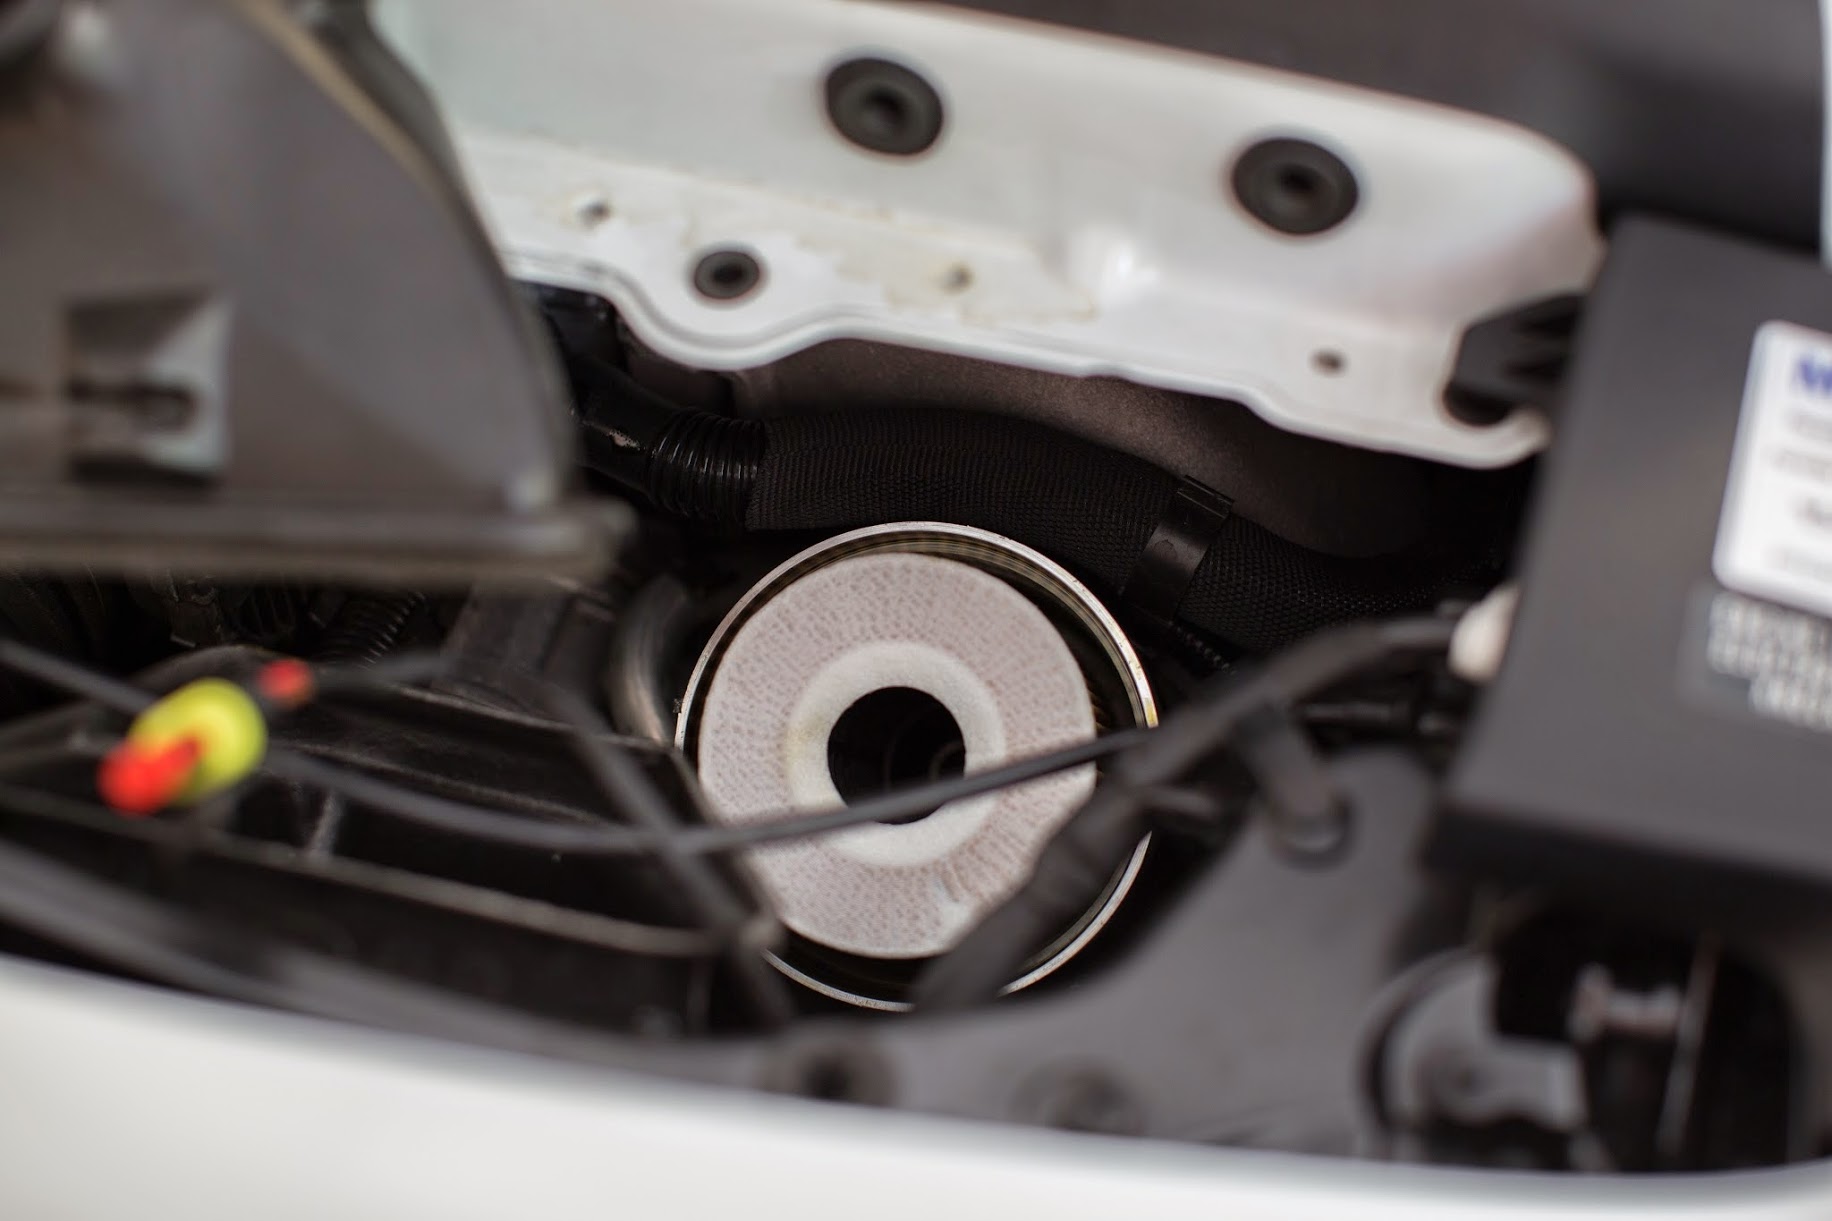
Pop the rubber grommet off with a small flat head. Don't mess up the plastic threads.


Here is my list of tools:
Drain Pan
Dirty Oil Funnel
Clean Oil Funnel
1/2" Ratchet
12" 1/2" Extension
36mm 1/2" Socket
3/8" Ratchet
3" 3/8" Extension
8mm Hex Bit 3/8" Socket
Flat Head Screw Driver
Shop Towels
Paper Towels
Floor Jack
Wheel Chocks
Rhino Ramps
Parts Needed:
9 Quarts Mobile 1 0W-40 Oil
OEM Porsche Oil Filter, Rubber Gasket, Crush Washer
Before doing anything, I let the car run and idle for about 5 minutes to bring the temperature of the oil up. Supposedly it helps the oil drain better.
I kept buying expensive aluminum jacks and the hydraulic pumps were only lasting a year or two before they blew-up. About 5 years ago I decided to go cheap from Harbor Freight. This thing is indestructible for $130. I've been meaning to buy another one as a back-up. I may get one tomorrow.
Most everything about this car is just better than any other car on the planet. I even like the jack points. It's just plain better!
I've always found it easier to just jack the car up and put the Rhino ramps under the tire. I figure less chance of error. I prefer the stability of ramps to jack stands.
I feel so much tougher and more manly when I see my car up on ramps!
Plug pulled using 8mm Hex Bit and 3/8" ratchet. I always have a few paper towels with me under the car to throw the drain bolt on after removing it.
Draining...
This thing drained forever.
Drain bolt and used crush washer. I always clean up it. Am I the only psycho that cleans each individual thread?
Cleaned and ready for install with new crush washer. I got the kit from Suncoast with washer, rubber gasket, and filter.
I was going to simply pull out the support bracket, but I found it easier to just pull the whole rubber piece out.
The cover pops right off. Be careful not to smack the paint on the spoiler. I put my fingers underneath on the fans while pulling the cover upward.
Pull the fan back and up. You only need to remove the one fan on the right to get to the filter. That dirt in the jams is unacceptable. I get than later.
Unplug the fan.
36mm socket with 12" Extension.
Righty tighty, lefty loosey.
Pop the intake tube loose to allow space to get the filter cap out. Have a rag in hand as the filter cap has oil in it.
Dirty filter. It fits pretty snug. Just pull.
You know me. I love the details. Clean out the filter cap.
Pop the rubber grommet off with a small flat head. Don't mess up the plastic threads.
Thread Starter
|
Registered User
Joined: Nov 2009
Posts: 671
From: The Villages, FL
Rep Power: 67
Part 2: 991 DIY Oil Change
Dirty filter.


You have to really push to get the white fabric to fold into the filter. This creates a nice snug fit. Don't be afraid to push. I'm sure that it doesn't matter, but the wording on the filter goes down. Replace the cap. I have never worried about torque specs. I have a torque wrench but didn't get it out of the toolbox. I just tightened by feel.
**** tendencies...


Put the intake tube and fan back in place.

I put the rubber intake guide back in place before replacing the fan cover. Pull out the support piece, so that it's easier to get the fan cover back on.
Snap the cover back in place.
Replace the plastic support piece.

The oil was still draining, so I decided to do a quick interior clean-up.
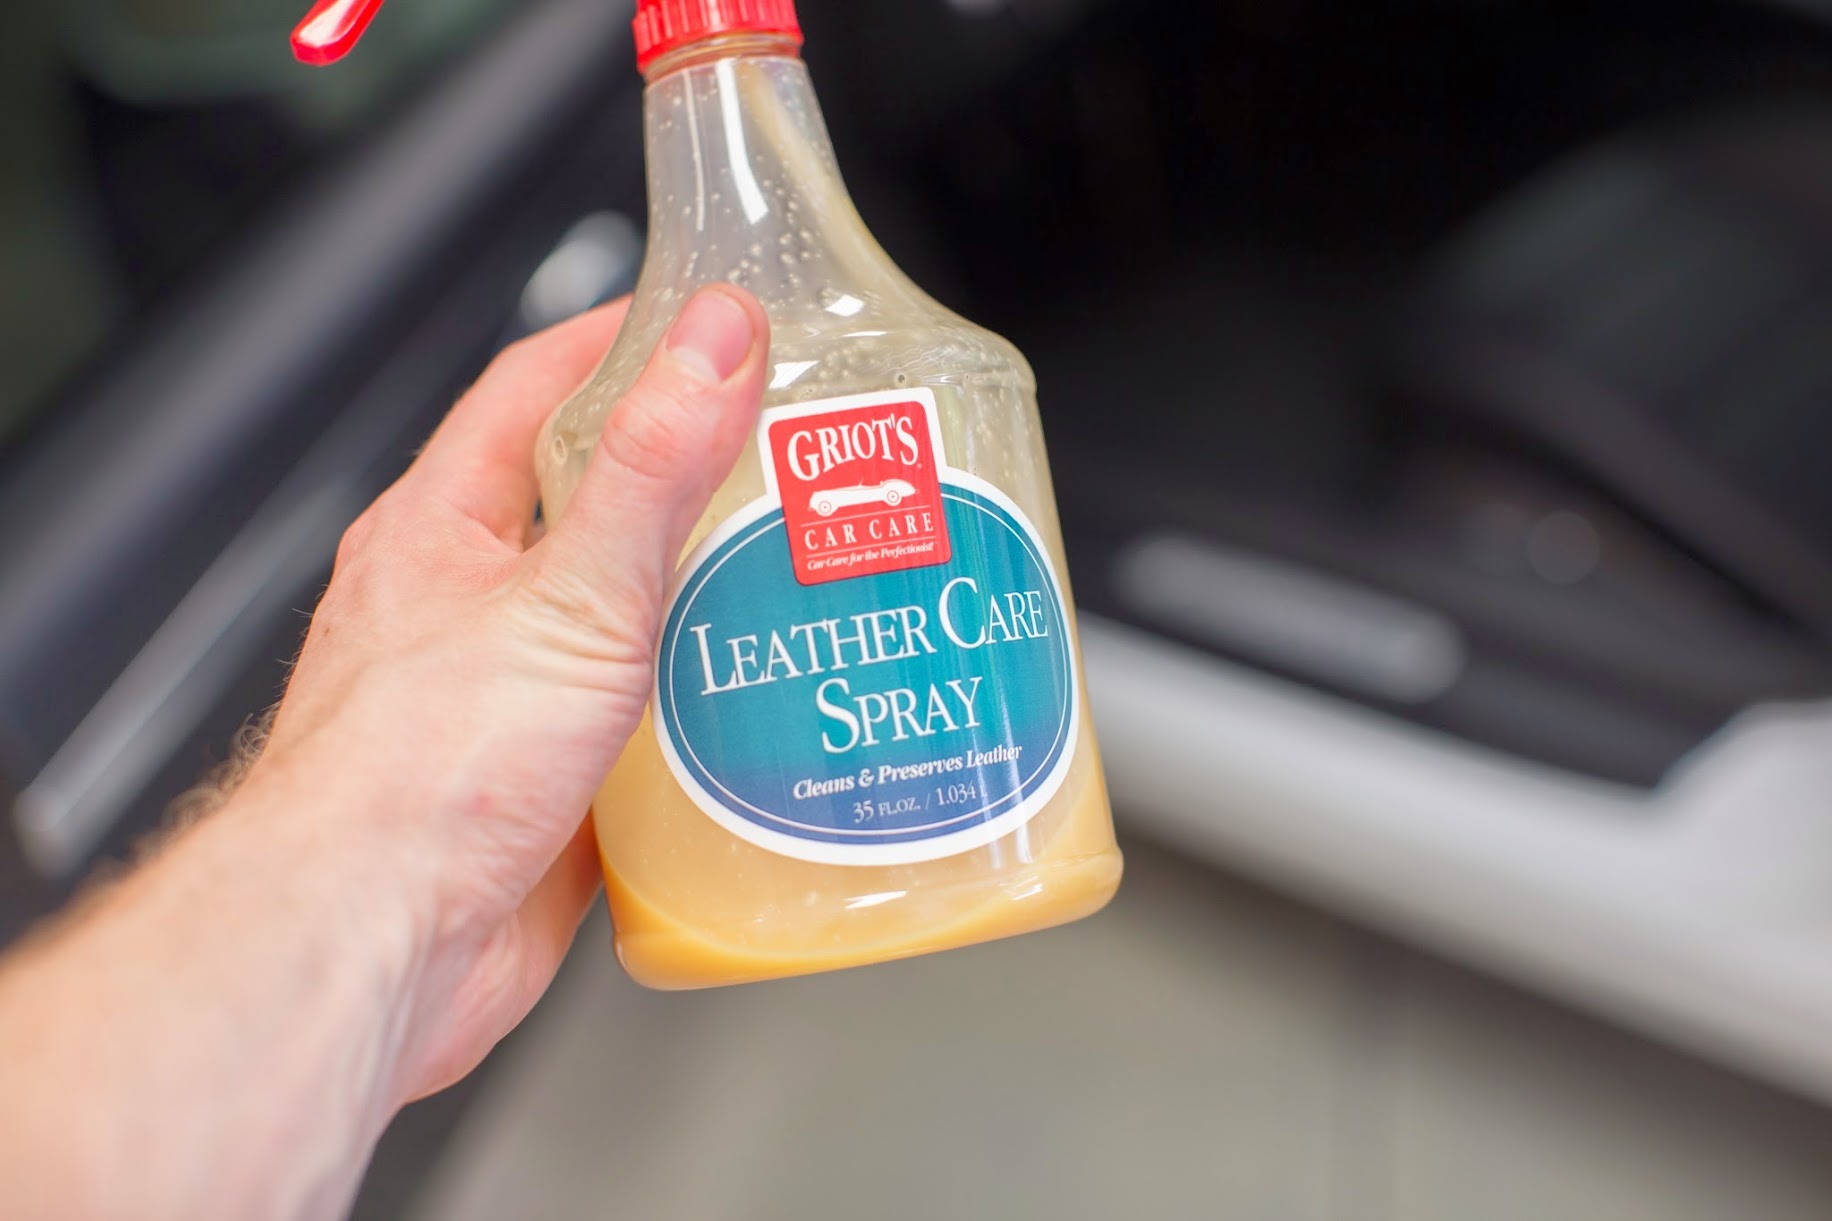
A little leather treatment.
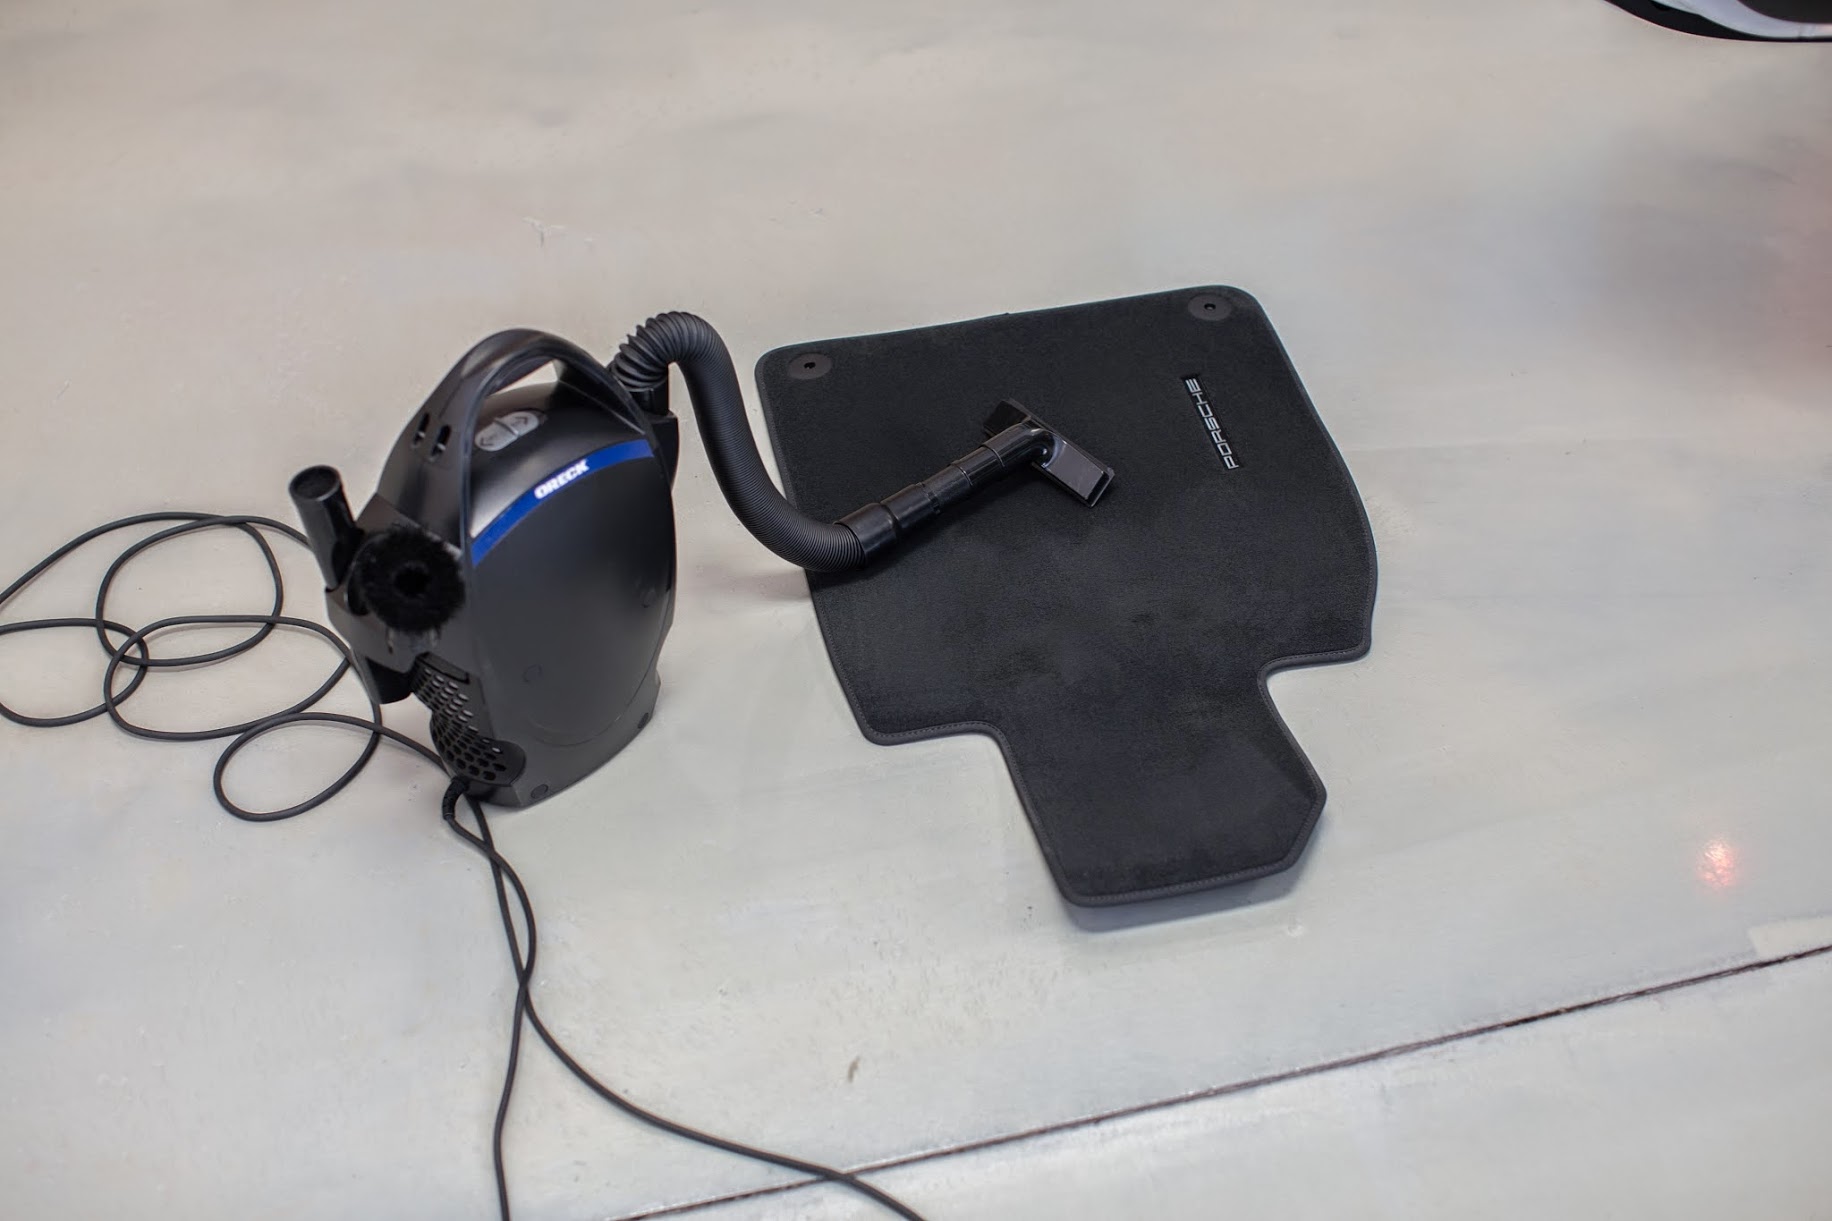
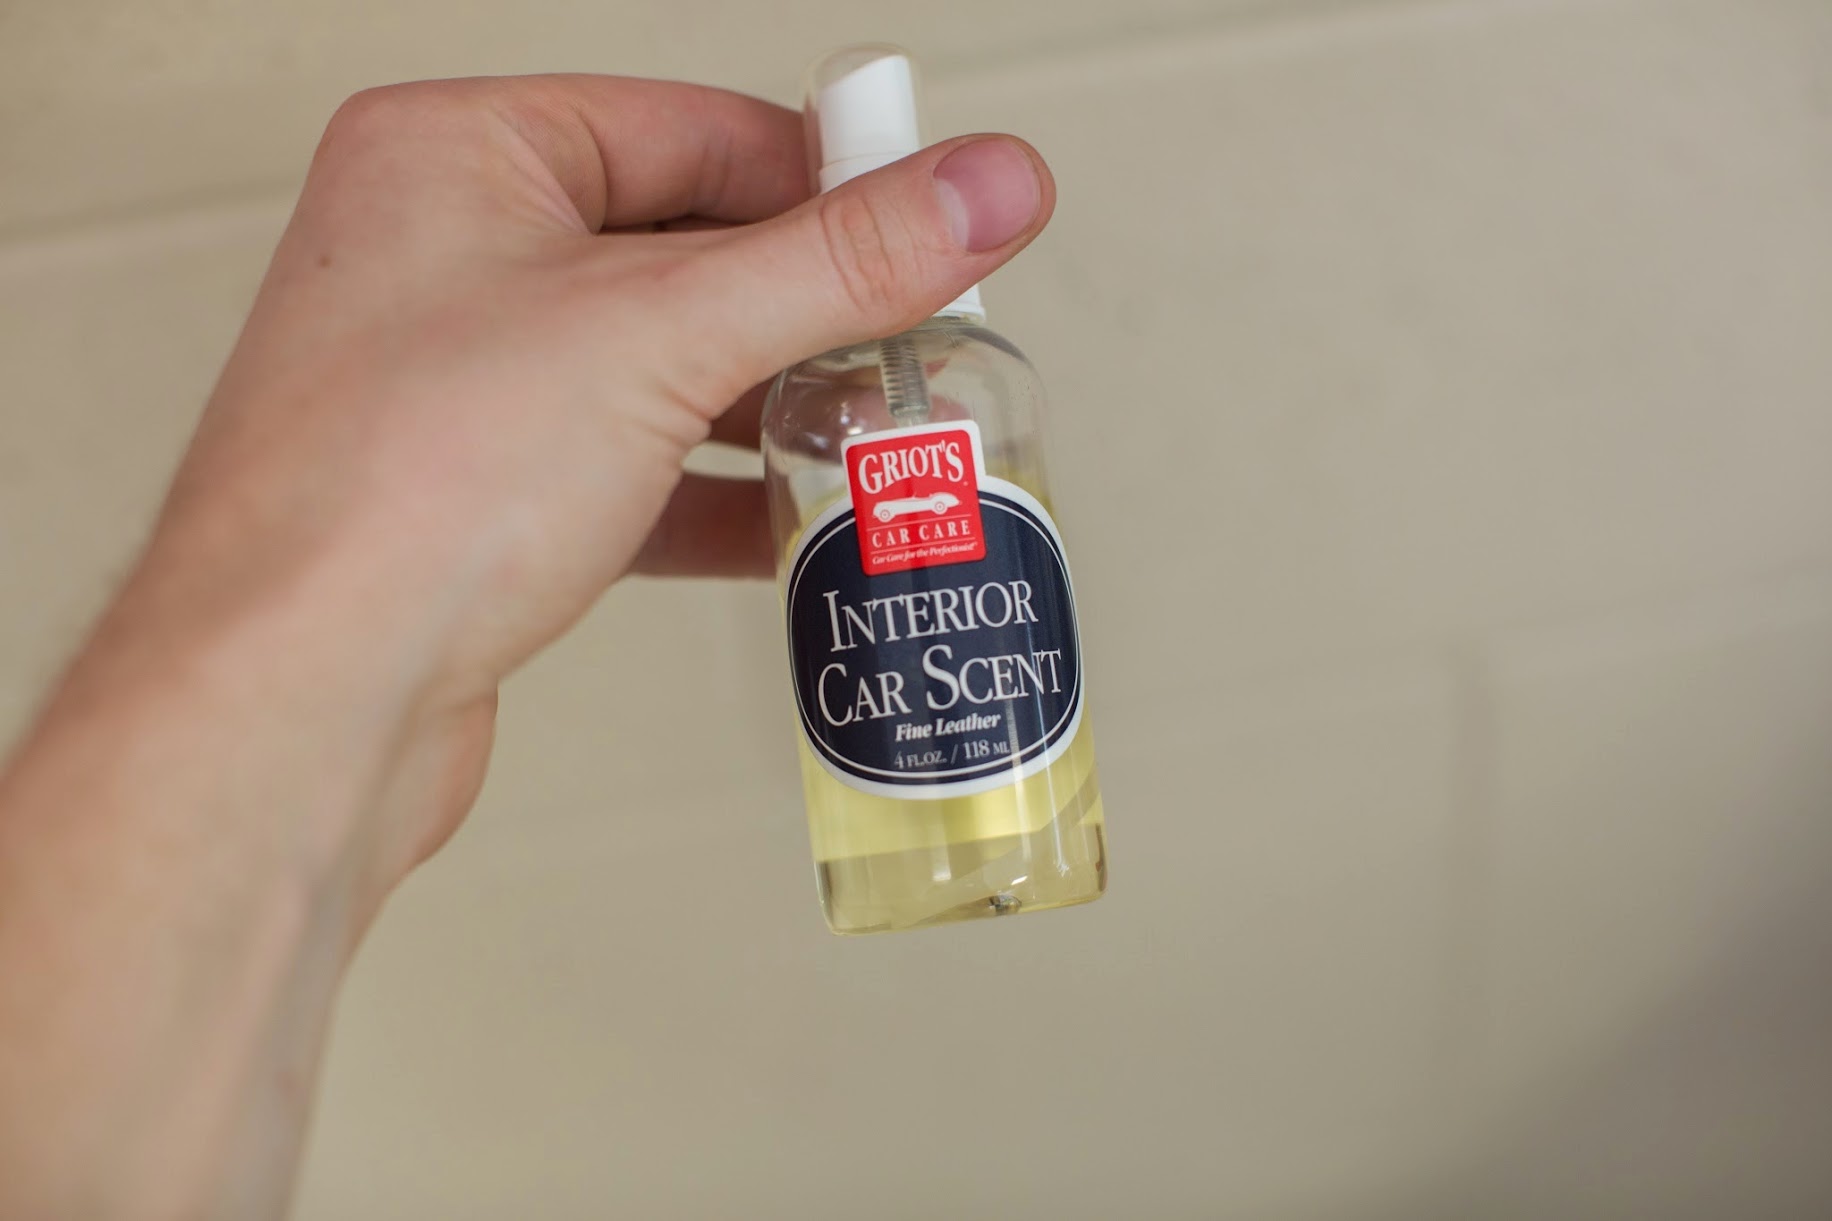
Interior dusting.

I love this stuff. Just spray about five pumps under each seat directly onto the carpet.
Replace drain bolt with new crush washer.
Wipe off excess.
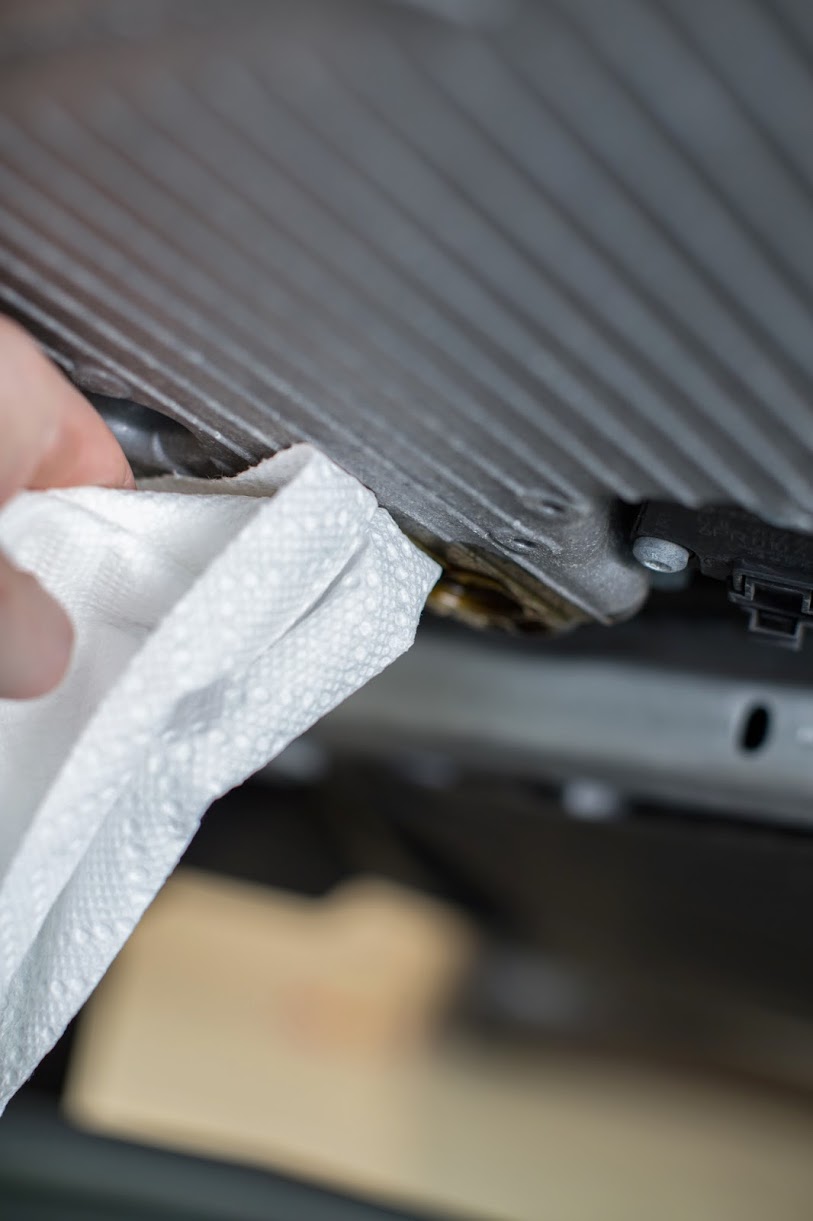
I sprayed a bit of this on the bottom of the pan to get the excess oil off after replacing the drain bolt. Notice the "real man" grease on the can.

Clean.
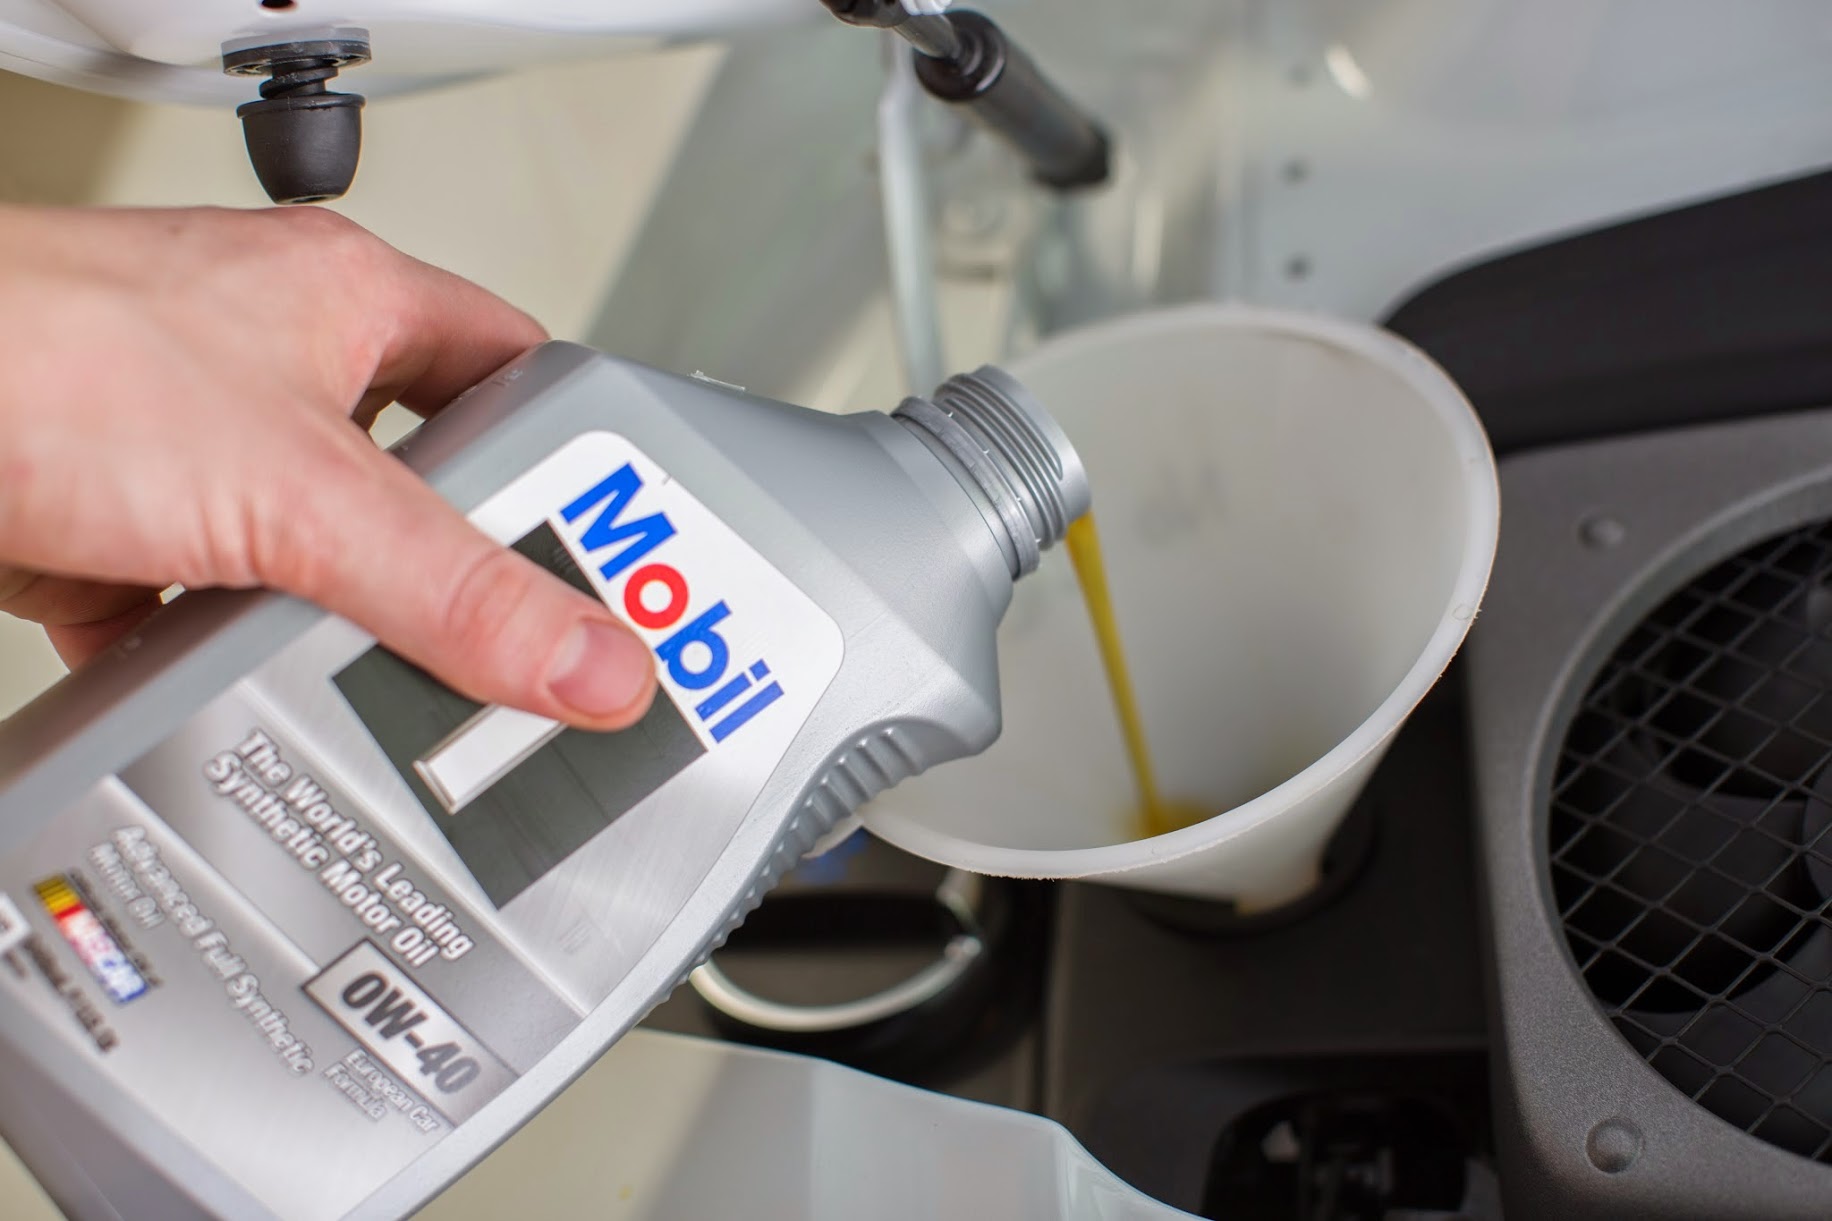
It's time to fill with oil. I added 8 quarts. The manual says 7.6 quarts, but I've read that's way short of what's needed.

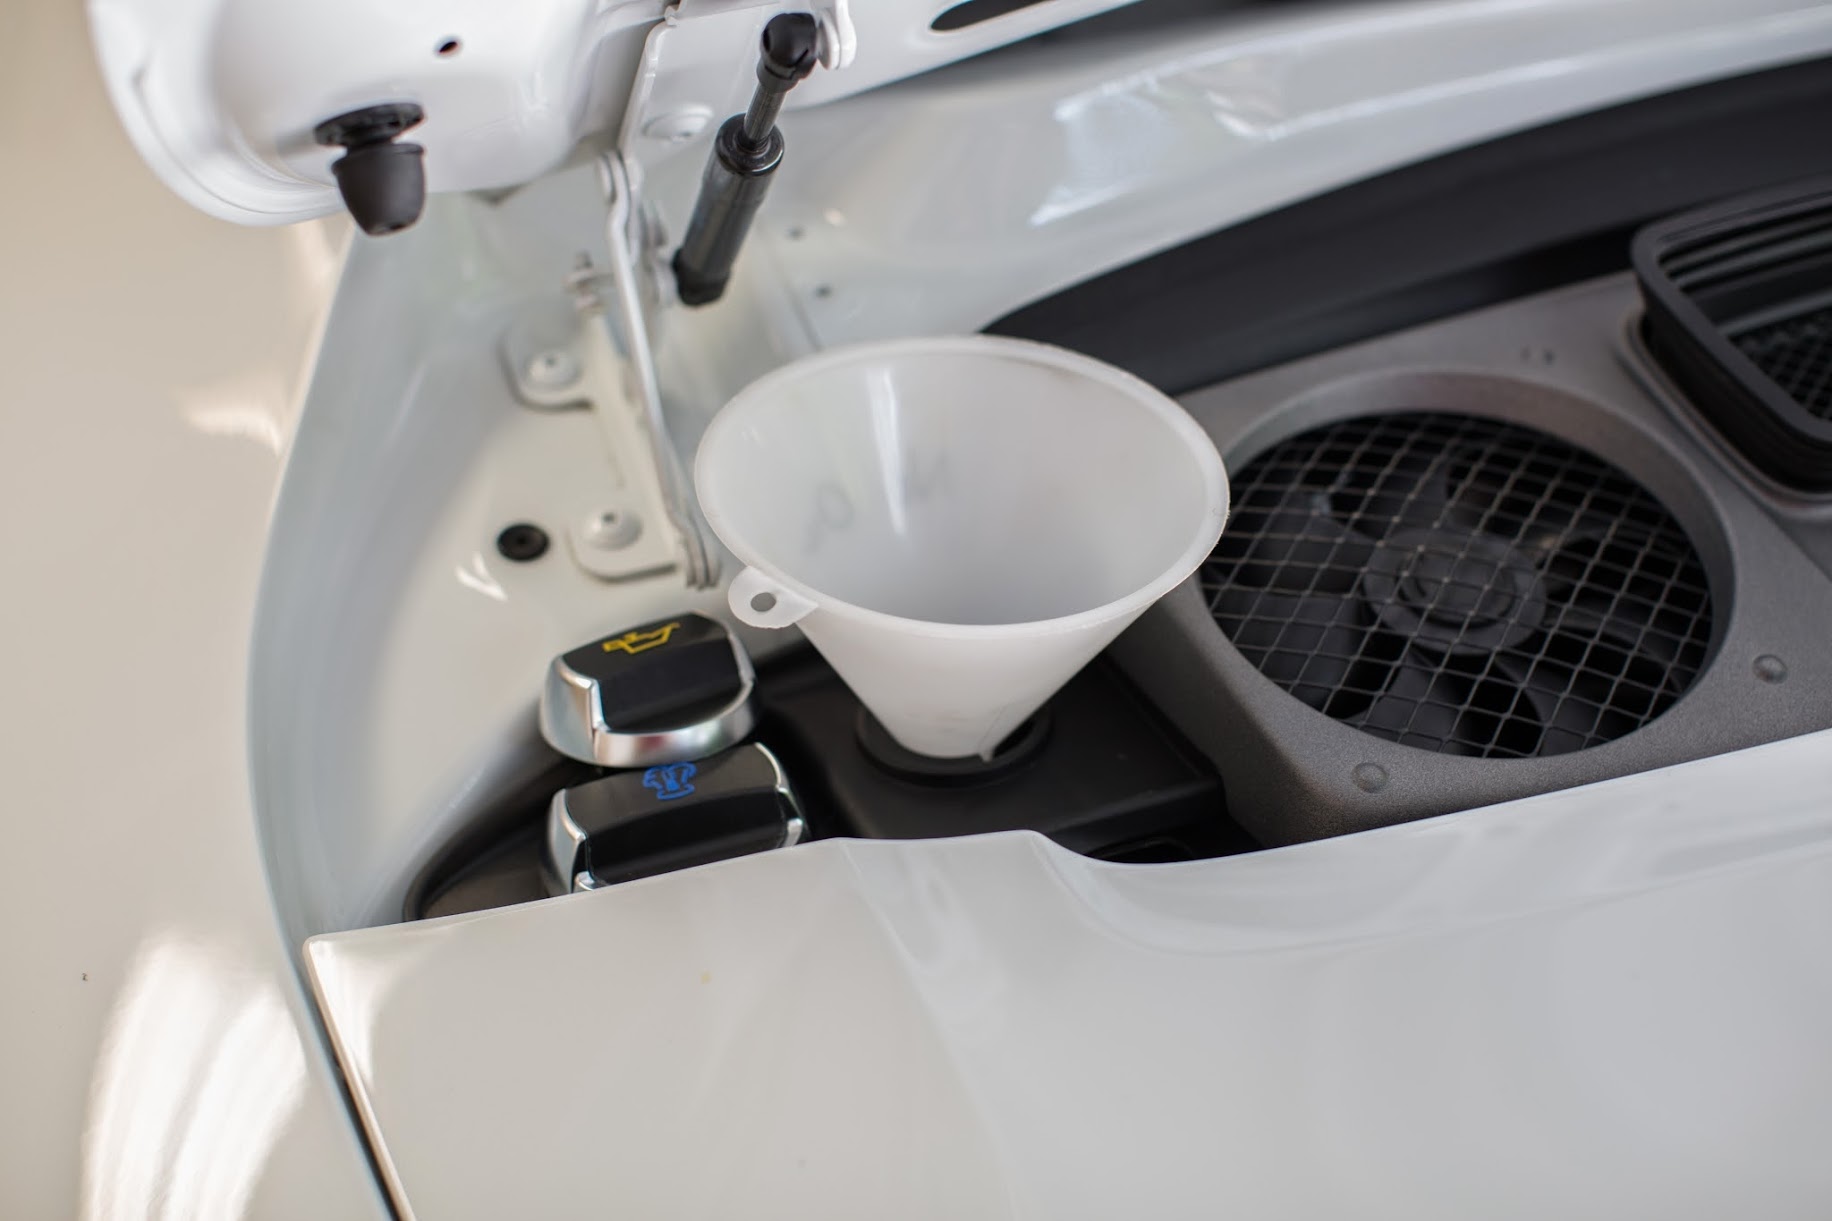
Make sure you pour in slowly. The fill tube bends down into the engine and would very easily overflow down onto the exhaust.

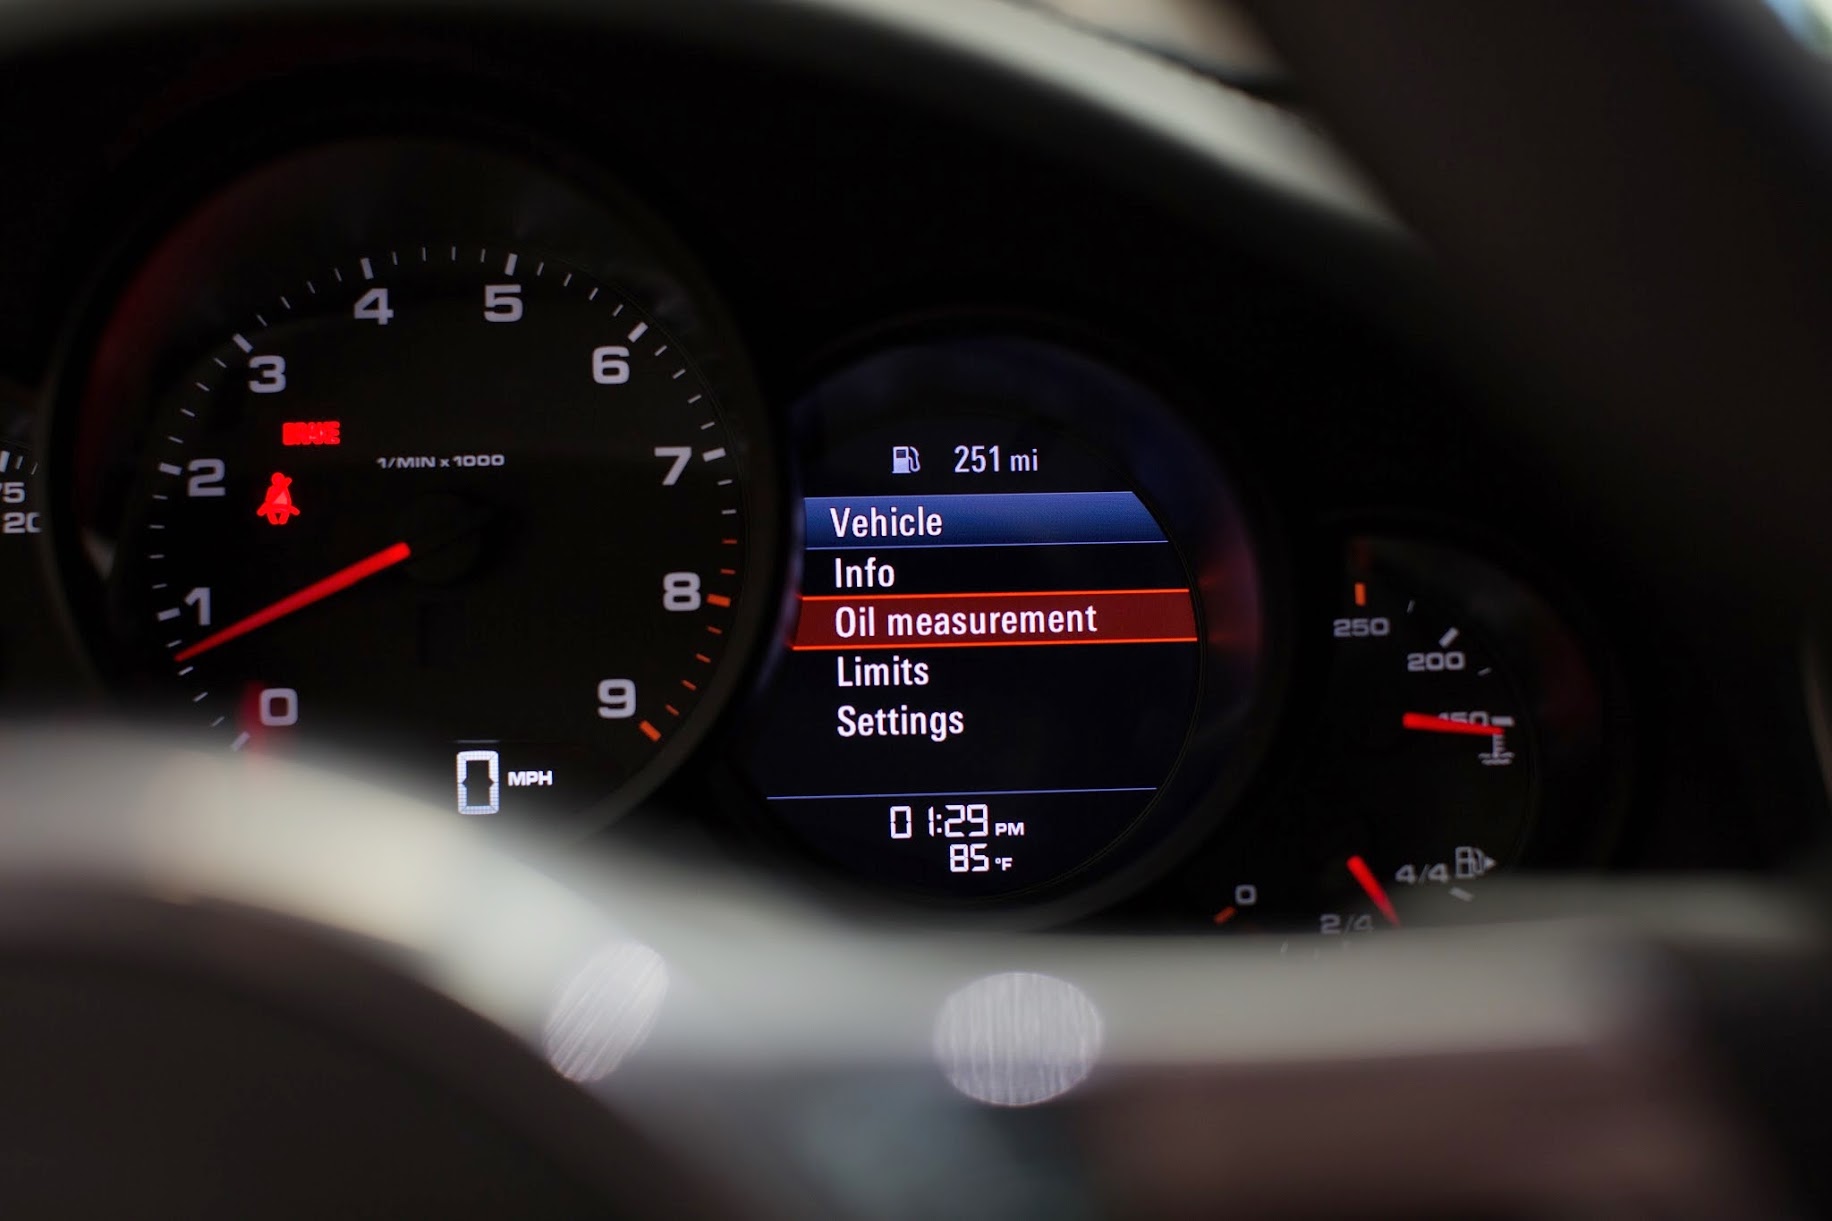
Start the engine to check the level. I had to let the car run for about 10 minutes to get it up to operating temperature before I got a reading. I kept exiting the menu and coming back to it to get a reading. You don't need to turn the engine off.


Reading with 8 quarts. I'm not sure about this, but I made sure to put the cap back on the get a proper oil level. Man, I miss dipsticks, but this took much less time to get a level than my M3. The M3 took like 20 miles of driving to get a measurement
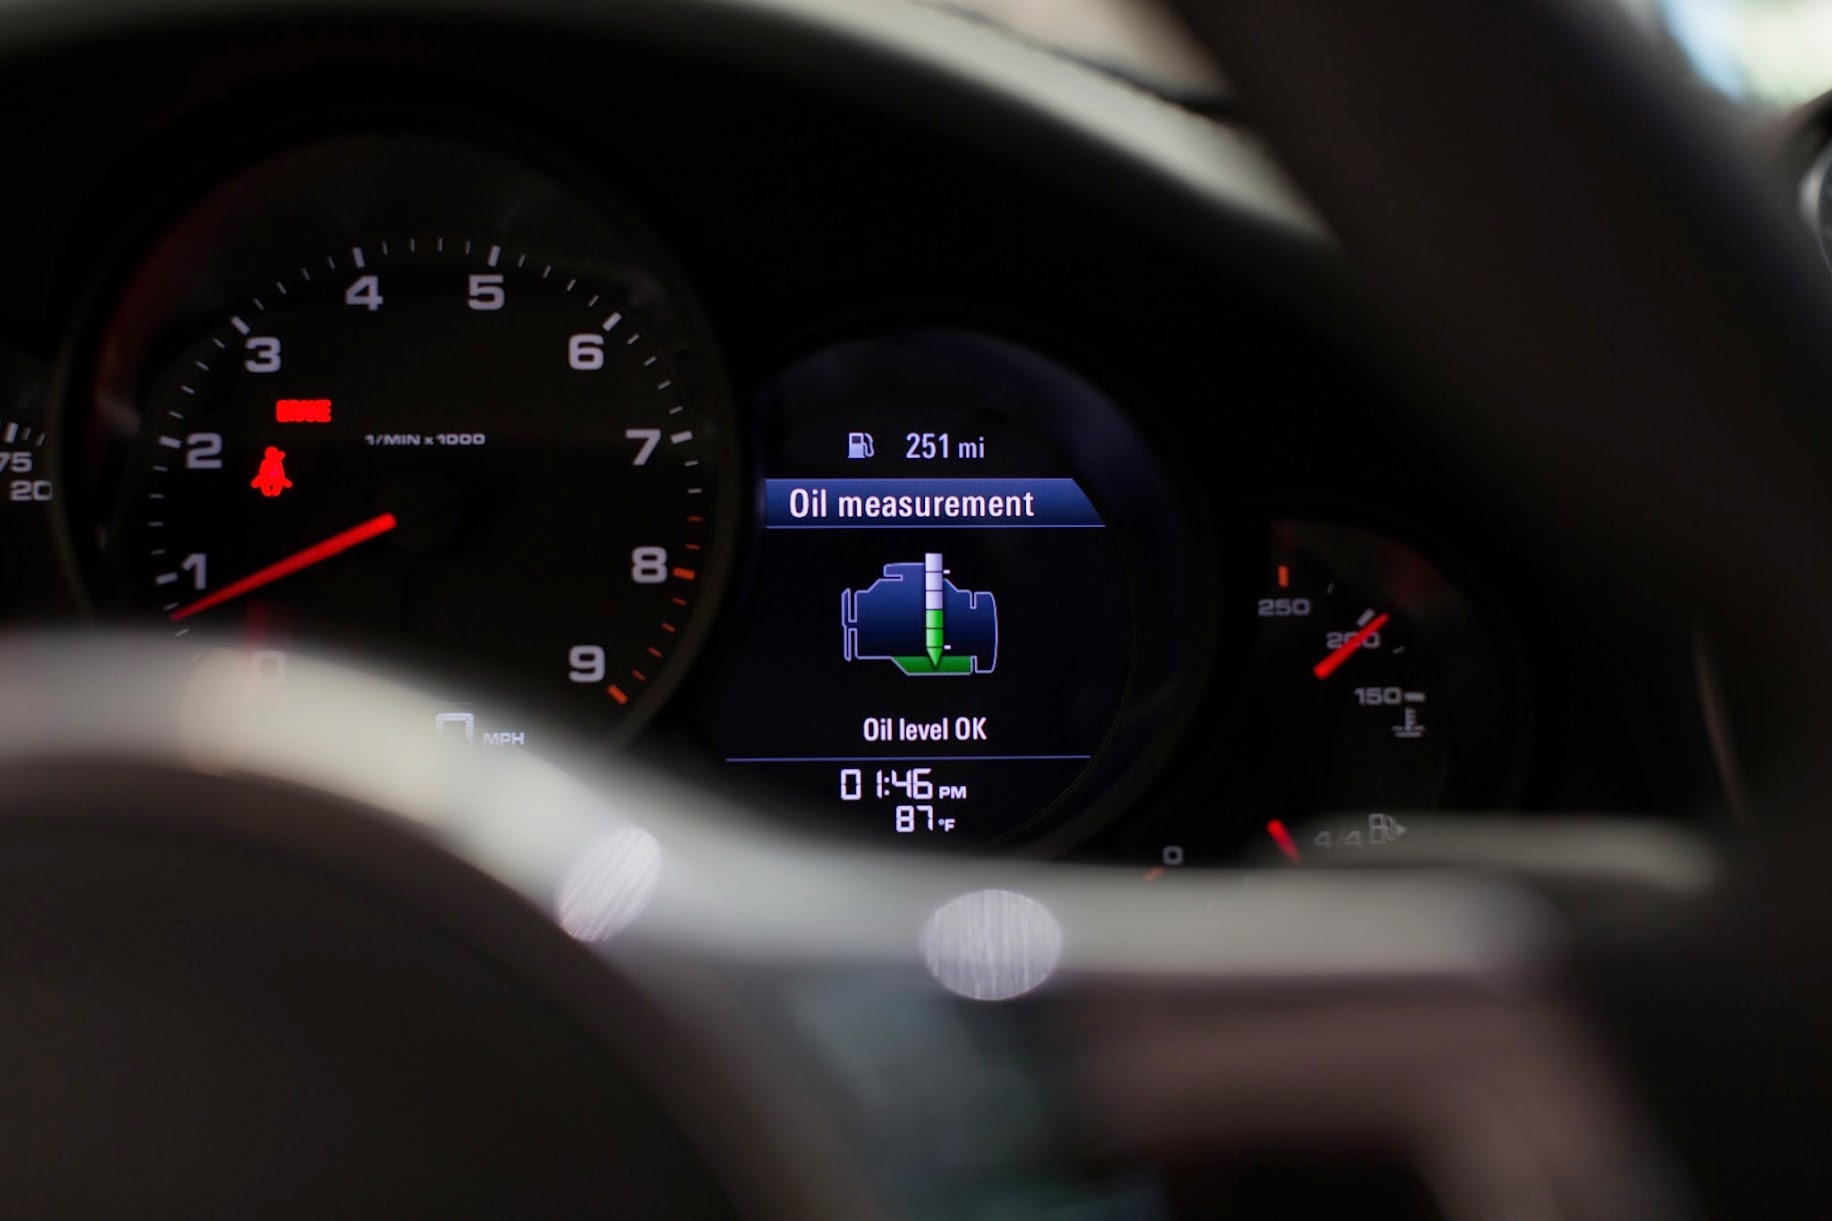
I finished by adding .9 Quarts.
You have to really push to get the white fabric to fold into the filter. This creates a nice snug fit. Don't be afraid to push. I'm sure that it doesn't matter, but the wording on the filter goes down. Replace the cap. I have never worried about torque specs. I have a torque wrench but didn't get it out of the toolbox. I just tightened by feel.
**** tendencies...
Put the intake tube and fan back in place.
I put the rubber intake guide back in place before replacing the fan cover. Pull out the support piece, so that it's easier to get the fan cover back on.
Snap the cover back in place.
Replace the plastic support piece.
The oil was still draining, so I decided to do a quick interior clean-up.
A little leather treatment.
Interior dusting.
I love this stuff. Just spray about five pumps under each seat directly onto the carpet.
Replace drain bolt with new crush washer.
Wipe off excess.
I sprayed a bit of this on the bottom of the pan to get the excess oil off after replacing the drain bolt. Notice the "real man" grease on the can.
Clean.
It's time to fill with oil. I added 8 quarts. The manual says 7.6 quarts, but I've read that's way short of what's needed.
Make sure you pour in slowly. The fill tube bends down into the engine and would very easily overflow down onto the exhaust.
Start the engine to check the level. I had to let the car run for about 10 minutes to get it up to operating temperature before I got a reading. I kept exiting the menu and coming back to it to get a reading. You don't need to turn the engine off.
Reading with 8 quarts. I'm not sure about this, but I made sure to put the cap back on the get a proper oil level. Man, I miss dipsticks, but this took much less time to get a level than my M3. The M3 took like 20 miles of driving to get a measurement
I finished by adding .9 Quarts.
Thread Starter
|
Registered User
Joined: Nov 2009
Posts: 671
From: The Villages, FL
Rep Power: 67
It's from Griot's. It smells like leather. I've been using it for years. You can either spray it right on the carpet or get a cloth wax application pad, and spray it with the interior scent. Then tuck it under the seat. Respray every month or so.
Thread Starter
|
Registered User
Joined: Nov 2009
Posts: 671
From: The Villages, FL
Rep Power: 67
Maintenance Spreadsheet
Attached is my rather crude but effecitve maintenance spread sheet that I keep on all of my cars. I know there are fancier ways to do it with apps or software.
On a side note, I never, ever create a summation of the total cost of ownership. I don't want to know...
On a side note, I never, ever create a summation of the total cost of ownership. I don't want to know...
Registered User
Joined: Jan 2012
Posts: 2,293
From: Silicon Valley, California
Rep Power: 152
https://www.6speedonline.com/forums/...ferrerid=71849
Thread Starter
|
Registered User
Joined: Nov 2009
Posts: 671
From: The Villages, FL
Rep Power: 67
Impressive! You're missing lid liner. Highly recommended!
https://www.6speedonline.com/forums/...ferrerid=71849
https://www.6speedonline.com/forums/...ferrerid=71849

Thread Starter
|
Registered User
Joined: Nov 2009
Posts: 671
From: The Villages, FL
Rep Power: 67
Good question. I'm not sure. I opened the Kranzle box, turned the pressure valve to its lowest pressure setting, and it has worked well for washing and foam. I'll check this weekend to see how how much pressure I'm using. The Kranzle has a gauge directly on the front. You would think I would have taken notice.
Registered User
Joined: Apr 2014
Posts: 115
From: NJ
Rep Power: 17
Appreciate that. Impatiently awaiting the arrival of my 991 and buying detail products from the ground up. Can't wait for the first drive and the weekend wash ritual to begin! Searching for a foam cannon now, which model do you have from MTM? Looks like a nice lather!!
Excellent write up! Thank you for taking the time and effort to post this up. Great pics and step by step. Very nice.
Your garage could pass as an OR! Very clean/neat/organized. I like it!
Your garage could pass as an OR! Very clean/neat/organized. I like it!
Thread Starter
|
Registered User
Joined: Nov 2009
Posts: 671
From: The Villages, FL
Rep Power: 67
Yep, MTM. Make sure to buy quick connects for all of the hose connections. It makes it much easier to set-up and break down.