When you click on links to various merchants on this site and make a purchase, this can result in this site earning a commission. Affiliate programs and affiliations include, but are not limited to, the eBay Partner Network.
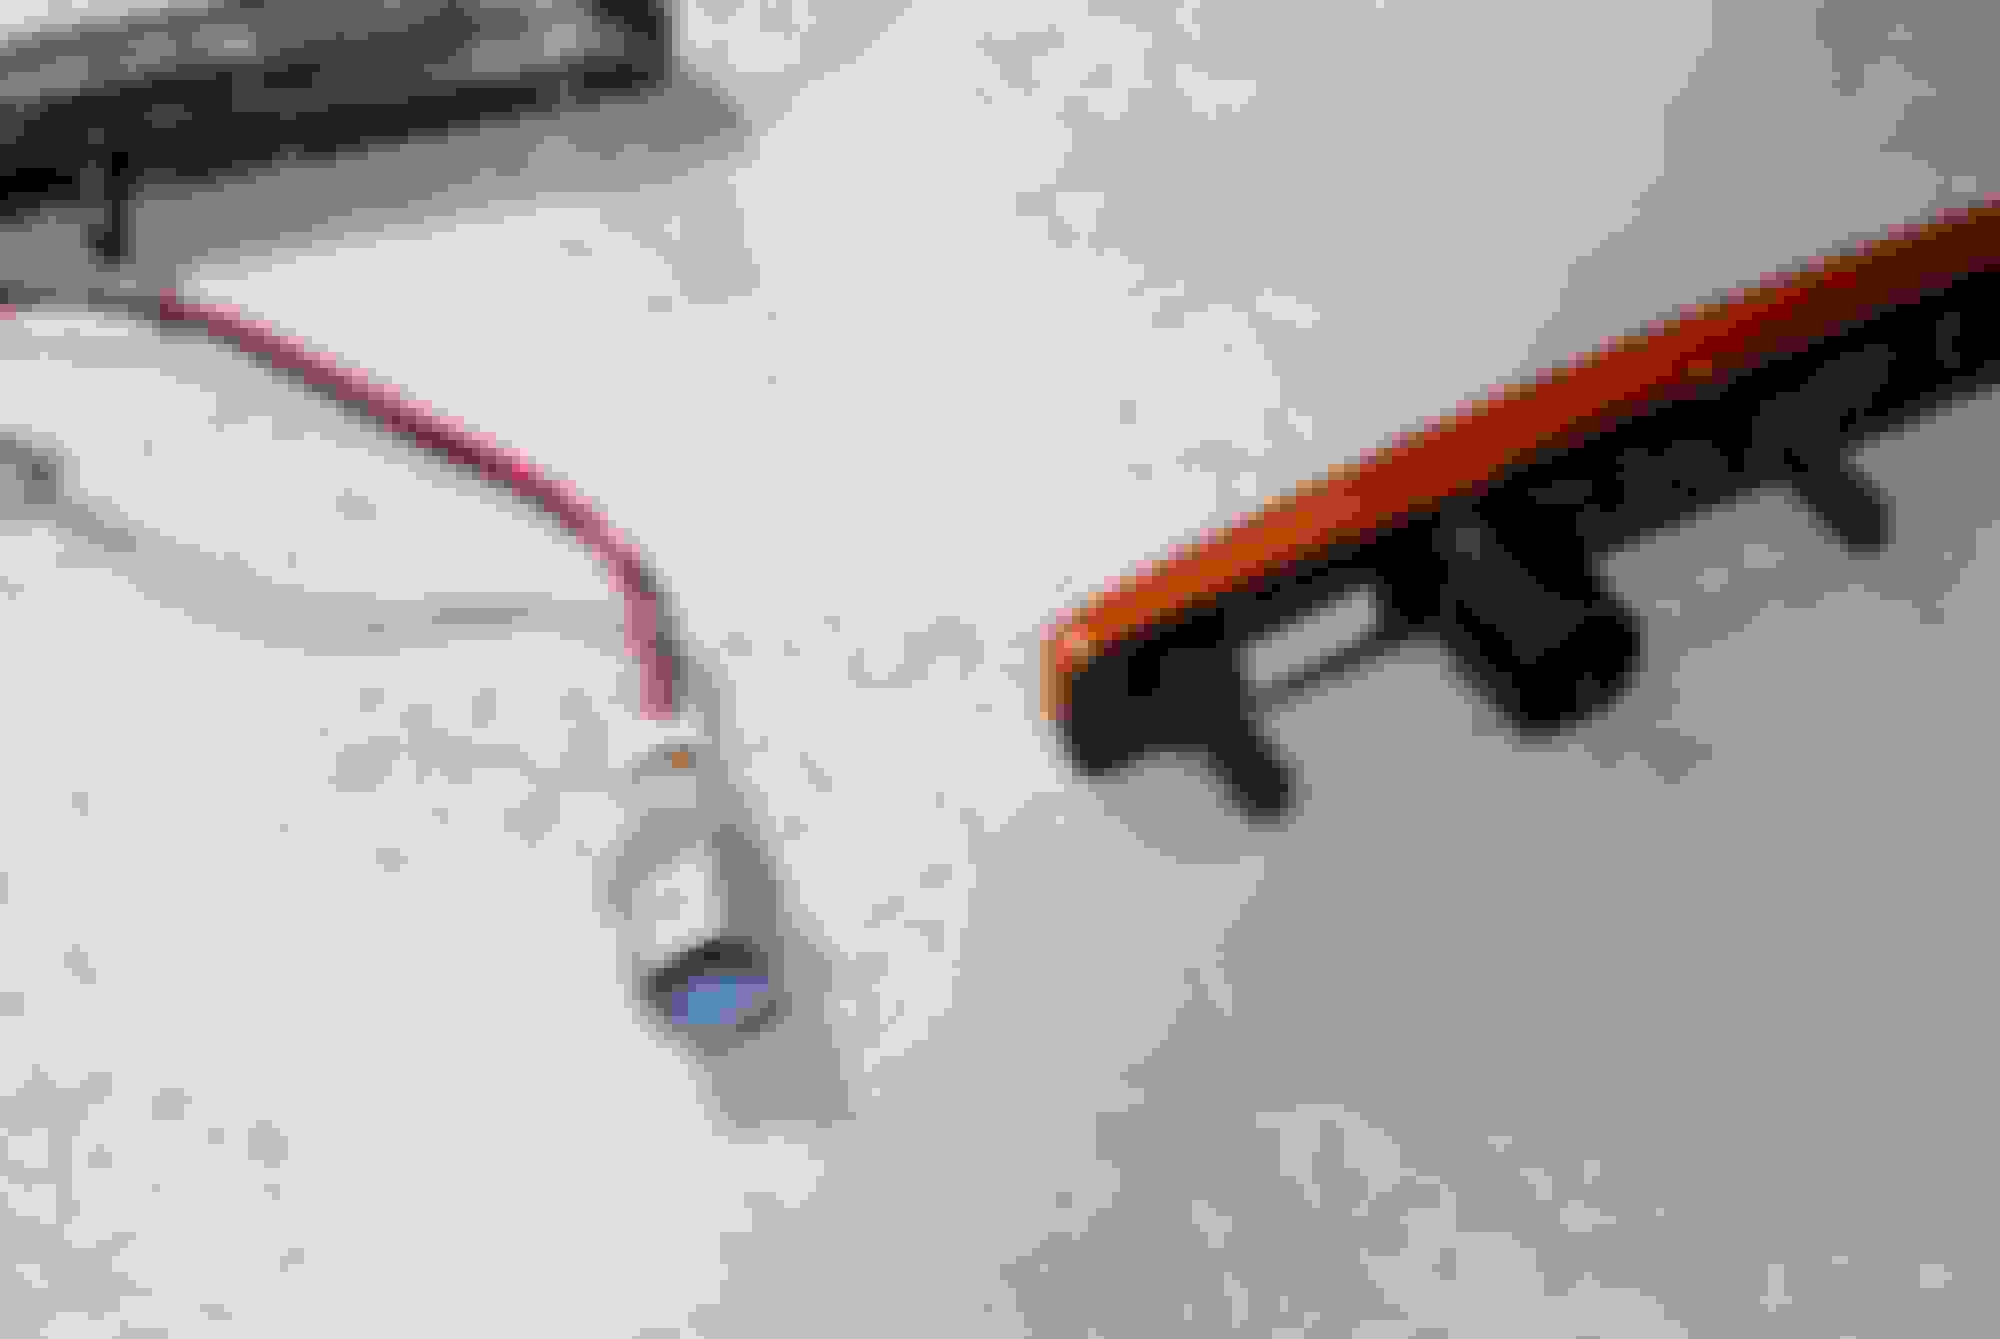
Ok, so I just tried to do it and taking the orange marker out was a PITA.
What the... the connector is different!
Wait a minute... what if I turn the grey part 90 degrees? Yes! that removes the bulb holder from the marker, you just pull the bulb out and connect the new marker to it.
These nuts are a pain in the nuts. They eat into the stub and make a thread as they go in. I highly suggest pre-threading the new markers before putting them in, as it's extremely tight in there.
Beautiful. Perfect with dark colors like my Tungsten.
I banged up my hands, and the whole thing took me around 45 min per marker.
No cutting required
No jacking required
The cable can go into the bulb holder in the wrong way so I suggest testing before closing the fender! I plugged both markers wrong.
No error codes or anything fishy.
I took the chance to also tighten the bolts that hold the fascia to the quarter panels. These were loose.
I dropped the nuts twice! Good thing I kept a pair of pliers close by to fish them out.
For those interested, here's what they look like on white. Not as bad as I had feared, they kinda mimic the headlights. Definately look good with lights on. I think I'm gonna leave them in, since they look better than the yellow
Last edited by bluebarchetta; Mar 2, 2015 at 03:16 PM.
Just ordered a set of these. I'm going to have Paul at IAP do some smoking/tinting on them before I install them. Going to have him do the tail lights, reflectors, and corner lights out back, too.
Does anyone have a source for the original markers, both these horizontal ones in front and the round ones on the quarter panel? I'd like to restore both to stock on my Vantage. Alternatively, for anyone who's upgraded to aftermarket parts, would you be willing to sell your original ones?
Does anyone have a source for the original markers, both these horizontal ones in front and the round ones on the quarter panel? I'd like to restore both to stock on my Vantage. Alternatively, for anyone who's upgraded to aftermarket parts, would you be willing to sell your original ones?
If nobody sells you theirs before I get to it, I should have mine available next week.
Just ordered a set of these. I'm going to have Paul at IAP do some smoking/tinting on them before I install them.
telum01, I'm considering these and believe "smoked" would be the way I'd go. I'm not sure how dark you plan to have them done. Pics would be appreciated. Thanks
Just for your information the tinted round lenses on ebay don't fit. The tinted lens is really nice but the flange that holds it is not correct. Had to send them back. Looks like I'll have to try the less expensive ones some of you mentioned.
telum01, I'm considering these and believe "smoked" would be the way I'd go. I'm not sure how dark you plan to have them done. Pics would be appreciated. Thanks
I got them smoked but haven't installed them yet. I'll try to do it tomorrow night so I can snap some pics.
Visually, they're pretty much the same except that the LEDs aren't so obvious inside. You can still see them, but they don't stand out nearly as much as they do with the clear lenses.
Turns out one of my Corner markers is DEFECTIVE. Which sucks because 1) I didn't find out until I installed it (what a crappy crappy horrible job that is), and 2) I had them sprayed so I'm expecting an uphill battle to get it replaced.
Crappy cell phone pics I hastily snapped before storm out of my garage:
It might not be defective. LEDs are diodes (the D in the acronym) which means that polarity is important. Reverse the plug on the "defective one" and it should (hopefully) light up.