When you click on links to various merchants on this site and make a purchase, this can result in this site earning a commission. Affiliate programs and affiliations include, but are not limited to, the eBay Partner Network.
Finally got around to installing the front long LED side lights on my V8 Vantage. They complement the headlight very well and definitely update the look. I read a few other posts about install but wanted to post my experience and include pics to help ease anxiety of others. It really is an easy job.
Tools required:
Phillips head screwdriver (stubby)
Flathead screwdriver
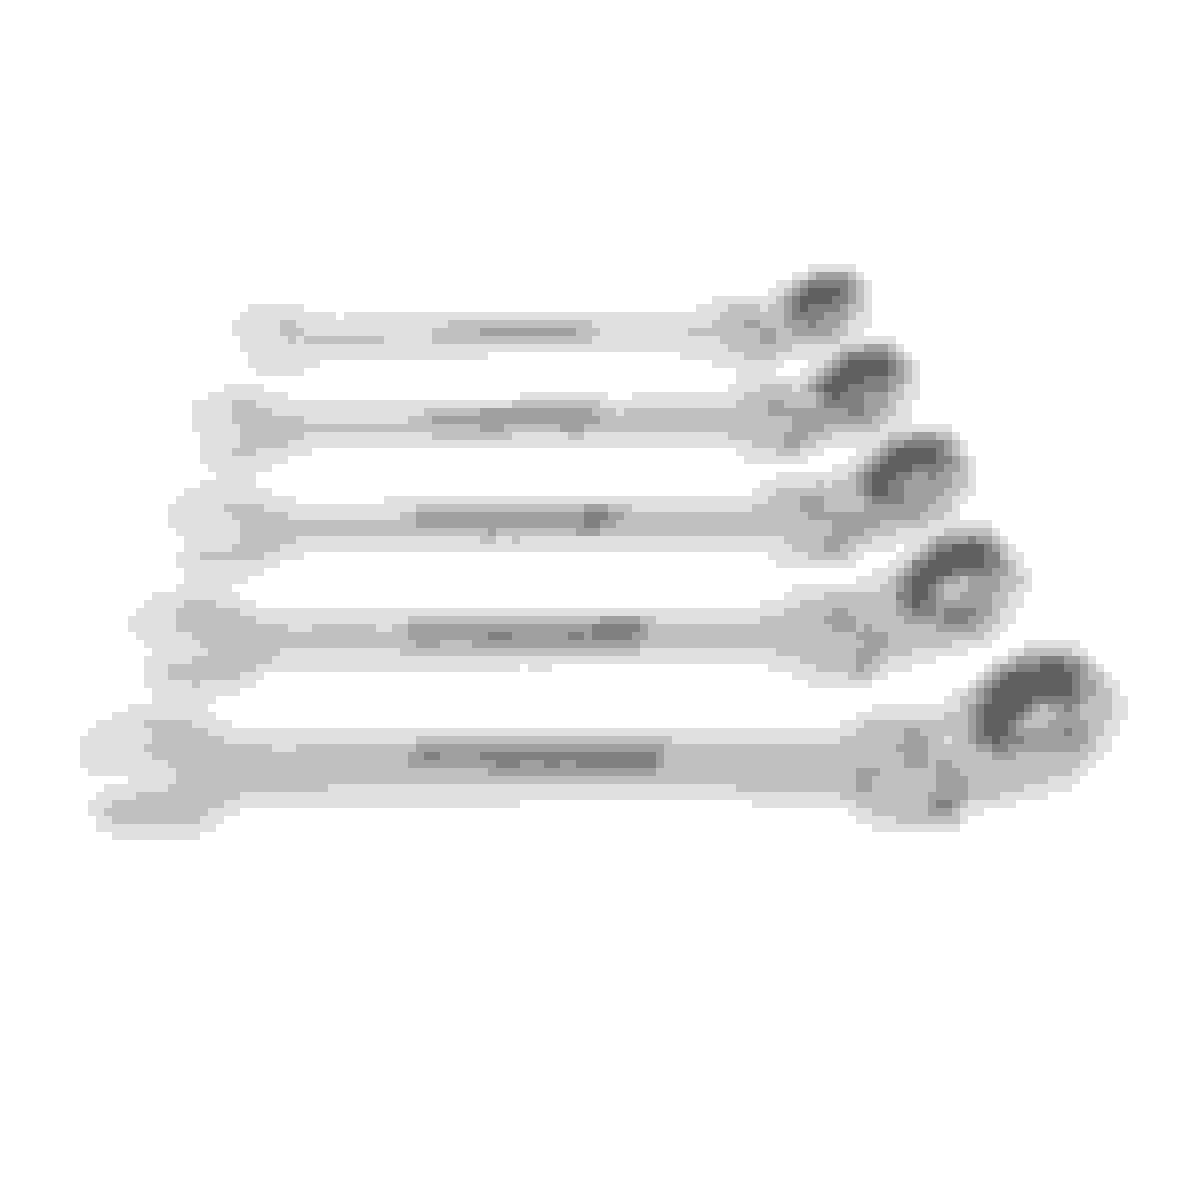
Swivel head 10mm ratcheting wrench
Optional 10mm socket/rachet
Electrical tape
You do not need to jack up the car or take the tire off. The front nut is a bit of a challenge but not too difficult if you have the swivel head 10mm ratcheting combo wrench I have a set of craftsman ratcheting wrenches but the swivel head is essential based on he angle. I picked up a swivel set from cheapo harbor freight as the craftsman set was 3 times the price.
A pic of the harbor freight wrenches for around $25. The craftsman are 2 to 3 times as expensive and I already have a fixed head set. Wasn't worth it for me.
First step, turn the wheel to the opposite of the side. You will see two phillips head screws to remove from the wheel well plastic.
Up higher, you will see a flathead plastic screw that holds the headlight access plastic panel on place. Turn it 90 degrees and pull out the panel part way. This relieves tension on the wheel well cover plastic.
Now look under the car near the front lip and remove two more Phillips screws that holds the wheel well plastic to the bottom of the car. You will need a stubby Phillips or a Phillips head in a socket to remove the screws since you haven't jacked the car up.
Then you can peel away the wheel well plastic protector and can see the back of the lights. The close nut is easy to see but the front nut is in a tight spot.
Thanks for the post! I have my LED lights awaiting install but was going to wait till I did the door strut... and just take it all apart, jack car, remove tire, fender liner, etc... This makes it seem more 'do-able' as a stand alone task.
For limited use tools... Harbor Freight is the way to go!
Last edited by RolexDaytona1; Aug 22, 2016 at 10:12 AM.
The closet nut is easy to remove with a 10mm socket or your ratcheting wrench.
The front one is harder to access. I found it easiest to lay on your back, insert the wrench and get it seated on the nut. Use your other hand to apply pressure to the head of the wrench to keep it on the nut.
The 'nut' is not a true nut and cuts it's own threads onto the plastic studs. Therefore, you can only thread it on one time, maybe twice if your lucky.
Once both nuts are off, then the light is free and you can disconnect the wire and remove it.
The only thing I didn't like about the new lights is that the wire plugs into the old light socket and it is not protected from the elements like the original. I bought mine off ebay, so the more reputable companies may have a better product.
Test the light since polarity is important. Plug it in the wrong way and it doesn't work but doesn't hurt the light.
Installation is essentially the reverse. I installed the easy nut first to keep the light in place while working on the the front tight nut. Since these 'nuts' cut the thread, there is resistance the while time you are tightening. I found it helpful to start the difficult nut a turn or two while off the car to help get it seated when working on the car.
DO NOT OVERTIGHTEN! It is very easy to snap off the studs so don't over tighten the nuts.
Another thing I did was wrap electrical tape around the connection to help protect it from the elements and ensure it won't come free. I also taped the extra wire up and out of the way. I don't drive my car on the rain, so I am not worried about moisture.
Now, I had an issue with my drivers side light. The close nut was RTV'd on and the front post was completely broken off, therefore I had not self tapping nut.
I used a die to cut threads on the plastic post and found a spare nut that worked on the threads. I cut it with a 10mm 32cnt but the die cut the post smaller requiring me to use an 8 rather than a 10. Either way, it cut the threads well and the nut is very secure. I elected to cut the easy post so the front difficult post is OEM.
A pic below shows the die and the nut threaded on the cut post.
If you search 'aston led' there is a listing on ebay which look like the lights I bought. They are down to $150 now. I bought mine over 6 months ago and I think I paid a bit more.
Overall, I am happy with the purchase and considering my originals were broken and poorly fixed, I am glad to have some piece of mind.
Die-cutting the threads is a GREAT idea. The biggest hassle for me was getting the nuts started on the new ones because the nuts have to bite into the plastic posts.
Die-cutting the threads is a GREAT idea. The biggest hassle for me was getting the nuts started on the new ones because the nuts have to bite into the plastic posts.
I am not sure I would cut threads on all the posts though. I would worry about them loosening up since you can't torque the plastic very tight. I feel comfortable with one cut and may put another nut on the post to lock the main nut in place. I will be checking it. Since there was only one nut holding it on in the first place, I am not too worried. It also looks like 3m double sided trim tape could hold the lights securely in place.
Die-cutting the threads is a GREAT idea. The biggest hassle for me was getting the nuts started on the new ones because the nuts have to bite into the plastic posts.
When I installed mine I just threaded the self-cutting nuts onto the posts about 1 or 2 turns and then took them off. That was enough thread to then get them started easily during installation.