When you click on links to various merchants on this site and make a purchase, this can result in this site earning a commission. Affiliate programs and affiliations include, but are not limited to, the eBay Partner Network.
A few months back, I decided to upgrade the IPD Plenum based on recommendations from respected 6speed and Rennlist forum members.
While the results are subjective, the install was far more painful than others i've done so far.
I was unable to find any good DIY's on the subject so i will attempt to chronicle my install for others to better understand.
There was certainly many lessons learned along the way.
I wish i knew then, what i know now.
Do i think it worked...hard to tell at all speeds, but acceleration at various points feels a touch quicker.
Anyways...on to the DIY
New IPD Plenum. Make sure you retain the small stainless 'block' as it is required to plug a hole when assembling the tubing to the new plenum.
Evidently the IPD Plenum design and dimples somehow improve air flow.
Start by removing the small cover just above the stock plenum. This step also resulted in my first mess up so pay attention to the next pic (below).
When you remove this piece, there are small rubber pieces that hold this unit in place, securing itself to the below piece (barely visible on upper portion of next pic). If you pull too quickly, they will become discharged to unknown areas of your garage....trust me. Lesson learned #1. I lost both of mine. This is a $500 cover, with .10 rubber pieces to secure to the motor.
1) Disconnect the Bosch sensor in upper left portion of stock plenum. 2) Pull out the 2 plastic 'bolts' that secure the stock plenum located in the middle of the above pic. 3) Loosen the clamps at either end of the stock plenum (silver looking clamp things above).
The flexible tubing that connects the stock plenum is pliable but yet difficult to move. Take your time and go slow to 'pop' both sides out gently.
Lesson learned #2: Ran into some serious trouble here. Caution...
I could not disconnect the tubing from underneath the plenum. Evidently your should squeeze a certain area to allow the two to separate. In my case, they were stuck together like cement. Yup...it ended up breaking.
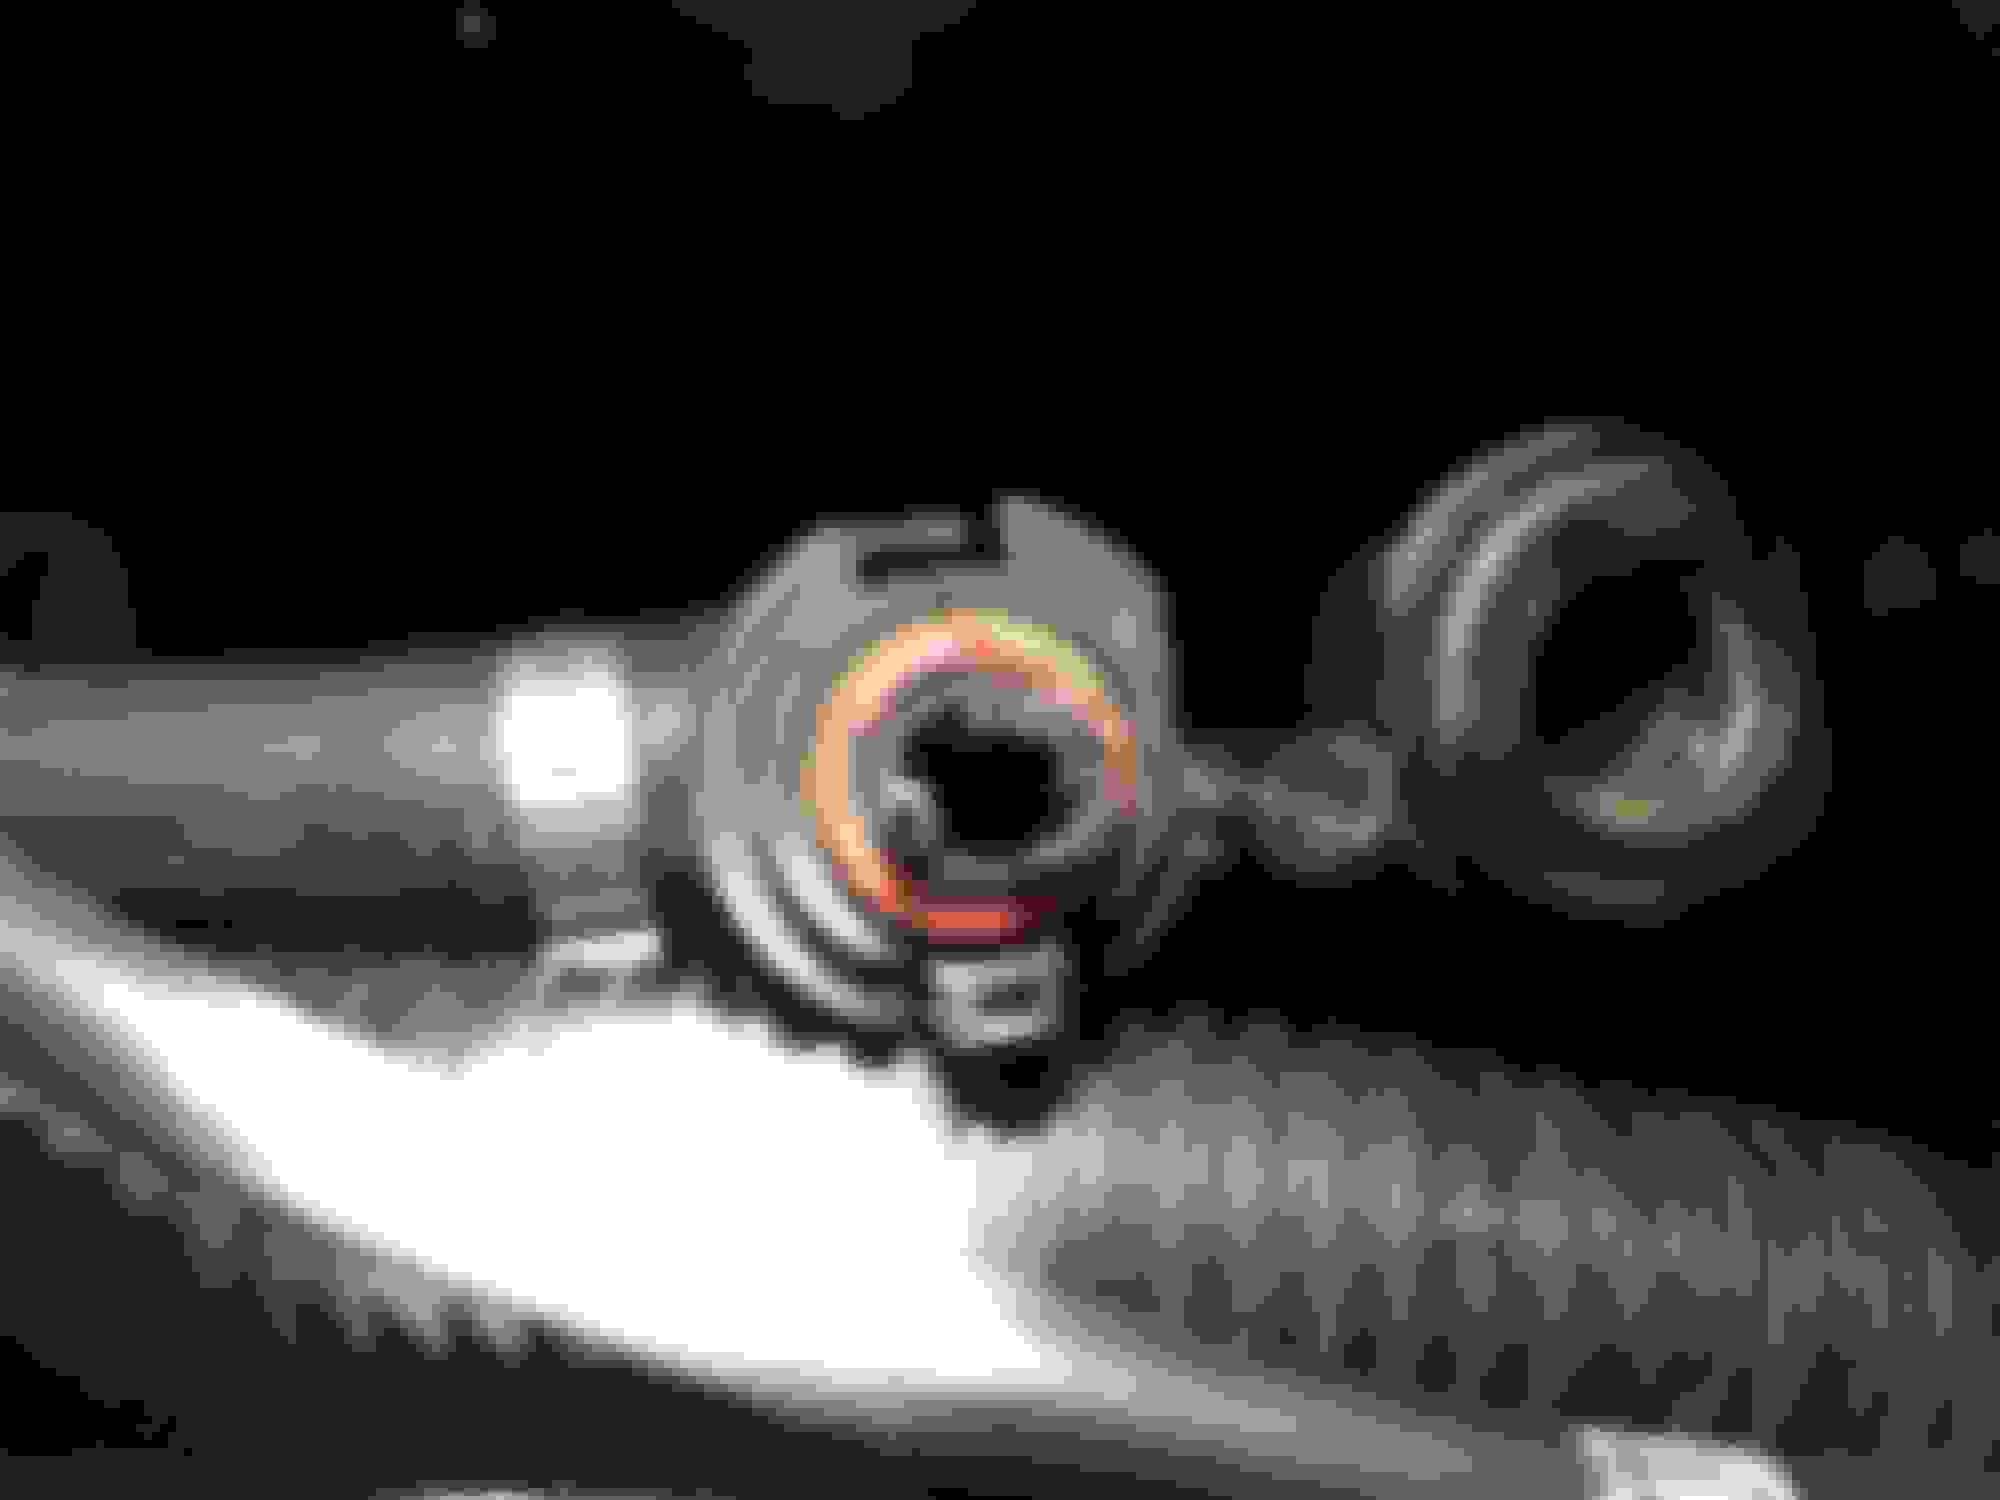
The cheap *** plastic from stock plenum broke off within the tubing (middle of pic, left hole inside the red area)......Fast forward a bit, once you reinstall, the small stainless 'block' that came with the IPD Plenum goes in the right hole in the tubing. It is a really tight fit. Just go slow...
The plastic piece that should have popped/slid right out....did not. Obviously, its missing in the middle of the stock plenum above. It used to be around 3/4" extruding from the plenum.
Here it is....you can somewhat see the aftermath of what was left after working on pulling it out with a pliers. I spent 30 minutes because i was ticked off at this point thinking it got the best of me. Never was able to remove it....not that it mattered at this point though
Made a quick order to a Porsche parts dealer. I should have known...it was not available anywhere in the country. Therefore, requiring a special rush order from Germany..... At this point, i missed a few pics but removal and reinstall of the above part was pretty straight forward.
The new IPD Plenum installed nicely. Lesson Learned #3: Be careful with pushing the Plenum on as it is a tight spot (believe it or not). Secondly, there are some small pieces on the new Plenum that stick out on the bottom. If you just jam it in and push, your likely to break some plastic pieces meant to secure rubber lines running underneath.
Don't forget to reinstall the above piece to the new Plenum.
Nearly complete. Last step is to reinstall the $500 cover, as long as you didn't have the small rubber pieces pop off and get lost like i did! Without them, the cover will not secure to the motor.
Unfortunately, still working on procuring little rubber pieces...
Overall do i regret it.....no.
I still like doing my own work, even though i could easily pay someone.
I like a challenge, and boy did i have one above.
Does it work?
I can say that it doesn't hurt. I 'think' i feel something but hard to tell since i have been a bit pessimistic from the overall install.
Nice write up. Won't help me, but thanks none the less.
Interesting to see the rubber grommets appear to be on the motor rather than the trim piece. They are on the trim for the diesel, but still just as easy to lose
I don't know about any performance gains, but it certainly looks better than the factory part
Ha! Looks has got to count for something!
Thanks gnat.
Wow.. I had my installed. Had no idea it would require that amount of preciseness.
Im sure your DIY will be appreciated by others.
Since I was not influenced by the install, I must say I'm aware of the before and after.
Nice writeup. Thanks for taking the time and sharing. What is the cost of the IPD plenum? Any objective performance improvement stats? I remember reading about doing this a couple years ago but didn't try it then.
Nice writeup. Thanks for taking the time and sharing. What is the cost of the IPD plenum? Any objective performance improvement stats? I remember reading about doing this a couple years ago but didn't try it then.
Current retail pricing on the IPD Plenum is $795.00 + Shipping