When you click on links to various merchants on this site and make a purchase, this can result in this site earning a commission. Affiliate programs and affiliations include, but are not limited to, the eBay Partner Network.
If your car is making clunking, squeaking noises while going over bumps, it is very likely that your upper and/or lower control arm bushings are damaged.
It is very hard to determine if upper control arms are damaged, because the bushings are mounted in such way, which prevents inspection (bolts/chassis are in the way of visual inspection).
Rest assured, if you are clunking over bumps, and your upper control arms are more than 60k miles old, it is time to replace them. Some have reported these arms damaged even before 60k miles.
Once you determine it is the upper control arms, this DIY will give you steps to do this at home, and save some good $$$. You can get some good beverage with all the savings you do, by doing the work yourself.
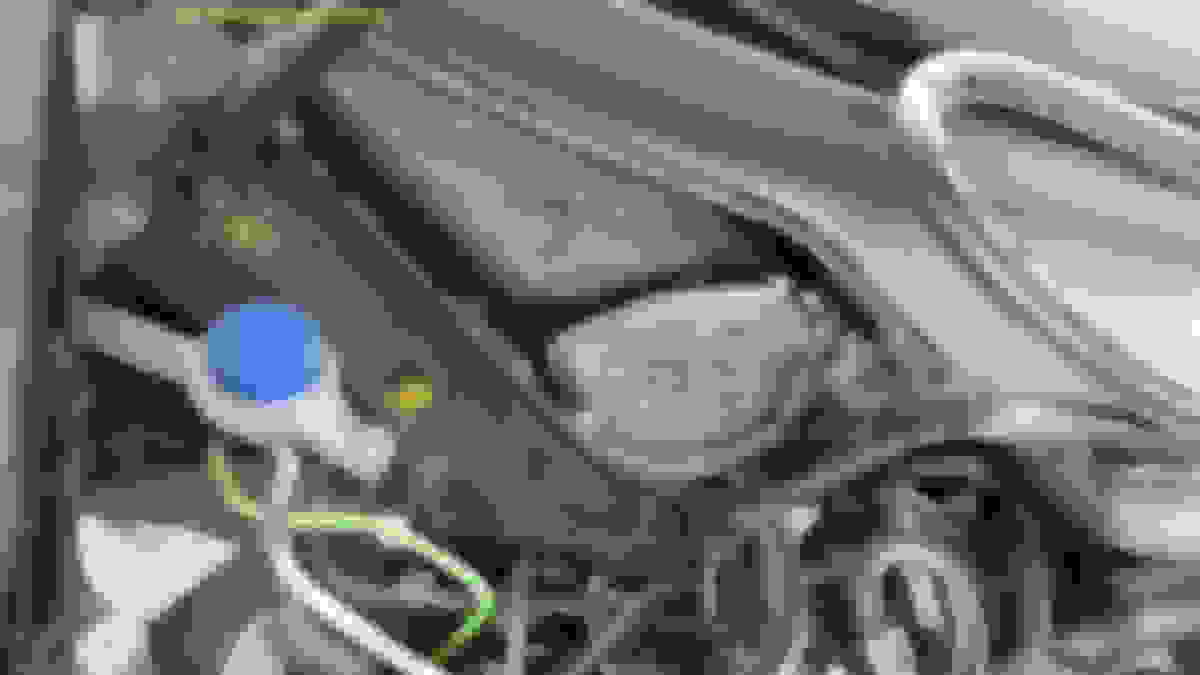
Follow each step in order, each picture contains description of the process. I recommend you read the entire thread, to ensure you understand the whole process, and estimate time involvement.
First time replacing the upper control arm? I estimate it will take you about 4 hours per side. Subsequent replacements will be significantly shorter, about 1.5 hours per side (then you will be an expert).
Take your time, dont rush, put some nice music on in the garage, and stay with it. Do not panic and complete the whole job. You can do this no problem!
Good luck and enjoy the hundreds you will save on the job.
REPLACEMENT PART INFO:
My replacement part: Lemfoerder (Porsche OEM supplier).
Upper control arm Part No: 970 341 051 10
Part cost estimate: $230-$260/side . Part includes nuts for ball joint, side bolt nuts (2)
INSTALL TORQUE INFO:
Upper arm bolts to body in wheel well - 50 Nm (37 ftlbs) + 120˚
Upper arm ball joint bolt to steering knuckle - 85 Nm (63 ftlbs)
I measured comfort height, brfore disable suspension.
lifted front just enough to remove tire off one side, then lowered both sides to that height, durinf course of replacement.
I did it because I din not want to risk rear end getting mis calibrated by being compressed beyond typical.
FSM talks about it when suspension is done, so I went the extra step. In reality it is a good number to have, so after you replace components, your suspension has same geometry, and you can compare to original numbers.
When I was debugging, I was making sure not to drop too low on front, or I would risk creasing the bellows in shocks. So made sure I knew height and did not drop much beyond that. With upper control arm replace less of an issue, but with air suspension work I wanted to ensure no damage. Will have other tid bits when I put the air shocks diy together. Reusing some pics.
Originally Posted by DogWood
nice write up as usual ciaka!
in step 2 you measure the height of the car, where do you use that information later?
Ciaka,
Another outstanding work from you. This is big $$$ Saving. I could imagine this work would cost few $K from Porsche dealer. How many miles do you have on your PAN? my PAN is still under warranty, I may have to ask Porsche to check it out in 2020.
Thank You
my PTT has 70k now. I saw posts of these going out in 30k or 40k. Would not worry unless you start hearing clunking/squeaking over bumps. Then get ready. Upper/lower arms and sway bar bushings are a need.
I saw quotes for 1200/side for upper control arms change by shop, non dealer. So dealer would be more for sure.
Some great info on this forum. I am planning to replace both upper and lower control arms on my 2010 4s. Dreaded clunk at 57K miles. I have purchased a couple of online manuals that are less complete than your descriptions. Can anyone provide torque specs for fasteners on both upper and lower. BTW, can the upper be removed without dropping the air shock? Thanks!
Upper control arms cannot be removed without taking shocks out. This is because the way the bolts are in, they necessitate full removal of shock before bolts can be taken out of their mount holes.
As to torque specs for upper arm bolts:
Upper arm bolts to body in wheel well - 50 Nm (37 ftlbs) + 120˚
Upper arm ball joint bolt to steering knuckle - 85 Nm (63 ftlbs)
I have DIY ready for lower arm replacement, havent gotten to edit/post.
Torques for lower arm are:
- Air guide bolt: 10Nm (7.5 ftlbs)
- Rotor phillips set screws 10Nm (7.5 ftlbs)
- Brake cable bracket on back of steer knuckle: 10Nm (7.5 ftlbs)
- Brake Caliper bolts: 140Nm (104 ftlbs)
- Lower arm to chassis mount (2): 130 Nm (96 ftlbs)
- Lower arm to lower shock absorber: 90 Nm (67 ftlbs)
- Tie rod ball joint: 85Nm (63 ftlbs)
Originally Posted by tastefulmod
Anyone know the torque specs for the lower control arm?
I have DIY ready for lower arm replacement, havent gotten to edit/post.
Torques for lower arm are:
- Air guide bolt: 10Nm (7.5 ftlbs)
- Rotor phillips set screws 10Nm (7.5 ftlbs)
- Brake cable bracket on back of steer knuckle: 10Nm (7.5 ftlbs)
- Brake Caliper bolts: 140Nm (104 ftlbs)
- Lower arm to chassis mount (2): 130 Nm (96 ftlbs)
- Lower arm to lower shock absorber: 90 Nm (67 ftlbs)
Tie rod ball joint: 85Nm (63f ftlbs)
my PTT has 70k now. I saw posts of these going out in 30k or 40k. Would not worry unless you start hearing clunking/squeaking over bumps. Then get ready. Upper/lower arms and sway bar bushings are a need.
I saw quotes for 1200/side for upper control arms change by shop, non dealer. So dealer would be more for sure.
My 2012 Pano Turbo S clunks really hard when wheel turned and pulling out of driveway! Only 25K miles on my car! I'm a little pissed. I'm guessing I should buy the whole kit from FCP Euro for $1300 bucks and just do the whole front end!
*****, from your description and from my experience with Panamera Turbos, Id like to let you know that it wont be necessary to do ALL that... I believe your problem can be solved by $120 or less worth of parts. It sounds like it is the sway bar bushing, and/or sway bare link. In addition to this, it might even be as simple as the X-brace undercarriage bolts that mount and hold in the sway bar bushings are loose and need to be tightened up. You can inspect the sway bar bushing once you get the wheel turned completely to one side. However, I noticed you are in Huntington Beach which is somewhat close to me in Anaheim. If you need any help and dont mind driving down to Anaheim, Id be more than happy to help you and help you diagnose this once and for all.. Im a huge Panamera fanatic and enjoy making them run perfectly, so no worries, Im not a shop, haha. Message me if you need any help. -Alex