

AWE exhaust installed - photos and impressions

Thread Starter
|
Registered User

Joined: Sep 2006
Posts: 3,028
From: Houston
Rep Power: 201


AWE exhaust installed - photos and impressions
Got my package from AWE yesterday, and could not wait so I installed it last nite. The brief sequence on the procedure:
A)Removal of stock system
1)jack up rear of car
2)remove taillights
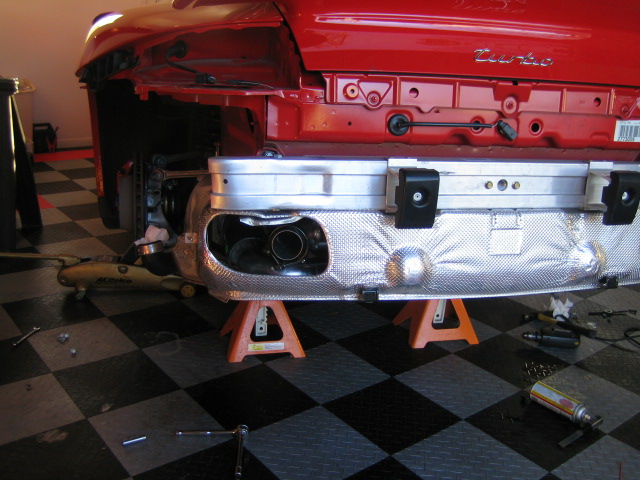
3)remove license plate, rear bumper
4)remove rear inner fender liners
5)remove intercoolers
6)remove rear heat shield and bend side heat shields
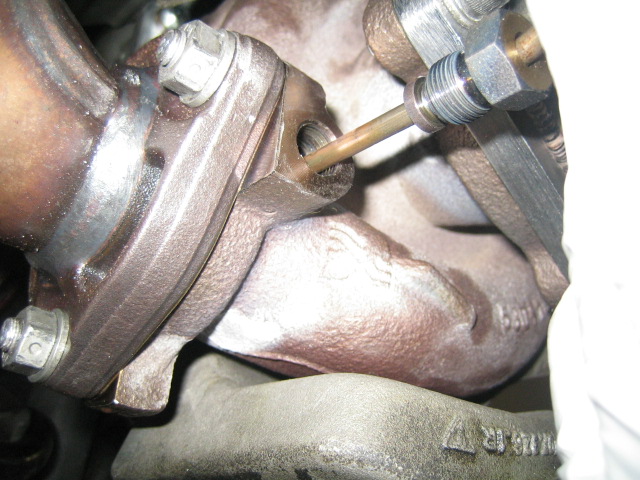
7)carefully remove nuts from turbo turbine housing studs
8)remove O2 sensors
9)loosen rear muffler clamps and disengage from brackets
10)remove exhaust as a whole
B)Installation is sort of reverse, but with some tricks
1)pre-tighten muffler clamps onto the AWE exhaust (bolts barely are long enough and clamps need to be "shaped" thru tensioning to fit correctly
2)then remove clamps and engage them on the exhaust brackets without the exhaust
3)install 1 cat (I chose drivers) and then loosely fit the (drivers) muffler to that
4)loosely fit the other cat and muffler into place - since everything is a slip-fit, you have to leave some wiggle room to get the next cat and muffler to engage both the turbo studs and the opposite muffer at the same time.
C)Problems - I did have one stud at the turbine housing break and had to:
1)attempt drilling it for an easy-out
2)broke easy out off inside the broken stud
3)broke 3 drill bits trying to drill out the easy out
4)removed the turbo - 5 oil and water lines to remove, 1 vacuum line, 1 bracket, 3 more troublesome nuts at the header flange, 1 air inlet hose
5)took turbocharger to specialty welder, who built up a nub using a TIG welder to the broken stud, then torqued it out with a vice grip and then chased the threads. Took him all of 2 minutes. This guy is my new "favorite person"!!
6)re-installed the turbo
7)re-installed the exhaust
D)Lesson learned: be very careful with the exhaust studs - they are very, very weak on this car. Even using PB Blaster/ liquid wrench I had problems with 3 of the 8 studs and had to chase all the thread holes with an M8x1.25 tap and clean all the studs using the corresponding die tool.
E)Impressions/summary
1)at idle, much deeper and a slight growl. Very reminscent of a 993 with motorsound
2)throttle response is sharpened tremendously, especially in non-sport mode. The motor responsiveness now is closer to the sport level
3)MORE BOOST!!!! I saw at least a couple more # of boost in non-sport, perhaps another # peak in sport mode. Difference is also that the boost hits earlier (2-300 rpm) and the peak is wider than before. Imagine it as "Sport II"
4)very little to no resonance at cruising speeds
If I had to summarize the nature of the AWE exhaust, I would say it is the way the car should have come. It is not a whole lot louder than stock, and it has more of a menacing tone than the "Dyson". You would not be embarrassed at all driving this into a church parking lot. It truly adds some much needed character to the powertrain. It still won't enthrall the way a Gallardo does but the disappointment is surely gone. It takes the tt from a 3/10 to about a 7.5/10 in terms of exhaust.
A)Removal of stock system
1)jack up rear of car
2)remove taillights
3)remove license plate, rear bumper
4)remove rear inner fender liners
5)remove intercoolers
6)remove rear heat shield and bend side heat shields
7)carefully remove nuts from turbo turbine housing studs
8)remove O2 sensors
9)loosen rear muffler clamps and disengage from brackets
10)remove exhaust as a whole
B)Installation is sort of reverse, but with some tricks
1)pre-tighten muffler clamps onto the AWE exhaust (bolts barely are long enough and clamps need to be "shaped" thru tensioning to fit correctly
2)then remove clamps and engage them on the exhaust brackets without the exhaust
3)install 1 cat (I chose drivers) and then loosely fit the (drivers) muffler to that
4)loosely fit the other cat and muffler into place - since everything is a slip-fit, you have to leave some wiggle room to get the next cat and muffler to engage both the turbo studs and the opposite muffer at the same time.
C)Problems - I did have one stud at the turbine housing break and had to:
1)attempt drilling it for an easy-out
2)broke easy out off inside the broken stud
3)broke 3 drill bits trying to drill out the easy out
4)removed the turbo - 5 oil and water lines to remove, 1 vacuum line, 1 bracket, 3 more troublesome nuts at the header flange, 1 air inlet hose
5)took turbocharger to specialty welder, who built up a nub using a TIG welder to the broken stud, then torqued it out with a vice grip and then chased the threads. Took him all of 2 minutes. This guy is my new "favorite person"!!
6)re-installed the turbo
7)re-installed the exhaust
D)Lesson learned: be very careful with the exhaust studs - they are very, very weak on this car. Even using PB Blaster/ liquid wrench I had problems with 3 of the 8 studs and had to chase all the thread holes with an M8x1.25 tap and clean all the studs using the corresponding die tool.
E)Impressions/summary
1)at idle, much deeper and a slight growl. Very reminscent of a 993 with motorsound
2)throttle response is sharpened tremendously, especially in non-sport mode. The motor responsiveness now is closer to the sport level
3)MORE BOOST!!!! I saw at least a couple more # of boost in non-sport, perhaps another # peak in sport mode. Difference is also that the boost hits earlier (2-300 rpm) and the peak is wider than before. Imagine it as "Sport II"
4)very little to no resonance at cruising speeds
If I had to summarize the nature of the AWE exhaust, I would say it is the way the car should have come. It is not a whole lot louder than stock, and it has more of a menacing tone than the "Dyson". You would not be embarrassed at all driving this into a church parking lot. It truly adds some much needed character to the powertrain. It still won't enthrall the way a Gallardo does but the disappointment is surely gone. It takes the tt from a 3/10 to about a 7.5/10 in terms of exhaust.
Thread Starter
|
Registered User
Joined: Sep 2006
Posts: 3,028
From: Houston
Rep Power: 201
components

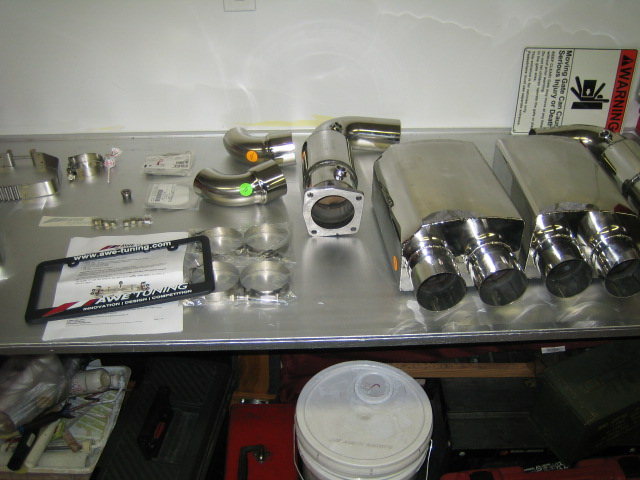
straight thru design

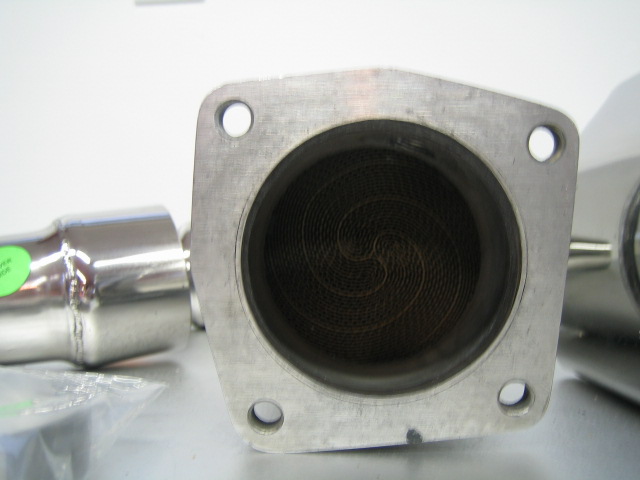
200 cell cat

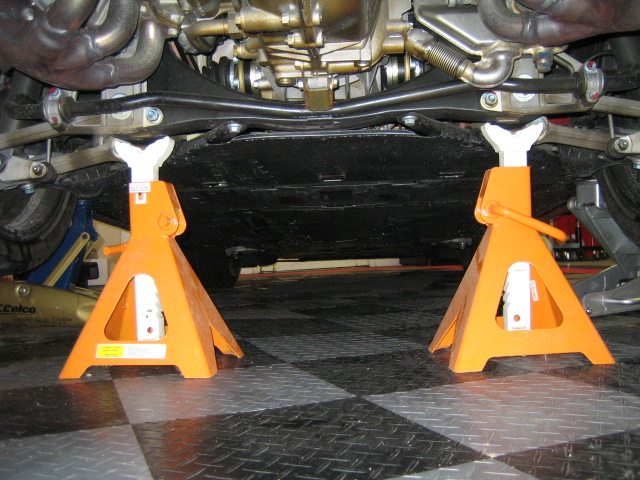
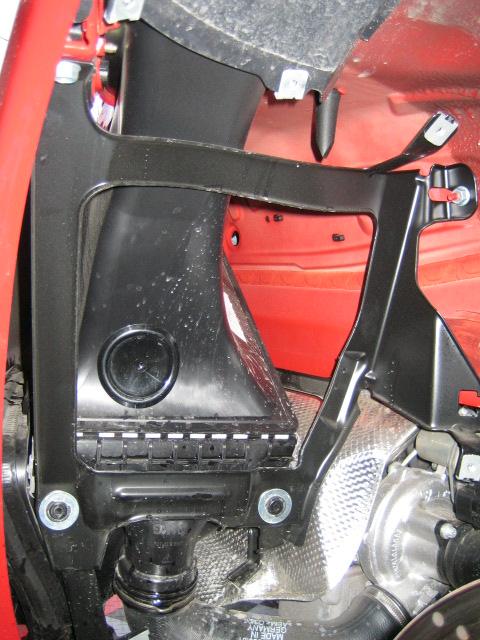
jack points

tip removal

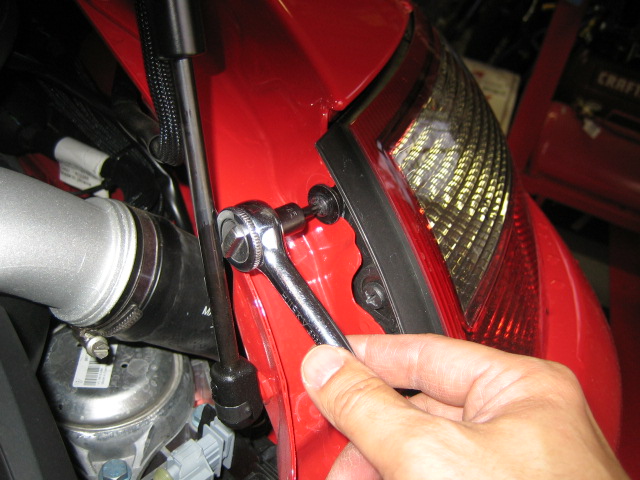
tail light removal

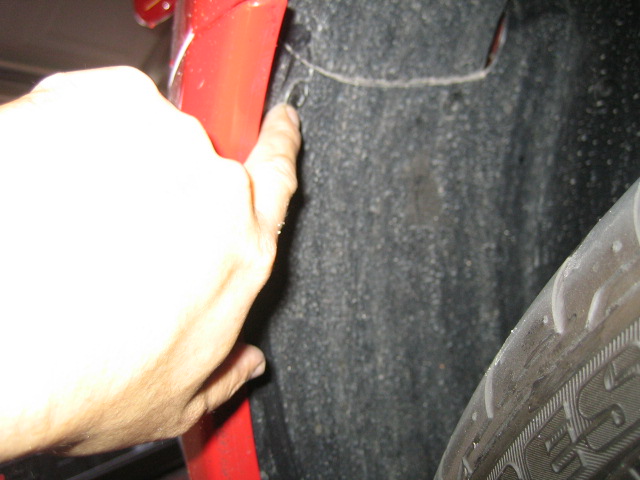
wheel well liner removal

intercooler exposed

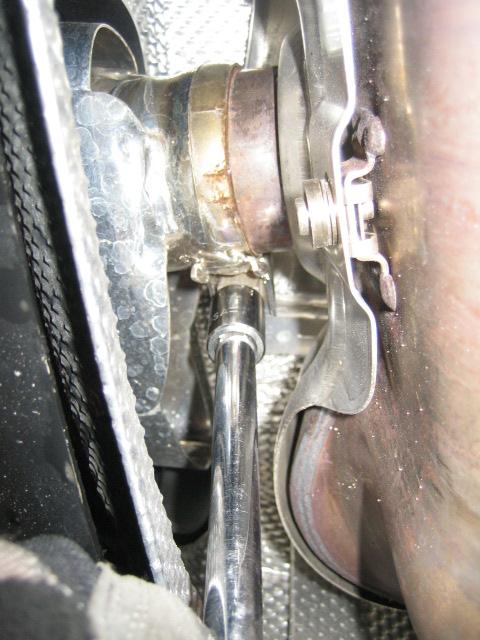
intercooler removed to allow access to O2 sensors

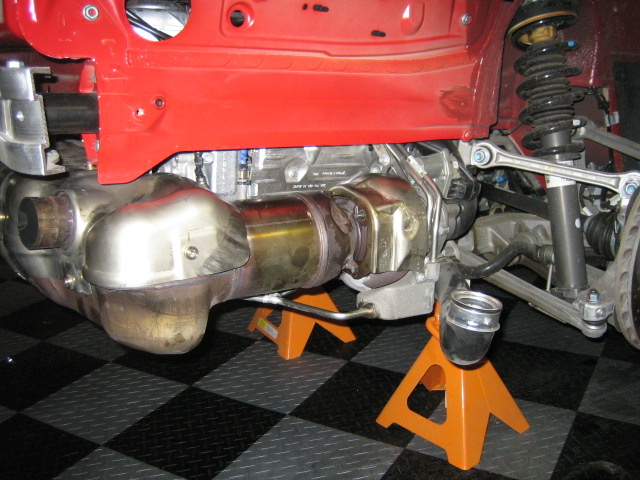
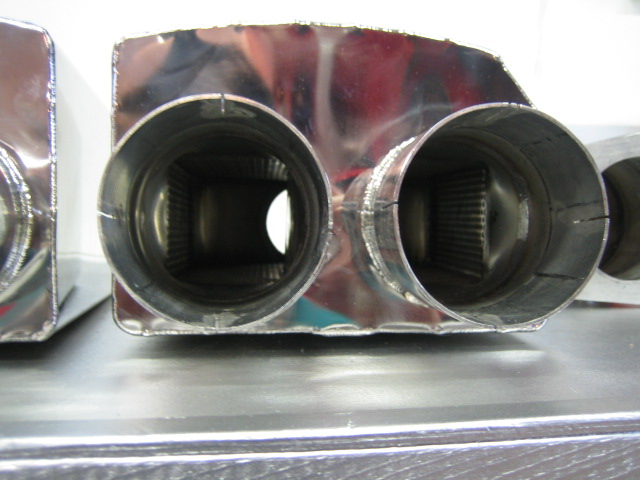
muffler removed


straight thru design

200 cell cat

jack points

tip removal

tail light removal

wheel well liner removal

intercooler exposed

intercooler removed to allow access to O2 sensors

muffler removed

Last edited by eclou; Oct 18, 2013 at 07:51 AM.
Thread Starter
|
Registered User
Joined: Sep 2006
Posts: 3,028
From: Houston
Rep Power: 201
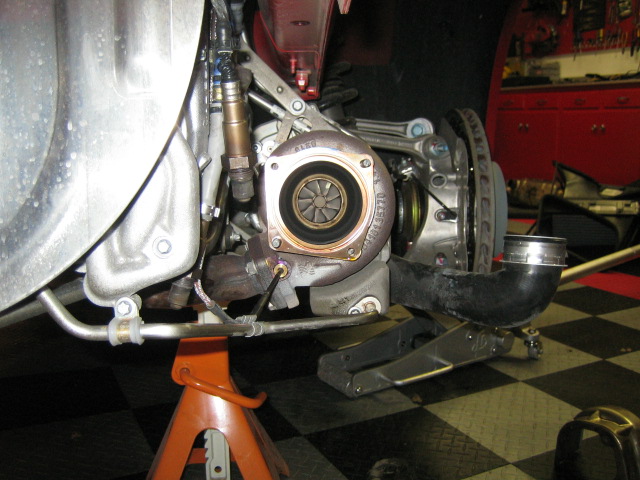
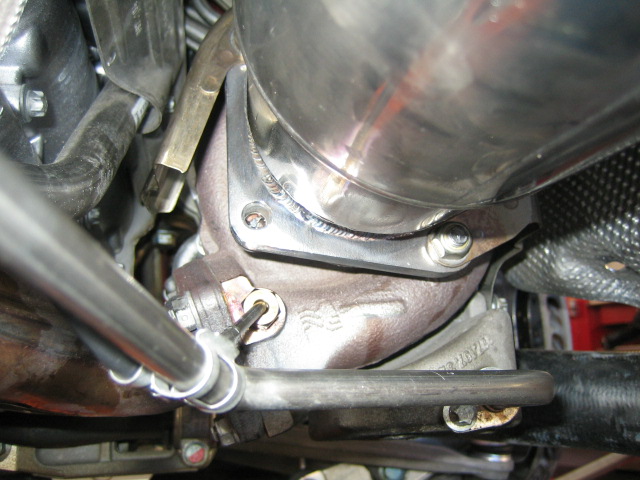
broken stud in lower left of flange

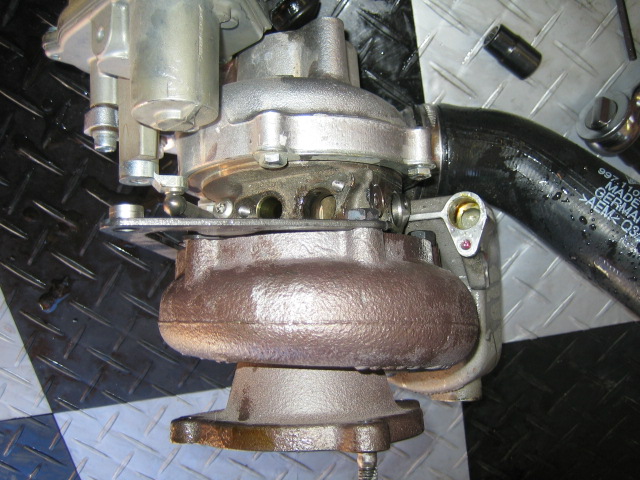
turbo removed


turbo water and oil passages seen

EGT probe in turbine inlet

heat shields back on

DONE!


turbo removed

turbo water and oil passages seen

EGT probe in turbine inlet

heat shields back on

DONE!

Last edited by eclou; Oct 18, 2013 at 07:54 AM.

Thread Starter
|
Registered User
Joined: Sep 2006
Posts: 3,028
From: Houston
Rep Power: 201
Originally Posted by Ray
great write-up! any power gain from your butt dyno?

Trending Topics
Registered User
Joined: Feb 2004
Posts: 27
From: VA
Rep Power: 24
Most impressive!
I had planned to install a Fabspeed exhaust today. Shortly after beginning I realized that my limited mechanical aptitude was not enough to successfully complete the project. I'll have to leave it to a professional next week. At least I was able to get the new 4-pipe tips on.
I had planned to install a Fabspeed exhaust today. Shortly after beginning I realized that my limited mechanical aptitude was not enough to successfully complete the project. I'll have to leave it to a professional next week. At least I was able to get the new 4-pipe tips on.
Thread Starter
|
Registered User
Joined: Sep 2006
Posts: 3,028
From: Houston
Rep Power: 201
Here is a "must have" tool list
1)22mm crow foot angled wrench - for O2 sensor removal. Get a good one and you might not have to remove the intercoolers
2)13mm ratcheting combination wrench, Craftsman - this will help tremedously in removing the nuts holding the cat/exhaust to the turbine. Otherwise you will get carpal tunnel turning the nuts 1/16 of a turn at a time, flipping a combo wrench over and over
3)male and female torx bits - all body fasteners are torx
4)M8x1.25 tap and die - needed to chase and clean the exhaust studs
5)anti-seize lube - coat the exhaust studs prior to reinstall
6)propane torch - for stubborn exhaust nuts that don't loosen with Liquid Wrench
7)allen head socket bits - muffler clamps are 6mm IIRC
8)10 & 13mm socket - almost everything is 13mm save for the 10mm head shield speed nuts and bolts
9)11mm deep socket - AWE uses band clamps with 11mm heads

Great write up eclou. Thanks for taking the time.
I also just want to mention that we have done several installs without removing the Intercoolers. The proper tools can make this job much easier.
If anyone has further questions, just ask.
I also just want to mention that we have done several installs without removing the Intercoolers. The proper tools can make this job much easier.
If anyone has further questions, just ask.

