

997.2 LED Interior Lights


Registered User
Joined: Mar 2007
Posts: 285
From: California
Rep Power: 31

It's one of the trickier pieces, but just needs some clever changes. I'm traveling for a few days, so no pics available until mid-week.
Here you go:
* Raise the vanity cover (the lights turn on automatically)
* You will see a crease that runs around the entire vanity assembly (Oval in shape)
* Use a flathead to pop that piece up, from the top of the assembly. It's held together from the bottom, so you need to make sure to pop it up from the top
* the oem lights are very close to fuse-type bulbs, but they have pointed ends making them 36mm instead of 29mm like the fuse-type led replacements.
* the oem lights are held in place in a tension-like fashion by two metal strips, but the pointed ends stick through holes in the metal strip.
* remove the one lights
* reposition the metal strips by switching their position relative to the plastic tips that hold them in place, reducing the spaces between the strips
* place the led lights in-between the strips about where the oem lights were originally set. make sure there is enough tension from the metal strips to hold them in place
* reassemble everything
I searched for lights that would fit better, but most 36mm LEDs (with pointed ends) were far too thick. the oem lights are about 6mm wide, but most of the LEDs are at least 10mm wide. So they were too thick to fit in that space.
I hope that helps.
for the bulbs, the two bulbs from http://autolumination.com/festoon.htm looks like it might work for the vanity lights. Anyone try these before?
high powered 5050 3 Chip SMT Leds
or
one of the flat 44mm rigid loop bulbs, a bit longer, but the clips looks like it could stretch out

Thread Starter
|
Registered User
Joined: Jul 2008
Posts: 438
From: Australia
Rep Power: 54

Thanks! with the instructions, i was actually quite easy!
for the bulbs, the two bulbs from http://autolumination.com/festoon.htm looks like it might work for the vanity lights. Anyone try these before?
high powered 5050 3 Chip SMT Leds
or
one of the flat 44mm rigid loop bulbs, a bit longer, but the clips looks like it could stretch out
for the bulbs, the two bulbs from http://autolumination.com/festoon.htm looks like it might work for the vanity lights. Anyone try these before?
high powered 5050 3 Chip SMT Leds
or
one of the flat 44mm rigid loop bulbs, a bit longer, but the clips looks like it could stretch out

Thread Starter
|
Registered User
Joined: Jul 2008
Posts: 438
From: Australia
Rep Power: 54
A correction on the sizing of the license plate bulb, OEM bulb actually measures 38mm in length (tip to tip), but you can use anything in between 36mm and 40mm as the bulb 'holder' is adjustable.
I bought these 39mm 6000K canbus LED bulbs on ebay and they are perfect fit. No codes so far.

http://www.ebay.com.au/itm/380258970722?ssPageName=STRK:MEWNX:IT&_trksid=p398 4.m1439.l2649
I bought these 39mm 6000K canbus LED bulbs on ebay and they are perfect fit. No codes so far.
http://www.ebay.com.au/itm/380258970722?ssPageName=STRK:MEWNX:IT&_trksid=p398 4.m1439.l2649

Registered User
Joined: Aug 2006
Posts: 3,315
From: WA state
Rep Power: 197
fair warning with those bulbs with metal top, inside your oem license plate light is a metal piece, if it makes contact with that its going to short the light out and its VERY tight in there up top if you measure it out.
Thread Starter
|
Registered User
Joined: Jul 2008
Posts: 438
From: Australia
Rep Power: 54
So far it seems to be doing its job just fine.

Registered User
Joined: Mar 2011
Posts: 24
From: North East England
Rep Power: 0
Did you anyone fit the vanity mirror lights - and if so which ones?
Registered User
Joined: Mar 2007
Posts: 285
From: California
Rep Power: 31
i ended up getting the fuse type bulbs like the picture and used an soldering iron to solder the tips to extend it to meet the length. a little work, but works great!
Thread Starter
|
Registered User
Joined: Jul 2008
Posts: 438
From: Australia
Rep Power: 54
Update:
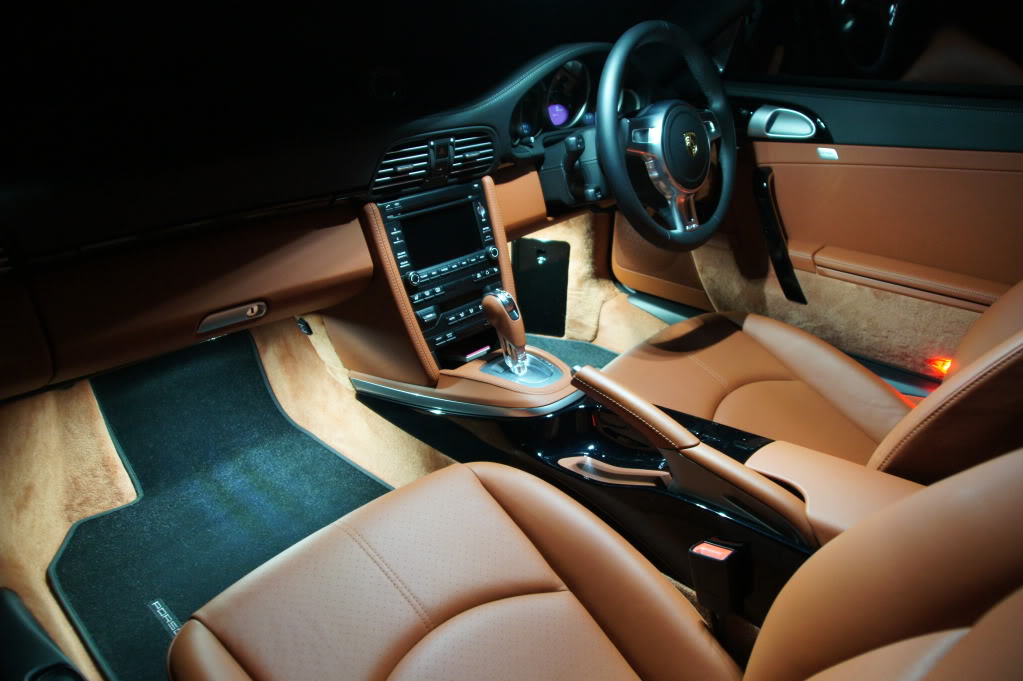
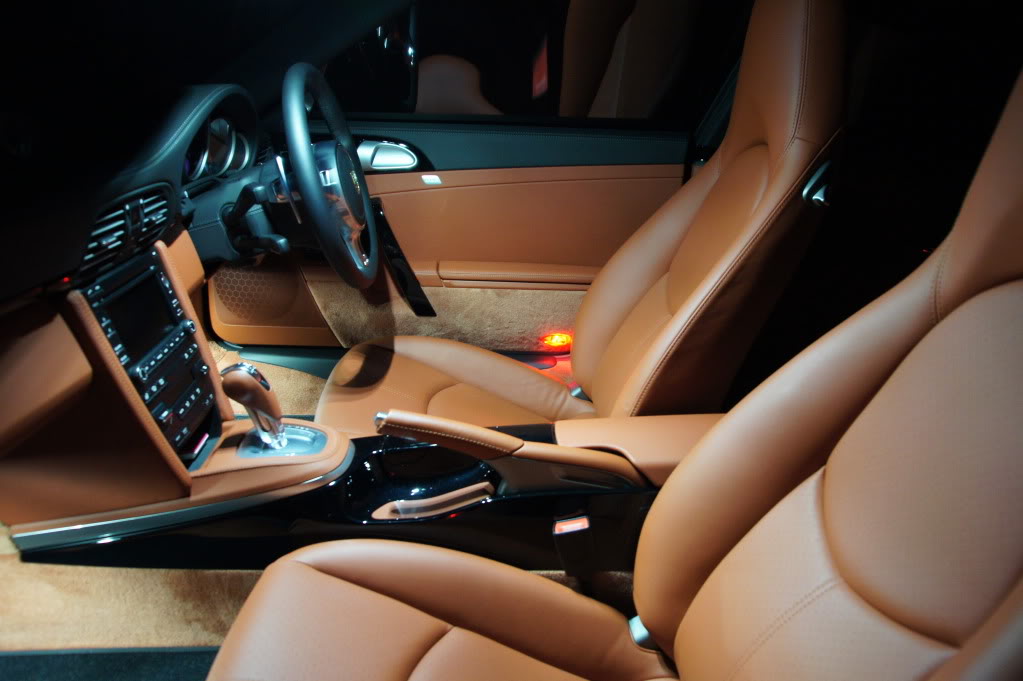
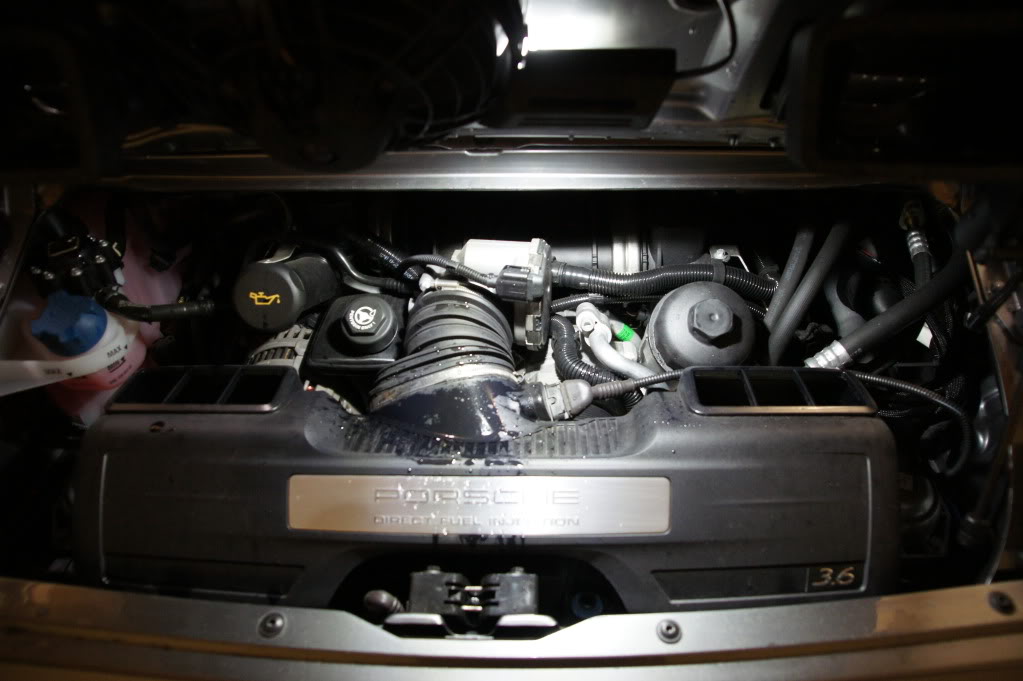
Finally received my order from vleds, installed everything last night, and here are the pictures.
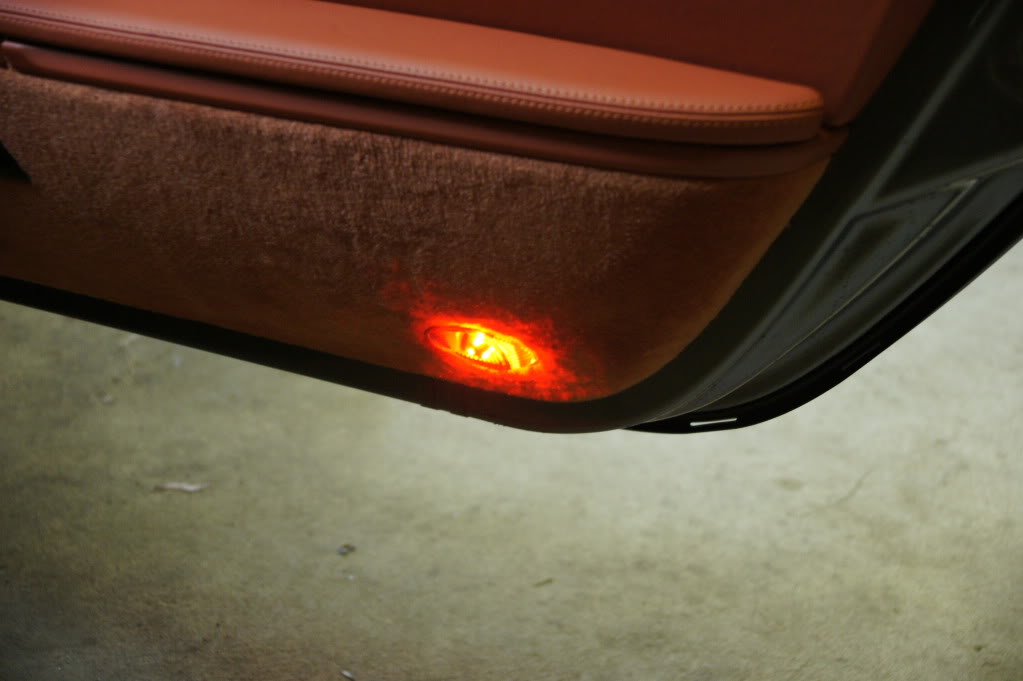
Courtesy light: RED T10 5 LED light bulb,

Before,
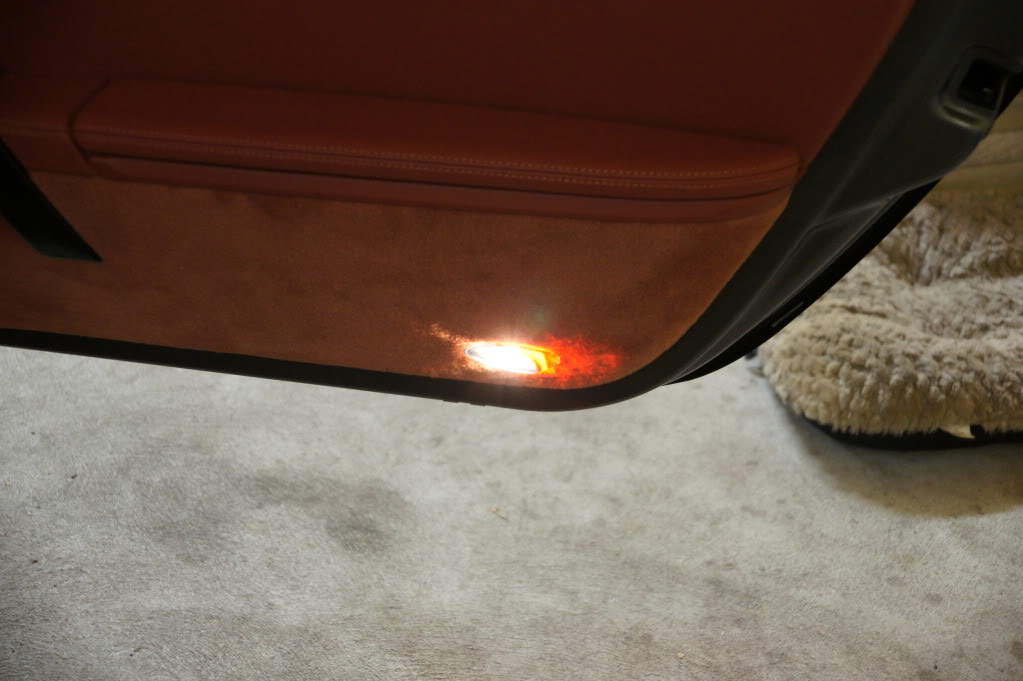
After,
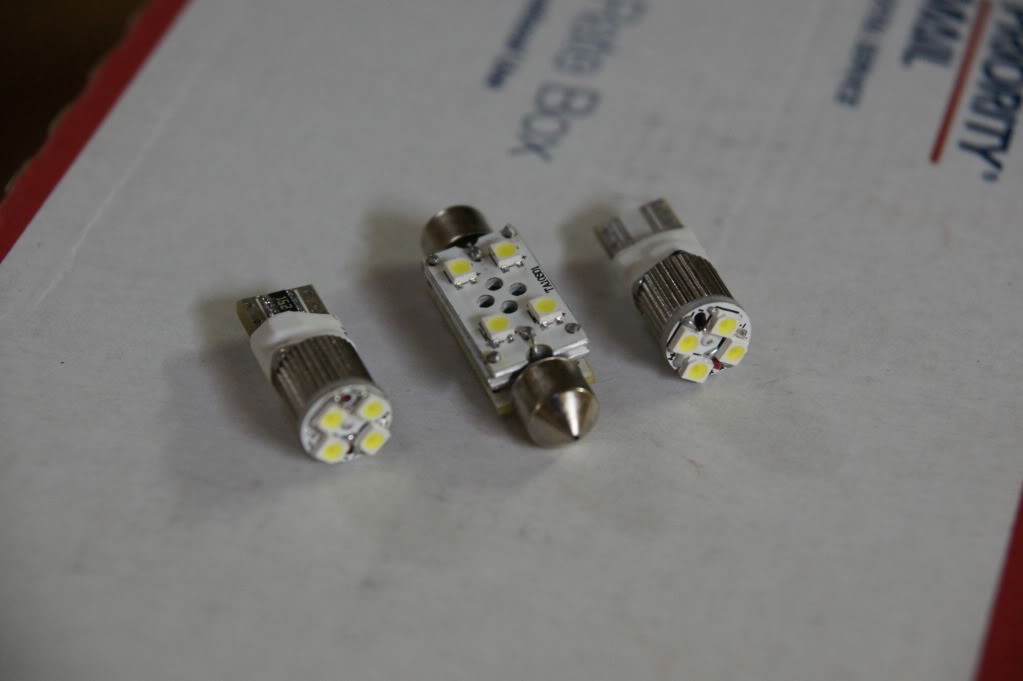
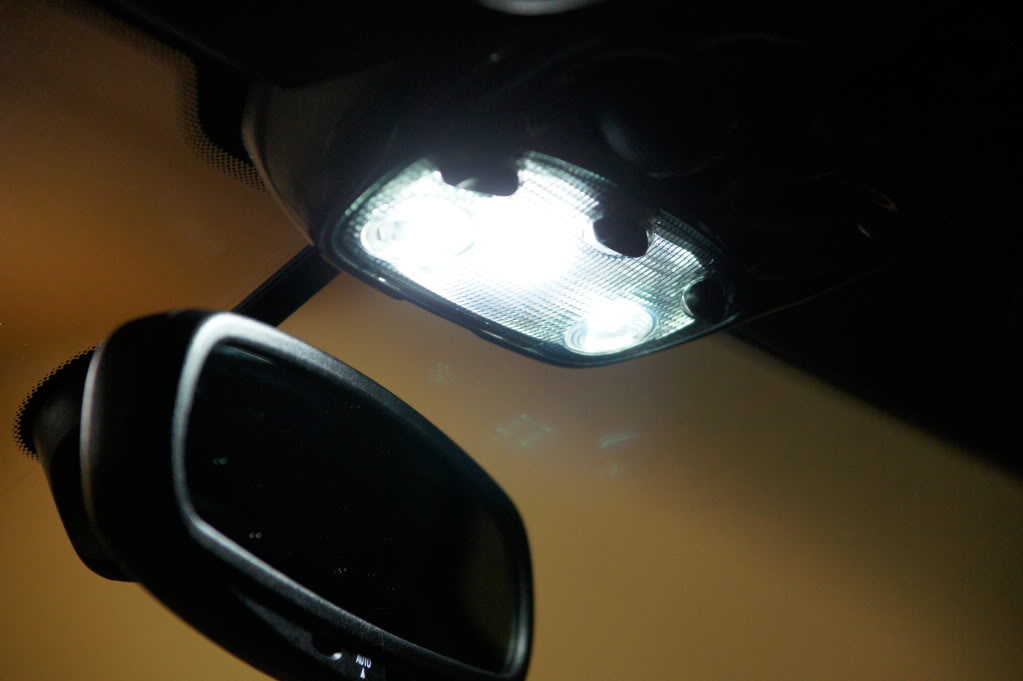
Dome/Map lights: 1x 5K WHITE 42mm festoon 4 LED high power bulb, 2x 5K WHITE T10 2W high power bulb,

Stock,
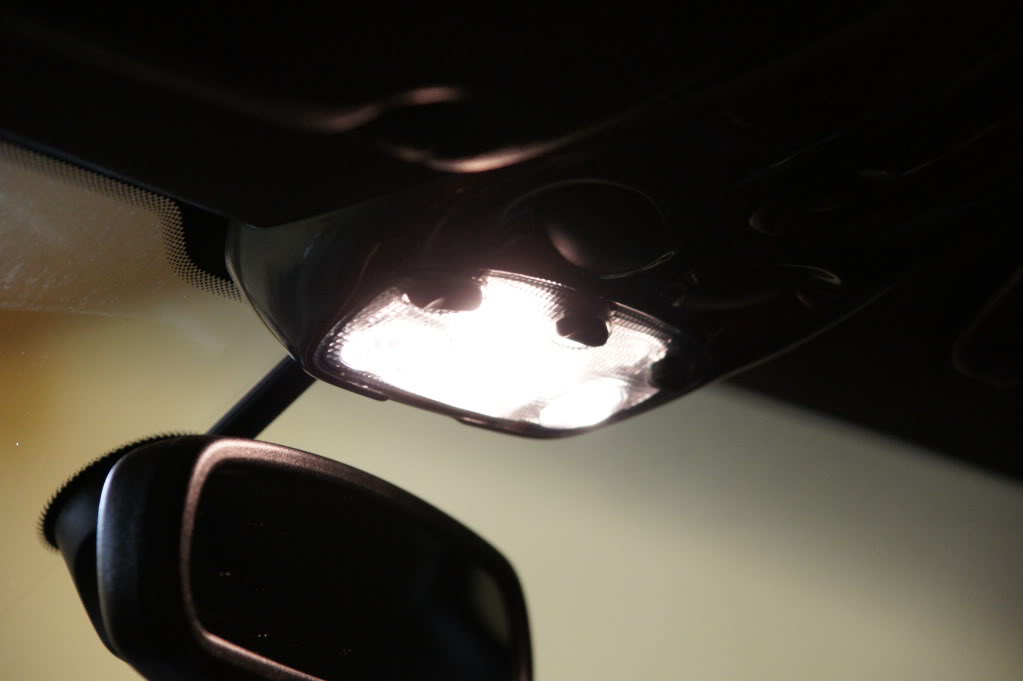
5K WHITE LEDs,
Footwell and Glove box lights: 5K WHITE T10 194 4 LED 2W flank style bulb,
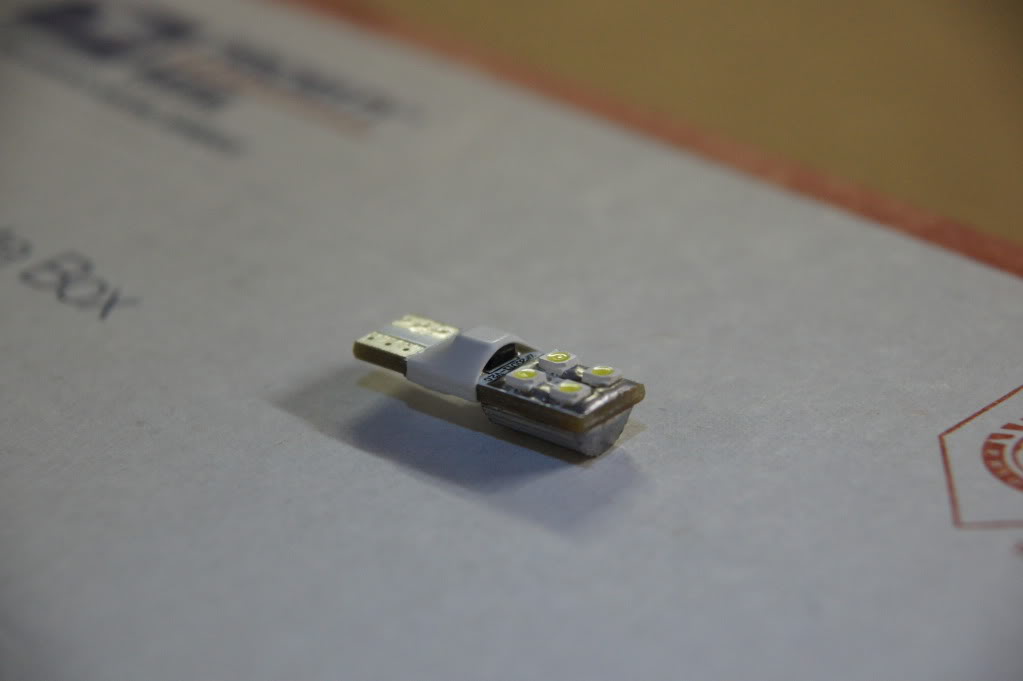

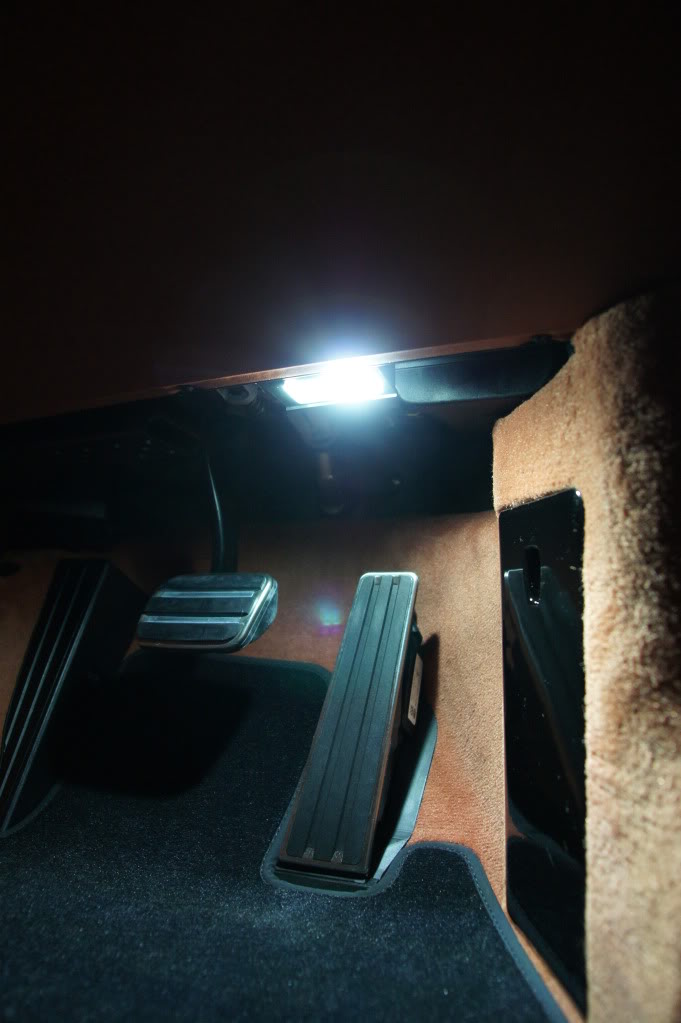
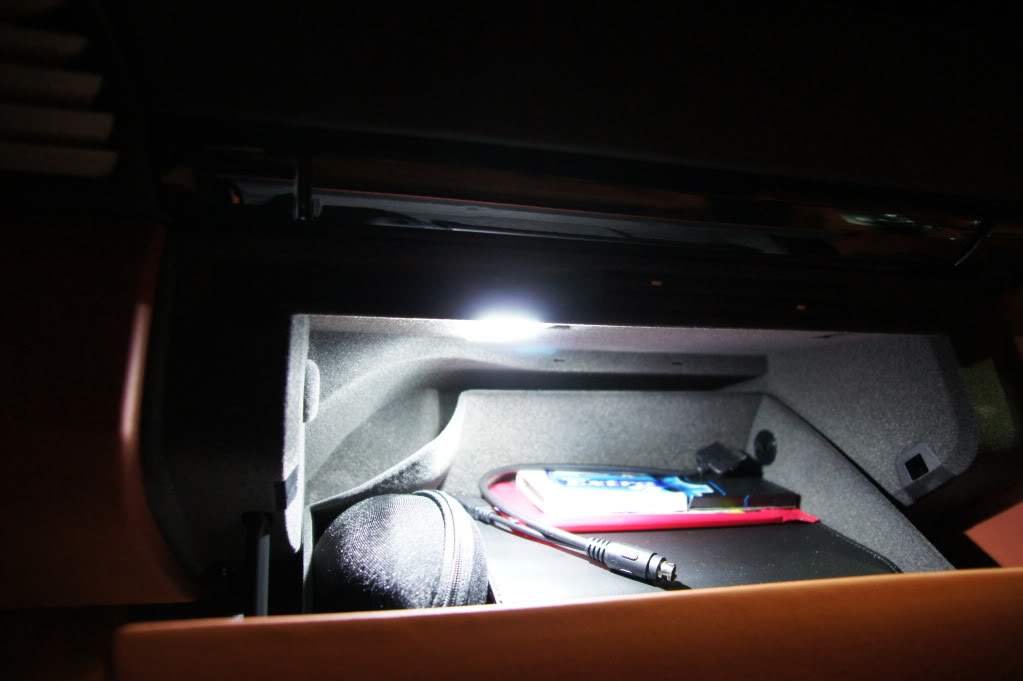
LED left/ stock right
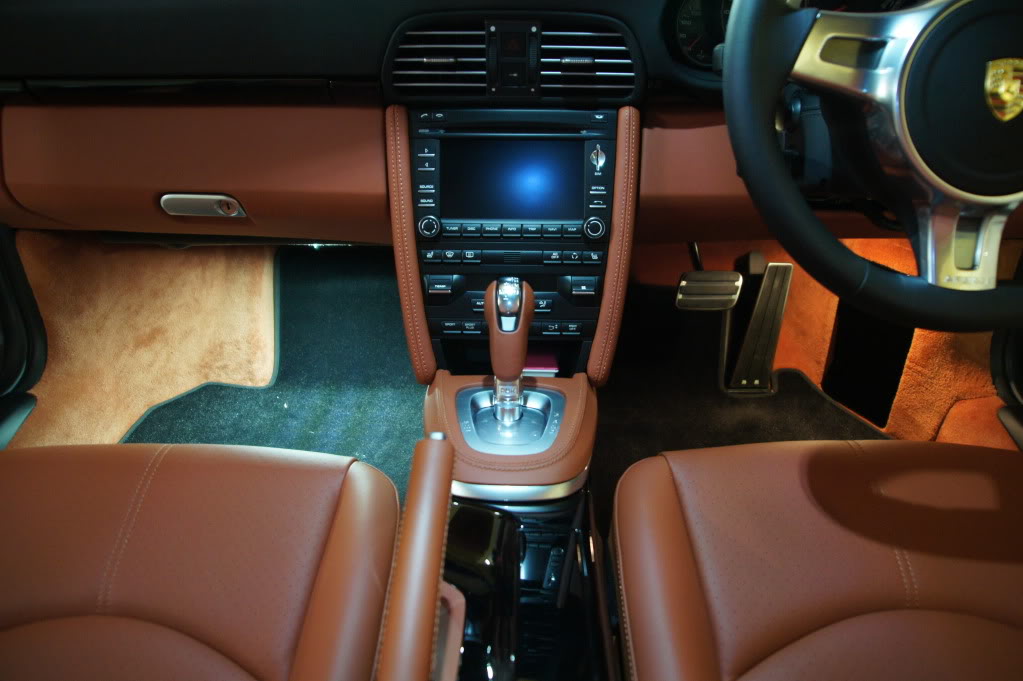
Full interior shots,

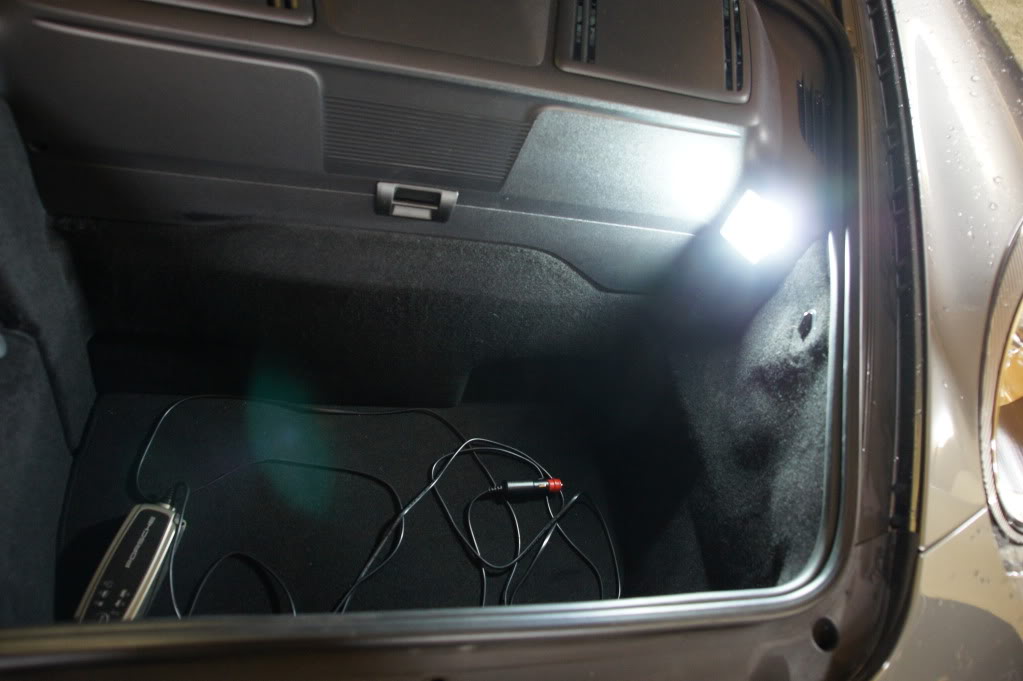
Engine compartment and Frunk: 5K WHITE 42mm festoon 4 LED high power bulb,
Courtesy light: RED T10 5 LED light bulb,
Before,
After,
Dome/Map lights: 1x 5K WHITE 42mm festoon 4 LED high power bulb, 2x 5K WHITE T10 2W high power bulb,
Stock,
5K WHITE LEDs,
Footwell and Glove box lights: 5K WHITE T10 194 4 LED 2W flank style bulb,
LED left/ stock right
Full interior shots,
Engine compartment and Frunk: 5K WHITE 42mm festoon 4 LED high power bulb,
Last edited by Arerrac911; Nov 13, 2011 at 11:57 AM.

Registered User
Joined: Jan 2010
Posts: 343
From: Boston
Rep Power: 31
This is what I used. All 5K bulbs and in my opinion they are very bright and match perfectly: I was not happy with the 6K bulbs. Too Blue in my opinion when matched side by side.
Map lights (center overhead):
2 of these - http://www.v-leds.com/Interior-LED-B...-p8761053.html
1 of these - http://www.v-leds.com/Interior-LED-B...-p9594396.html
Door courtesy lights:
1 each side - http://www.v-leds.com/Interior-LED-B...-p8761053.html
or
http://www.v-leds.com/Exterior-LED-B...-p9722412.html
Footwells:
1 each side - http://www.v-leds.com/Exterior-LED-B...-p9722412.html
or
http://www.v-leds.com/Interior-LED-B...-p8825900.html
+Rep point to you! silly question: when you say "2 of these for the Map lights", do you mean two orders? 1 order comes as a pair, so not sure if it's 2 orders of a pair, or 1 order of a pair. thanks in advance!
Registered User
Joined: Aug 2006
Posts: 214
From: Colorado
Rep Power: 29
:-D
Registered User
Joined: Jan 2010
Posts: 343
From: Boston
Rep Power: 31
Footwell lights
Hey folks,
i installed the dome and side doors LEDs with no issues, however, i'm having a tough time with the footwell lights.
Passenger side:
I broke the tab for the casing of the light when trying to pry it out but i managed to replace the bult. however, when i replace the casing, since the tab broke, the casing is very loose and i can see the casing pop out on a bump. looks like i need to order a replacement part. anyone know that that is?
Driver side:
one of the pics shows how i tried to pry the light casing off and it just broke a piece of the casing. how do i correctly remove this?
as you can see in the overall shot, all the lights are LEDs except the driver's footwell. looks a bit funny.
if anyone happens to know the part numbers for both driver and passenger side foot well, that would be helpful as well. maybe i'll just pick it up at the local stealerships.
thanks for your help in advance.
wolf

Registered User
Joined: Jan 2010
Posts: 343
From: Boston
Rep Power: 31
- Can you let me know the 'proper' way to remove the light casing? I put a small flathead where the small gap existed, but it just broke off. i'm obviously doing something wrong. thanks again in advance!
- also where did you get that pic? was it from autoatlanta.com?
Thread Starter
|
Registered User
Joined: Jul 2008
Posts: 438
From: Australia
Rep Power: 54
perfect, thanks, Ryan!
- Can you let me know the 'proper' way to remove the light casing? I put a small flathead where the small gap existed, but it just broke off. i'm obviously doing something wrong. thanks again in advance!
- also where did you get that pic? was it from autoatlanta.com?
- Can you let me know the 'proper' way to remove the light casing? I put a small flathead where the small gap existed, but it just broke off. i'm obviously doing something wrong. thanks again in advance!
- also where did you get that pic? was it from autoatlanta.com?