
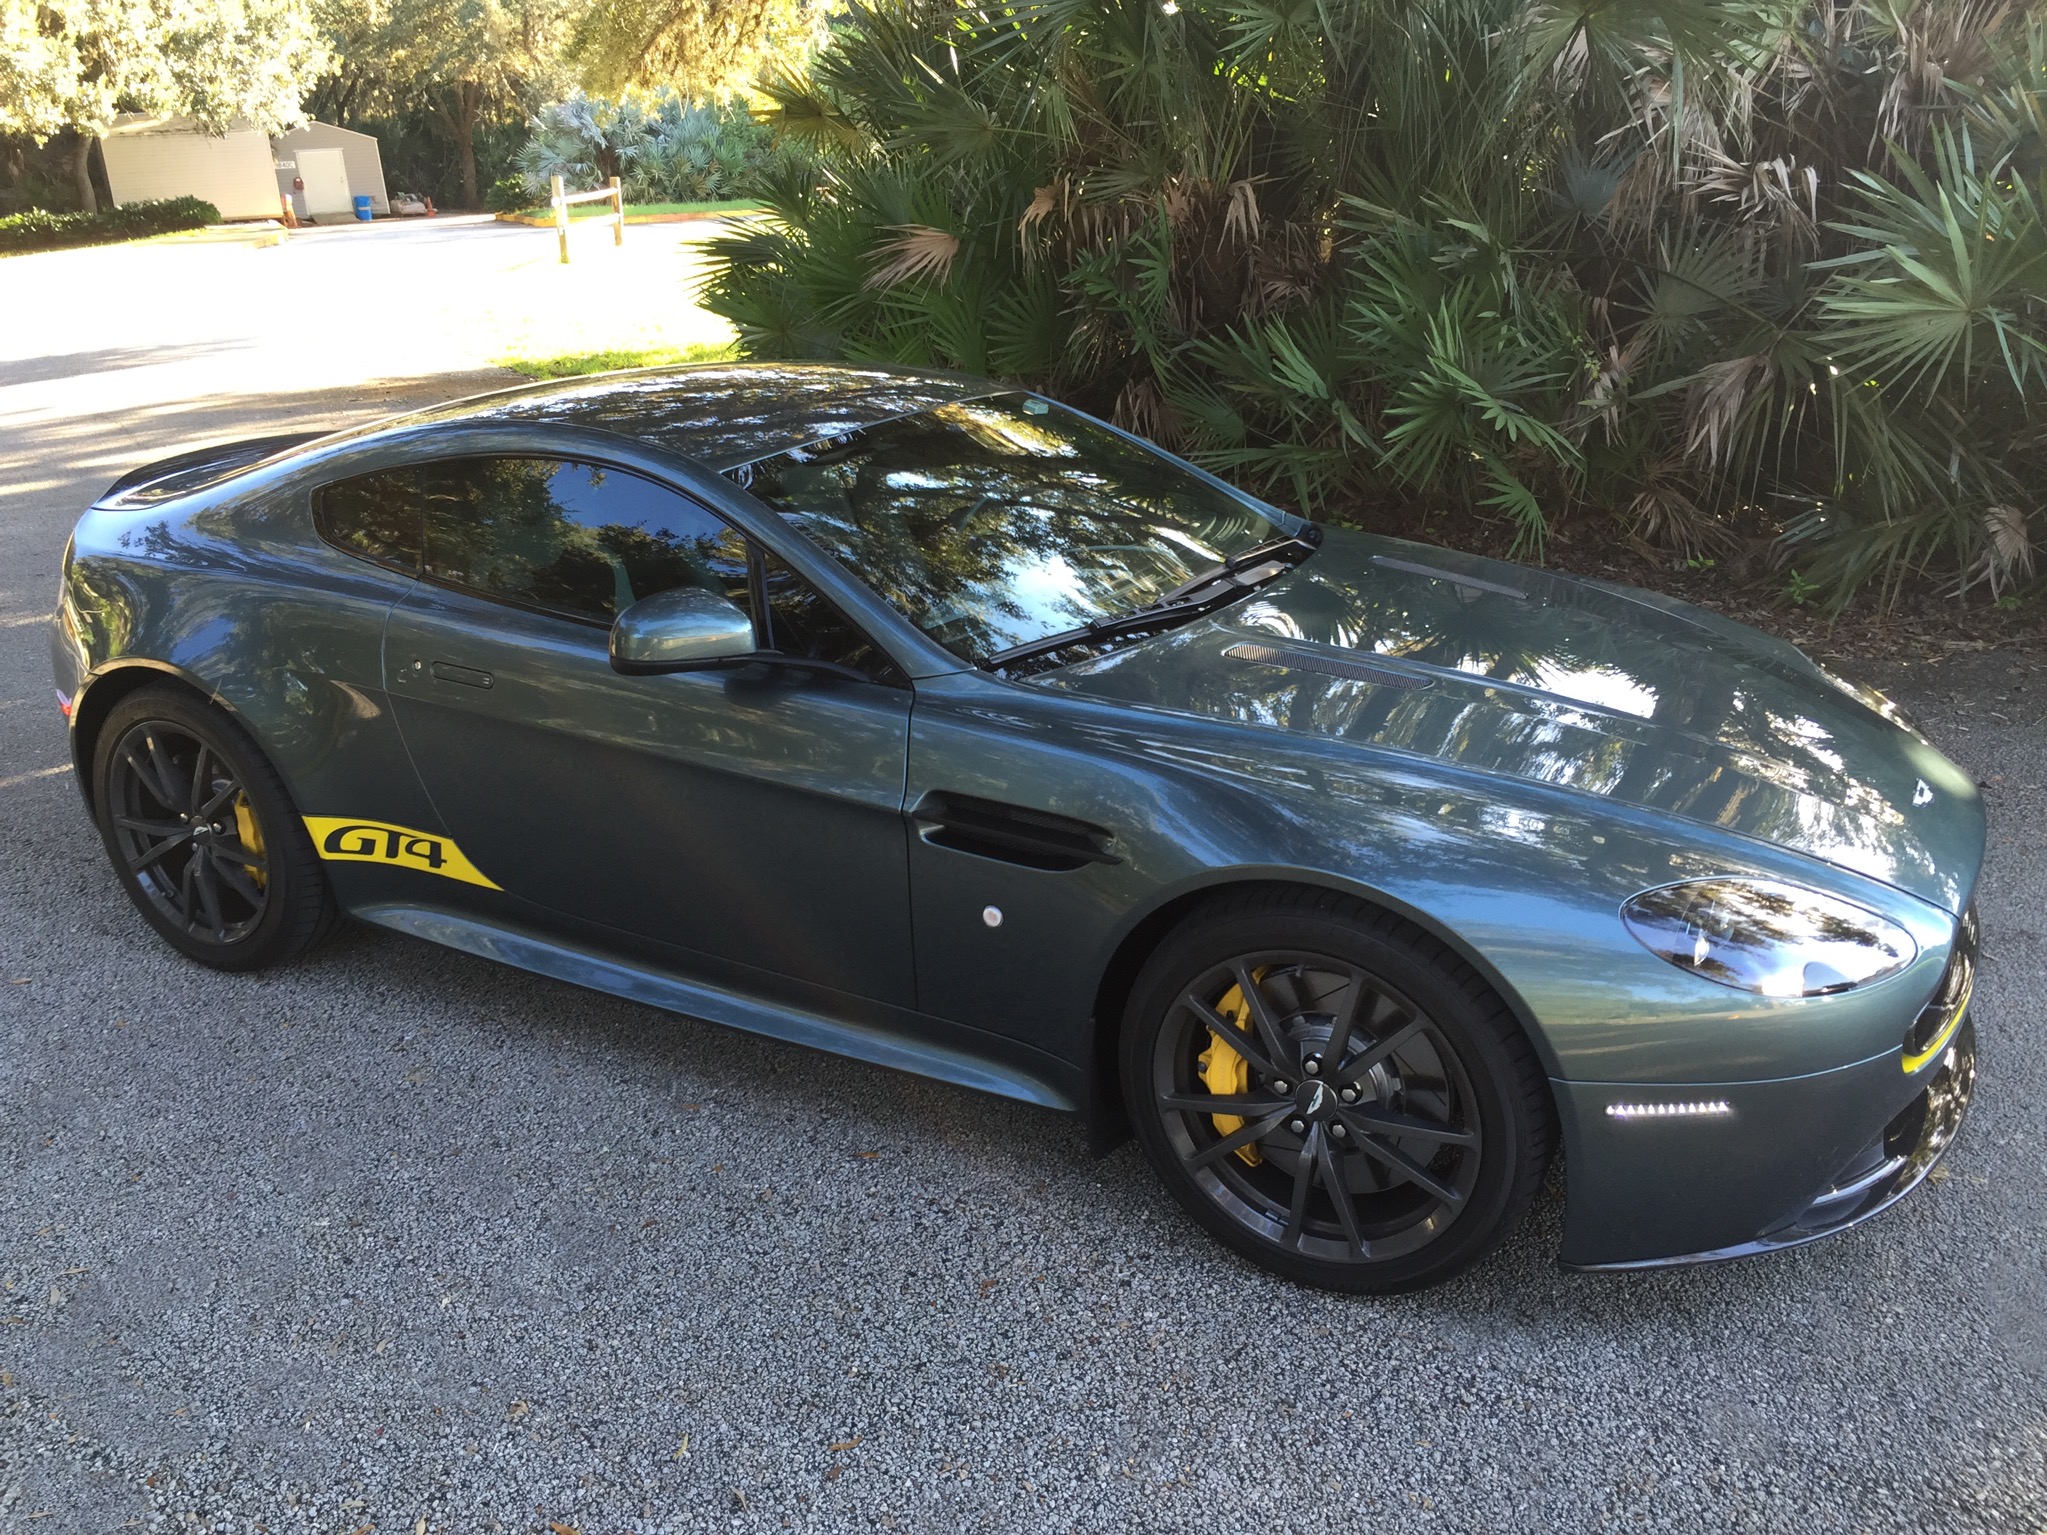
Just bought another Aston today


Registered User
Joined: Nov 2009
Posts: 10
From: London
Rep Power: 0

Love what you did with the yellow highlight just inside the front grill. Much prefer that to the more common lipstick that overlaps the outside of the grill perimeter.
Have you tried to connect your iPhone 6 to the hifi system using the cable and a lightning adaptor? Any issues or did it work fine? Having major issues connecting iPhone 6 in my vantage. My wife's iPhone 5s connects fine using the adaptor.
Have you tried to connect your iPhone 6 to the hifi system using the cable and a lightning adaptor? Any issues or did it work fine? Having major issues connecting iPhone 6 in my vantage. My wife's iPhone 5s connects fine using the adaptor.
Thread Starter
|
Registered User

Joined: Apr 2011
Posts: 2,358
From: Melbourne
Rep Power: 214

^^^^ It was weird. When I first plugged in my iPhone 6 it reset (showing the Apple logo) 3 times in a row. Finally, I unplugged the phone, started Spotify and plugged the phone back in and it started working properly. It also charges the phone just fine.
looks great. Each car should have its own distinct attributes. I'm still waiting on some weather stripping for the top of the rear hatch. Not sure if rain would come in or not, before I can take out for a ride.
Thread Starter
|
Registered User
Joined: Apr 2011
Posts: 2,358
From: Melbourne
Rep Power: 214
You knew I wouldn�t last long before I started taking things apart. 
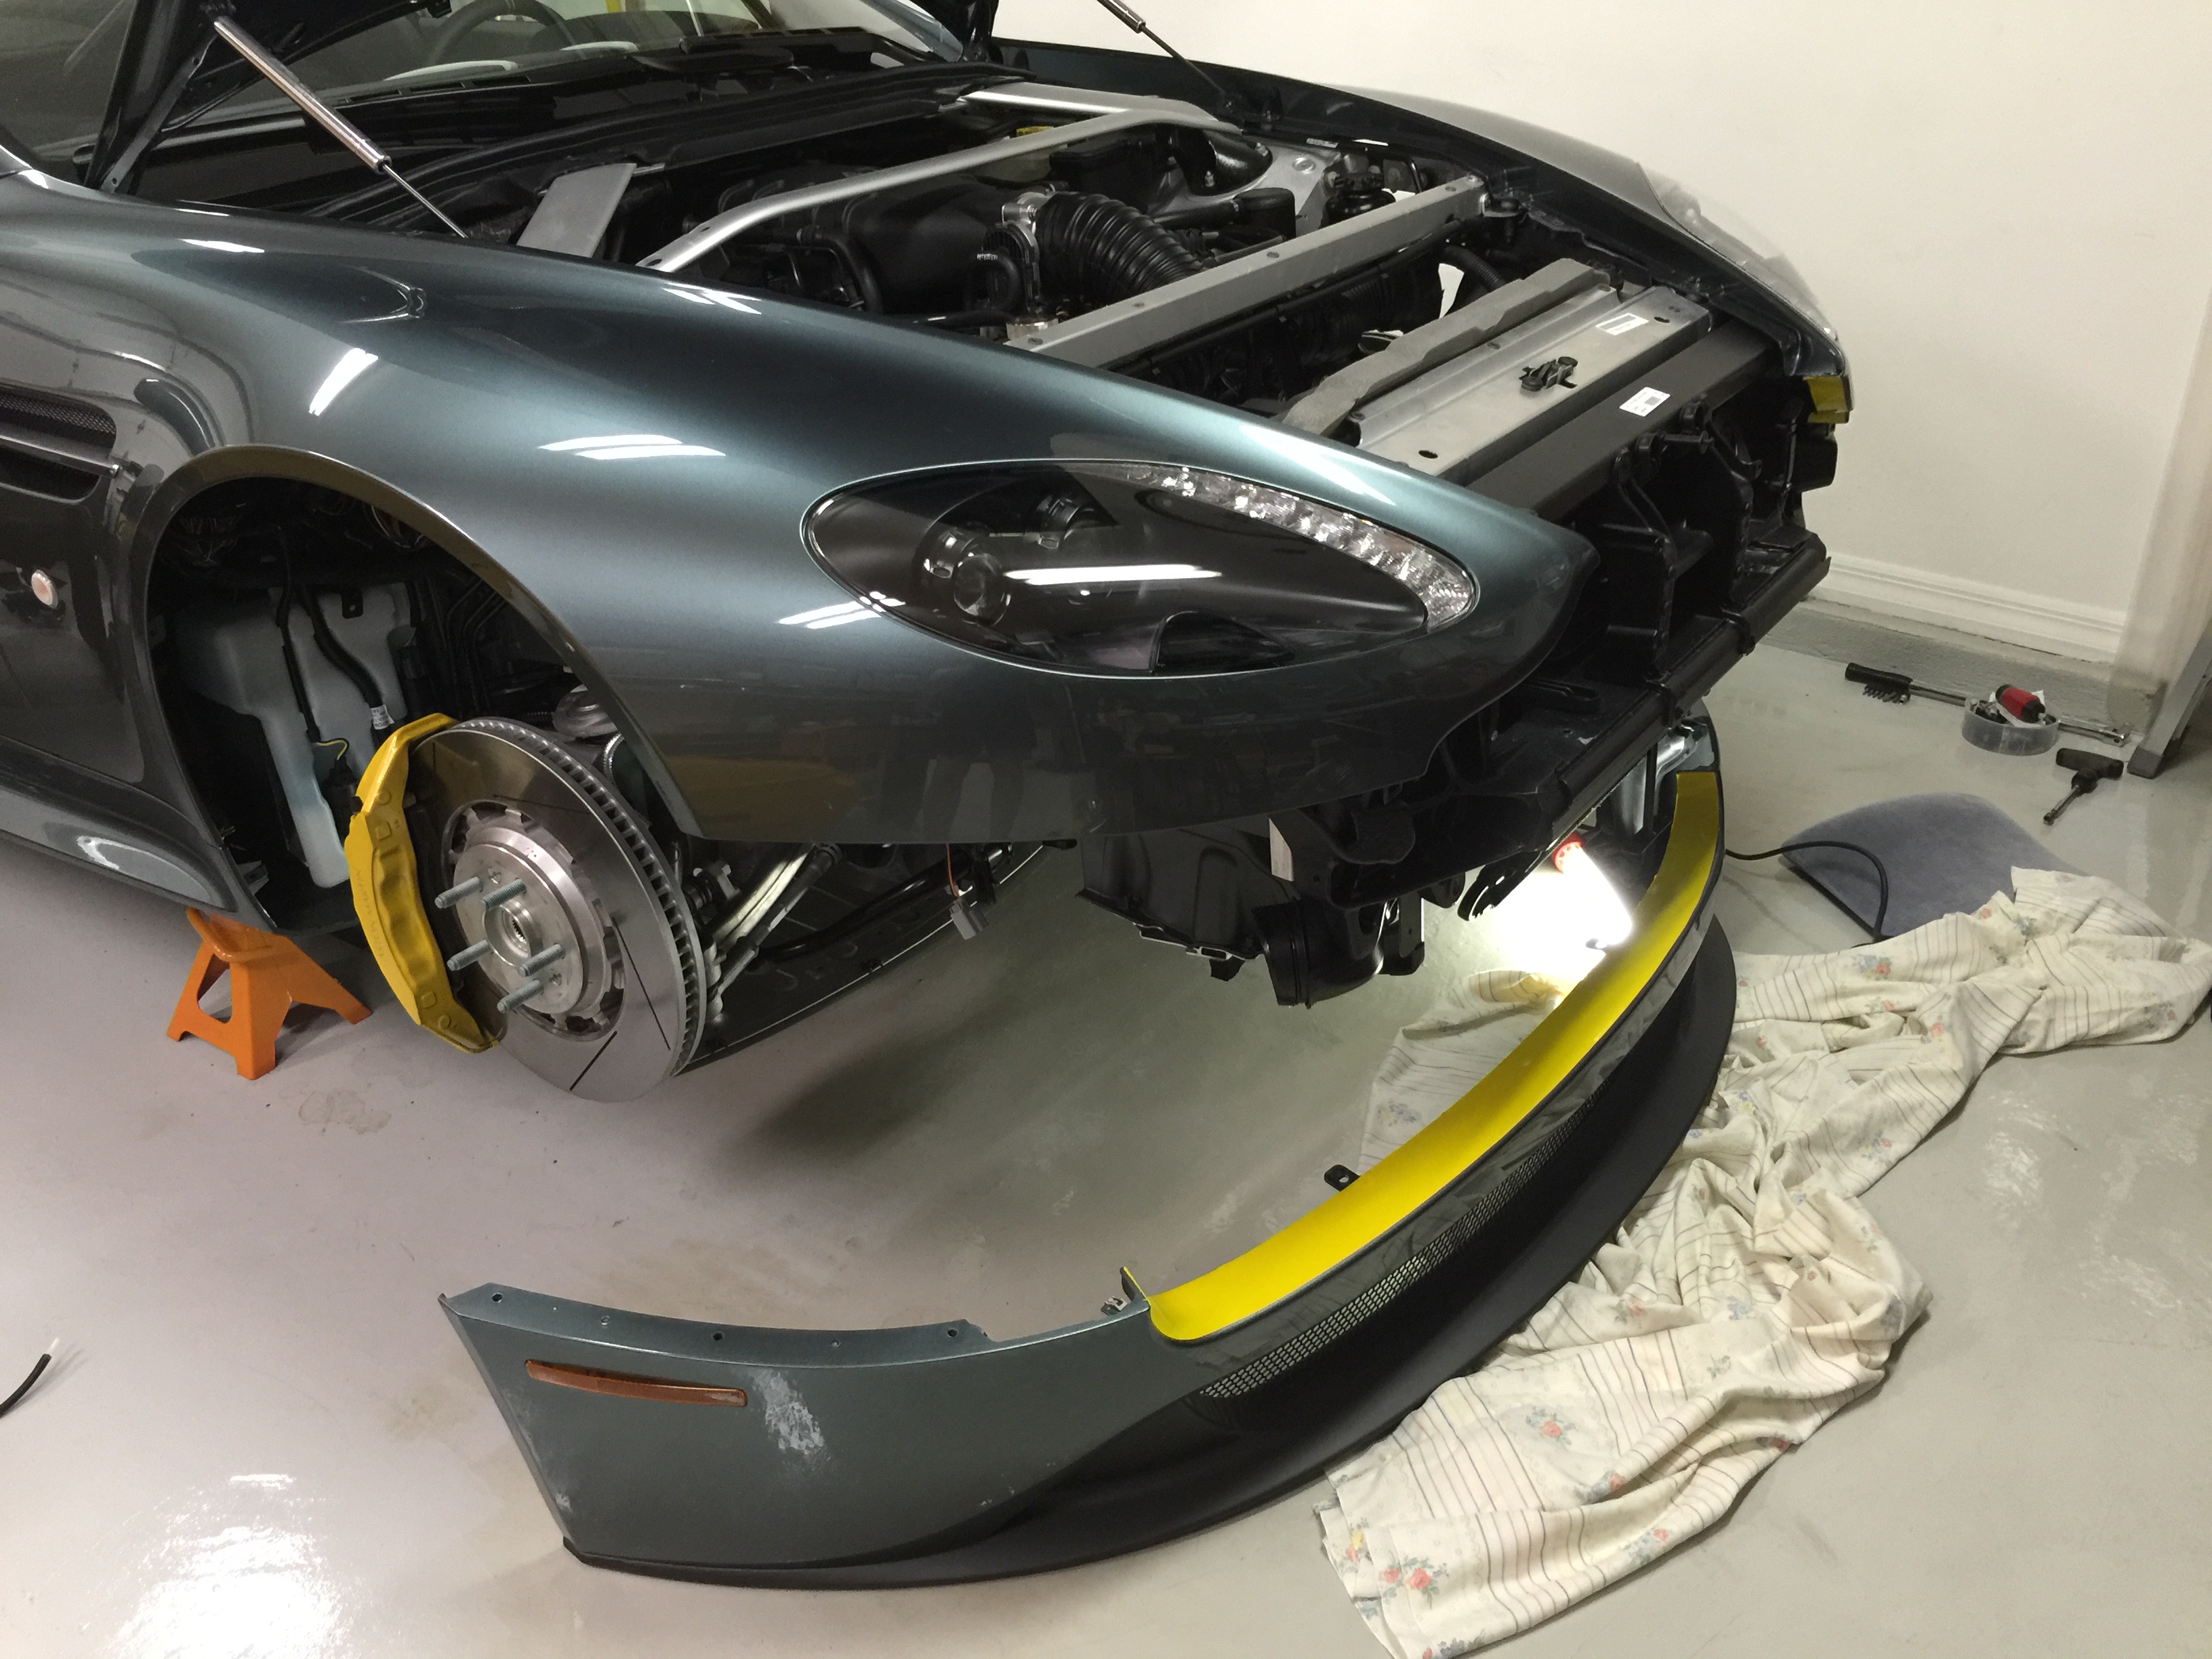
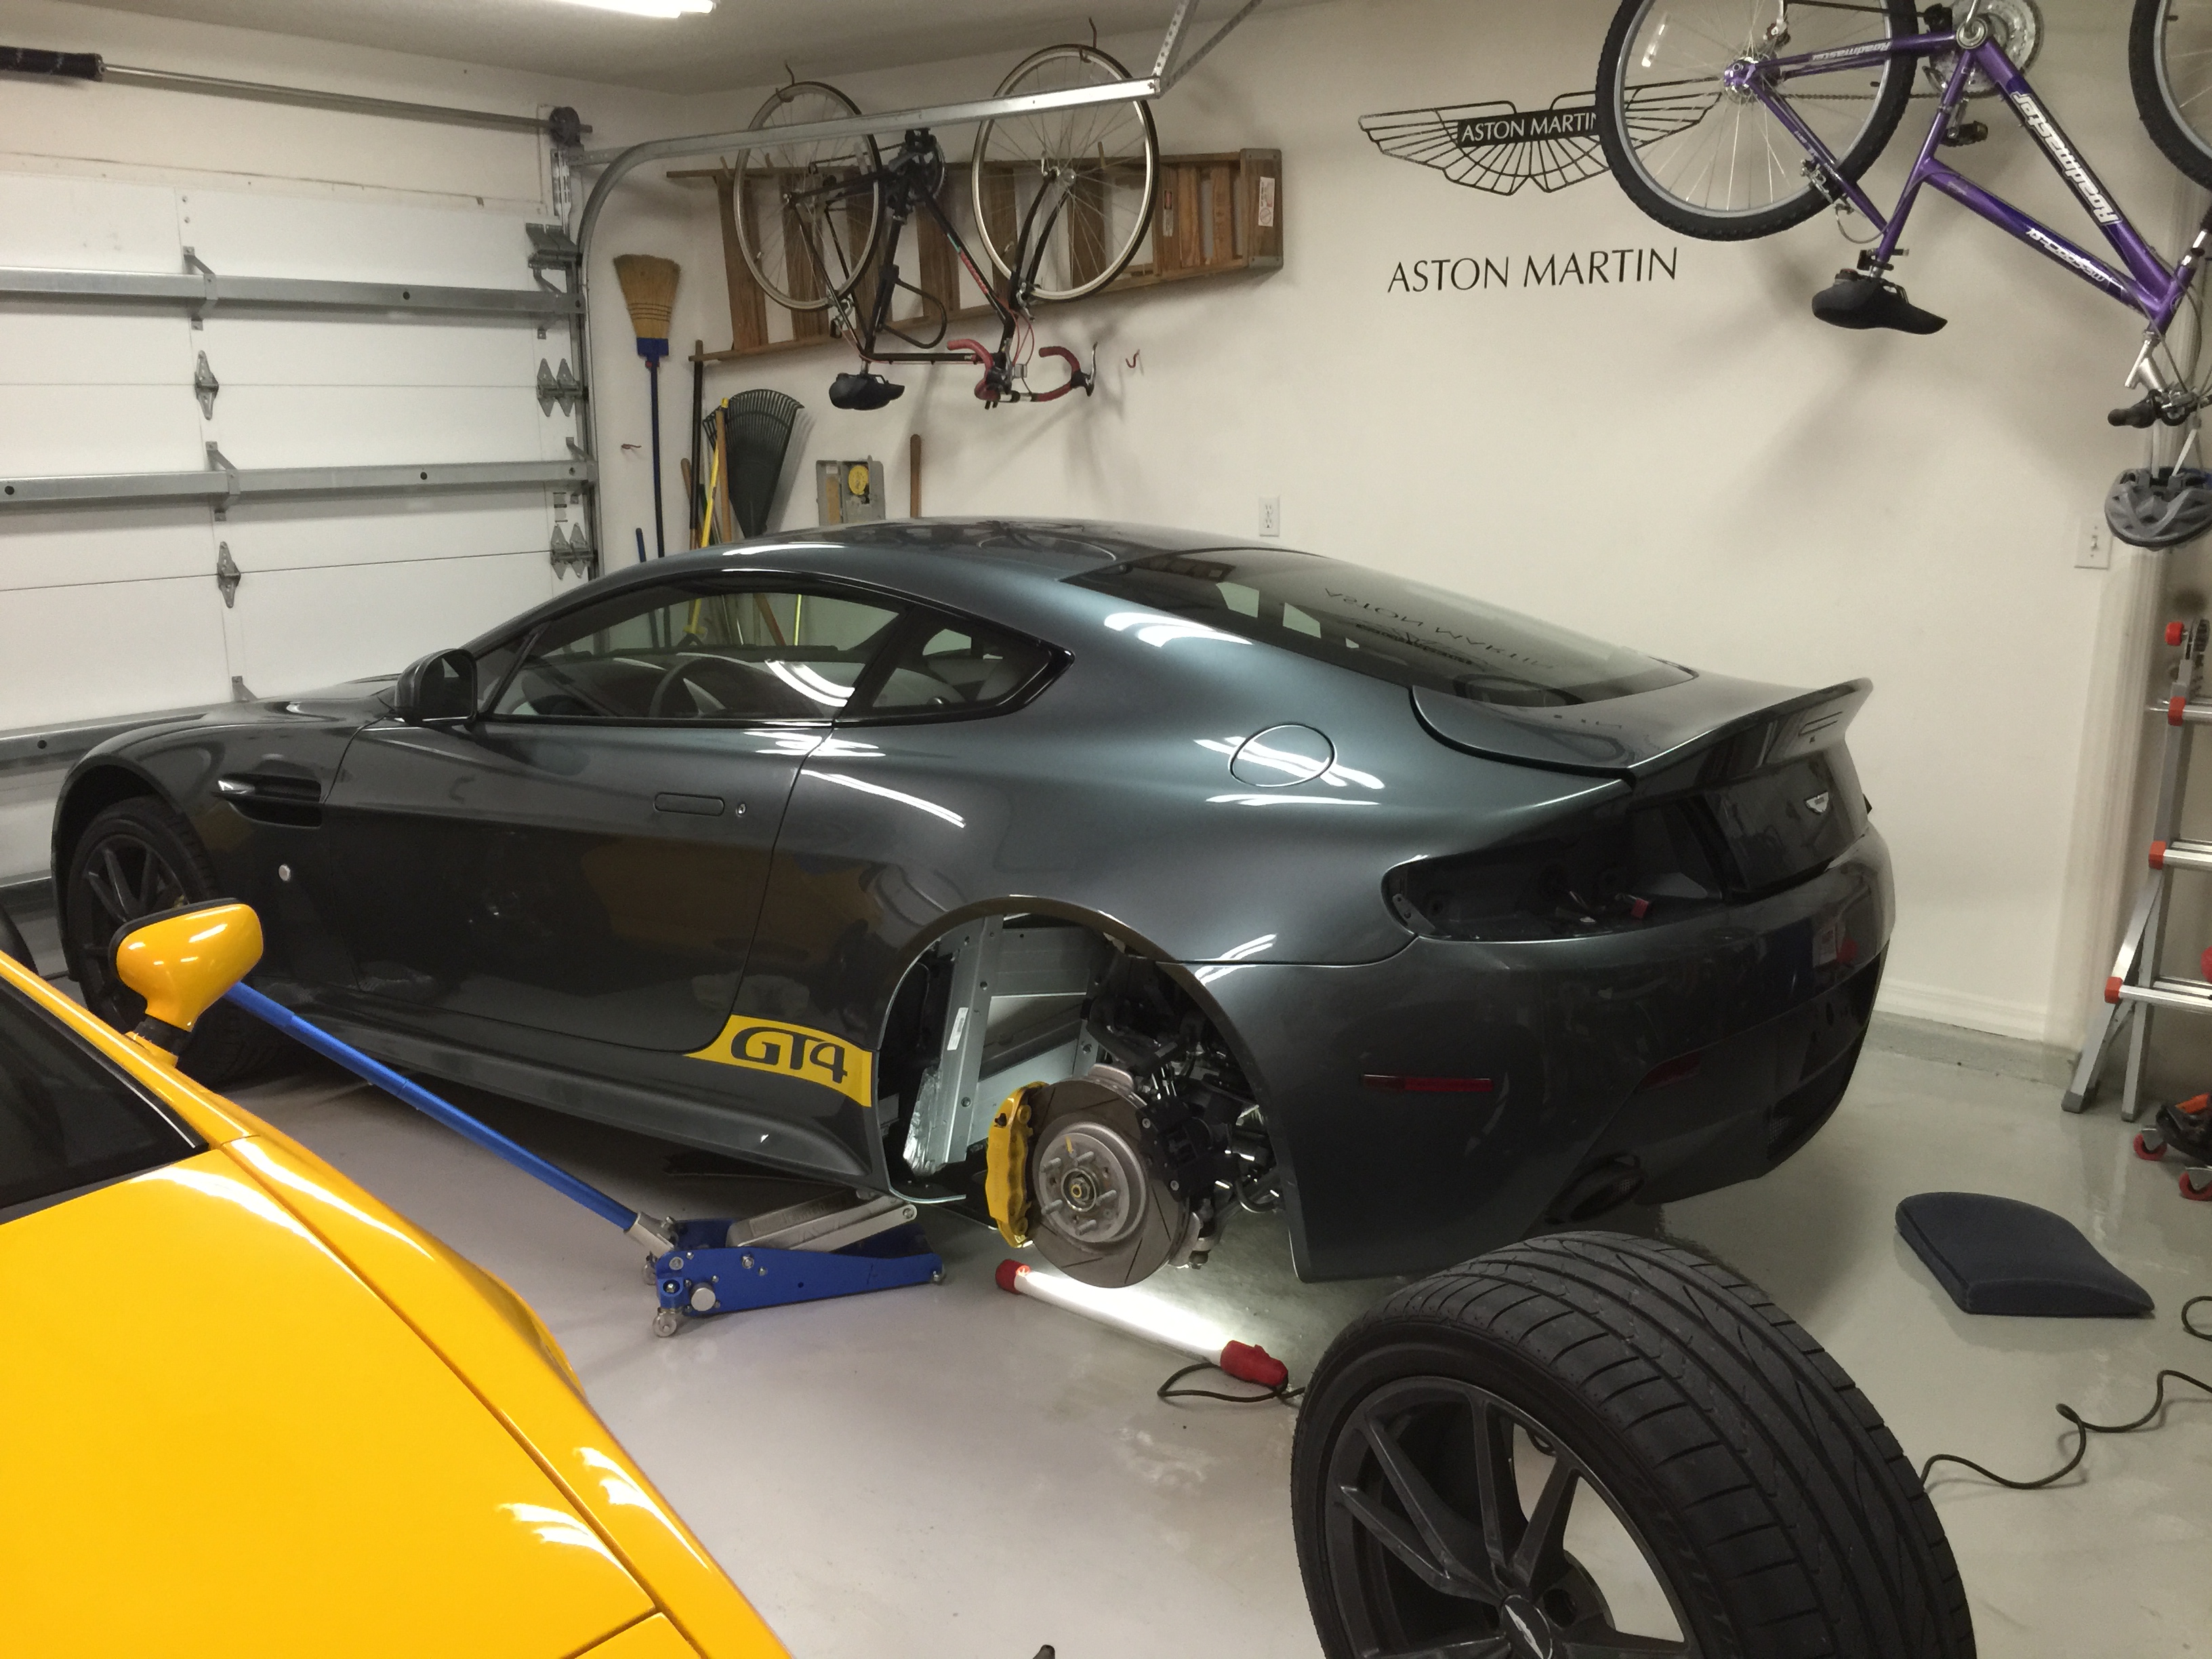
I had to take the front and rear bumpers off in order to install the AM carbon fiber splitter and diffuser. I also took the opportunity to install the AM carbon fiber side strakes and a set of compact Italian air horns to replace the standard Ford large sedan-sounding horn with something that sounds more exotic.
I had ordered the parts separately from the dealer earlier so they did not come pre-installed by the factory, but it�s not like I wouldn�t take the challenge to install them myself as I have in the past. The parts are genuine AM OEM (made by CarboTech) so they are beautifully finished and had the center seam in the weave pattern which matches my carbon fiber grille.
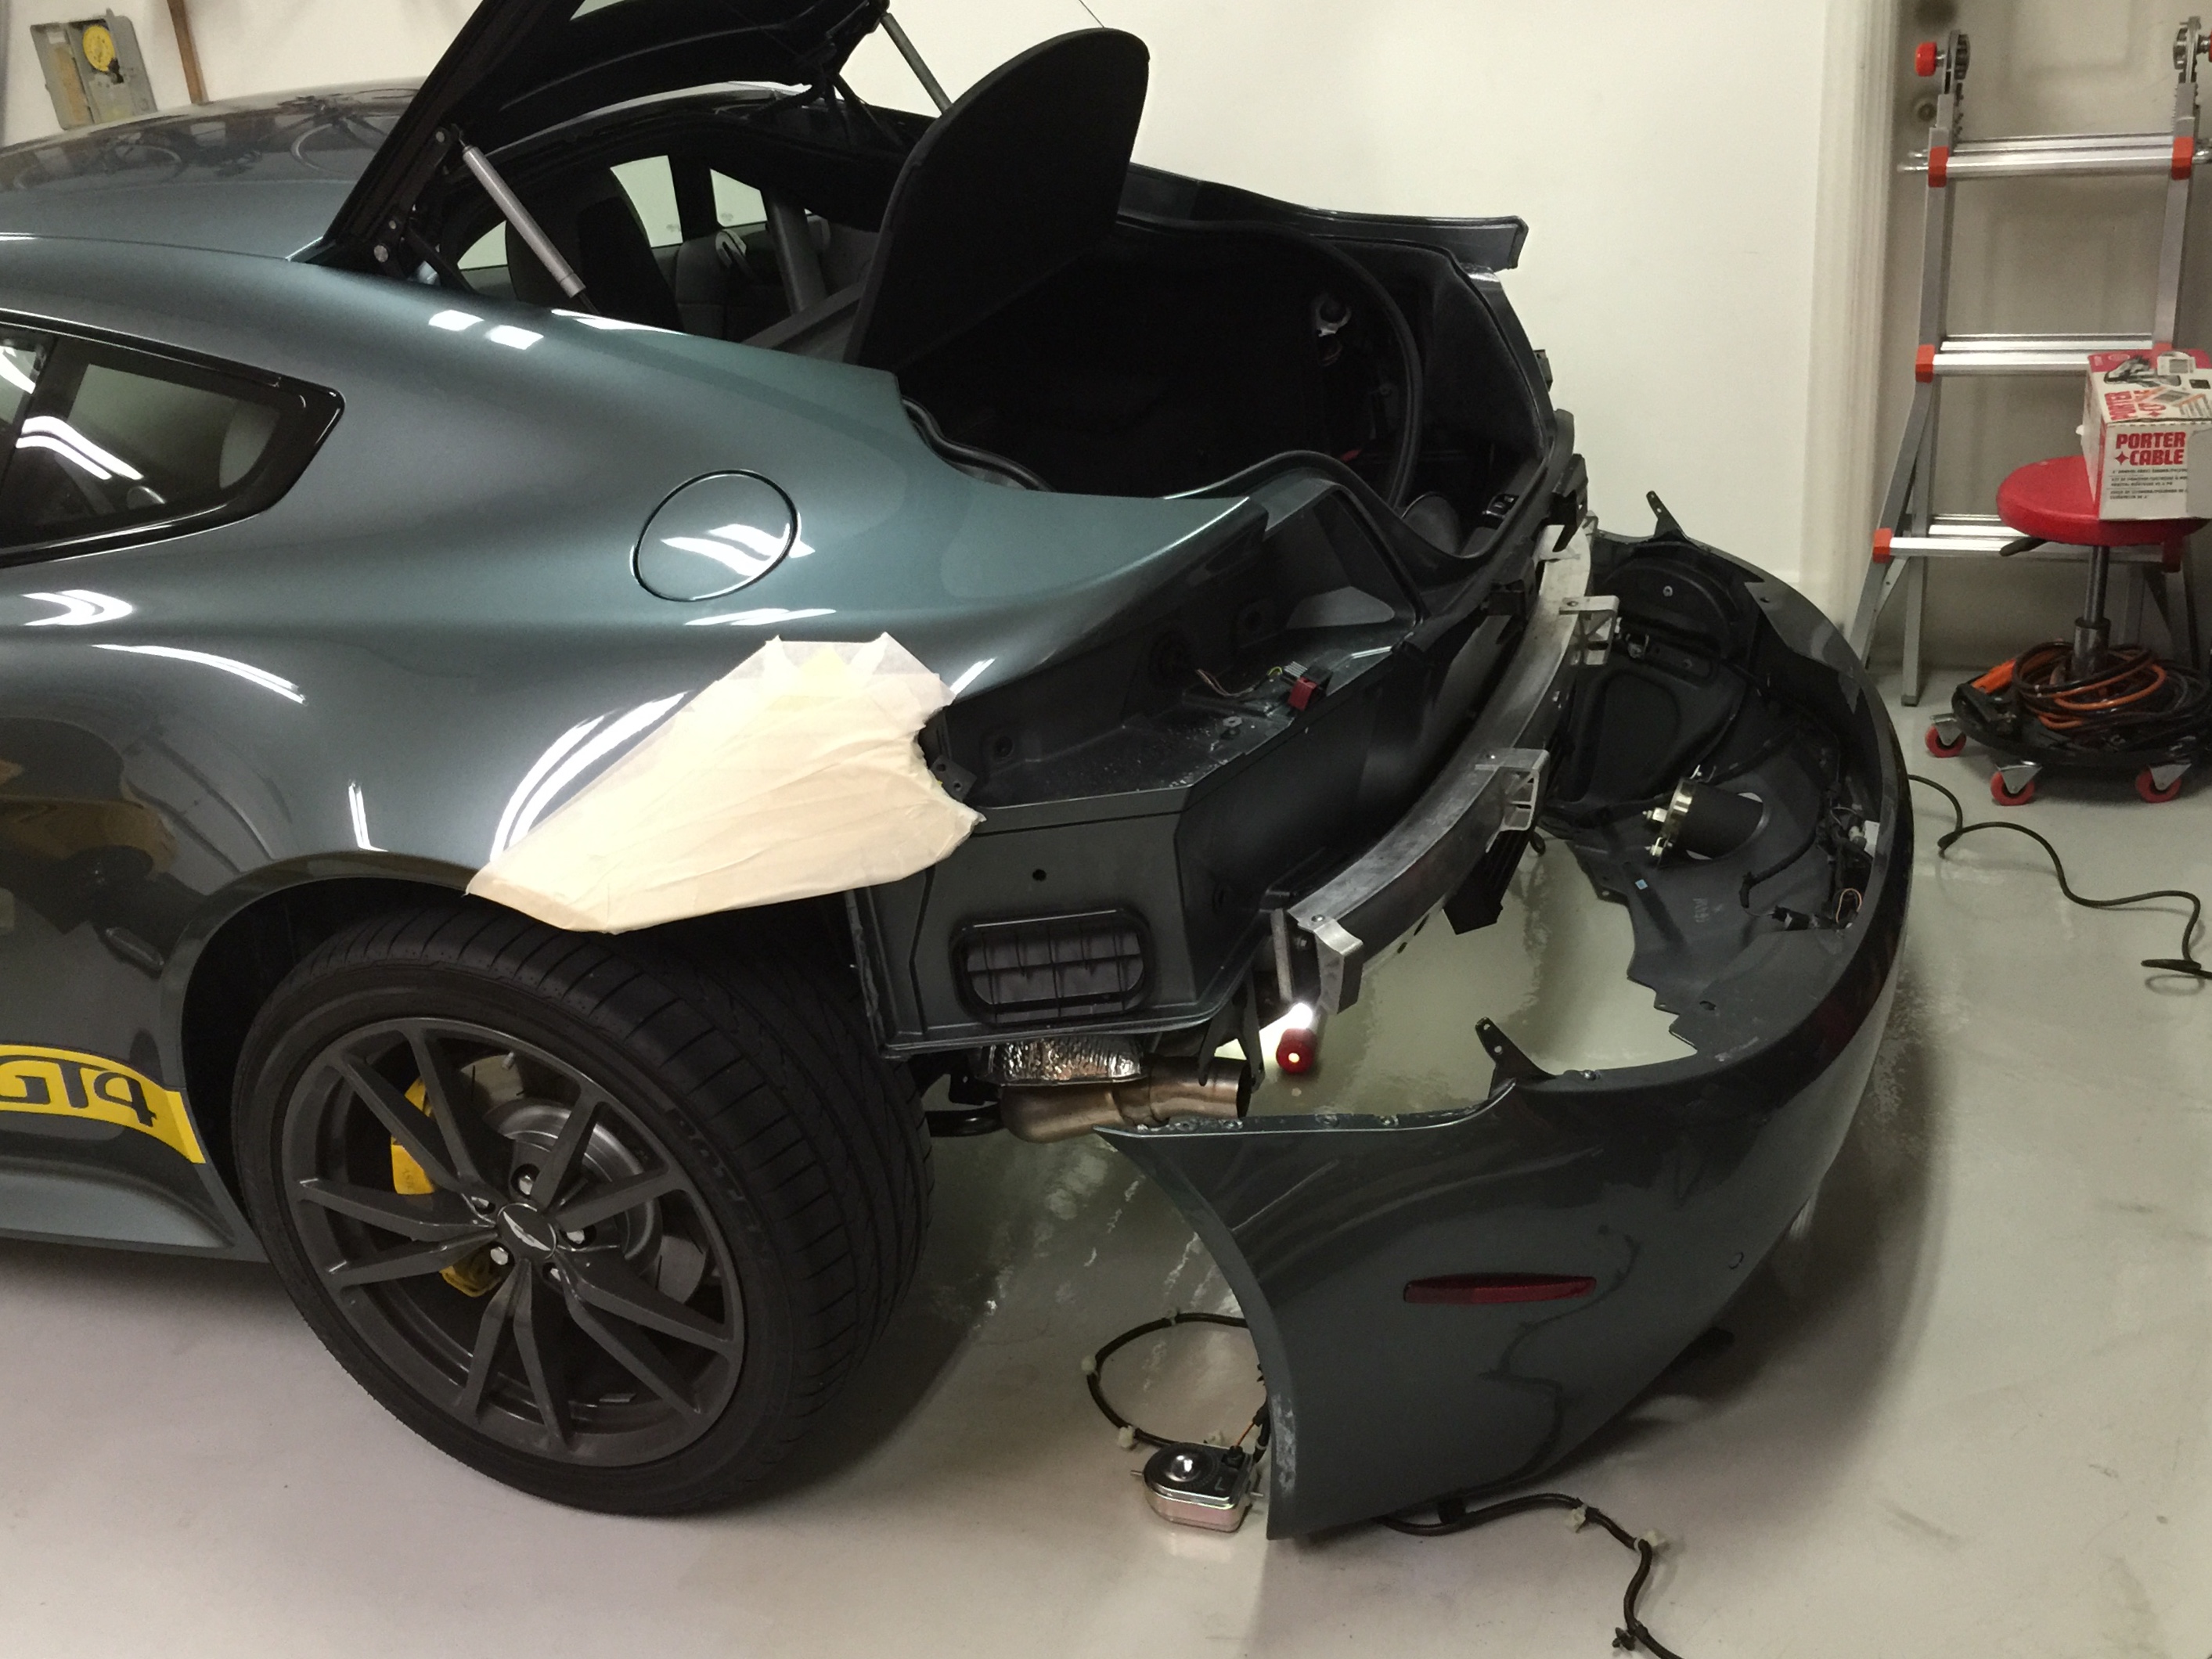
(The masking tape on the rear wings is to protect the paint whilst removing the bumper.)
Here is a closer look at the splitter. If you peek through the grille at the right side of the picture you can see the new horn hiding behind. I painted it matte black to make it less noticeable.
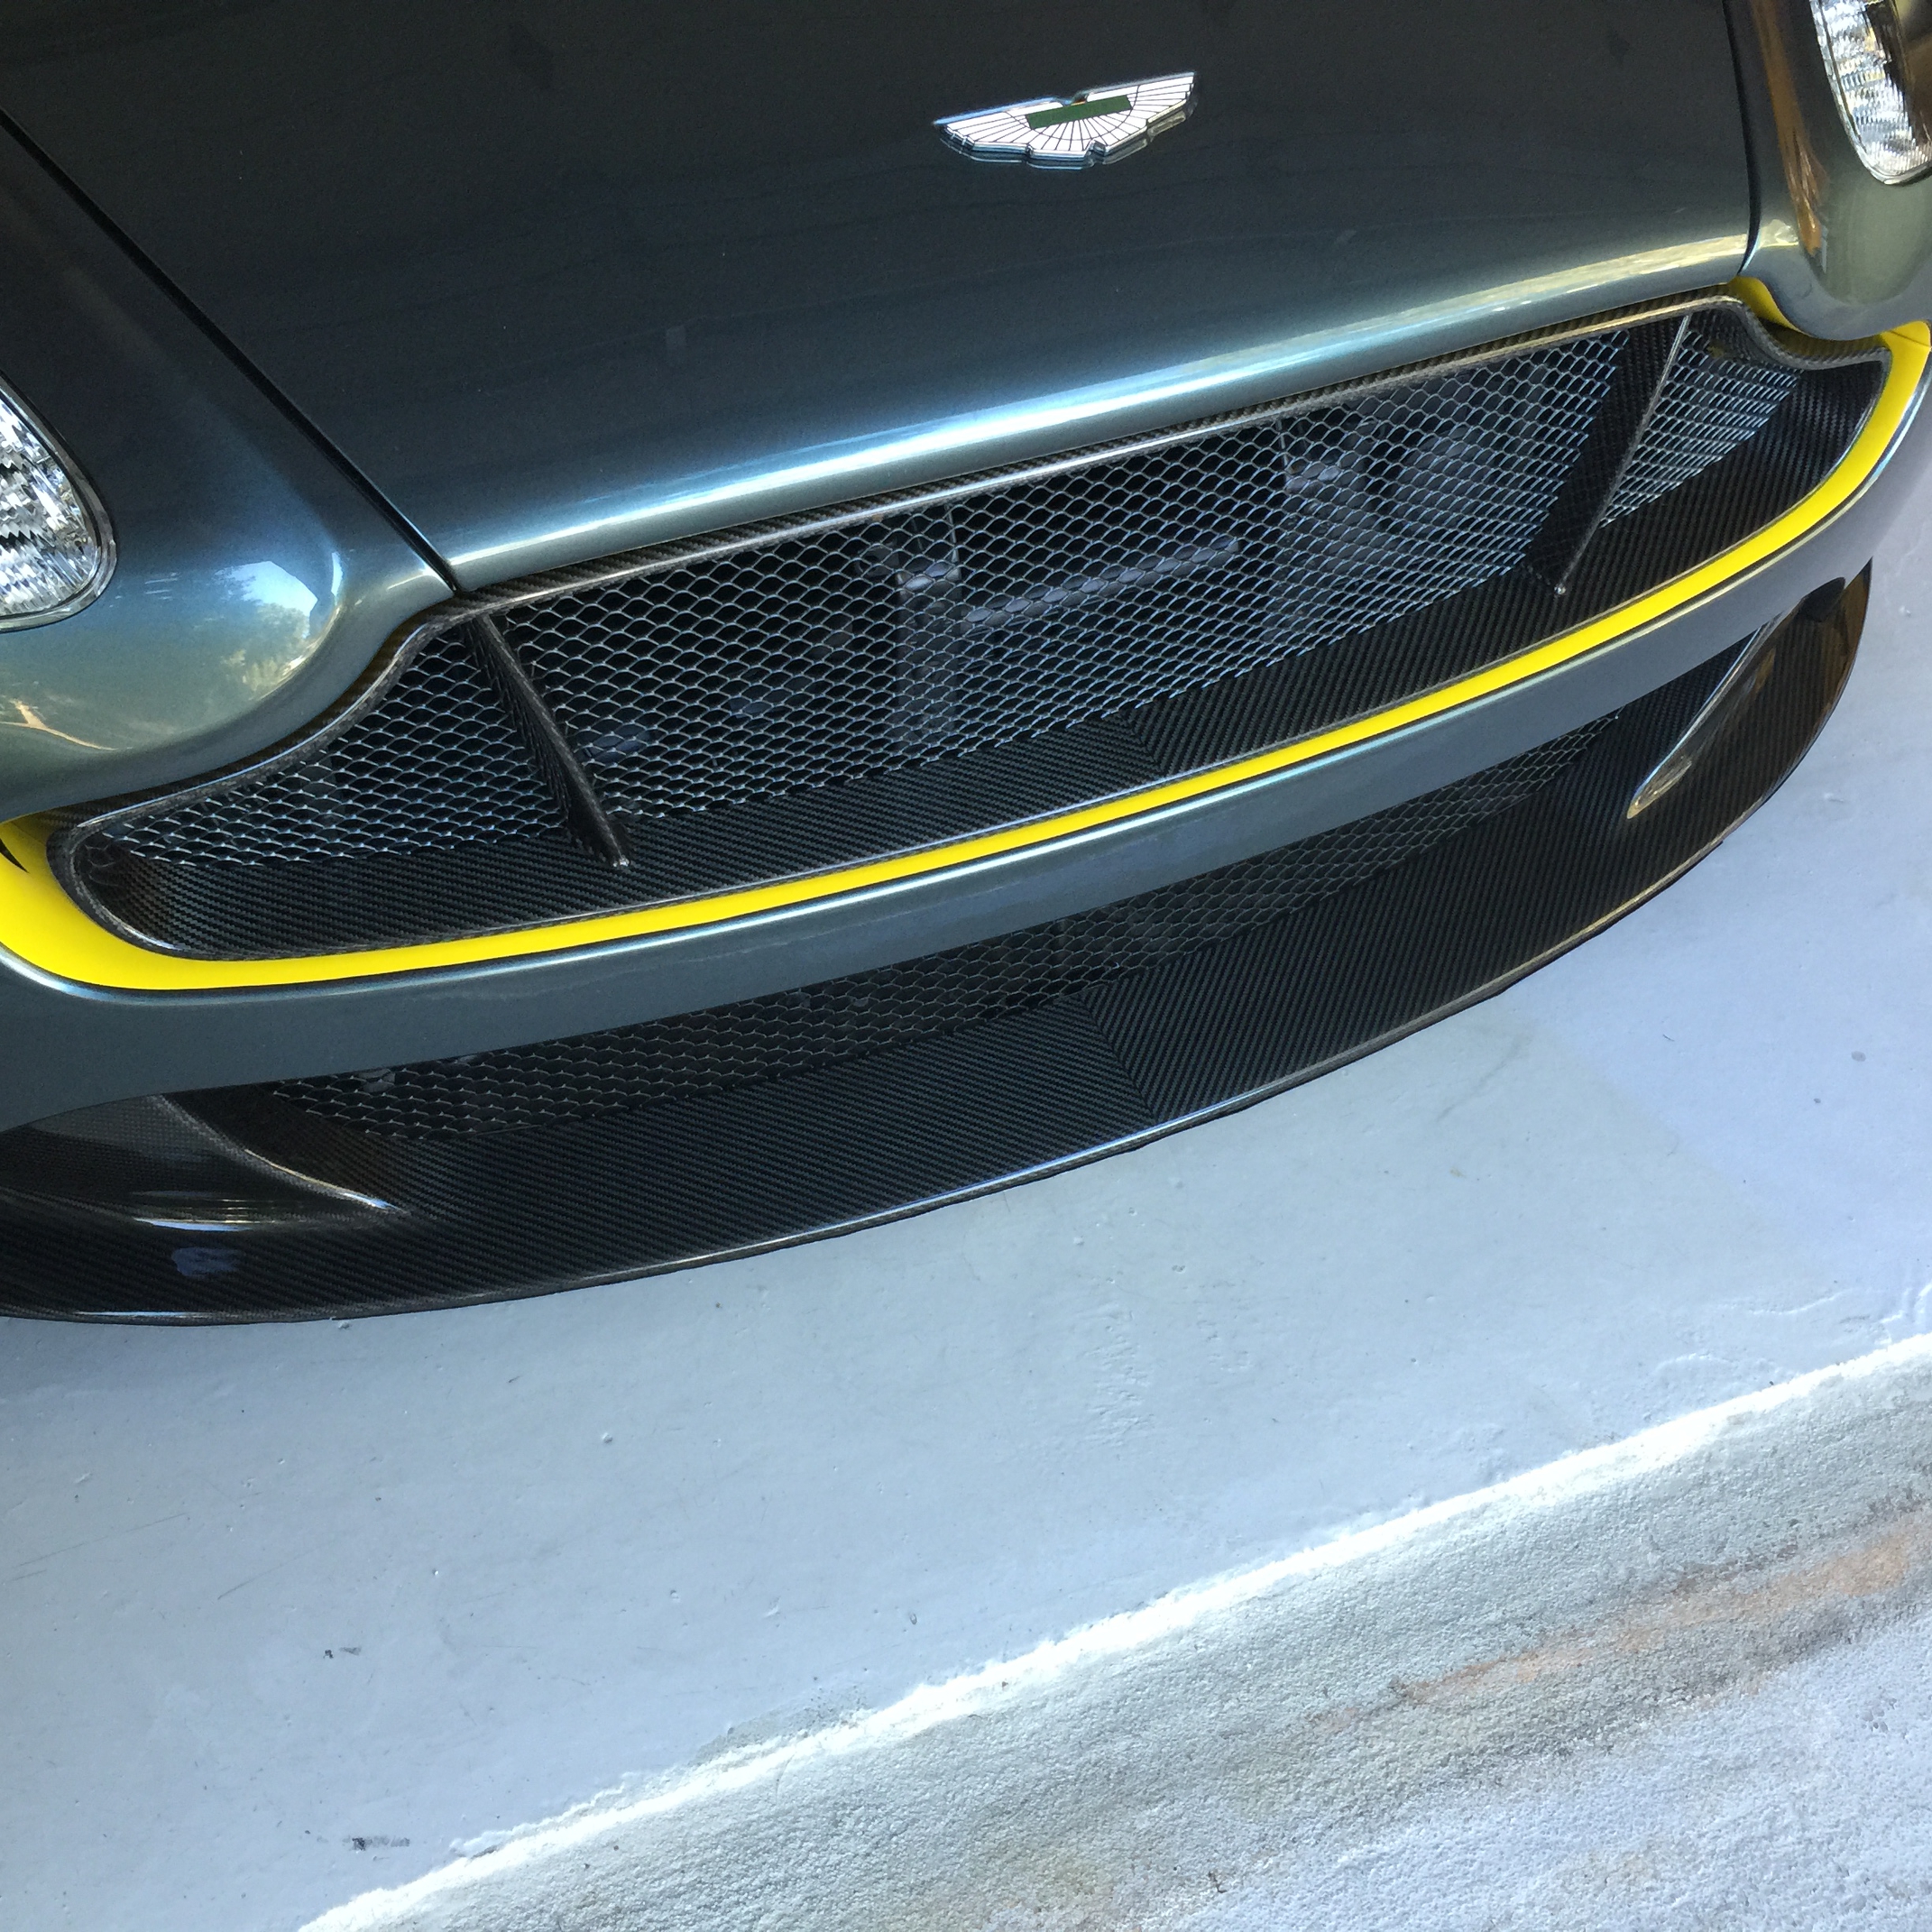
Seeing all the people who have issues with curb scratches on the lower surface of the carbon splitter made me paranoid that mine would face such fate. So I built some aluminum skid plate panels that are attached to the lower surface of the splitter to protect it. They are the black metal strips seen in this picture.
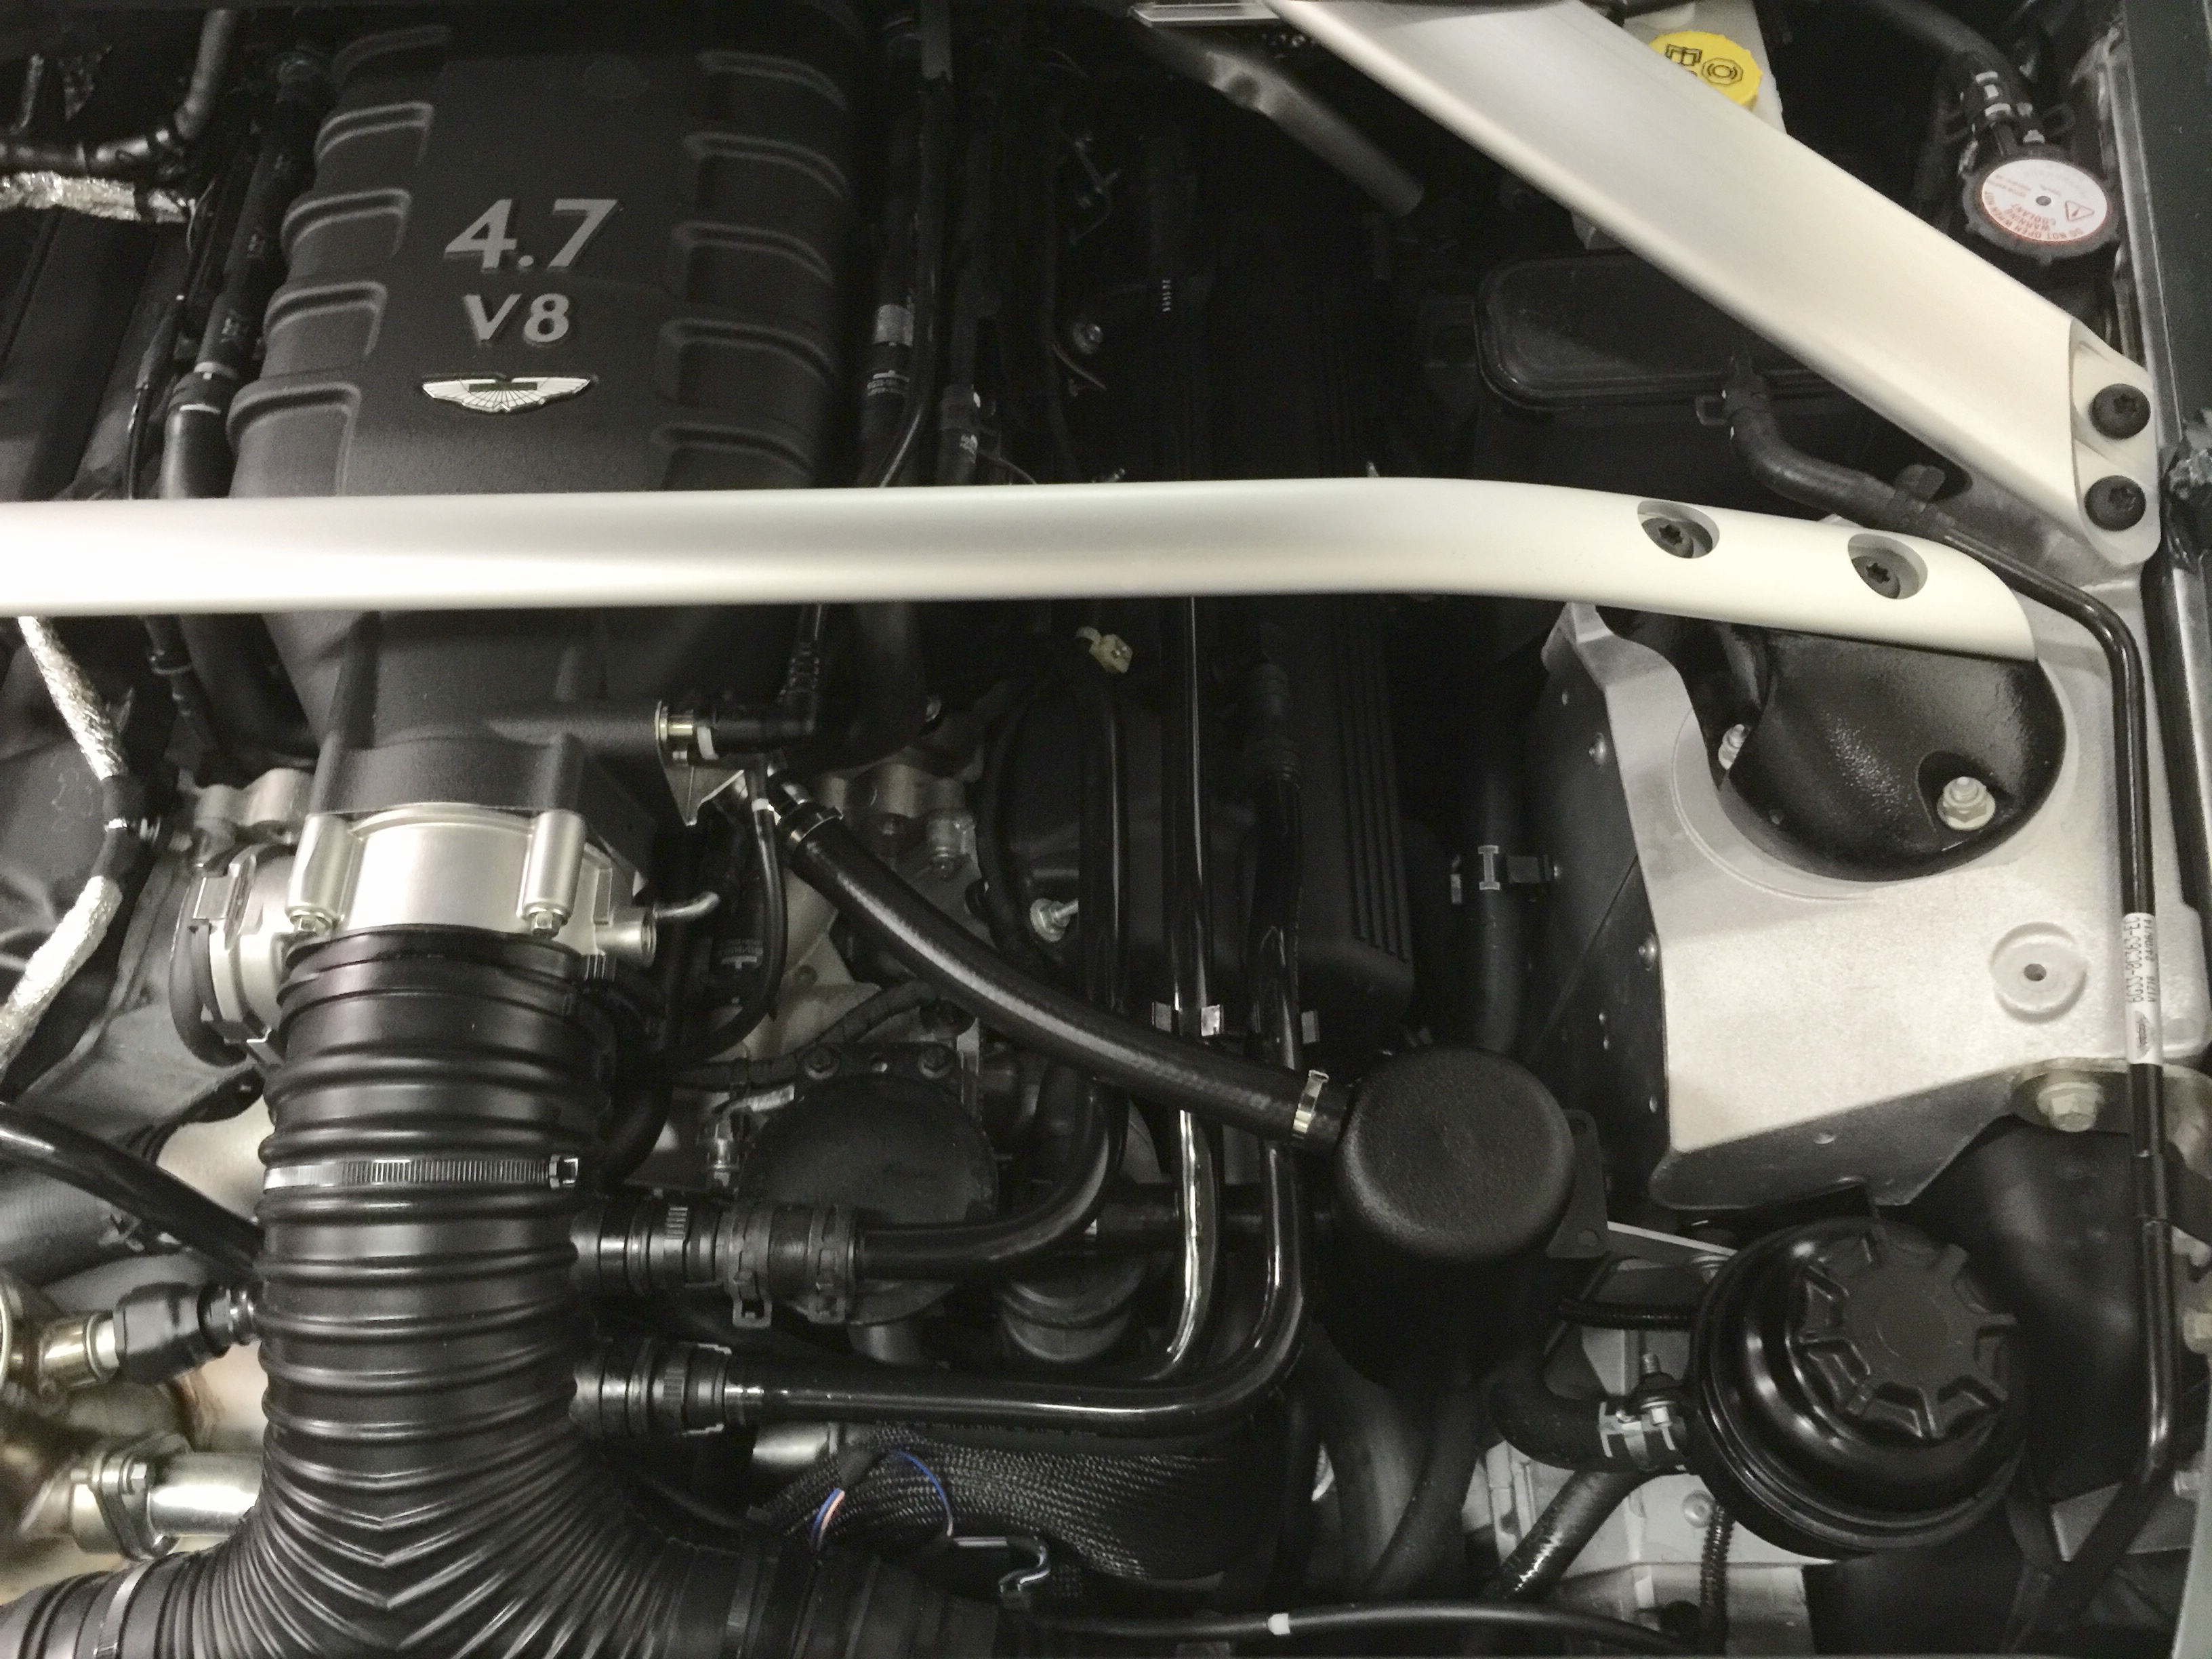
While I was at it, I also installed an oil catch can that telum01 designed. It can be seen connected to the diagonal hose coming from the intake plenum in this picture.
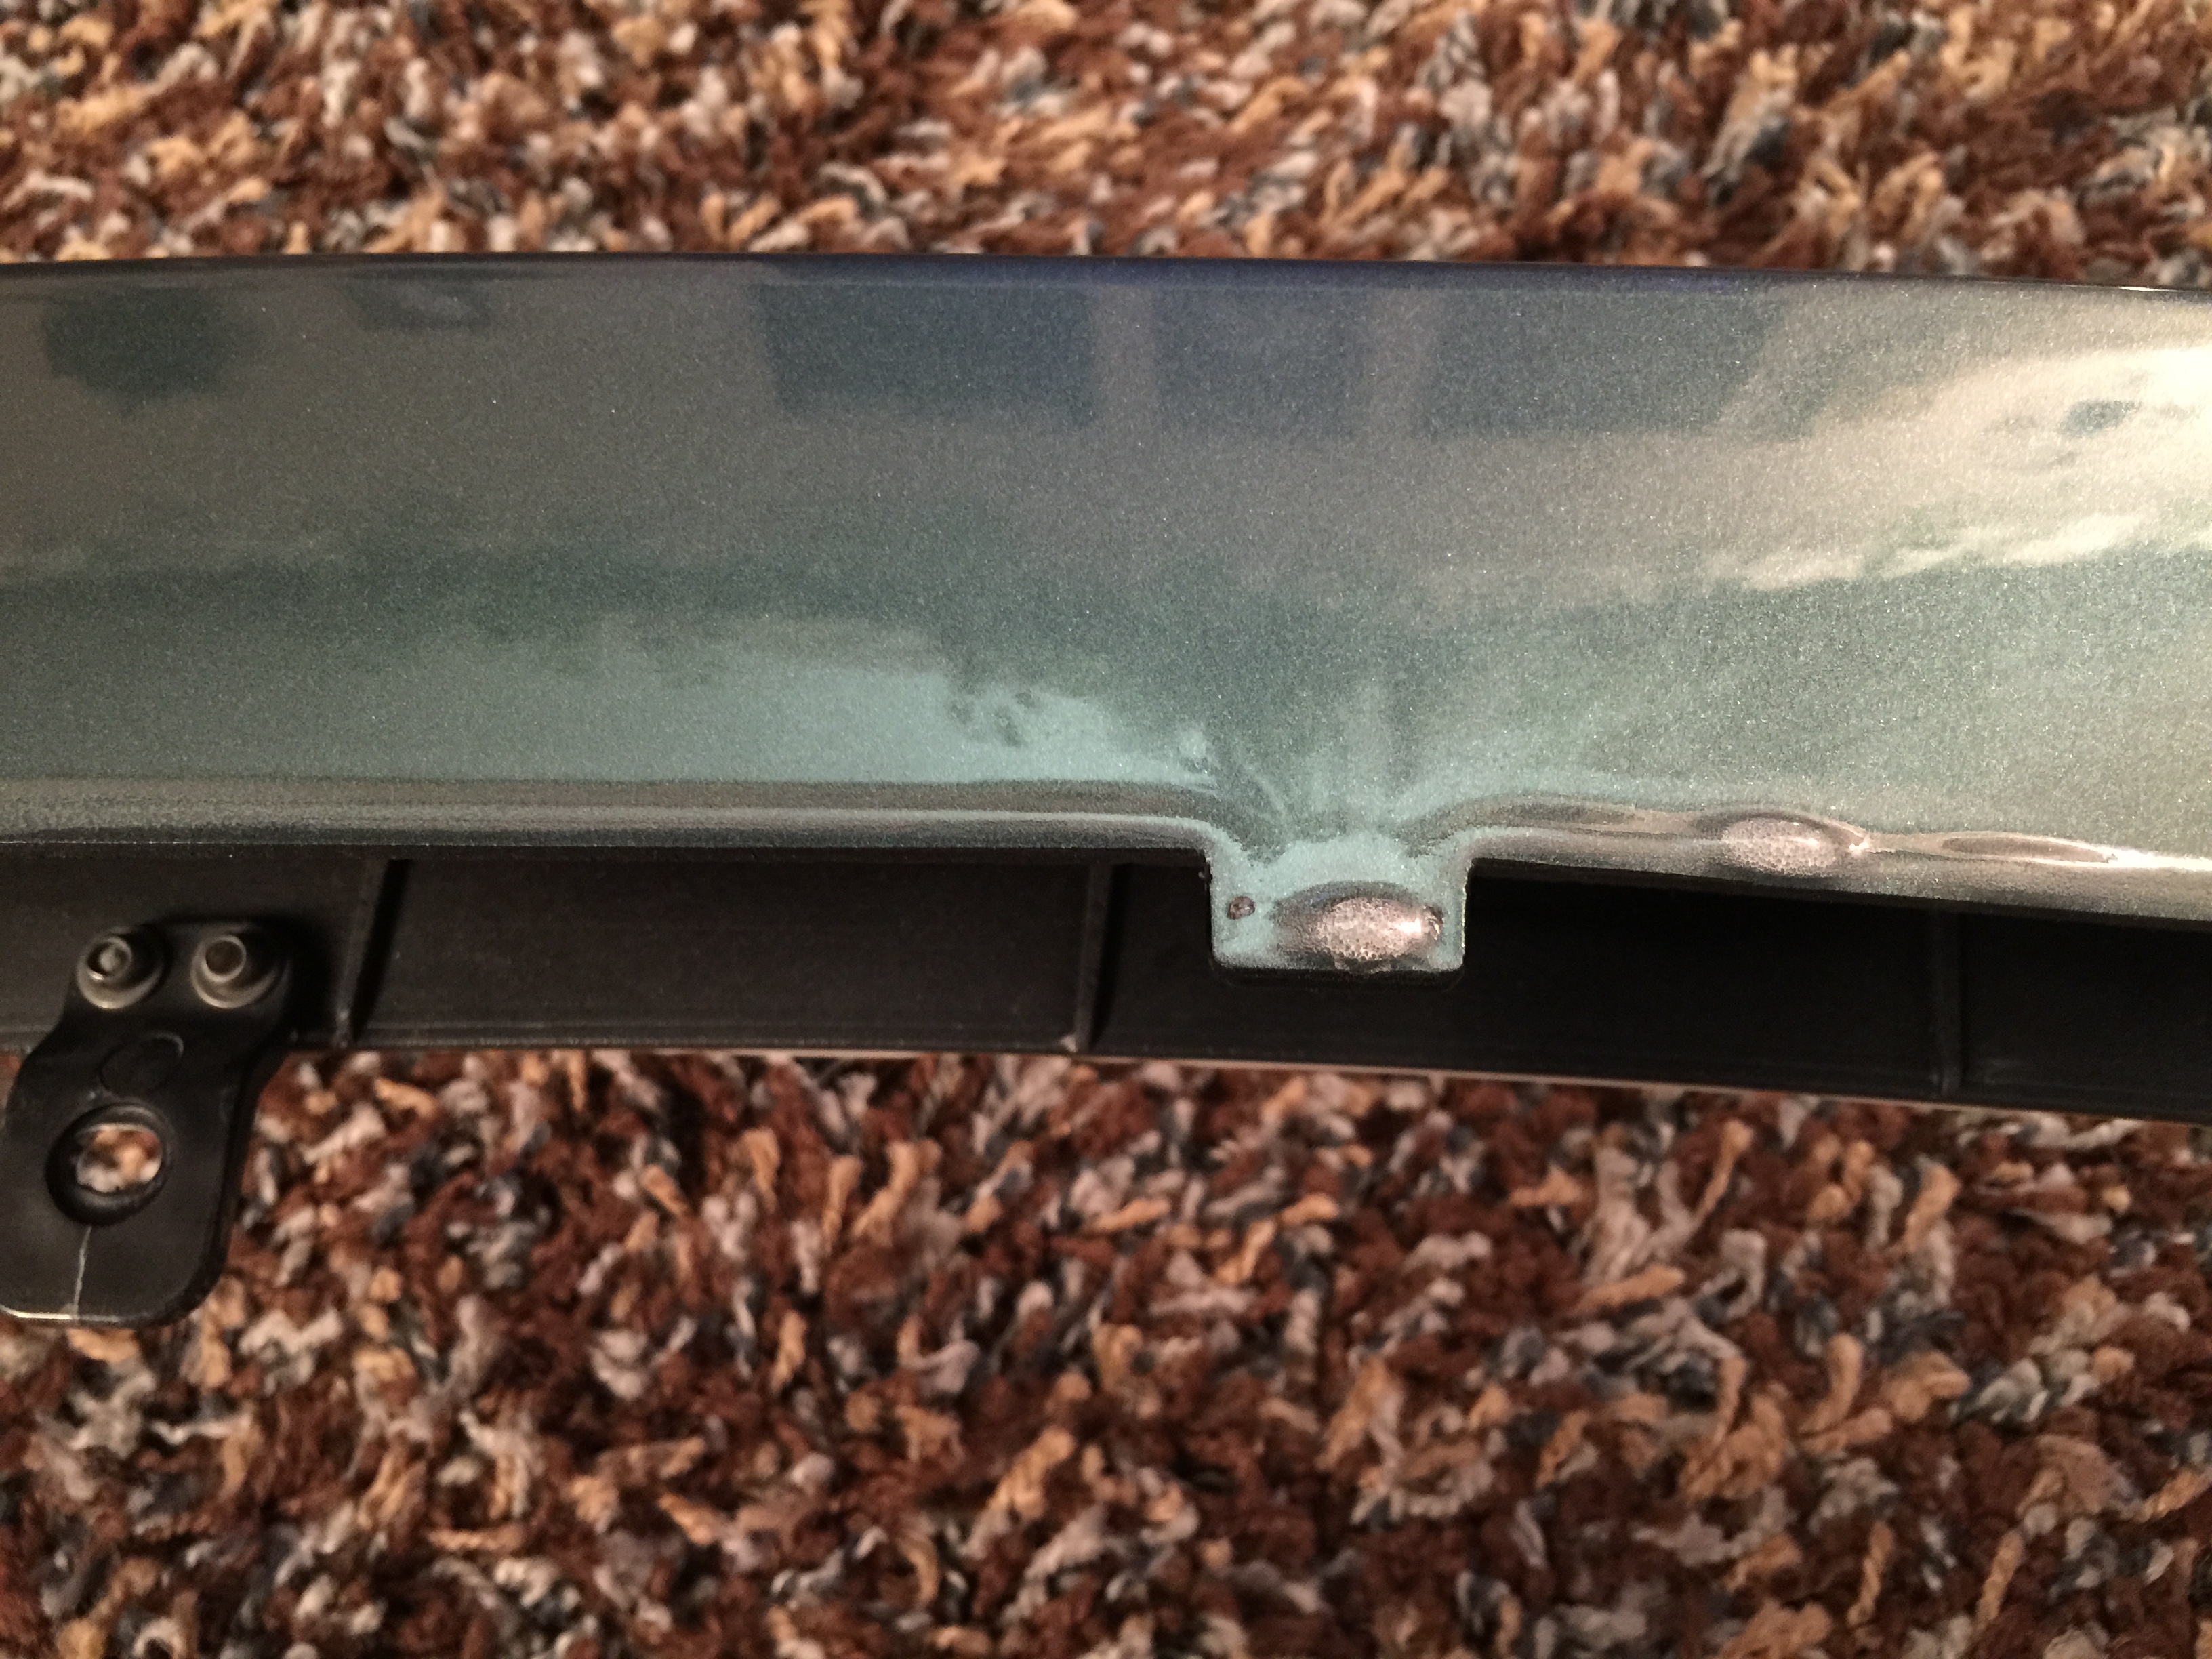
Mr. Maggoo strikes again.
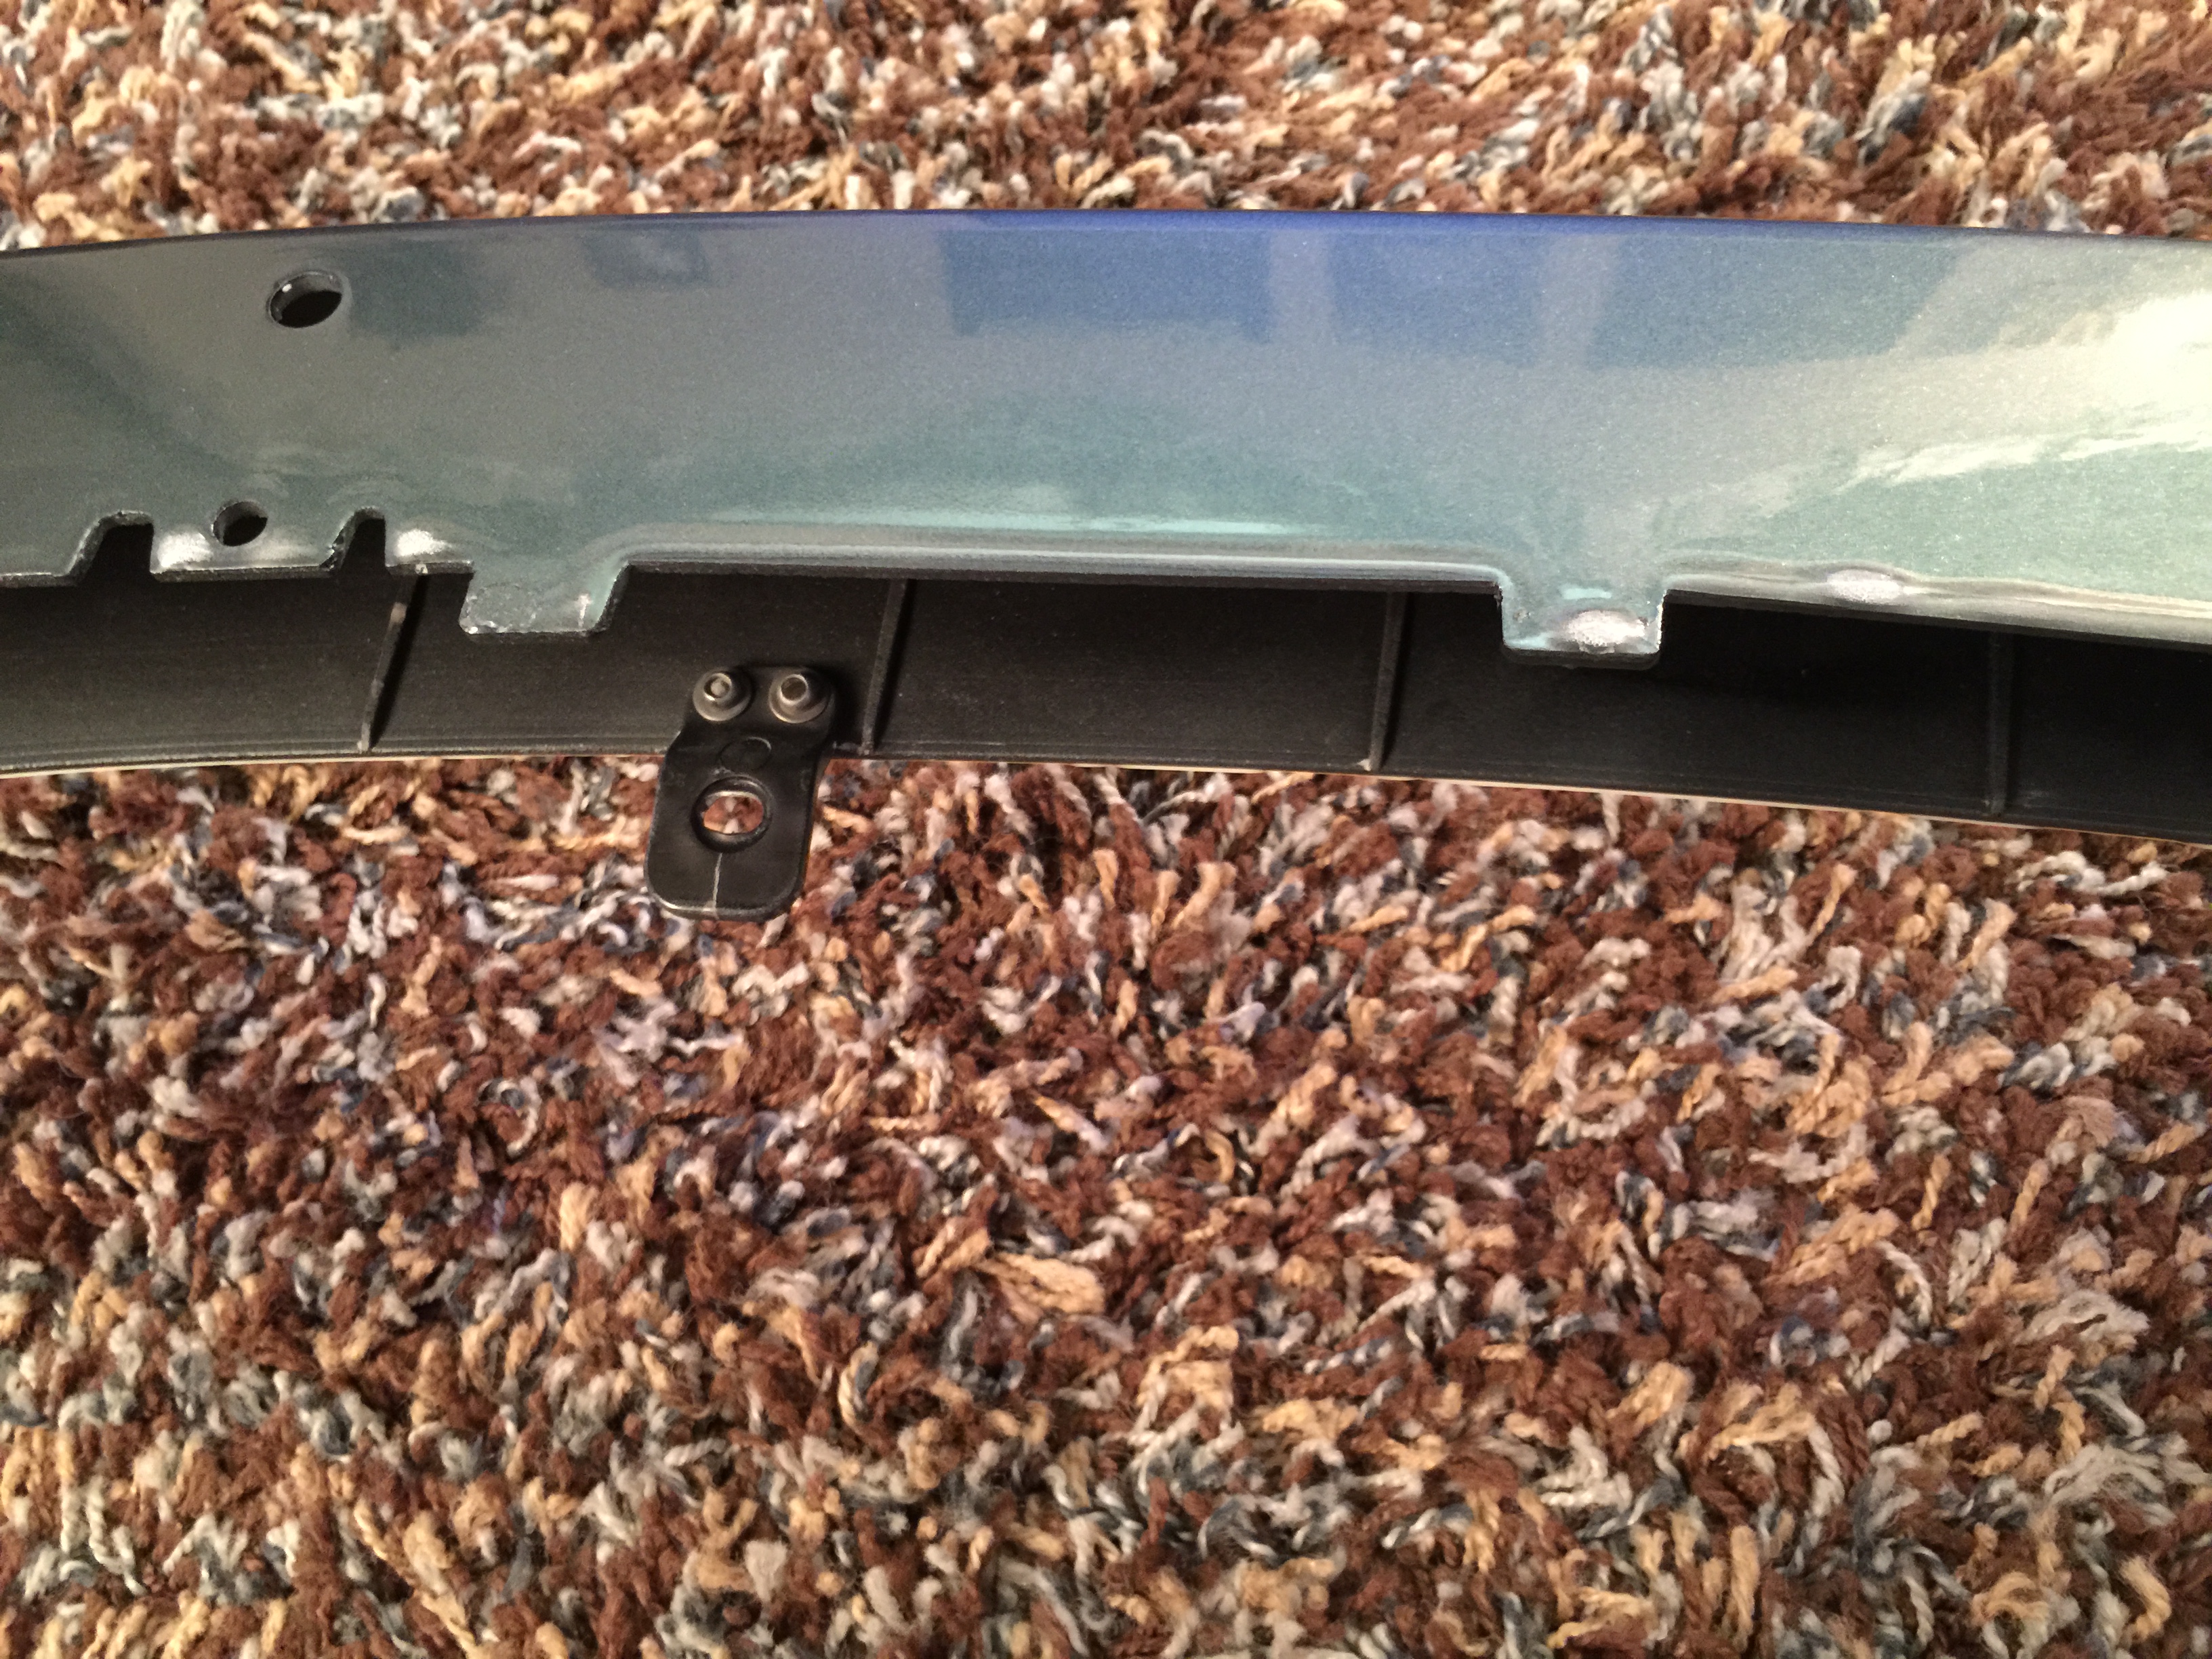
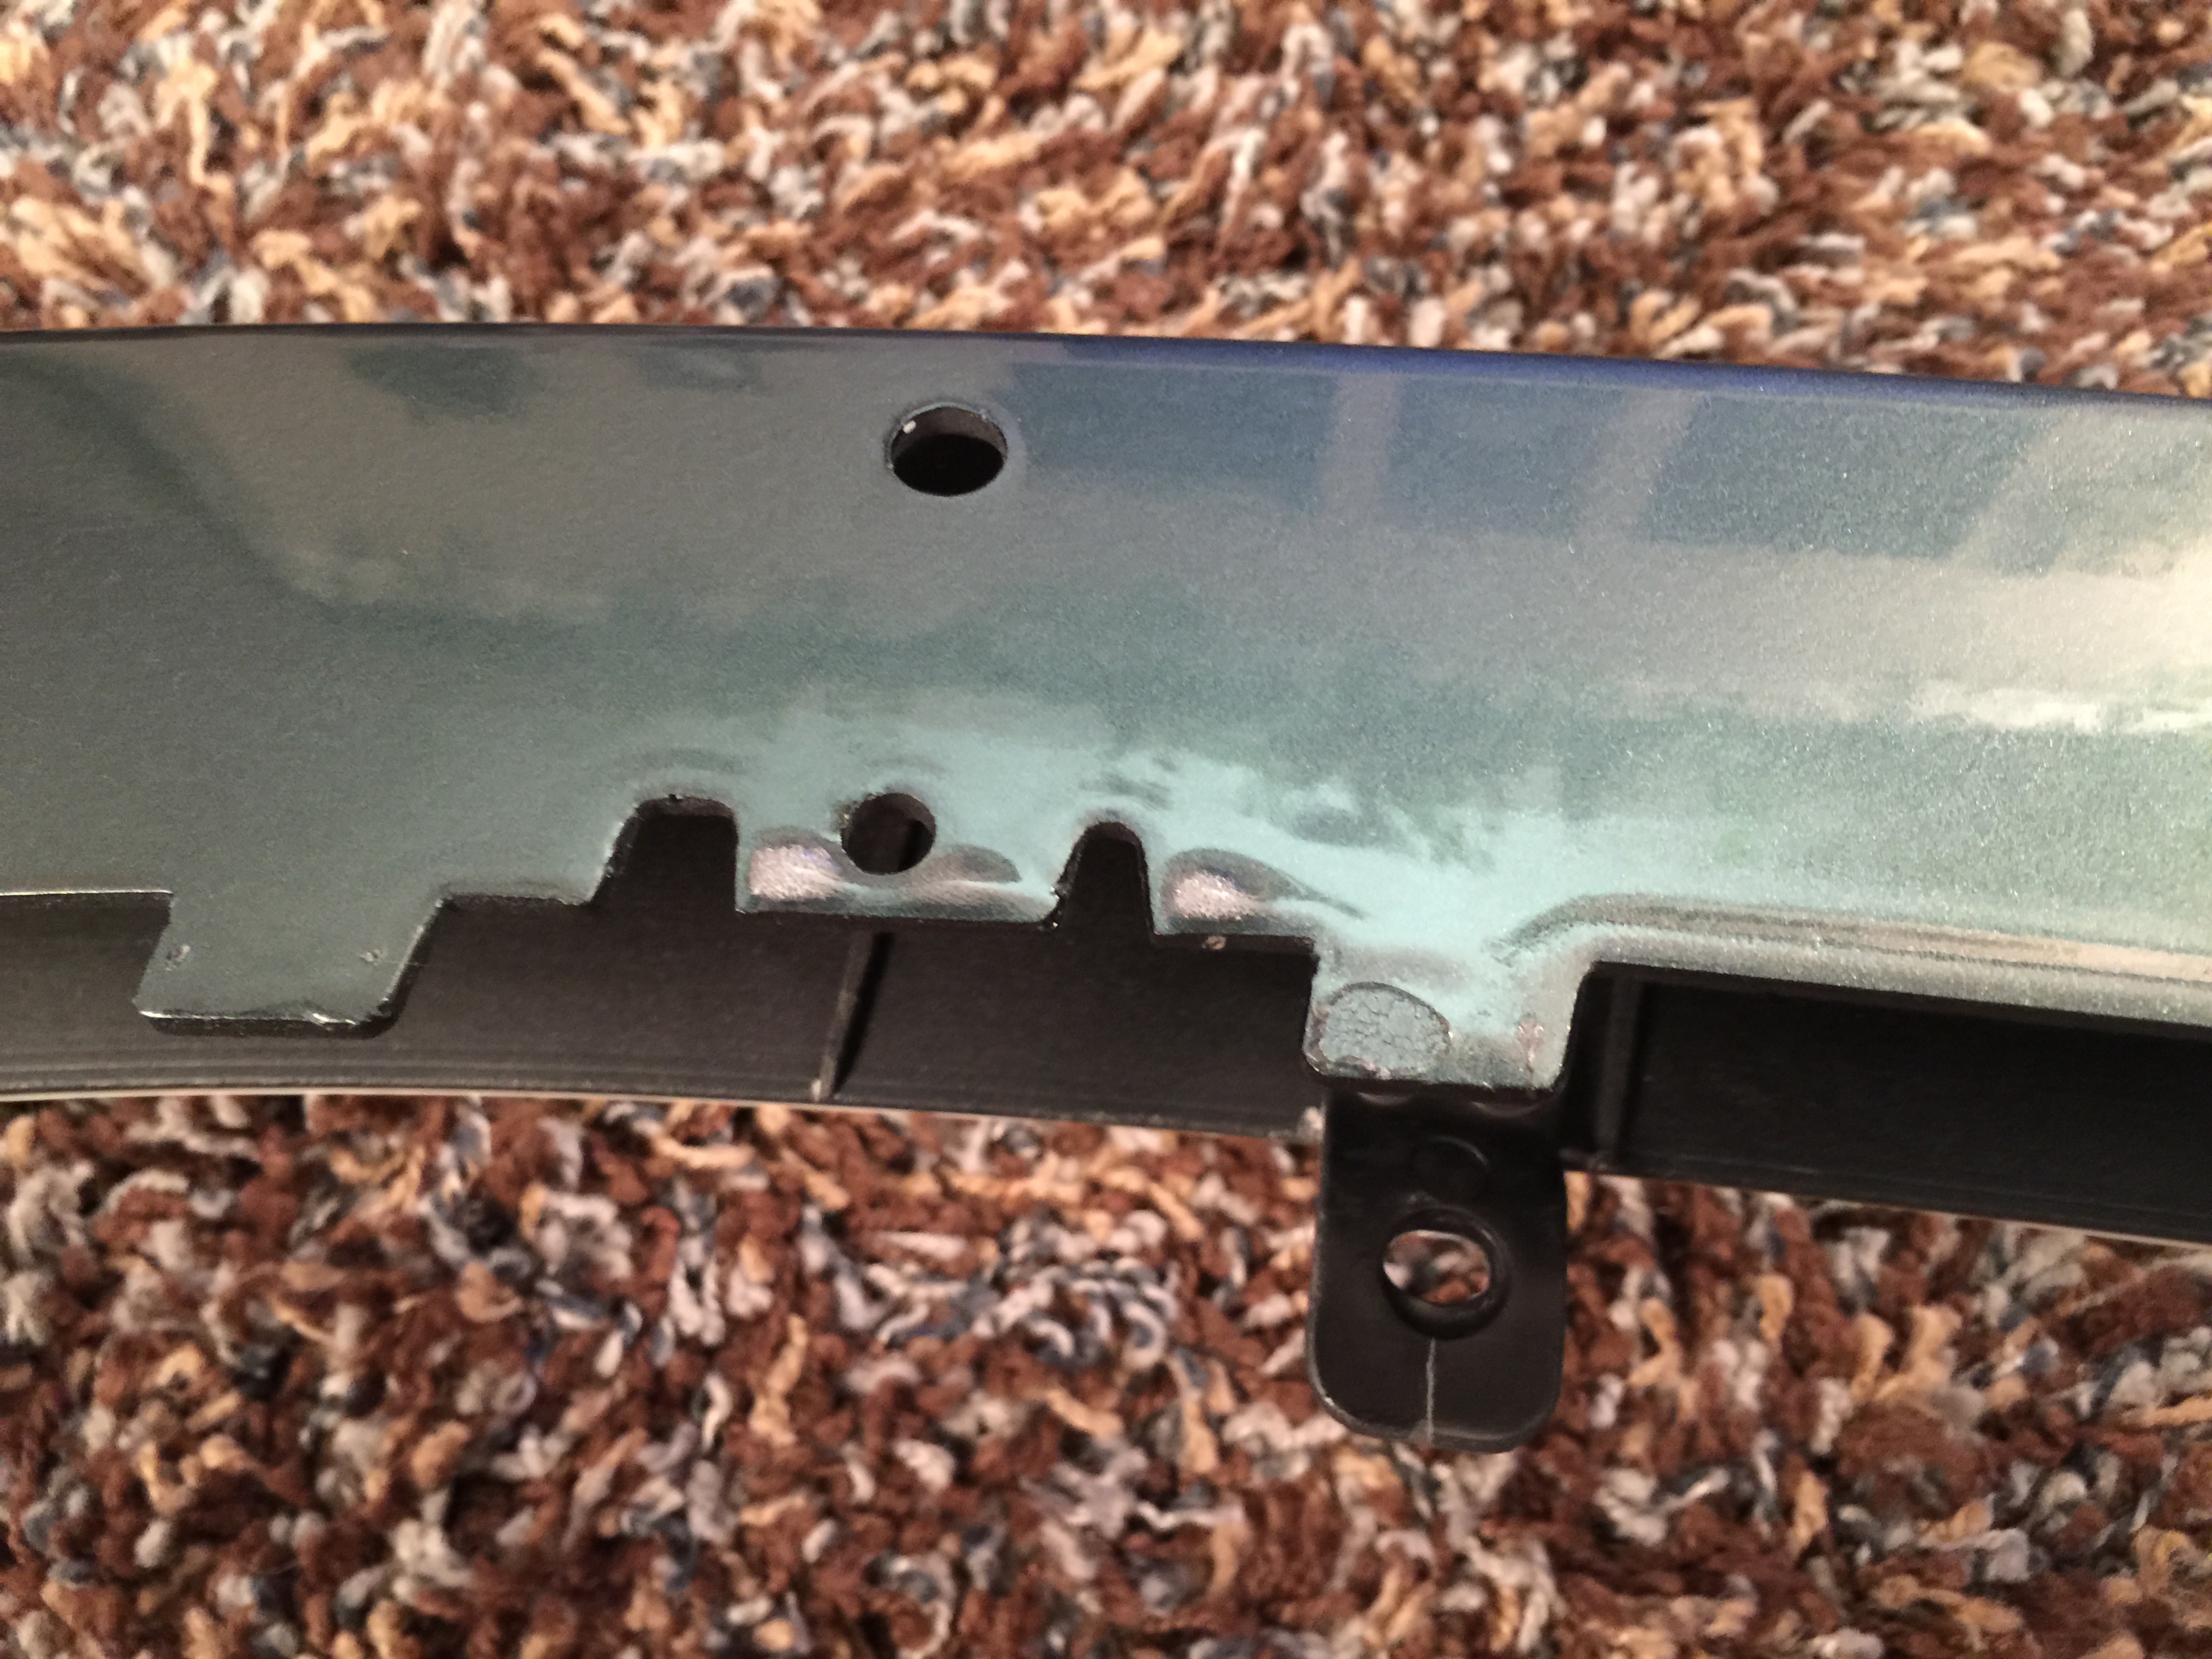
I am still surprised at how some things get past final inspection. These pictures show the underside of the painted are above the front lower grille mesh. As you can see, the clear coat pooled and bubbled in this area. You have to be on the ground looking straight up to even see it and most of the worst of it is actually behind the mesh itself, but somehow I expect more from someone who makes a final inspection.
A few other observations:
I had to take the front and rear bumpers off in order to install the AM carbon fiber splitter and diffuser. I also took the opportunity to install the AM carbon fiber side strakes and a set of compact Italian air horns to replace the standard Ford large sedan-sounding horn with something that sounds more exotic.
I had ordered the parts separately from the dealer earlier so they did not come pre-installed by the factory, but it�s not like I wouldn�t take the challenge to install them myself as I have in the past. The parts are genuine AM OEM (made by CarboTech) so they are beautifully finished and had the center seam in the weave pattern which matches my carbon fiber grille.
(The masking tape on the rear wings is to protect the paint whilst removing the bumper.)
Here is a closer look at the splitter. If you peek through the grille at the right side of the picture you can see the new horn hiding behind. I painted it matte black to make it less noticeable.
Seeing all the people who have issues with curb scratches on the lower surface of the carbon splitter made me paranoid that mine would face such fate. So I built some aluminum skid plate panels that are attached to the lower surface of the splitter to protect it. They are the black metal strips seen in this picture.
While I was at it, I also installed an oil catch can that telum01 designed. It can be seen connected to the diagonal hose coming from the intake plenum in this picture.
Mr. Maggoo strikes again.
I am still surprised at how some things get past final inspection. These pictures show the underside of the painted are above the front lower grille mesh. As you can see, the clear coat pooled and bubbled in this area. You have to be on the ground looking straight up to even see it and most of the worst of it is actually behind the mesh itself, but somehow I expect more from someone who makes a final inspection.
A few other observations:
- Someone forgot to put a couple of the screws holding the driver side rear wheel well liner in place.
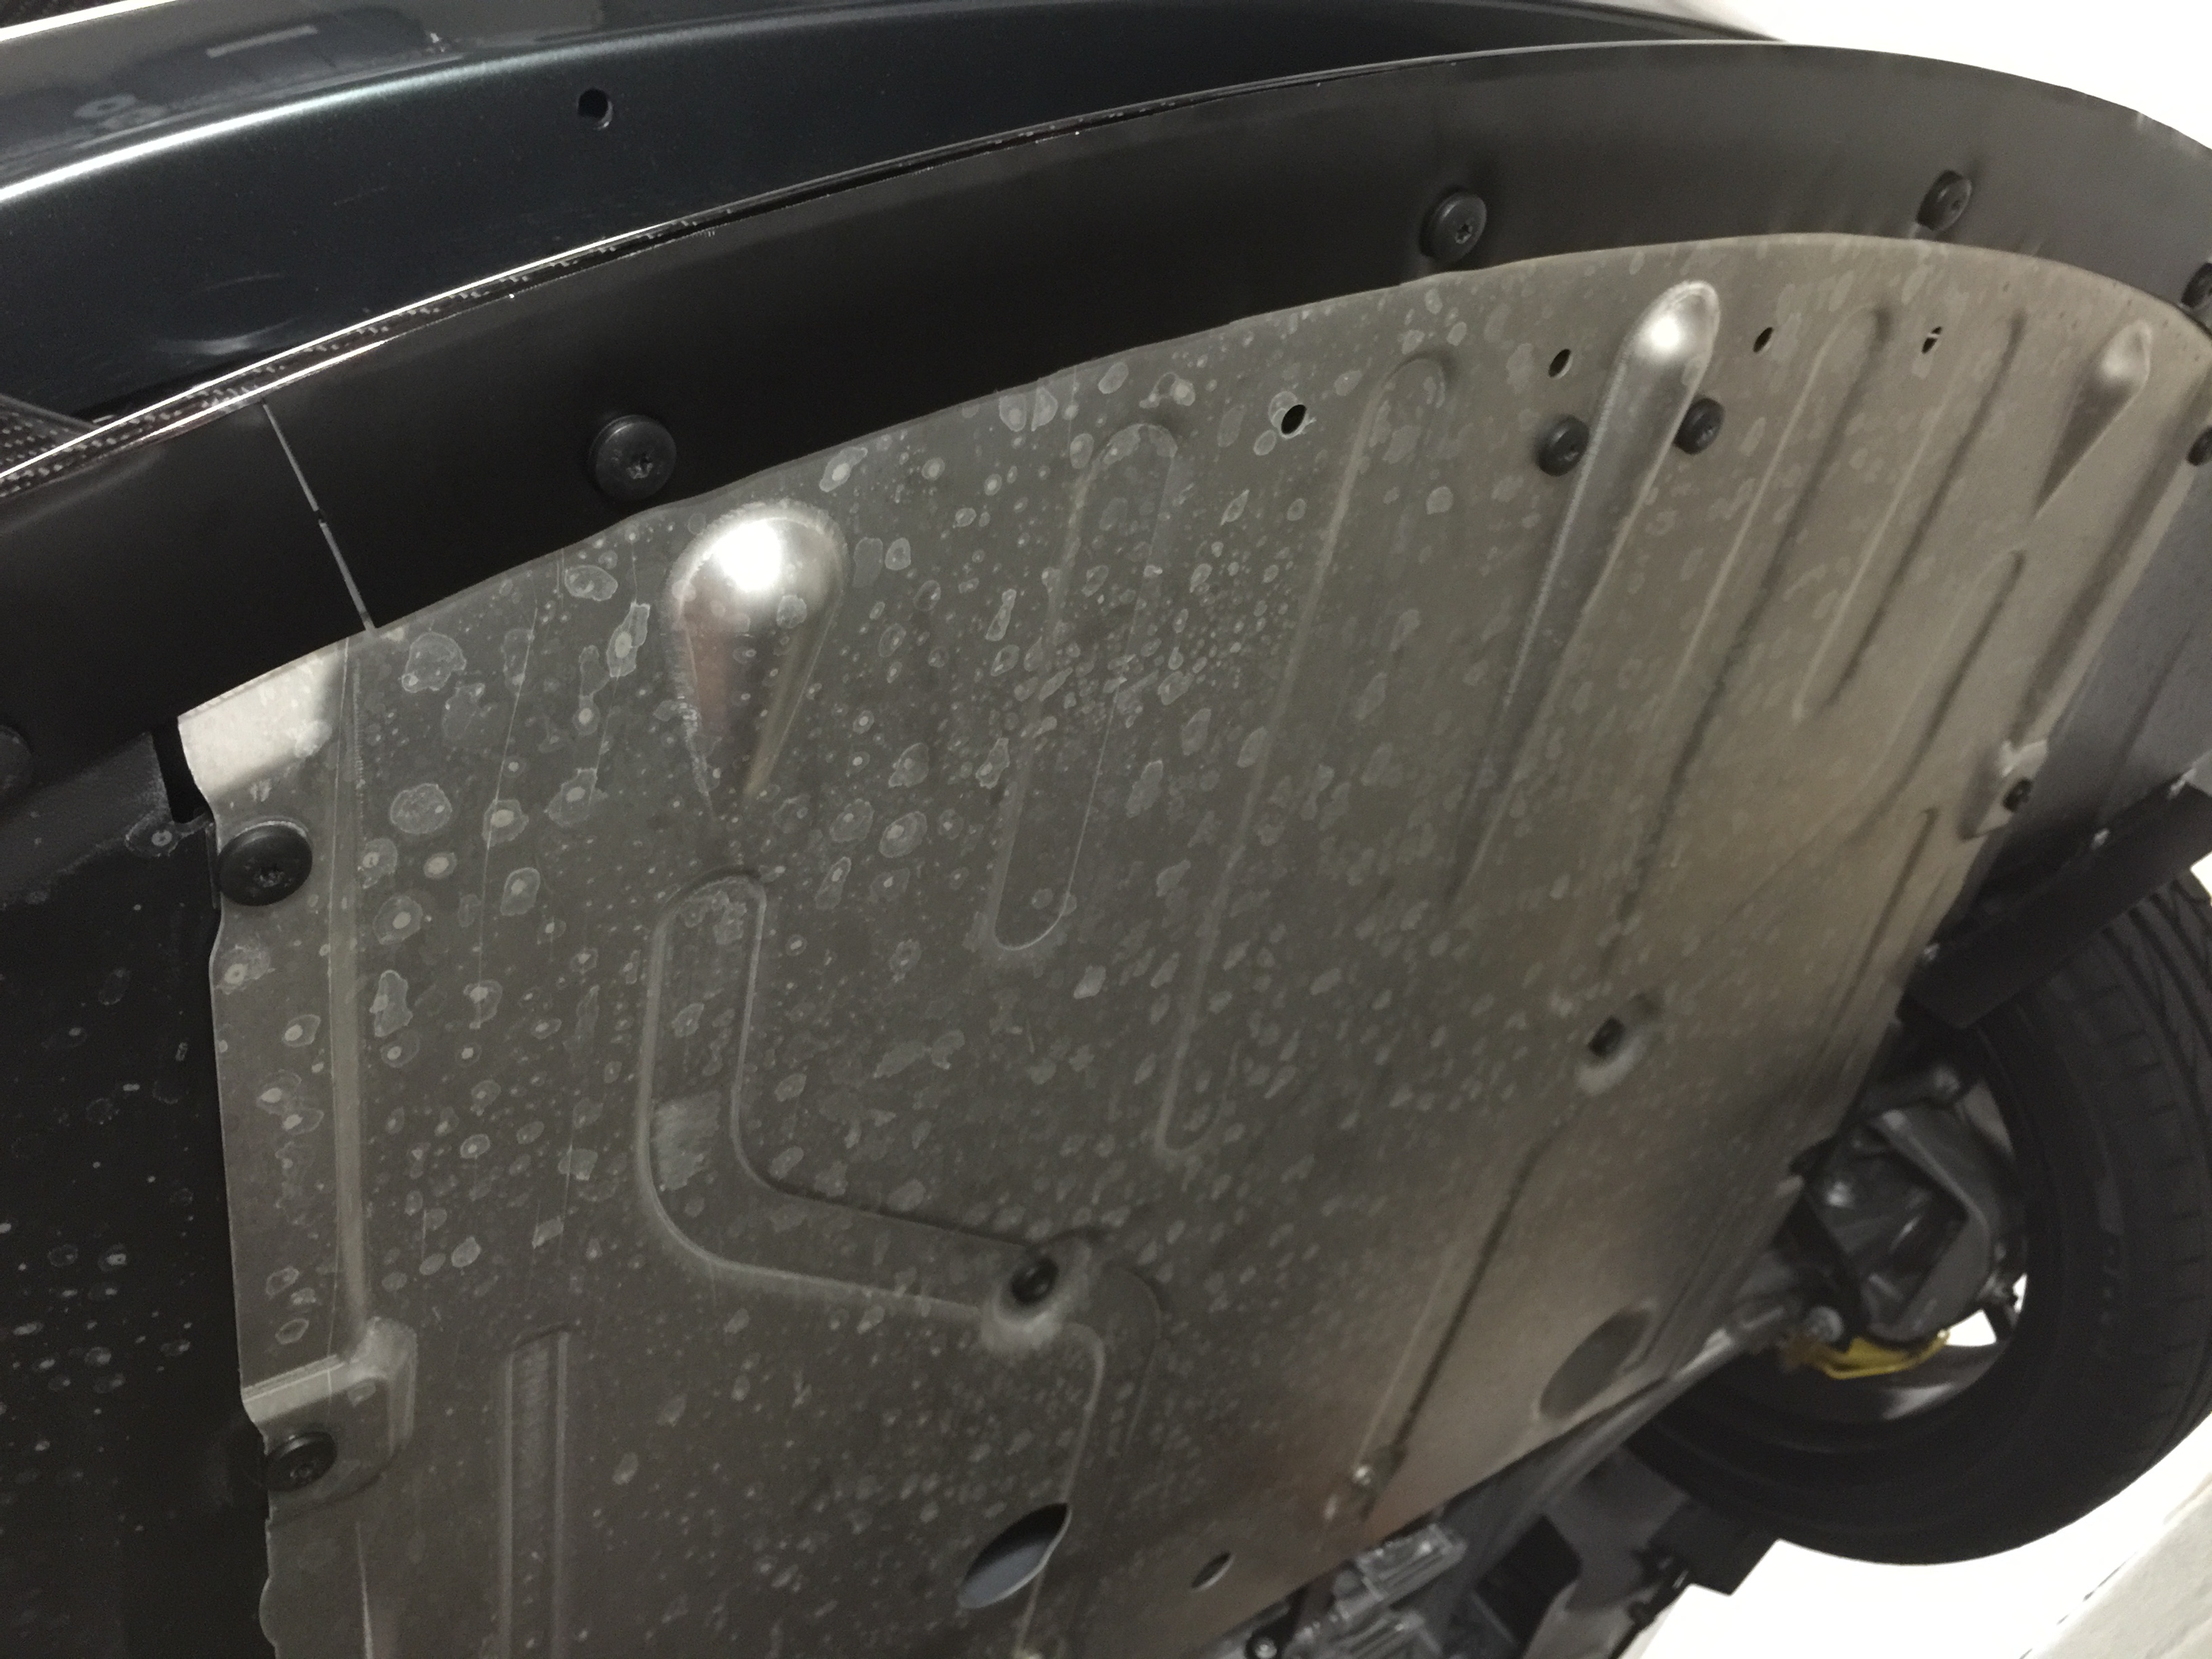
- Whoever re-designed the rear undertray on the newer cars should be shot. It now covers a single screw used to attach the leading edge of each rear wheel well liner. These means you now have to remove the entire (rather large) undertray and the 22 bolts that hold it in place in order to remove that single screw any time you want to access anything that requires a wheel well liner to be removed.
- The sensors on the front and rear suspension that are used for auto-leveling of the HID lights have been deleted. The lamps still cycle up and down when lit, so I don�t know what mechanism is being used to determine when they are level now.
- The bolt in the door frame that holds the trailing edge of the side strakes was changed from a hex head to the standard button TORX head used throughout the car. This makes it extremely more difficult to remove the bolt since clearance is very limited and you run the risk of scratching the paint on the door. I wound up making a specialized tool by cutting the length of a TORX bit to about 1cm in order to make it fit. I replaced the bolt with a standard hex head as was used in earlier models when I installed the carbon strakes to facilitate access in the future. I then used the two spare TORX head bolts to replace the two missing bolts in the wheel liner mentioned earlier.
Registered User

Joined: Nov 2013
Posts: 813
From: New Jersey
Rep Power: 52
Very nice. On the rear diffuser, I guess you couldn't wait for the carbon fiber tail pipes, huh. It means you may have to remove the rear bumper again to install em. But my guess is you enjoy this stuff. Once again, nice job.
Registered User
Joined: Nov 2013
Posts: 813
From: New Jersey
Rep Power: 52

You'll have to do a video of your install of the pipes when you get em so that I can do the same. (Pretty Please)
Thread Starter
|
Registered User
Joined: Apr 2011
Posts: 2,358
From: Melbourne
Rep Power: 214
Essentially, what you do is take the wheel well liners out, remove the exhaust pipe extensions (little pipes about 5 inches long that you see inside the tailpipe finishers and then undo the two bolts that hold the finishers in place. Be careful when installing the new ones to not scratch them up and don't over-tighten the fragile ceramic isolator spacers or they will crack.
Registered User
Joined: Nov 2013
Posts: 813
From: New Jersey
Rep Power: 52
Essentially, what you do is take the wheel well liners out, remove the exhaust pipe extensions (little pipes about 5 inches long that you see inside the tailpipe finishers and then undo the two bolts that hold the finishers in place. Be careful when installing the new ones to not scratch them up and don't over-tighten the fragile ceramic isolator spacers or they will crack.
Thread Starter
|
Registered User
Joined: Apr 2011
Posts: 2,358
From: Melbourne
Rep Power: 214
Just asked the dealership on Monday and they said there was still no news on when they will be delivered. I'm not really too bothered by it. I can wait a while. The standard tailpipes on my car are the textured black ones that are optional on the V12VS and they look pretty good as well. My new carbon ones are already paid for, so if they have a problem and are unable to make them, I'll have to ask for a refund.
Registered User
Joined: Jul 2014
Posts: 201
From: Denver
Rep Power: 30
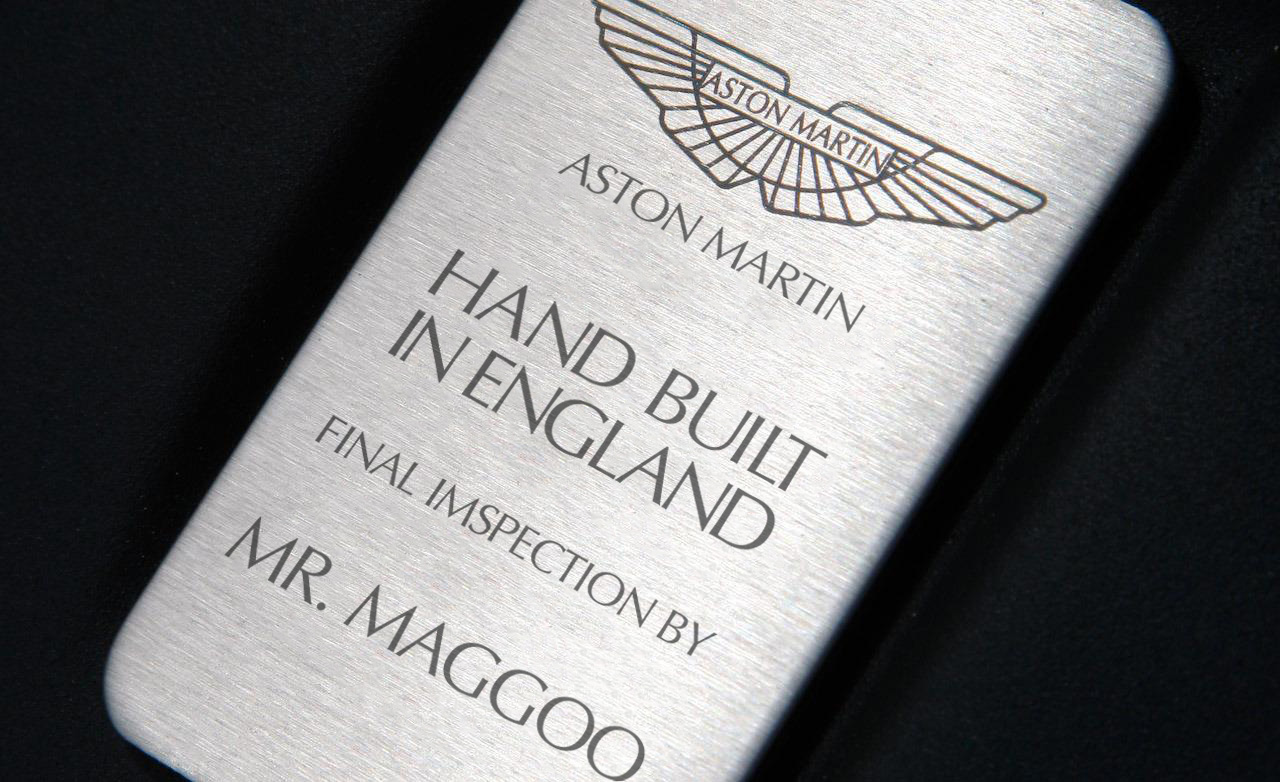
Karl, might want to look again at your inspection plate. Perhaps this can shed some light on the reason for your issues? The car appears to have had a "final imspection", not a "final inspection".

Thread Starter
|
Registered User
Joined: Apr 2011
Posts: 2,358
From: Melbourne
Rep Power: 214
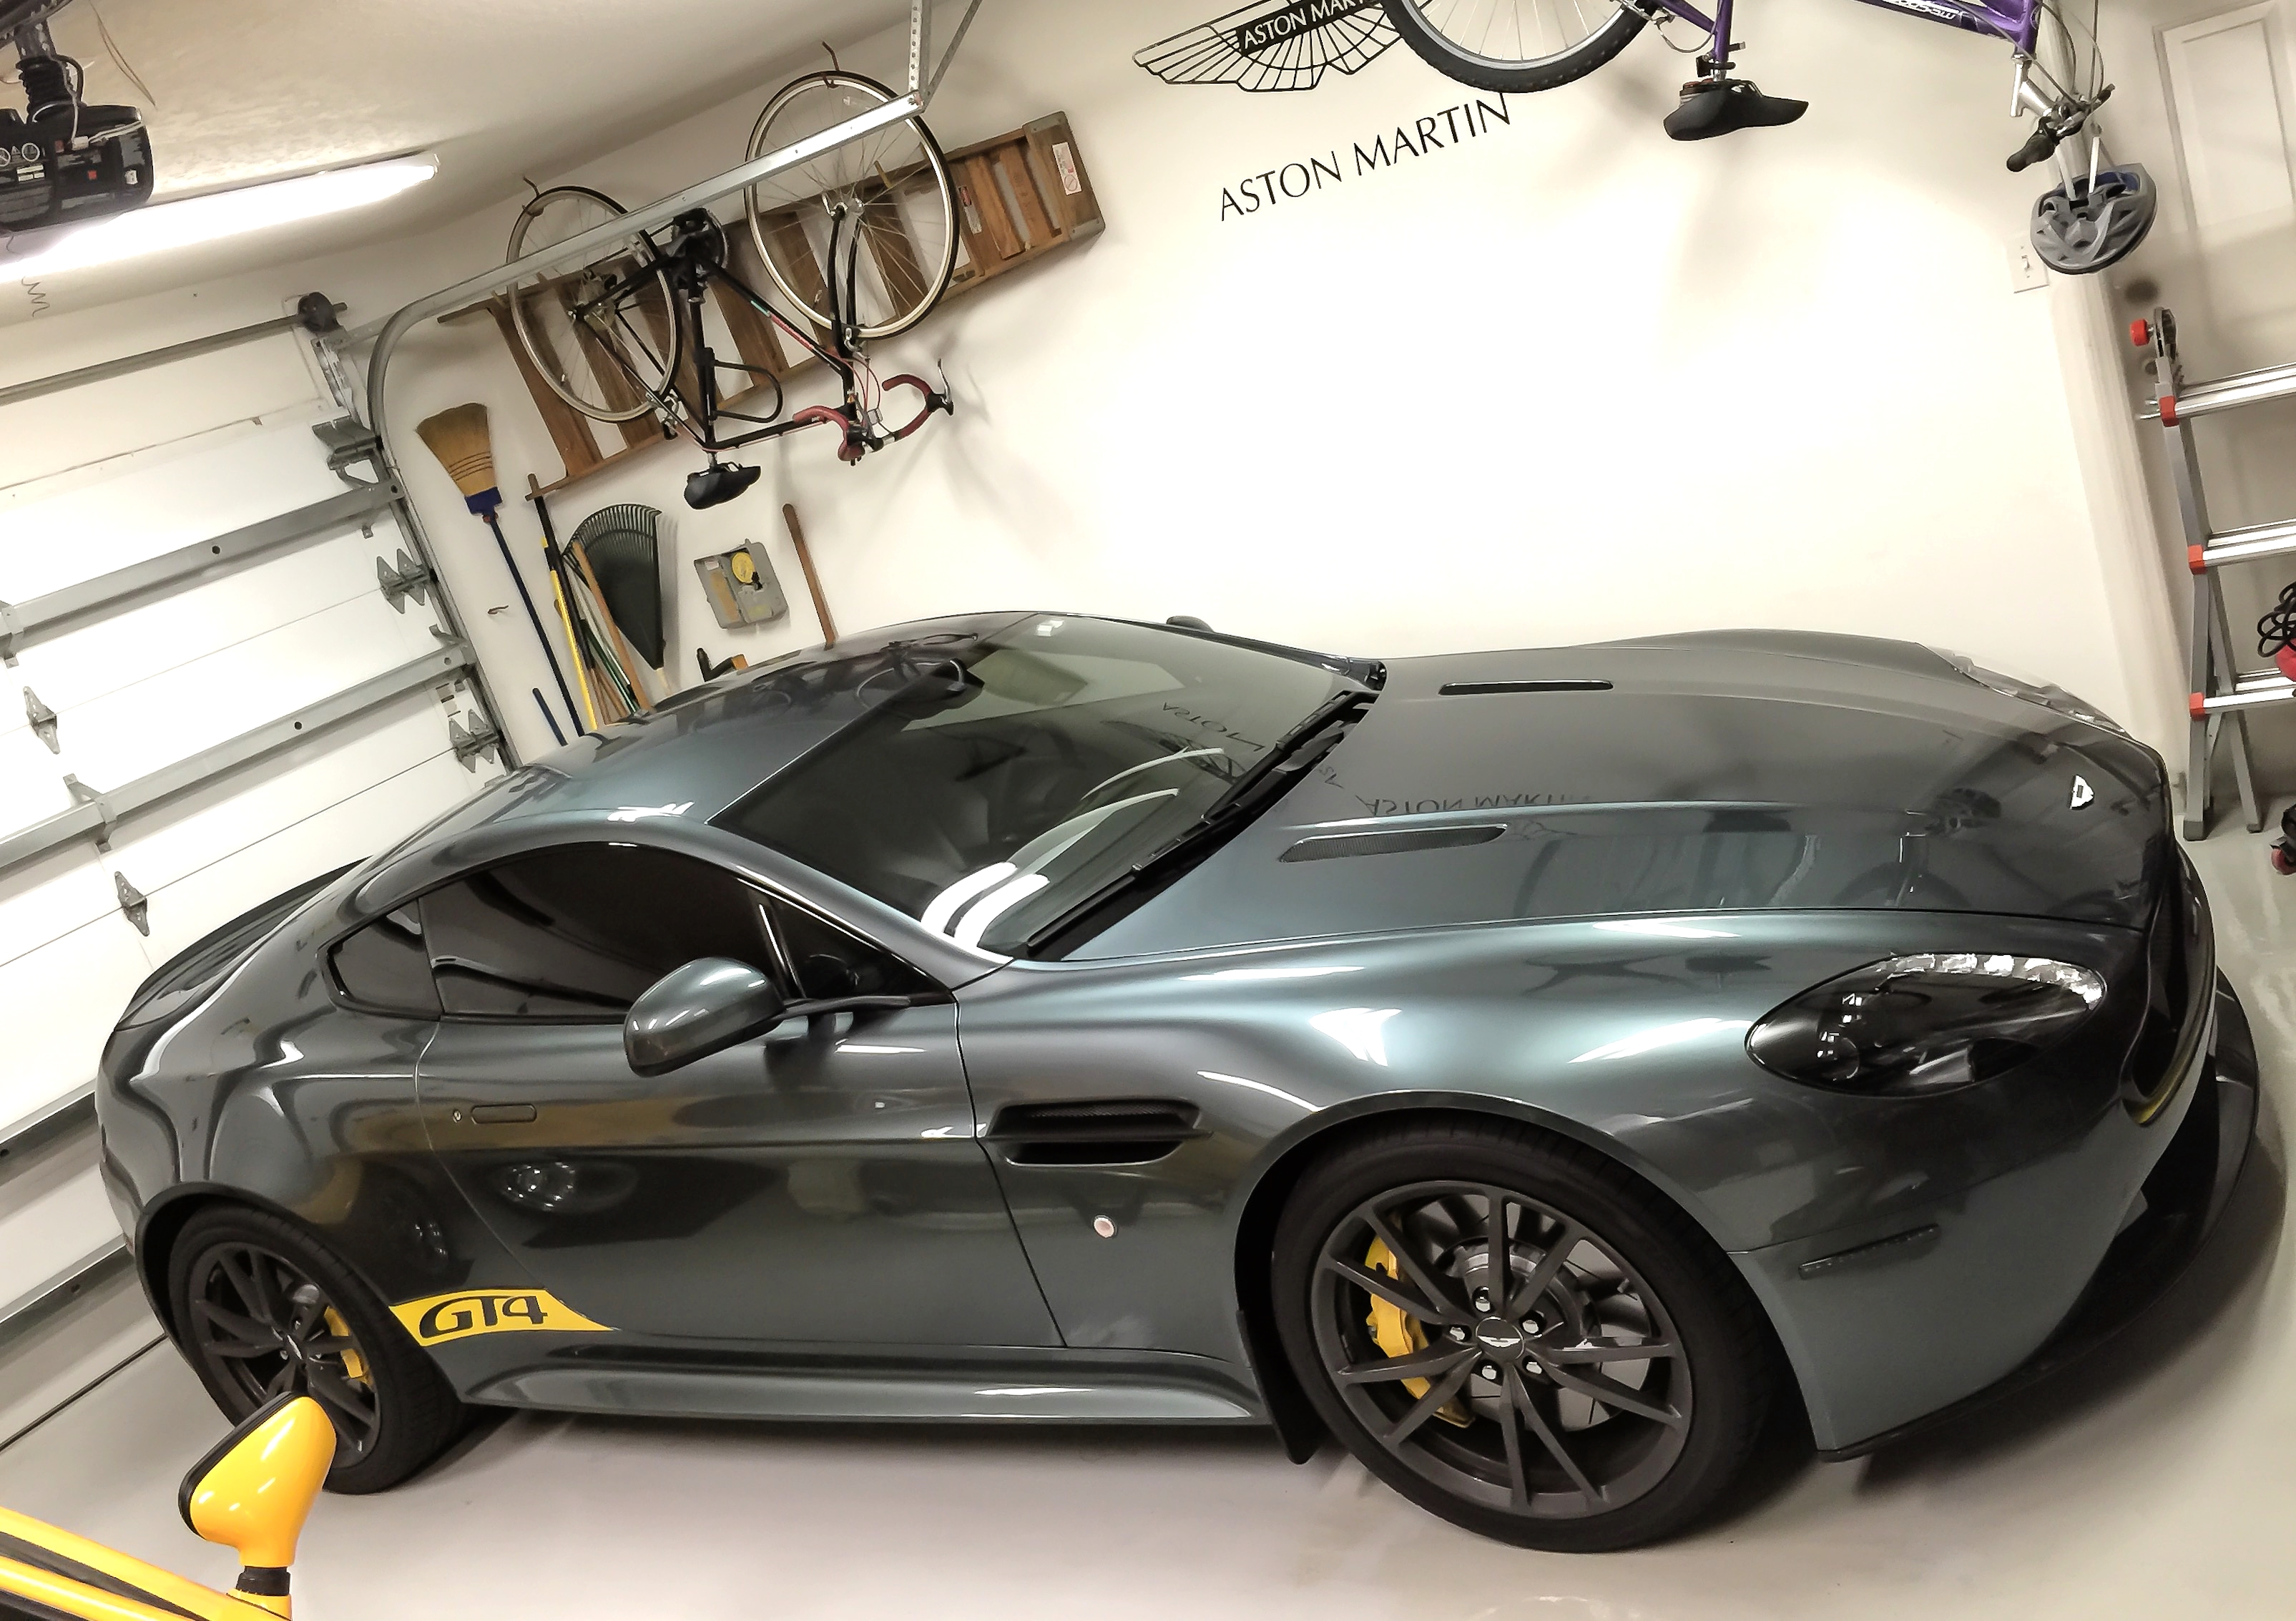
Ceramic Tint
Living in Melbourne, heat is a real issue during the summer months. It is not uncommon to get heat index in the 105-110�F range. So getting the windows tinted is almost a necessity.
Last time I had my windows tinted, I had it done by the guy who does the tinting for the dealership. He is very good and obviously very familiar with our cars but, he is a bit "old school" and far away.
This time, I decided to go with a local business that has been here for almost 35 years. One of the things I liked, other than the proximity and promoting a local business, was that they offer Llumar Ceramic Film with a lifetime warranty and their prices were very reasonable ($249US). But, what I found intriguing was that they used a specialized plotter/vinyl cutter to cut the film from a database of templates. This means that the parts are an exact fit, quickly cut, with less waste and there are no blades anywhere near your car.
They also offer to tint the windscreen ($149) with a clear ceramic film which claims to reduce cabin temperatures an additional 30�F. I was tempted, but want to see how hot it gets with the other windows only before I go with anything else. Also, the template they had was labeled as a 2009 Vantage which means it does not have the same exact profile since older cars did not have rain-sensing wipers.
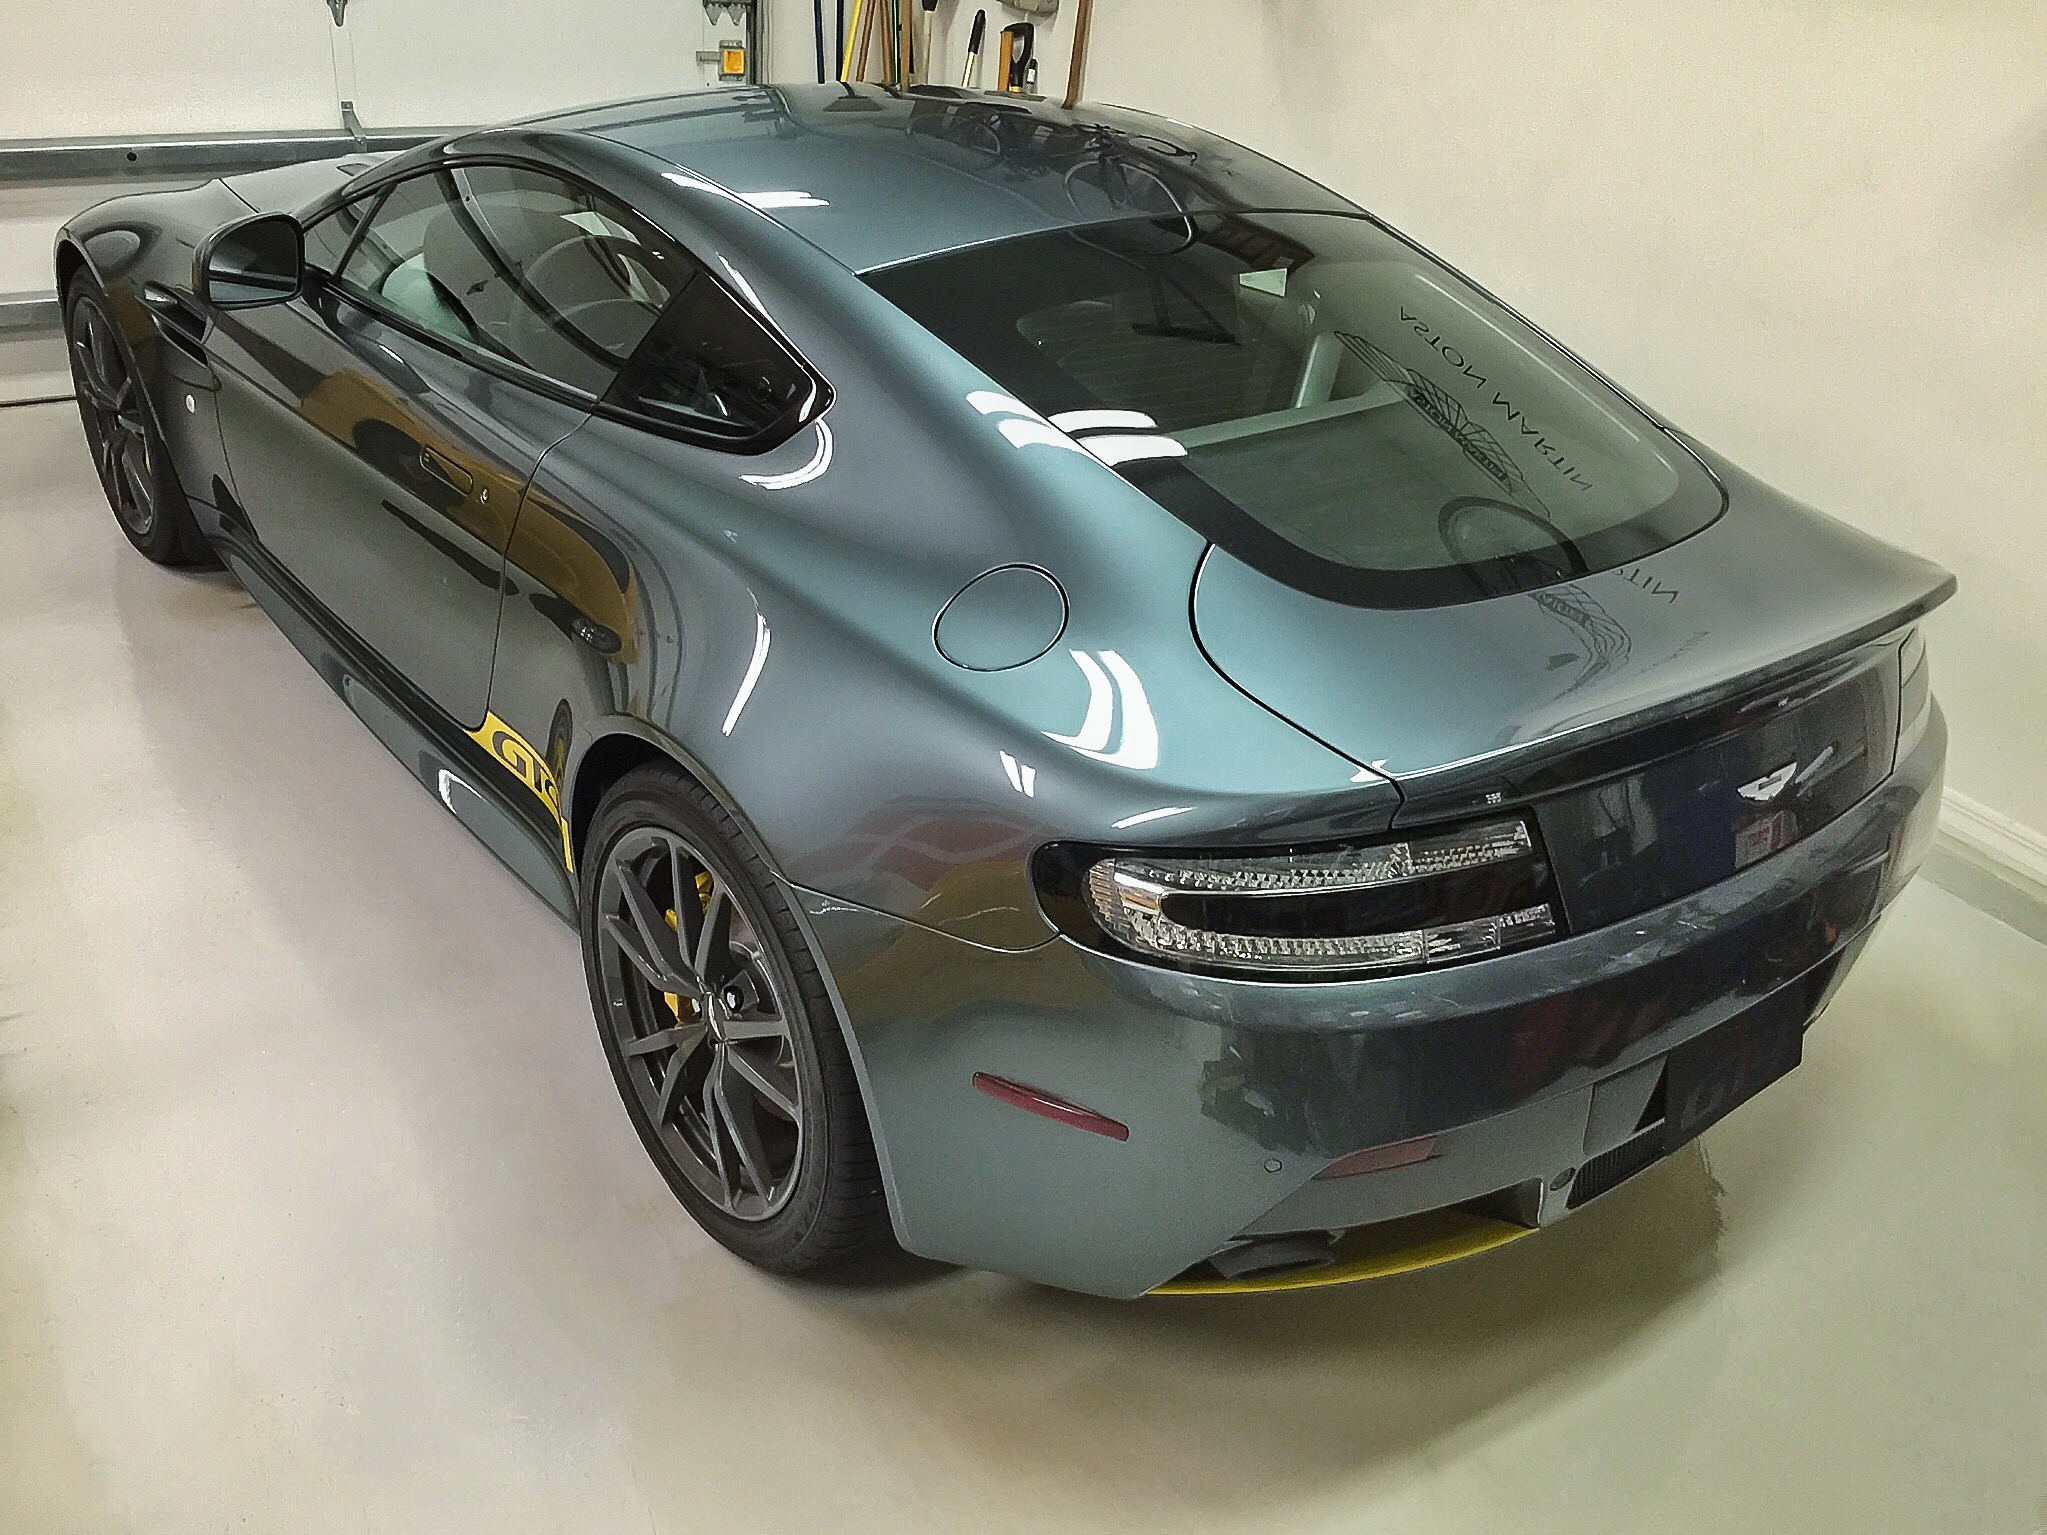
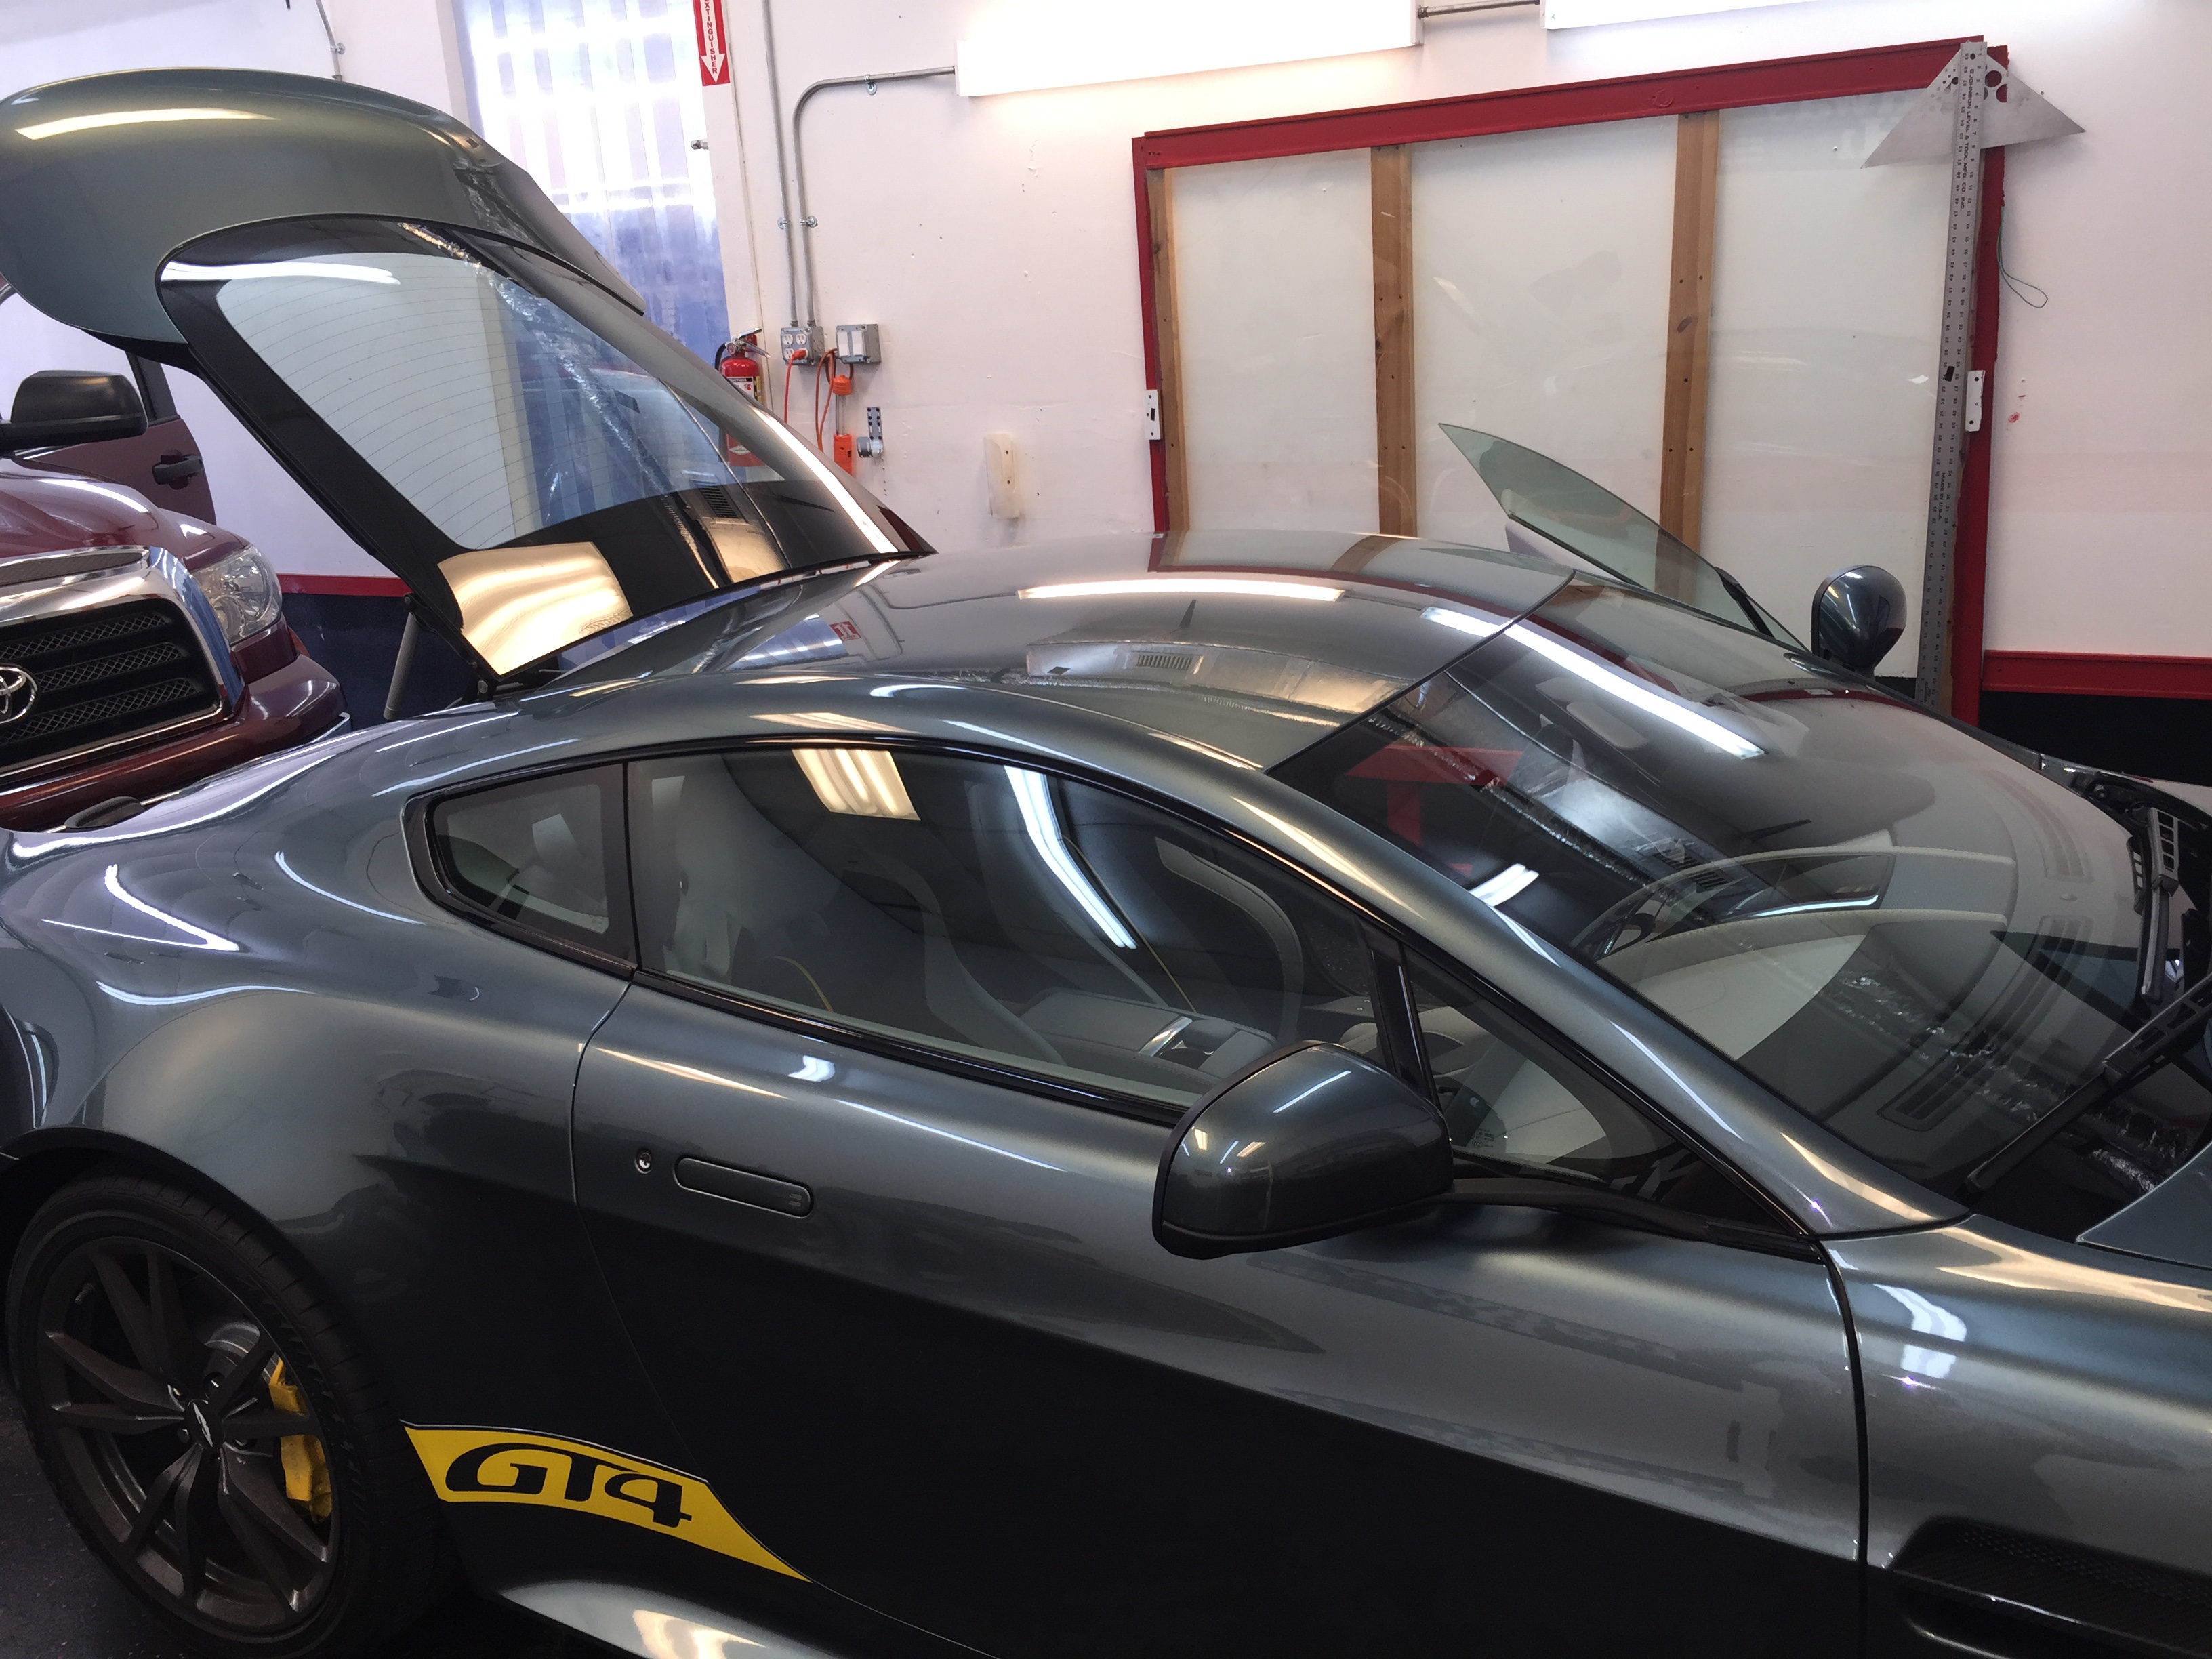
I went with the darkest possible legal tint (30% sides, 15% rear) so I had the highest amount of heat rejection and I will say that, on the way home, I could already feel the dramatic difference in temperature inside the cabin.
Here you can see the vinyl cutter cutting a template (not for my car).


Last time I had my windows tinted, I had it done by the guy who does the tinting for the dealership. He is very good and obviously very familiar with our cars but, he is a bit "old school" and far away.
This time, I decided to go with a local business that has been here for almost 35 years. One of the things I liked, other than the proximity and promoting a local business, was that they offer Llumar Ceramic Film with a lifetime warranty and their prices were very reasonable ($249US). But, what I found intriguing was that they used a specialized plotter/vinyl cutter to cut the film from a database of templates. This means that the parts are an exact fit, quickly cut, with less waste and there are no blades anywhere near your car.
They also offer to tint the windscreen ($149) with a clear ceramic film which claims to reduce cabin temperatures an additional 30�F. I was tempted, but want to see how hot it gets with the other windows only before I go with anything else. Also, the template they had was labeled as a 2009 Vantage which means it does not have the same exact profile since older cars did not have rain-sensing wipers.
I went with the darkest possible legal tint (30% sides, 15% rear) so I had the highest amount of heat rejection and I will say that, on the way home, I could already feel the dramatic difference in temperature inside the cabin.
Here you can see the vinyl cutter cutting a template (not for my car).