When you click on links to various merchants on this site and make a purchase, this can result in this site earning a commission. Affiliate programs and affiliations include, but are not limited to, the eBay Partner Network.
I've been wondering about that. I have tried several times to find data. This morning I tried again.
What Happens When You Crash?As I mentioned earlier, Schroth test their products in real-world situations. They take an optimised installation with an upright seating position and put it through dynamic testing to ensure optimum safety. But what sort of forces are we talking about in the test?
The following figures are from a test simulating a 90� head-on collision with a 75kg (165lb) mass dummy and an impact velocity of 50km/h (31mph) – much slower than you might normally be travelling with a lighter occupant (certainly lighter than me!). The stopping distance is approximately 400mm (16”) with a maximum deceleration of 30g. This is known as the FIA Standard 8854/98 dynamic test requirement.
In this situation the pelvic load surpasses 14kN (3,100lb) at each side. It will elongate the lap belt and compress the tissue on the pelvis, and the pelvis will slide forward by 80-100 mm (3-4”). The upper torso load surpasses 7kN (1,550lb) on each strap; it will elongate the shoulder belts and the upper body will roll in. The shoulder belt adjusters will move up the chest by approximately 200mm (8”) and forward head trajectory will be up to 400mm (16”) These figures should really drive home why you should never wear a harness loose.
But we’re not finished yet. The pelvic movement combined with the shoulder belt forces will load the anti-sub straps to more than 6kN (1,320lb) each in a 6-point racing harness. In more reclined seating positions, the pelvic load will be reduced to around 9kN (2,000lb) since the seat pan, designed as a ramp, will take some of the load.
Therefore it is essential the seat or chassis manufacturer ensure the seat pan is strong enough not to bend or even collapse under extreme loads. As most people don’t sit at 90 degrees in their seat, it’s also a really important consideration. Seats are a significant component of the safety system, too.
I know some of you will be familiar with real racing incidents and may think the numbers above seem to be quite high. And you’d be right. Fortunately, most racing accidents are not 90� head-on collisions and car deformation is greater than the 400mm (16”). Modern soft walls also convert impact energy. This can sometimes mean that even accidents with higher impact speeds can be less severe than the FIA test setup.
Irrespective of this, Schroth racing harnesses have been tested to speeds and decelerations surpassing FIA requirements, and that’s one of the main reasons why I choose them for my cars.
well darn. I bought another (different) resistor that had longer prongs that I figured would be easier to solder. This new resistor didn�t work and triggered the red air bag light that stays on.
I cleared the code and soldered on the resistor that I knew worked and it did eliminate the red airbag light but now in its place I have �SRS airbag service required� yellow light that removes when you select �read�. I can not remove the code for good as it comes back on after clearing with the scanner.
Anyone seen even the below code before or know how to get ride of it? I have the resistor connected. Thanks
Have not figured out the 4 spacers yet. Thought perhaps they are spacers between seat and rail but nothing lined up. Hoping they will fall into place when we pull the OEM seats,
chr
ok good news. I think I figured out where the spacer go. It was easier for me to figure as I ordered the ultra low side mounts to be closer to the floor and those did not have the hole for the seatbelt. I had 4 spacers like you but 2 had the seat belt holes and they line up perfectly between the slider and the side mount bottoms (see pics below).
Spacer with seatbelt hole
Now the not so good news. In looking at your pictures I noticed you put your sliders on reverse of mine with the thin part that extends out as the part that would attach to the adapter plate in the car. Are you sure that�s the correct way, or should it look like mine with the wider part connecting to the adapter (it lines up to the adapter plate). I seriously don�t know.
And the really bad news. After all this work I went to install the adapter plate in the car and the holes are ever so slightly off to the 4 mounting parts to the cars frame. In the below pic I have 2 of 4 bolts in but the other two will not fit and look like the picture below. Not sure what to do...
You will not be able to pull up on the adjuster if you install the sliders like that. Attach the U shaped adjustment handle. I too thought they installed the way you have them, but once we actually made it work, it did not work like that
From the picture your adapter plate does not look like mine - maybe I am missing something. Some pictures of what we have and the direction we are headed.
This is what I have been calling the riser (adapter plate if you'd rather) . Notice it has three holes. The two end holes line up nicely with the chassis.
Here the slider is installed on top of the riser and bolted to the chassis . (Passenger side - outboard - rear). The flanged OEM bolts will not fit in the channel without reducing the flange diameter. We converted to cap bolts.
Same assembly at the front. Notice the hole in the slider lines up with the hole in the riser but there is not a threaded insert in the chassis to accept a bolt. This is where we will add another riv-nut. That will allow the slider to attach to the chassis.
It may be possible to flip the sliders over, but it will leave you pushing down on the adjustment bar. IIRC there was not enough vertical clearance for it to disengage.
chr
Last edited by era2076; Apr 9, 2019 at 08:01 PM.
Reason: Clarity
Interesting I still don�t think that�s where those risers go though because if you look at the picture below this adapter plate has four squared off areas where it drops down into the area where the holes are into the frame (blue). It also has four holes that line up perfectly with the sliders the direction I have them. That said the four holes that should be lined up for the frame are ever so slightly off.
Adapter plate situated on floor. 4 holes ever so slightly off with the frame bolt holes. Note the 4 lowered and squared off areas where it meets the frame (lifts up over carpet, etc). In red you see bolts that mate up with slider the way I have them (upside down)?
Here you can see how the bolts that go into the frame end up sitting flush with the rest of the plate with the drop down.
Last edited by DetomasoGTS74; Apr 9, 2019 at 09:10 PM.
Indeed single piece allowing for frame bolts to be sunk in. And the other two holes line up perfect with the slider...don�t you that that�s what it�s for? Still not sure if I got the placement of the risers right (mine only have 2 holes vs. your 3). All of this got me thinking directions would�ve been nice!!
Regarding the resistor it was the same ohm but purchashed on Amazon. I ended up soldering the split wire to the resistor you purchased. That got rid of the red airbag light that does not go away but now I have the yellow service srs airbag that will go away hitting read but is annoying. Hoping someone can help here.
Last edited by DetomasoGTS74; Apr 9, 2019 at 09:58 PM.
All of this got me thinking directions would�ve been nice!!
You think?
Originally Posted by DetomasoGTS74
Regarding the resistor it was the same ohm but purchashed on Amazon. I ended up soldering the split wire to the resistor you purchased. That got rid of the red airbag light that does not go away but now I have the yellow service srs airbag that will go away hitting read but is annoying. Hoping someone can help here.
Quote:Originally Posted by DetomasoGTS74Regarding the resistor it was the same ohm but purchashed on Amazon. I ended up soldering the split wire to the resistor you purchased. That got rid of the red airbag light that does not go away but now I have the yellow service srs airbag that will go away hitting read but is annoying. Hoping someone can help here.
We'll have to figure this out.
chr
Could it be that the yellow srs light is triggered by the disconnected seat belt buckle switch?
I had this when I tried to get rid of the annoing "bing bing" sounds when driving without belt for manouvering.
My solution was to buy a second hand buckle (initially just to get the right cable connection plug) - when I tried to measure the resistance of the internal switch,
I cound not measure any...so must be something else (Reed contact maybe? I'm no electrician...).
So I ended up opening the secondhand buckle and taking out the complete switch mechanism incl cable, plugged it in - everything is fine now.
Thomas
interesting suggestion Thomas. Only thing is I had no lights when I origionally hooked up the resistor that Cliff shared earlier in the post. I switched it for a different (2.2ohm) resistor and it went red airbag light. I cleared the code and hooked up the resistor I knew worked and now it's the yellow airbag service required.
I'm thinking if it was the belt, it should have light the yellow warning previously when there was none.
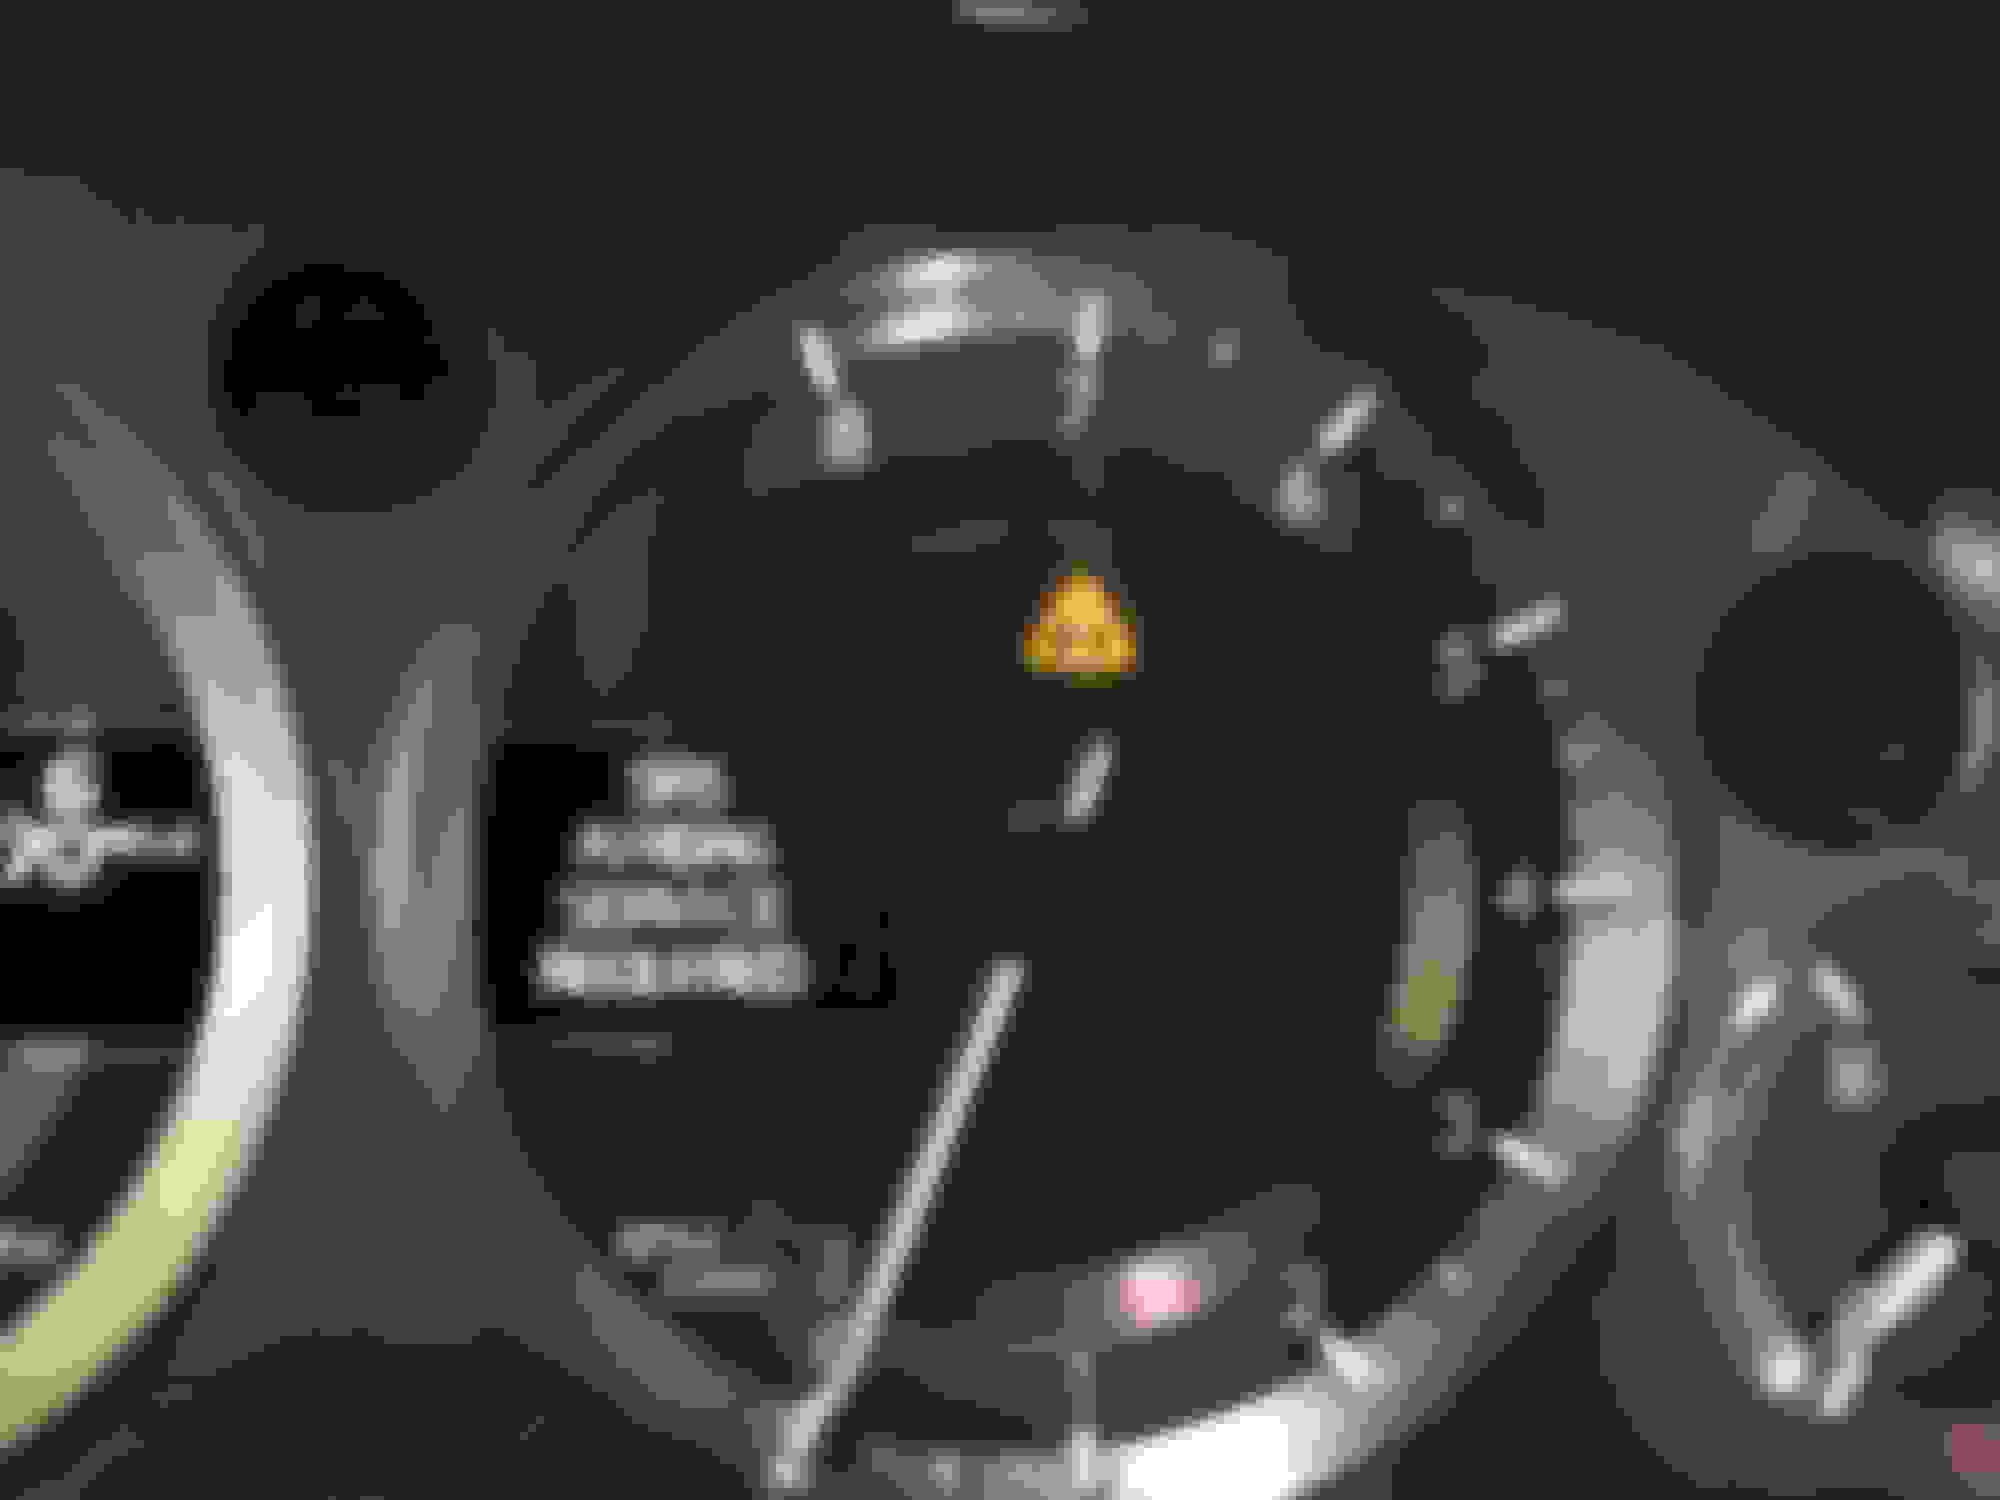
Alright so our good friend Irish asked me what my RCM module was reading. It had the below code:
He thinks once I pull the OEM belt (and attached wires/connector) and plug it back in that it should close the circuit and eliminate the annoying yellow service airbag light.
I will report back tomorrow once I give this a try.


 Regarding the resistor it was the same ohm but purchashed on Amazon. I ended up soldering the split wire to the resistor you purchased. That got rid of the red airbag light that does not go away but now I have the yellow service srs airbag that will go away hitting read but is annoying. Hoping someone can help here.


