When you click on links to various merchants on this site and make a purchase, this can result in this site earning a commission. Affiliate programs and affiliations include, but are not limited to, the eBay Partner Network.
Well bummer - version 2 ended up kind of sucking also . We were doing pretty well until it came time insert it into the rotor. It did not fit and was going to take some serious hammer work to make it fit smoothy which does not bother me, but I could not live with reducing the inlet area anymore. I went back over to the shop this evening and Gene had Rev 3 mocked up and ready to weld. It is very nice and increased the inlet area.
Instead of 2 pieces formed around the buck he formed the upper radius-ed piece and then tacked it to the backing plate.
He increased the sheet thickness from .050 to .100 which greatly facilitates welding.
We use them for everything In this case he removed the flange completely.
They will weld it up in the morning - The entire plate and inlet have to fit into the rotor such that the inside face of the backing plate and inlet are co-planar with the inside face of the rotor. That made rev 2 less than a stellar at fit.
We fit it on the car with the rotor and it looked really good. Besides the increased inlet area, the rotor spun freely.
Just have to figure out the fender liner. We are hoping to run from the lower grill to the liner with permanent hose. Then attach short hose from liner to to duct for track work. Also need to work out some kind of lower grill blocking plates for the street. I rotated lock to lock and the hose nicely compresses below the control arm on inner lock.
Gene cannot stand the weld reinforcement because of the quality of the car and surrounding components. I stopped by this morning and he had completed the passenger side -
I like them welded, but this work really is beautiful and all done old school.
We loosely mounted the inner liner to see how the hose packaging could work. With just some small radius-ing of the liner the hose will nicely come thru. I ordered some 3" thin wall alum tube and a 45 deg elbow. We are going to try to bracket the tube to the rails and end the 45 just at the liner. That will make the the tube section rigid and then we can just slip on a short flex hose for track work. This will also keep the liner separate from the cooling system which will make removal and re-assembly of the liner OEM.
Seems these things never work out with the first plan though -
We decided to move the tow point to the center of the car. This will make both intakes symmetrical in design
This one gets measured and re-cut on the CNC. We are going to add wings on both sides to get load distribution across the back of the beam.
3" intake tubing - media blasted to dull.
Silicon coupler to get 45 to Straight section. Straight section gets rigidly mounted. The straight section is quite short in final form. Silicon coupler will clamp to straight section only.
45 sticking thru aluminum flange. Aluminum flange rivets to liner. 45 elbow slides out of coupler and liner can be removed. 45 elbow will push in and pull out for assembly.
I like this location becuse there is no interference with the sway bar or steering arms. Flex hose still tucks nicely at lock.
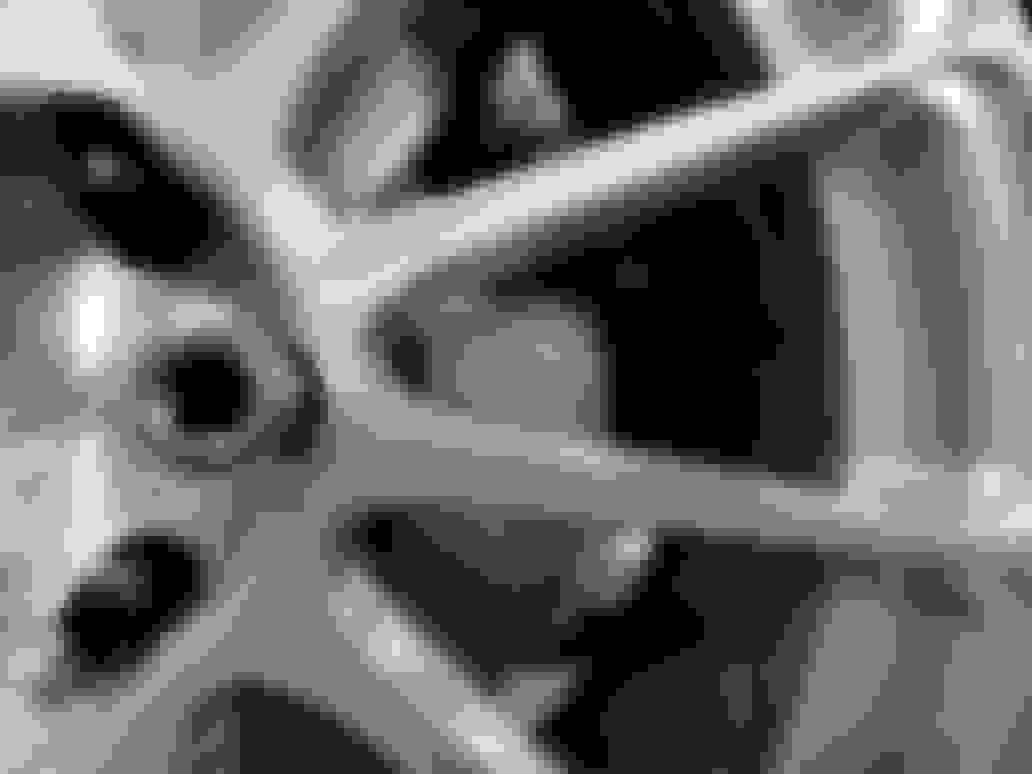
Ford Raptor 2.2" Lug nuts with V Collection extended studs leaves 1/4" of exposed thread when threaded all the way onto the stud. I purchased the lug nuts from CJ Pony parts.
I was very surprised - I thought for sure there would not be clearance. I used a standard socket and had no problems. The wheel needs to be straight. I prefer the smaller splined, but have yet to find one that will work with the extended studs. Rich is working on some 12 point open ended, but these do work.
Since we are moving the tow point to the center, a new lower grill is in order. I ordered grill material off the web and Gene disassembled the lower OEM grill from it's frame and re-assembled the OEM frame to the new material.
There is a NACA duct inserted on the drivers side. We are going to remount the oil cooler 1" back towards the engine. This will allow us to run the full NACA duct without modifying it.
Our duct assembly
A 21 mm socket works with the Raptor lugs.
Last edited by era2076; Mar 14, 2017 at 12:25 AM.
Reason: Clarity
We have been trying to decide on bracketing. I took a chance a purchased a bracket system from Spectre Performance. I attached it to the OEM lower horn bolt.
The NACA duct is clamped and the assembly is then clamped to the fiberglass radiator partition. It provides good rigidity and the tubing does not touch the frame along its run so it should be rattle free.
This is my sanity check - very low velocity
No Air
Air
The oil cooler has been pushed aft. It will require some roof and side ducting. Since we have reduced its exposed frontal area we need to make sure the air cannot bypass it.
We still need a roof on top of the oil cooler out to the grill. This will keep the air from jumping the cooler.
The OEM intake consumes 49 sq in of intake area. I am going to order some 4" to 3" intake cones to mount behind the grill. 2 of them will be 25 sq in.
We moved the horns to the back of our tow point sub-frame.
This is a blocking plate we use to seal the radiator air from leaking into the wheel well. We will feed air from the upper grill to the filters thru these. This side goes to the grill. It dead ends open on the filter side.
Intakes to filters installed. I could not source an air horn with less than a 6" dia flange so we went back to our original plan. These are flanged connectors from Allstar Performance. Our machinst cut down the flanges and radius-ed the mouth. 3" flex tubing down to the blocking panels. Gene fabricated the brackets and riveted the intakes to the brackets.
I ordered some more grill material for the lower. This stuff is 60 percent open - I ordered some 70 to assure we can get good flow to the cooler. A little paint work and we are good to go.
Wow...This is a major project you guys have done...Little lost...Is it a labor of love or for selling guys for their track days? Really clever and nice work done by all...Smart men


 . We were doing pretty well until it came time insert it into the rotor. It did not fit and was going to take some serious hammer work to make it fit smoothy which does not bother me, but I could not live with reducing the inlet area anymore. I went back over to the shop this evening and Gene had Rev 3 mocked up and ready to weld. It is very nice and increased the inlet area.


 In this case he removed the flange completely.


")