When you click on links to various merchants on this site and make a purchase, this can result in this site earning a commission. Affiliate programs and affiliations include, but are not limited to, the eBay Partner Network.
If you drive a V8 Cayenne, your car is a ticking time bomb.
Now that I have your attention, I�d like to talk about the fact that the Porsche dealership will charge your $4500-$5500 to pull your engine out and repair a water distributor fitting that they installed only using Loctite (yes, it�s Loctite 638.. but they glued it in place, none-the-less). I couldn�t find a DIY on how to fix this reasonably, so I decided I�d figure out how to do it and write a DIY. Here it is, it cost me $150 in tools and parts. So feel free to put that $4350 back in your pocket. If you have questions, replay here and I'll try my best to respond quickly. Whatever you do, don't by the Porsche system an additional $5k due to their shoddy engineering.
The failure: I tend to enjoy flogging my 420hp V8 beast while accomplishing chores. It's a blast. As I pulled into my garage my water temperature shot to 255 as I turned off the ignition. Liquid was everywhere under the car, thank goodness I was in the garage already. On inspection it was coolant (tangent #1: coolant is highly viscous, half water and slippery like the petroleum product it is. It should be PINK in our cars � mine was orange and in retrospect that was the first sign someone got the better of me on this purchase)� so I took to the interwebs to figure out was the issue.
Diagnosis: There are three points of failure on Porsche Cayenne V8 motors: (1)Coolant pipes under the intake (fixed by 2013) (2)Plastic tee fittings behind the block (fixed by 2013) (3)Total release of the water distributor barb (what ended up being my problem)
For diagnosis, I highly encourage buying a cheap endoscope from Amazon. I picked this one up for $19.99 https://amzn.to/2MpNcn3. Using it I ruled out #1 and #2, they were both upgraded by the 2013 GTS, #3 was the culprit. Ahh, so that�s why when I pour coolant mixture in, it just goes straight onto the floor! Got it.
Trouble shooting: The internet is full of great information on the topic, but it appears the Porsche Cayenne community hasn�t yet taken off on the do-it-yourselfer front, but that will be more likely as our cars become cheaper (tangent #2: Like this for instance, if you can�t do it yourself and it hasn�t been done yet� you should knock $5k off of what you�d be willing to pay). Thankful to the community, I was able to identify the specific parts I would need so I ordered them: (1)Replacement S hose (955-106-322-10) https://bit.ly/2B0cP9t(~$20 shipped) (2)Replacement outlet MU25 hose clamp (955-512-407-00) ($2). This is the top only (3)Bottom MU27 hose clamp IS A DIFFERENT DIAMETER FROM THE TOP has been discontinued (tangent #3: that�s really interesting, isn�t it? To do a $5k repair with Porsche parts you�d need a part that was discontinued, hmm�) Regardless, I actual prefer using a simple worm gear clamp instead due to the clearance of the working area. Get one from Home Depot for ($0.89) (4)2 Gallons of Zerex G-40 ($54, hopefully you�ll only need 1, but a trip back to Autozone is agonizing for $27) (5)2 Gallons of distilled water ($4, again, same as above)
Now it�s time to get to work.
Doing the work: 21 easy steps! (note: you can do this. It will be frustrating) (1)Have the right tools. For this, you�ll need; a.Torx/ star set b.Socket set (10mm socket w/ ratchet in particular) c.Remote operated hose clamp clamps https://amzn.to/2w48M6m($36.81) d.J-B Marine Weld https://amzn.to/2Me8y7x($6.73) e.Sand paper or a grinding wheel (I used a bench grinder) f.Needle nose pliers g.Tiny little flat head screw driver (optional- can use socket set instead)
Most importantly though, you will need patience. Your hand, arm, upper back and neck are going to get tired. You will want to give up, but you MUST keep going. Or pay $5k plus tow fee J
(2)Setup your SAFE working space. You�ll be fully under the car on this one for the entire time. So make sure it�s not going to fall on you. I put mine up on race ramps in my garage and then put my jack stands under the lift points.
(3)Remove the front two underbody panels. Not going to spend too much time here, but depending on how caring the dealership was that sold you a lemon there should be a number of screws holding it in place that can be removed with a 10mm ratchet. They should have 4 at the front, 6 at the middle (between the two panels), 4 at the middle of the second panel and 2 at the far end at a nifty contraption that has a 2x5� plastic piece above a bracket holding the thing in place... like something I would�ve made as an under graduate engineering student. Maybe a Porsche intern designed this one� needless to say, my car.. had fewer screws than it should�ve had, but also the amount of screws on the car is way overkill, but I guess you�re not counting screws on a 6k lb behemoth though they probably should�ve been (end tangent #4)
(4)Prepare yourself� you�re going blind for most of the rest of this.
(5)Locate �the hole�. It is on the driver�s side of the car. Between the left bank secondary cat and the transmission. Your left arm is going to be fished up there to do all of this work. You will now remind yourself how thankful you are that you have created a safe environment with multiple redundancies (now race around back and put blocks behind your tires too) as you realize the engine and transmission are right above your head
(6)Feel around and locate the offending barb and hose. It will still be attached on the bottom. Don�t waste your time trying to remove the barb only and saving the hose. This is a fool�s errand and I wasted 2 hours trying different ways to do it. Instead�
(7)Use your remote operated hose clamps and unfasten the MU27 coolant hose clamp at the bottom of the S-hose. This will probably take 15-20 minutes because you need to get the geometry spot on. Take your time and remember all the money you are saving. That is the only thing that will keep you going. Slide it up or down. Now that I think about it, down is probably easier as you don�t need to get it over the barb. Oops.
(8)Remove the S hose from the bottom aluminum line/ barb. This is IMPOSSIBLE. You will tug on it. It will not move. You will want to give up. Don�t. Instead, get your needle nose pliers and work at the very bottom of the hose. Once you have it in there just a millimeter push with all your might. Push, push and push. It will eventually come off and getting that hose on your work bench will be the second best feeling of this whole ordeal. (9)Now back at your workbench, remove the barb from the hose
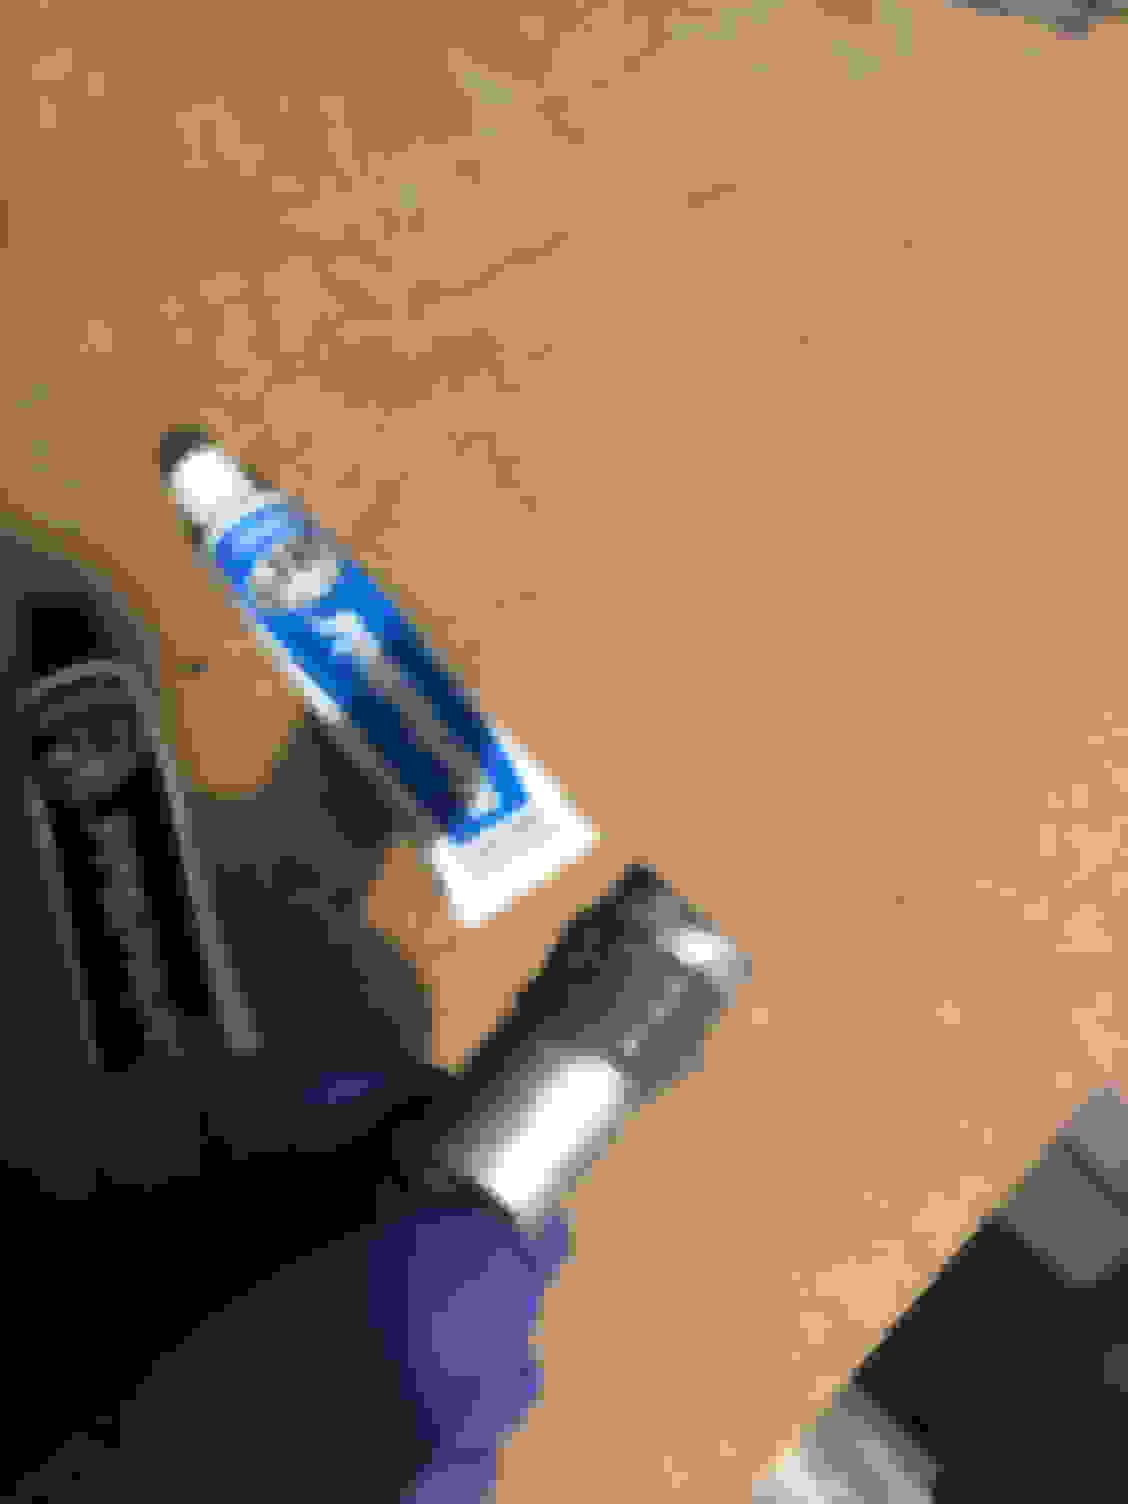
(10)Grind or sandpaper clean the barb so that your JB Weld has a good surface to latch onto (11)Mix and apply your JB Weld. You are only going to get one shot at this, so make sure you have enough (picture below) and that is it even around the whole thing. You need to make sure that it adheres to the surfaces but also creates a seal around the full diameter of the barb when you place it back in (12)Place the barb back in the manifold. This is a tricky bit, so take your time. set the barb to the side and feel the hole where it goes so you know where to put it. Get the muscle memory right. Then pop it in place. Once in place I spun it a good 180 degree to make sure that the JB Weld is covering the entire gap
(13)Let it sit. 1-2 days. I was out of town for 2 weeks conveniently. When I came back that thing wasn�t going anywhere
(14)Pop the hose back on and you�re done! Just kidding, it�s not that easy. Actual #14. Prepare the hose. Grab your S hose, put your MU25 on the top and your worm gear near the bottom (getting it engage but not clamped down now will save you some time and hand cramps later) NOTE: You really need to take your time while finalizing this. As mentioned before, the bottom barb is bigger than the top barb. Do not use a MU25 fitting on the bottom, it will NOT fit. MU25 is fine for the top.
(15)Pop the top of the hose back onto the top barb
(16)Pop the bottom of the hose on the bottom barb
(17)Push both ends as hard as you can to get them fully seated (remember all of this is done with 1 hand, so take your time and get it seated well
(18)Use your remote operated hose clamp to put the MU25 back on the top of the hose on the other side of the barb (again, the geometry� this will take 10-15 minutes. You�re getting better with time, but it�s still aggravating when it doesn�t work immediately)
(19)Seat the worm gear clamp on the bottom of the hose. Place it below the barb and hand tighten it. Then seat it fully with a small ratchet (or tiny screwdriver, ratchet worked best for me)
(20)Top off the system with a 50:50 of distilled water ($2/ gallon at CVS) and Zerex G-40 ($27 at Autozone, it�s the same stuff as Porsche coolant but it�ll be more easily available and save you $5 a gallon)
(21)Take it on a quick drive, test to make sure there is no remaining leak (thank god or whoever you believe in) and put the underbody panels back in place
And there you have it. Not only did you just save $5,000, you also stuck it to the Porsche engineered obsolescence industrial complex by not giving into their insane demands to repair an issue they�ve known (or at least really should have known� otherwise they are terrible engineers, I guess) about since they drew up the schematic.
Let me know if you�ve got any questions! Happy to help anyone out who is in the New York area or trouble shoot with others.
I suspect combining both (working from the top and bottom) might be the easiest way to approach it, if you're comfortable taking the high-pressure fuel pump out. The path the chap who did it from the top went was threading the hole in the coolant manifold then custom making a replacement hose barb with a threaded end. That might be a bit beyond most people.. but I suspect working from the top, and using JBWeld, perhaps with the addition of a set-screw - might be within the comfort range of many DIY'ers.
Agreed, there are definitely a few different ways to do it. I really wanted to keep this simple by not remove anything unless I absolutely had to, and if you do not remove the intake manifold you are going to have a hard time even getting your hand back there let alone doing any work. Luckily though the passage over the mountain was blocked, I was able to find a route under the mountain :-)
On removing the Loctite, I used a grinder on the light grit side to remove the remnants of the glue. I actually left a bit of the lip intentionally to help in ensuring the JB Weld made a consistent bond around the full barb. As far as the inside of the manifold, I wouldn't be too worried about it as JB Weld shouldn't care. I did feel inside the manifold though to make sure there were no pieces that would break lose and circulate through my cooling system. There weren't any so I proceeded.
Great post. I have a failed fitting that was glued into the coolant manifold. Once I got the manifold and fuel pump off, I had clear access to the fitting. The hose appeared to be in excellent shape, so I just cleaned the glue off the metal fitting and the socket with a Dremel metal wire brush (disk brush for the fitting, cone shaped brush for the socket), and reassembled it with JB Weld Marine (which is the only two part product they sell that is recommended for use with Aluminum).
Rather than drill and tap a screw into the fitting to prevent separation in the future, I drilled a 1/8" hole and glued an aluminum aircraft compression rivet in the hole (without compressing it, of course - it is basically an aluminum pin with a head on it). This way there is no dissimilar metal issue. If you do prefer a screw, get an aluminum one from McMaster.
Last edited by sinclair; Aug 13, 2020 at 12:21 PM.
Some missing part numbers (for my 2009 Cayenne S 4.8L):
948-105-114-00 Camshaft Stopper - mine literally fell to pieces when I removed the HP pump. I had to use tweezers and Q tips to extract all of the pieces from the hole in the camshaft.
948-110-615-00 Fuel Pump Gasket - a good idea to replace when removing the HP pump.
Last edited by sinclair; Aug 13, 2020 at 12:22 PM.
I just did this repair on my 2011 S. Found that by lying under the car head toward the rear I could use my right hand through “the hole” and then easily see the repair area from an opening where the control arm attaches to the frame. Had the hood up and daylight shining in. Using that view I was able to clean the insert pipe “in situ” with a razor blade and battery terminal post wire bush (*this was a perfect fit). Final clean with brake solvent. Applied the Marine JB Weld adhesive and plugged the hose insert back into the fitting. Total repair time was less than an hour. Did not have remove hose clamps, My rubber hose was in perfect condition.
Some missing part numbers (for my 2009 Cayenne S 4.8L):
948-105-114-00 Camshaft Stopper - mine literally fell to pieces when I removed the HP pump. I had to use tweezers and Q tips to extract all of the pieces from the hole in the camshaft.
948-110-615-00 Fuel Pump Gasket - a good idea to replace when removing the HP pump.
I also did not remove the hose clamps or replace the rubber hose, as it was still in really good shape. That saved a lot of time and bruised knuckles.
I just did this repair on my 2011 S. Found that by lying under the car head toward the rear I could use my right hand through �the hole� and then easily see the repair area from an opening where the control arm attaches to the frame. Had the hood up and daylight shining in. Using that view I was able to clean the insert pipe �in situ� with a razor blade and battery terminal post wire bush (*this was a perfect fit). Final clean with brake solvent. Applied the Marine JB Weld adhesive and plugged the hose insert back into the fitting. Total repair time was less than an hour. Did not have remove hose clamps, My rubber hose was in perfect condition.
About to do this myself...How's your repair holding up? Is there anything you would have done different?