
Greetings from Niagara, Ontario, Canada


Thread Starter
|
Registered User
Joined: Apr 2017
Posts: 399
From: Niagara Region
Rep Power: 29

Tires:
Front 275/35/19
Rear 285/35/19 (New Michelin Pilot Sport 4S)
Wheels:
4 - OEM 7-spoke (rear) 19 x 9.5 / offset 62,5 mm / with adapter spacers
Front 275/35/19
Rear 285/35/19 (New Michelin Pilot Sport 4S)
Wheels:
4 - OEM 7-spoke (rear) 19 x 9.5 / offset 62,5 mm / with adapter spacers
Last edited by 007V8Vantage; May 4, 2020 at 07:22 PM.

Registered User

Joined: Oct 2017
Posts: 223
From: Aargau
Rep Power: 17
Interesting choice - I went to 245 front and 275 rear recently, and noting a clear shift of guidance towards the front axle
(ok, reduced the rear negative chamber by 15" at the same time, which clearly also helps).
Curious to hear the results of your choice.
(ok, reduced the rear negative chamber by 15" at the same time, which clearly also helps).
Curious to hear the results of your choice.
Thread Starter
|
Registered User
Joined: Apr 2017
Posts: 399
From: Niagara Region
Rep Power: 29
Safely onto 4 jack stands in the garage with the concrete floor: 
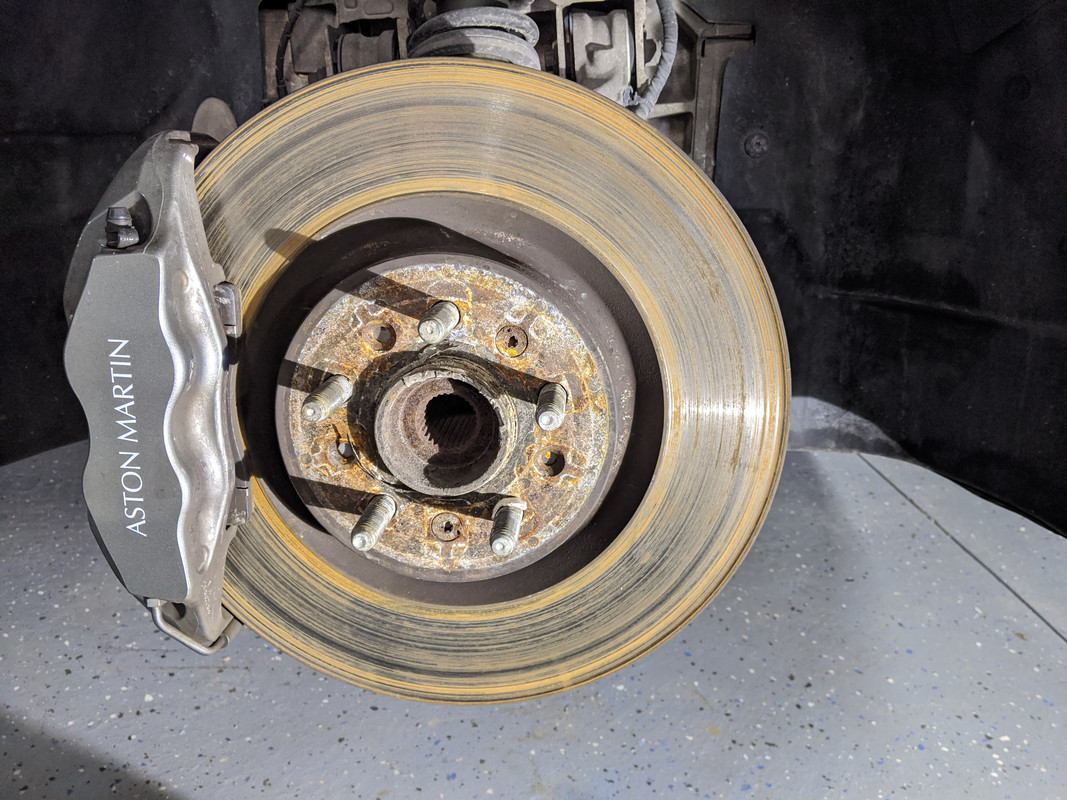
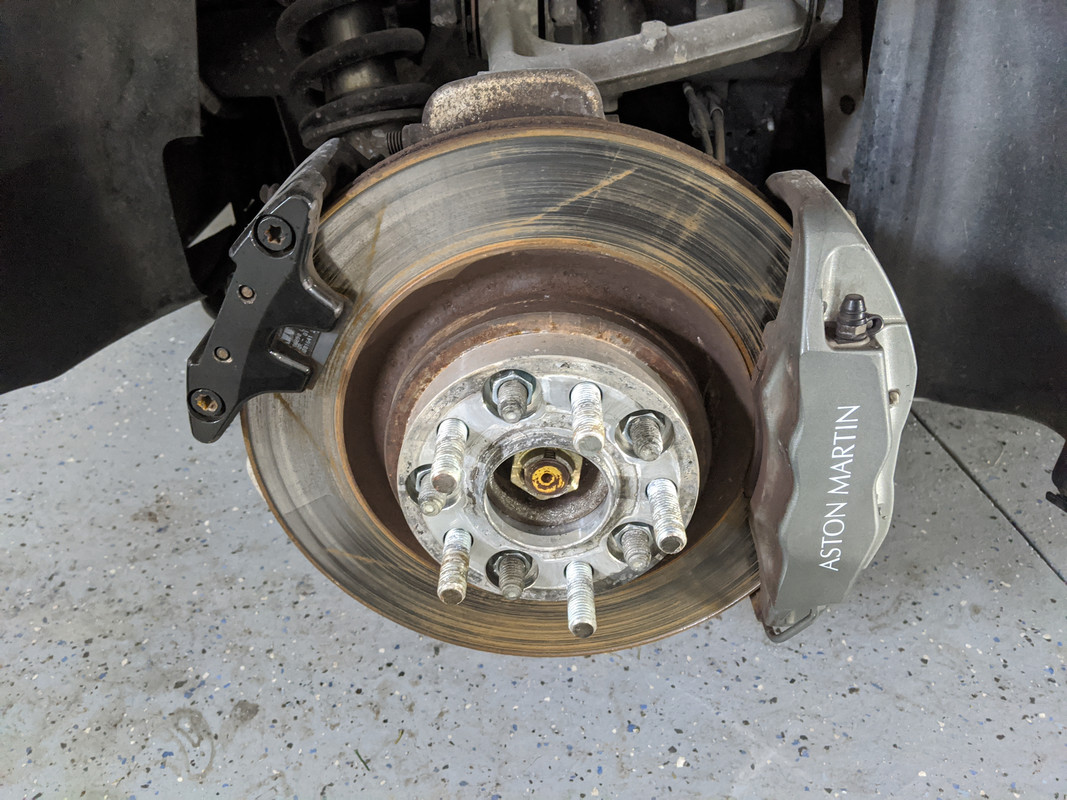
While the pads were still fine, the rotors are completely done (even the slots are worn away on fronts) and I suspect they are original to the car:
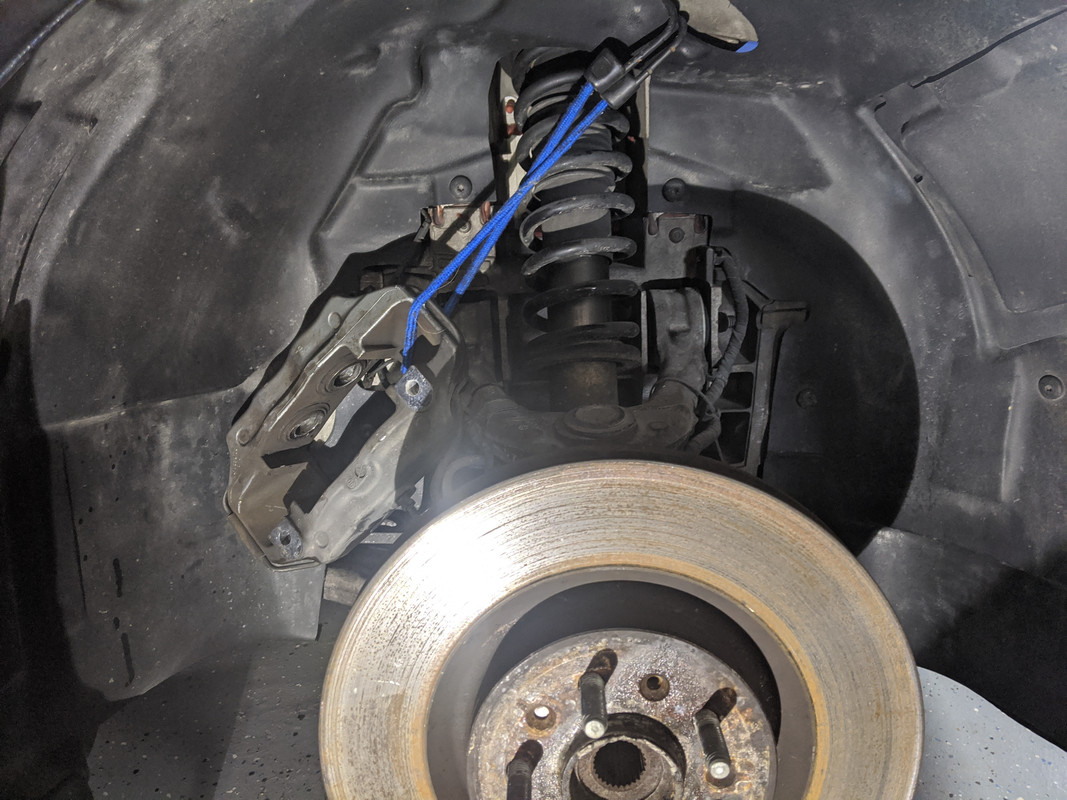
I removed the calipers and support them with a bungee cord while the rotors are removed:
For the rears I lay the handbrake caliper on the floor and all hardware is cleaned and boxed per corner of the car:
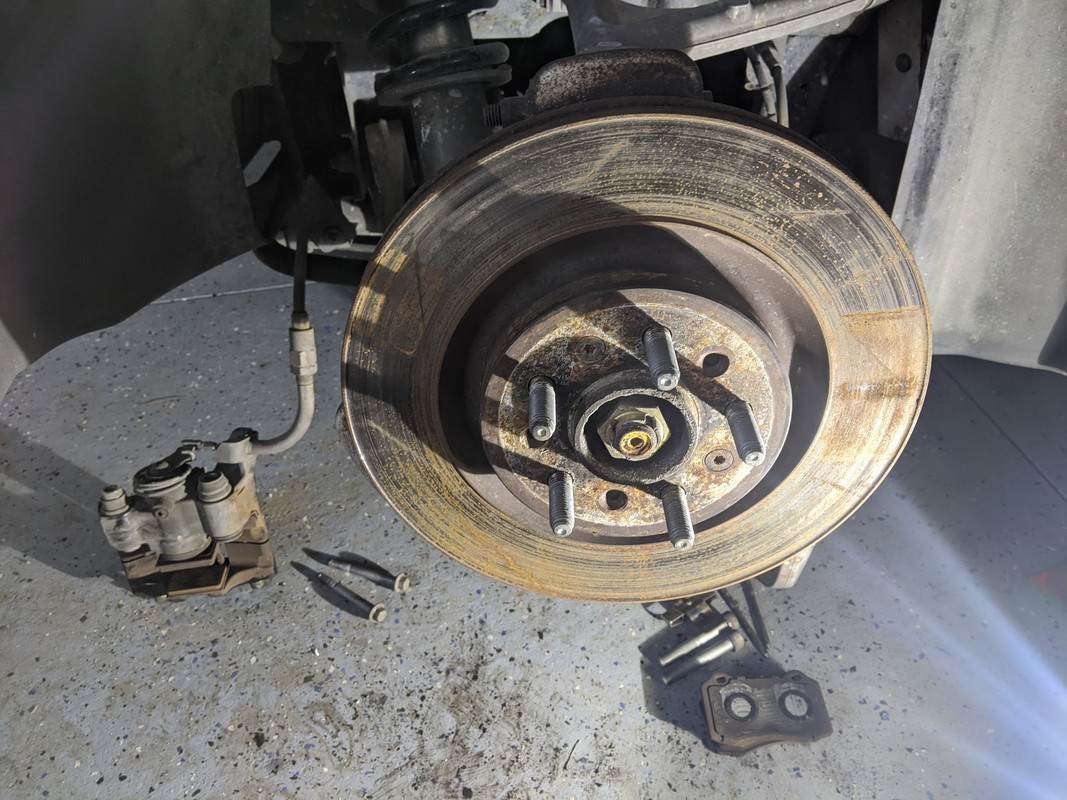
After removing the rotor, I typically put the caliper back so it's in a safe place:
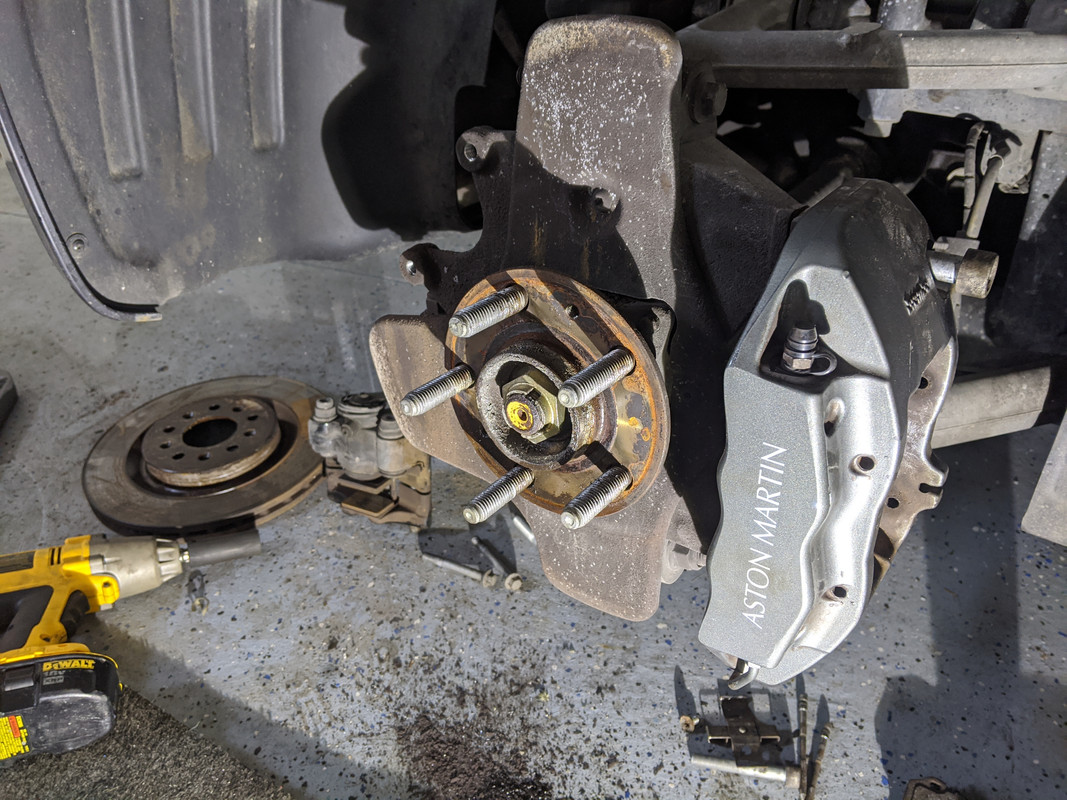
Unfortunately only 7 of 8 caliber bolts came out smoothly - one on the drivers side front broke.
So I decided to "quit while I was behind" for the day to calm down and plan out how best to solve the issue.")
While the pads were still fine, the rotors are completely done (even the slots are worn away on fronts) and I suspect they are original to the car:
I removed the calipers and support them with a bungee cord while the rotors are removed:
For the rears I lay the handbrake caliper on the floor and all hardware is cleaned and boxed per corner of the car:
After removing the rotor, I typically put the caliper back so it's in a safe place:
Unfortunately only 7 of 8 caliber bolts came out smoothly - one on the drivers side front broke.
So I decided to "quit while I was behind" for the day to calm down and plan out how best to solve the issue.
Registered User


Joined: Oct 2015
Posts: 1,559
From: Ottawa, Ontario, Canada
Rep Power: 98

Well I think that you are due for brakes for sure... on a side note I seen people put 265 in the front but never any wider... I will be running 255 in the front and 305 in the rear which I think is max without playing with camber. Looking forward to see your new setup
Thread Starter
|
Registered User
Joined: Apr 2017
Posts: 399
From: Niagara Region
Rep Power: 29
Remember the offset on the OEM rears is 62.5 mm versus the OEM fronts that are 50.3 mm .
The difference of 12.2 mm is at about the midpoint of a 25 mm narrower rim (8.5" vs. 9.5")
Therefore using the 62.5 mm offset rim on the front, I didn't have to worry about about being to far outboard and just select the right spacer to find the "sweet spot" for a 275 mm tire.
I set both front and rear tire sidewall to 1/4" shy of flush with the fender lip.
Moving them further outboard will cause front tire rubbing on fender under HARD braking (with 7/8" lowering springs) - I proved this with a 23 mm adapter (62.5 mm - 23 = 39.5 mm) positive offset.
Moving them further inboard will cause front tire rubbing on control arm at full lock - I proved this with a 8 mm spacer - (62.5 mm - 8 mm = 54.5 mm) positive.
Therefore on the front, my calculated middle (23 - 8) = 15mm /2 = 7.5 mm) sweet spot suggested the offset is 62.5mm - 15.5 mm = 47 mm positive offset.
Handyman to answer your question specifically, in my honest opinion:
On your 40mm offset wheels larger than 255 mm tires would not work well (with lowering springs).
So yes after some trial and error, my goal will be achieved.
I no longer have to lay awake at night wondering if my idea will work (and why no one else had tried and posted it)
Of course, now I'm wondering if the 285/35/19 would fit without interference, but the math suggests it will not.
I likely can't spare another 5 mm on both sides of the tire knowing that there is a problem for sure on both sides at +7.5 mm per side.
I will post additional photos later with a straight edge from tire to fender - please be patient as I'm trying to post updates in chronological order.
Any questions in the meantime are welcome, as I get back to posting my build thread winter update pics...

Thread Starter
|
Registered User
Joined: Apr 2017
Posts: 399
From: Niagara Region
Rep Power: 29
I personally felt that more front grip would aid corner turn in and avoid under-steer on a car with a Front 49% / Rear 51% weight distribution.
Most guys put even wider rubber on the back increasing the big and small "hot rod" look.
I think that's mainly because wider tires fit so easily in the rear, but I don't think a V8 Vantage really needs it performance wise versus say a V12 Vantage.
So I just went with a stickier and 10 mm wider rear tires and increased the overall rear track by 46 mm.
I used a 23 mm adapter spacer per side - 25 mm was too wide for the 285 mm tire if I wanted to match the front and correct camber with an alignment after installing lowering springs.
Hey, if I went 275 all around, I could even rotate for tire wear
 but to be honest, the mods are mainly for looks (stance) and to be subtlety different from stock.
A lot of guys already really like the look but they don't all know why they do or how it was achieved.
On the flip side, my wife hasn't even noticed or commented on it
Thread Starter
|
Registered User
Joined: Apr 2017
Posts: 399
From: Niagara Region
Rep Power: 29
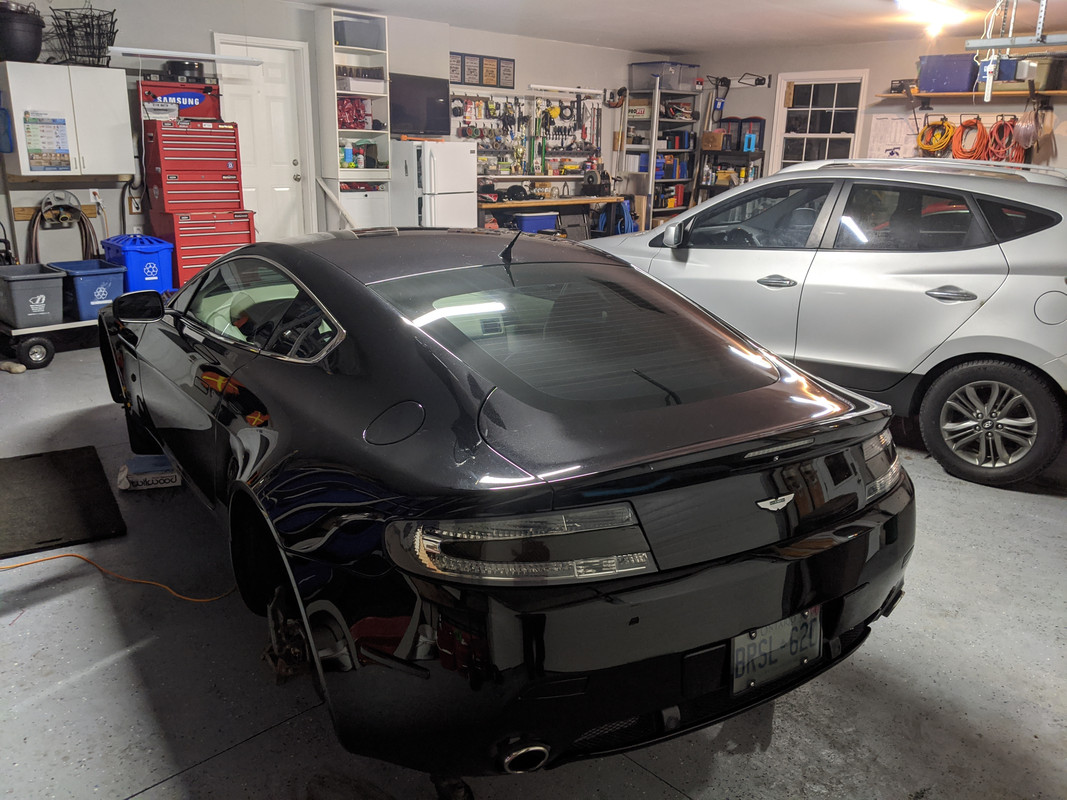
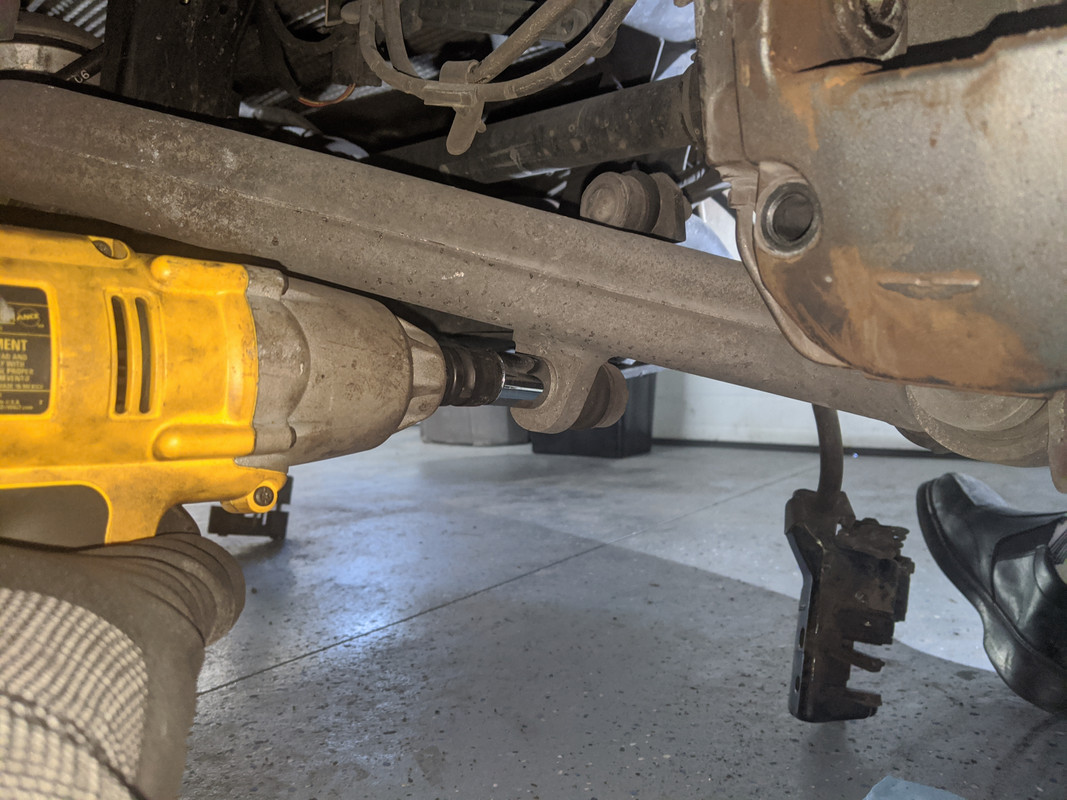
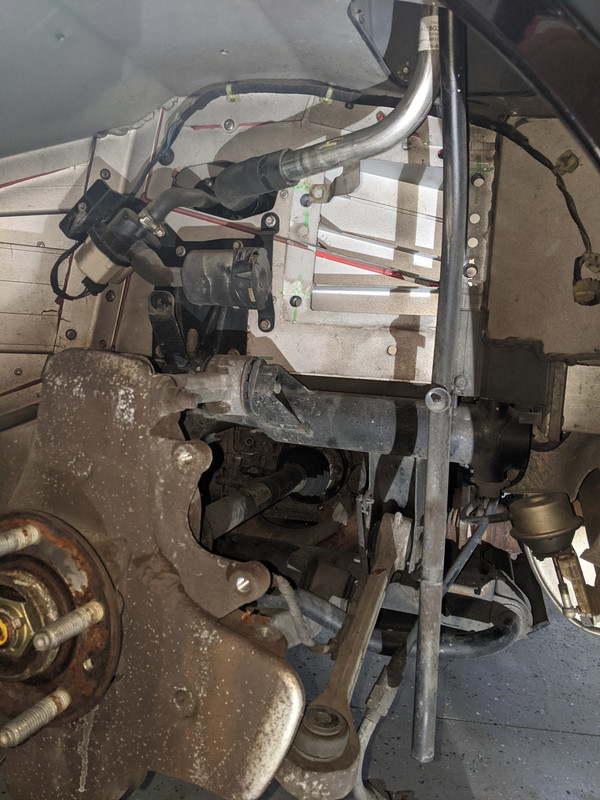
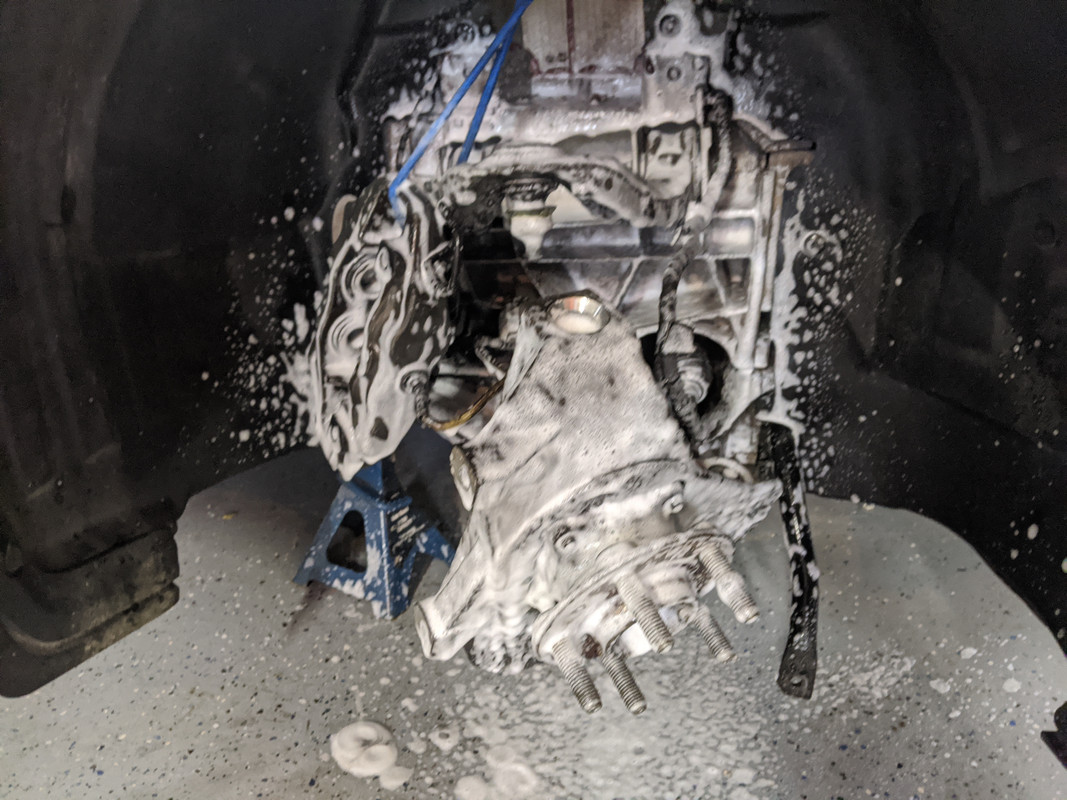
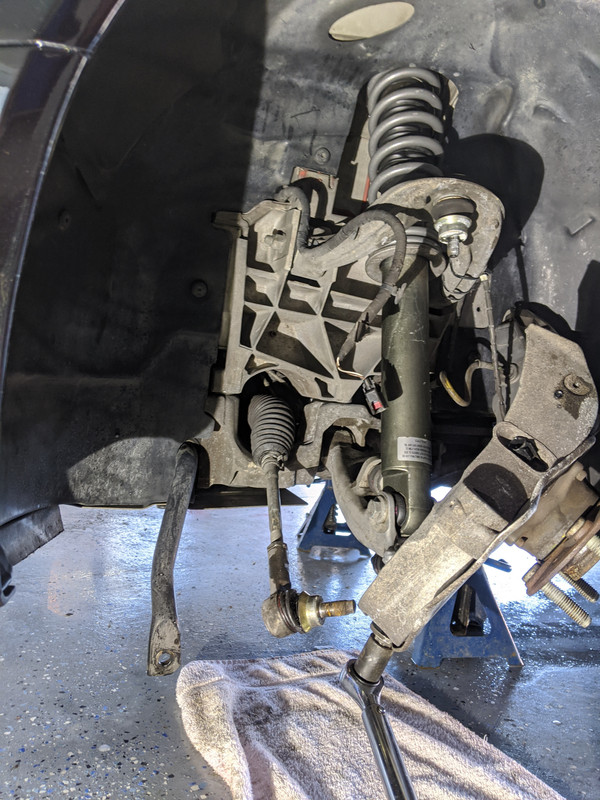
So I started with the front and removed the strut brace under the hood and nuts on the shock towers.
For the first one I went with driver's side since I would likely be removing the spindle to deal with the broken off caliper bolt - see lower hole with it sticking out.
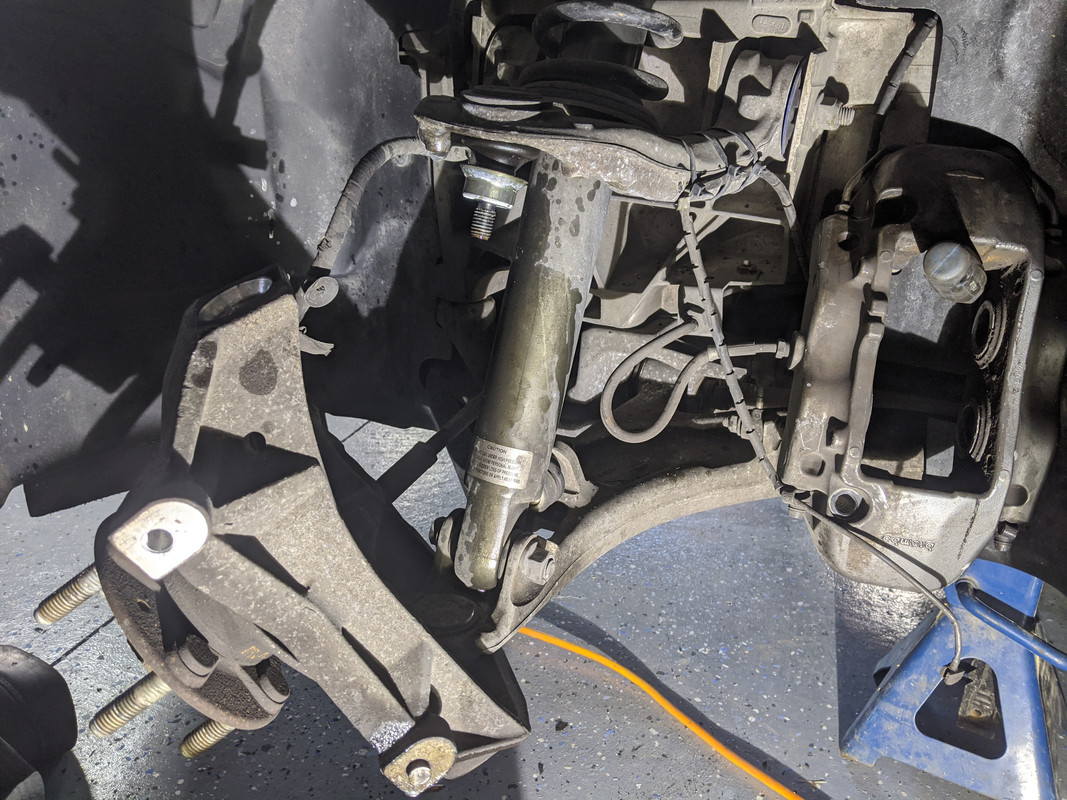
I found that separating the upper ball joint allows movement of the UCA to a good position and allows the LCA to rotate down giving access to remove the assembly:
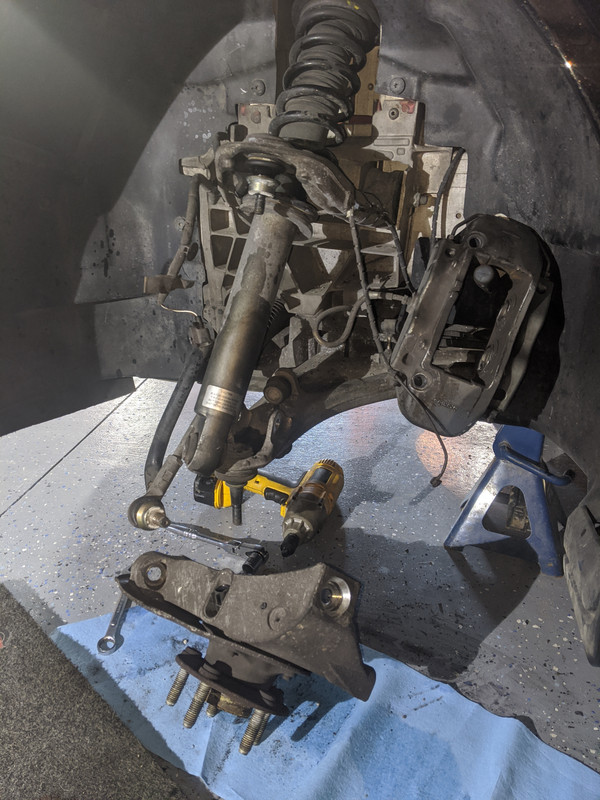
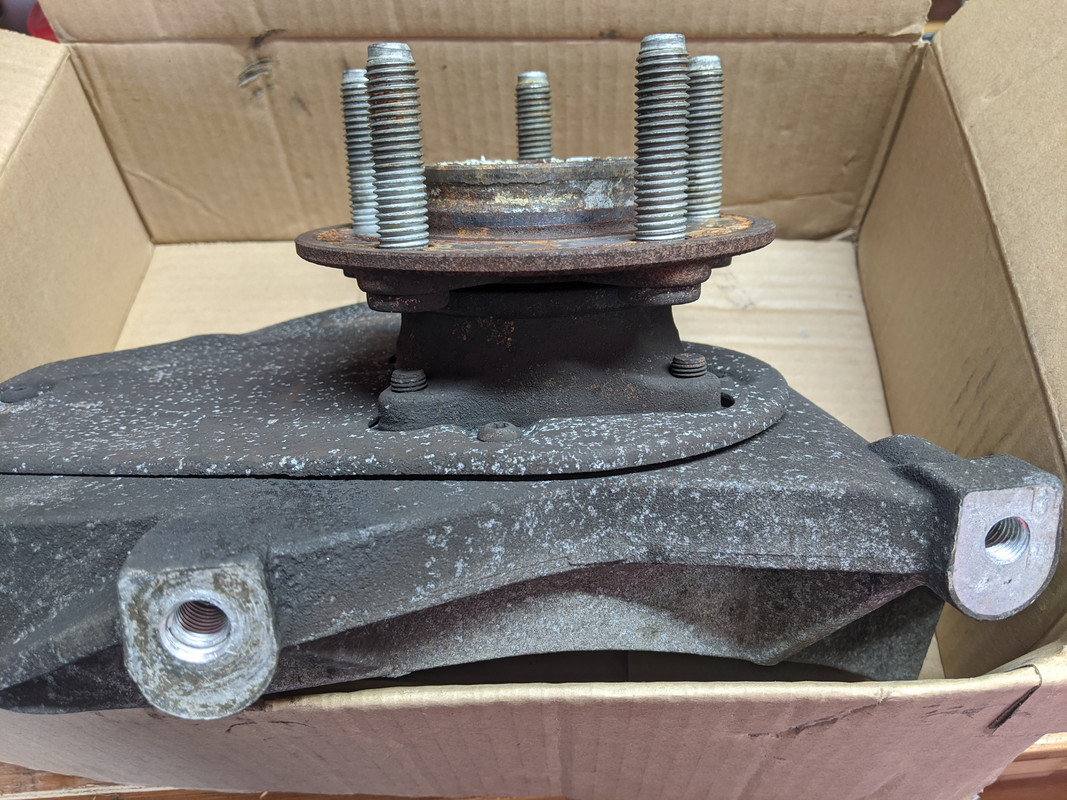
Of course once you are successful doing it once, the other side takes half the time:
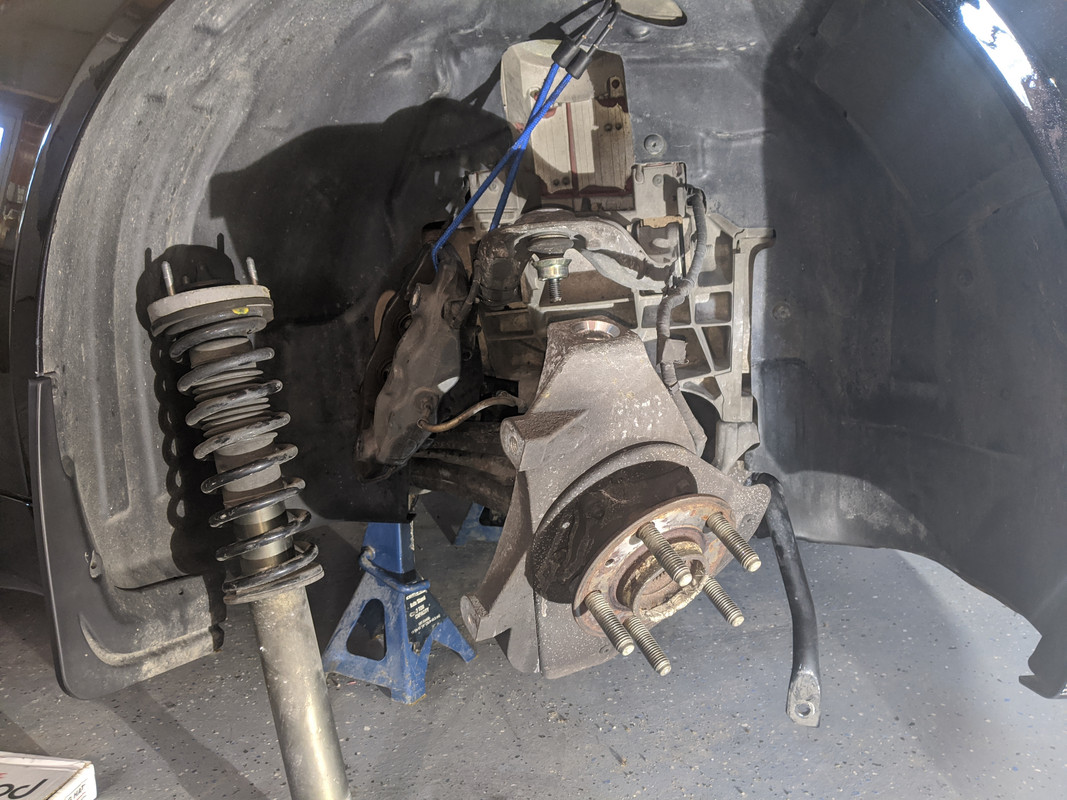
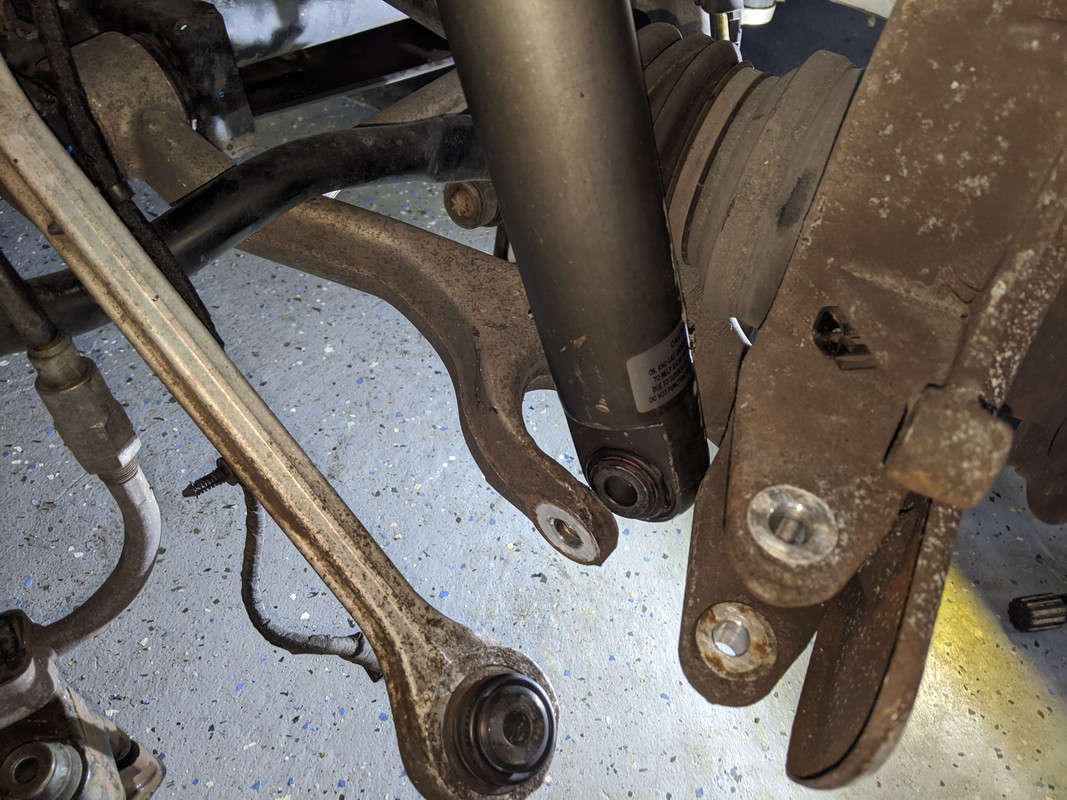
For the rears, start by removing the wheelwell liner and I suggest work on the passenger side first as there is no gas tank filler to deal with:
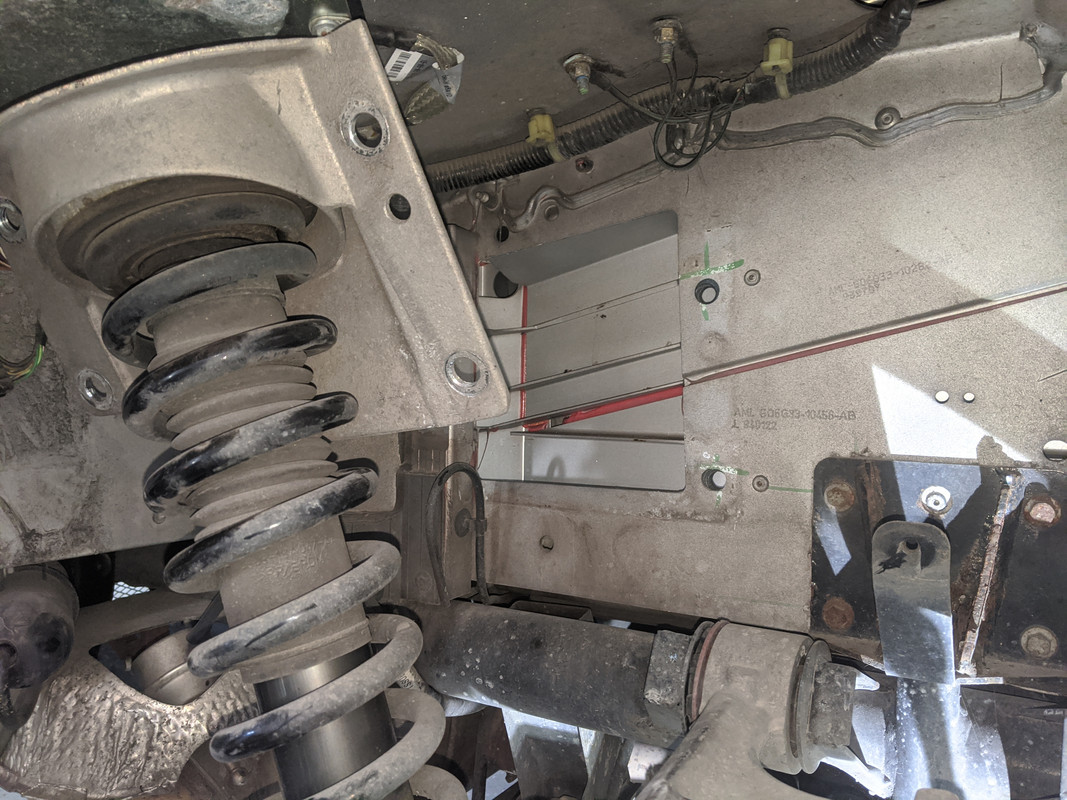
Also remove the rear sway bar end links to get additional articulation of the LCA:
Disconnect the toe link from the LCA (Lower control arm) and I also used a floor jack to assist removal:
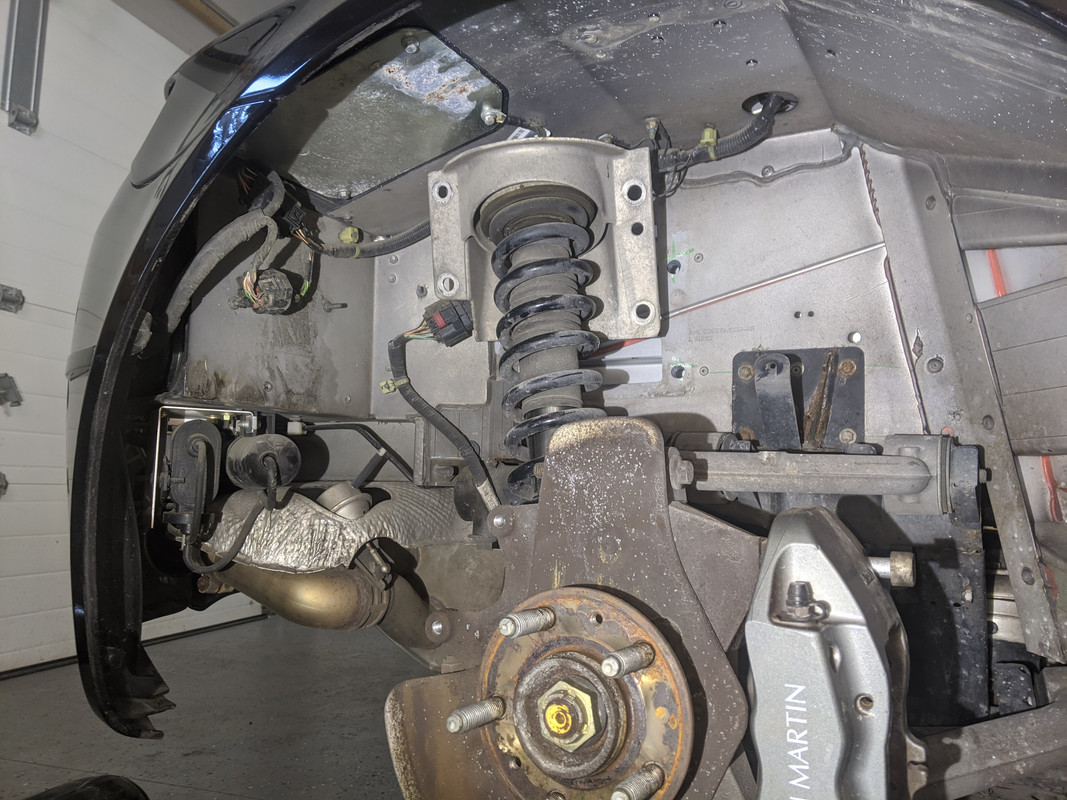
On the drivers side you will need to disconnect the fuel hose from the filler neck:
Success. Keep track of front versus rears and most of the time will be on cleaning since this is the opportunity to do that well:
Next up - disassembly and reassembly of Velocity AP lowering springs...
For the first one I went with driver's side since I would likely be removing the spindle to deal with the broken off caliper bolt - see lower hole with it sticking out.
I found that separating the upper ball joint allows movement of the UCA to a good position and allows the LCA to rotate down giving access to remove the assembly:
Of course once you are successful doing it once, the other side takes half the time:
For the rears, start by removing the wheelwell liner and I suggest work on the passenger side first as there is no gas tank filler to deal with:
Also remove the rear sway bar end links to get additional articulation of the LCA:
Disconnect the toe link from the LCA (Lower control arm) and I also used a floor jack to assist removal:
On the drivers side you will need to disconnect the fuel hose from the filler neck:
Success. Keep track of front versus rears and most of the time will be on cleaning since this is the opportunity to do that well:
Next up - disassembly and reassembly of Velocity AP lowering springs...
Thread Starter
|
Registered User
Joined: Apr 2017
Posts: 399
From: Niagara Region
Rep Power: 29
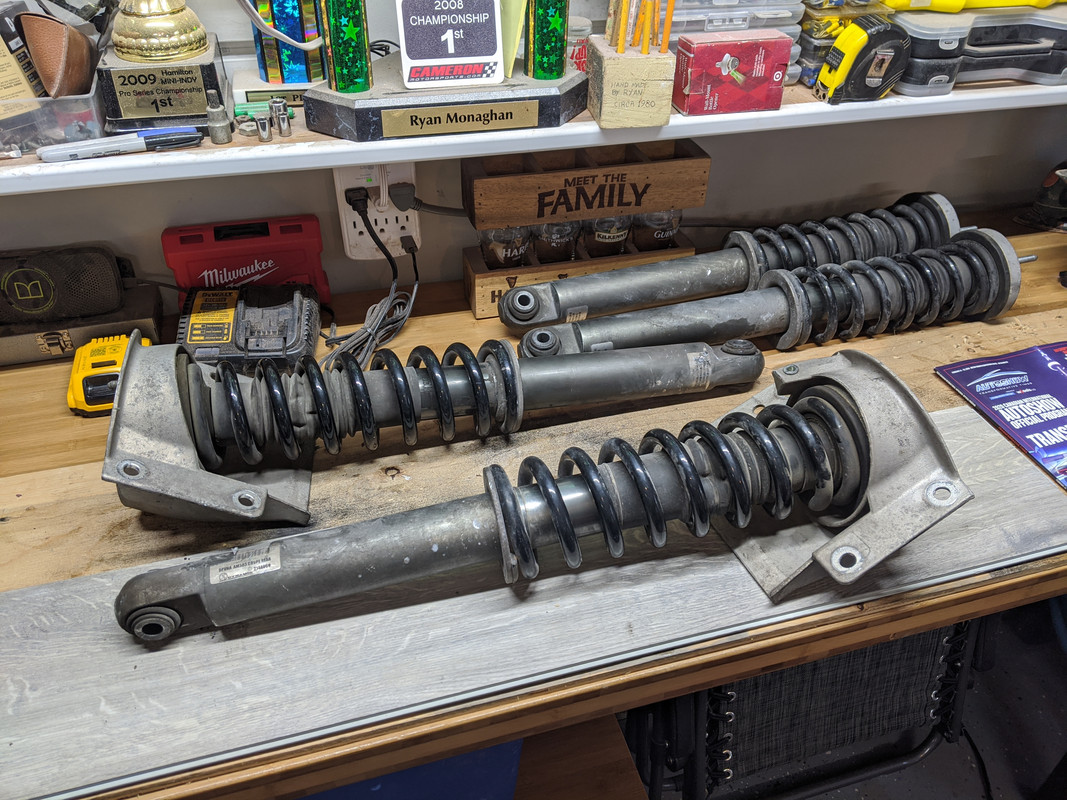
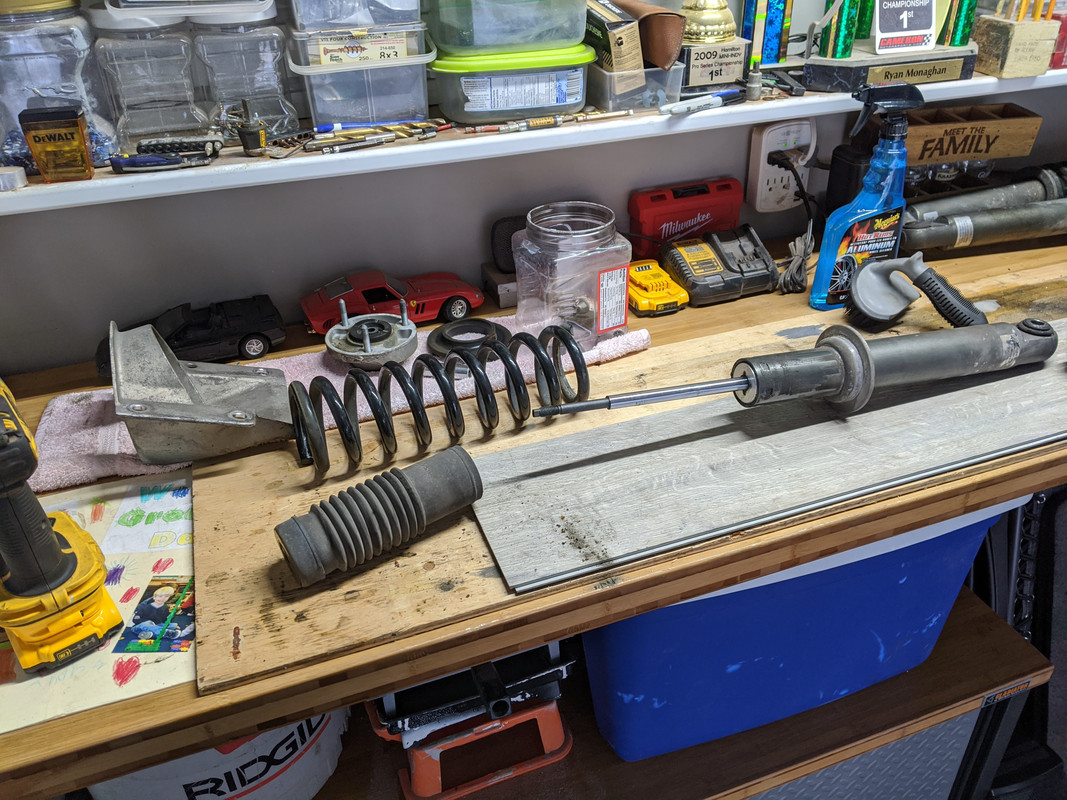
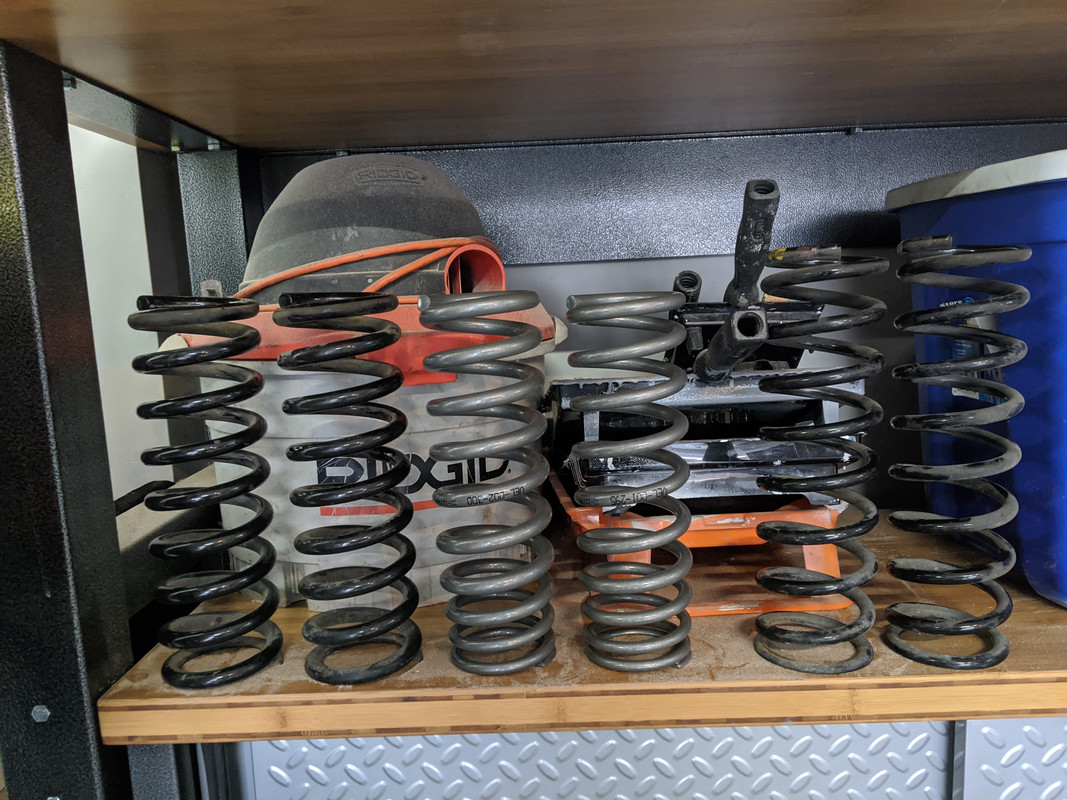
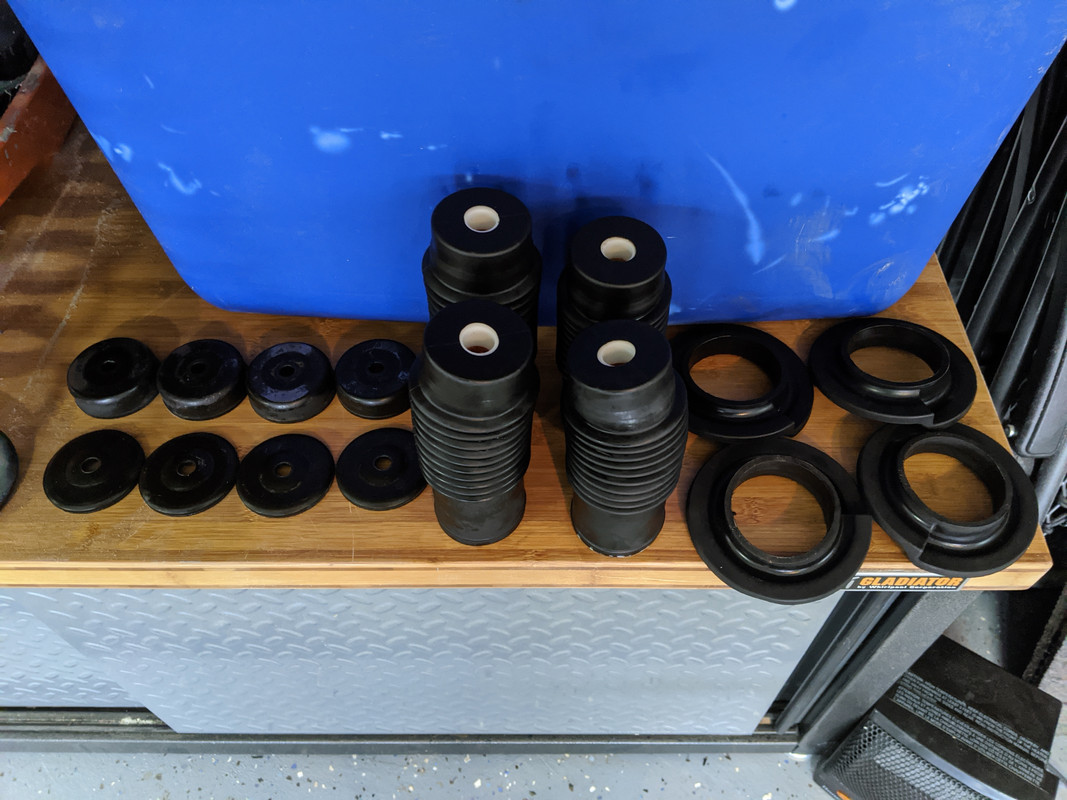
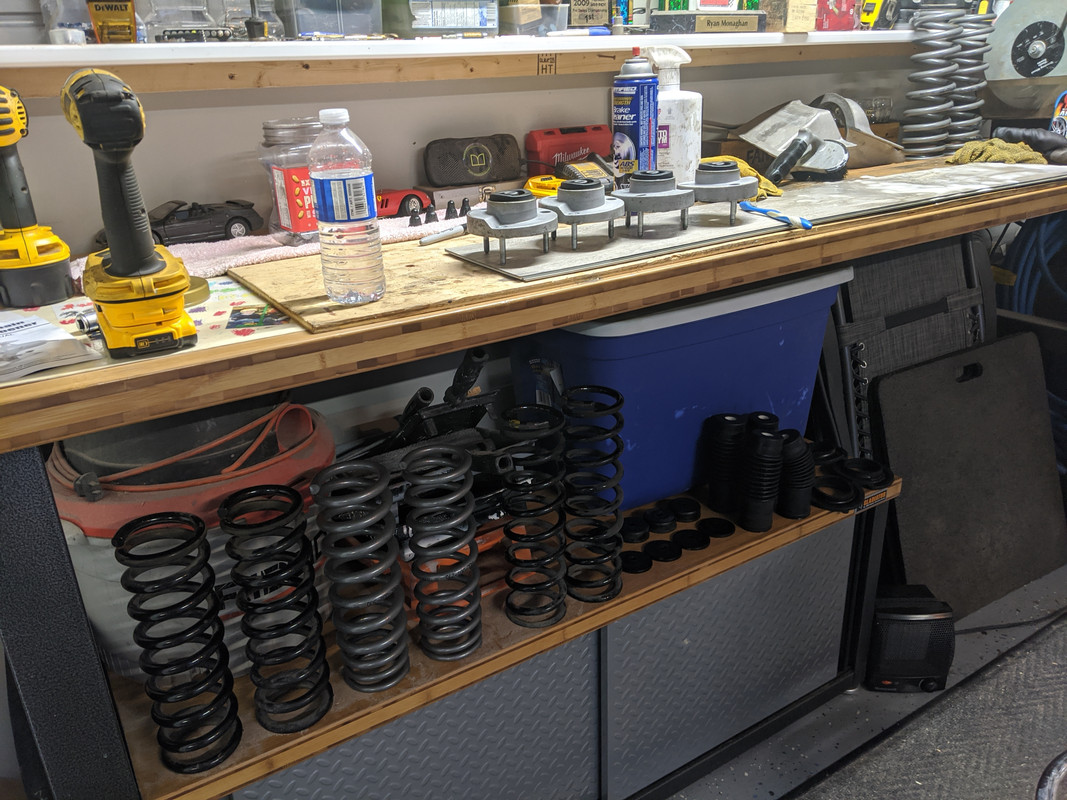
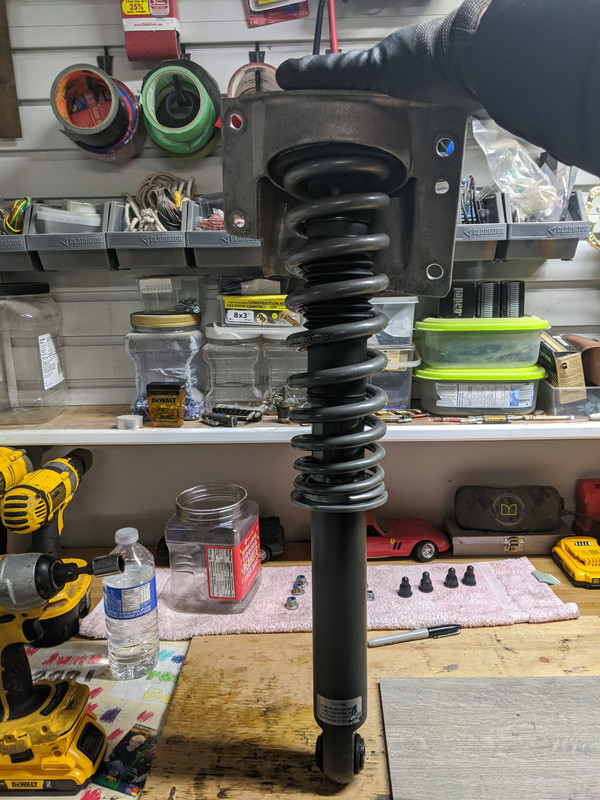
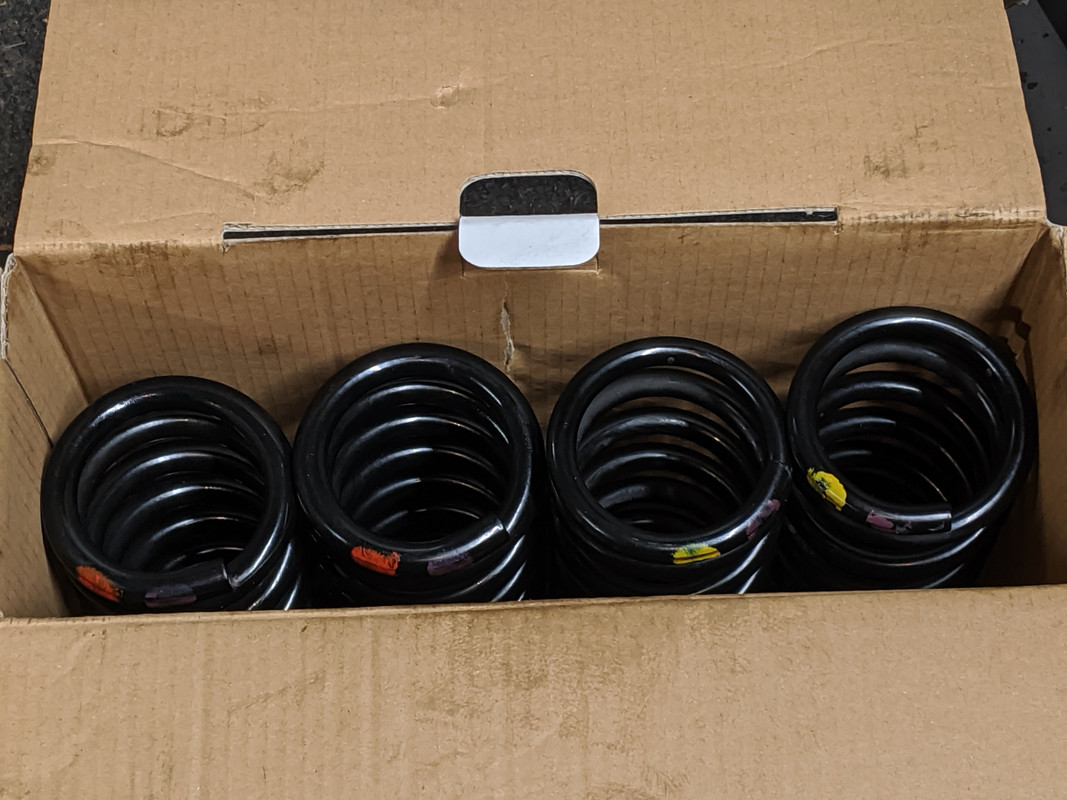
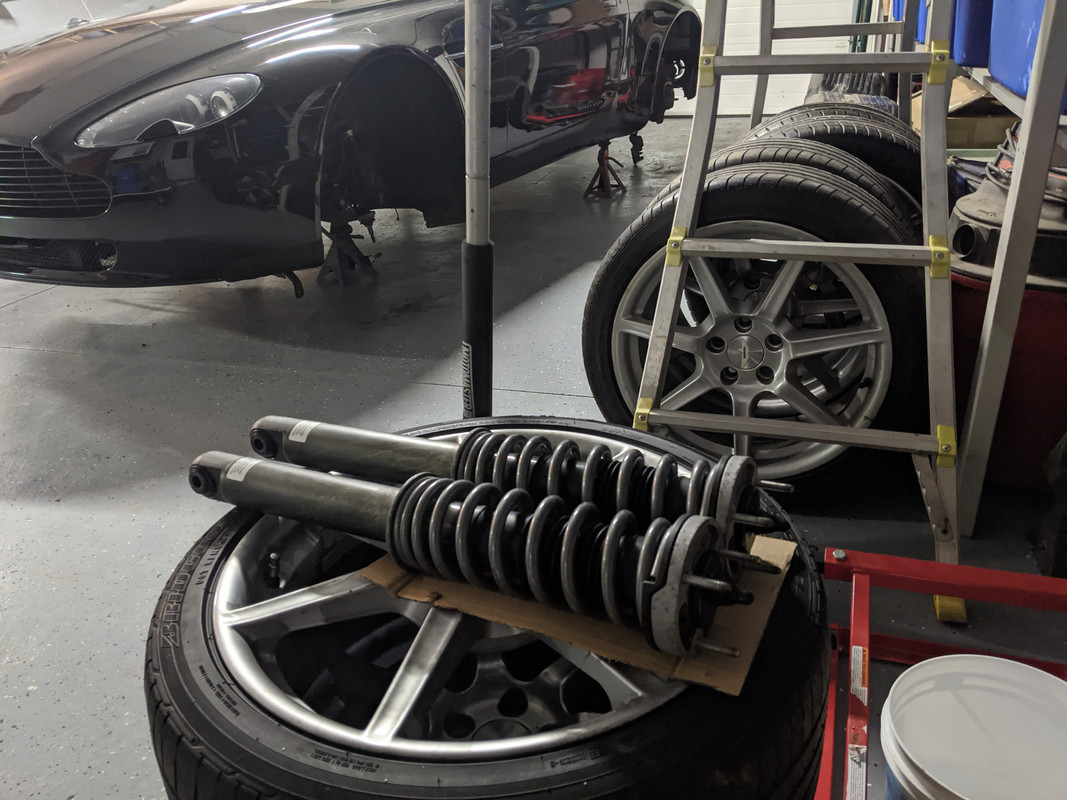
So I bought a new spring compressor for the job but in reality I didn't really need one for this job:
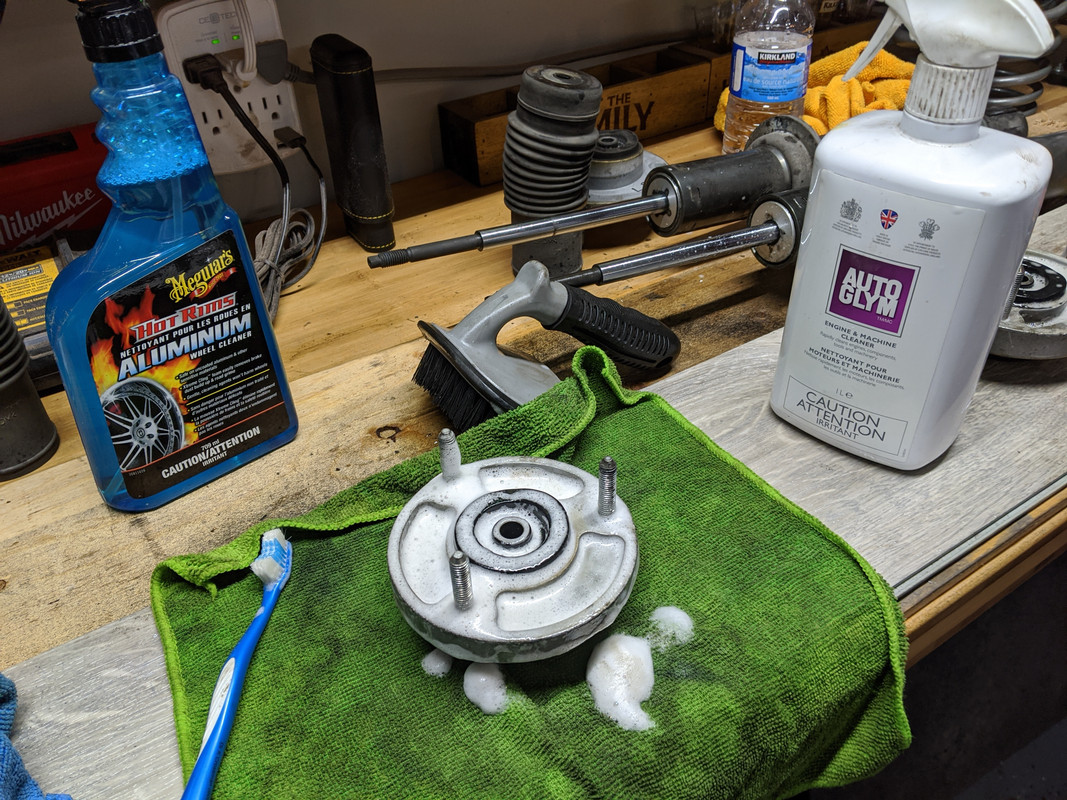
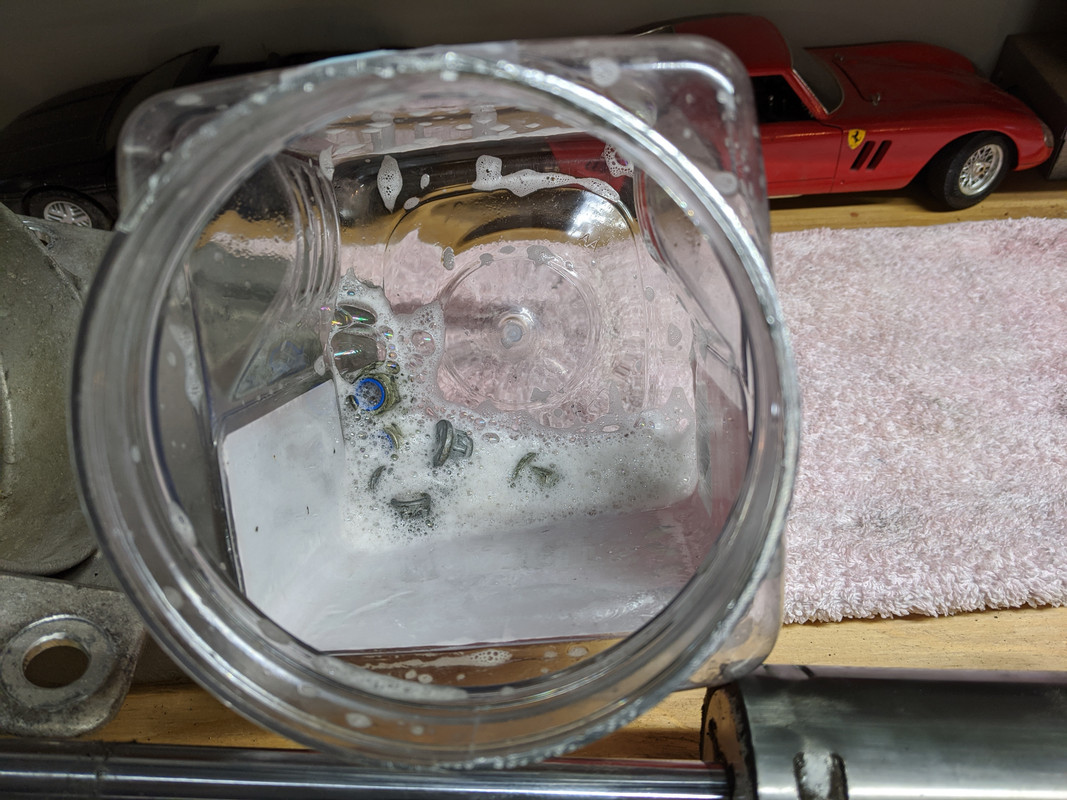
All parts were sorted, organized and cleaned thoroughly.
I used aluminum wheel cleaner and elbow grease for the cleaning.
Tip - make sure you don't mix up the front and rear springs and mark which corner of the car parts came from.
Here are the photos, let me know if you have any questions...
All parts were sorted, organized and cleaned thoroughly.
I used aluminum wheel cleaner and elbow grease for the cleaning.
Tip - make sure you don't mix up the front and rear springs and mark which corner of the car parts came from.
Here are the photos, let me know if you have any questions...
Thread Starter
|
Registered User
Joined: Apr 2017
Posts: 399
From: Niagara Region
Rep Power: 29
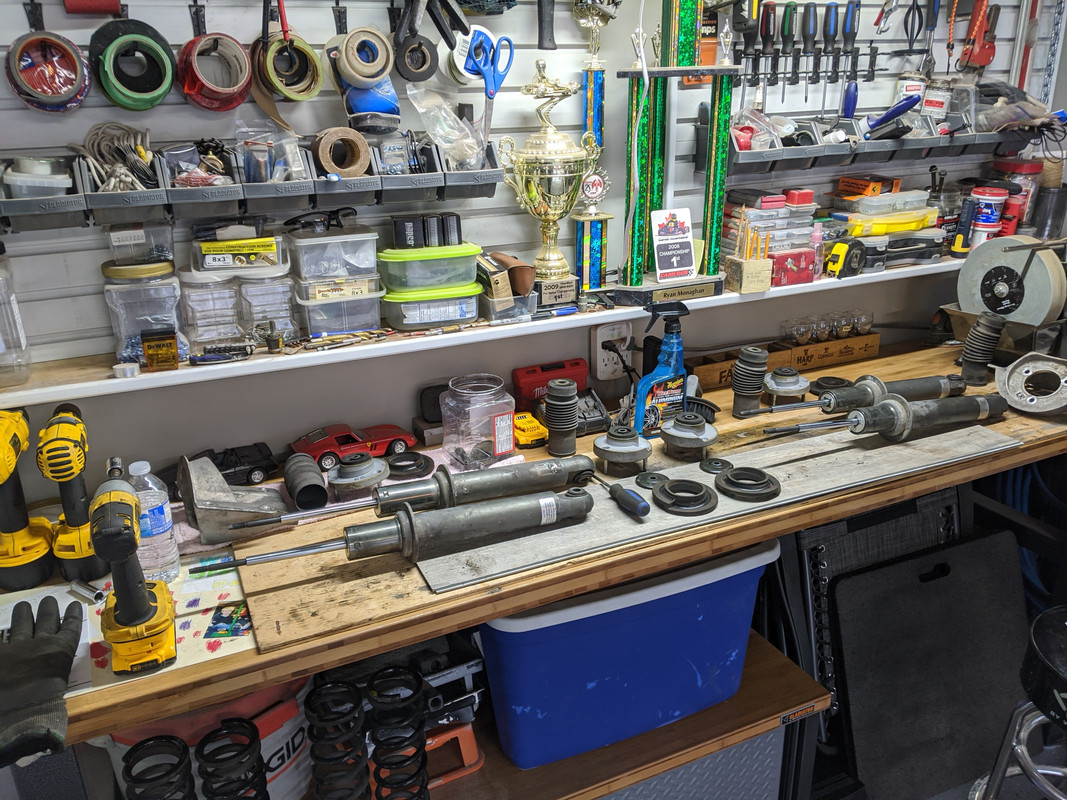
It's handy having a second person to start the retaining nut on assembly - thanks wifey.
I was able to pre-load the progressive lowering spring with two hands (or just use a coilover spring compressor).
Rears:
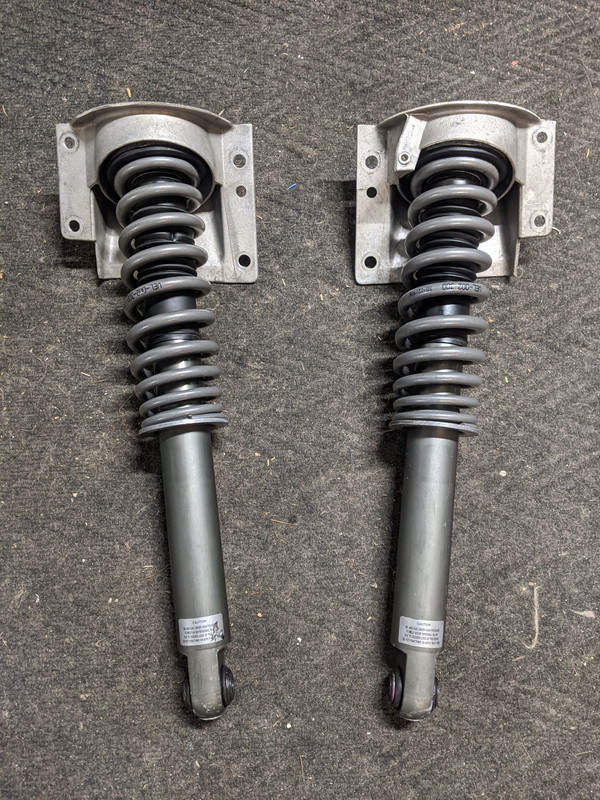
Fronts:
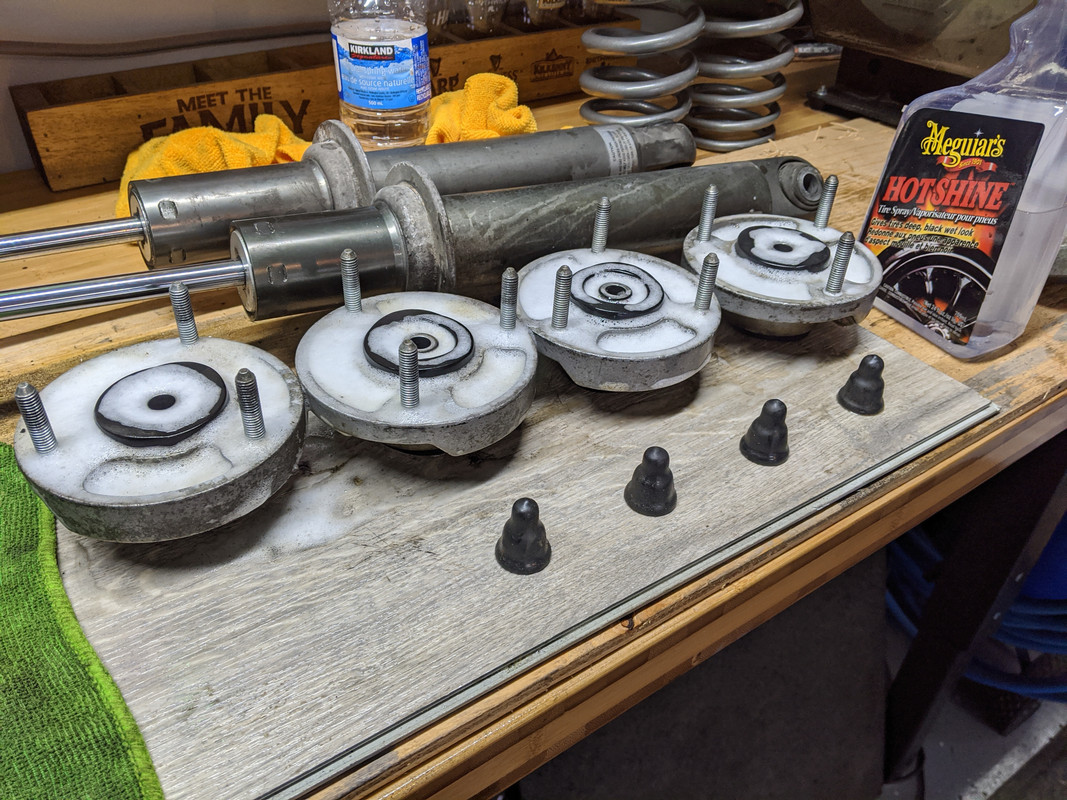
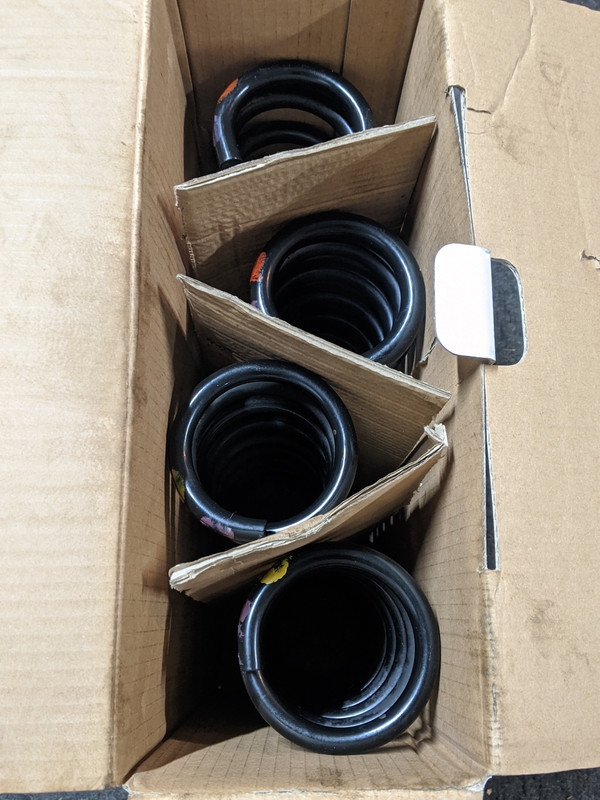
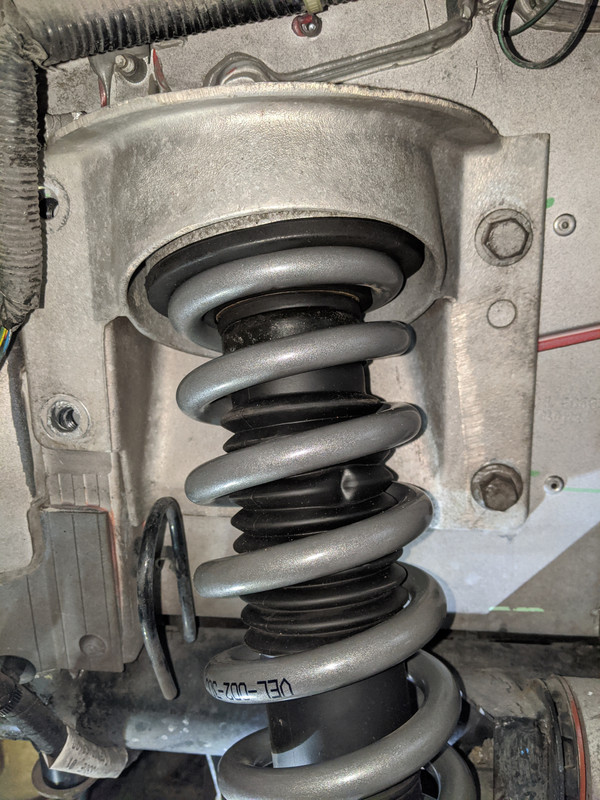
Boxed up the stock springs for safe keeping - you will see they are colour coded with paint on the top:
I was able to pre-load the progressive lowering spring with two hands (or just use a coilover spring compressor).
Rears:
Fronts:
Boxed up the stock springs for safe keeping - you will see they are colour coded with paint on the top:
Last edited by 007V8Vantage; May 8, 2020 at 08:48 AM.
Thread Starter
|
Registered User
Joined: Apr 2017
Posts: 399
From: Niagara Region
Rep Power: 29
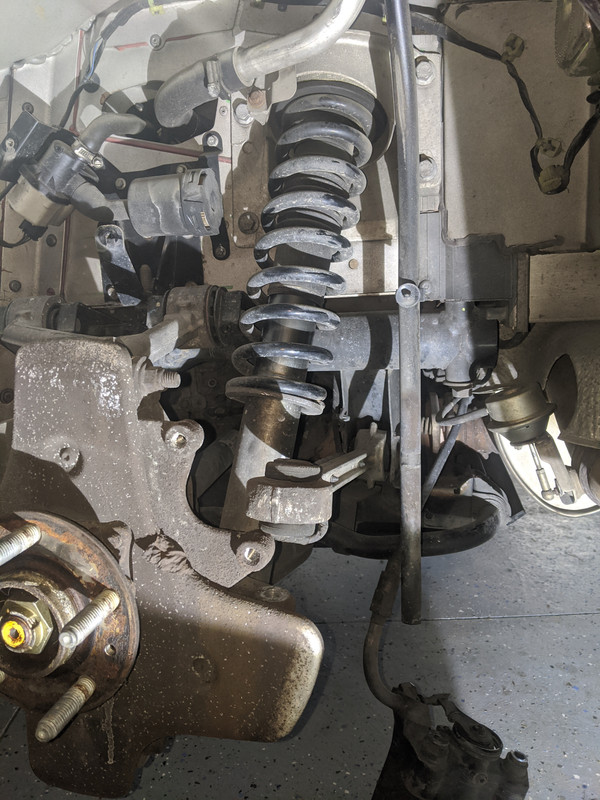
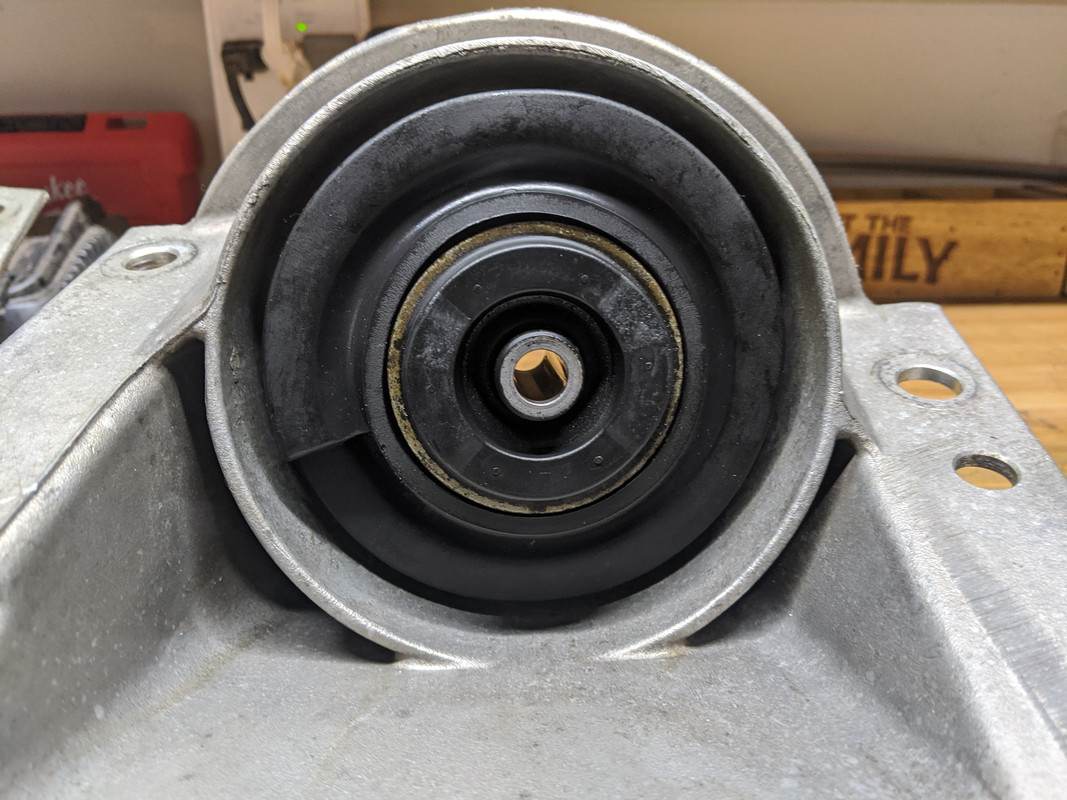
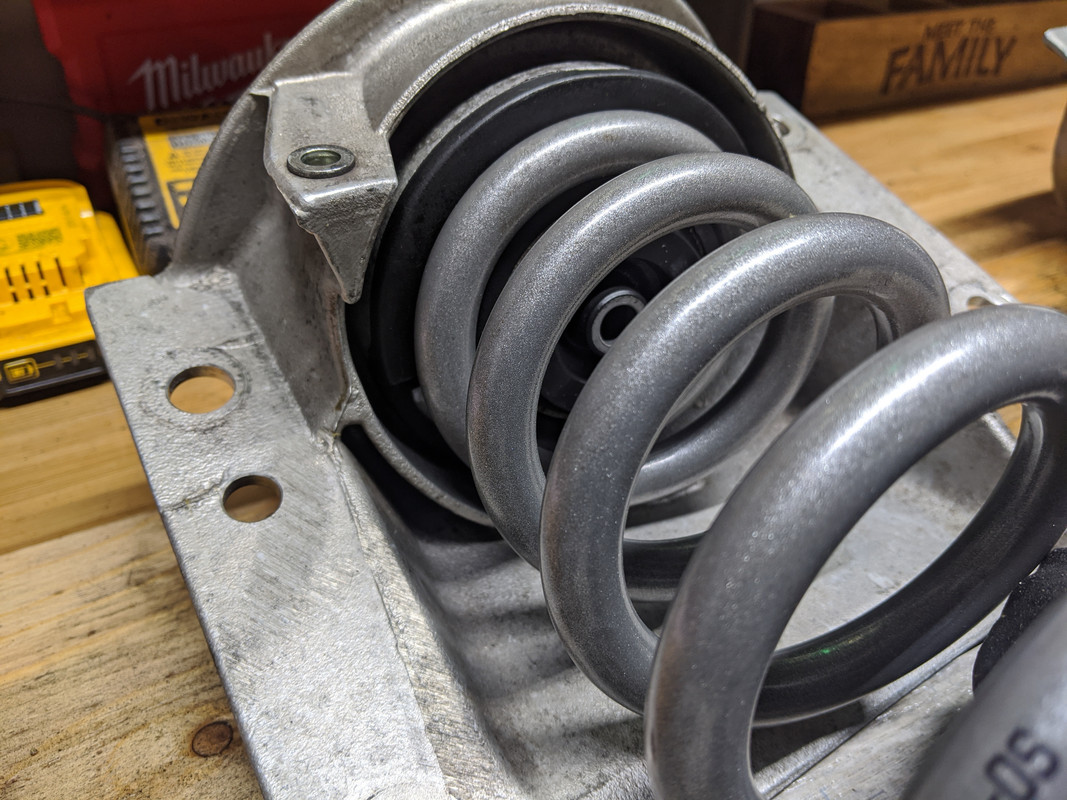
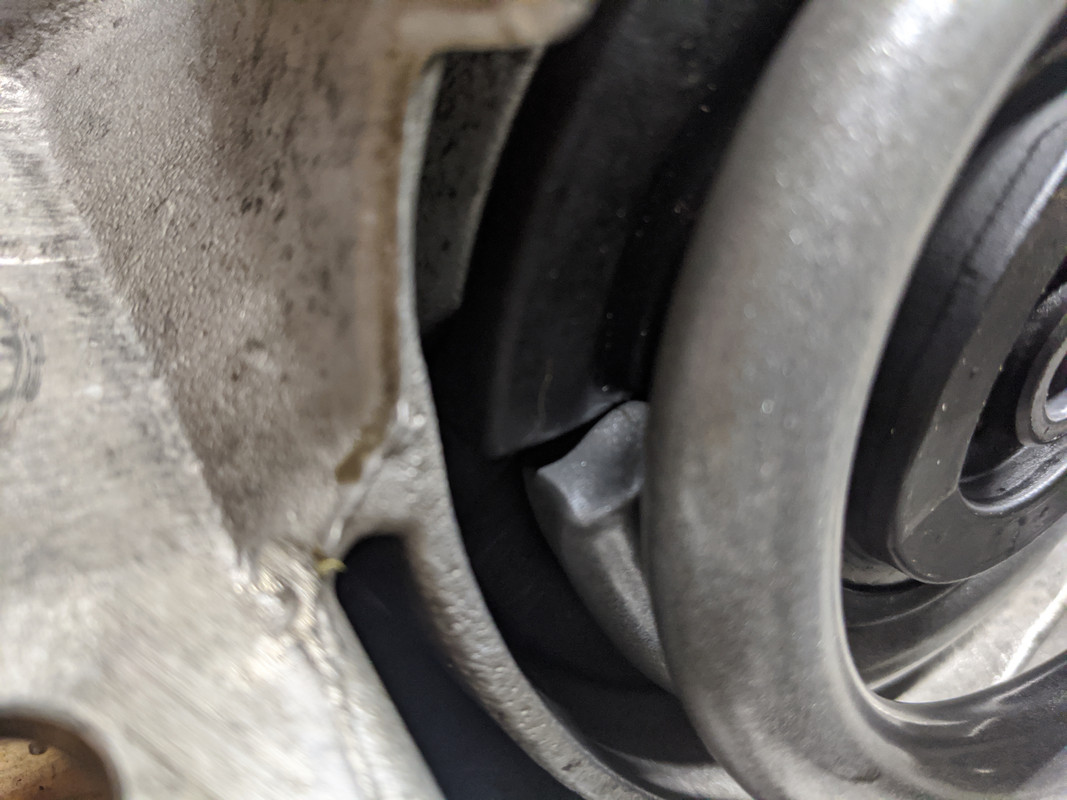
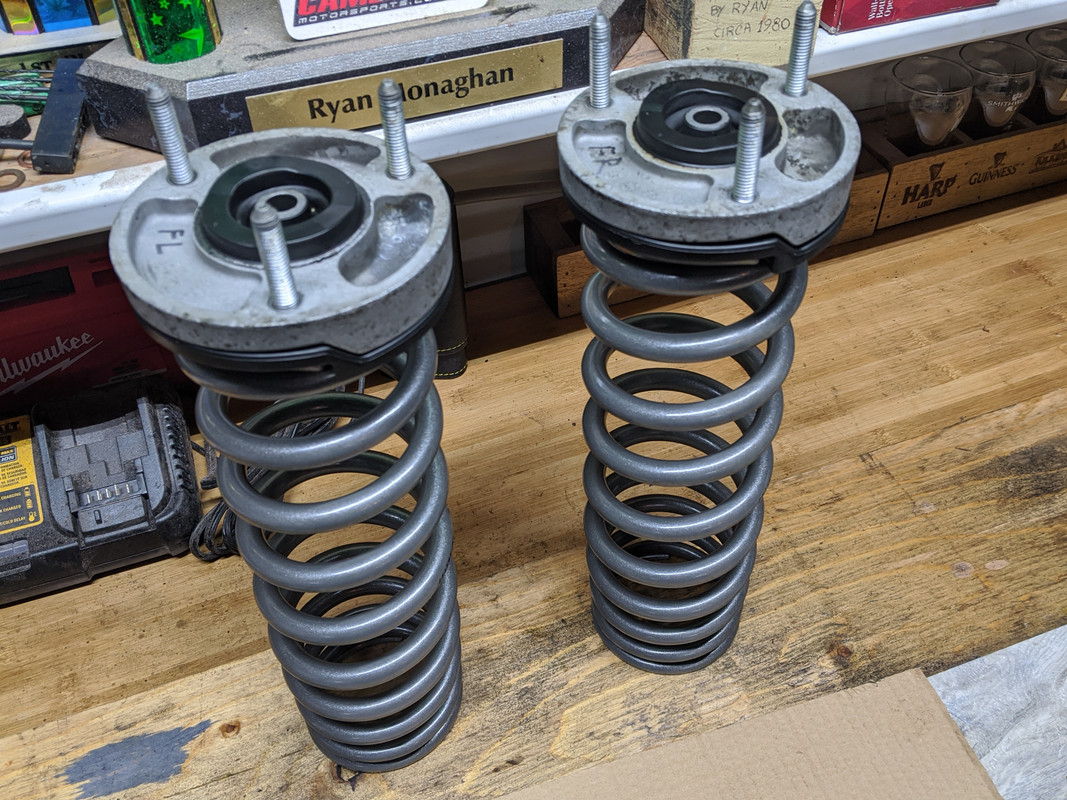
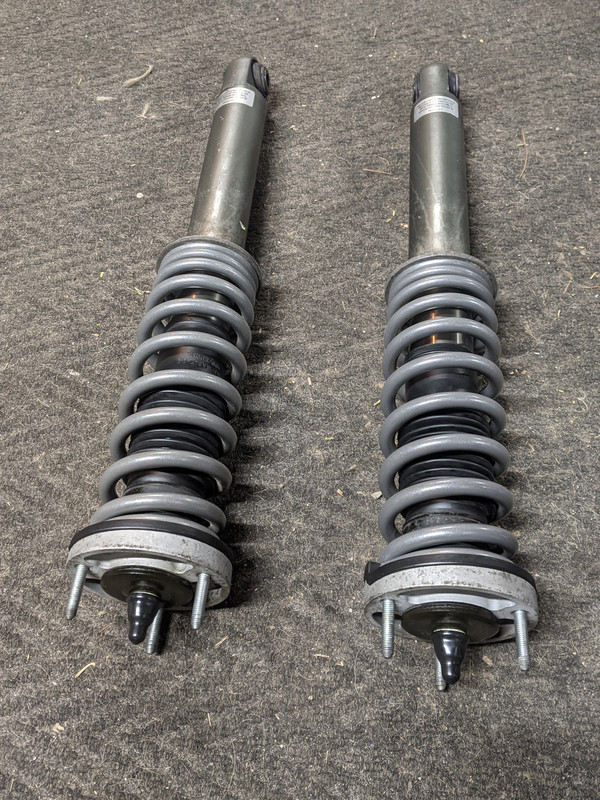
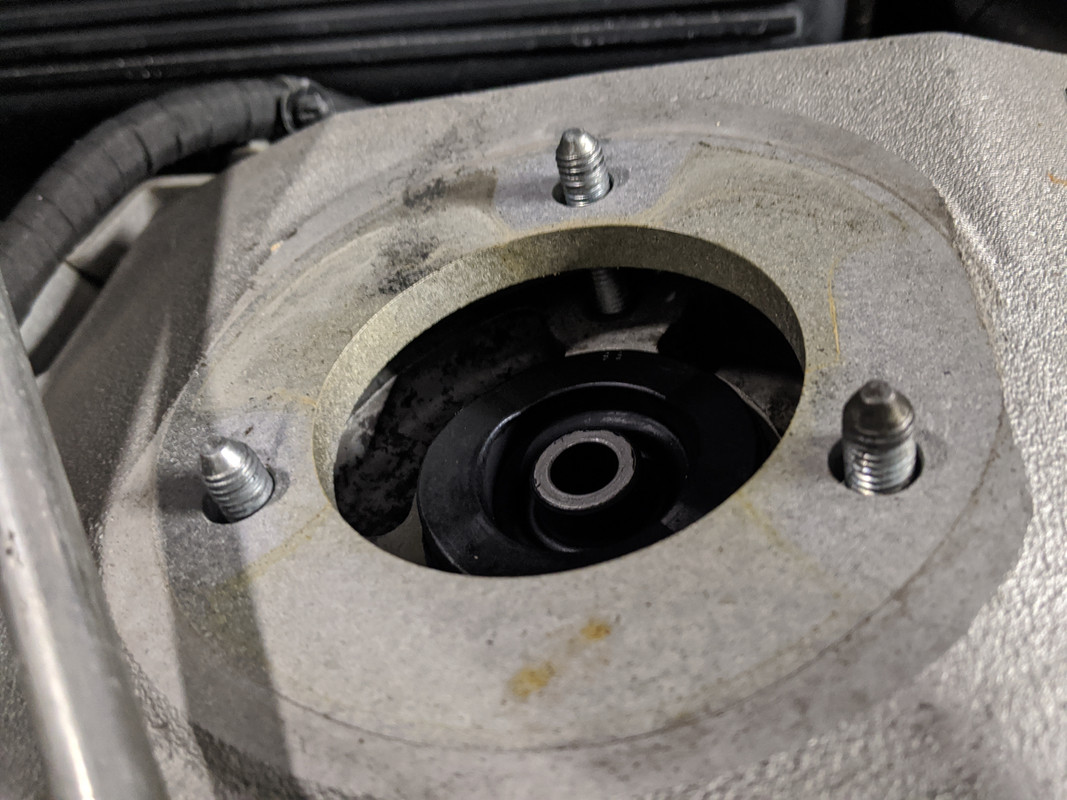
One tip when installing the front coilover assembly is to note that the 3 studs only fit in one orientation:

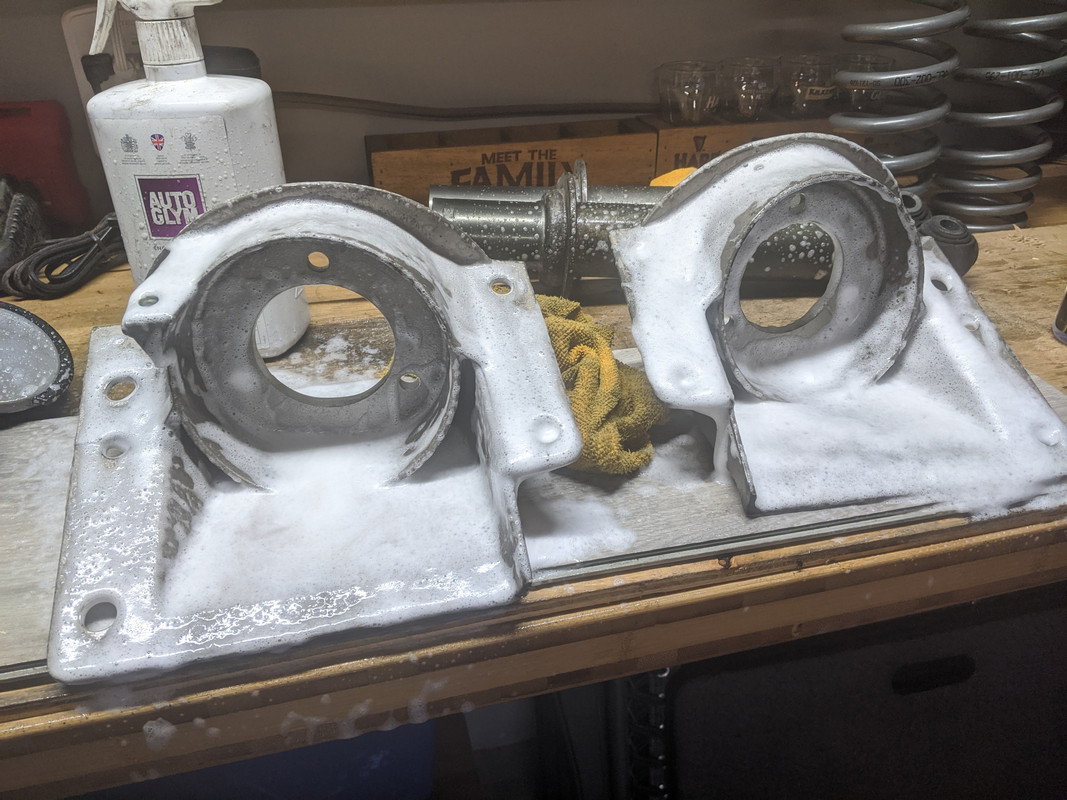
Everything got a good cleaning on the front suspension as this was a good opportunity to do that:
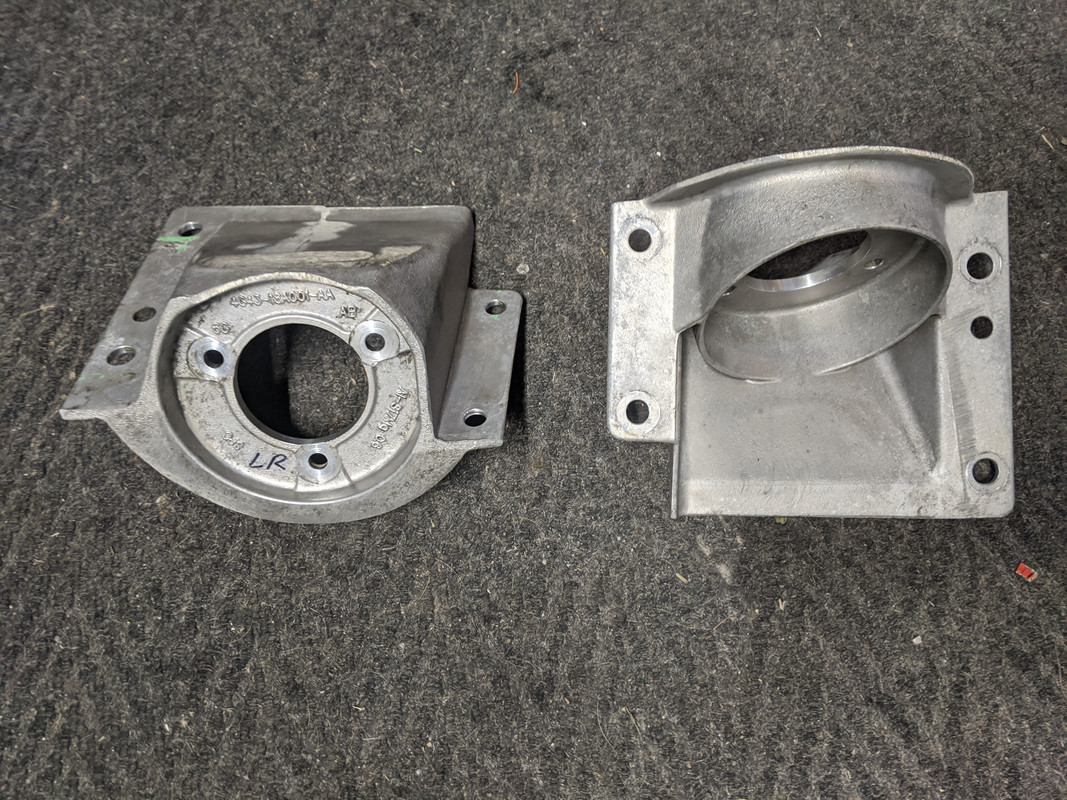
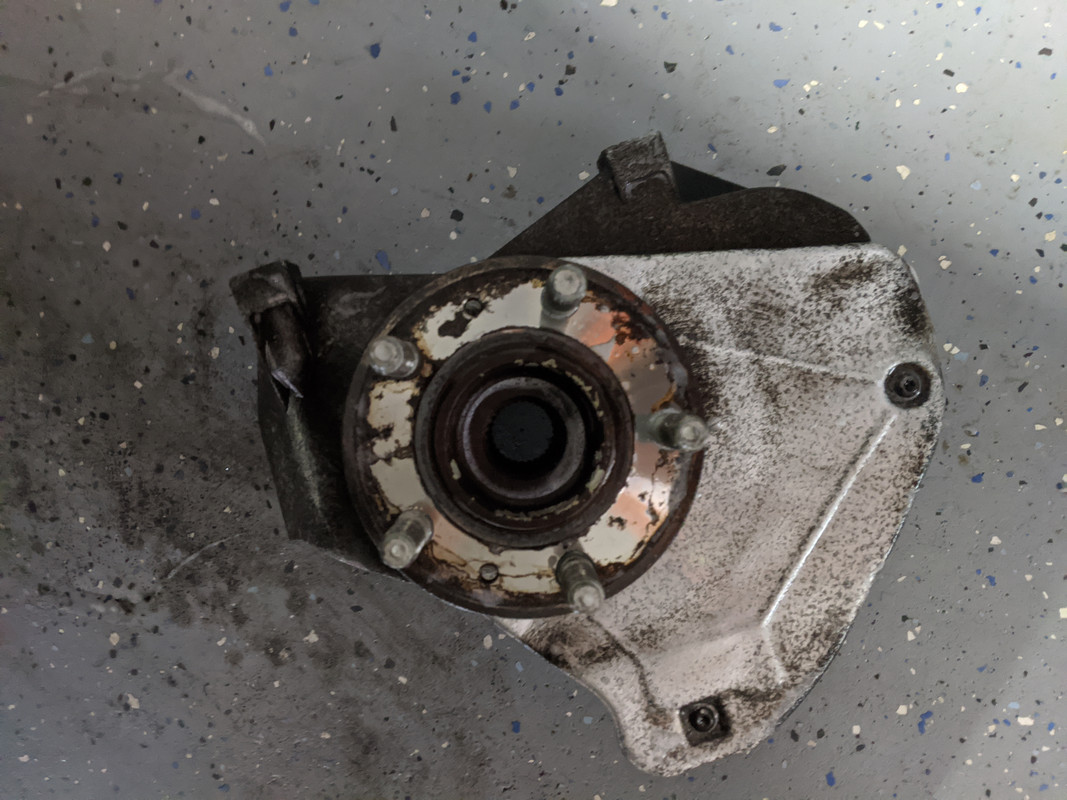
I ended up having a local machine shop take care of the broken bolt in the drivers side spindle:
Then I started cleaning up the aluminum with a wire brush on a cordless drill:
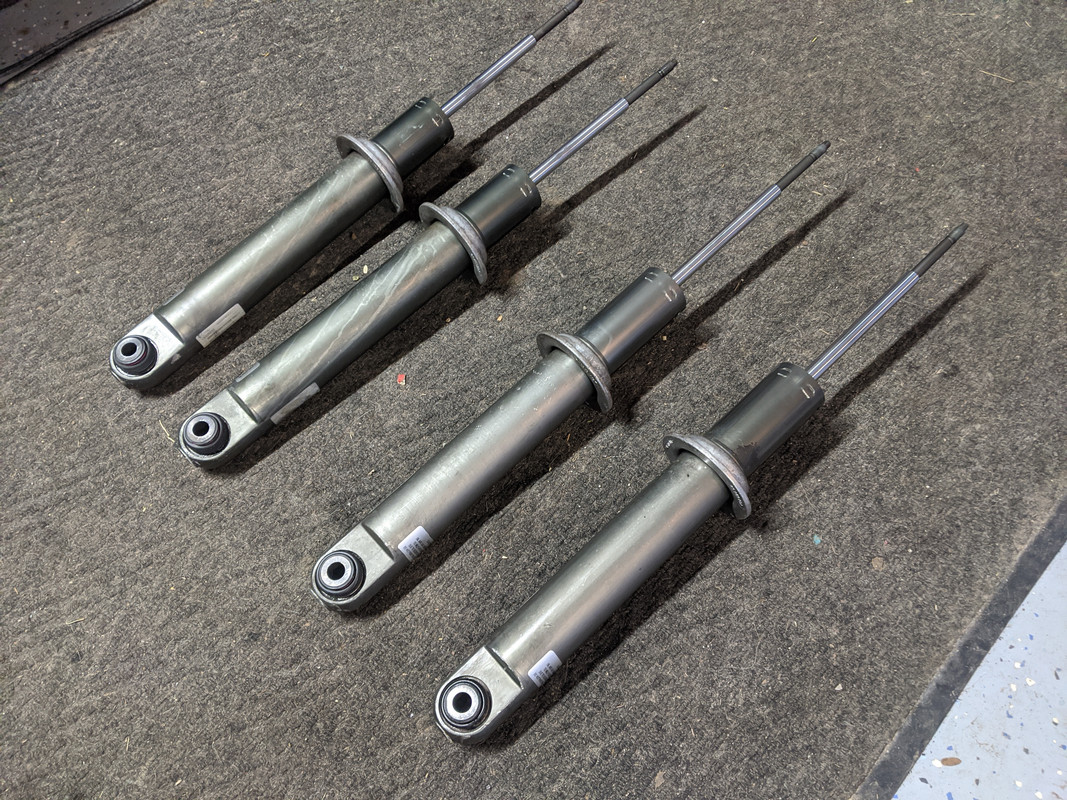
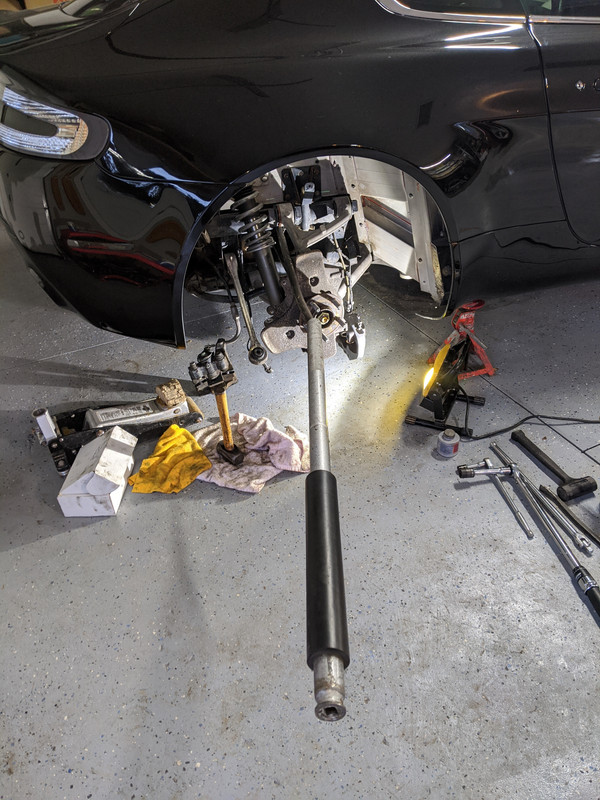
Reinstalling the front coil overs:
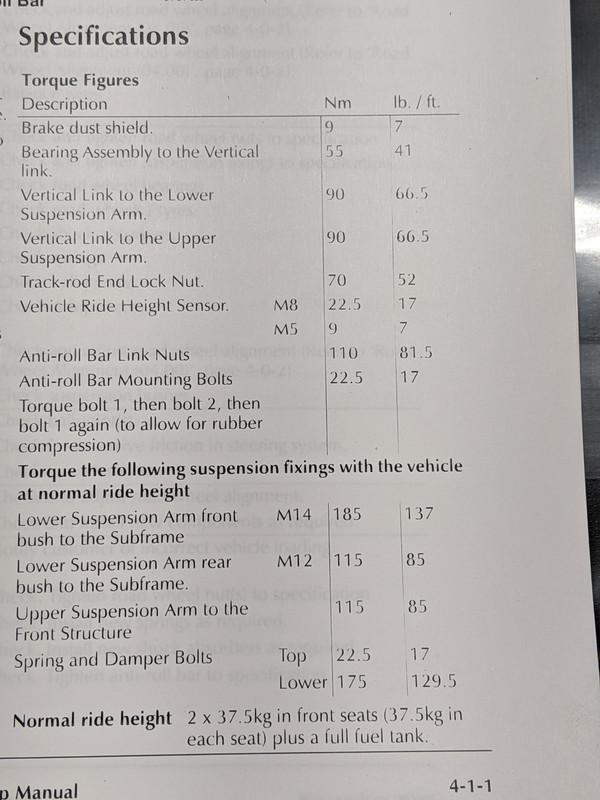
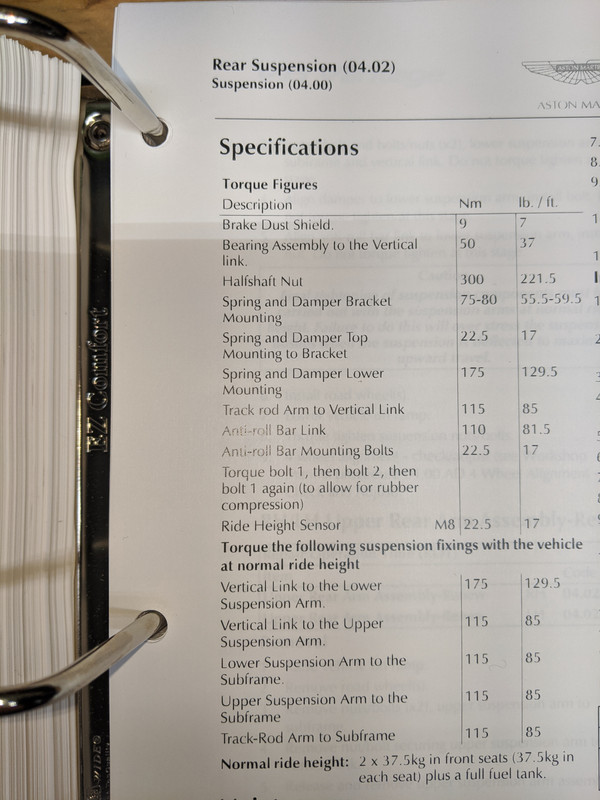
Be sure to use correct torque specs from the manual:
If you've done things correctly, it should look something like this:

Thread Starter
|
Registered User
Joined: Apr 2017
Posts: 399
From: Niagara Region
Rep Power: 29
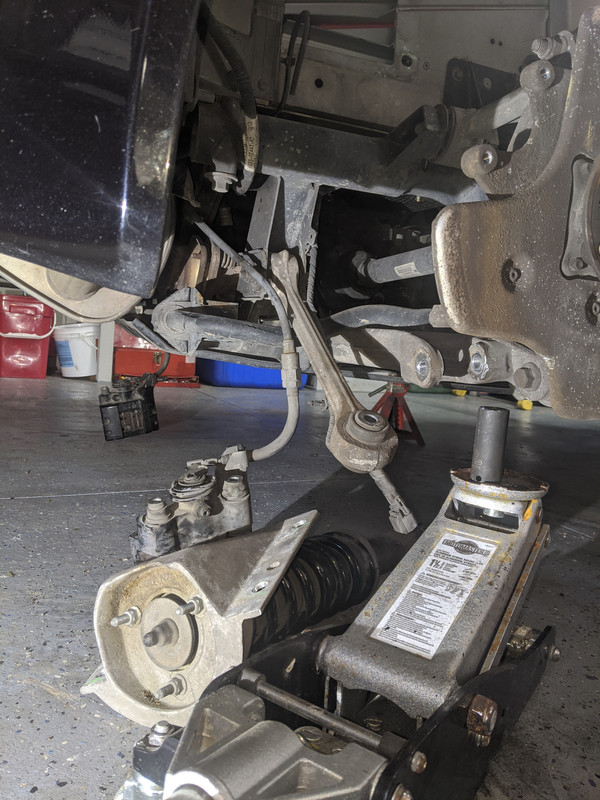
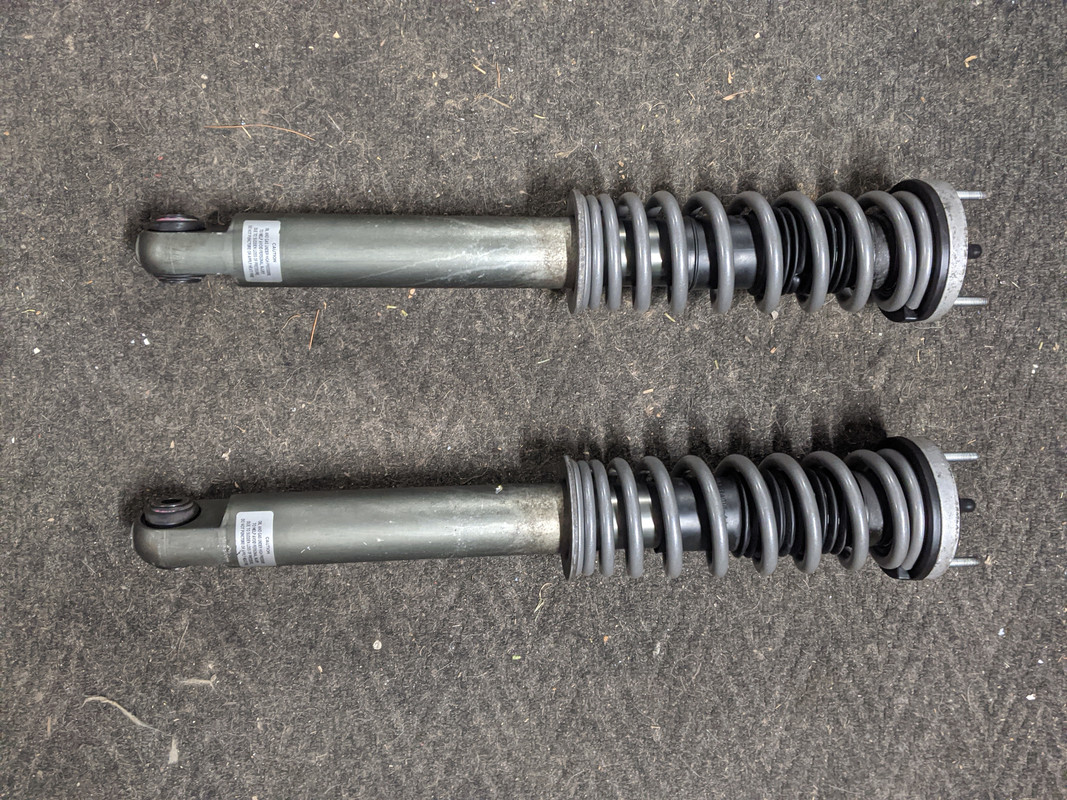
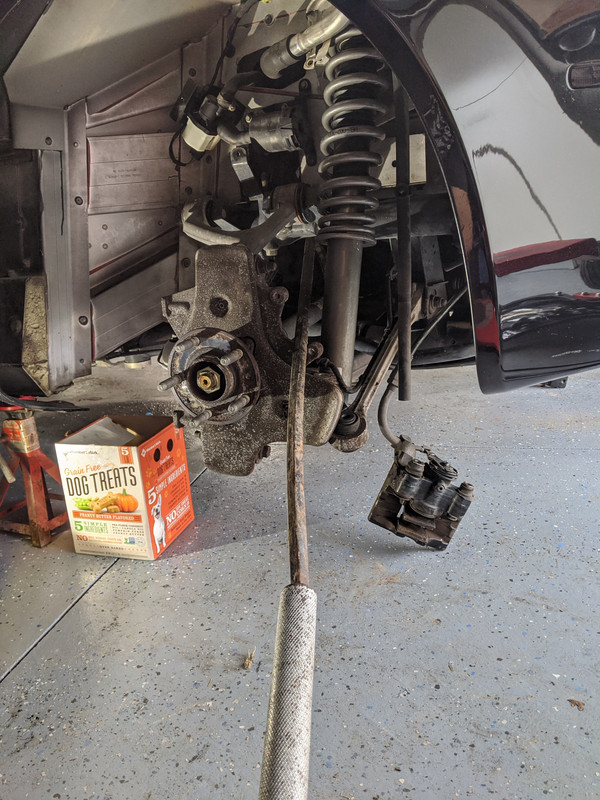
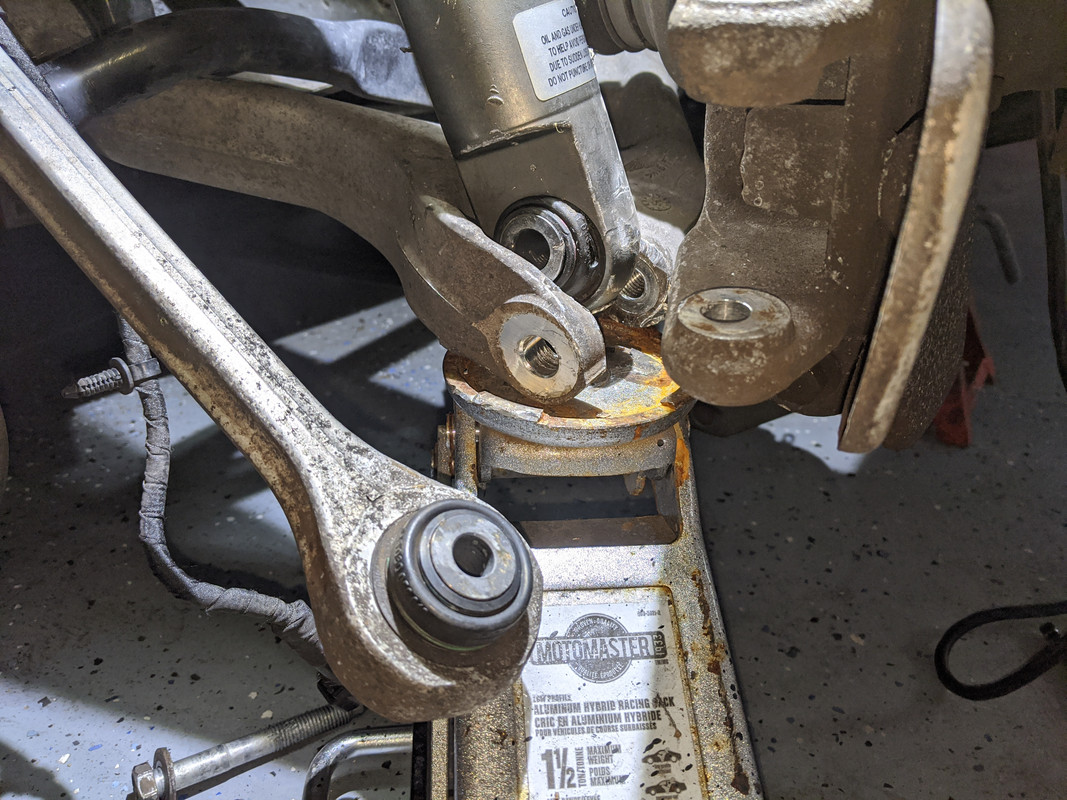
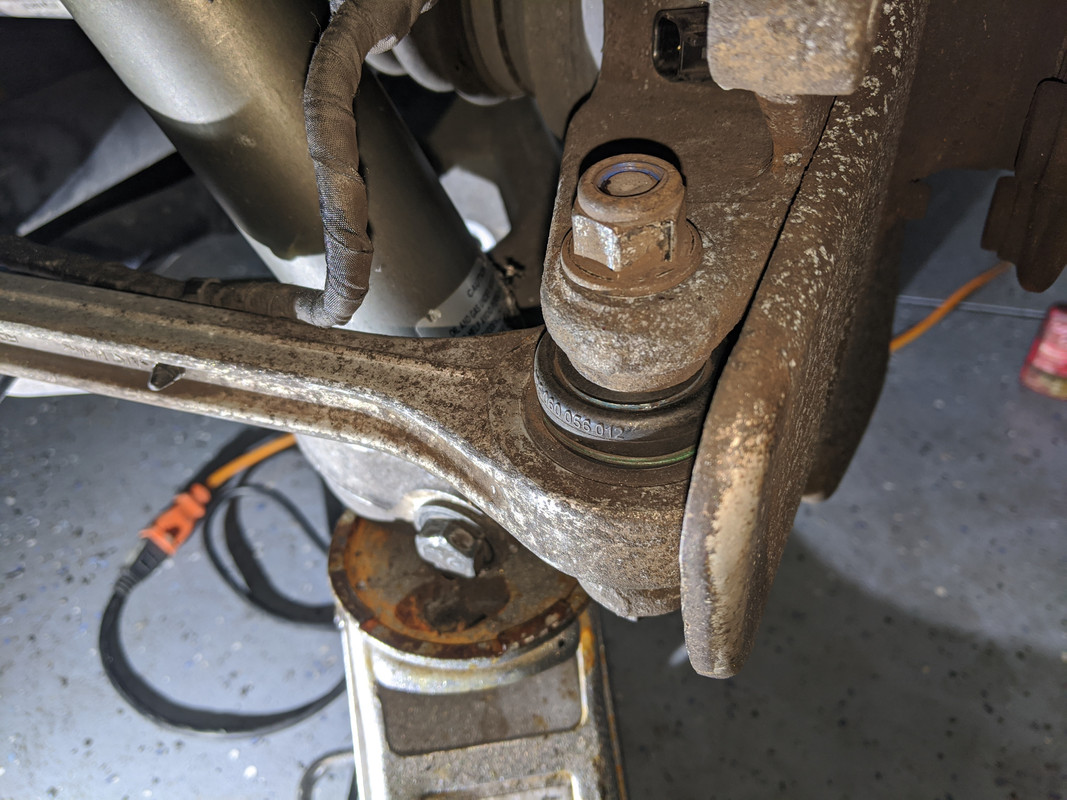
The rear is a little trickier, just take your time - I used a pry bar and a floor jack to assist getting the shock into position so that the lower bolt could be installed:
Here are the torque specs you will need for reassembly:
Line up the four bolts in the top bracket and torque to spec:
Then you can re-connect the toe link and the swaybar:
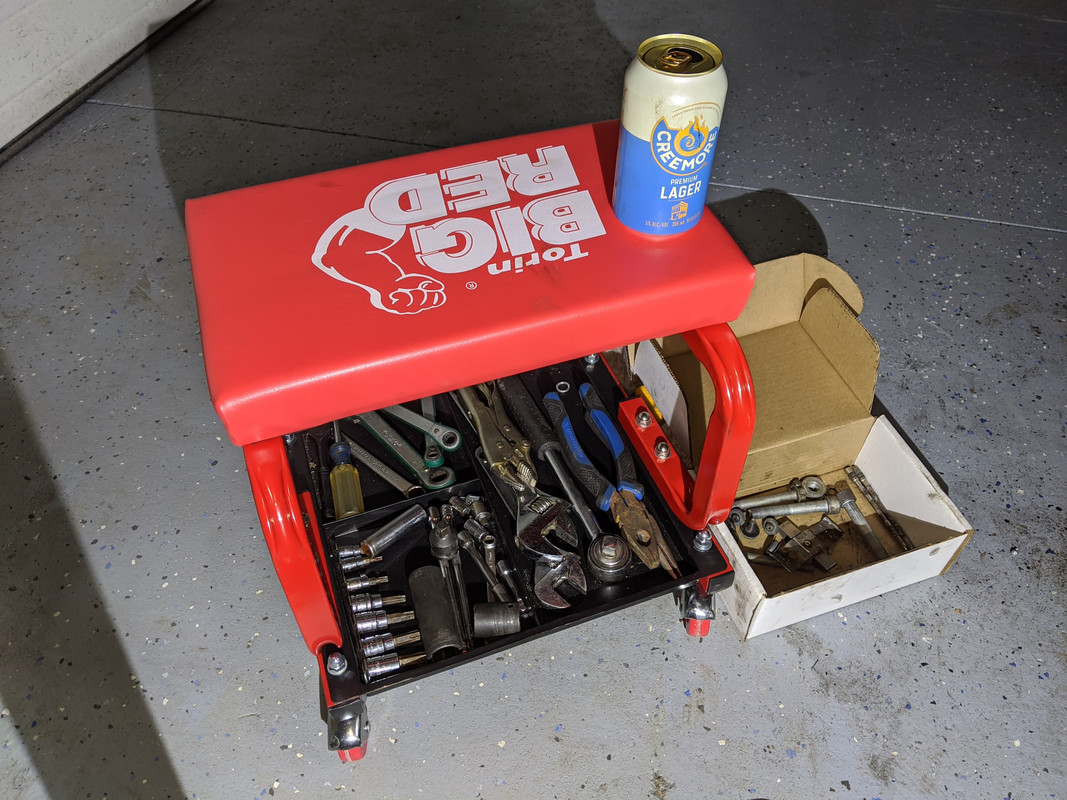
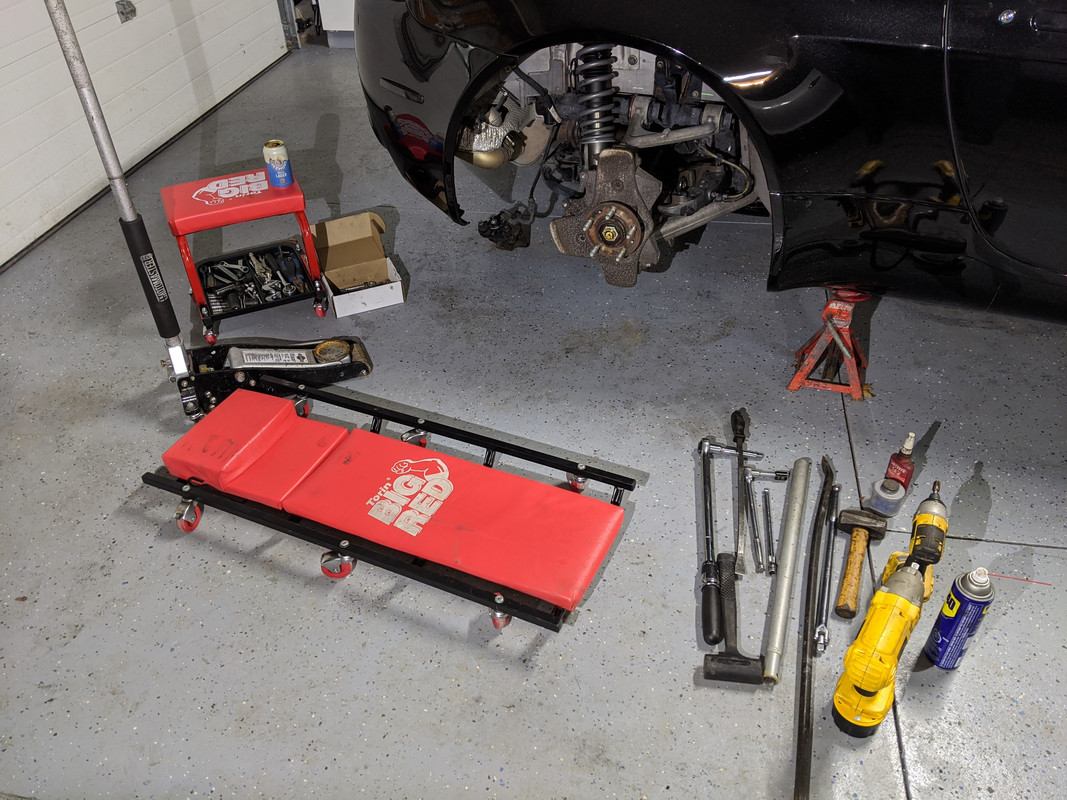
I highly recommend this $20 rolling stool and tool cart as it was the best investment I made for this project (and future ones):
As per usual, the other side will take about half the time for a DIY'er as you figure out the best method the first time:
Looks like more cleaning is next up for me...
Here are the torque specs you will need for reassembly:
Line up the four bolts in the top bracket and torque to spec:
Then you can re-connect the toe link and the swaybar:
I highly recommend this $20 rolling stool and tool cart as it was the best investment I made for this project (and future ones):
As per usual, the other side will take about half the time for a DIY'er as you figure out the best method the first time:
Looks like more cleaning is next up for me...
Thread Starter
|
Registered User
Joined: Apr 2017
Posts: 399
From: Niagara Region
Rep Power: 29