
Greetings from Niagara, Ontario, Canada


Thread Starter
|
Registered User
Joined: Apr 2017
Posts: 399
From: Niagara Region
Rep Power: 29

First I tested to ensure all the 9 LED strip lights were working.
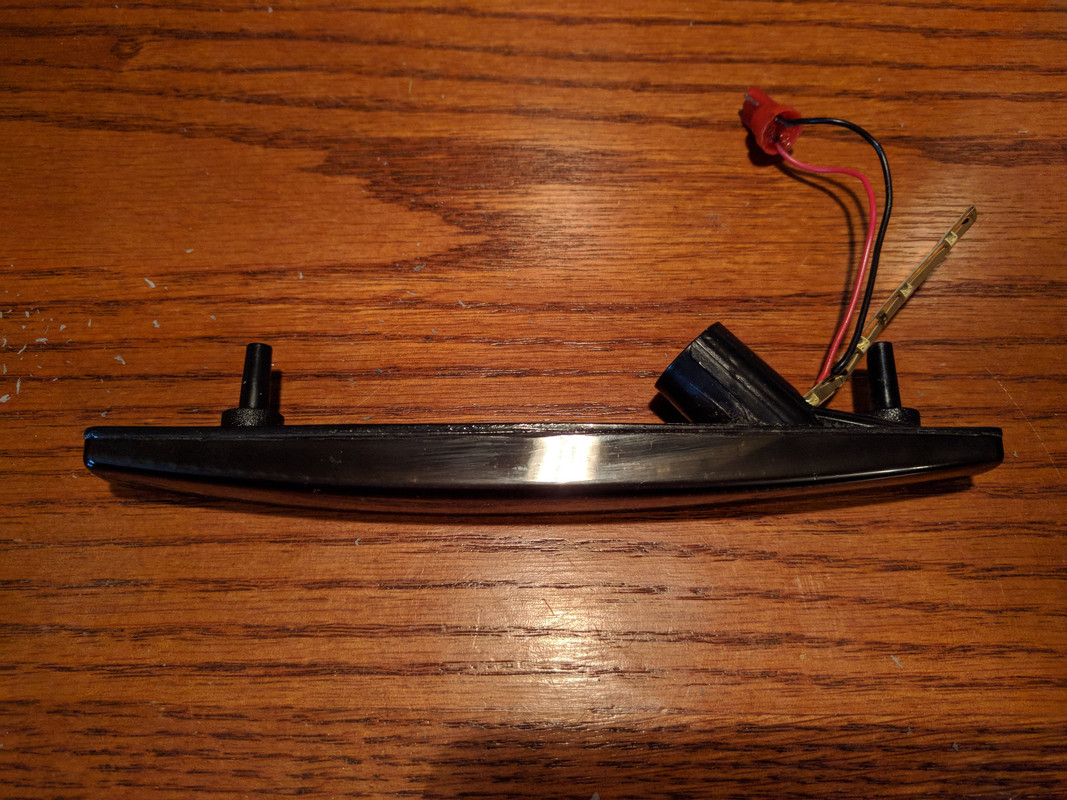
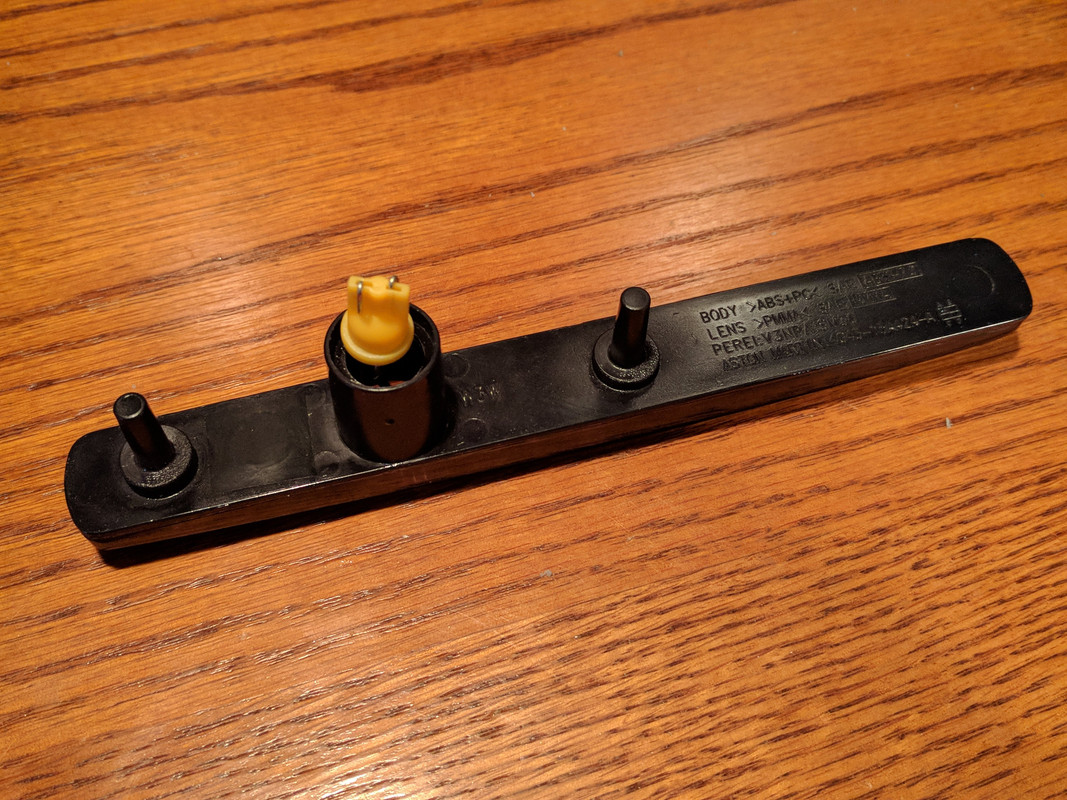
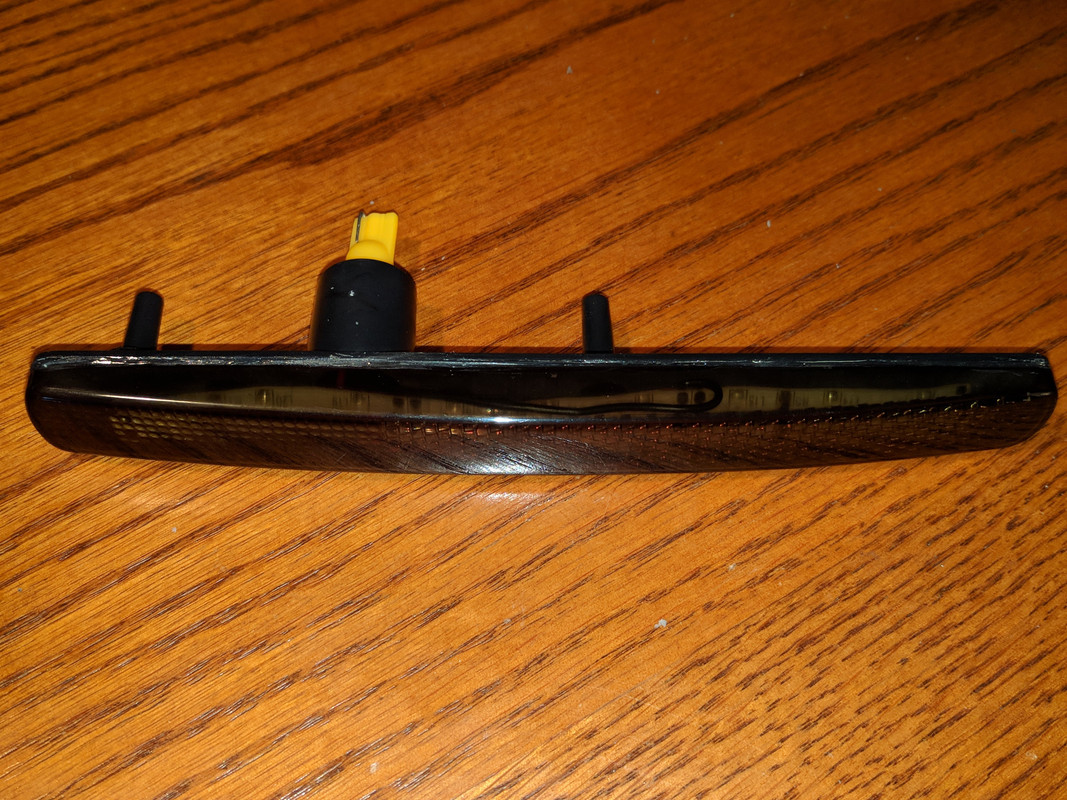
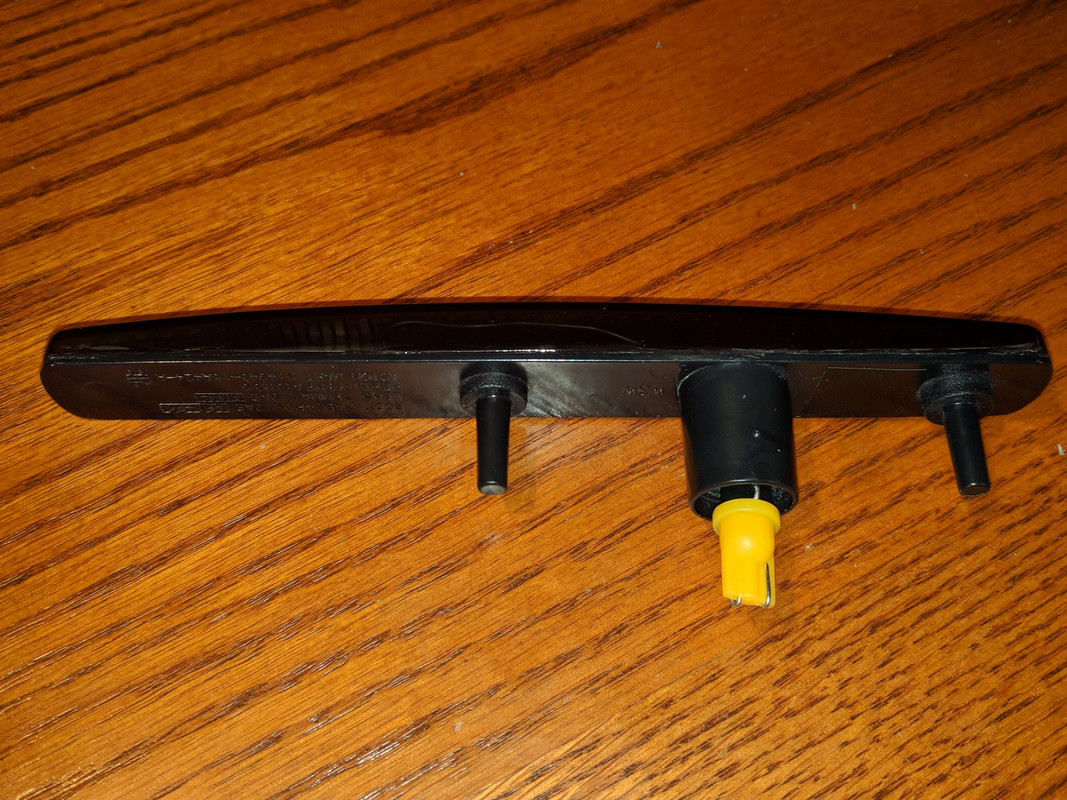
Next I used the AM part number on the smoked lens to make sure the red lights go in the rear markers and the amber in the front pair.
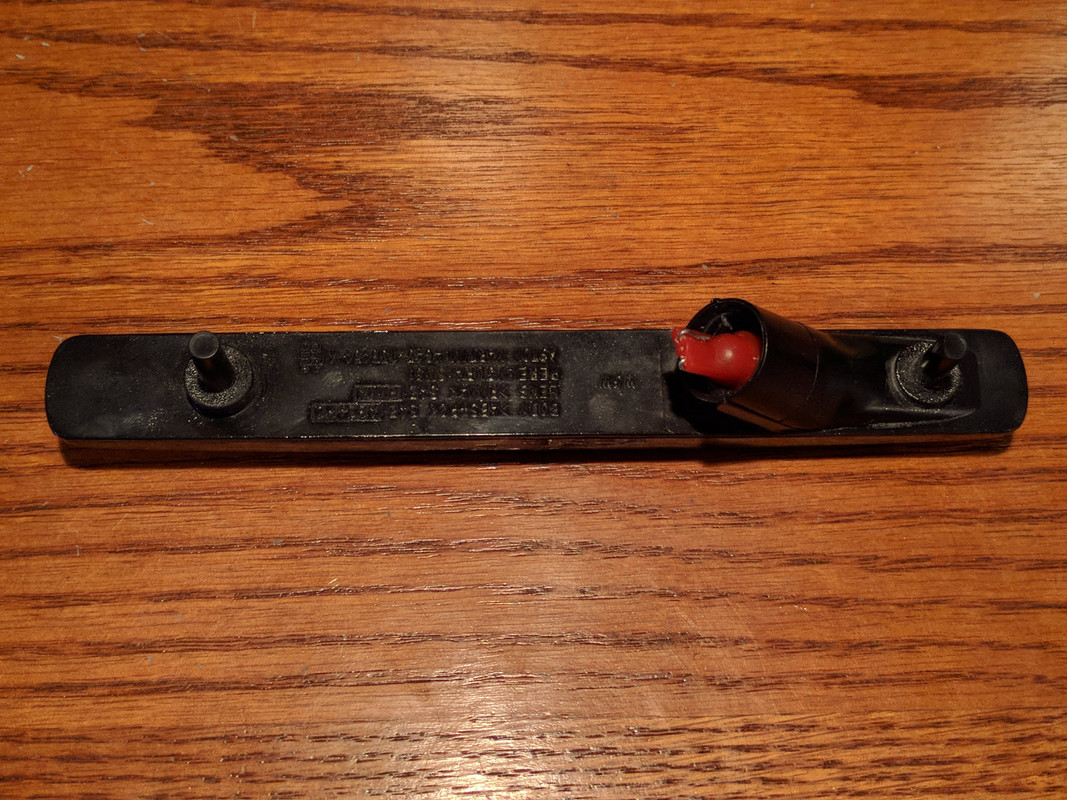
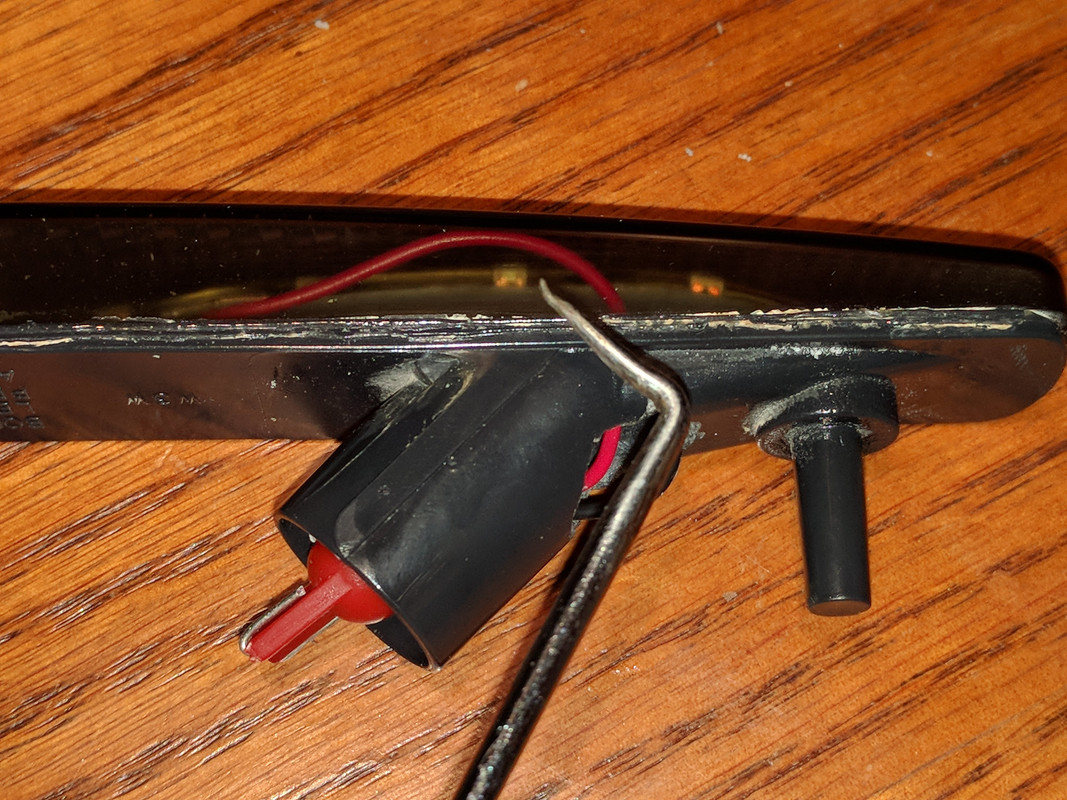
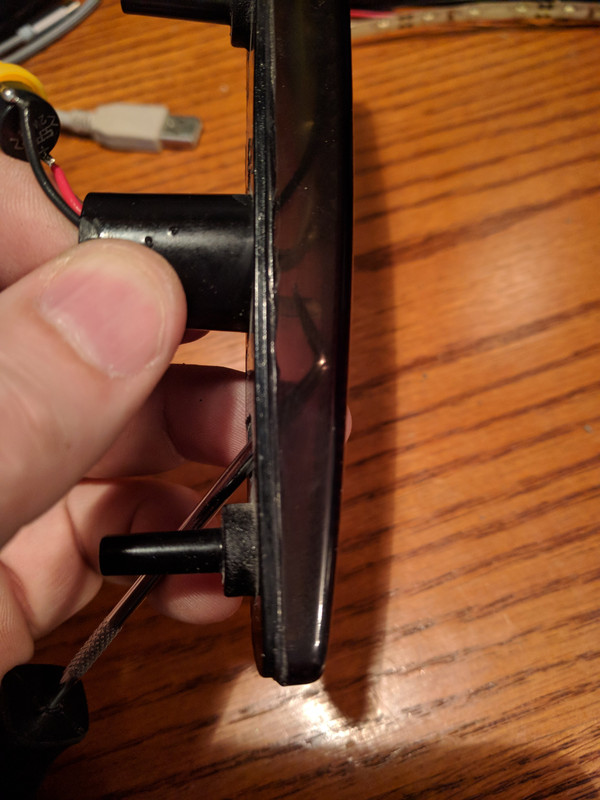
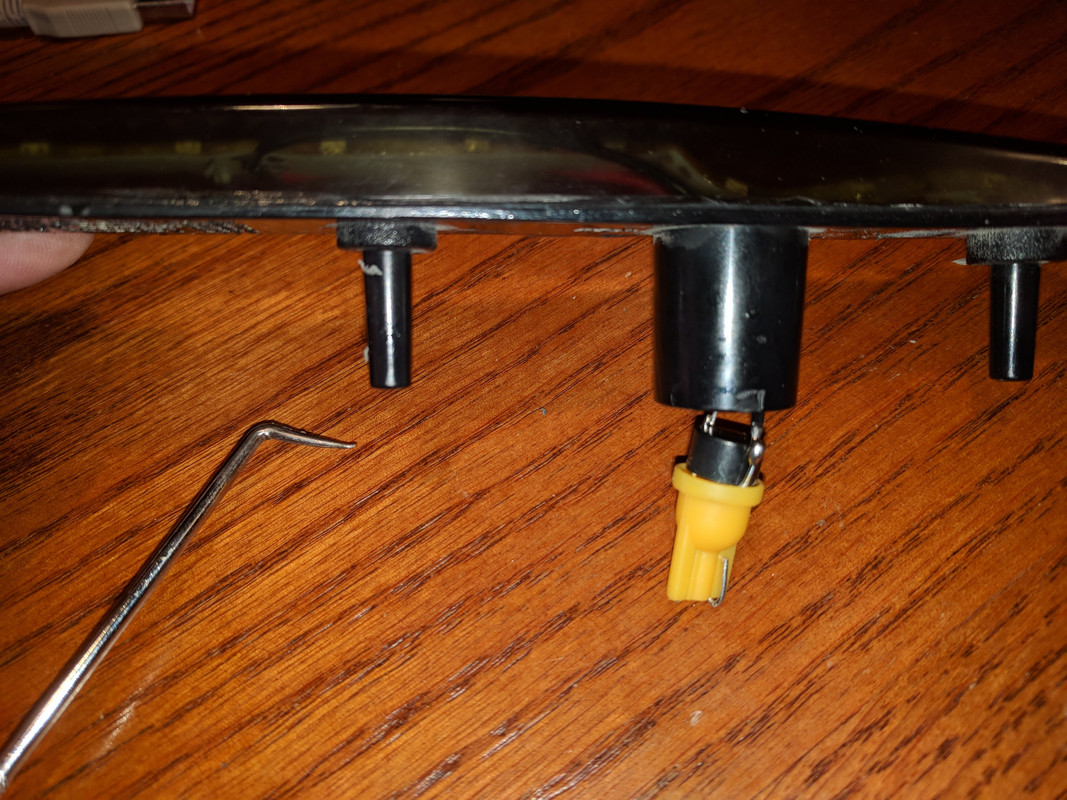
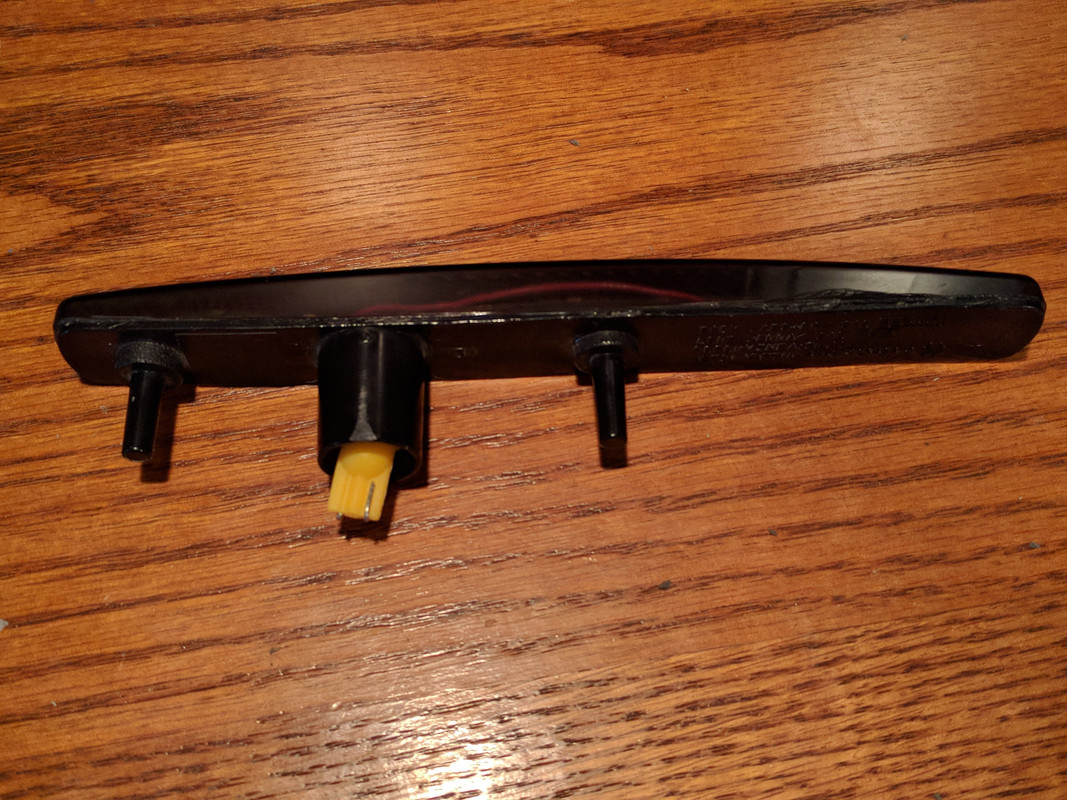
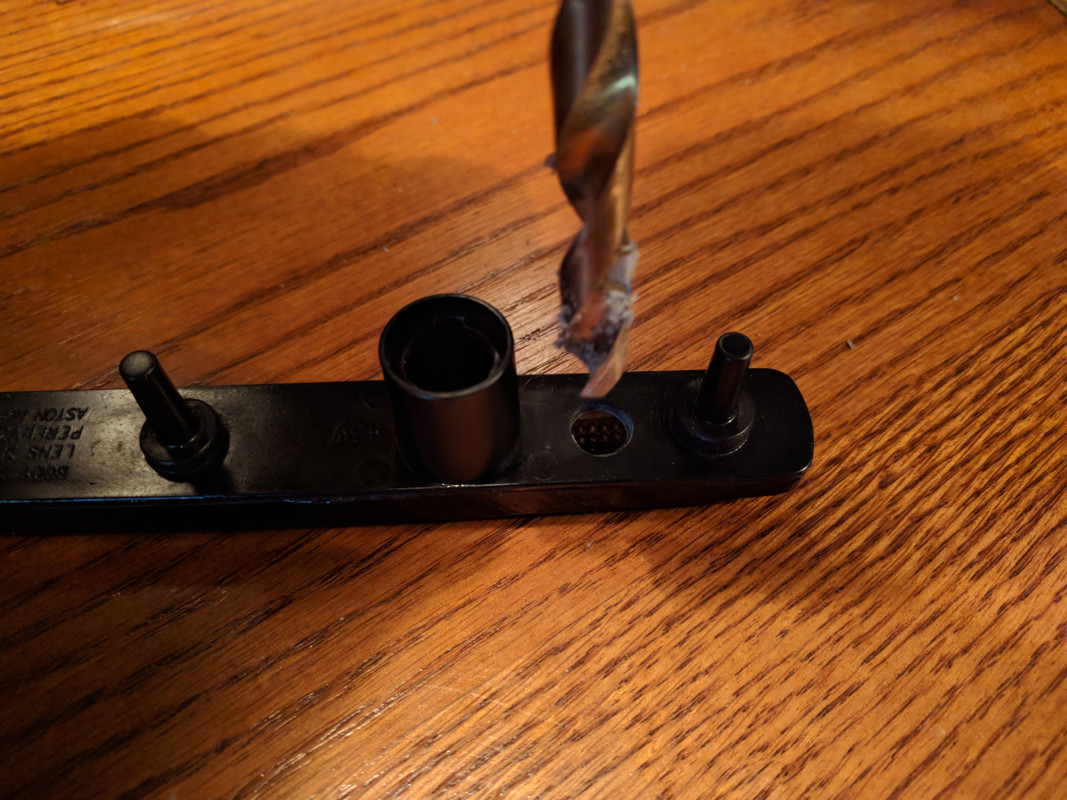
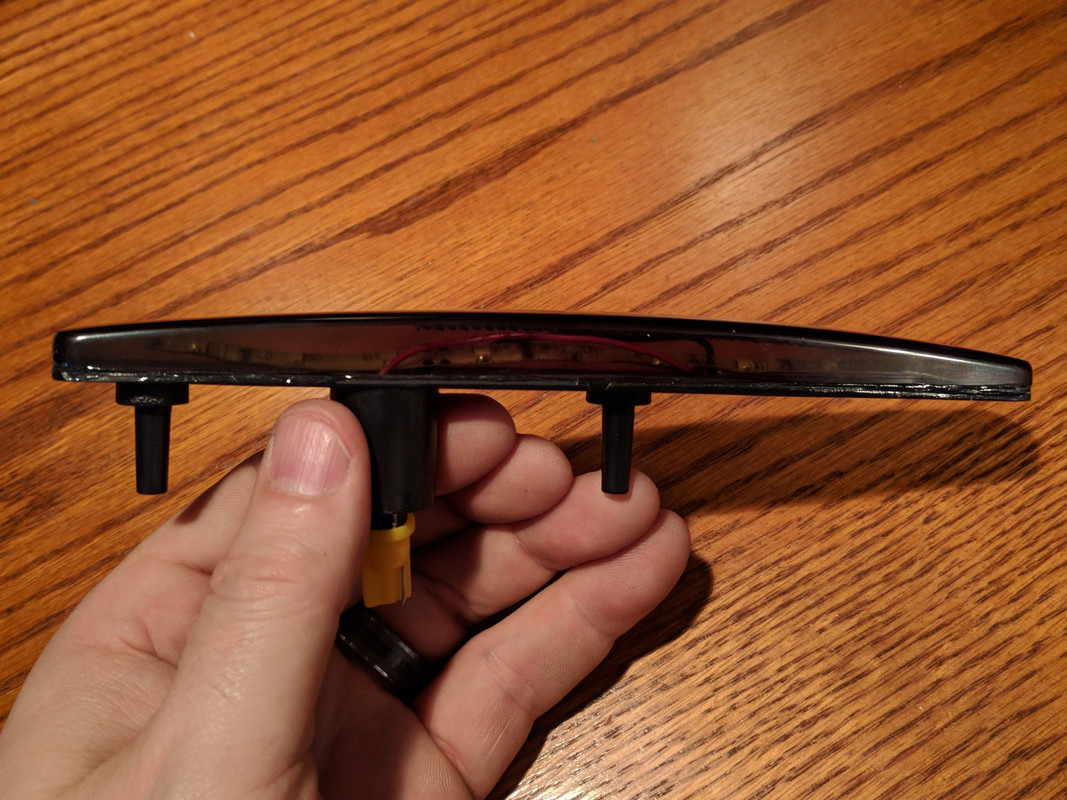
In order to get the lights in the sealed units, I drilled one 3/8" access hole per unit at one end. For the rears, The lights were fed in the hole and the male plug routed out the factory socket connector. For the fronts, the lights were fed in via the factory hole and the hole I made was for access for a pick tool. The pick is a 90 degree tool that served three purposes:
1) To arrange the strip LED's at the correct position
2) To ensure the power and ground wires were positioned alongside the strip lights
3) To pull and apply downward pressure on the light strips to adhere them to the backing plates with the supplied 3M tape
After the lights were in position and the plugs were accessible out the factory hole, I covered the access holes with electrical tape. You could also use a black silicone or adhesive. I went with the tape for now in case I need to re-position anything during the installation into the fenders and rear bumper.
Here are the pictures - I did the red rears first and second, then the amber fronts third and fourth.
Let me know if you have any questions:

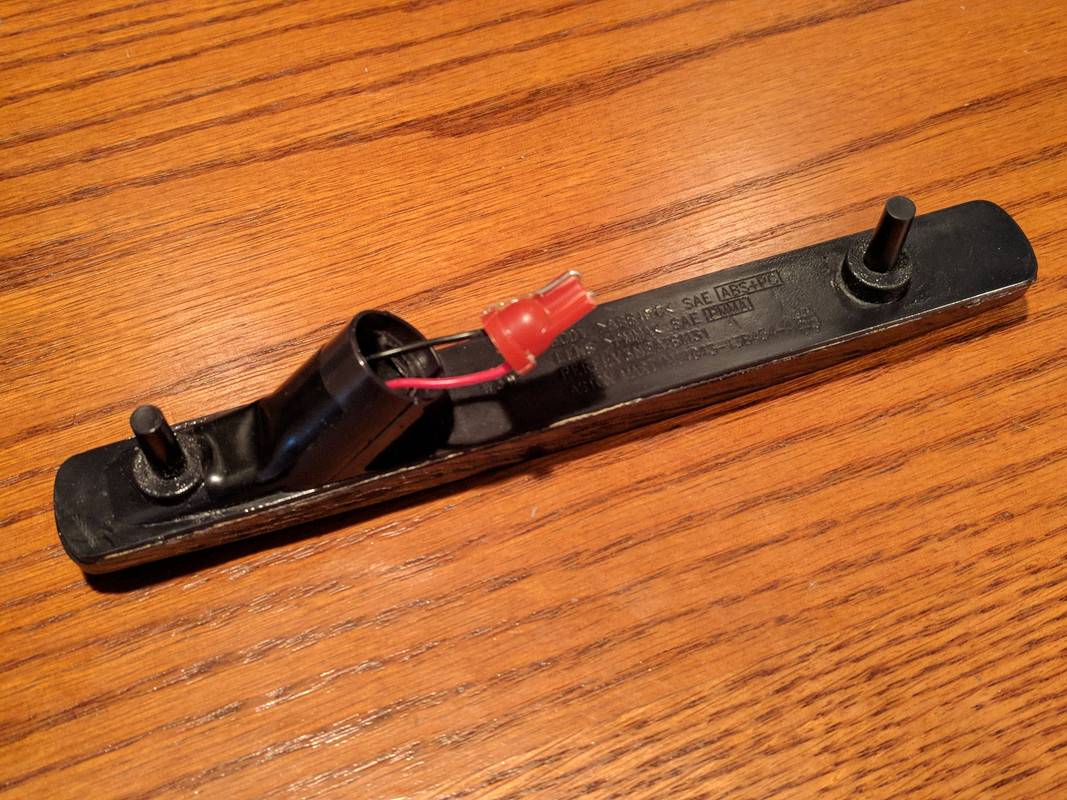
First one done, the second takes half the time
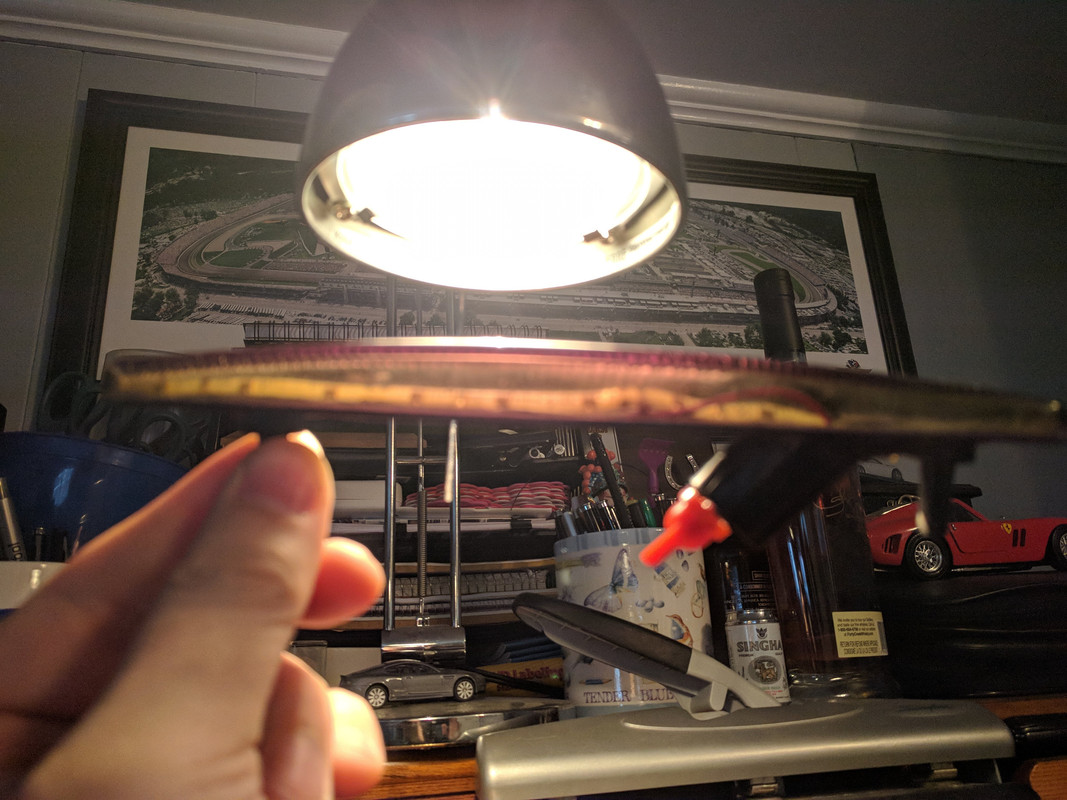
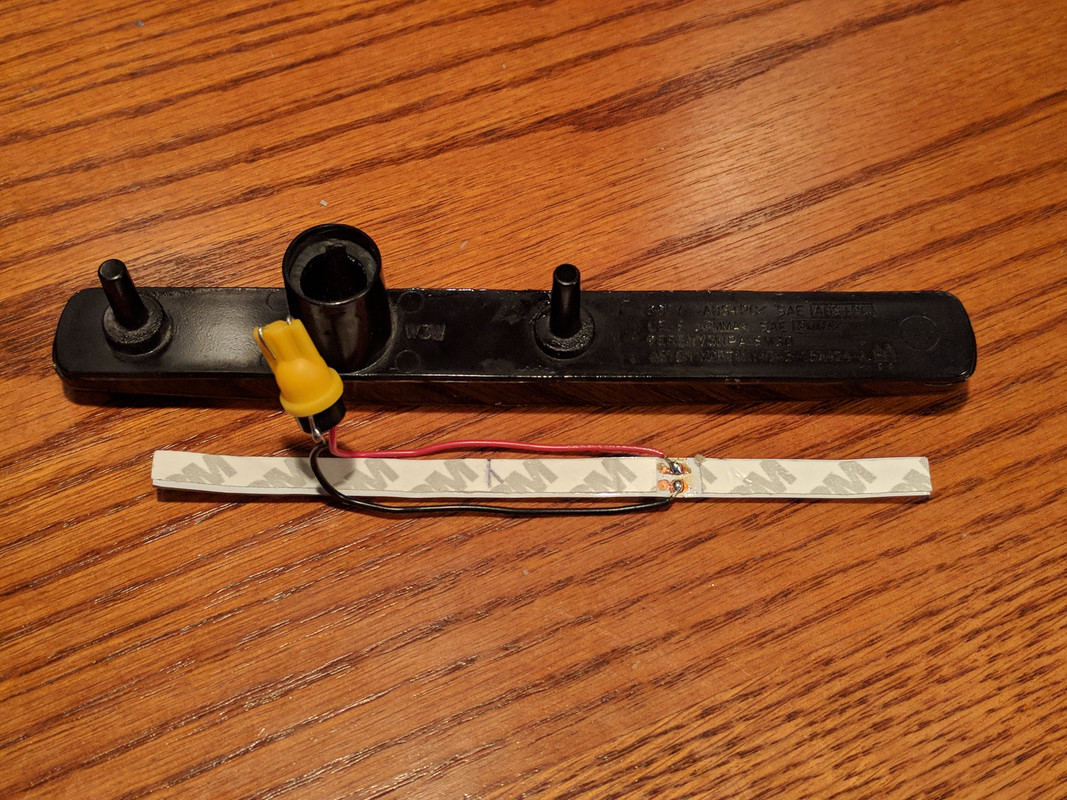
Time for the fronts - a little more difficult feeding the lights the stock hole but I just took my time and it went fine. They are very flexible and the 3M tape doesn't stick until pressure is applied:
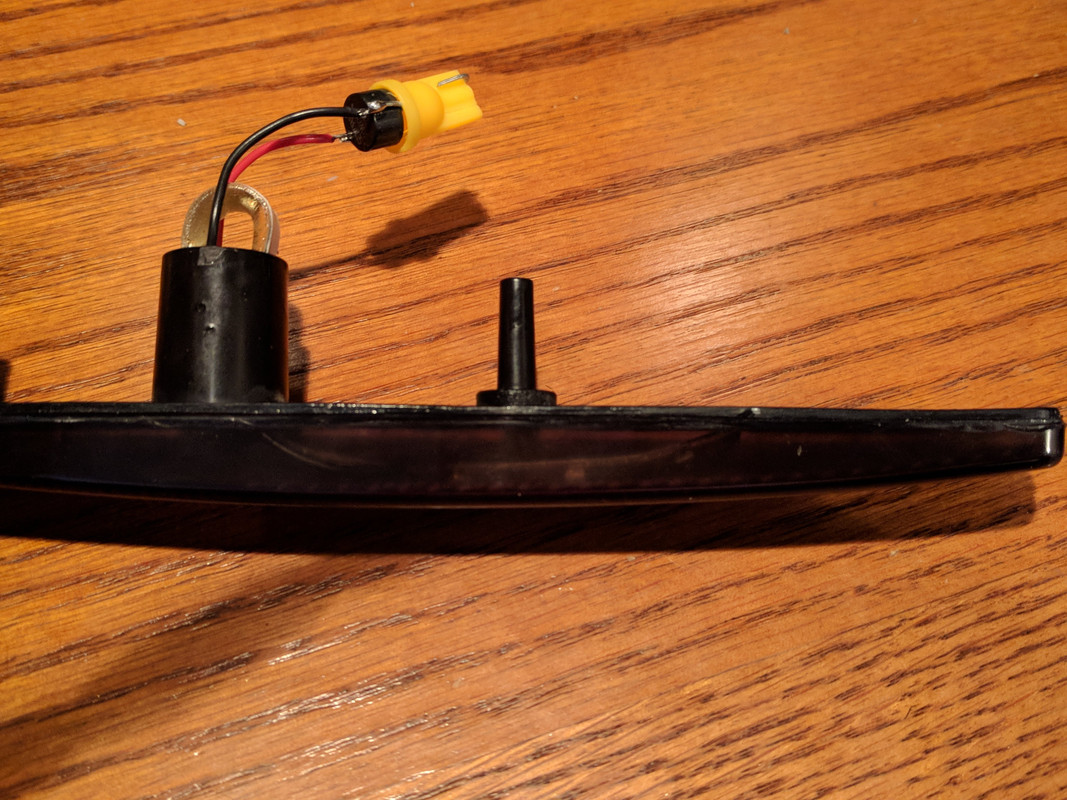

3 done and 1 to go:


I'm happy with the results, your results may vary
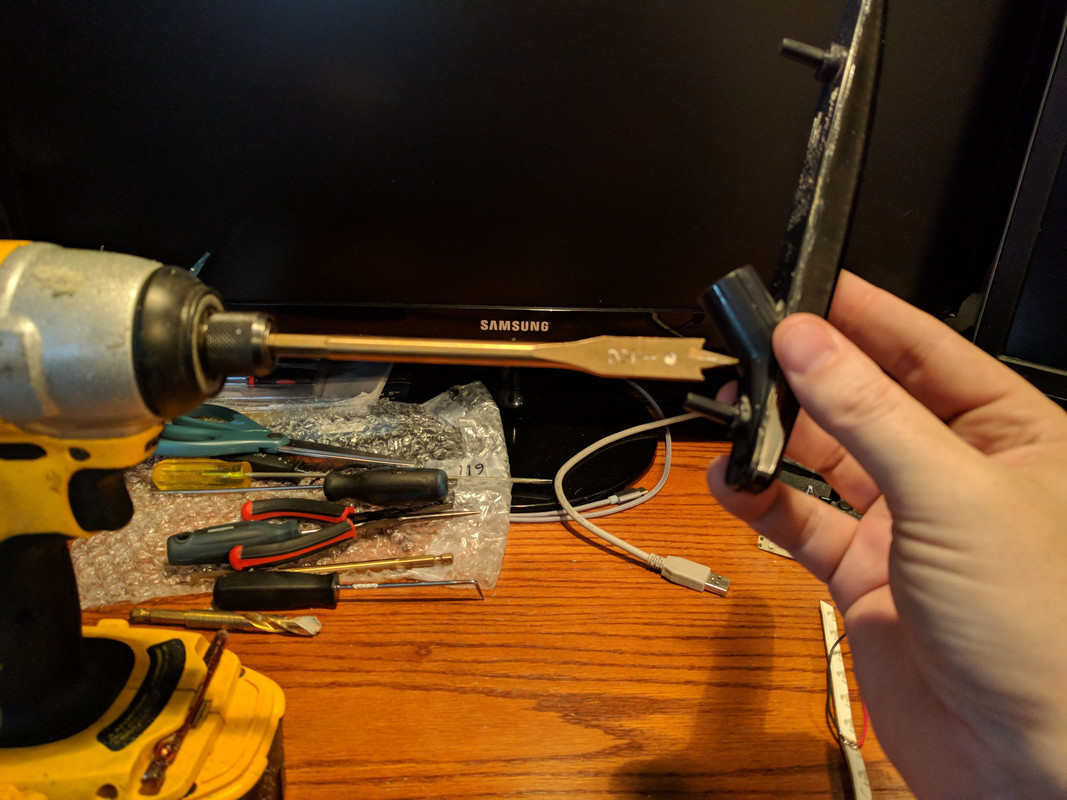
Top tip is to be very careful drilling to ensure you don't touch the lense when going through.
Also if you are wondering, I first tried to separate the units with heat but the plastic backing plate was getting soft before the glue let go - therefore above was the infamous "Plan B"
Next I used the AM part number on the smoked lens to make sure the red lights go in the rear markers and the amber in the front pair.
In order to get the lights in the sealed units, I drilled one 3/8" access hole per unit at one end. For the rears, The lights were fed in the hole and the male plug routed out the factory socket connector. For the fronts, the lights were fed in via the factory hole and the hole I made was for access for a pick tool. The pick is a 90 degree tool that served three purposes:
1) To arrange the strip LED's at the correct position
2) To ensure the power and ground wires were positioned alongside the strip lights
3) To pull and apply downward pressure on the light strips to adhere them to the backing plates with the supplied 3M tape
After the lights were in position and the plugs were accessible out the factory hole, I covered the access holes with electrical tape. You could also use a black silicone or adhesive. I went with the tape for now in case I need to re-position anything during the installation into the fenders and rear bumper.
Here are the pictures - I did the red rears first and second, then the amber fronts third and fourth.
Let me know if you have any questions:
First one done, the second takes half the time
Time for the fronts - a little more difficult feeding the lights the stock hole but I just took my time and it went fine. They are very flexible and the 3M tape doesn't stick until pressure is applied:
3 done and 1 to go:
I'm happy with the results, your results may vary
Top tip is to be very careful drilling to ensure you don't touch the lense when going through.
Also if you are wondering, I first tried to separate the units with heat but the plastic backing plate was getting soft before the glue let go - therefore above was the infamous "Plan B"
Last edited by 007V8Vantage; Apr 15, 2018 at 05:19 PM.

Thread Starter
|
Registered User
Joined: Apr 2017
Posts: 399
From: Niagara Region
Rep Power: 29
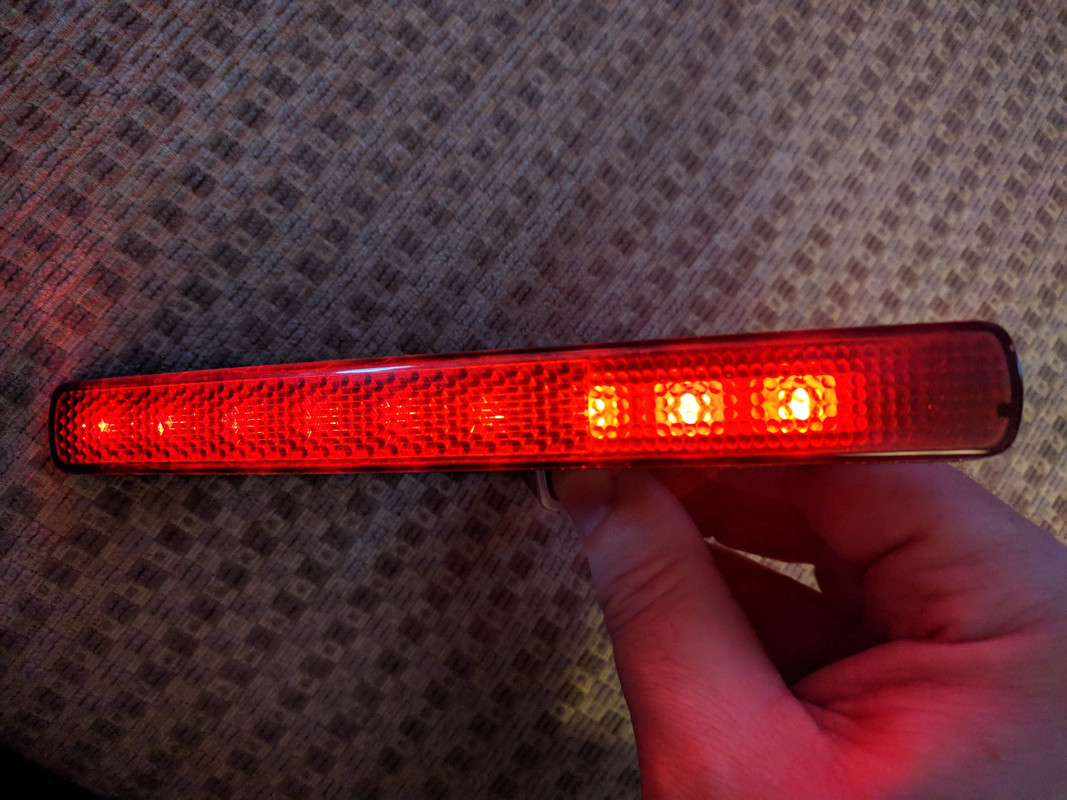
I quickly touched the plugs to a 9 volt battery to give you an idea of the look.
On my smartphone the ambers look more like a yellow/green, but you get the idea:

Thread Starter
|
Registered User
Joined: Apr 2017
Posts: 399
From: Niagara Region
Rep Power: 29

Registered User

Joined: Aug 2016
Posts: 1,051
From: Reno, NV
Rep Power: 62

jealous, wish I had the funds right now for something like that! well that and some cats, and a tune, and a titanium exhaust, and some wilwood brakes, and a dbs shift **** and... lol $$$$


Thread Starter
|
Registered User
Joined: Apr 2017
Posts: 399
From: Niagara Region
Rep Power: 29
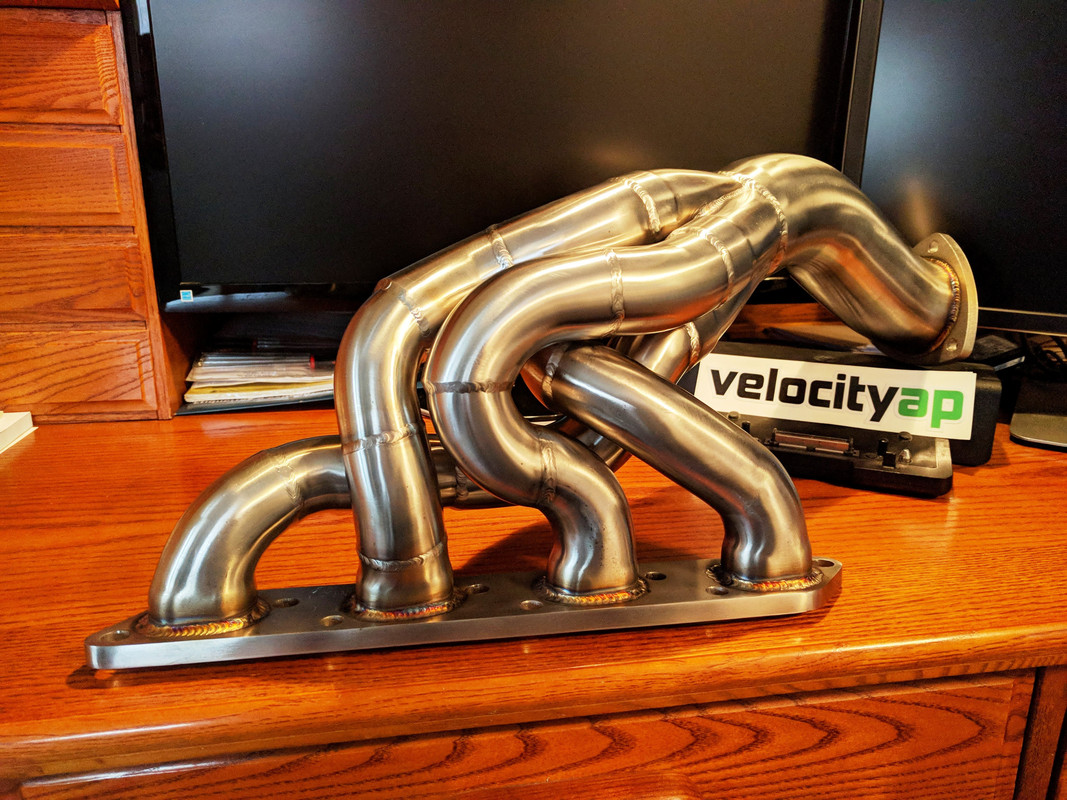
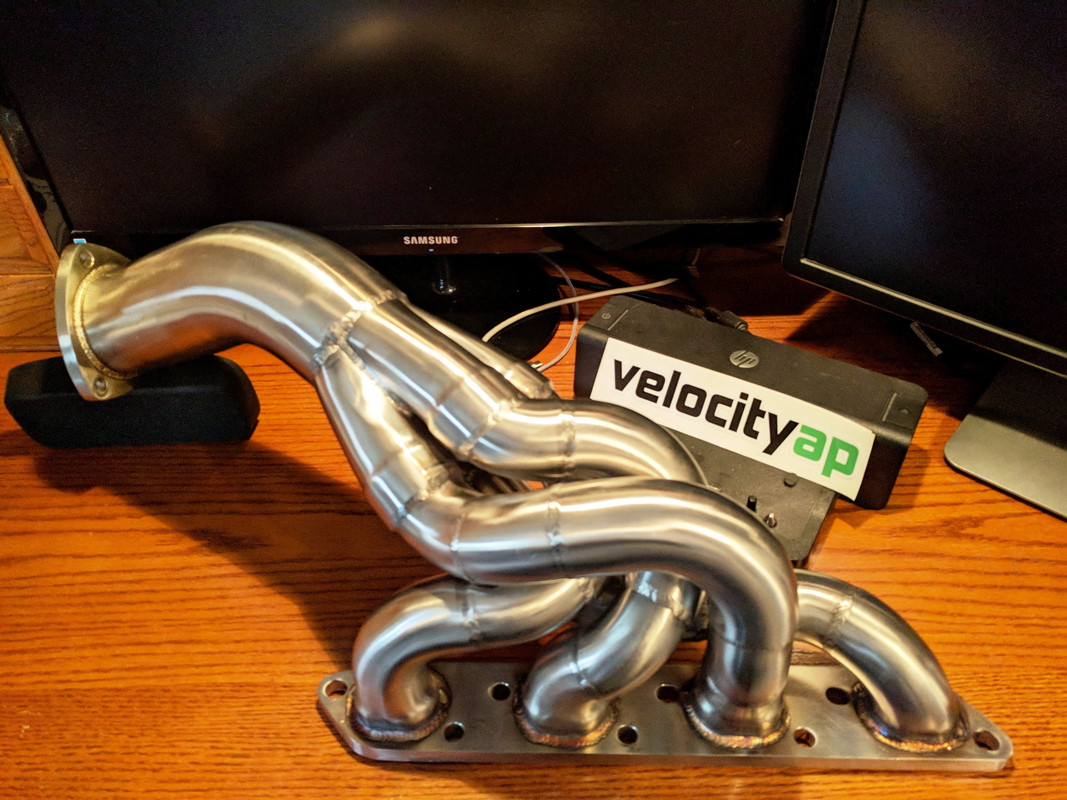
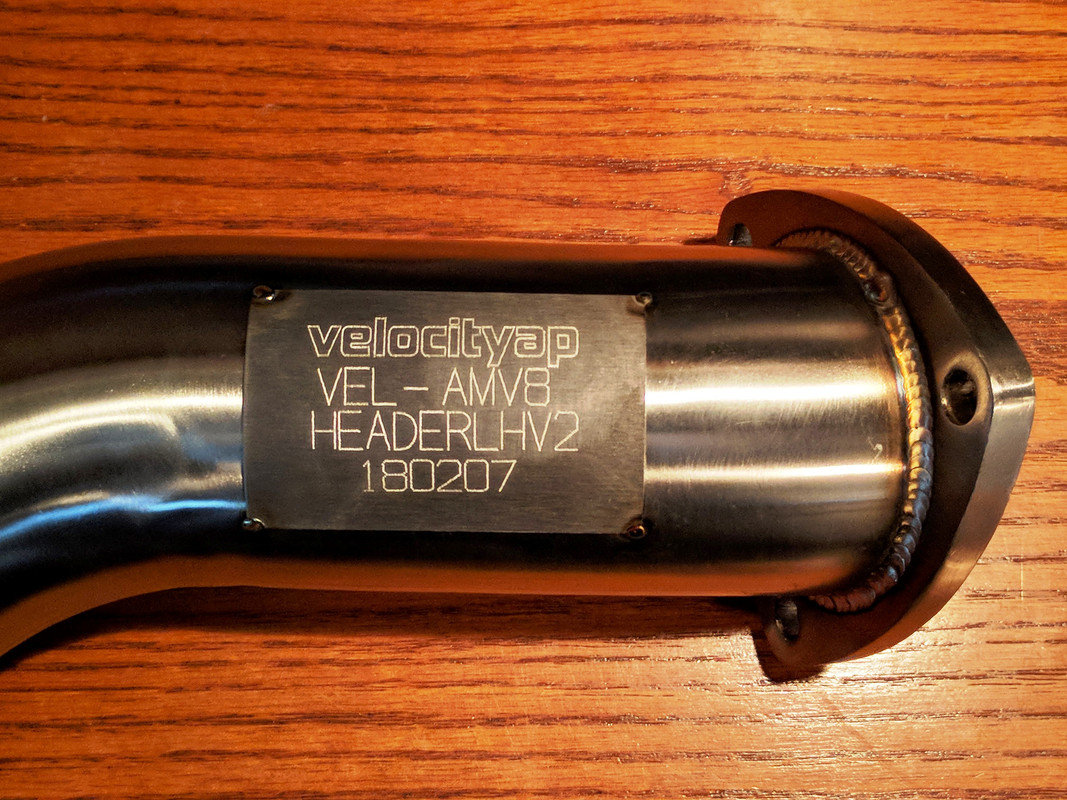
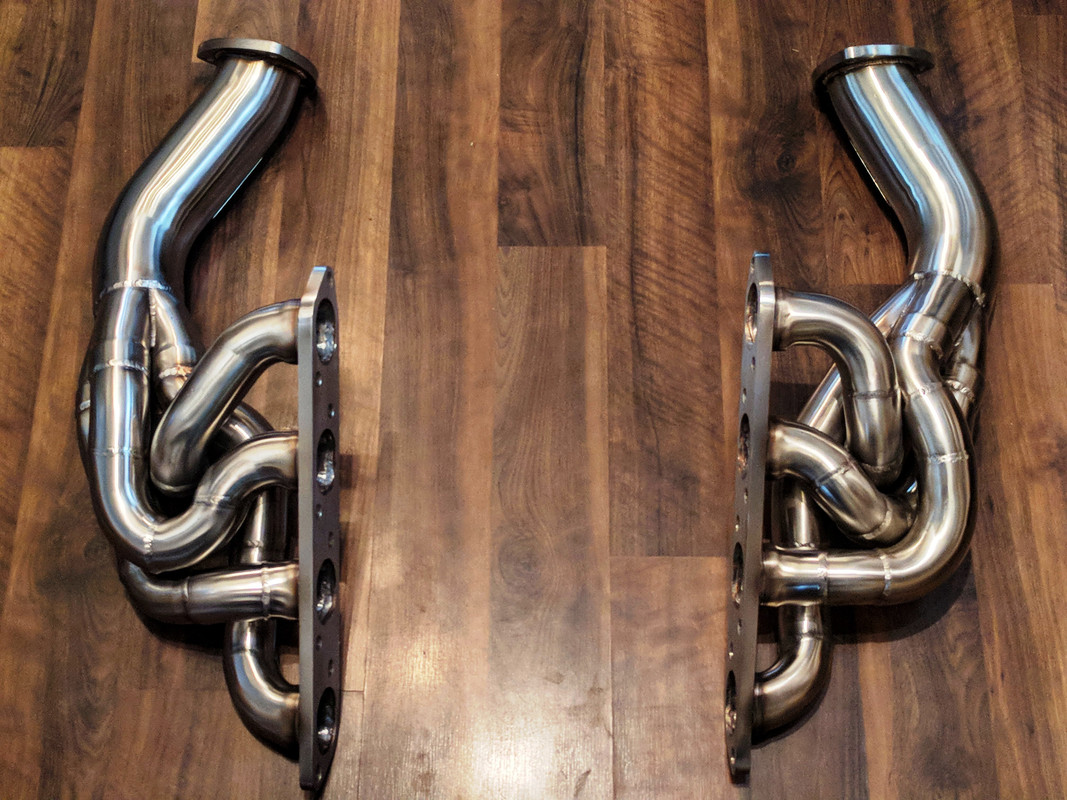
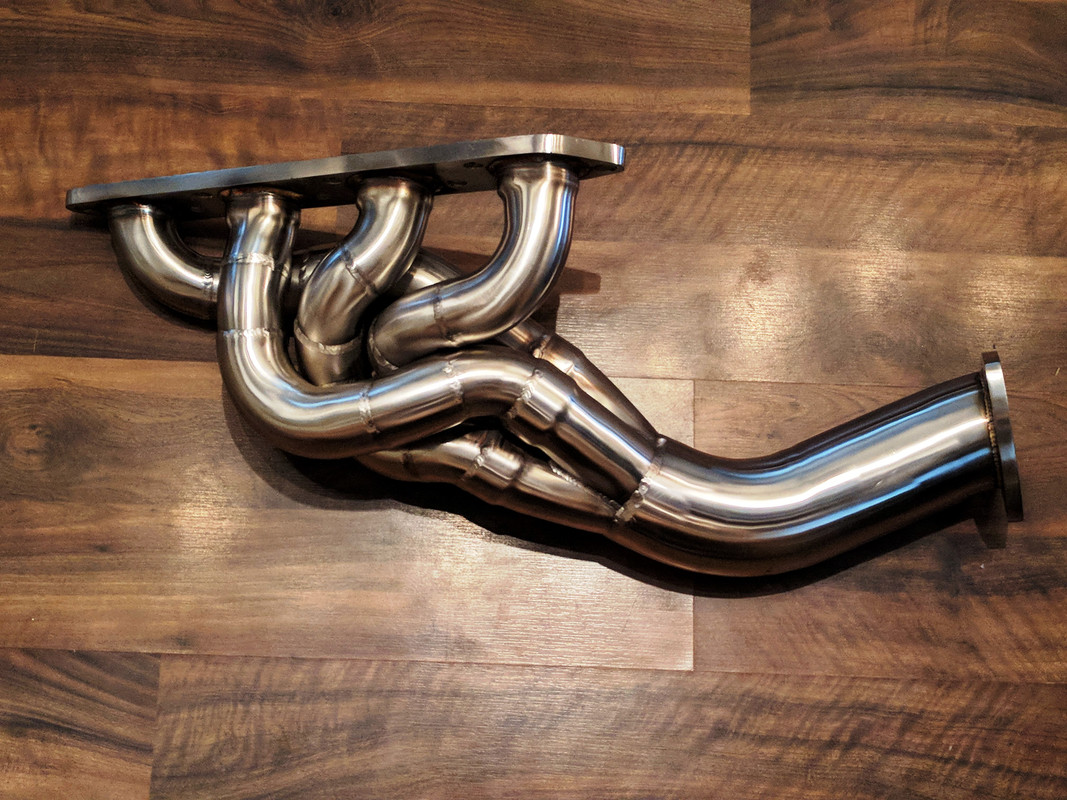
In my mind I justified these because I need to replace my starter (which involves removing the right side exhaust manifold)

Thread Starter
|
Registered User
Joined: Apr 2017
Posts: 399
From: Niagara Region
Rep Power: 29
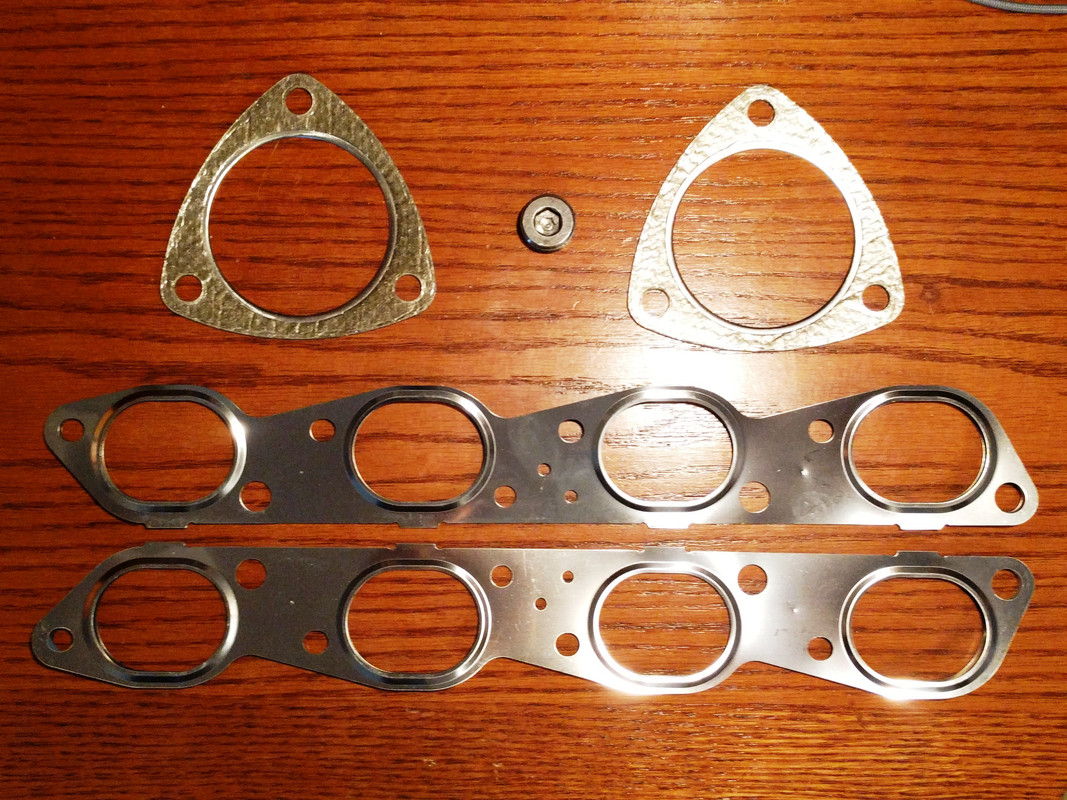
Next I'm going to get the headers ceramic coated.
I visited a couple tuners to select a chassis dyno for RWHP testing.
However my issue is the Vantage won't crank over, so I might have to forgo the baseline testing and just measure after the mods are complete.
Registered User
Joined: Aug 2016
Posts: 1,051
From: Reno, NV
Rep Power: 62
perfect excuse! love it
Thread Starter
|
Registered User
Joined: Apr 2017
Posts: 399
From: Niagara Region
Rep Power: 29
Luckily, I purposely bought the second cheapest Vantage I could find last year so that I would have some money available for "Performance Improvements".
Yes our dog "Aston" brightens every other day for me when I get home from work

My wife buys the dog food and I'm pretty sure it's one of the most expensive kinds available
Thread Starter
|
Registered User
Joined: Apr 2017
Posts: 399
From: Niagara Region
Rep Power: 29
Any further tips or suggestions from your experience would be appreciated....
Registered User

Joined: Oct 2011
Posts: 160
From: Passing on the right
Rep Power: 21
If you have access to a lift. That should help. I did mine on jackstands, mind you I had the car 36" off the ground. The passenger side header is easier than the drivers side. So take off both front wheel wells, the front underbelly tray, and the plastic spark plug valve cover things. I would recommend spraying the bolts on the header at the block with some sort of penetrating fluid. That kinda sucks because it just ends up spraying back in your face due to no access. The bolts are robust, but you don't wanna strip them. Or break them. If you brake one of those bolts you might need to remove the engine to replace them. Be careful. Your probably gonna need to replace a couple of nuts after you take them off. I reused most of mine. Only use the factory nuts. They are designed to expand and contract under the heat. You need to release the motor mounts and move the engine up and down to access each bolt at the right angle. Go from the side or underneath to access each bolt. A mid rise socket, wobbly extension, u joint sockets and stubby wrench. Those help. The ERG pipe on the drivers side is really a pain to unbolt at the header. After you unbolt the header on the drivers side you have to move that corrugated heat shield on the car out of the way. There is also a main power cable behind the heat shield you need to move. The drivers side header will wiggle out but it's a tight fit, because there is a heat shield built into the stock header. If you have help it shouldn't be too bad. Hope this helps!
Last edited by silver997; Apr 19, 2018 at 10:46 PM.